

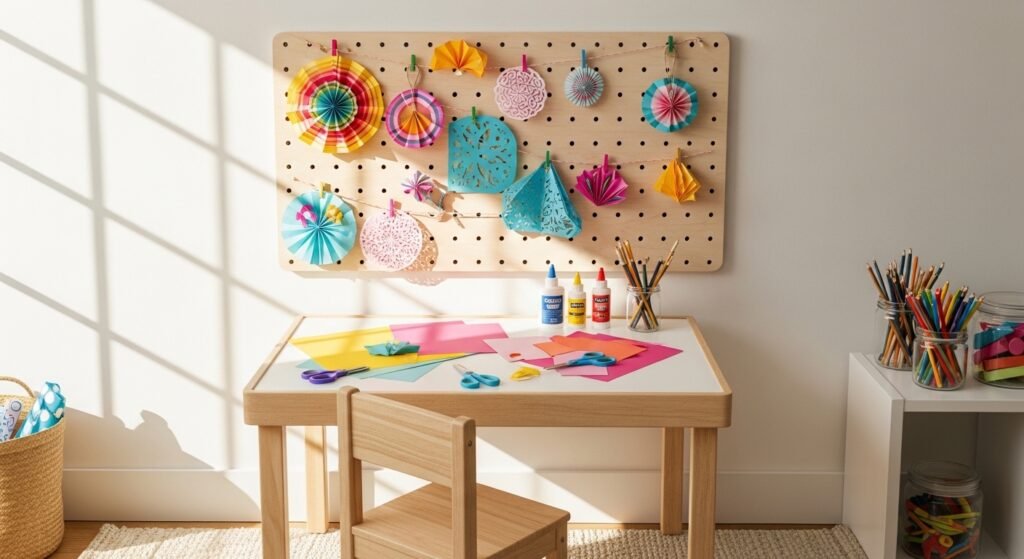
My niece once spread a stack of paper across my dining table and declared she was opening a shop. I expected chaos and glue on the runner, but she spent a focused 20 minutes folding, cutting, and trading creations with her cousin. That moment reminded me how simple paper and a few kid-safe tools make an afternoon feel like a real project, not babysitting.
These crafts lean toward playful, slightly modern kids rooms and family tables. Most projects cost under $20 in materials, with a few tools around $10-30. They work well in playrooms, dining tables, or tucked into a corner of your living room.
Playful Paper Plate Animal Masks for Pretend Play
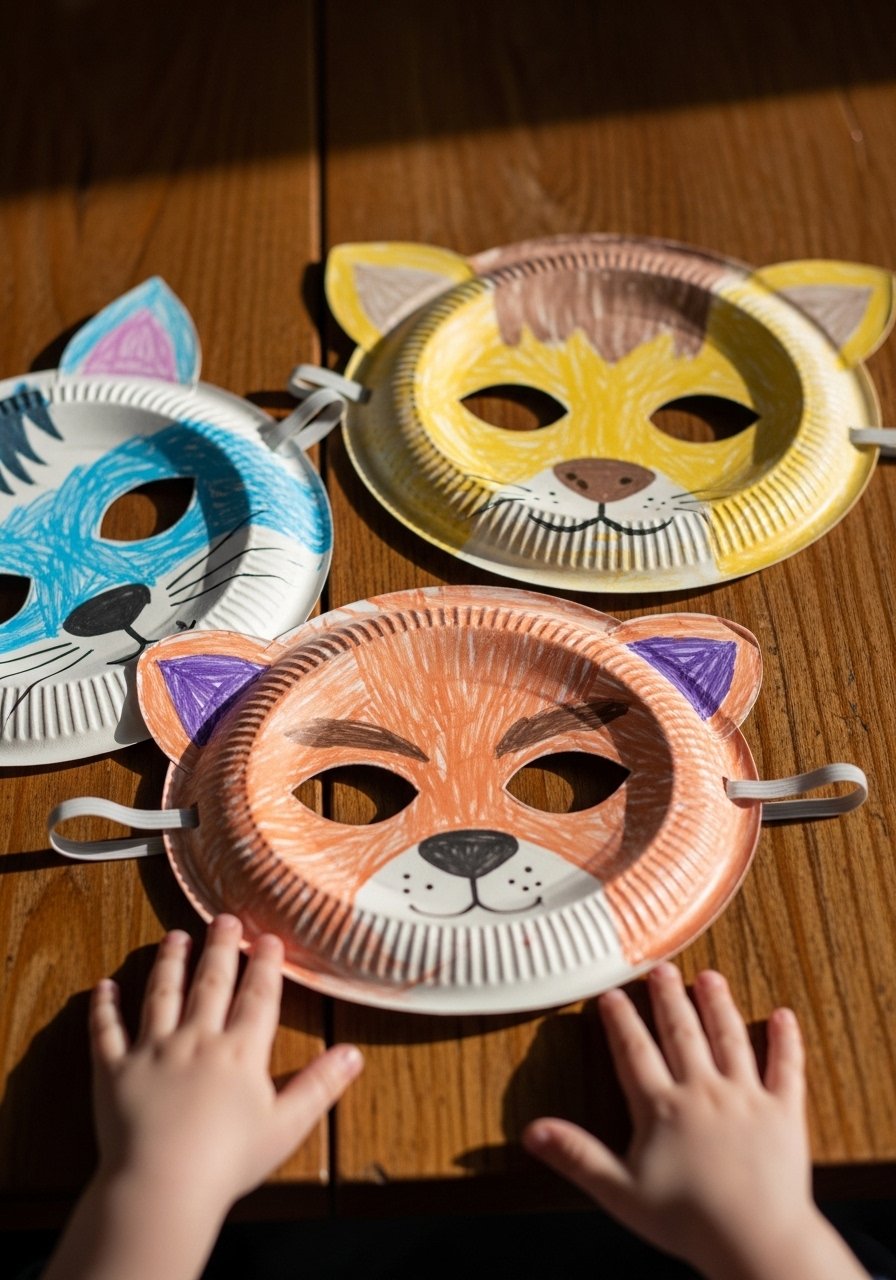
I started with paper plates because they are cheap and forgiving. Cut a paper plate to fit a child’s face, paint or glue on ears, and attach elastic. Use a construction paper pack for ears and noses. The thing that makes these work visually is scale: keep eye holes about 2.5 inches across for preschoolers so they can see. Common mistake is over-decorating the center. It makes masks floppy. Budget: under $10 for a set. Pair these with the crown idea below for a full dress-up station.
Easy Origami Animals for Quiet Table Time
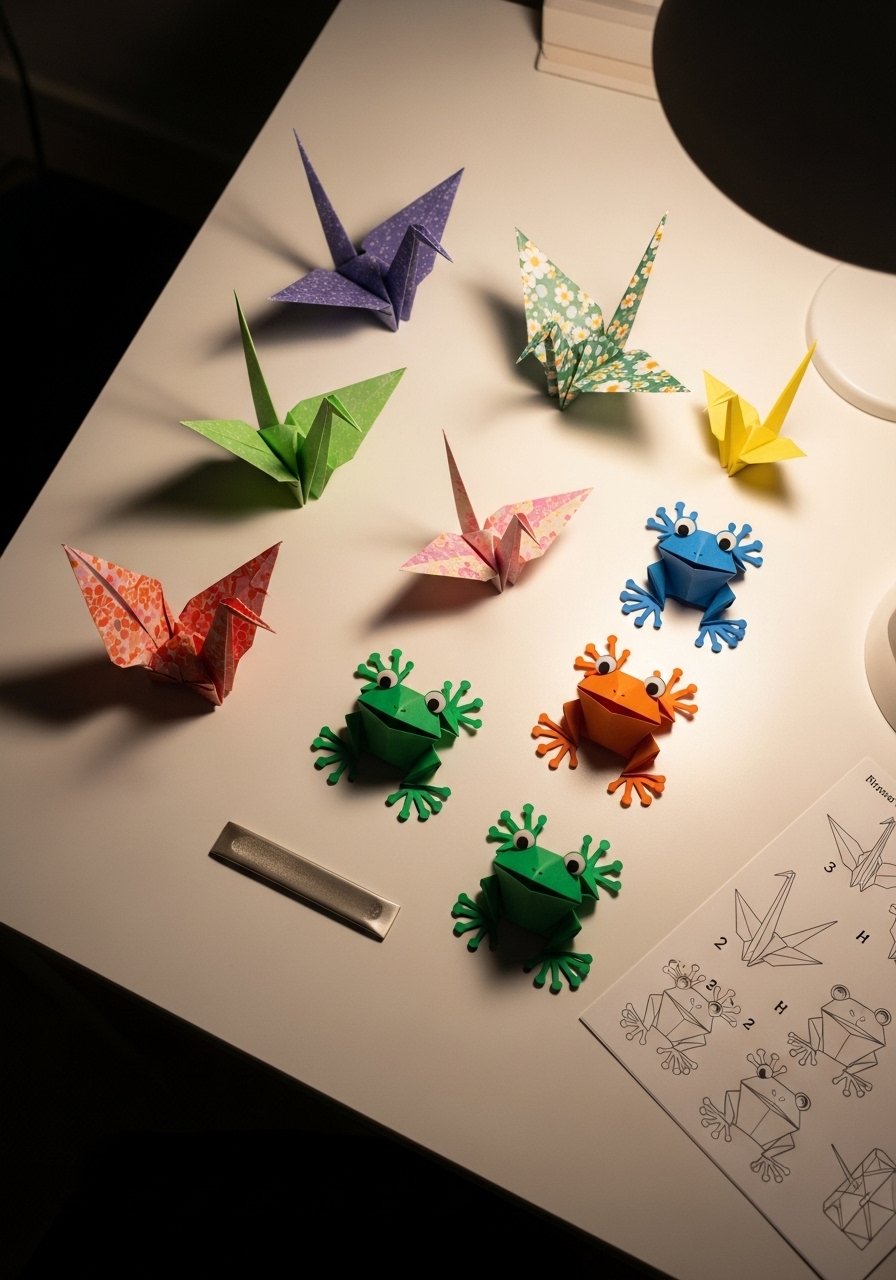
Origami teaches focus and fine motor skills. Start with 6-inch squares for little hands, move to 3-inch squares for older kids. I use a origami paper set that has 100 sheets so you do not worry about wasting. A common mistake is using thick paper. It wastes effort and folds will look bulky. One specific trick I learned is to crease with a bone folder for crisp edges. Works great in a reading nook or after-school table, under $15 for supplies.
Bright Paper Garland to Decorate Any Kids Room
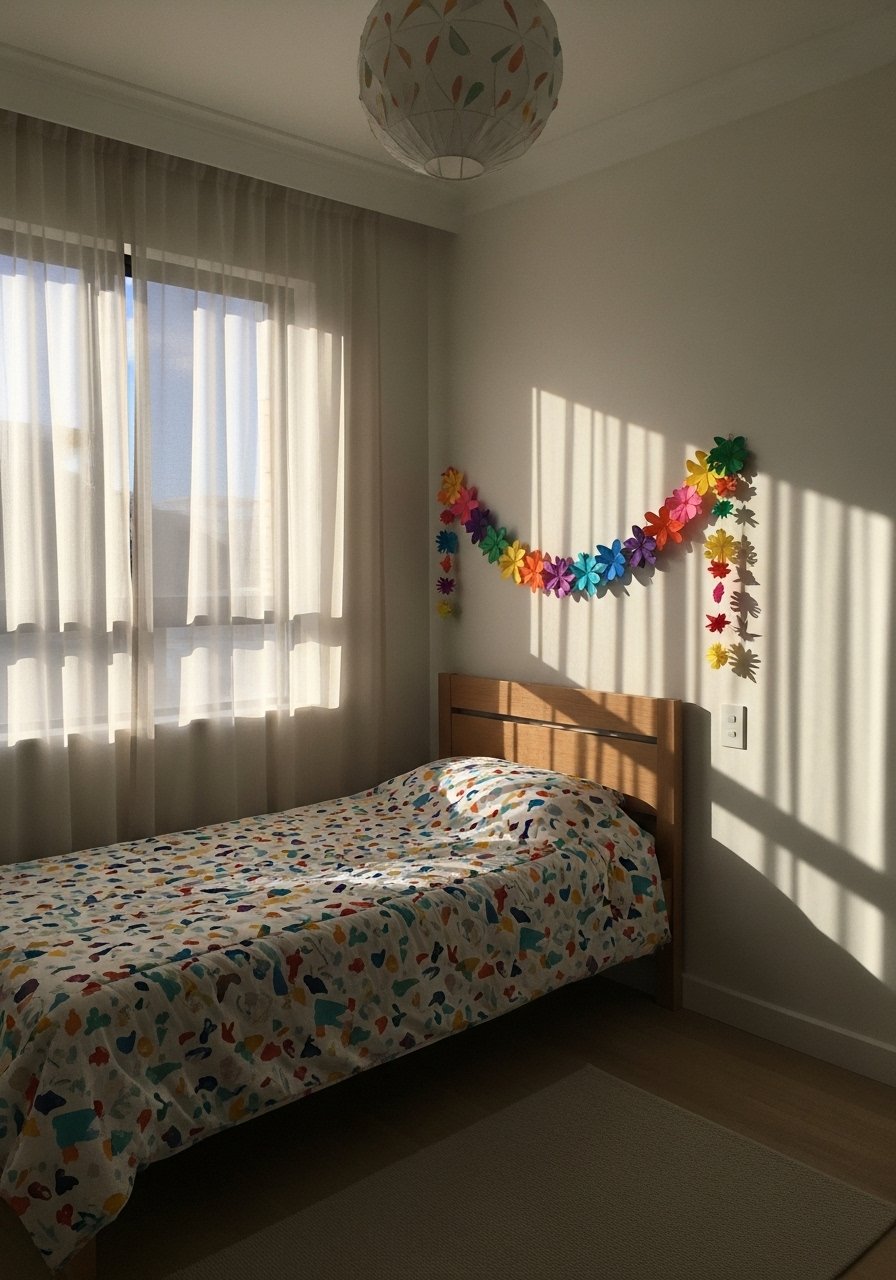
Garlands are instant personality without permanent changes. Cut 2-by-6 inch flags and attach every 3 inches on twine. I recommend alternating solid color and patterned flags in a 3:1 ratio so it never looks too busy. Reinforce holes with clear reinforcement stickers so the garland survives play. Typical mistake is spacing flags too close, which hides the pattern and tugs the string. Budget: $10-20. Swap this with string lights if you need lower maintenance.
Toilet Paper Roll Binoculars for Outdoor Adventures

You can make binoculars from two rolls, tape, and glue. Glue rolls side by side and wrap in colored paper. Add a 24-inch strap to hang around a child’s neck. Use a kid-safe glue stick pack so the roll does not go soggy. A common mistake is using too-long straps that drag. Keep straps 20-24 inches for toddlers and 30-36 inches for older kids. Great for porch bird-watching or park trips, under $5 per pair.
Paper Mosaic Artwork for Practice with Patterns
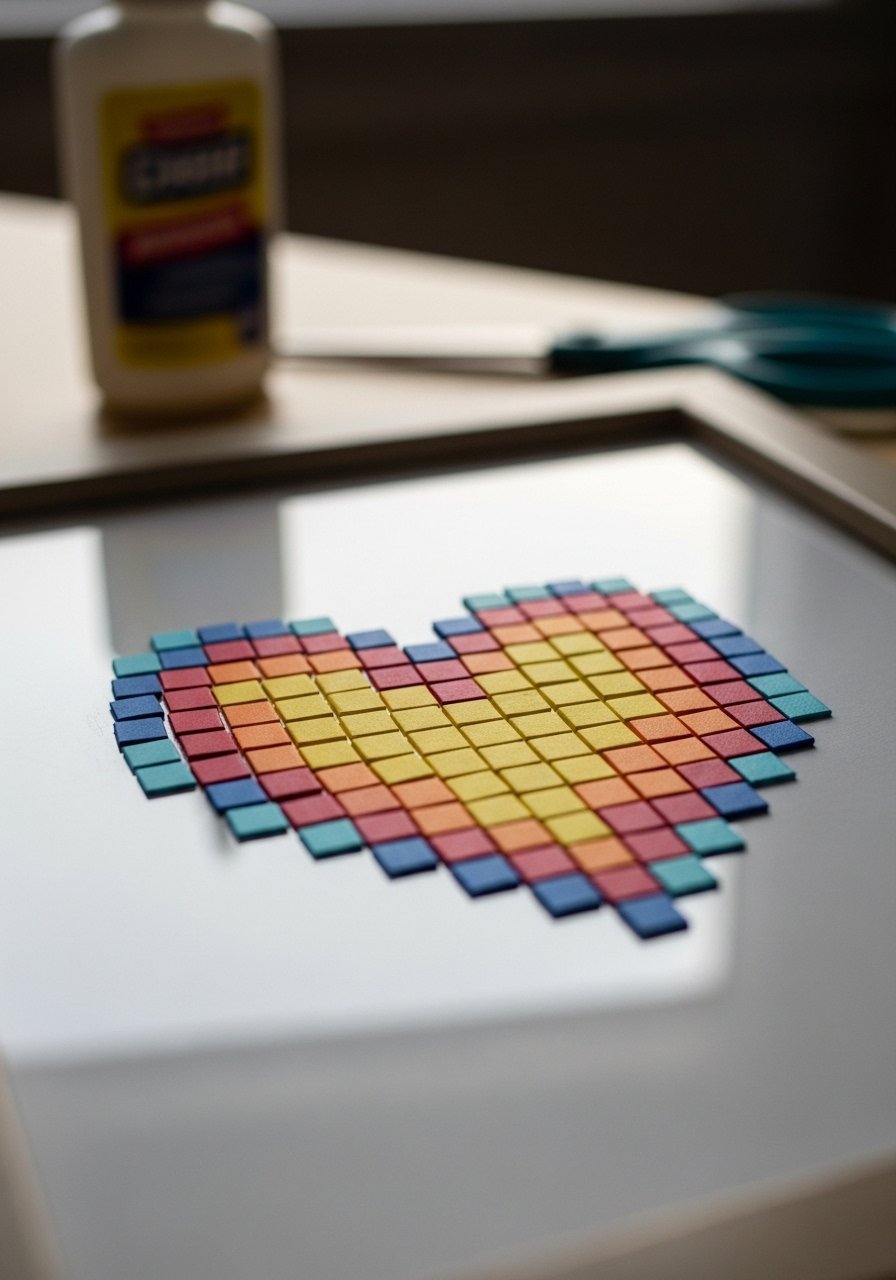
Mosaics are forgiving and teach pattern repetition. Cut 1-inch squares from scrap paper and glue in rows. For a small 8×10 frame, plan on 64 squares per row and about 80-100 total pieces depending on spacing. Using a 24-piece marker set lets kids color scraps before cutting. Common error is gluing pieces too close; leave 1/16 inch gaps to let the base color peek through. Display these in a hallway gallery or beside the craft corner.
Simple Paper Weaving Placemats for Daily Use
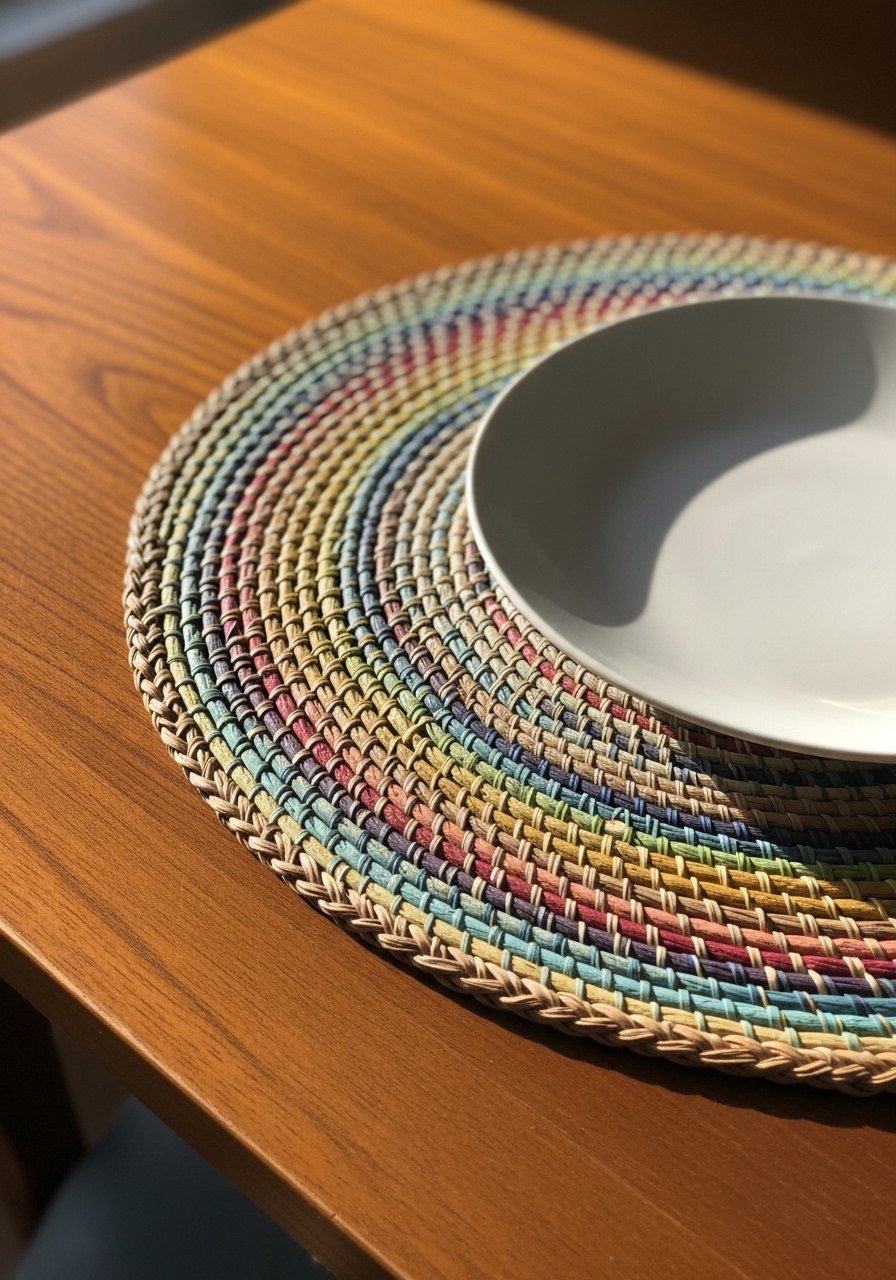
Weaving helps with hand-eye coordination and produces usable placemats. Cut 12 strips at 1.5 inches wide and weave over a 10×14-inch base. Seal each side with a layer of clear craft glue and let dry flat. I keep a roll of clear adhesive craft tape for quick edges. Mistake people make is using glossy paper that slips, so choose matte or construction paper. Budget under $10. These are great for holiday placemats or afternoon tea parties.
Classic Paper Fortune Tellers with Conversation Prompts
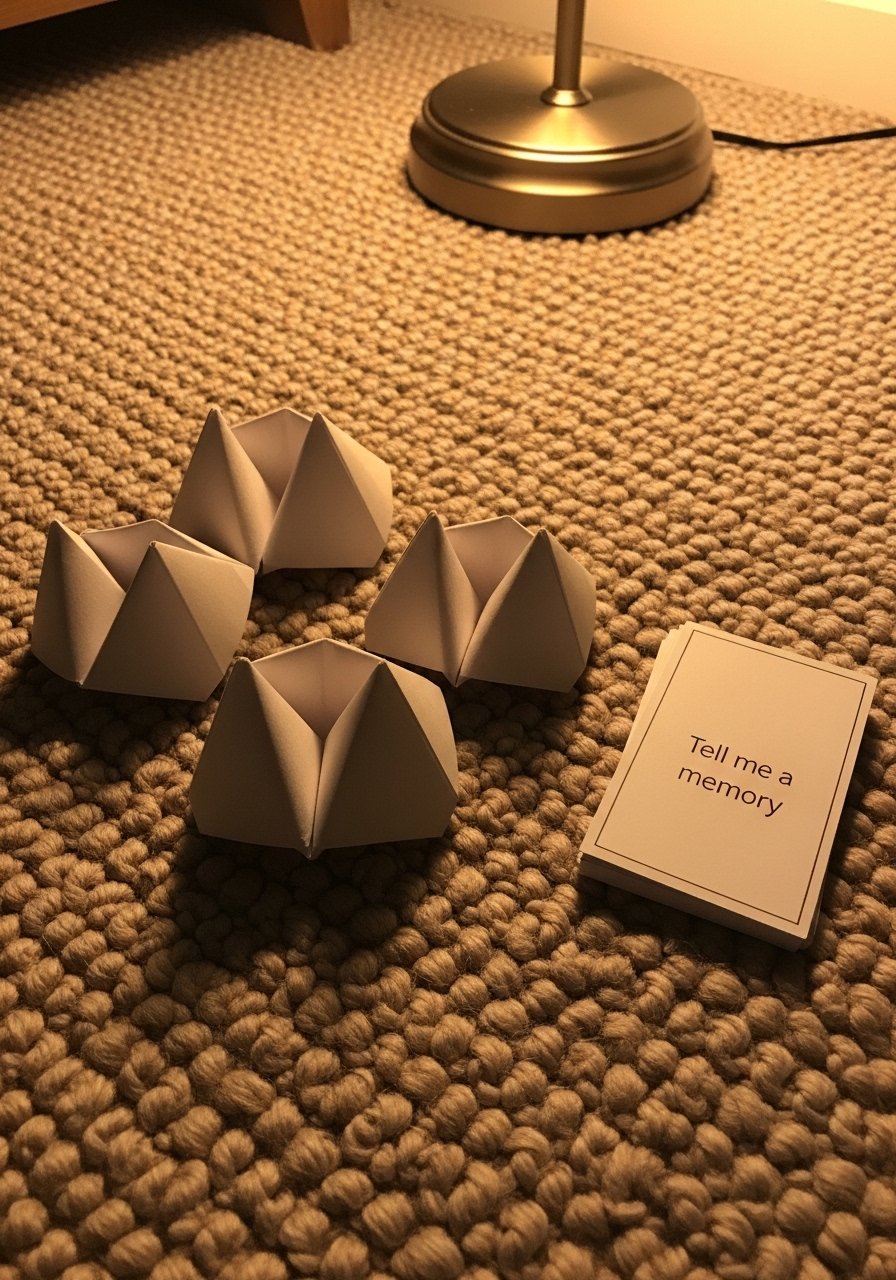
Fortune tellers are fast and perfect when attention spans are short. Use a standard 8.5×11 sheet folded into a 4-inch square. Inside, write prompts or silly dares. I glue tiny stickers from a sticker set on the tips as a reward. A common mistake is writing tiny tiny text that kids cannot read. Big, bold words work better. Budget under $5. These are ideal travel activities because they fold flat.
Pinwheels for Windy Playdates and Décor
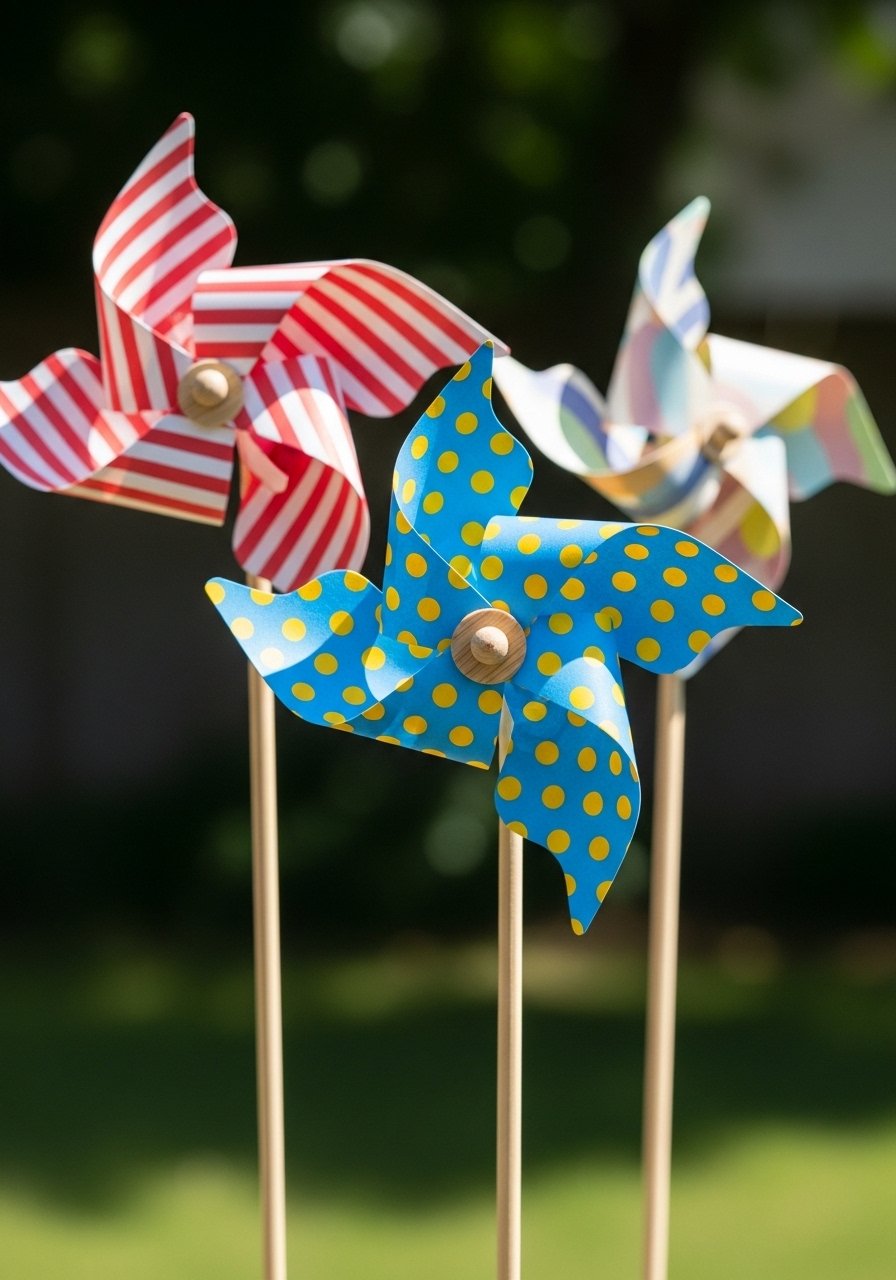
Pinwheels are instant cause-and-effect fun. Cut a 6-inch square, score diagonals, and fold corners to center. Pin through with a straight pin on a bead, then mount on a 12-inch wooden dowel. Use wooden dowel rods and a small pack of beads for secure spinning. Mistake is using thick cardboard. It will not spin. Keep pinwheels lightweight and balance the bead size to the pin thickness. Budget $8-12 for supplies.
Royal Paper Crowns for Birthday Photos

Crowns are satisfying and photograph well. Measure a child’s head and cut the strip 20-22 inches long for toddlers, 22-24 inches for older kids. Decorate with foam stickers and sparkly tape. I use a foam sticker pack to add texture. Mistake people make is making crowns too stiff. Leave the back overlap adjustable by 1 inch so it grows with the child. Budget $5-15. Pair with masks for a full-costume corner.
Fold-and-Glue 3D Paper Playhouses for Small Worlds
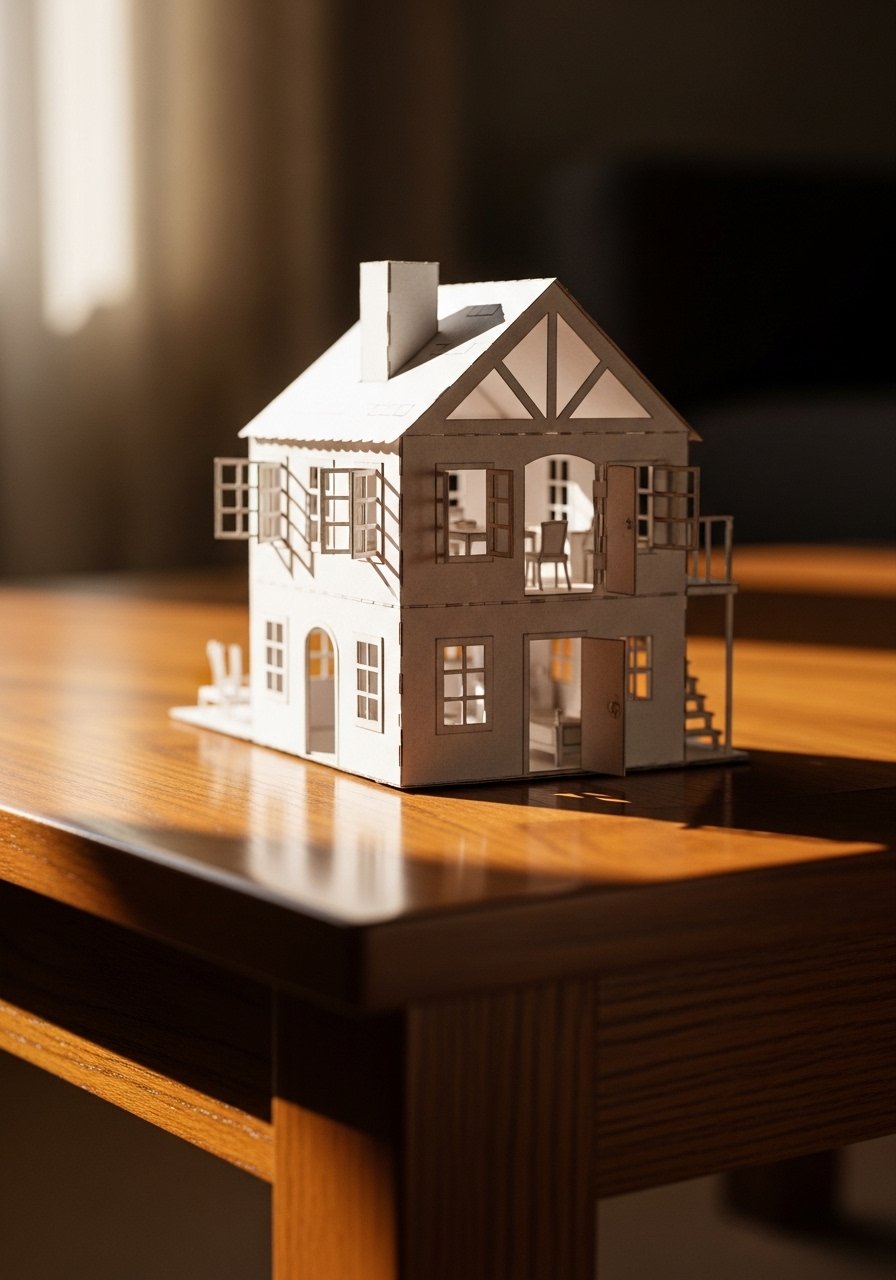
3D houses teach measuring and spatial thinking. Use 8.5×11 cardstock for walls and roofs, score edges for crisp folds, and glue tabs. A 4-inch square base makes rooms that fit little paper furniture. I keep cardstock packs on hand. Common mistake is using weak glue that separates at corners. Use a fast-dry craft glue for strength. Budget $10-20. These look lovely in a playroom windowsill and make great small-scale dioramas.
Paper Flower Bouquets for Table Centerpieces
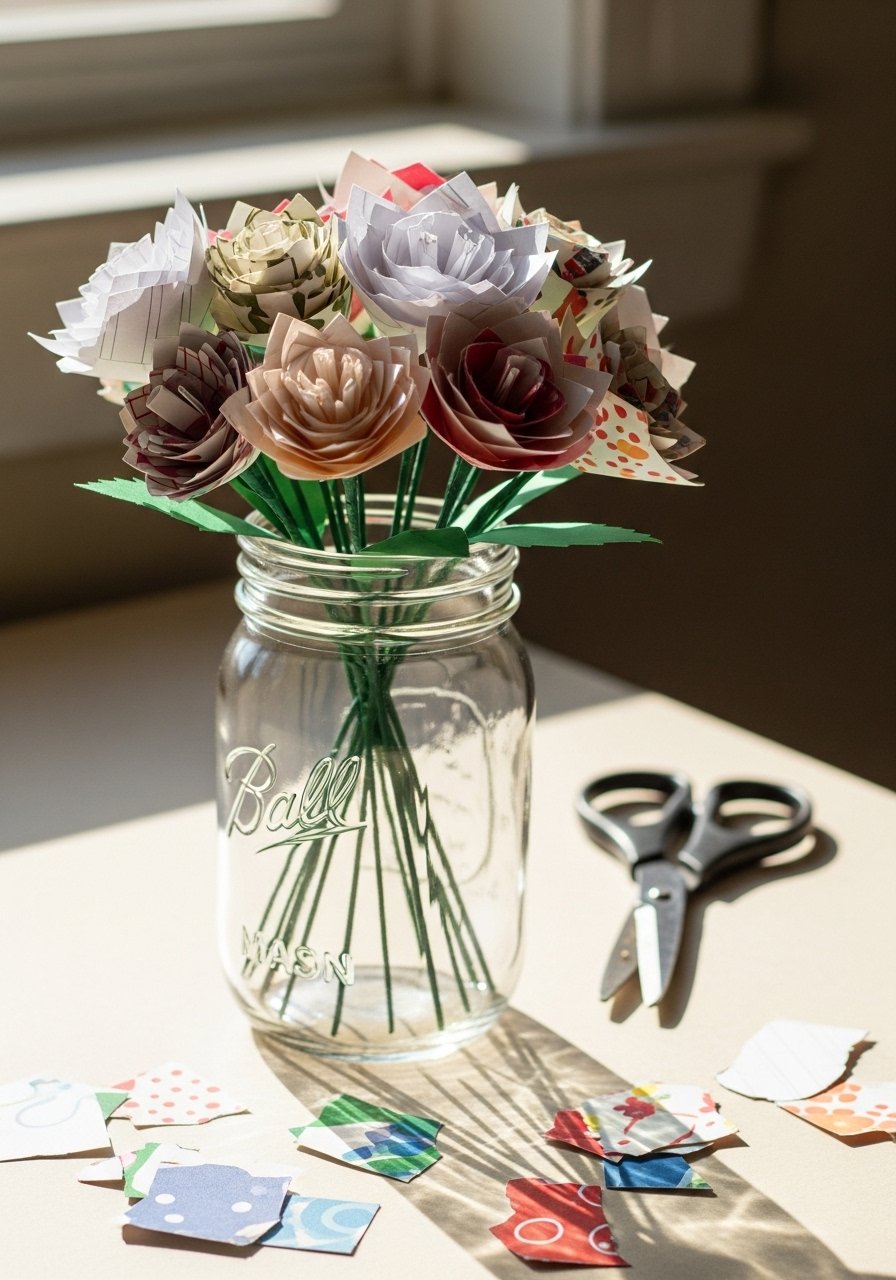
Paper flowers teach layering and give you a reusable bouquet. Cut petals in graduated sizes: small, medium, large and layer three per bloom. For a 6-inch bloom, cut petals 2, 3.5, and 5 inches tall. Wrap stems with floral tape and use floral wire for shape. Mistake is over-gluing petals which looks stiff. Leave a tiny bit of natural curve for softness. Budget $10-15. These are good for mantel vignettes or making permanent kid art.
Quick Paper Kites for Backyard Runs
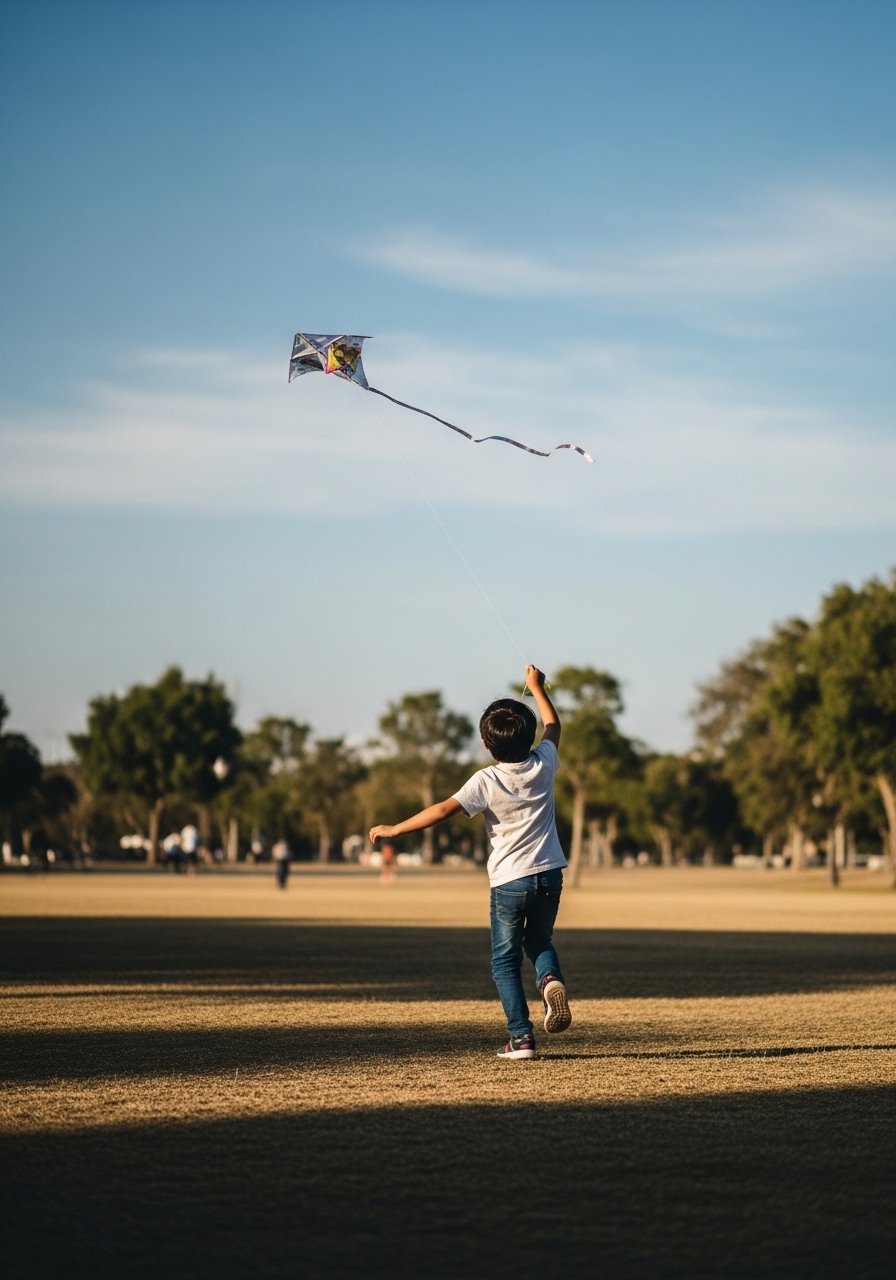
Kites are surprisingly simple and a thrill to fly. Use light cardstock for a 12×12-inch diamond, cross with two 10-inch dowels, and tie a 24-inch tail made of streamers. I use nylon kite string for durability. A common error is making the tail too short, which screens out lift. Make the tail at least three times the kite length for stability. Budget $10-20. These are perfect for breezy weekends and double as park crafts.
Personalized Paper Bookmarks with Tassels for Little Readers
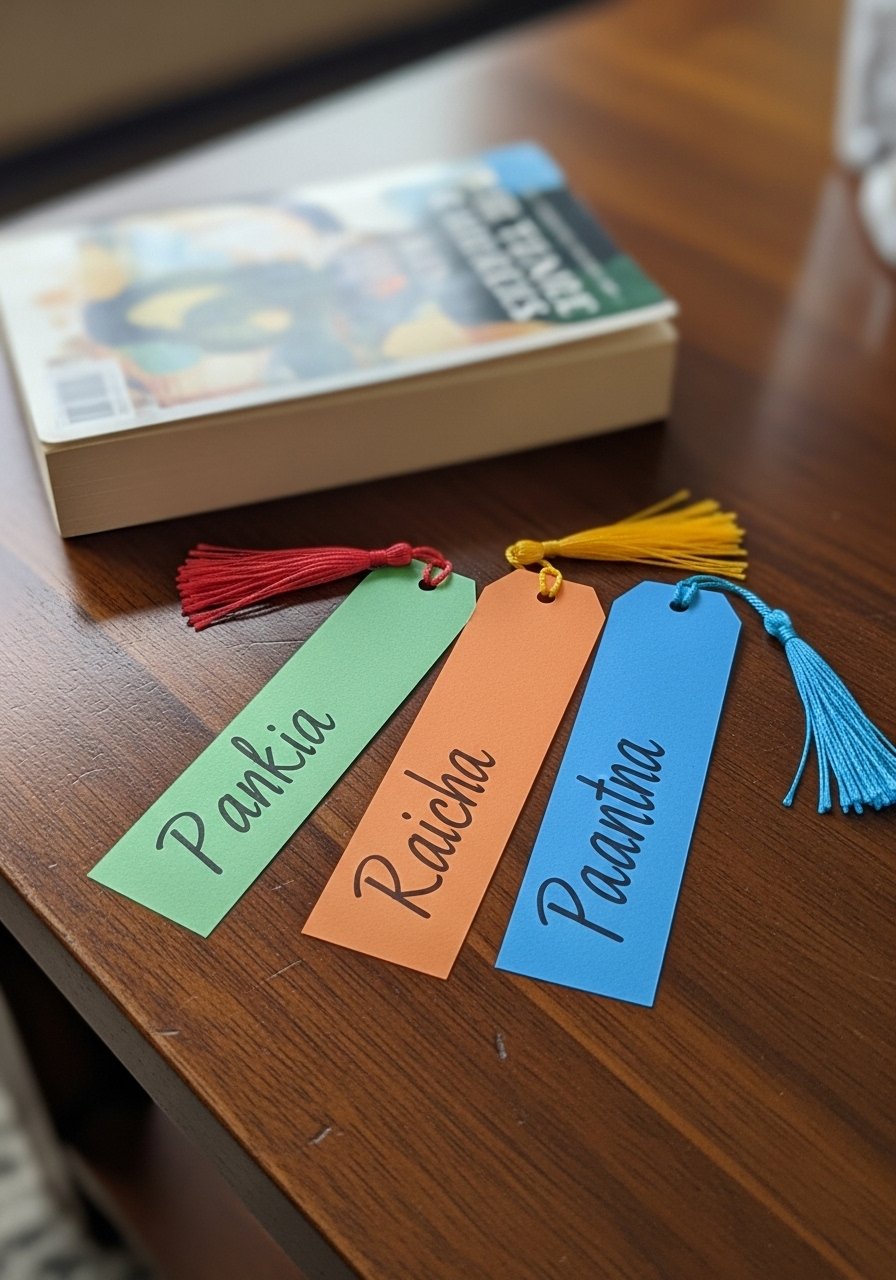
Bookmarks are a great low-mess craft that kids actually use. Cut 2-by-6 inch strips and laminate if possible. Punch a hole and add a 3-inch tassel. I use a laminating sheet pack for longevity. Mistake people make is using uncoated paper which frays at the corners. Laminating keeps them real-world tough. Budget under $10. They make thoughtful gifts and pair well with the mosaic frames idea for a reading corner.
Shadow Puppets for Nighttime Stories
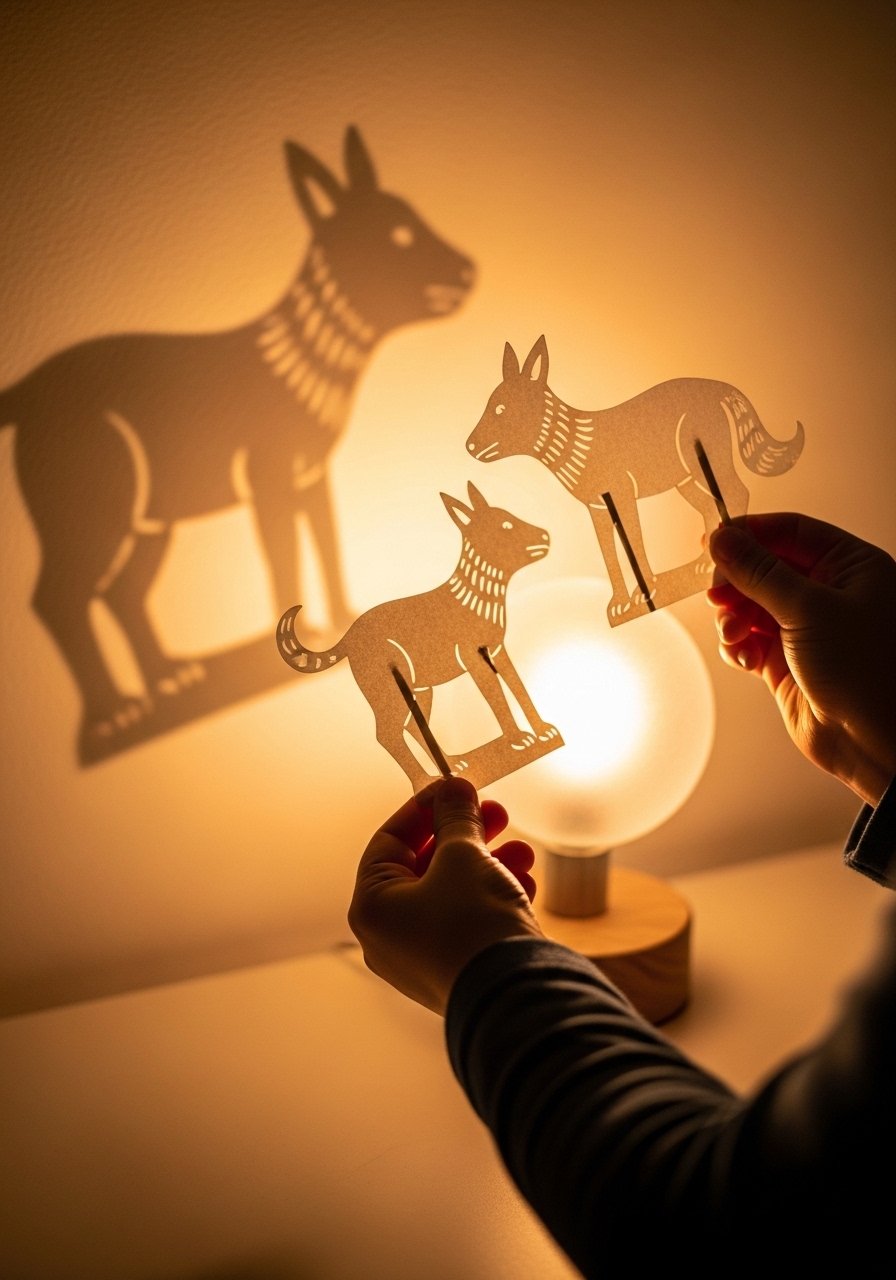
Shadow puppets are low-prep and spark storytelling. Cut silhouettes from black cardstock and attach to 8-10 inch straws. Use a black cardstock pack. A common mistake is making shapes too detailed which disappear in the shadow. Keep silhouettes bold and iconic. Budget under $8. This is a calm evening activity and pairs neatly with the fortune teller prompts for story starters.
Pull-Tab Surprise Cards That Fold Flat for Mail
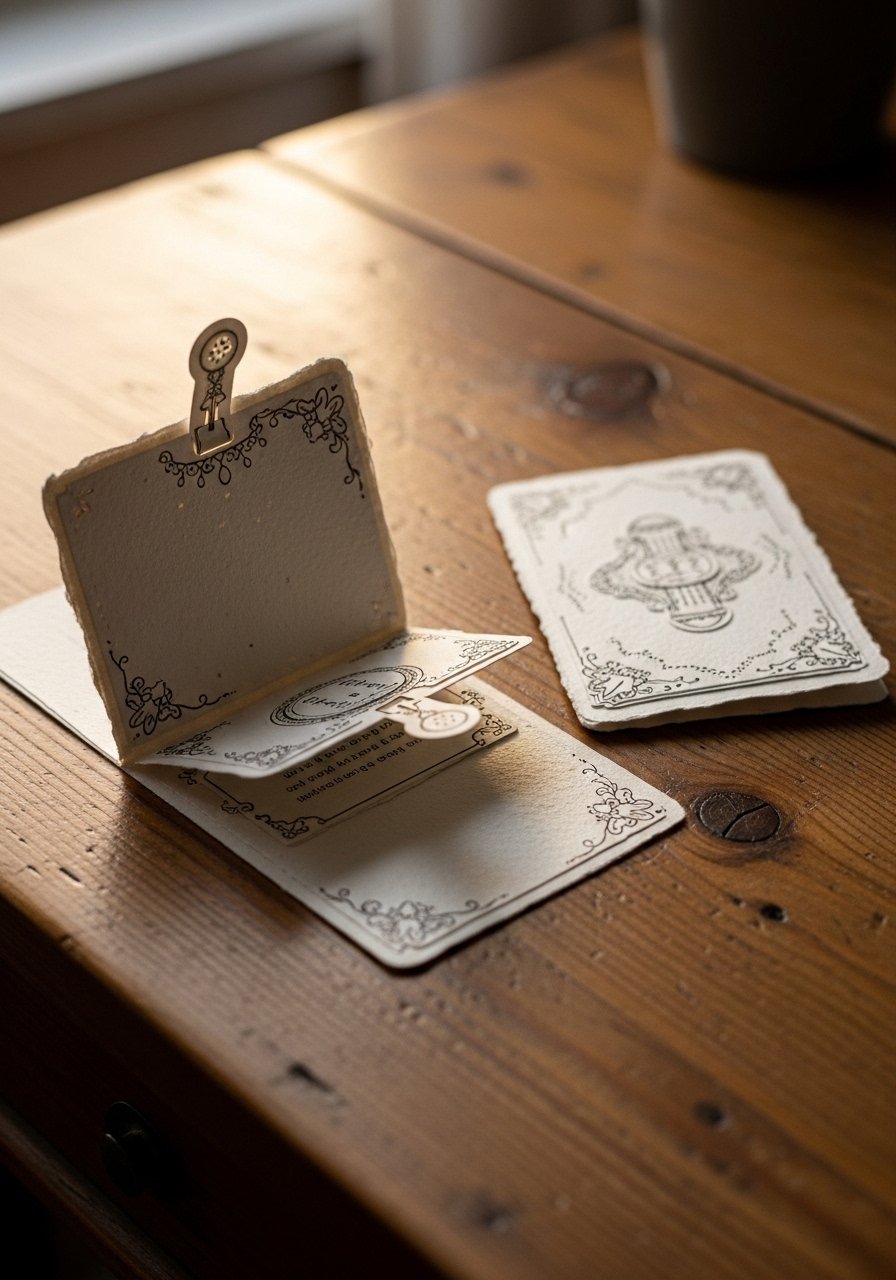
These cards teach mechanisms and are mail-friendly. Cut a 4×6 inch card and build a 1-inch tunnel for a pull tab. Insert a small paper character that slides in and out. I use self-adhesive foam tape to build the track. Mistake is making the tunnel too narrow which jams the tab. Leave 1/8 inch clearance around the character. Budget under $10. These are perfect for pen pal projects or birthday notes that fit standard envelopes.
Your Decor Shopping List
- Honestly the best $10 I have spent. Construction paper pack in bright and pastel sets for everything from crowns to kites
- For cutting and safety, kid-safe scissors set (rounded tips, ergonomic), great for preschool hands
- For sturdier projects, cardstock multicolor pack 8.5×11, 65-110 lb weight
- For tidy glue work, glue-stick pack non-toxic and a bottle of fast-dry craft glue
- For stringing and garlands, natural twine roll and clear reinforcement labels
- For 3D build stability, wooden dowel rods 12-inch and floral wire green
- For embellishments, foam sticker variety pack and sticker reward pack for quick wins
- For durability, laminating sheets 8-1/2×11, helpful for bookmarks and placemats
- Budget find: origami paper multicolor set under $10 and similar at Target or dollar stores
- Tool splurge: bone folder creasing tool for crisp folds when making houses or origami
Shopping Tips
Cut once, measure twice. For crowns and houses measure head or base and cut strips to the exact length. Ruler with inches and cm is worth the $5.
Grab kid-safe scissors with rounded tips. They cut paper but prevent panic when a blade gets near a squirming hand.
For everything you plan to display, laminate or seal. Laminating sheets protect art and make it usable as placemats or bookmarks.
If storage is an issue, use a clear stackable craft organizer. Label by project so projects can resume later without hunting supplies.
Choose washable markers or water-based paints, not permanent inks. Washable marker set lets you keep surfaces sensible.
Frequently Asked Questions
Q: How do I keep kids interested without buying new supplies every week?
A: Break projects into two steps over separate days. For example, cut shapes one day and assemble the next. Store partially completed kits in a labeled container. Use a stackable craft organizer so materials are visible and accessible.
Q: My child gets frustrated with fiddly folds. Which idea is best?
A: Go for paper plate masks, pinwheels, or pull-tab cards. They have big visual wins and minimal tiny steps. Origami can wait until they show patience for repeated folding.
Q: Can these crafts double as room decor without looking like a daycare?
A: Yes. Use a limited color palette and repeat one motif. For the garland idea, pick three colors and a neutral and alternate in a 3:1 ratio so it reads intentional, not messy.
Q: What is a common glue mistake and how do I avoid it?
A: Using too much wet glue makes paper warp. Test on scrap pieces first and switch to glue sticks or self-adhesive foam tape for small tabs where possible.
Q: How do I store finished paper crafts so they last?
A: Lay flat and stack heavier pieces under the light ones. For small keepsakes, use a shallow box and place tissue between items. Laminating important pieces prevents fading and wear.
Q: Are these projects suitable for classroom groups?
A: Absolutely. Use stations with a single tool set and rotate kids through crafts. Keep pre-cut templates and a glue-stick pack so transitions are quick and mess is controlled.

