

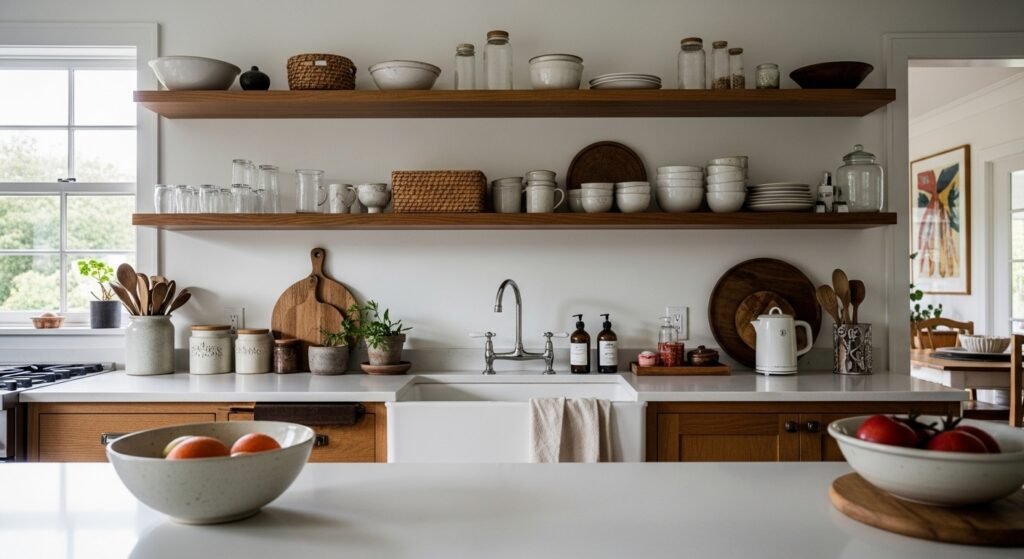
I had three wood shelves above my kitchen counter that looked like a jumble for months. I tried to fill every inch because empty shelves felt like failure. Plates stacked, a lone plant, a mismatched mug collection, all crowded together and somehow lifeless. It took knocking everything down and starting with one plate to see why it failed.
What fixed it was spacing and touchable contrast, not more stuff. Once I learned to give things room, anchor a shelf, and mix textures that invite a hand, the whole kitchen felt calmer. I messed this up the first three times. That second shelf was the one that finally clicked.
Step 1: Clear the Shelves and Decide a Visual Anchor
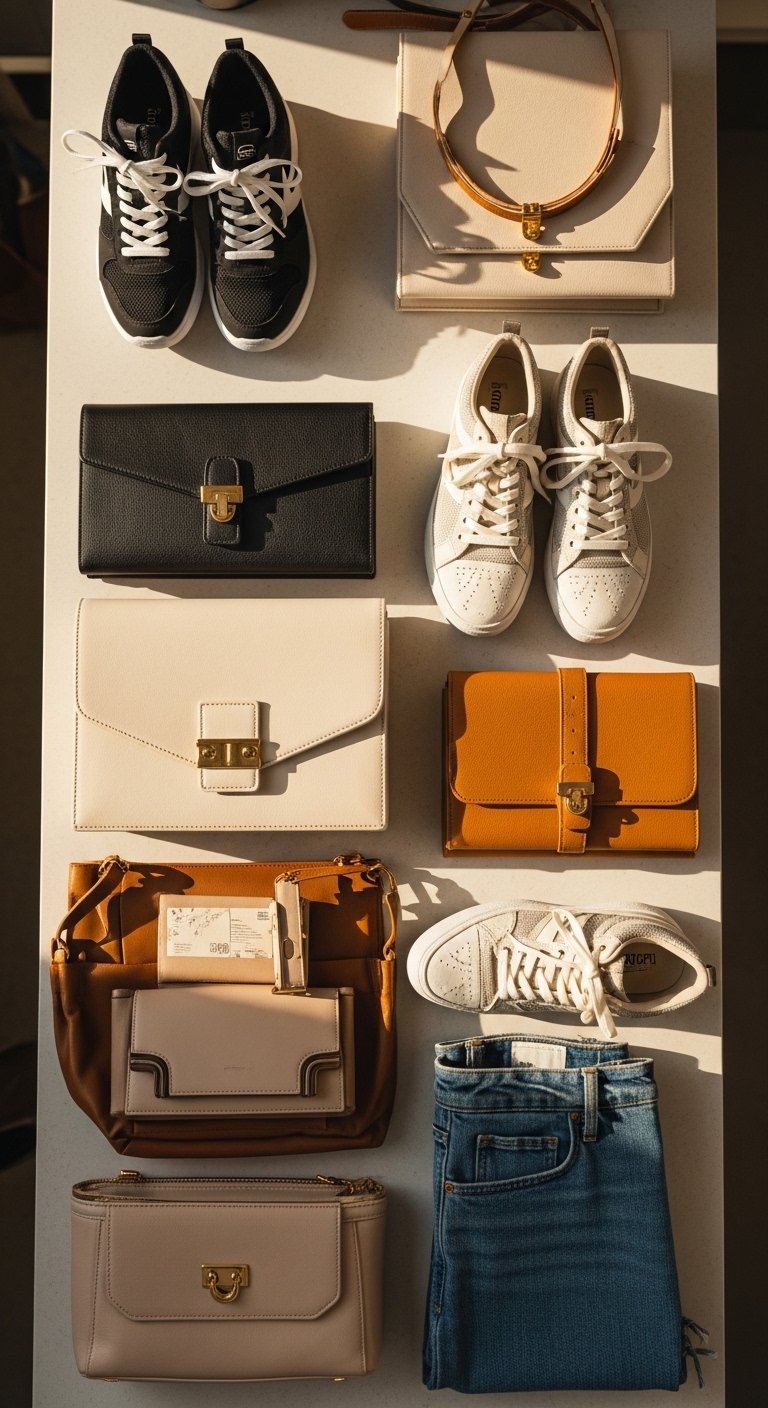
Pull everything off the shelves, yes everything. Seeing the empty wood, you notice grain, knots, and how light falls across it. Pick one anchor piece per shelf, something with weight or height, like a stack of dinner plates or a ceramic pitcher. I use a 10-inch wide plate stack or a 9-inch tall vase as anchors. Anchors stop the eye from wandering and make the rest feel deliberate.
Common mistake: trying to balance both ends with identical items. That felt safe, but flat. The result should be more like a small still life, not a retail display. I almost skipped this step once and the shelves never recovered until I did.
Step 2: Group Items in Odd Numbers and Vary Heights
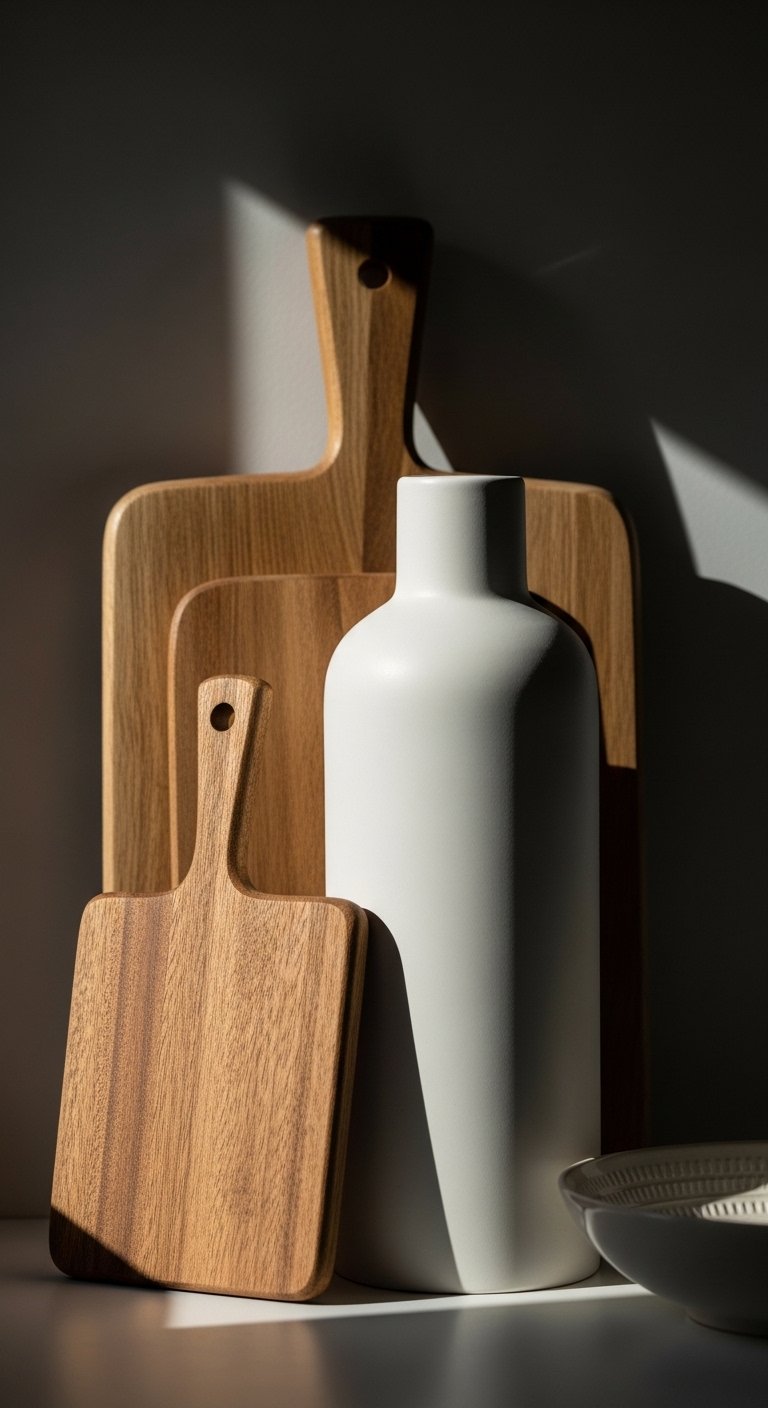
Arrange items in groups of three or five, not even pairs. Put taller objects at the back, medium items in the middle, and a low piece up front. For kitchen shelves aim for about one third of the shelf occupied by objects and two thirds breathing room. That proportion keeps things airy without looking empty.
A concrete measurement that works: on a 36-inch shelf leave roughly 12 inches between the tallest item and the shelf above. Too many people cram tall jars under low shelves. The texture contrast matters here, a smooth ceramic vase next to a rough wood cutting board feels pleasing and tactile.
Step 3: Mix Materials, Colors, and Everyday Use Items
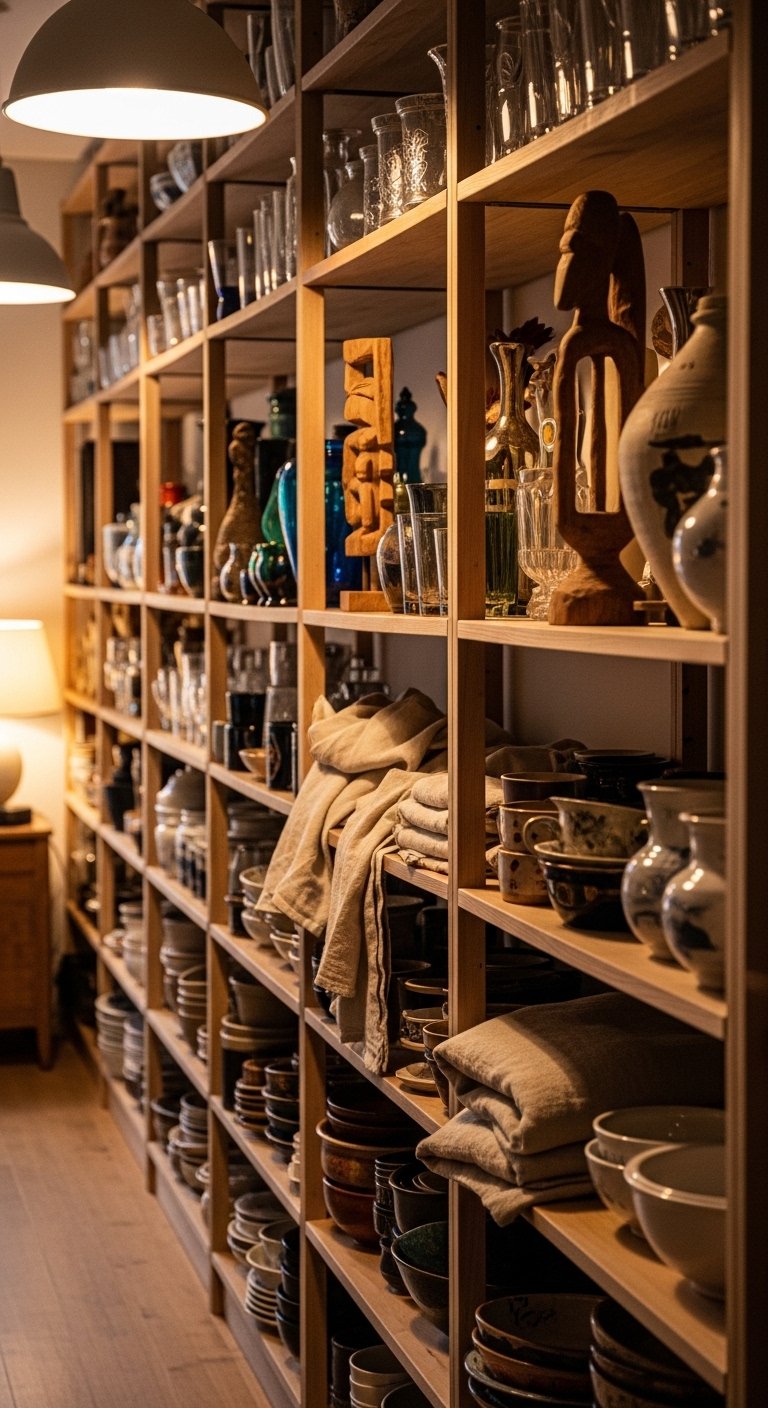
Shelves in a kitchen are both display and storage, so mix pretty with useful. Stack plates and bendable linen napkins next to a clear glass oil bottle and a basket with tea towels. The combination reads lived-in. I like one open jar of wooden spoons, the wood feels cool and worn to the touch beside glossy ceramic.
Common mistake: everything matching precisely. It looks curated but fragile. Swap one matching item for something with rough texture or a darker tone and the shelf gains personality. I ruined a look by using only white ceramics once, it read clinical until I added a woven basket.
Step 4: Leave Negative Space and Mind the Edges
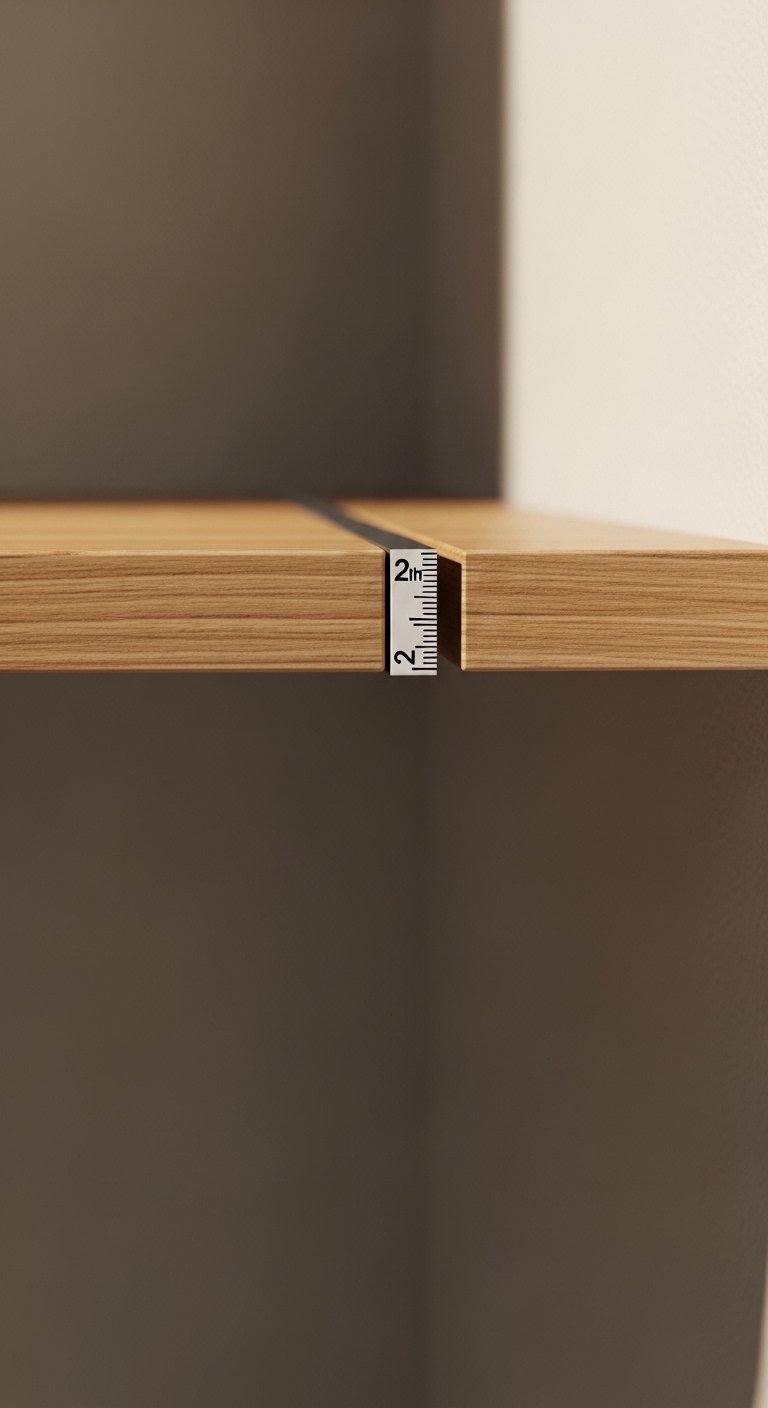
Step back and look for breathing room. Leave at least 2 inches from each side of the shelf so items do not feel trapped. On each shelf aim to leave about 30 to 40 percent empty space, not because you are out of items but because emptiness frames what you do show. This gives the eye a place to rest.
One mistake I made repeatedly was filling edge to edge. It read frantic. Walk away for ten minutes. You will return and see which piece can come off. Also check physical feel, make sure nothing overhangs in a way that feels precarious when you reach for a mug.
Step 5: Anchor the Run with Repetition and a Final Touch
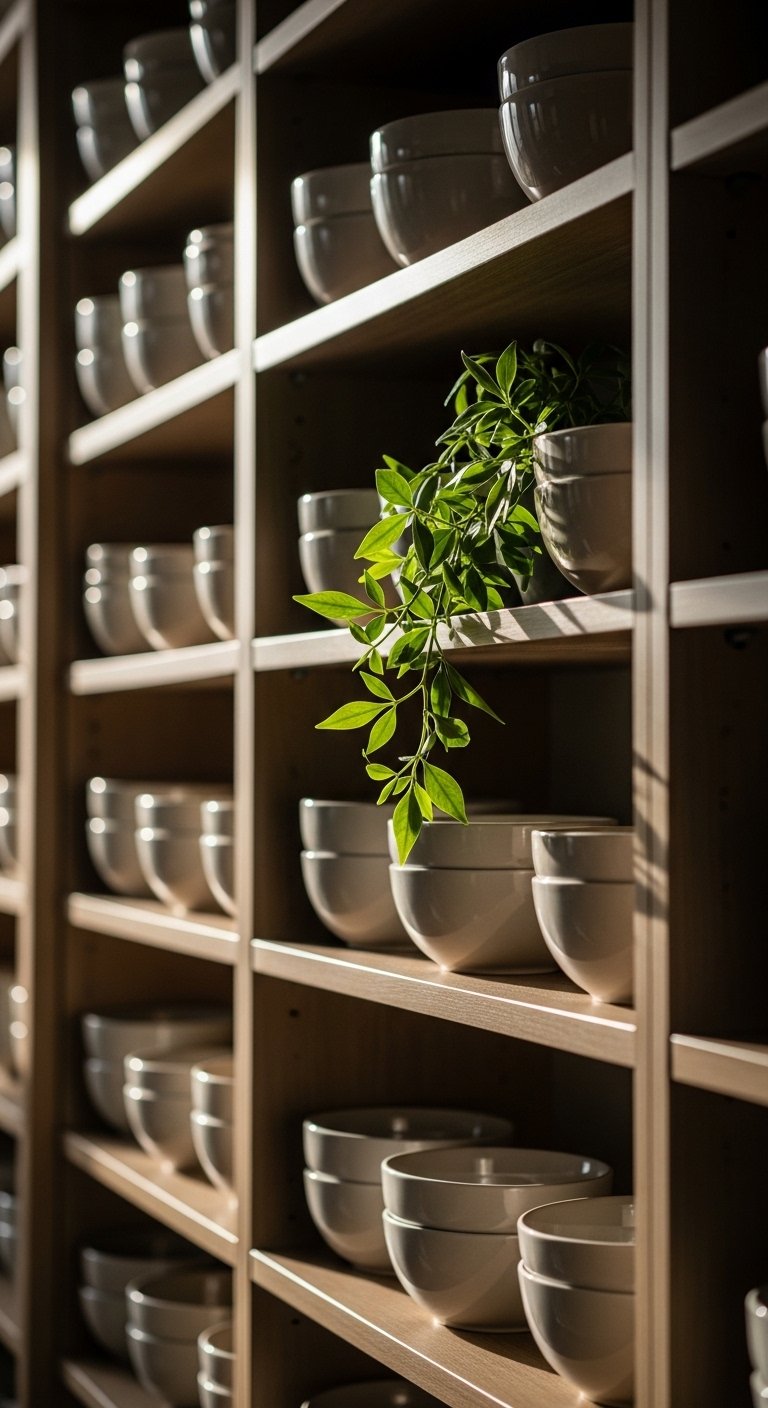
Repeat one small object or color across shelves to create rhythm, for example a set of matte bowls in two spots or the same brass hook on two different shelves. Repetition ties separate groupings into a whole. Finish with a living thing if you can, a small herb pot or trailing plant. It adds a soft, cool-to-the-touch leaf and breaks the rigidity.
I learned this after my partner kept saying the shelves felt disjointed. He hated the asymmetry at first, then admitted it looked better. Final check, test reachability. If you use an item daily, keep it front and center so the shelf stays practical.
Your Kitchen Shelf Shopping List
Long-handled wooden spoon, 12-inch, hammered handle ($8-18). I use this in Step 3, it feels warm and worn in hand.
Matte ceramic vase, 9-inch, white ($25-40). Works as an anchor in Step 1.
Woven seagrass basket, 12×8 inches ($20-35). I use this in Step 3 to hide tea towels.
Stackable stoneware dinner plates, 10-inch, neutral ($30-60 per set). Great anchor for Step 1 and Step 4.
Linen dish towels, set of 4, natural linen ($18-30). I tuck one into baskets as in Step 3.
Small terracotta herb pot, 4-inch ($6-12). Adds life as suggested in Step 5.
Clear glass oil cruet, 12-ounce with stopper ($12-22). Useful and pretty on a middle shelf.
Adjustable shelf brackets, matte black, pair ($15-28). For securing shelves and keeping them level, referenced in Step 1.
Why Your Shelves Still Look Crowded

If your shelves still feel crowded, check scale first. People often put two large items side by side, which creates competing focal points. Instead pick one large item as the anchor. Another reason is ignoring edge gaps. Items pushed to the wall edges look pinned there. Also, symmetry often reads static. Try shifting one item forward a few inches to create depth. I used to cram mugs into every gap. Removing two made the remaining ones feel chosen.
Making This Work in a Small Kitchen
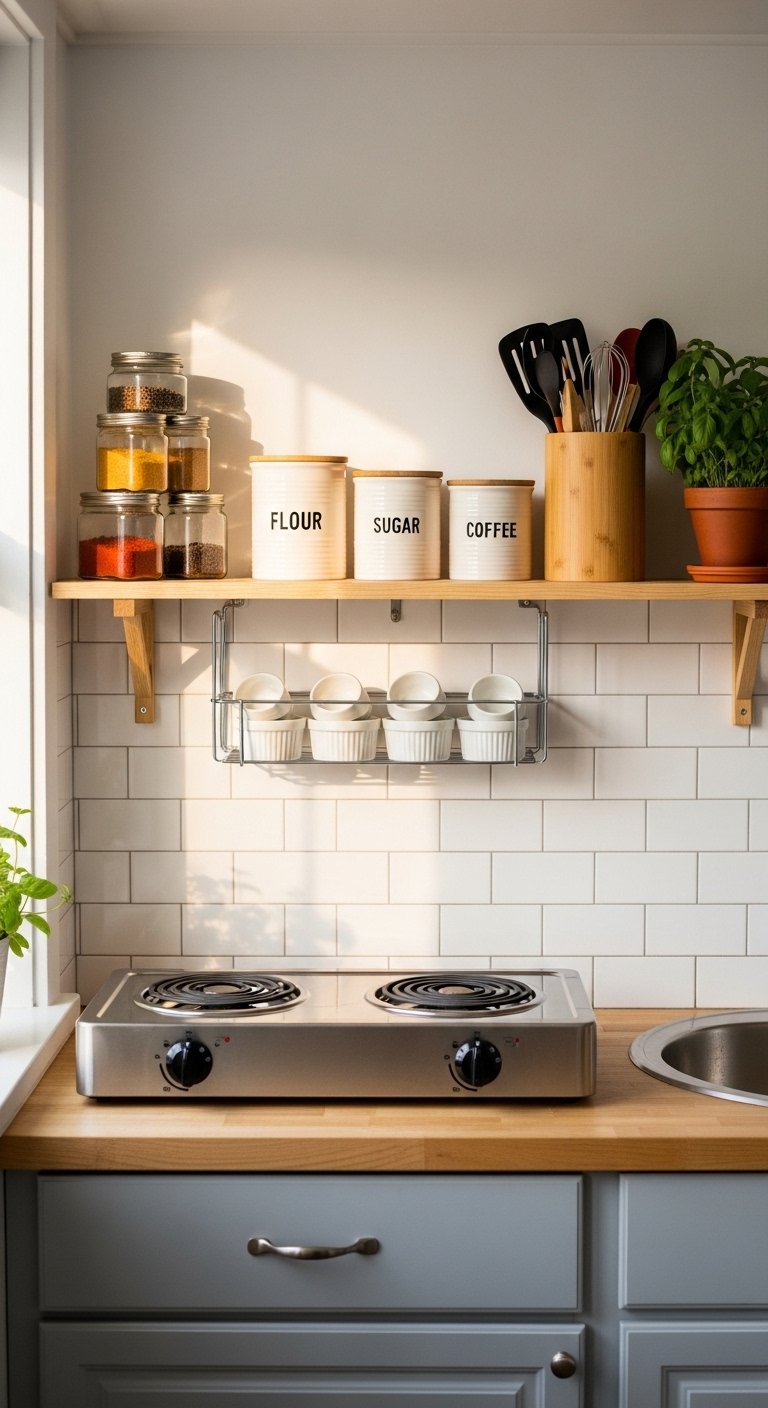
For tight kitchens use shallower shelves, 10 to 12 inches deep, so things do not stick out awkwardly. Limit the repeats to two motifs across the run instead of three. Keep daily items on the lower shelf where they are easy to reach, and reserve the top for decorative pieces you rarely touch. A narrow woven basket holds odds and ends and keeps the look tidy. If you rent and cannot install, look for brackets that clamp to the wall or a freestanding shelf you can lean.
What the Shelves Will Look Like After a Week of Use
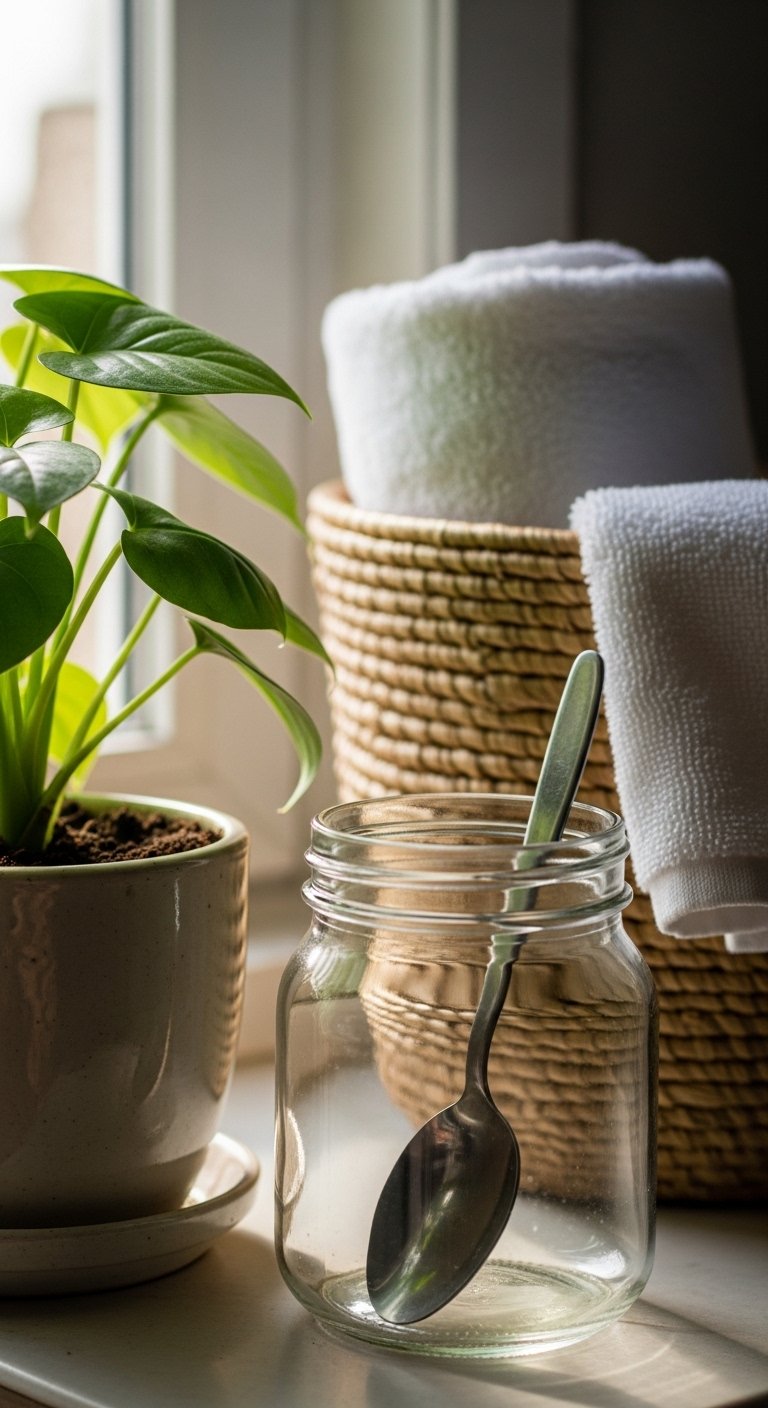
After a week the shelves will shift. You will move one bowl, a plant leaf will droop, crumbs might gather on the lip. That is fine. The goal is a shelf that wears in, not stays pristine. Check practical points after a few days, like whether the herb pot drips or a favorite mug is hard to reach. I moved my most-used mug from the top shelf to the middle after a week. Small adjustments keep the arrangement functional without losing the look.
The First Shelf Is the Hardest
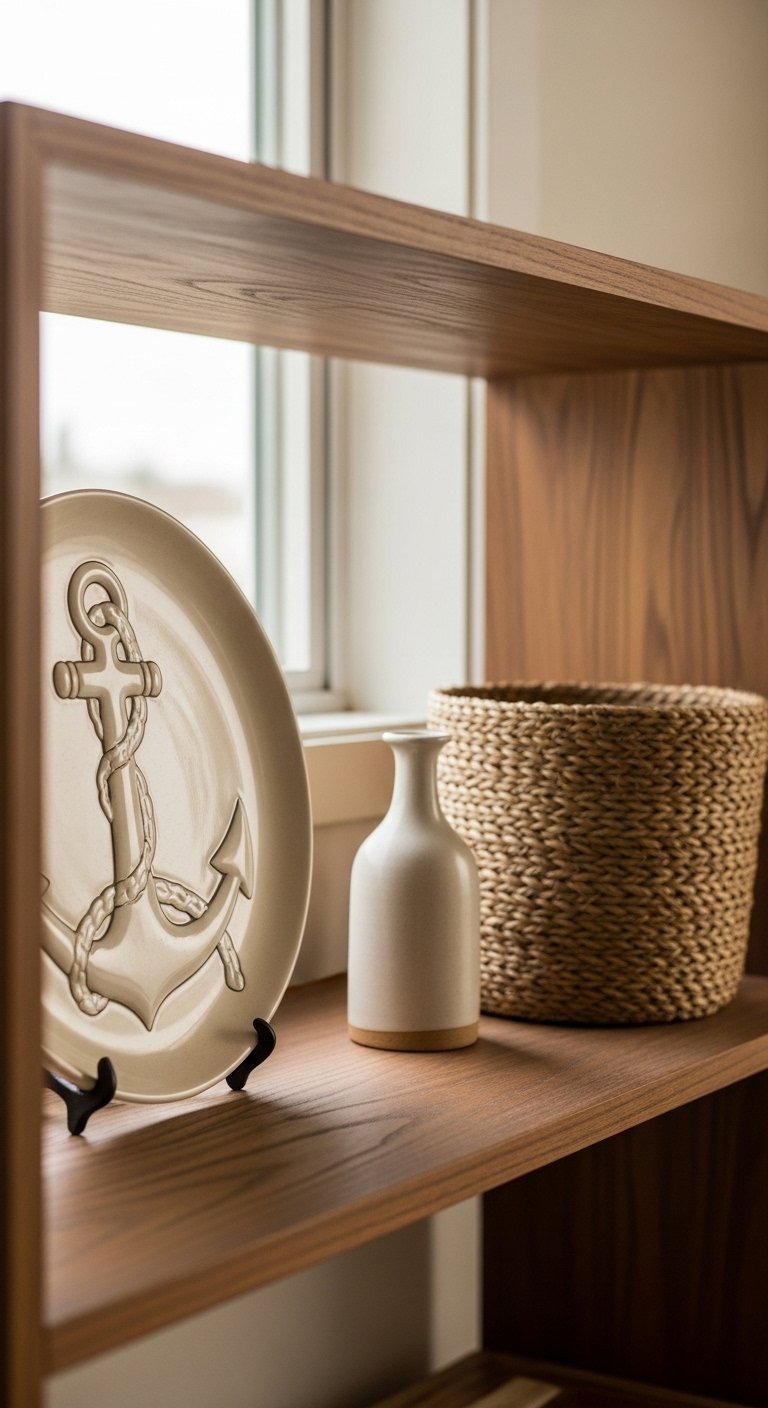
Start with the lowest or most visible shelf and style it as if your kitchen depends on it. Once that one feels right, the others fall into place. If you want a low-commitment start use a small terracotta pot from the shopping list and one stack of plates. Walk away and come back. You will see what to add or remove. Mine still shifts over months, but it now reads intentional and practical, and that small calm holds the whole kitchen together.

