

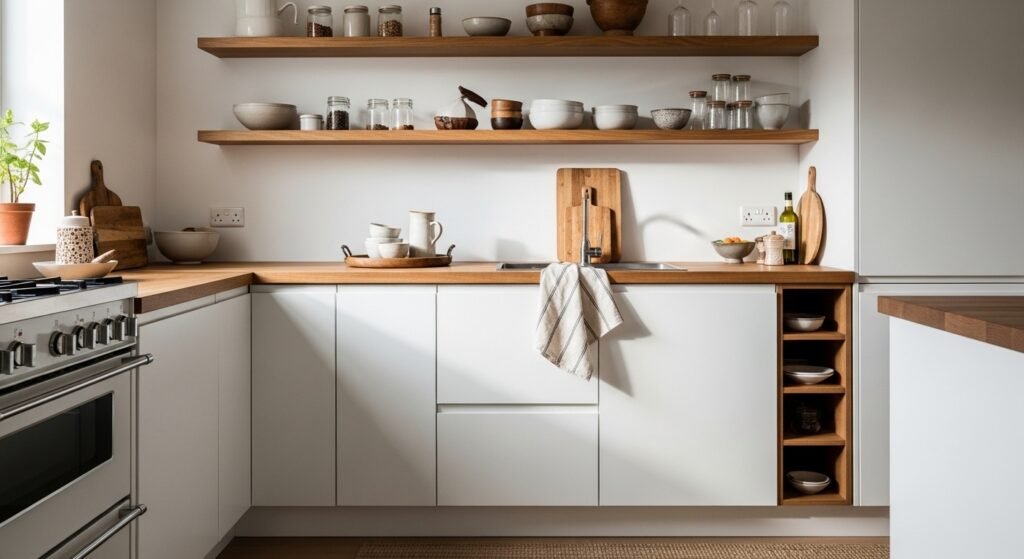
I remember standing in my kitchen feeling like it was a showroom that forgot to be lived in. White cabinets felt crisp, but the room read cold and hospital-clean. I tried adding lots of color, lots of accessories, even a bright rug. Everything looked busy or mismatched, not warm.
What finally worked was dialing down the visual noise and letting wood do the warming, while keeping most surfaces calm. My first three attempts looked crammed because I was afraid of empty space. The fourth version actually breathed, and after living with it for months I figured out the rules that made white and wood feel intentional, not like two different styles fighting for attention.
Step 1: Set your palette and proportions
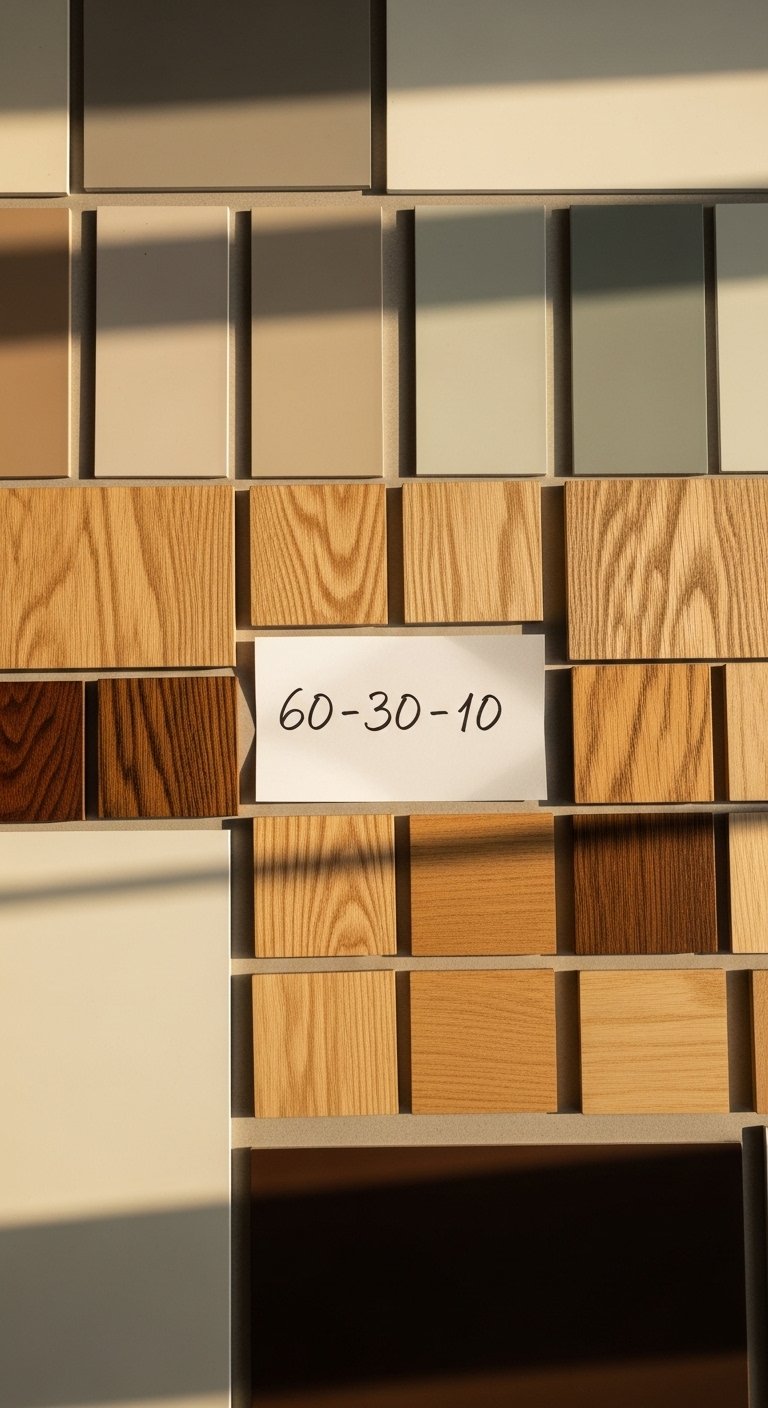
Pick a base of white, add a dominant wood tone, then one accent. I use a loose 60/30/10 split: 60 percent white (cabinets, walls), 30 percent wood (floors, open shelves, cutting boards), 10 percent darker accents (black knobs, deep green plant). This gives balance without being literal. Try warm white instead of stark bright white if your light is cool, it helps the wood read cohesive. One mistake I made was matching every wood exactly. Vary undertones gently. Touch the wood grain, imagine how the surface will feel under your hand when you set a hot pan down. That tactile sense matters more than you think.
Step 2: Anchor with a statement wood piece
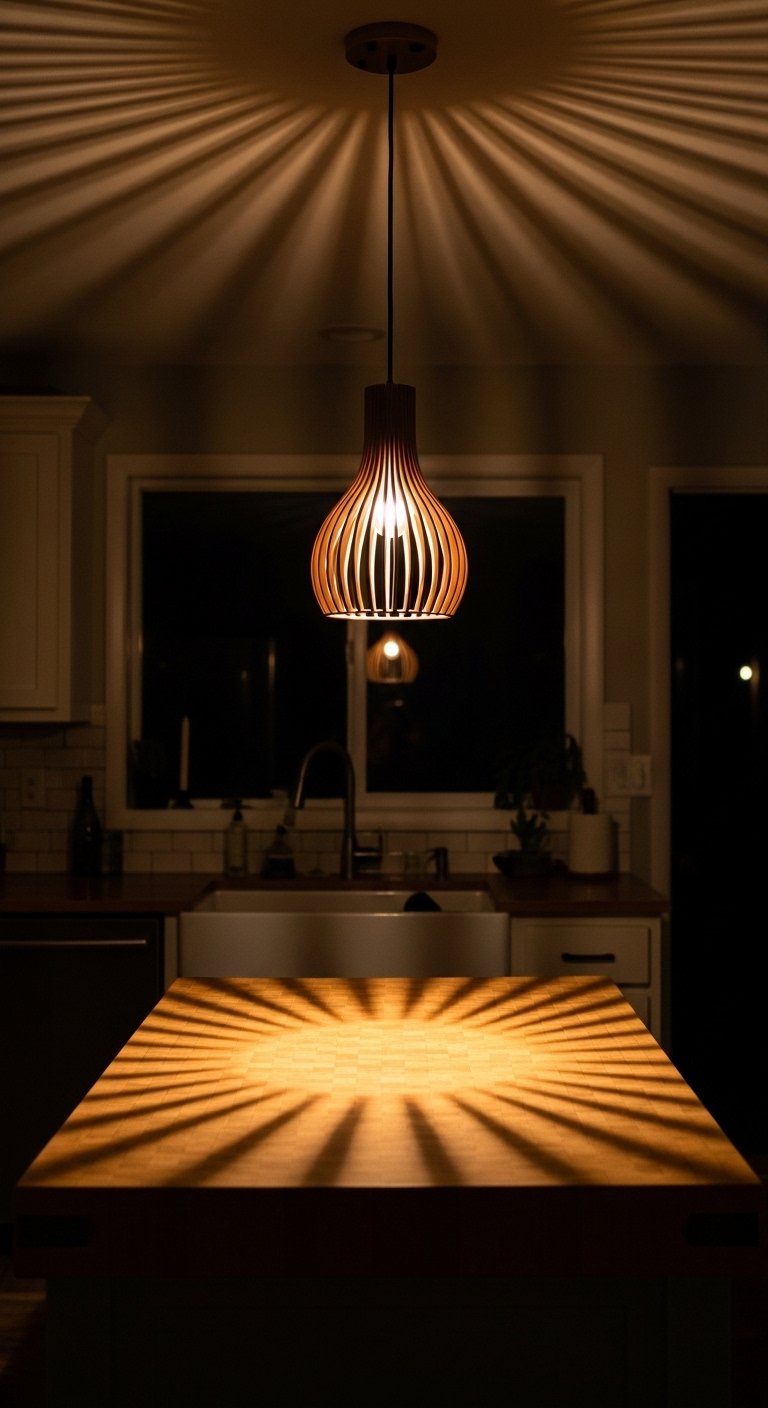
Most people start with small accessories and forget a heavy anchor. Get one substantial wood piece, like a 36-inch butcher block or a 30×18-inch open shelf, and place it where the eye lands first. This grounds the room so white feels intentional, not blank. I screwed this up at first by choosing two medium pieces instead of one anchor. The result was visual indecision. The anchor should have physical presence, be cool and slightly porous to the touch if it is unfinished wood, or smooth and sealed if it will get wet. Your partner may hate the asymmetry at first. Wait a week.
Step 3: Edit countertops with trays and groups
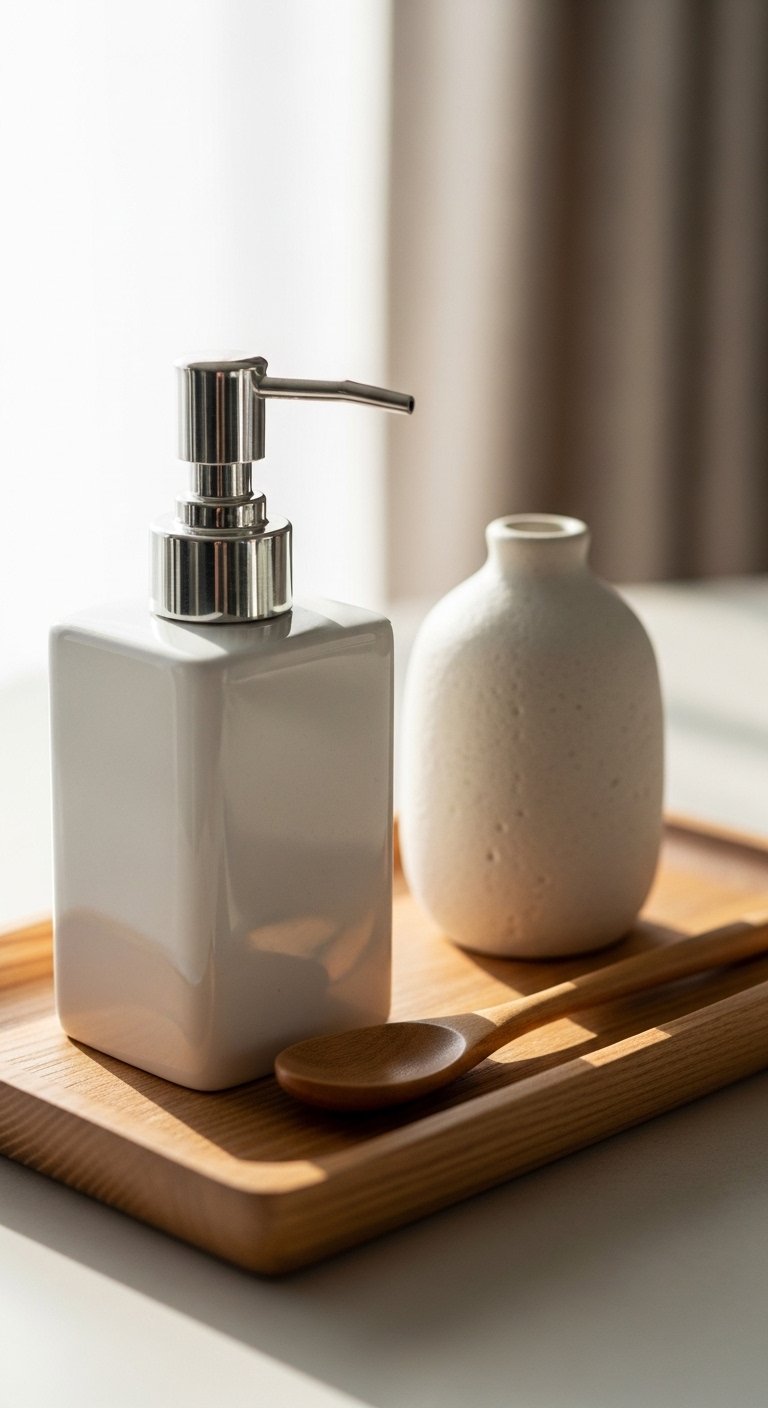
Pull everything off, then put back only the essentials. Use a tray roughly 12×16 inches to group soap, oil, and a small vase. Group items in odd numbers, and aim for two heights within each group, for example a 10-inch vase with a 4-inch jar. Leave 30 to 40 percent empty counter breathing room. My first counter styling had too many small objects, it felt cluttered even though every piece was pretty. A tray makes things look tidy and gives the wood a stage. The ceramics should be cool and slightly matte, with a bit of weight in your hand so they feel real.
Step 4: Layer open shelves like a storyteller
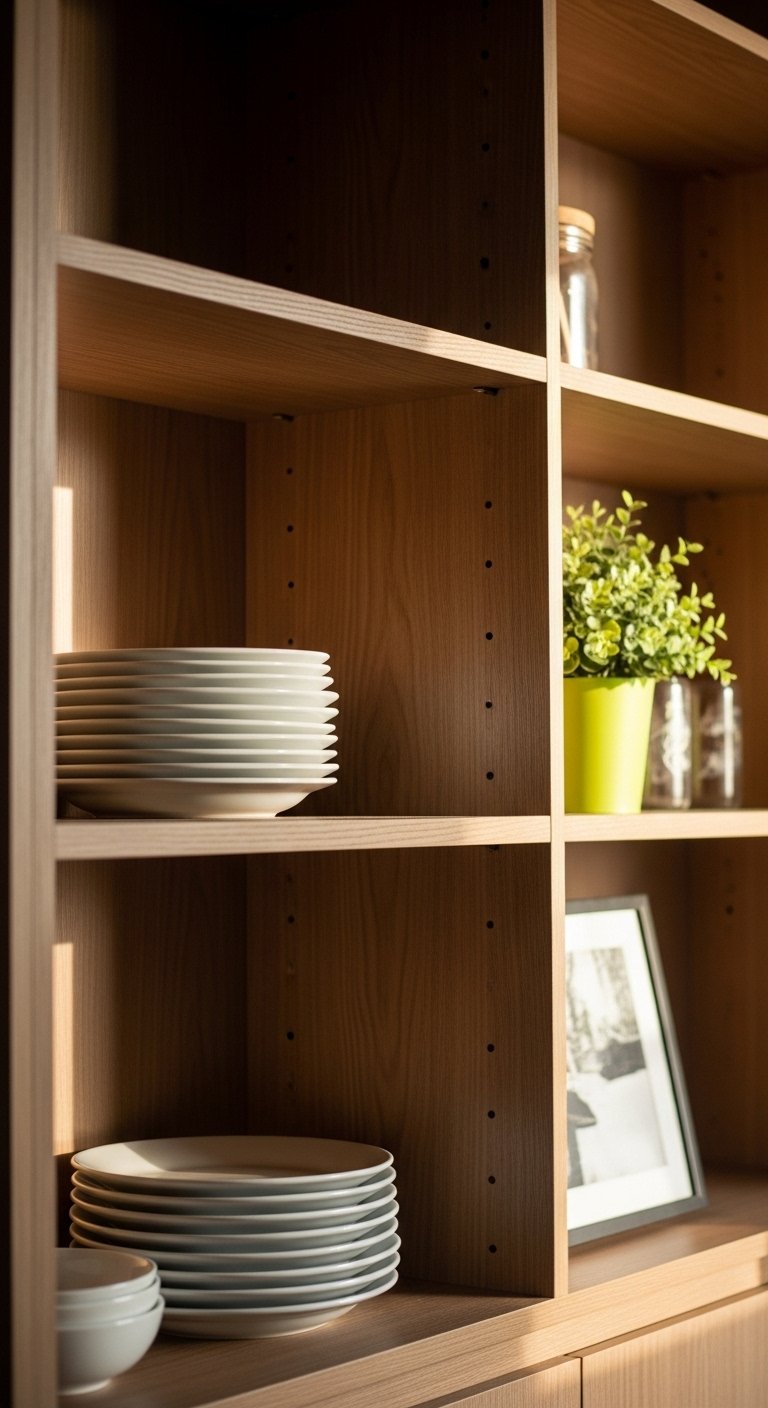
Most people cram shelves full. Try three shelves max, and on each shelf leave negative space equal to about one-third of its length. Start with plates or bowls stacked low, add a tall wooden board or vase at one end, and finish with a small plant. I used to center everything perfectly and it read flat. Asymmetry added life, and texture from linen dish towels or raw clay bowls made the shelves approachable. If you have pets, keep the bottom shelf either empty or plant-free. The difference between staged and lived-in is small touches that also survive daily use.
Step 5: Add metal and green for contrast and life
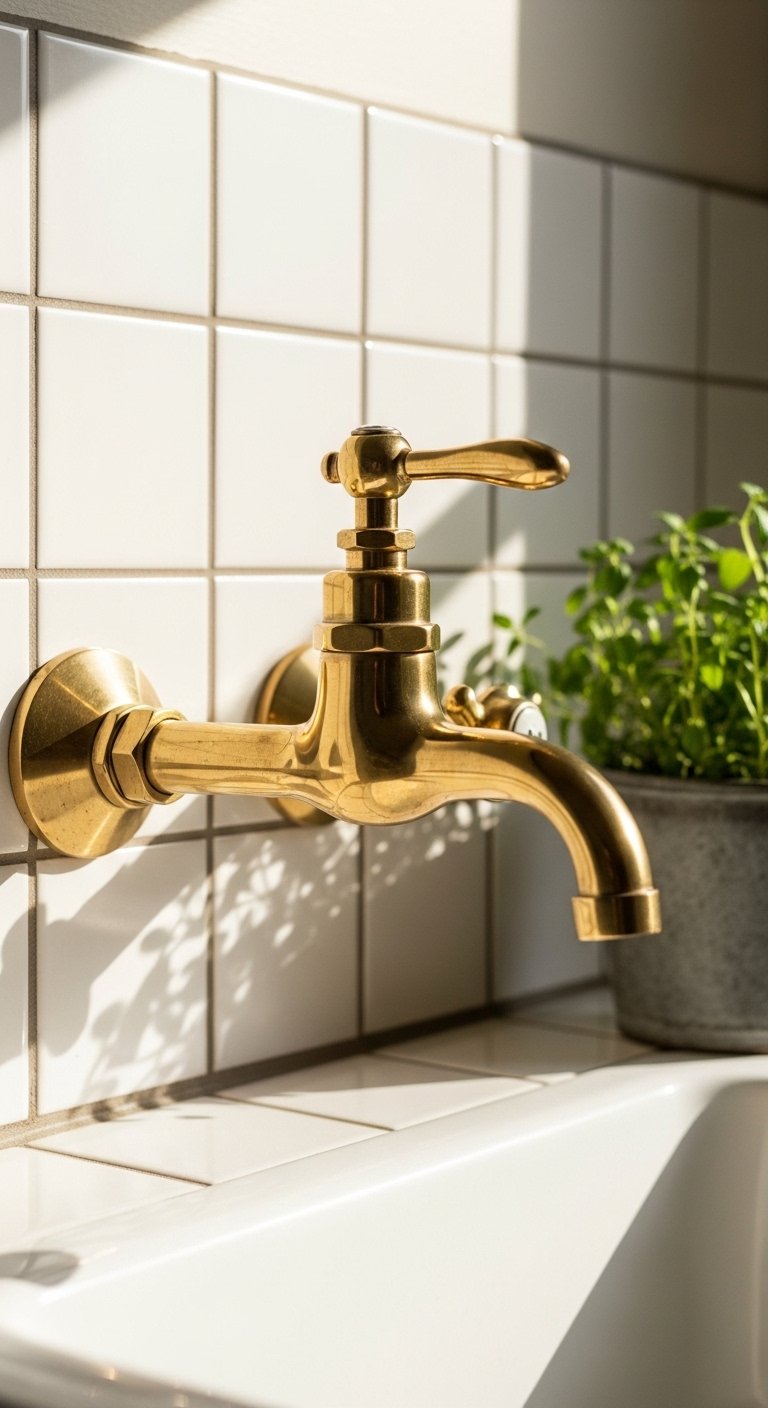
Brass or matte black hardware and one or two potted herbs bring warmth and contrast. I swapped chrome for aged brass and the room suddenly read cozier. Green from rosemary or a small pothos makes the white feel fresh next to wood. Keep plant pots simple, rough clay or glazed white, and place them where you can reach them to water without drama. I worried plants would die and looked nervy about upkeep. They survived, and seeing a little green while making coffee is worth the worry.
What to Grab for Your White and Wood Kitchen

- Acacia butcher block, 36×18 inches ($120-200). The anchor I mention in Step 2, hefty and warm.
- Jute runner, 2.5×8 feet ($45-85). Adds texture underfoot, used in Step 1 and Step 4.
- Matte white ceramic vase set, 3-piece ($25-40). For the tray and shelves in Steps 3 and 4.
- 12×16 serving tray, teak ($20-40). Central to the countertop grouping in Step 3.
- Linen dish towels, natural, pack of 4 ($18-30). Shelves and everyday texture, referenced in Step 4.
- Brass cabinet knobs, 1-inch ($15-28 for a pack). Swap mentioned in Step 5.
- Small terracotta plant pots, 4-inch, set of 3 ($12-20). For the herbs in Step 5.
- Wood cutting board, acacia, 16×10 inches ($18-35). Practical and decorative on shelves and counters, Step 2 and Step 3.
Why Your White Kitchen Still Feels Cold
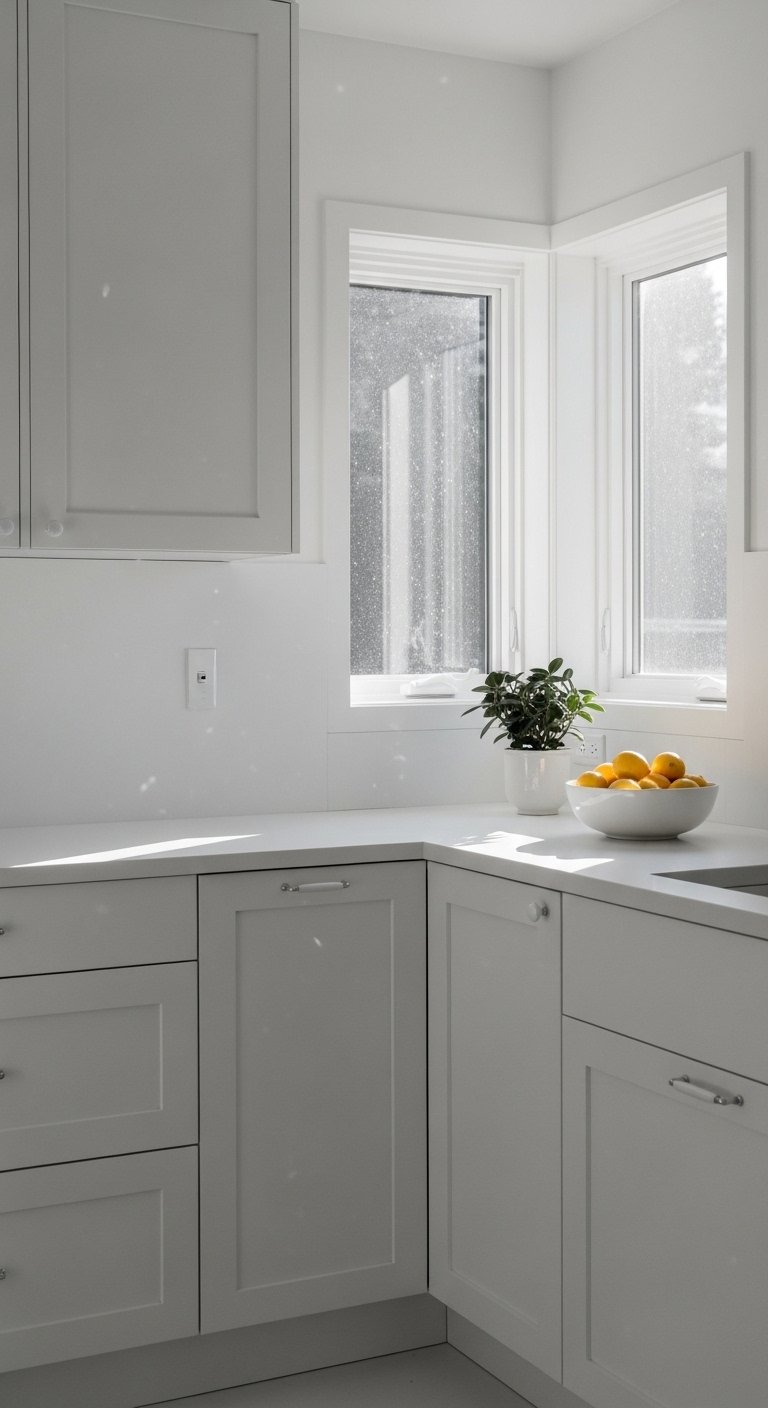
The usual problem is treating white as a lack rather than a setting. If you only add a few tiny wooden items, the room reads split. You need a dominant wood element plus small touches. Another oversight is texture. Smooth white surfaces plus smooth metal will stay flat. Add raw wood, woven fibers, linen, and matte ceramics. My early mistake was thinking color would fix this. Color helps, but texture and one solid wood anchor make the room feel warm and calm. If your light is north-facing, choose warmer white tones and a deeper wood.
Making This Work in a Small Kitchen
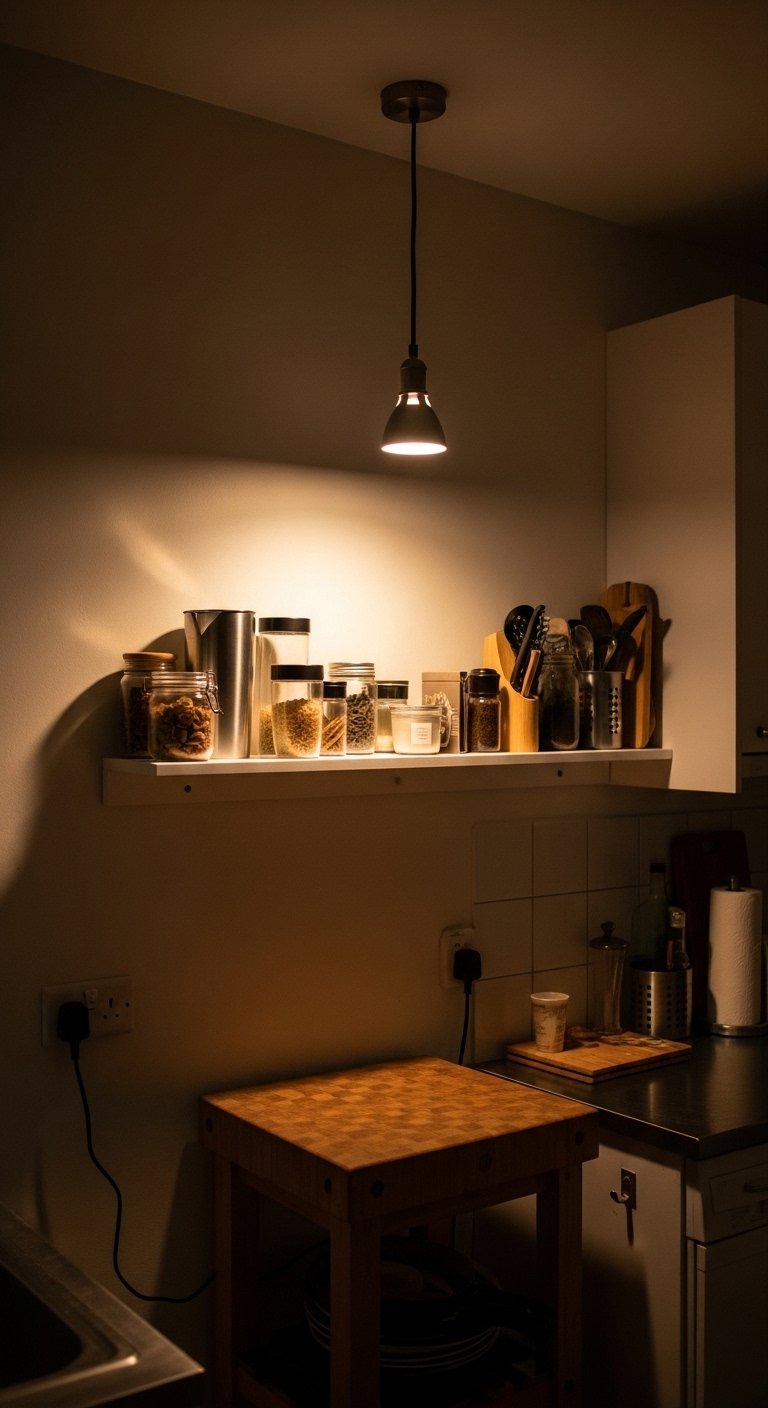
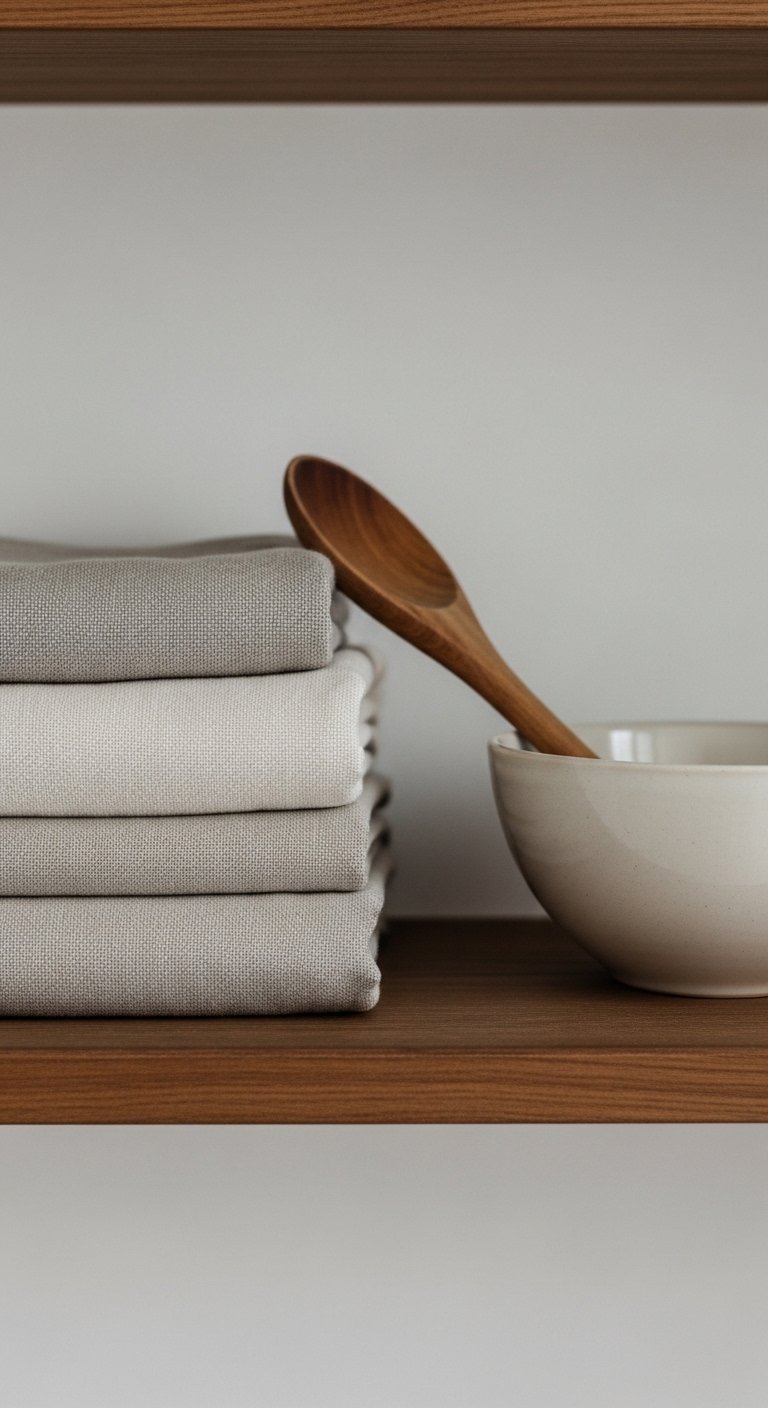
Small spaces need scale adjustments. Use a 24-30 inch butcher block instead of a full island. Keep open shelving to one run no deeper than 10 inches, and leave at least 12 inches of counter between major groupings so the eye can rest. Pick a runner 2 to 2.5 feet wide rather than a full 8×10 rug. If storage is tight, prioritize functional decor that doubles as storage, like a stack of wooden bowls or a covered ceramic jar for utensils. I had to swap my first oversized tray for a smaller 10×12 option to make this feel right.
What This Looks Like After a Week of Real Life
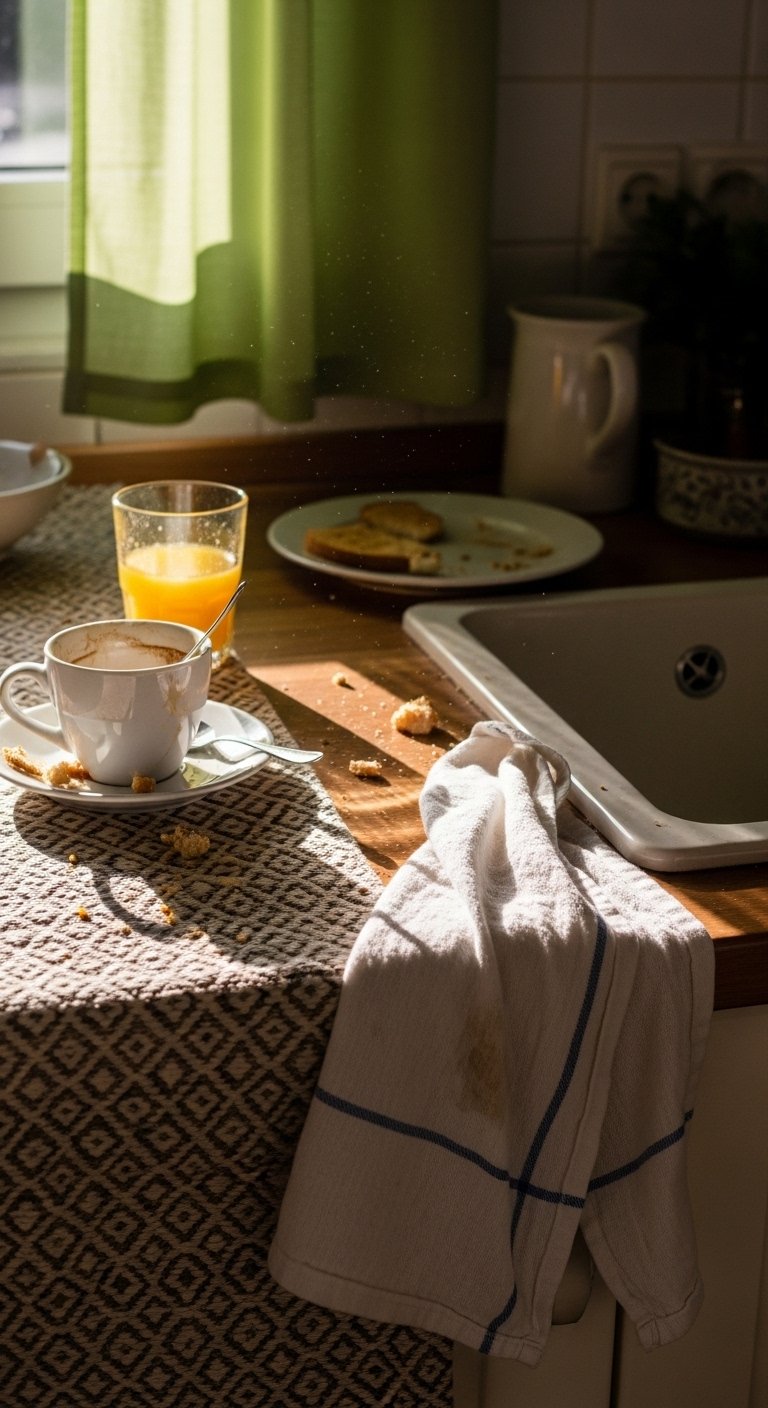
Give it a week. Expect a few crumbs, a knocked-over plant once, and one item you have to move daily. The point is resilience. If your styling survives breakfasts and the occasional spill, it works. Keep the tray on the counter for daily items, wipe the butcher block with a damp cloth and oil it monthly if it is unfinished. I worried the shelves would need constant fixing. They did at first, then settled into a rhythm. The look that lasts is the one that tolerates real life.
Start With One Counter
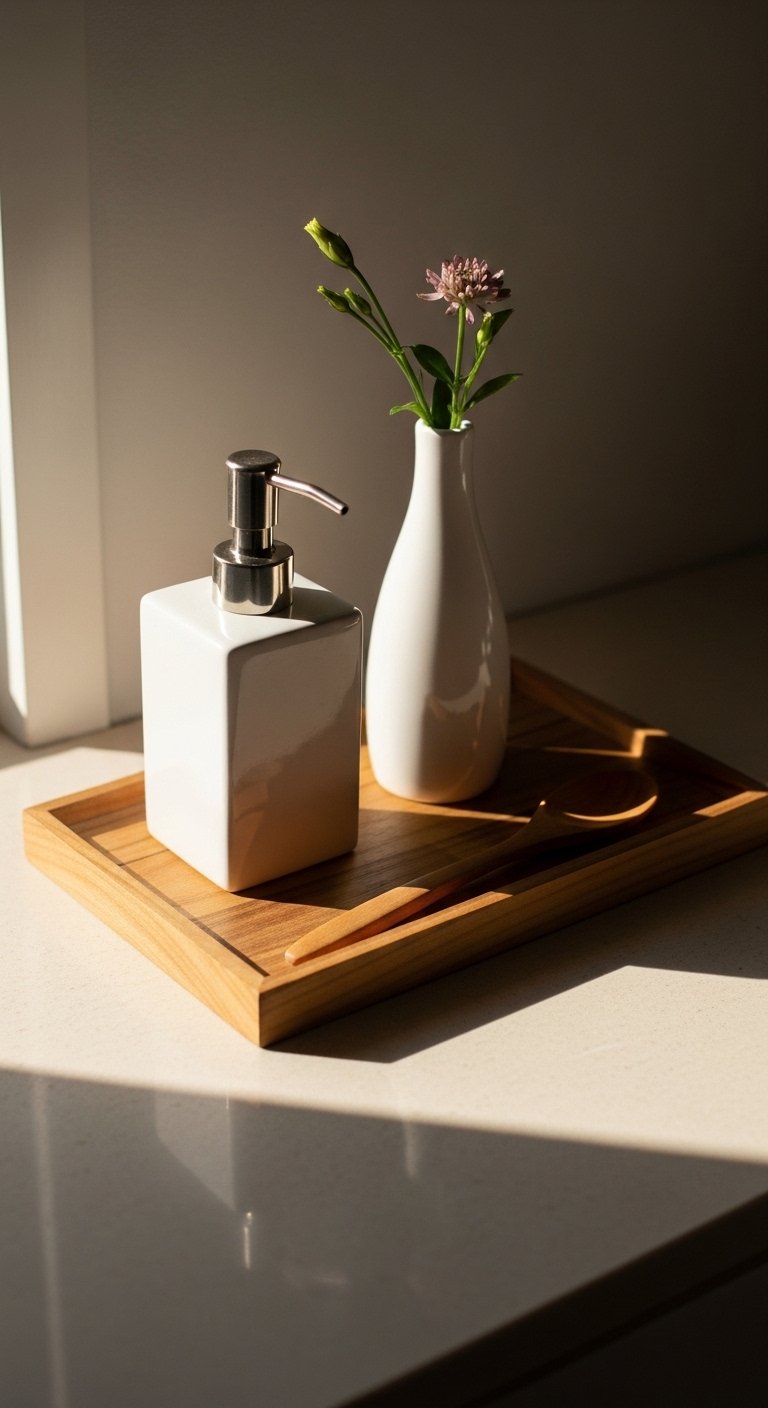
Pick one counter to practice on, like the landing by the sink. Clear it, choose your tray, add one tall piece and one low piece, and step back. If you feel unsure, give it a day and look again. The small change will teach you the scale and textures that work in your space. My first counter felt wrong for hours, then looked right the next morning. Start there, and the rest of the kitchen will follow.

