

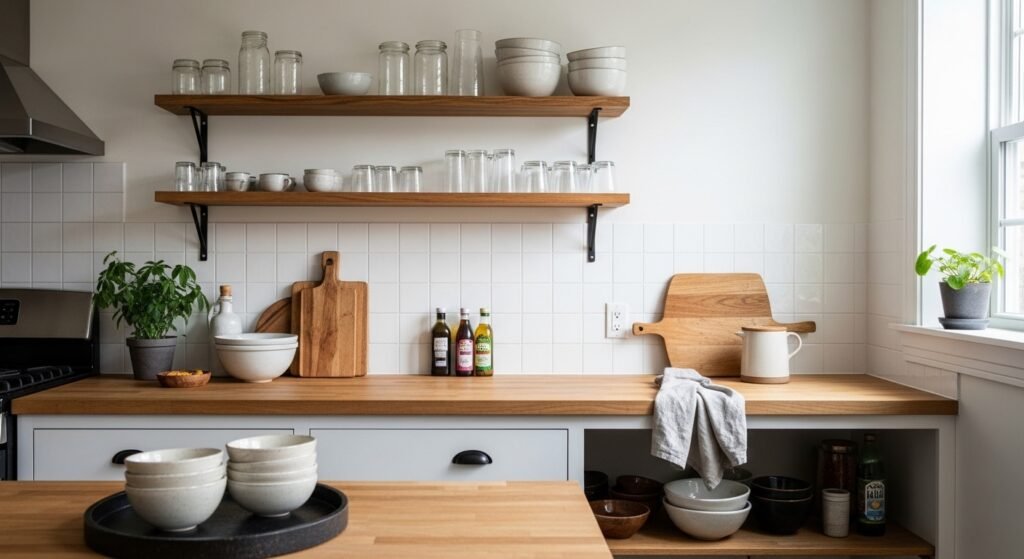
My kitchen felt wrong for months. One corner was a dumping ground, the counter held gadgets and mail, and every shelf looked like I had tried to cram in everything I owned. I tried symmetry, lining things up perfectly. It read like a store display. I tried filling every empty spot because empty felt like failure. That did not help.
What finally clicked was thinking about visual weight and space, not matching sets. Once I learned to edit, place taller things next to low, softer textures near harder ones, and leave intentional gaps, the room breathed. I still second-guess where the vase goes, but it looks like a kitchen people live in now.
Step 1: Edit Everything Off the Main Counter, Then Keep Only What Belongs
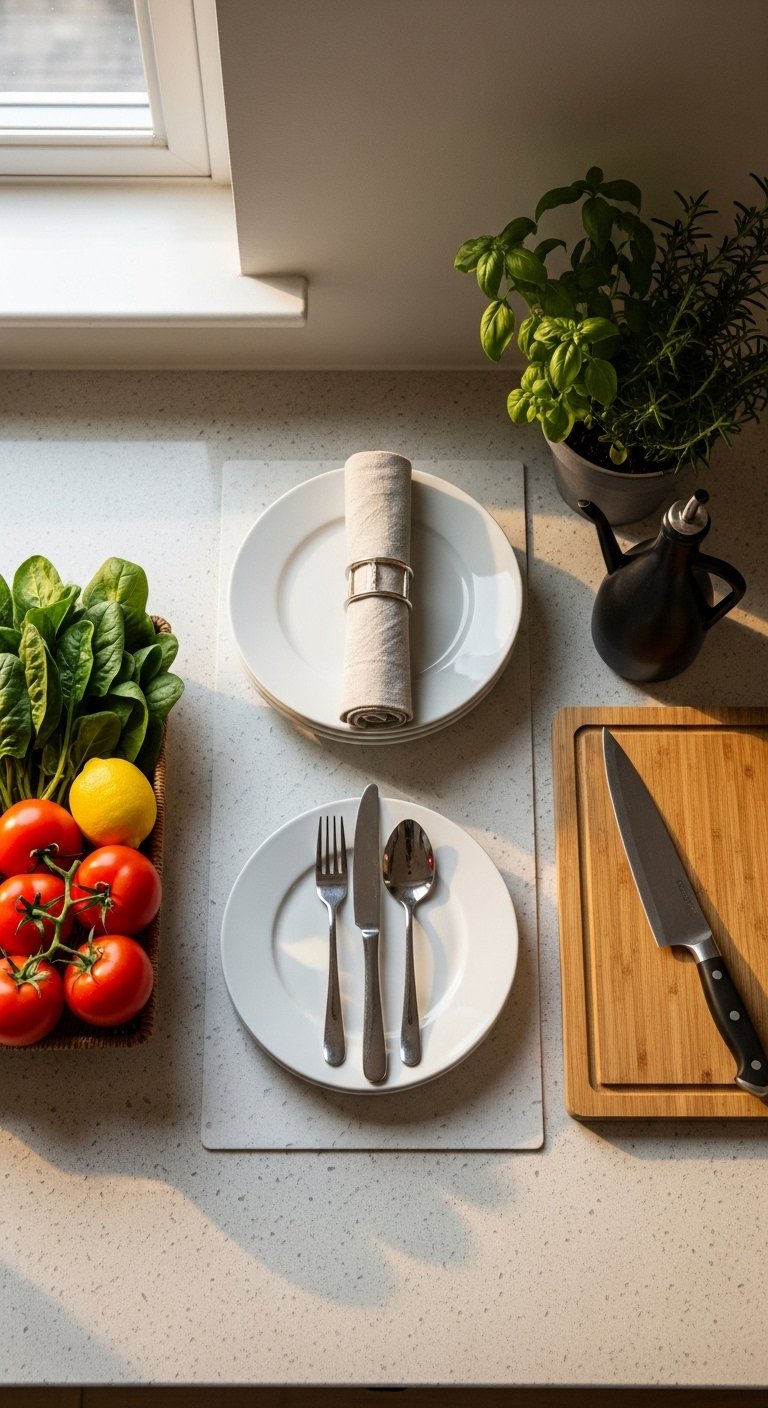
Pull everything off your main prep counter. Yes, everything. I used to tidy by shoving things to the right and calling it styled. That creates a lopsided visual weight. Group items into zones: daily tools, decorative objects, and a small functional zone for coffee or fruit. Aim for one clear 2-foot work zone for chopping. Leave at least 8 to 12 inches of breathing room between a stack of bowls and a lamp so each object reads.
The visual change is immediate. The room stops shouting for attention and starts to look calm. This step fixed the biggest frustration I had, which was thinking more stuff would solve the clutter. It did not.
Step 2: Anchor with One Heavier Object and Balance with Lighter Pieces
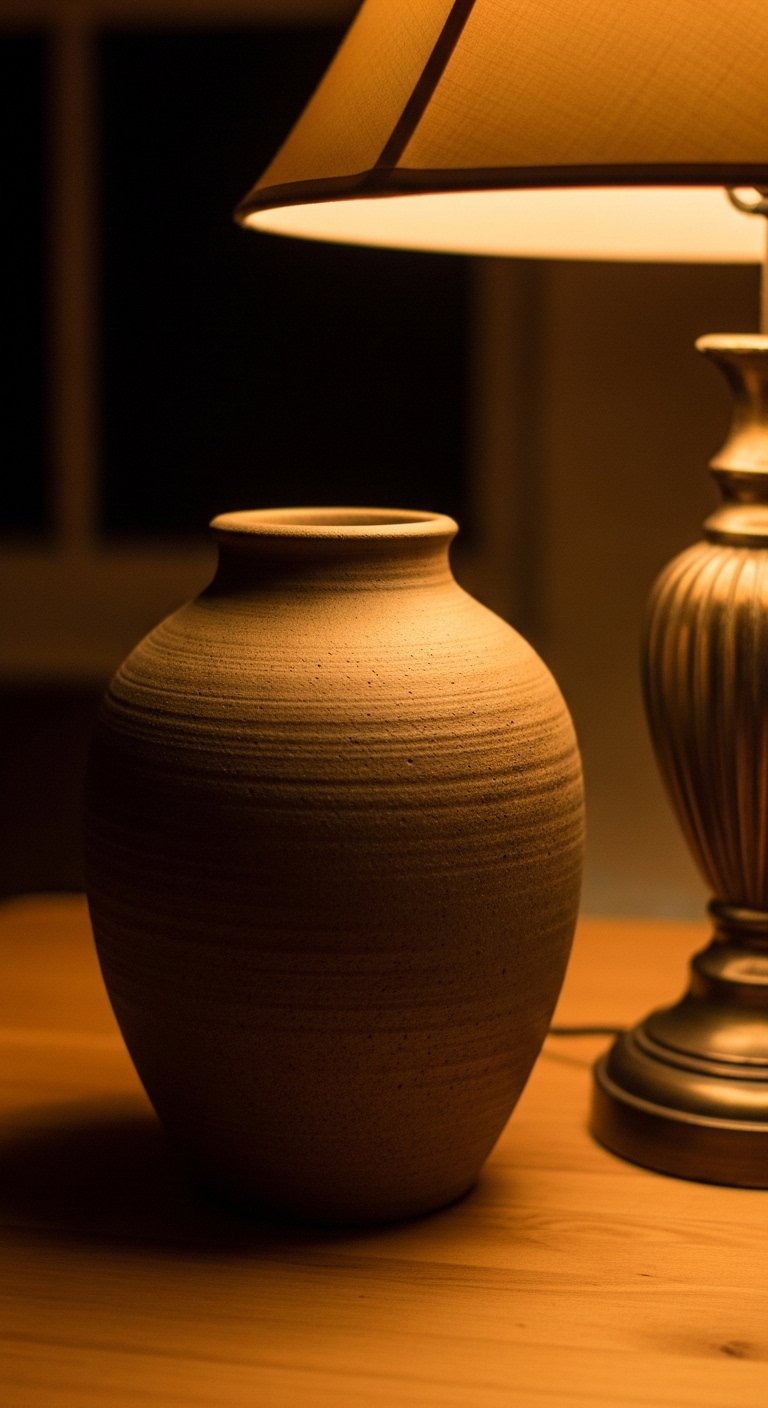
Most people try to balance by mirroring objects. I used to do that and it felt stiff. Instead, pick one heavier, grounded piece to anchor a counter or open shelf, like a wood cutting board or a ceramic vase about 10 to 14 inches tall. Place it off-center. Then pair it with lighter items, such as a linen towel folded softly or a glass bottle. The heavier piece gives visual gravity, the lighter ones give air.
A small win here is seeing the difference between weight and size. A chunky wood board feels warm and solid in your hands, and it visually outweighs a stack of thin plates even if those plates are taller.
Step 3: Use Odd Numbers and Two Height Steps to Keep It Natural

Clusters of three or five feel comfortable and human. I stopped overthinking symmetry and started making small pyramids: tall item, medium item, low item. Try having your tallest piece be roughly twice the height of the medium piece. For example, a 12-inch vase, a 6-inch bowl, and a 3-inch salt cellar. That ratio gives a pleasing slope for the eye to travel.
People miss that texture matters here. A matte ceramic vase is cool and slightly rough to the touch, which plays well against warm, smooth wood. I ruined one arrangement by using three glossy items that reflected light and looked like a display case. Odd numbers fixed that.
Step 4: Introduce Texture and One Accent Color in a 60/30/10 Hairline Rule
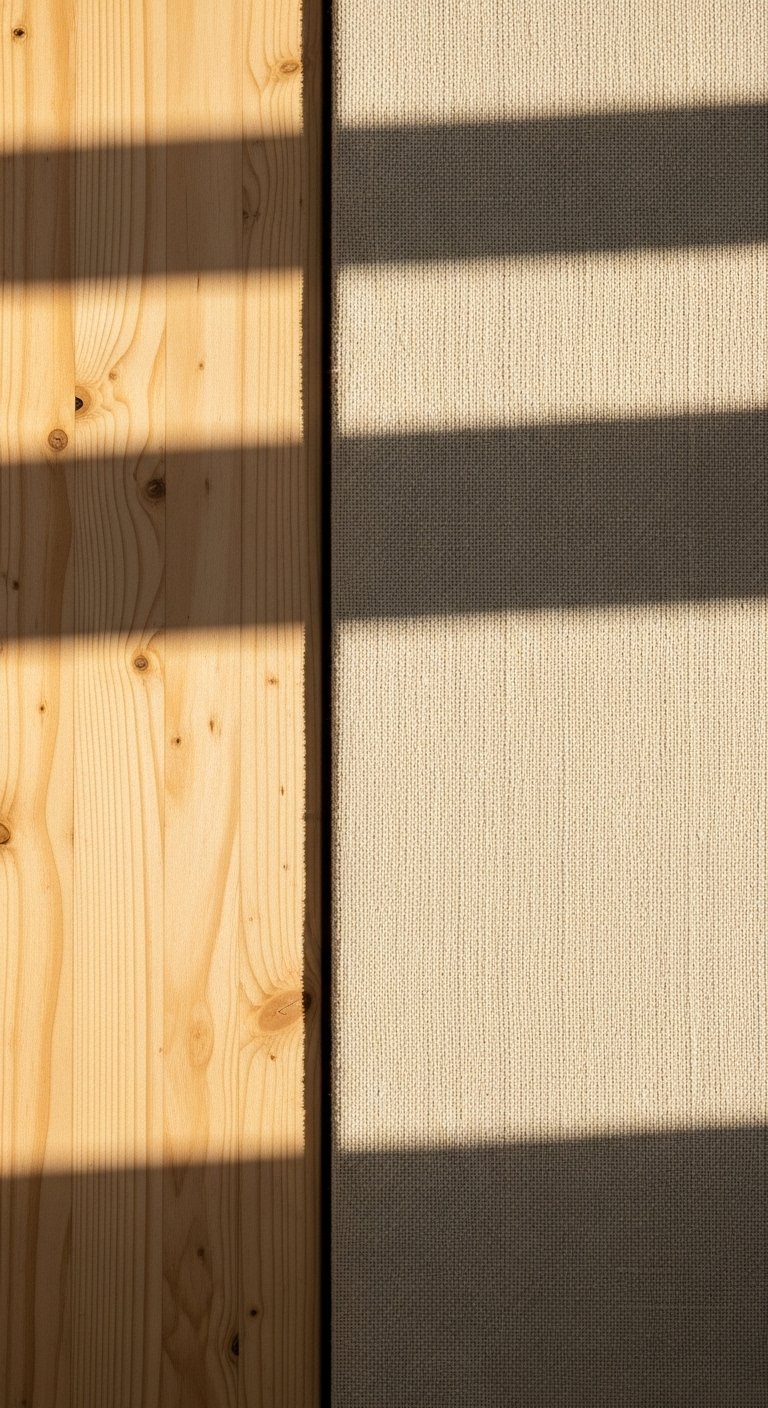
Balance is not only about shape, it is about texture and color proportion. Use one dominant base (about 60 percent), a secondary layer (30 percent), and a small accent (10 percent). In my kitchen, white cabinets were the 60 percent, open wood shelves were the 30 percent, and a deep green ceramic mug was the 10 percent. That tiny pop keeps things from feeling flat.
Texture is the silent balancer. A nubby linen towel feels soft and approachable. A matte terracotta pot reads like weight. I nearly skipped the accent color step because I feared it would be too bold. Glad I did not.
Step 5: Step Back, Live with It for Three Days, Then Tweak One Thing
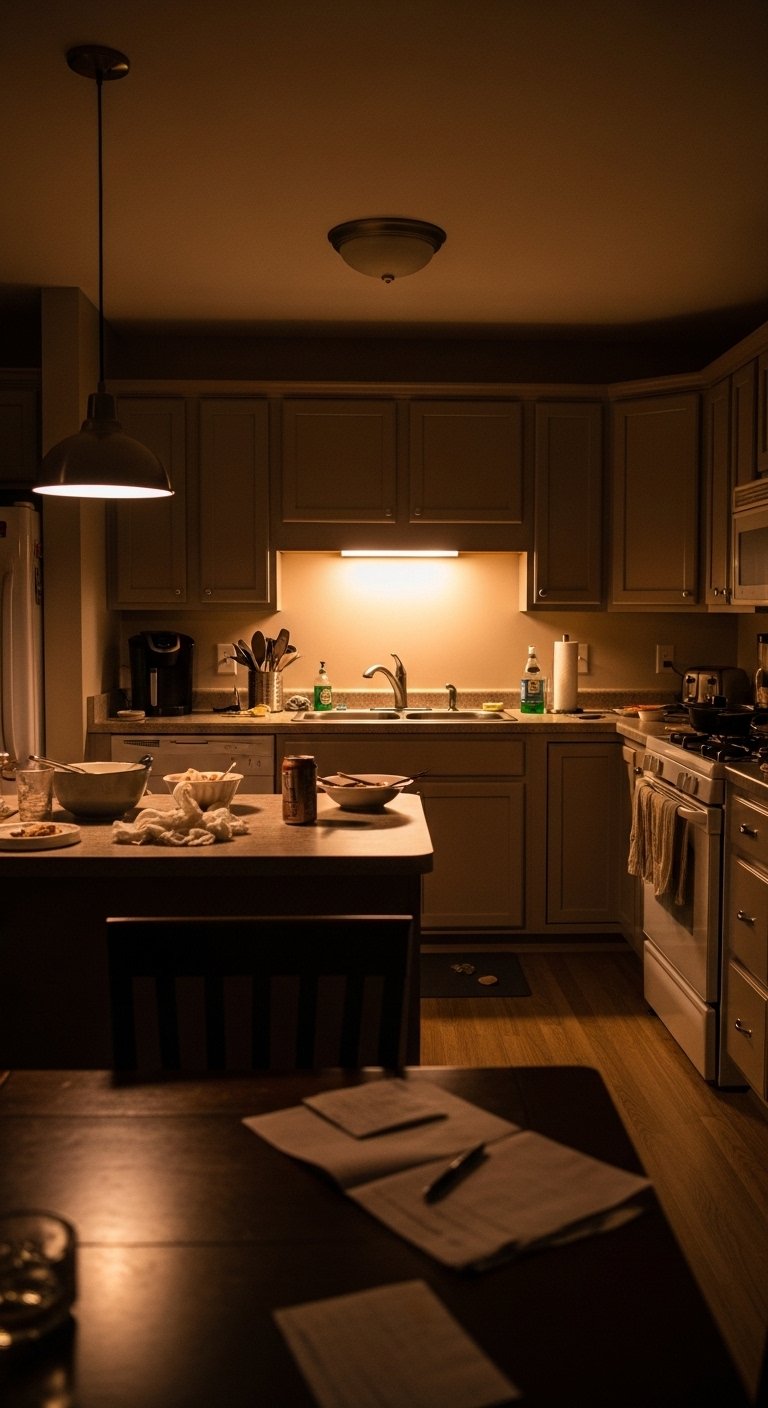
This step feels wrong while you do it. You will want to keep adjusting until it feels perfect. Resist that. Put the items in place, take a photo, and leave it for three days. Real life will test the composition. My partner moved the vase once, the cat knocked over the jar twice, and a bowl migrated to the table. After a few days you will see if a spot needs more weight, less texture, or a taller piece.
Tweak only one thing at a time. The room will feel earned. That slow editing is the secret most people miss.
Kitchen Balance Shopping List
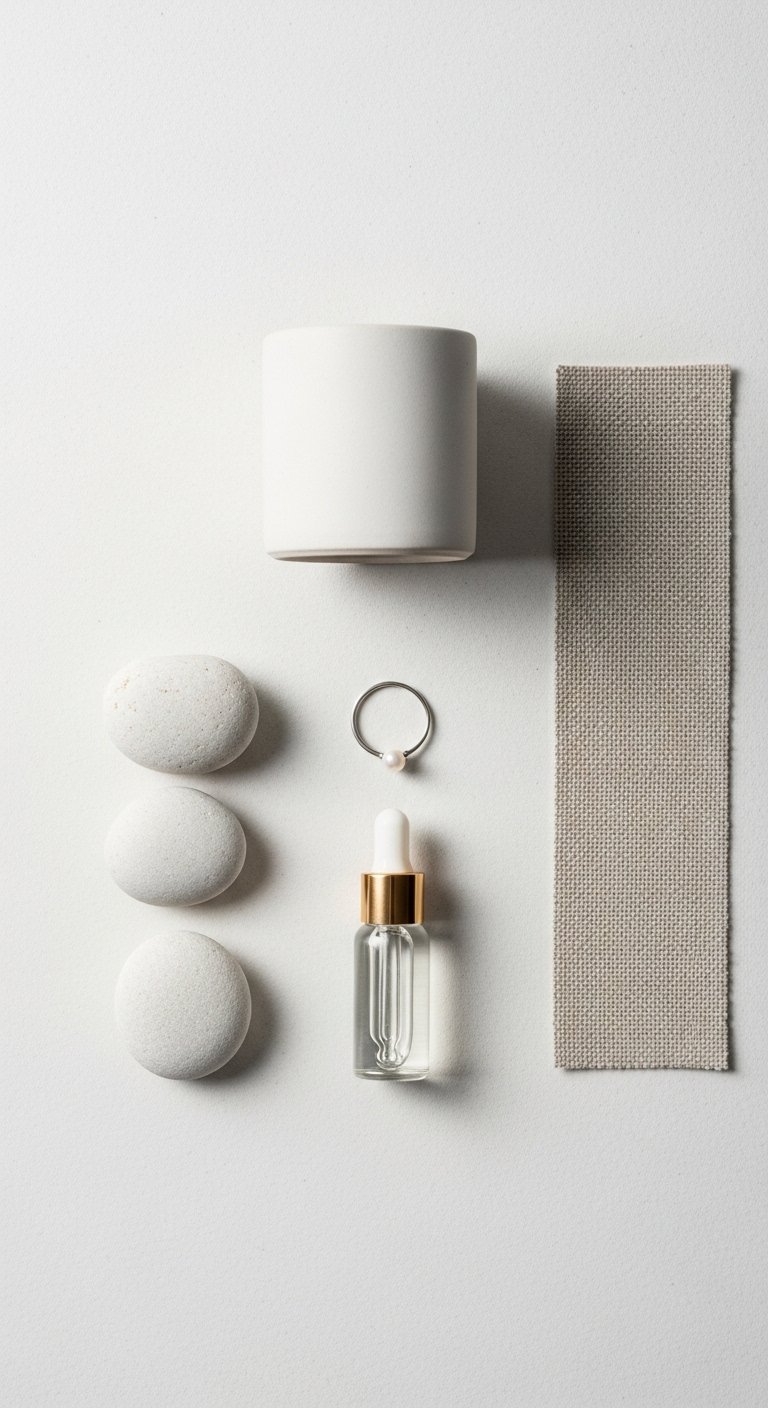
- Matte ceramic vase, 10-14 inch, white ($25-45). Use in Step 2 as the anchor piece.
- Wood cutting board, 16×10 inch, walnut ($30-60). Warm, heavy texture that grounds a shelf, see Step 2.
- Linen kitchen towel, natural, 18×28 inch ($12-22). Soft, slightly scratchy edge that layers well, referenced in Step 3.
- Stackable ceramic bowls, matte glaze, set of 4 ($20-35). Mix heights in Step 3 groupings.
- Small wooden tray, 12×8 inch, oak ($18-30). Keeps zones tidy, used in Step 1.
- Glass storage jars with bamboo lids, 3-piece ($20-40). Functional and decorative, Step 1 and Step 5.
- Matte black wall hook, 4-inch ($8-15). For hanging a linen towel or pot, helps in small kitchens, see Step 4.
Why Your Counters Still Look Cluttered After Styling
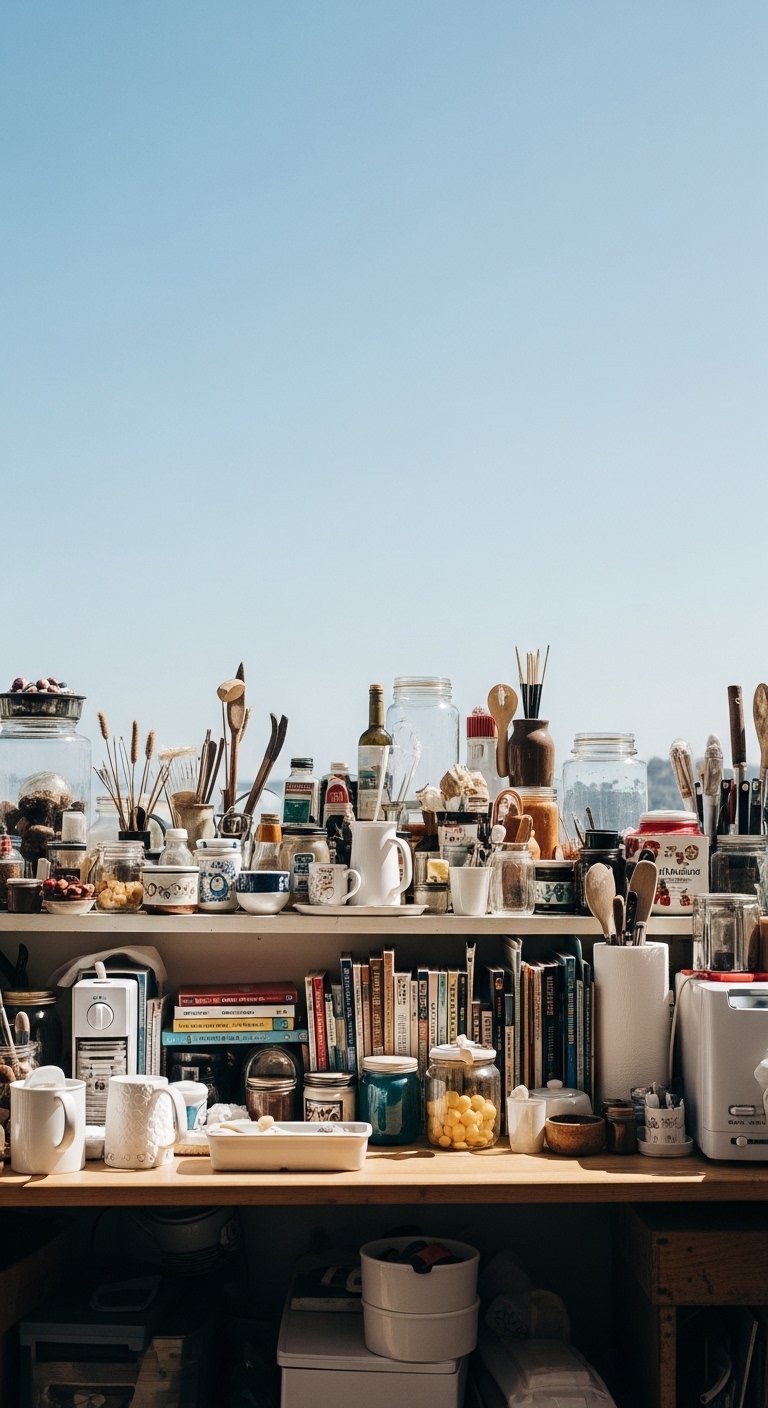
If counters still feel cluttered, you likely have items of the same visual weight lined up. That creates a visual wall. Break that by adding one heavier piece and a lower, softer object. Another common mistake is treating empty space like wasted space. Leave gaps intentionally. Also check material repeats. Too many shiny surfaces will feel like a display. Swap one glossy jar for a matte ceramic bowl and the balance shifts.
I used to think more matching jars read as tidy. They did not. Mixing textures is the fix.
Making This Work in a Small Kitchen
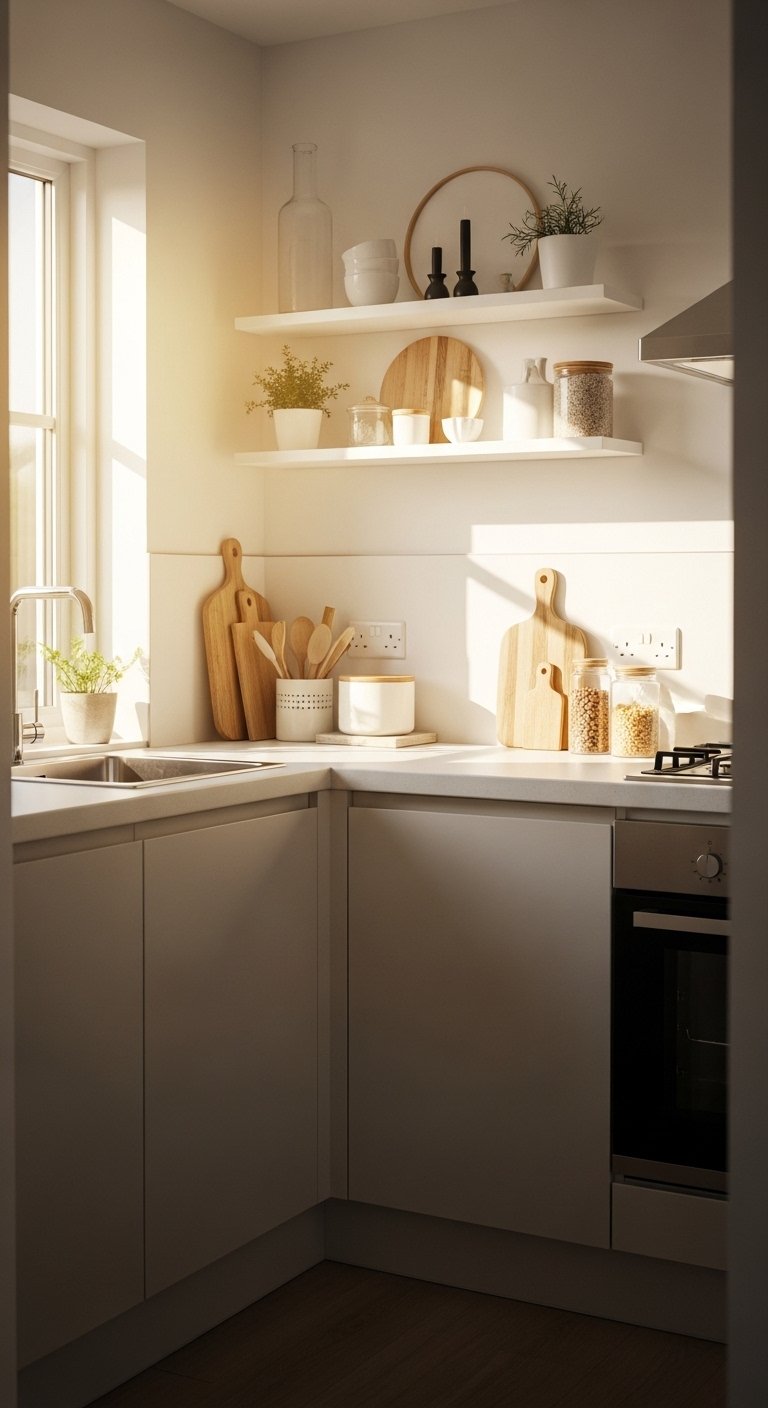
Small kitchens need tighter rules. Keep one clear 18 to 24 inch prep zone. Choose items that pull double duty, like a cutting board that becomes a tray. Use vertical space by placing a taller anchor against the backsplash, but keep it off the main prep line. If you have under-cabinet lighting, a matte finish on decor prevents glare. A short checklist that helped me in a tiny apartment: limit to three decorative objects on open shelves, use one accent color, and swap bulky decor for a slim wooden board.
My roommate hated the asymmetry at first. A week later he admitted it felt easier to cook in.
What This Looks Like After a Week with Kids and a Dog
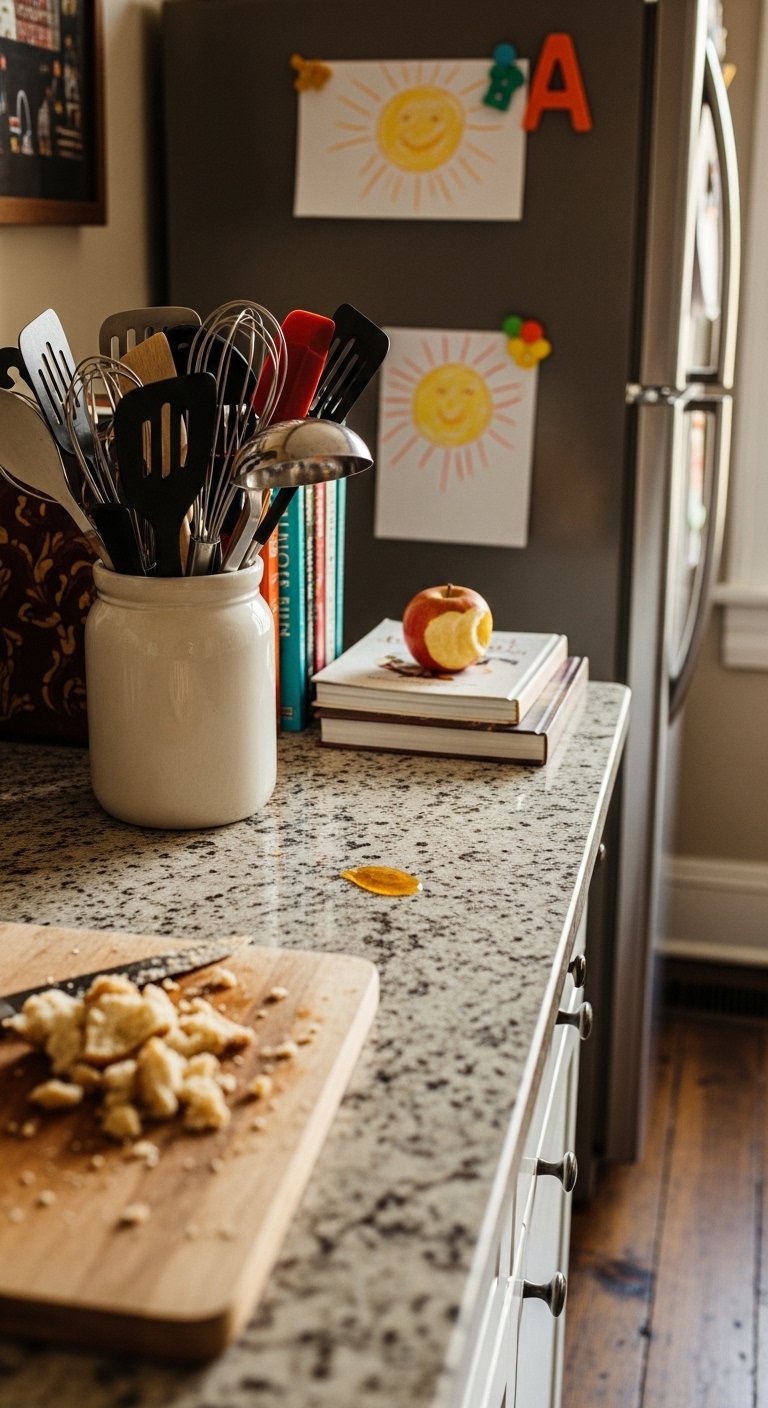
Expect reality to be messy. After a week you will see which pieces are practical and which are annoying. Items that get moved become candidates to relocate or replace. I swapped a delicate ceramic sugar jar for a sturdier glass one because little hands loved the kitchen. Keep one low, easy-to-clean spot for snacks. The goal is balance that survives life, not an image-perfect shelf.
If something breaks, replace it with a similar shape but tougher material. That keeps your composition and removes stress.
Start with One Counter
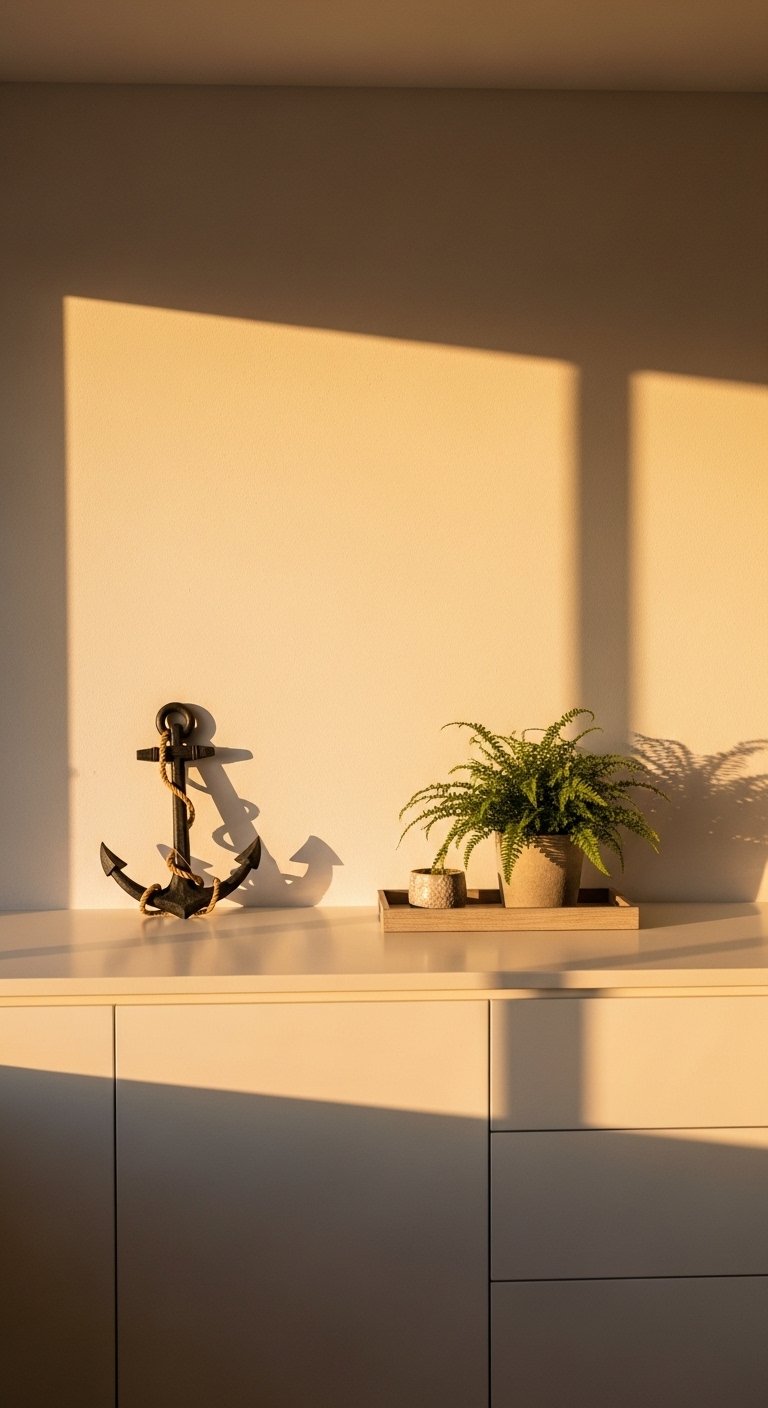
Pick the counter you use most and style only that one today. Clear it, choose an anchor object, add one soft texture, and leave a clear work space. Take a photo, sleep on it, and adjust one small thing in a few days.
I started that way and it kept me from overdoing it. You do not need a perfect kitchen, you need a kitchen that feels calm and useful. One vase, one towel, one tray, done.

