

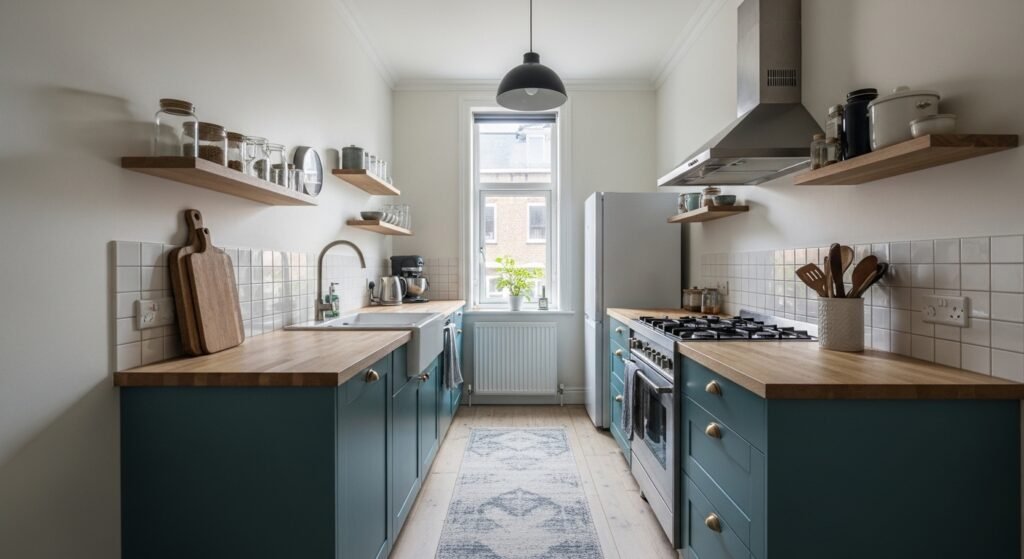
I kept shoving things into corners and felt the room get smaller with every mug I bought. My countertops looked like a garage sale because I thought more stuff made it look homey. One evening I pulled everything off the counters, stuck a tape measure in a drawer and realized the problem was scale and grouping, not the stuff itself.
I tried floating a million items on a single shelf. It read messy. I tried hiding things behind closed cabinets. It felt sterile. The approach below is what clicked after three tries, a few regrets, and one burned tea towel. It focuses on measured edits, vertical thinking, and leaving intentional breathing room so the kitchen stops fighting you.
Step 1: Clear, measure, and make three simple zones
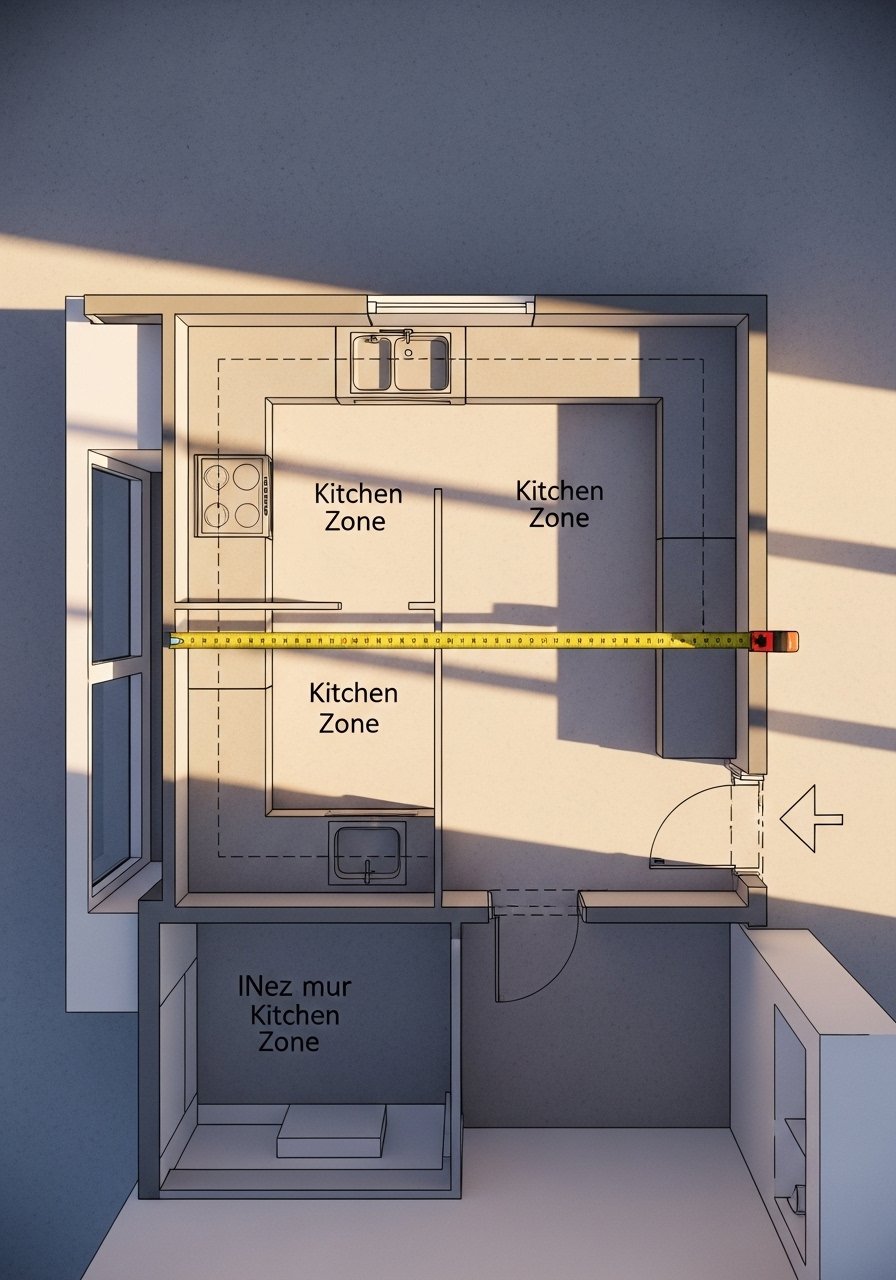
Pull everything off the main counters. Yes, everything. Keep what you use daily in one zone, prep items in another, and a small landing zone by the stove or sink. Measure as you go. I aim for a 30 to 36 inch clear path through the work triangle, and a 12 to 18 inch landing area next to the stove for prep. Those numbers changed how I thought about what could stay out.
Visually, things look calmer when each zone has one dominant object, one functional object, and one soft or textured object. For me that meant a narrow dish rack, a small cutting board, and a woven tea towel that is soft to the touch. I almost skipped measuring the path. Glad I did not.
Step 2: Edit countertops to a few useful, attractive pieces
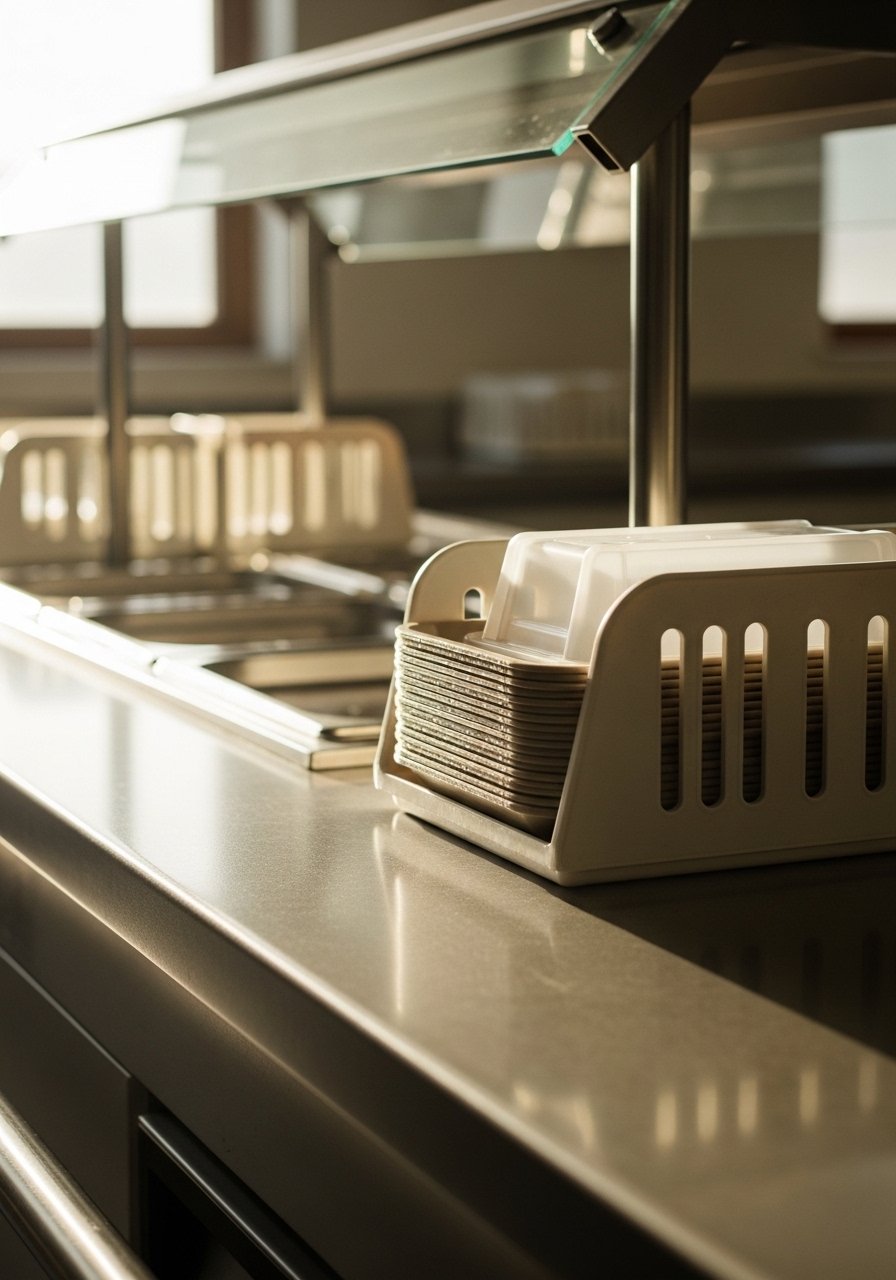
Most people start by piling things on both sides of the sink. That was my mistake for years. Pick 3 to 5 things total for the main countertop, and corral them on a small tray. I like a heavy ceramic utensil crock, a matte soap dispenser that feels cool and solid, and a small bowl for keys or receipts. The ceramic has presence, the soap pump feels substantial, and the bowl is smooth under your fingers.
If you need a drying area, choose a slim stainless rack no deeper than 10 inches. A narrow footprint keeps the counter feeling open. When I first tried a tray, it looked empty. Walk away for ten minutes and you will see what to add or remove.
Step 3: Use vertical space with shallow shelves and ladders
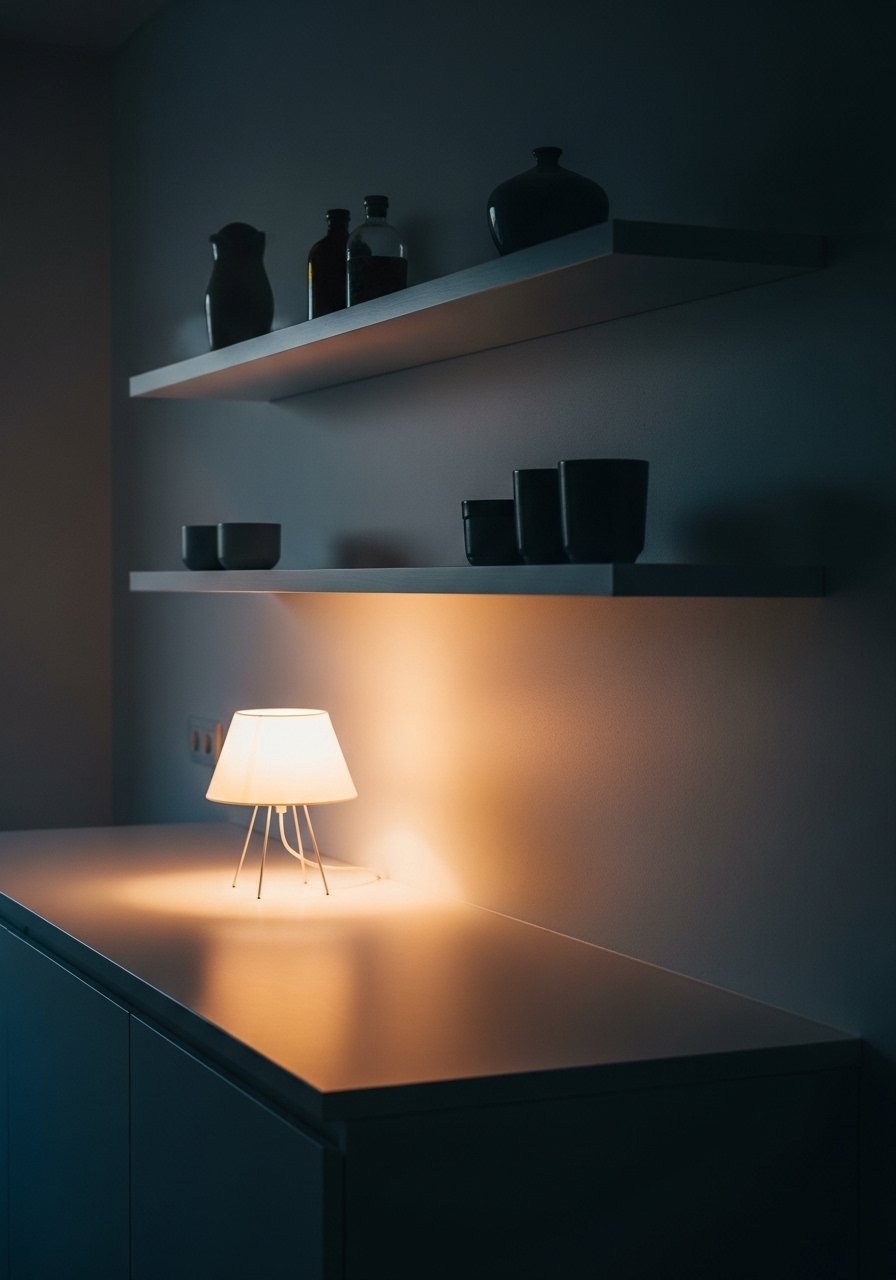
This is the step where it starts to look styled instead of cluttered. Swap one upper cabinet or an awkward wall for shallow shelves 8 to 10 inches deep. Space the shelves about 12 to 18 inches apart so plates, glasses, or a small plant sit comfortably. Hang one shelf slightly off center and you get an asymmetrical balance that reads intentional, not accidental.
I learned the hard way that deep shelves invite hoarding. Shallow shelves force choices. Use a 2:1 visual balance on the shelf, with two low items grouped together and one taller item to anchor the arrangement. My partner hated the asymmetry at first. After a week he said it felt more open.
Step 4: Anchor the floor and light deliberately
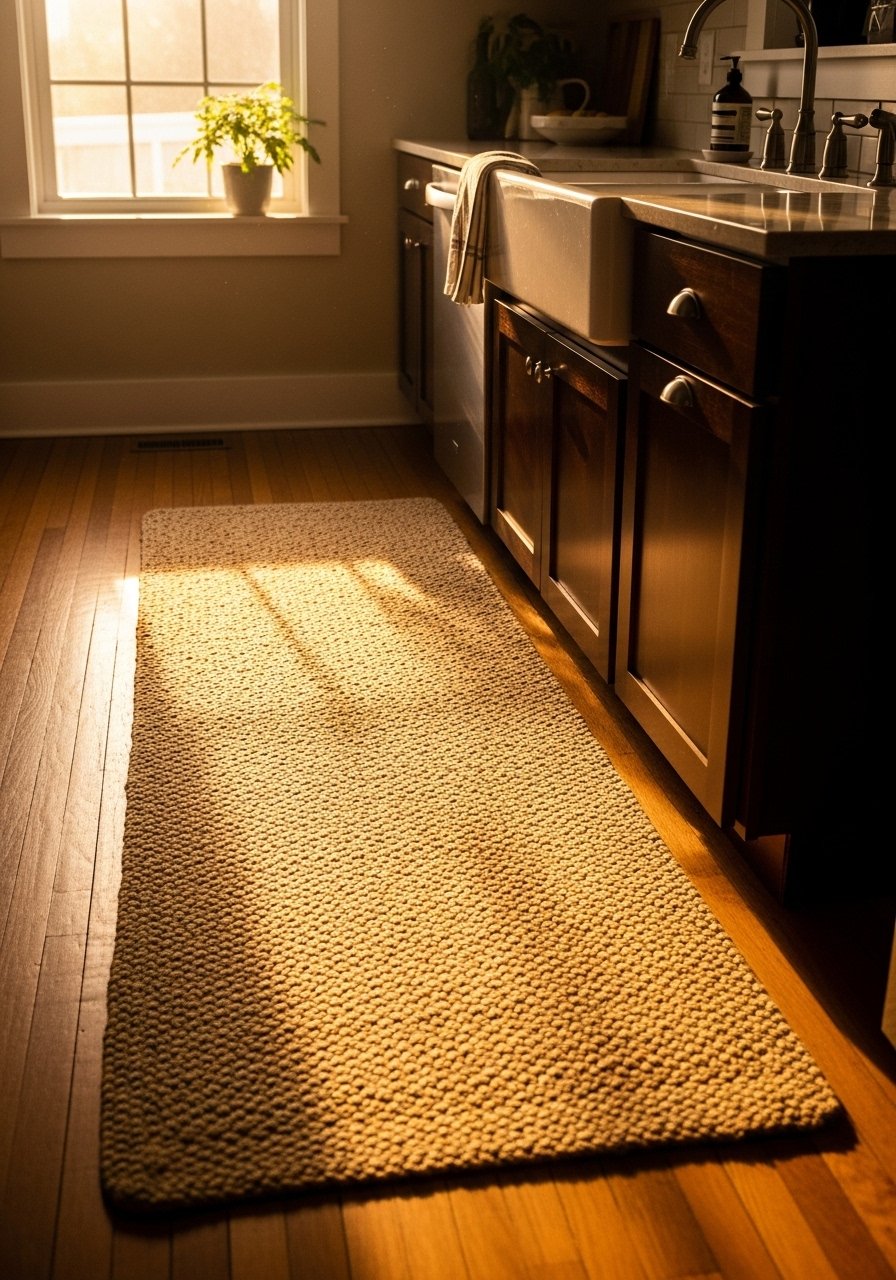
A small rug and a single pendant light make a compact kitchen feel grounded. Choose a runner that leaves 6 to 12 inches of bare floor on each side in a galley, or a 2 by 3 foot mat in front of the sink. I went with a jute runner that is rough underfoot but wears well. It collects crumbs, yes, but it also reads cozy and gives the room a base.
Swap an oversized, heavy fixture for one modest pendant that hangs low above the main work area. The metal feels cool and slightly heavy in your hand, which makes it look purposeful. I ignored lighting until the room read flat. Adding one warm bulb changed the mood immediately.
Step 5: Finish with three tactile accents and live with it for a week
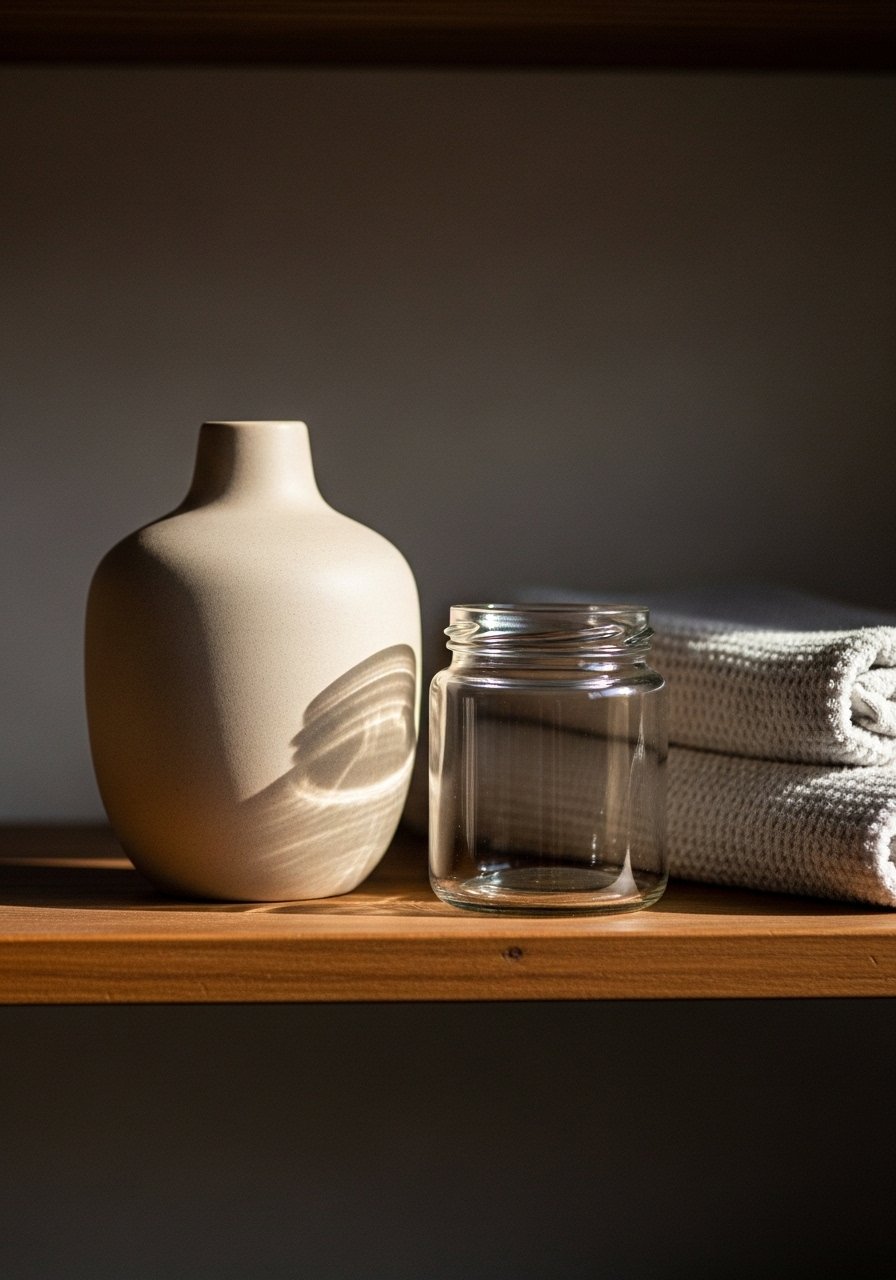
Pull everything off the shelf. Place three tactile accents back in a simple grouping. I use a matte ceramic vase that is cool and slightly grainy, a heavy glass jar for utensils, and a folded linen towel that is soft and crinkled. I leave 2 to 4 inches of breathing space around the group so it does not press on neighboring items.
Common mistake: over-styling for photos. Real life needs accessible items. Test the setup for a week. You will notice what you reach for and what becomes dust. My first version had too many tiny items. The third try clicked when I limited myself to three types of texture and one color family. If you have pets, move low open shelves up or skip fragile ceramics.
Small Kitchen Styling Shopping List
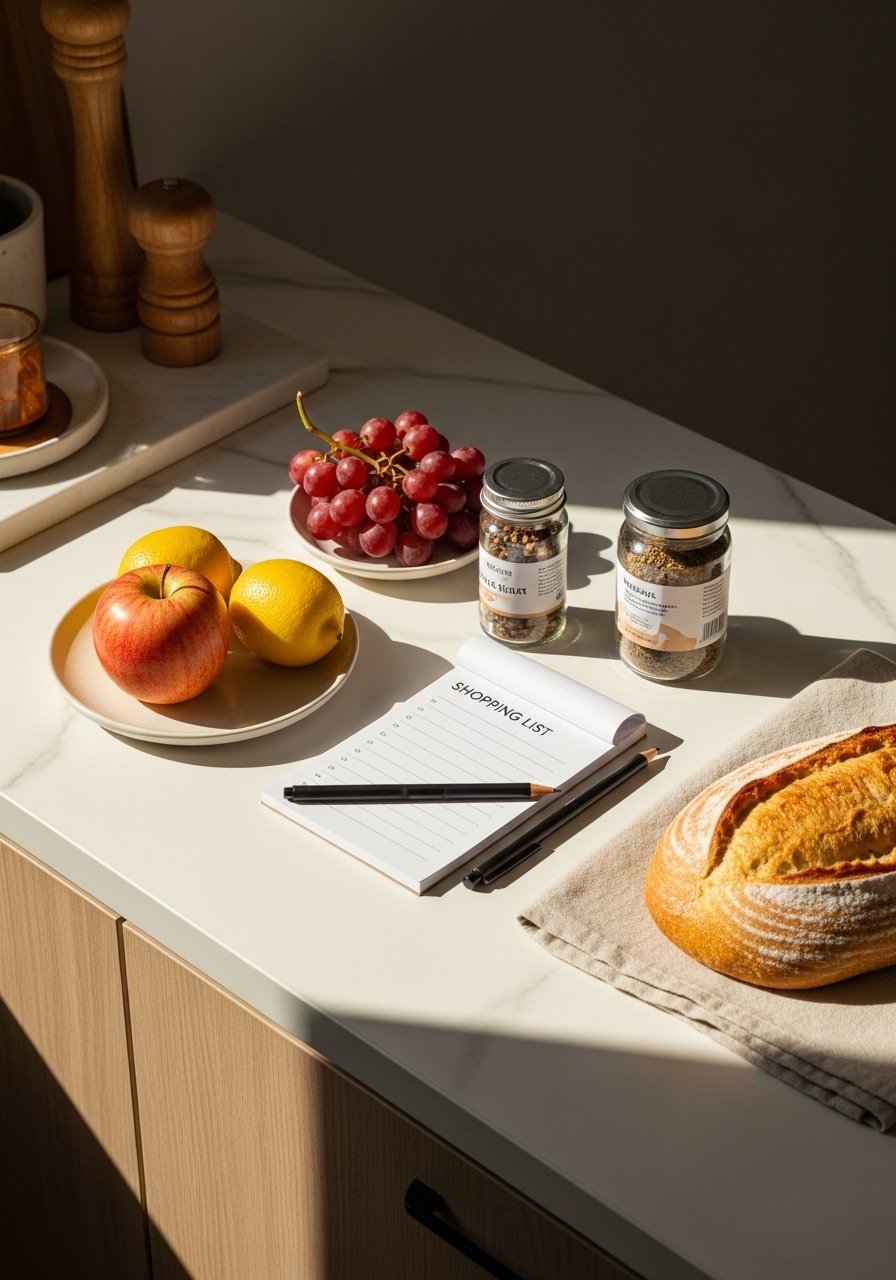
- Jute runner, 2×6 feet ($40-90). I use this in front of the sink, it feels rough underfoot and hides crumbs.
- Matte ceramic vase set, small ($18-35). Use one tall piece for vertical interest on a shallow shelf, as in Step 3.
- Slim stainless dish rack, 10-inch depth ($20-40). Keeps drying without taking over counters, referenced in Step 2.
- Brass picture ledge, 24-inch ($18-30). Great for shallow shelf styling and easy renter-friendly installation.
- Linen kitchen towels, pack of 3, natural ($15-30). Soft texture for Step 5, folds nicely and looks lived-in.
- Under-cabinet LED light strip, warm white ($12-25). Adds task light without bulky fixtures, used in Step 4.
- Ceramic utensil crock, matte finish ($12-28). Heavy enough to stay put, mentioned in Step 2.
Why Your Counters Still Feel Crowded
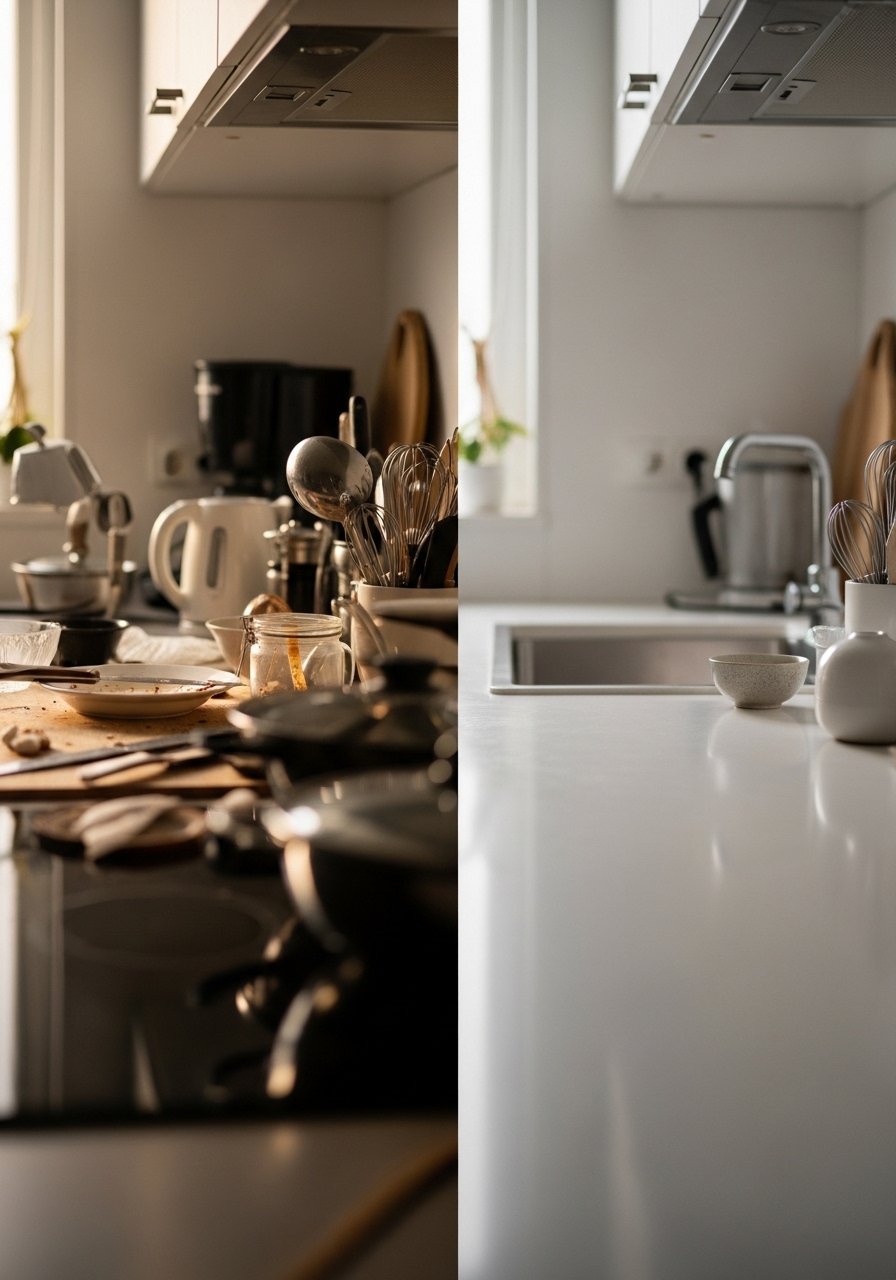
If counters keep filling up it is usually because you did not set rules. Make two rules that stick. Rule one, only keep what you use at least twice a week. Rule two, everything on the counter must sit on a tray or have one practical purpose. Try a quick edit session. Remove 50 percent of surface items, then add back only the things you actually touched in the next three days.
Short checklist: remove duplicates, swap heavy for slim where possible, and store one seldom-used appliance. My first edit left me panicked because I had to move a beloved cookie jar. I missed it for two days then never brought it back.
Making This Work in a Rental Kitchen
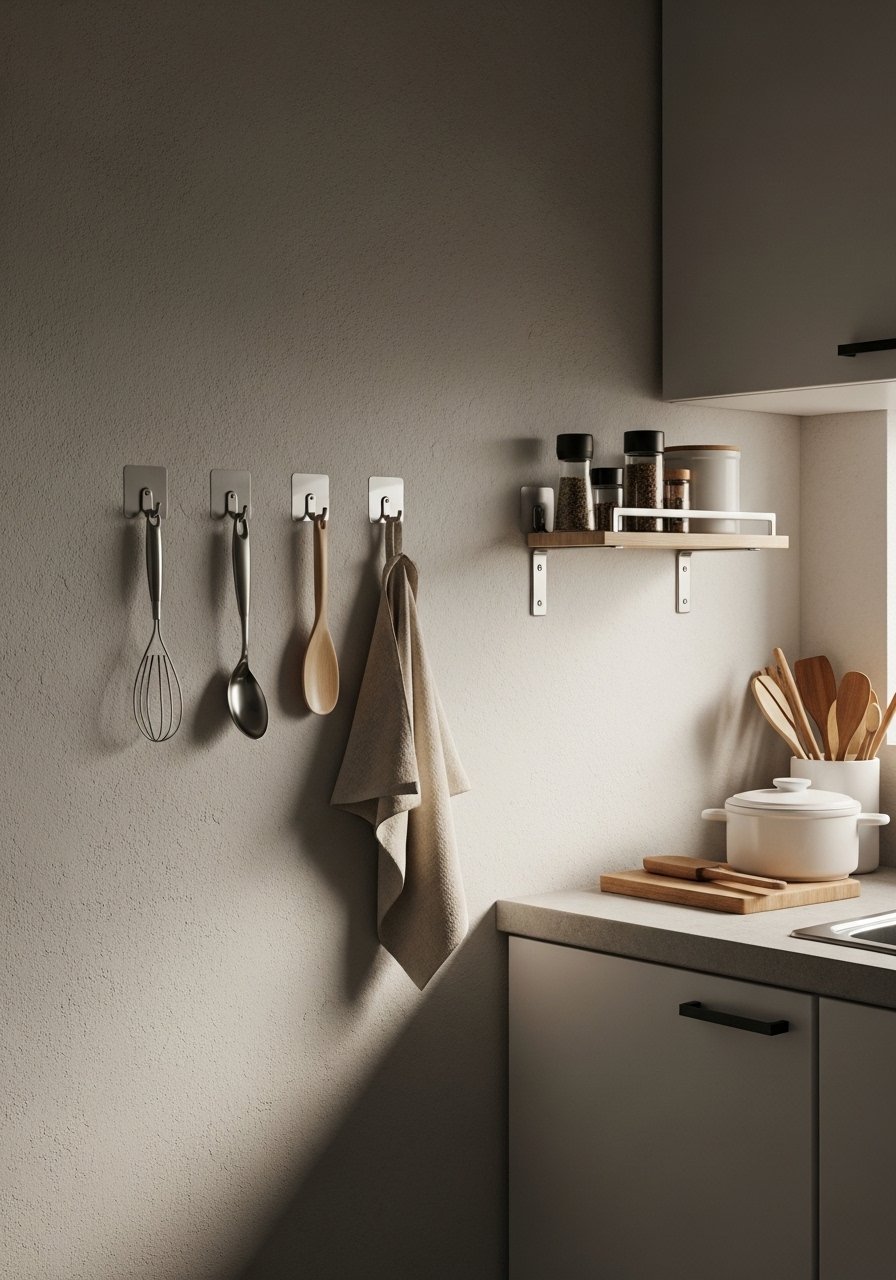
Removable solutions save you from drilling. Use adhesive hook rails for towels and magnetic strips for knives. Stick floating ledges with secure removable brackets that hold lightweight dishes and art. One renter trick I use is a single freestanding shelf that looks built-in when placed under cabinets. It gives vertical storage without touching walls.
If you cannot change lighting, swap lamps with plug-in pendants or use warm LED strips under cabinets. Keep finishes neutral and add texture with textiles so you can personalize without permanent changes.
What It Looks Like After One Week of Real Life
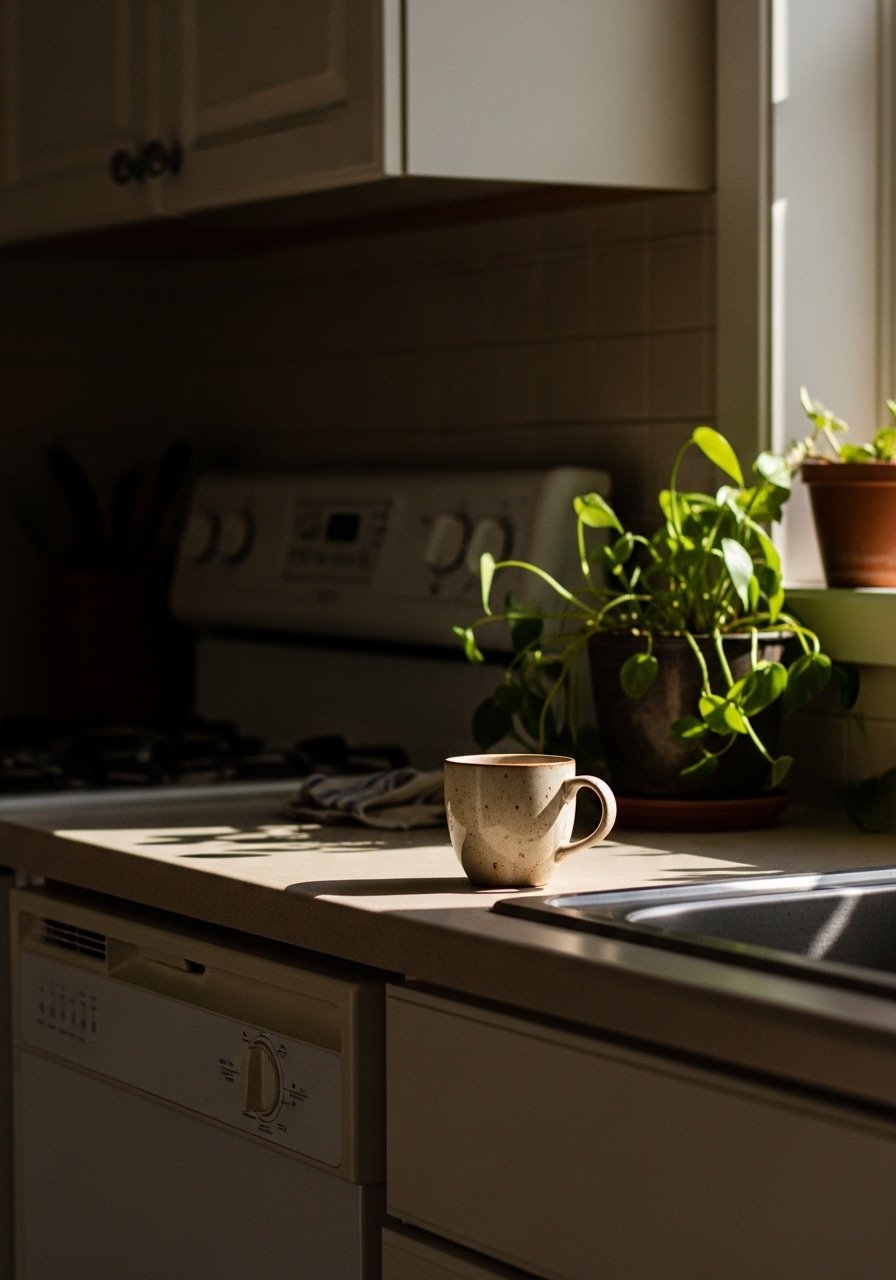
Expect a bit of disorder at first. You will discover the towel you always use, the jar that becomes your catchall, and the shelf where the plant keeps leaning toward light. If something becomes a nuisance, move it. Small changes matter. After a week my counters had one mug, the utensil crock, and a soap pump. The runner had crumbs, but the room felt open when I walked in. That small calm was the payoff.
Start With One Counter
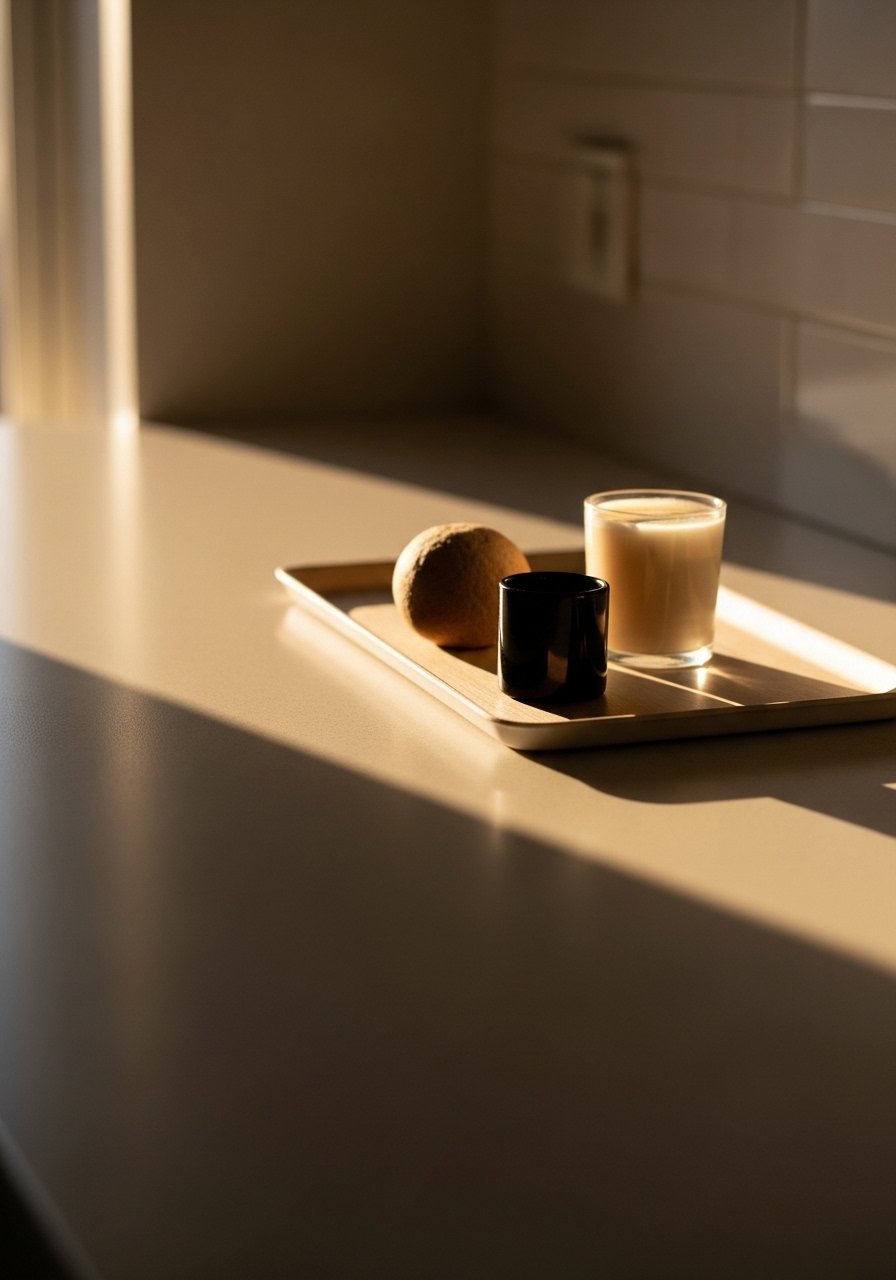
Start small and commit to one counter or shelf for a weekend. Pick one low-cost item from the shopping list, like the linen towels, and use them to test texture and color. Move only what you use, measure the working space, and leave breathing room. After a few days you will feel what works, and the kitchen will stop feeling like a storage zone and begin to feel intentional and usable.

