

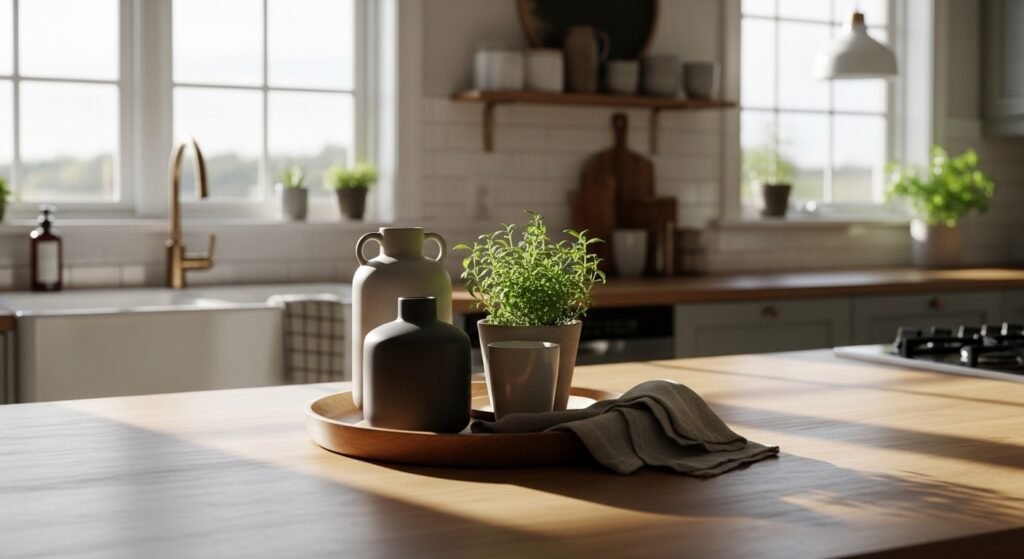
I had a counter full of useful things that somehow read as chaos. Jars, utensils, a plant, a stack of cookbooks. Every attempt to tidy it left the space looking either empty or overstuffed. It took me a long time to see the problem. It was not the number of items, it was how I grouped and anchored them.
I tried matching everything, and I tried a single perfectly centered item. Both failed. The approach that finally worked was simpler: clear a zone, pick one anchor, add tactile, functional pieces, then edit until it felt calm. That edits-once habit is the one I almost skipped, but it made the whole kitchen breathe.
Step 1: Pull everything off the counter and define a styling zone
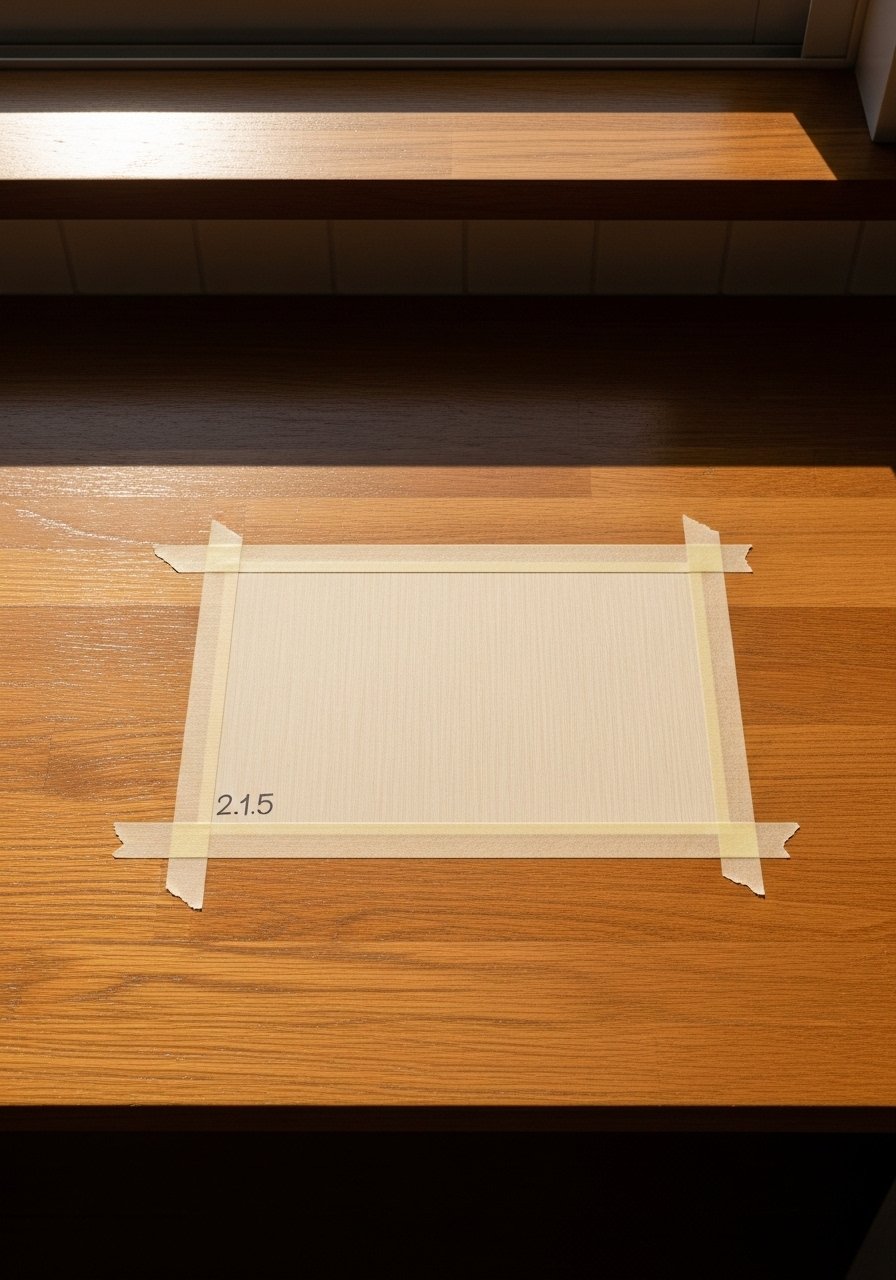
Start by clearing a 2-foot by 1.5-foot zone for styling. Yes, take everything away from that area. Common mistake is fear of empty space, which leads to cramming. Leave at least 2 to 3 inches between objects once you place them. I used to fill every inch because I thought it looked economic. It just looked anxious.
Place a tray first. A wooden tray about 14 by 10 inches grounds the group and keeps crumbs and spills contained. The tray gives weight to the vignette so a few small pieces feel intentional instead of scattered.
Step 2: Choose one tall anchor, then add smaller companions
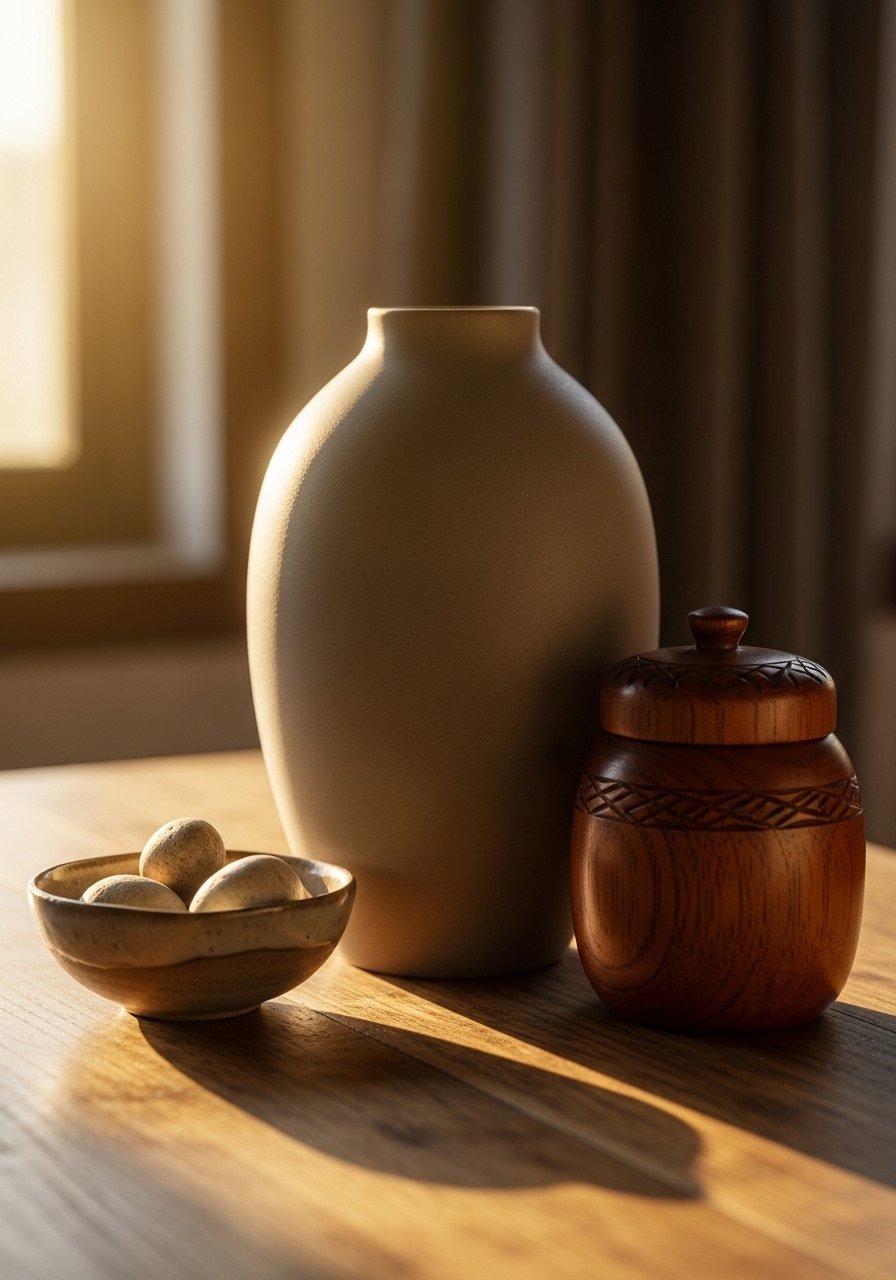
Most people start with the smallest things. That is backwards. Pick a single tall item to anchor the group. I aim for one tall piece around 10 to 14 inches, one mid piece roughly half that height, and one low bowl or dish 3 to 4 inches high. That 1:1/2:1/4 proportion gives a layered look without fuss.
I learned this the hard way after using a thin glass vase that slid and spilled while I leaned over the sink. A matte ceramic vase feels cool and solid in your hand, and it resists fingerprints. Try grouping odd numbers, like three pieces, for a relaxed balance.
Step 3: Add functional, textured pieces that get used
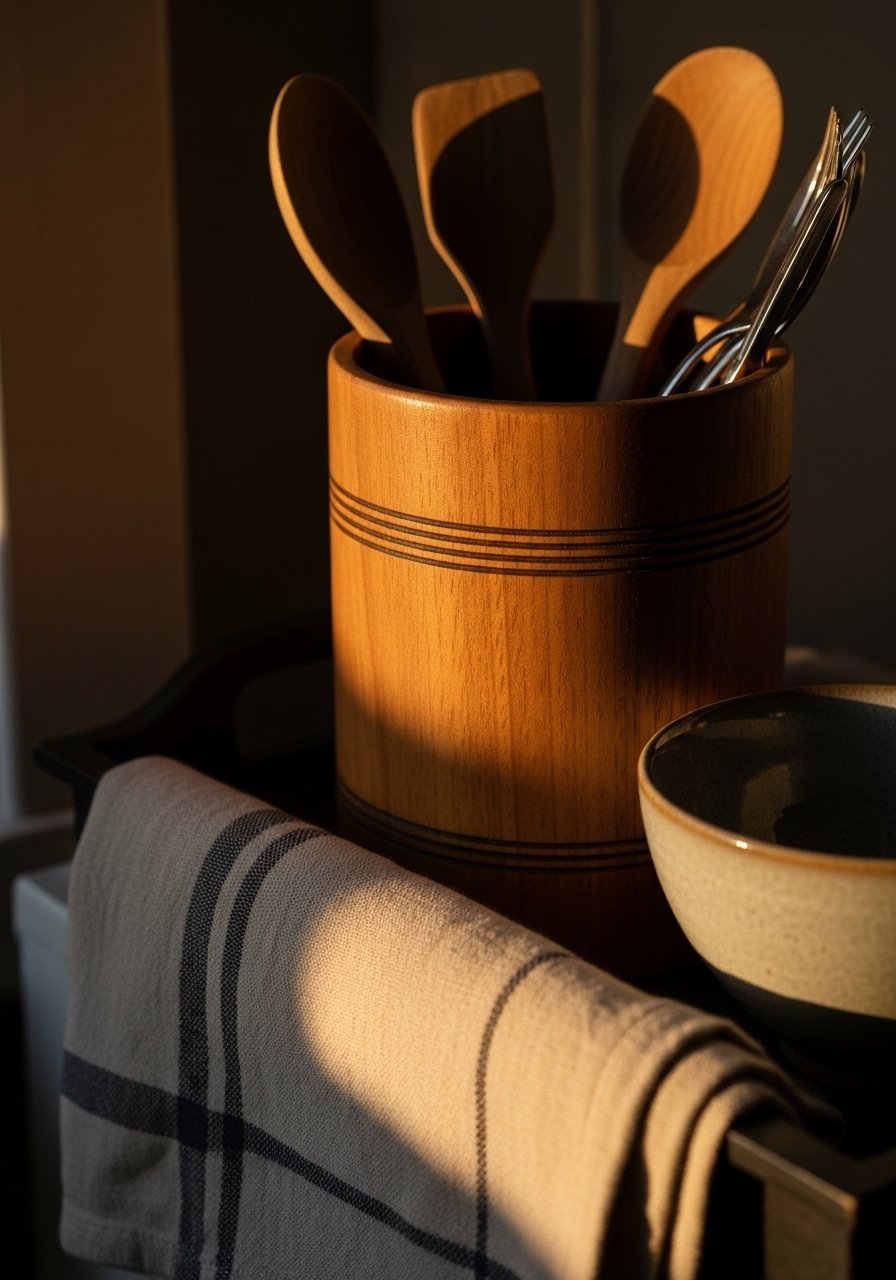
This is the step where it starts to actually feel like a kitchen, not a showroom. Add a utensil crock or a small cutting board that you use daily. A rough wooden utensil jar gives a warm, tactile contrast to the smooth vase. A linen tea towel draped casually brings softness and absorbs splashes. I keep a 5 by 6-inch crock here and a 10 by 6-inch cutting board leaned behind it.
Common mistake is treating the counter like a mantel. Make sure at least one item is genuinely useful. That mix of function and texture is what makes the finish look lived-in.
Step 4: Edit, step back, and respect negative space
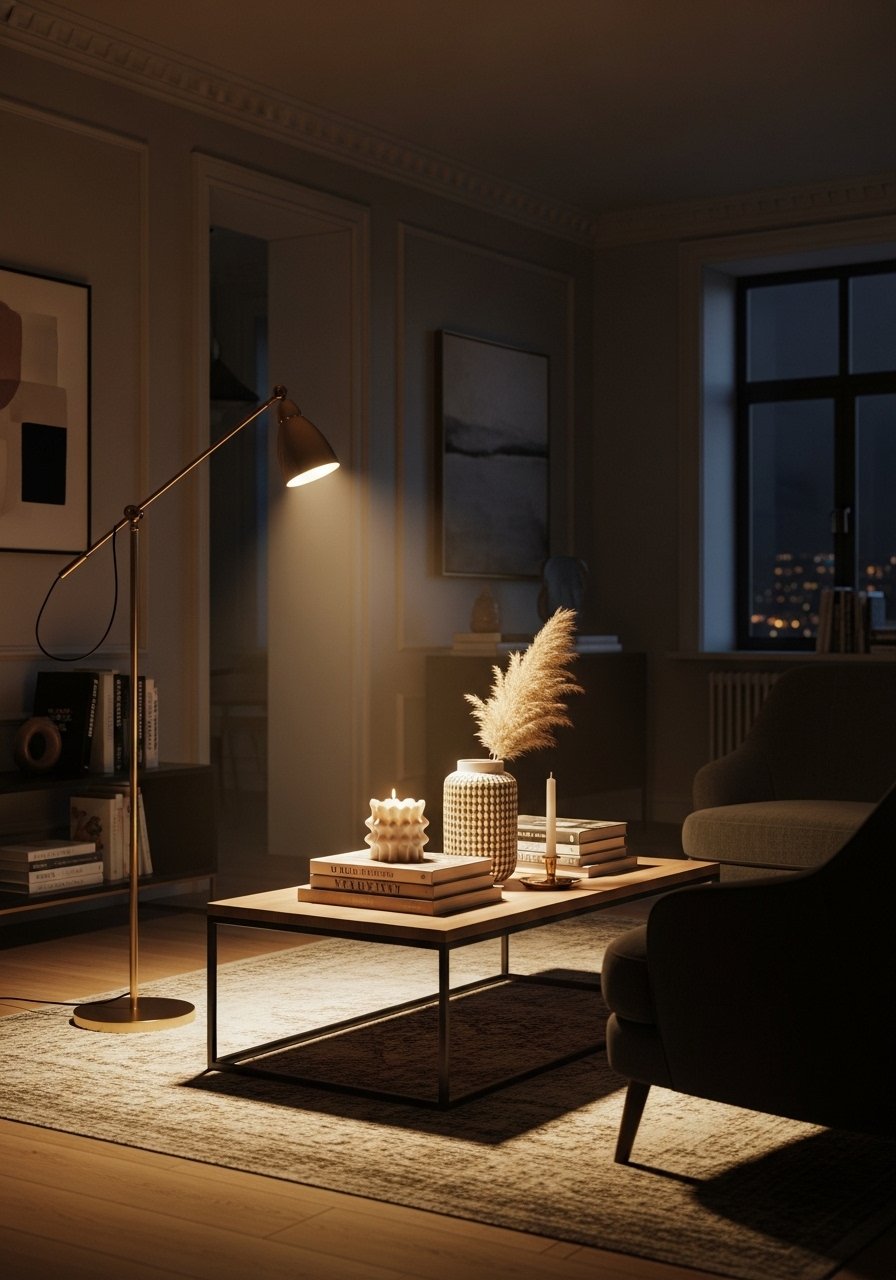
This part feels wrong while you are doing it. You will want to add more. Stop, walk away for ten minutes, then come back. Aim to keep about one third of your defined zone empty. If you have a tray, let the tray have a 1/3 clear margin so things do not press to the edge.
I used to crowd the tray until everything touched. The improvement came when I removed one piece and left the breathing room. My roommate knocked over my first version twice before I finally respected the empty area and anchored the heavier items to the back.
Step 5: Layer small accents and plan to rotate them
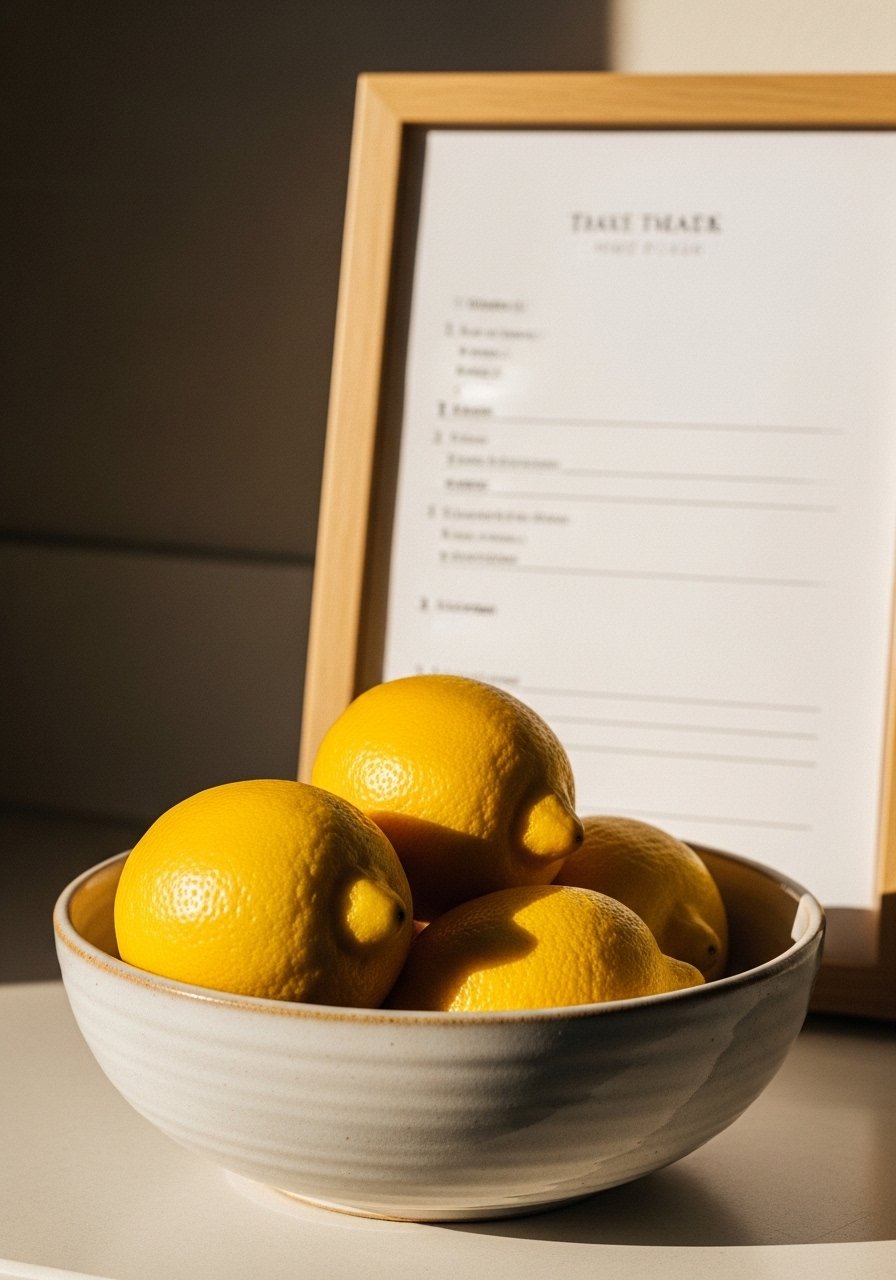
Now you get to play. Add one or two small accents, like a 4-inch ceramic bowl for lemons, a small framed card, or a potted herb. Keep groupings to three to five pieces total. A simple rule that saved me is to keep at least 60 percent of the counter zone visually clear so cleaning and cooking stay practical.
Rotate one piece each season or swap in a wicker basket if you want softer texture. I still change the small bowl out when fruit is in season. It keeps the space feeling fresh without a full redesign.
What to Grab for a Kitchen Minimal Accessory Refresh
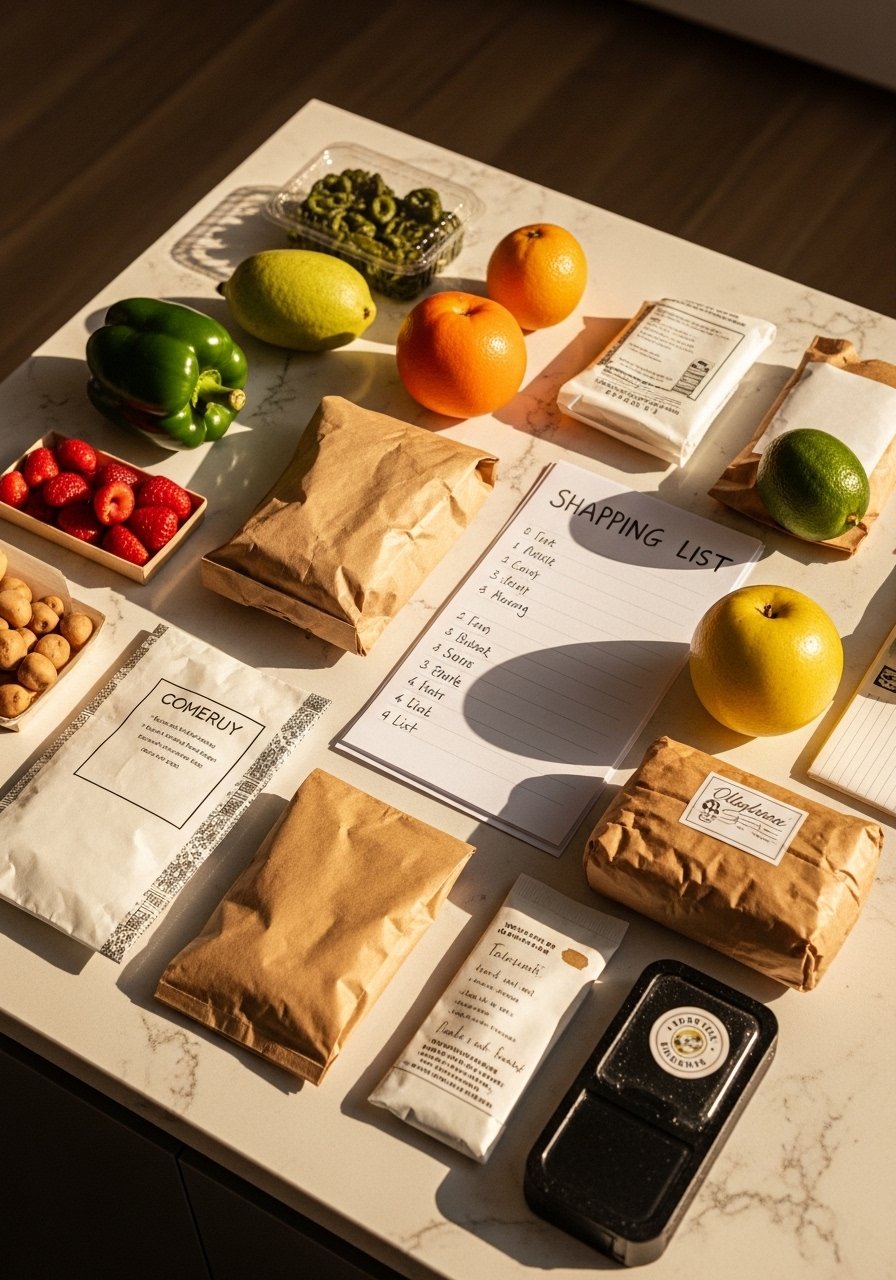
- Oval wood tray, 14×10 ($25-45). Use in Step 1 to anchor everything. Similar at Target.
- Matte ceramic vase, 12-inch set ($30-50). The tall anchor from Step 2.
- Utensil crock, 5×6-inch stoneware ($18-30). Functional texture for Step 3.
- Linen kitchen towels, set of 3 ($18-35). Soft, absorbent, used in Step 3.
- Small cutting board, 10×6-inch oak ($20-40). Leaned behind items in Step 3.
- Ceramic bowl, 4-inch matte glaze ($12-22). For Step 5, holds fruit or keys.
- Small planter for herbs, 4-inch terracotta ($8-18). Adds life in Steps 3 and 5.
Why Counters Still Look Cluttered After Styling
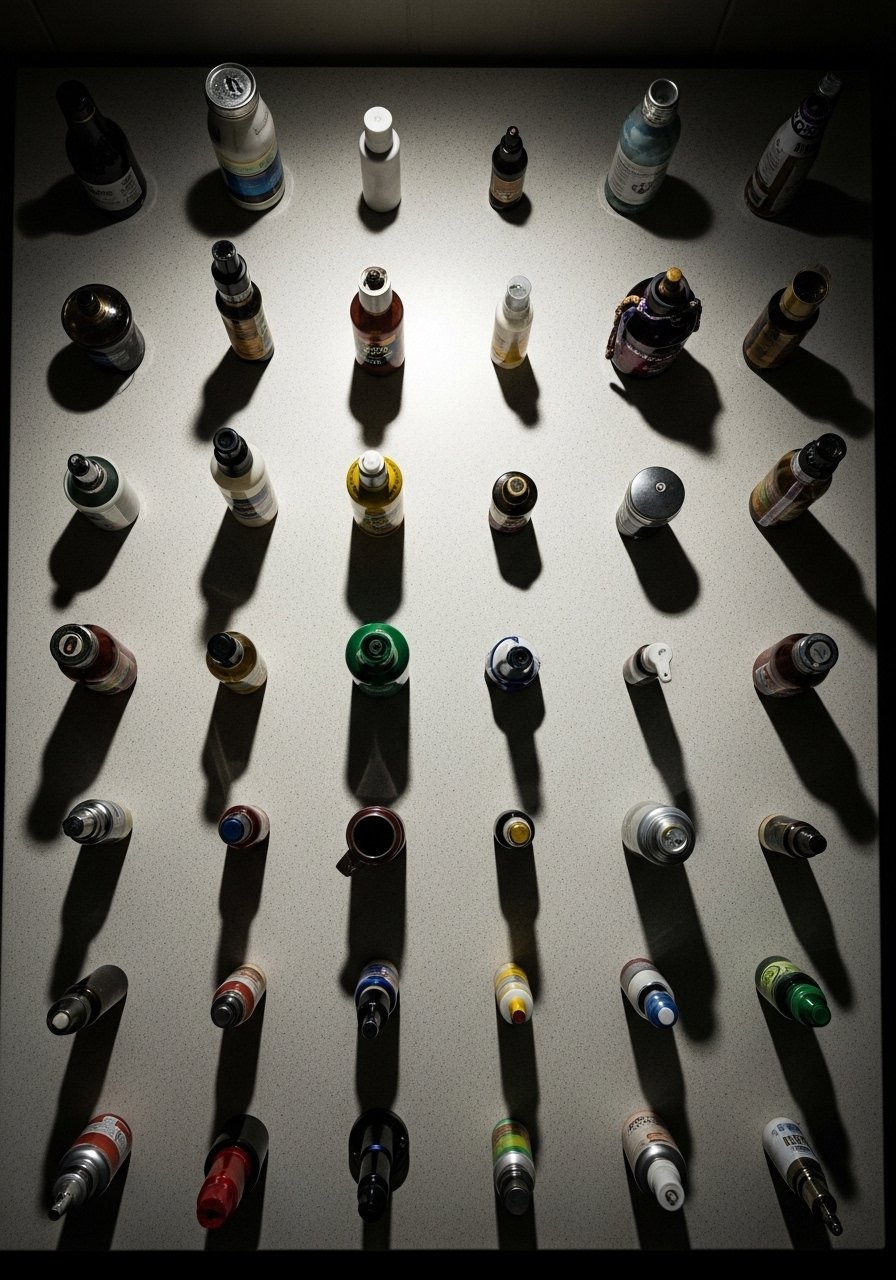
Most kitchens read cluttered because they mix too many small items at the same scale. When everything is the same height and weight, the eye cannot settle. Another trap is treating all pieces as decorative. Function matters. If every object is ornamental, the space loses lived-in charm and becomes fragile to use.
Scale, texture, and a single anchor fix this. Pick one tall piece, one mid piece, and one low dish. Leave breathing room. It is the edit, not a larger shopping list, that solves clutter.
Making This Work in a Small Kitchen
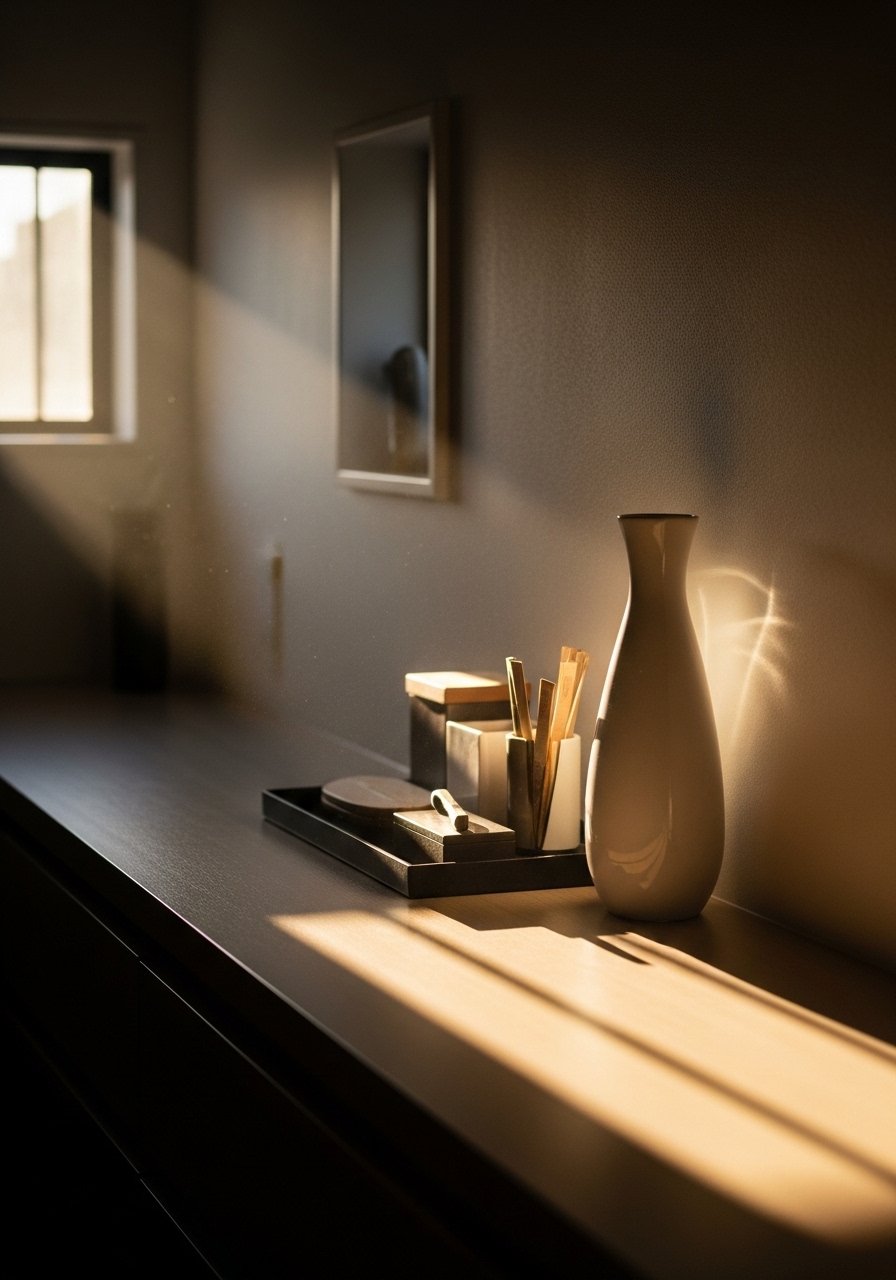
Small spaces need tighter rules. A few practical steps I use:
- Use a narrow tray 12 inches long to keep items contained and easy to move.
- Hang a towel on a nearby hook instead of draping it over the counter.
- Keep vertical accents close to the wall to free working surface.
- Reserve one 18-inch stretch of counter clear for food prep.
If you cook a lot, keep fragile or decorative items on a single higher shelf so the counter stays useful.
What This Looks Like After a Week with Real Life
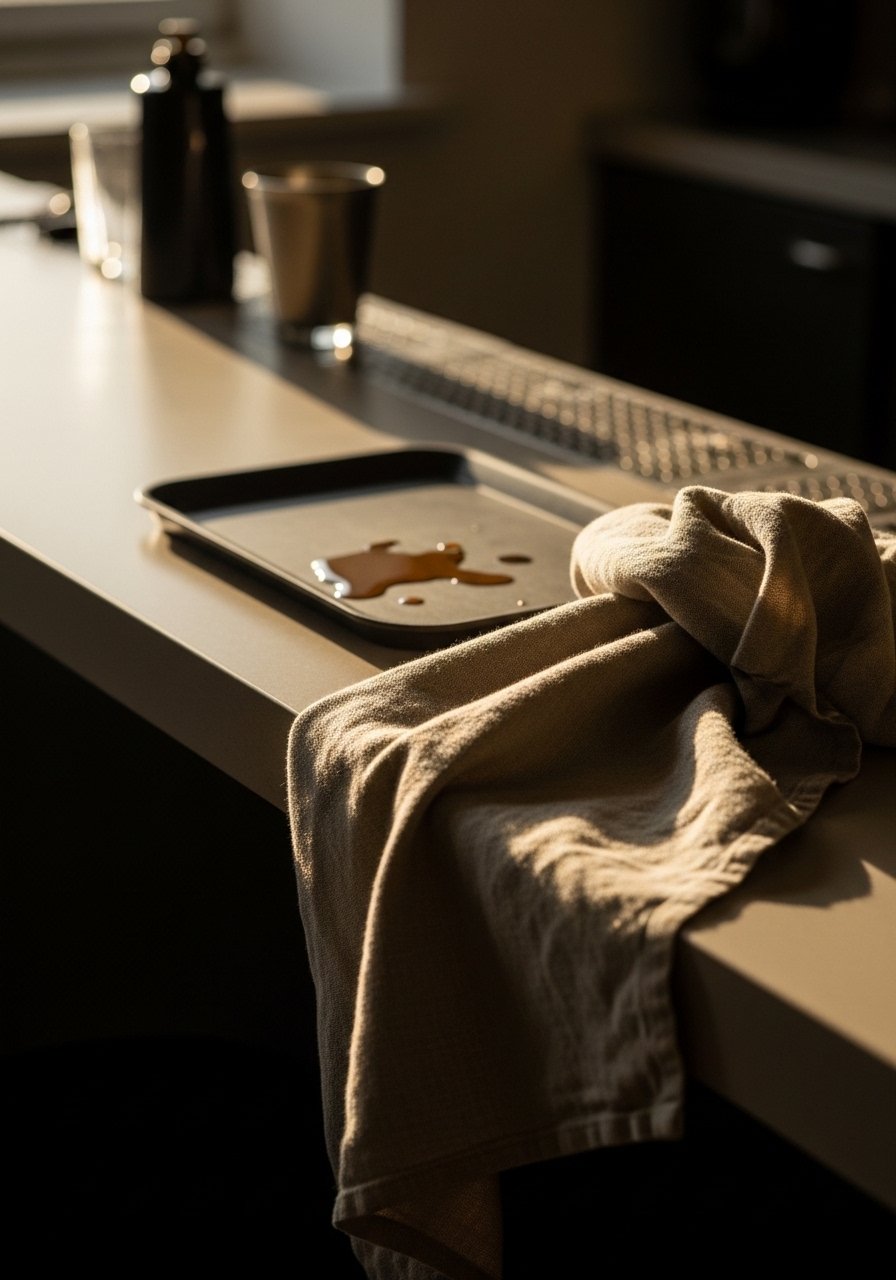
After a week you will notice fingerprints, a stray crumb, or a jar moved for faster access. The trick is to design with that in mind. A weighted tray catches crumbs and prevents lightweight pieces from drifting. Linen towels will wrinkle and pick up stains, and that is okay. I now keep my small ceramic bowl for fruit rather than fragile objects because fruit is forgiving and looks good while being useful. If kids or pets are around, move breakables to shelves above counter height.
Begin with a Single Counter Zone
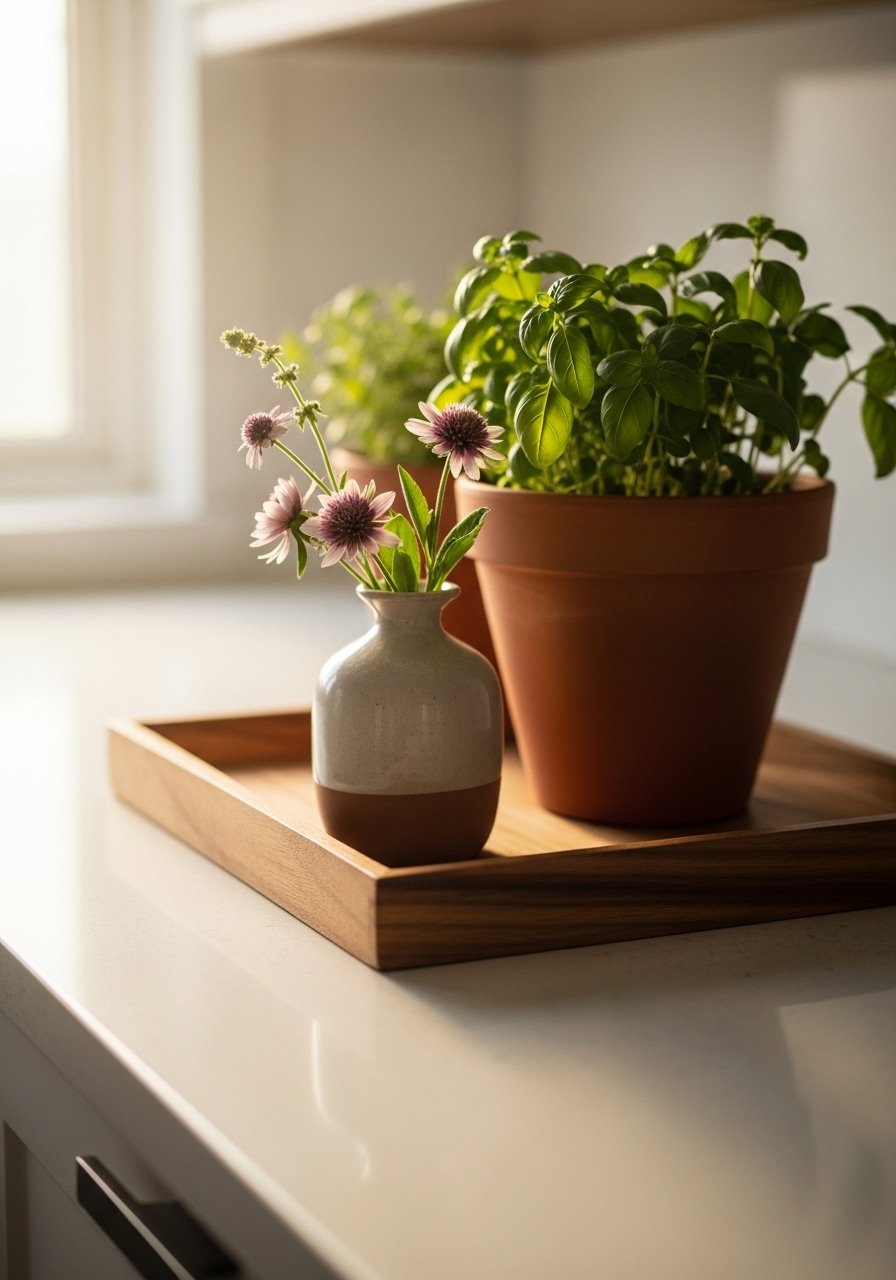
Start small. Pick one 2-foot by 1.5-foot zone, put a tray down, choose a single tall anchor, then add two useful, tactile pieces. If you want a low-commitment start, grab the oval wood tray and a linen towel and see how your counter responds.
Once one corner feels calm, the whole kitchen will read as more intentional. That small success makes it easier to keep styling choices simple and practical.

