

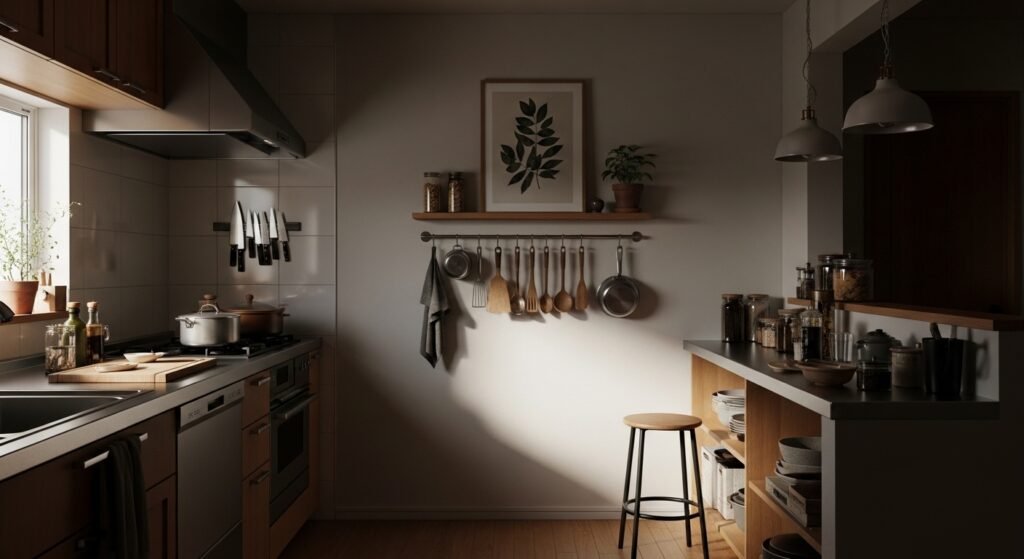
I stared at a blank stretch of wall above my sink for weeks. I tried hanging a row of tiny prints, then a floating shelf, then a wire rack. None of it felt right. Everything looked either too sparse or too crowded. It took three rounds of ripping things down before I stopped trying to fill space and started thinking about spacing.
What finally worked was less about what I added and more about where I left room. Once I treated the wall like a composition with anchors, breathing space, and one functional layer, the kitchen stopped feeling awkward and started feeling organized, calm, and ready to live in.
Step 1: Measure and pick the focal zone
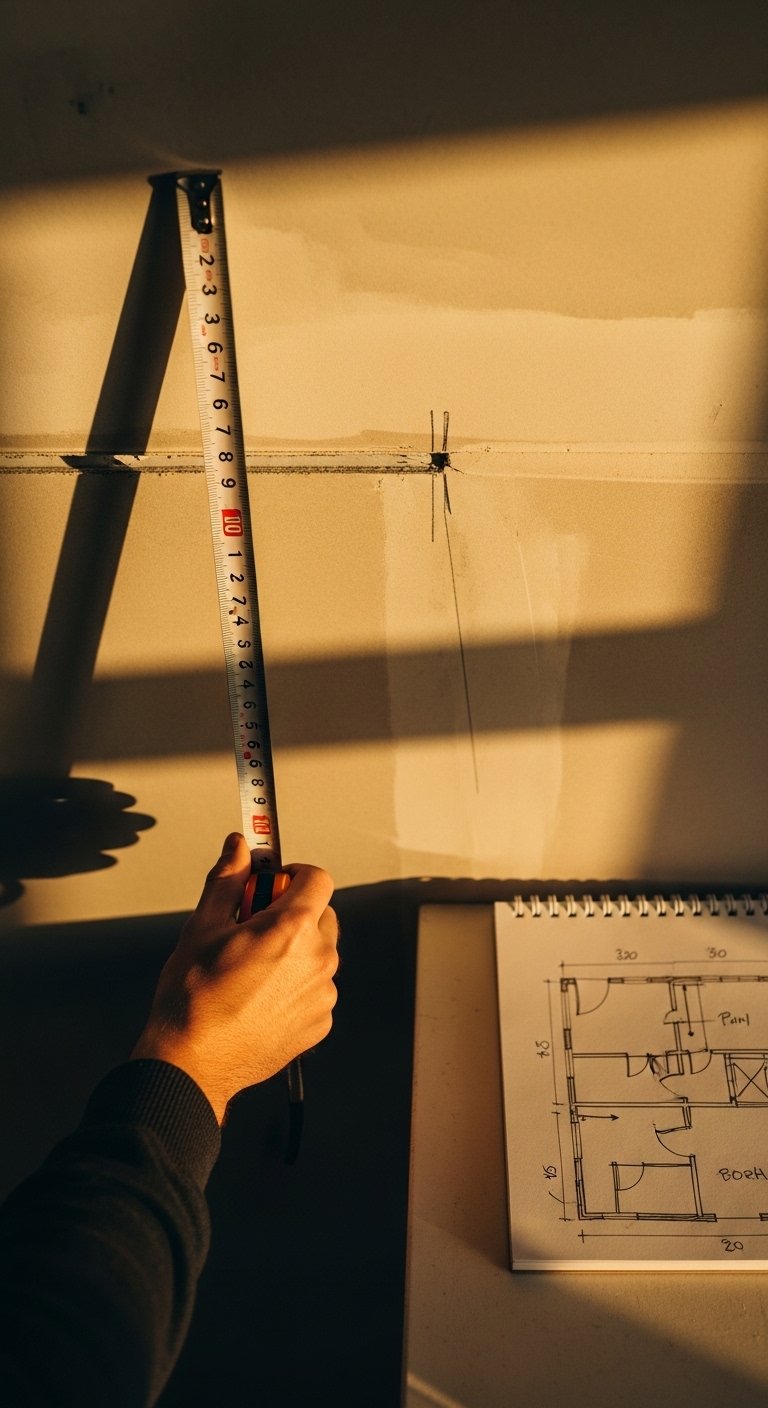
Start by measuring the full width and the usable height, then mark the eye-line at about 57 to 60 inches for art centers. For shallow walls, aim for shelves 10 to 12 inches deep so they do not stick into traffic. My first mistake was eyeballing everything, which meant I hung art too high and shelves too shallow, making the arrangement look like it floated. Measure, then tape paper templates on the wall. The templates feel flimsy under your fingers and show you if a 24-inch shelf will look tiny or right. Seeing the negative space on the paper helped me stop overfilling the wall.
Step 2: Anchor with one solid piece
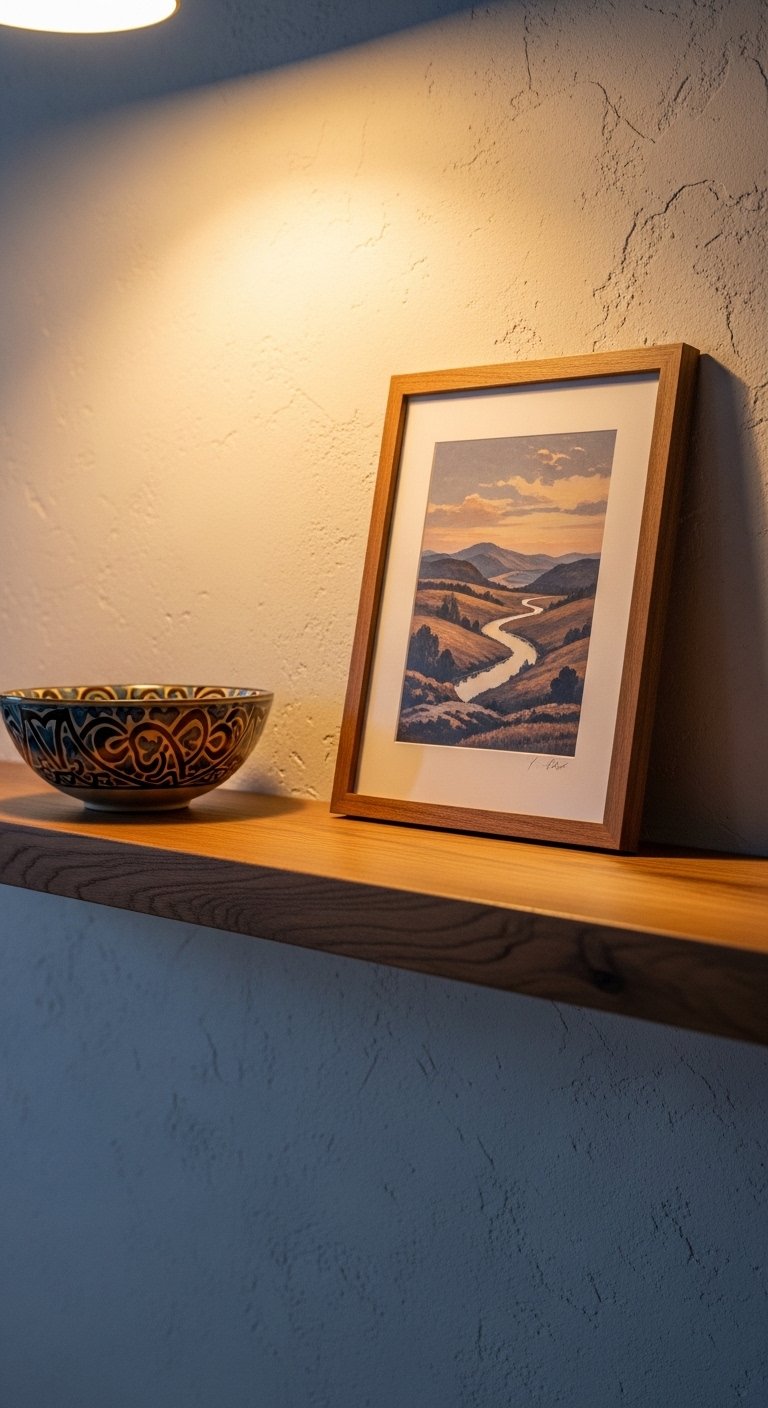
Most people try to make everything equal. I did that and ended up with a sleepy, indecisive wall. Pick a single anchor, like a solid wood shelf or a large framed print about two thirds the width of the work area. A 24 to 30 inch shelf sits nicely over a 3-foot counter run. I used a chunky wood ledge with visible grain so it reads as weighty and grounded. The shelf feels heavy in your hands, the wood cool and slightly rough. Anchoring gives you permission to leave other areas quieter. I bought these brass picture ledges, 24-inch ($18-30) and the metal brackets added a little sparkle without shouting.
Step 3: Group items and respect breathing room
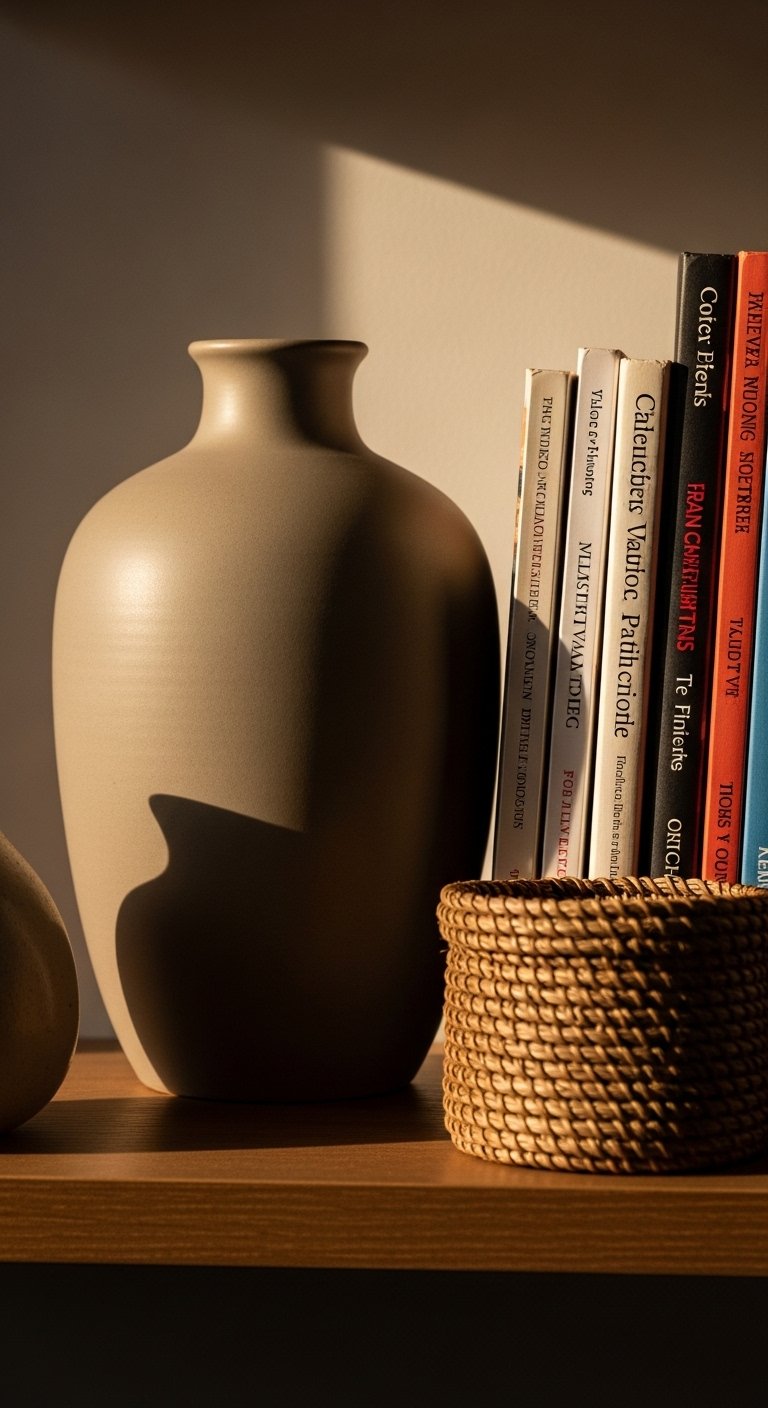
This is where it starts to look styled instead of random. Group in odd numbers, usually threes, and place the tallest object to one side. Leave 2 to 3 inches between items on a shelf so each piece reads. Aim to keep roughly 30 to 40 percent of the wall empty so the eye has places to rest. Early attempts with too many ceramics looked cluttered and made the shelf feel top-heavy. A matte ceramic vase set works well here. I use this ceramic vase set, matte white ($25-40) because the surface is cool to touch and hides fingerprints better than glossy finishes. Walk away and come back after ten minutes to spot crowding you missed.
Step 4: Add functional layers that look intentional
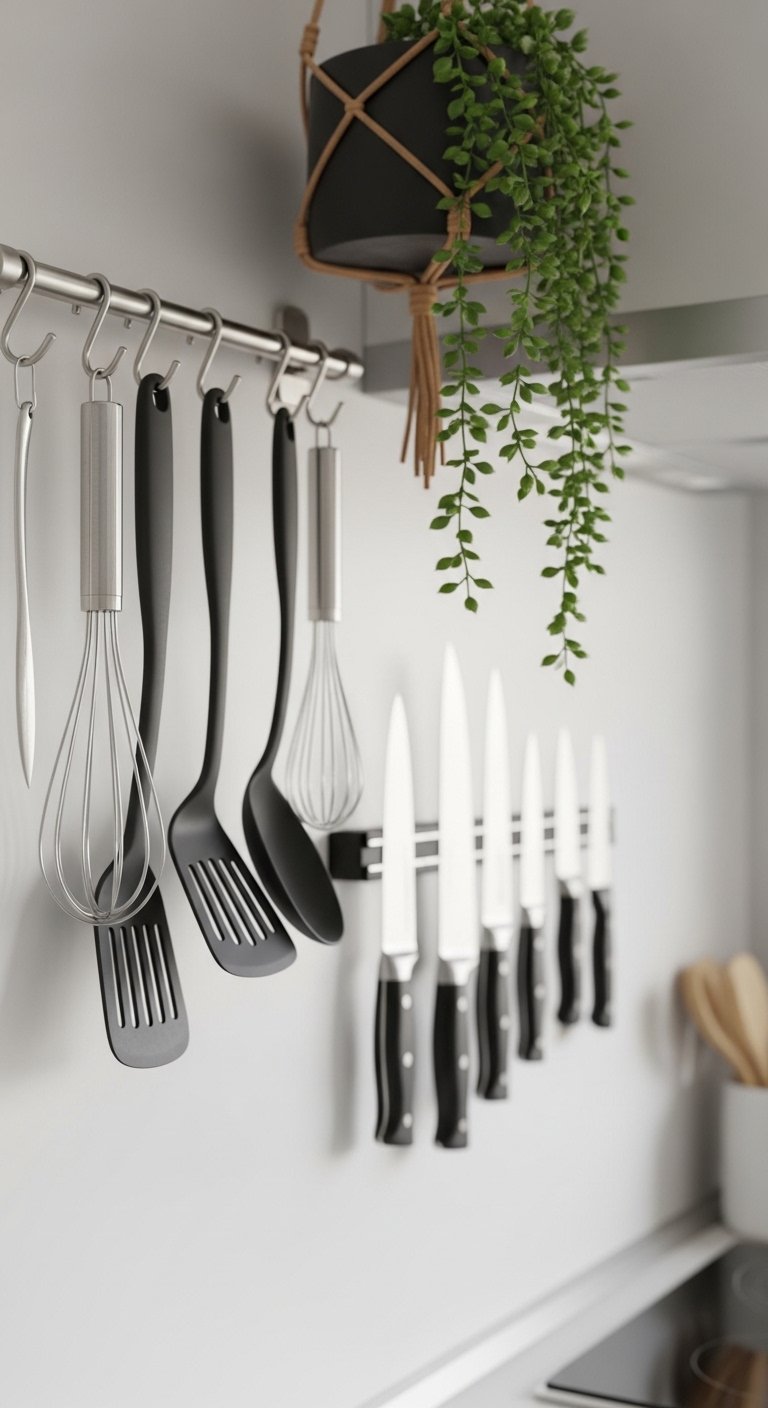
Open wall space in kitchens should earn its place. Add one functional layer like a magnetic knife strip, a rail for utensils, or two hooks. Keep hardware finishes consistent with the anchor piece. My error was adding every type of hook I owned, which turned the wall into a hardware sample board. Instead, choose one rail and a couple of hooks spaced 8 to 12 inches apart. A rail feels cool and smooth under your palm and makes reaching for a spoon easier than rifling through drawers. If you have kids or pets, position hooks higher so fragile items stay safe.
Step 5: Live with it and tweak weekly
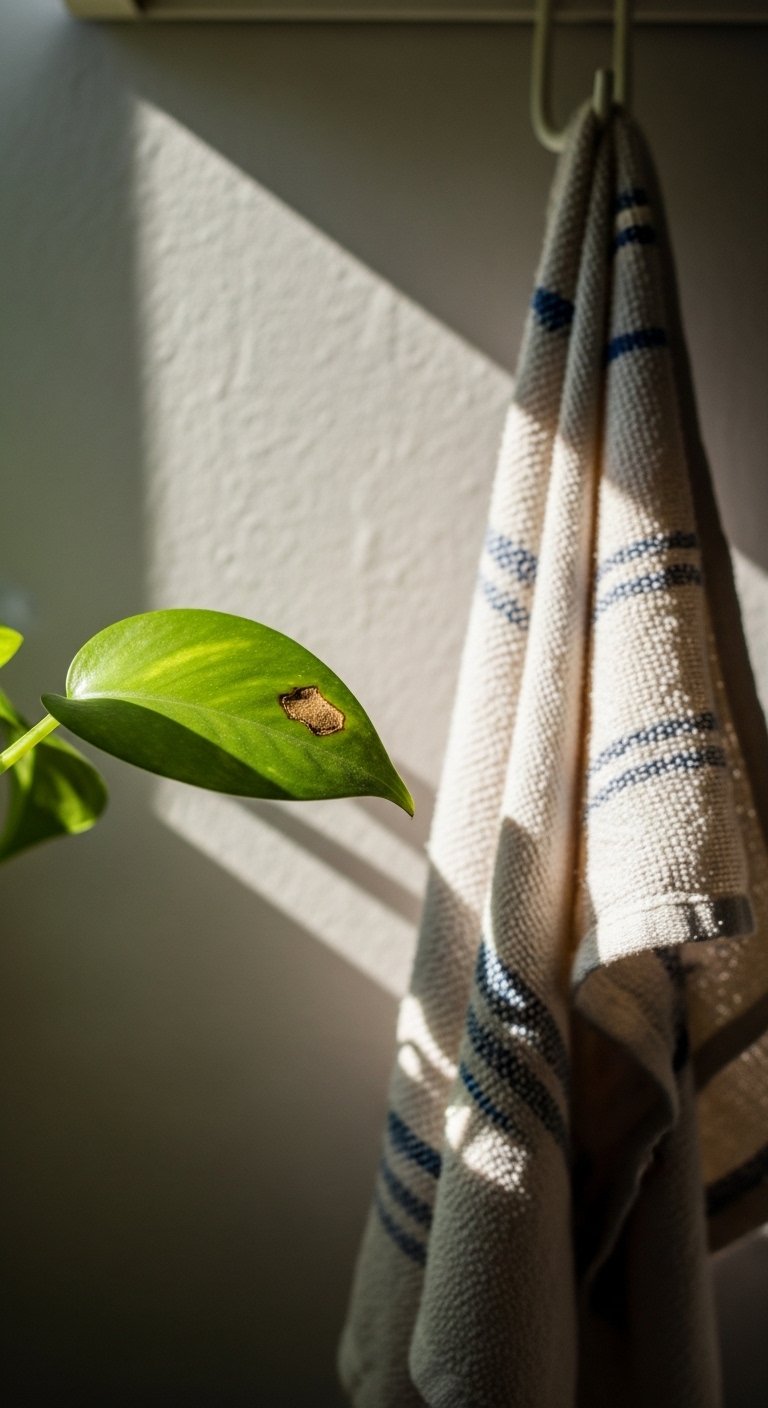
Styling a kitchen wall is a process, not a single afternoon. For me, the first weekend looked perfect, then a sauce splatter and a knocked-over plant taught me what needed to move. Keep one change per week: swap the plant for a cutting board, move the print over an inch, or switch the vase. Textures matter in use. Linen towels show wear quickly and feel soft, while a ceramic jar tolerates sticky fingers. After a week of real life, you will see which items are practical and which are only pretty. Be willing to remove the pretty ones if they complicate your routine.
What to Grab to Style Open Kitchen Walls
Solid wood floating shelf, 30-inch in walnut ($40-75). I used this as the anchor in Step 2.
Brass picture ledges, 24-inch ($18-30). Perfect for leaning art in Step 2.
Ceramic vase set, matte white, set of 3 ($25-40). For the grouped trio in Step 3.
Magnetic knife strip, 20-inch steel ($20-35). Functional layer from Step 4.
Heavy-duty picture-hanging kit with anchors ($8-15). Use this when marking at 57 to 60 inches in Step 1.
Small terracotta planter, 6-inch ($6-12). Adds life in Step 5, easy to move.
Woven utensil holder, natural jute ($10-20). Keeps small tools tidy and tactile, used in Step 3.
Set of two brass hooks, 3-inch ($12-18). For hanging towels or aprons in Step 4.
Why Your Open Wall Still Feels Empty
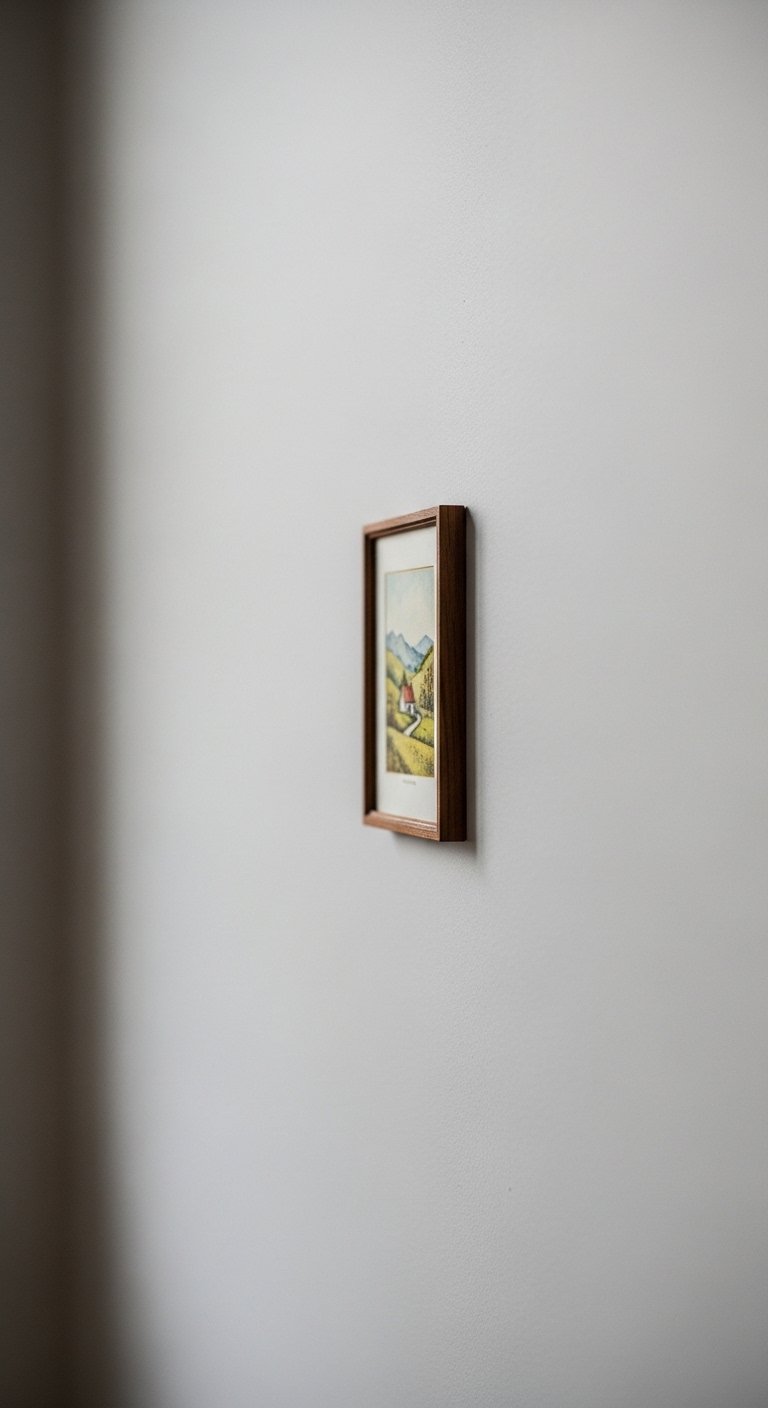
A common mistake is undersizing the artwork or shelf. Small items on a wide wall create visual cold spots. If your shelf is less than half the width of the counter below, it will look lost. Another misstep is matching the wall paint too closely to the frames and ceramics. You want contrast, not a camouflage effect. Try a darker frame or a natural wood piece to give the eye a place to rest. Finally, don’t rush to fill every inch. Leaving 30 to 40 percent empty helped my wall finally read as intentional.
Making This Work in a Small Kitchen
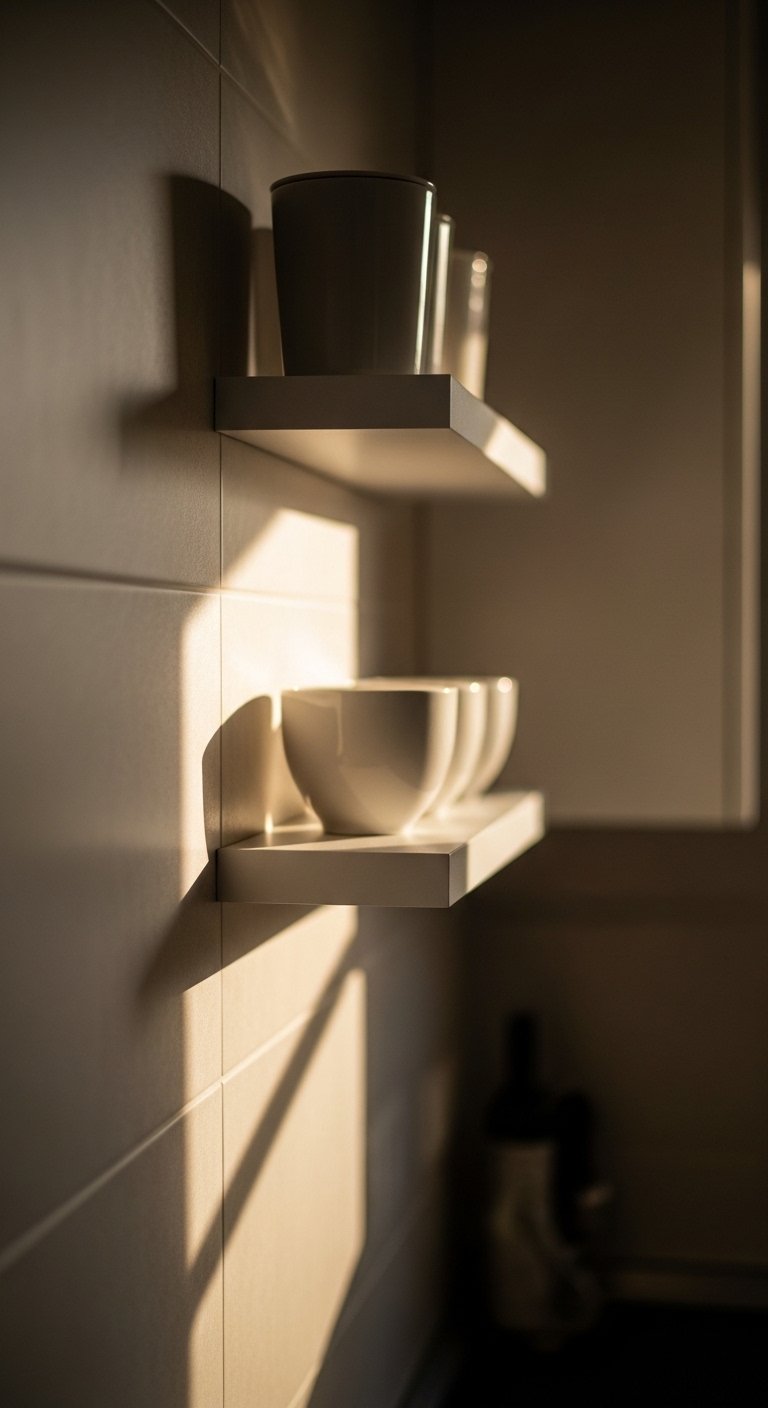
Small kitchens often have one good wall to work with. Use vertical stacking rather than long horizontal shelves. A pair of 10 to 12 inch deep shelves, spaced 10 to 12 inches apart, gives storage without crowding. Quick checklist:
- Pick slim shelves in lighter wood tones to keep the room feeling open.
- Use hooks for mugs to free up counter space.
- Keep heavy or breakable items higher if you have kids.
- Swap dense patterns for smooth ceramics to reduce visual noise. I moved my busiest pieces to a cupboard and the wall finally breathed.
What This Looks Like After a Week with Kids and a Dog
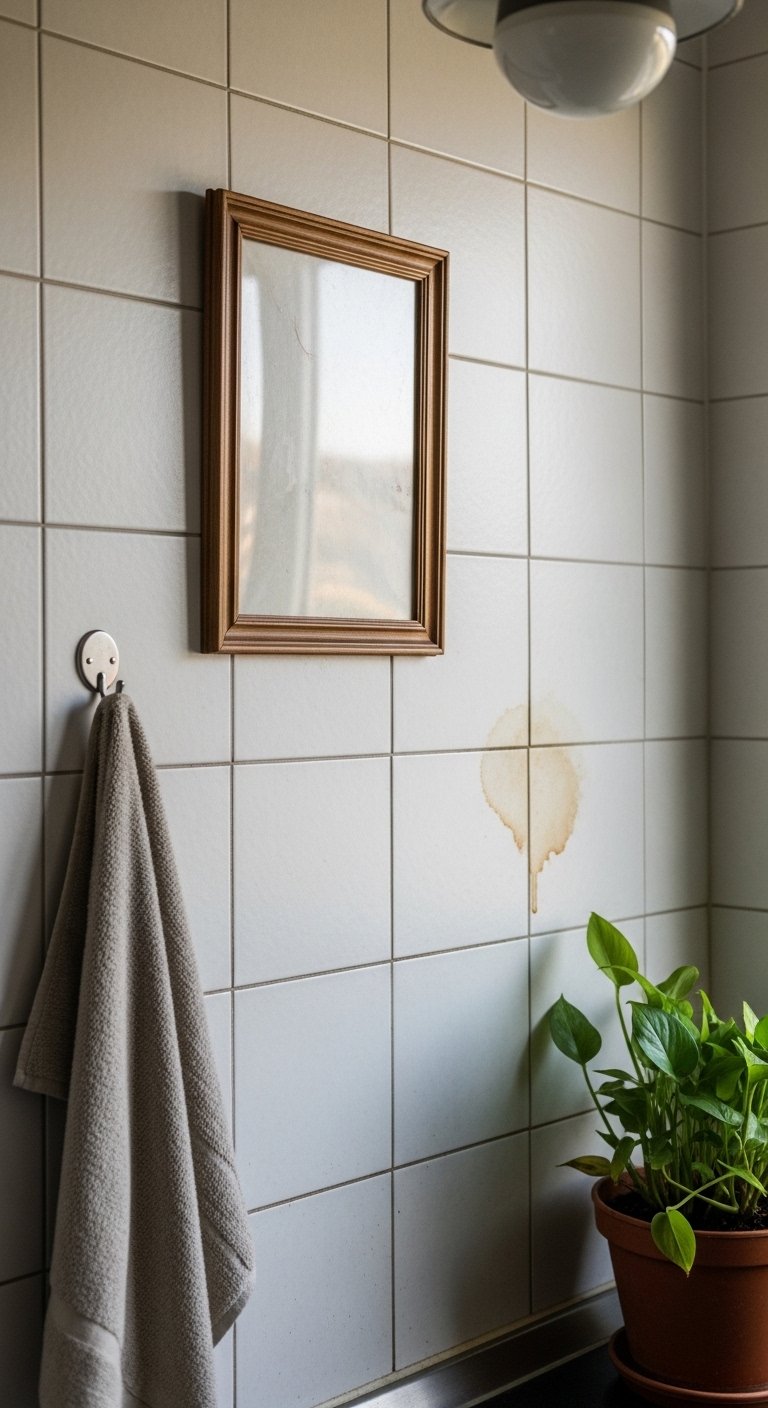
Expect change. A pet nudged a hanging plant and my partner left a spoon on the shelf. After a week I adjusted heights and moved fragile items up and out of reach. Practical swaps: replace delicate ceramics with sturdier bowls, add a washable mat under potted plants, and tighten hooks after a few use cycles. I almost skipped this step previously and regret it every time. Living with the wall reveals the small tweaks that make styling keep working.
Pick One Wall and Start Small
Start by choosing one open wall and committing to one anchor, like a 30-inch shelf or a single large print. Install it, leave 30 to 40 percent empty, then add a grouped trio and one functional rail. If you buy one thing first, get the walnut shelf or the brass ledge, they make decisions easier.
Give it a week. Tweak one item each weekend until the wall feels used instead of fragile. That slow testing is how a styled kitchen becomes a kitchen you actually use.

