

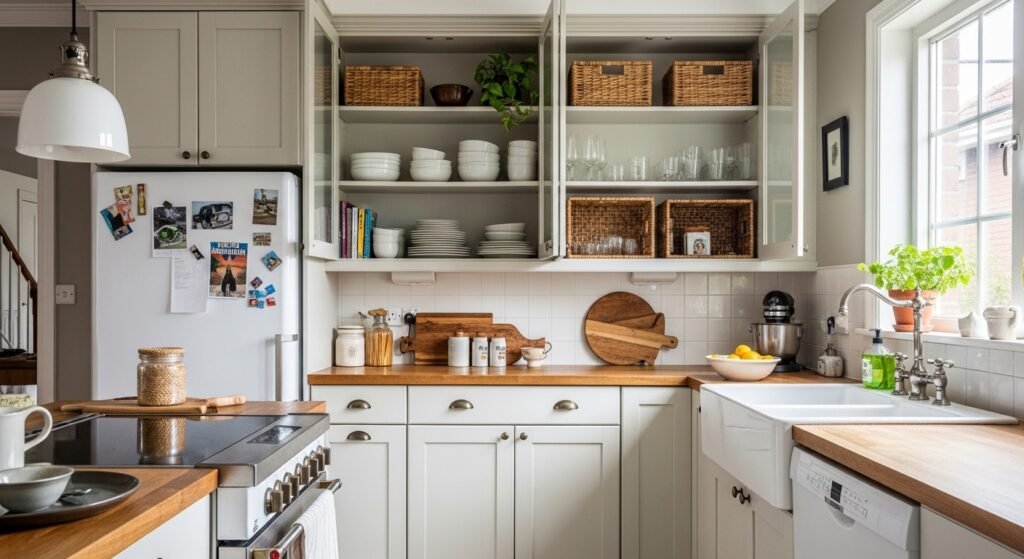
I used to open the cabinet and wince. Shelves looked like a jumble of mismatched plates and random jars. I kept moving things around and nothing felt cohesive.
I learned the hard way that open cabinets punish clutter. They reward small, repeated decisions. You do not need to buy everything new.
This method gives you calm, usable shelves that still feel lived-in. It works for organic modern or quiet-luxury kitchens. You can do it in an afternoon and keep dinner within reach.
What You'll Need
- Set of 3 ceramic vases, matte white ($25 to 40). Use one tall piece per run of shelves to add vertical focus.
- Glass apothecary jars, 16 oz ($15 to 30). Great for pasta or frequently used staples.
- Woven seagrass baskets, medium set of 2 ($30 to 50). Hide odds and ends on lower shelves.
- LED warm white under-cabinet strip lights, 6ft ($15 to 35). Soft light changes the mood of open storage.
- Stoneware dinner plates, set of 4 ($40 to 70). Neutral finishes read cleaner on open shelves.
- Linen dish towels, set of 4, natural ($15 to 25). Folded linens add softness and color.
- Small plant pots, 3-4 inch. I get mine at local nurseries for $4 to 10 each. Plants make shelves feel alive without clutter.
Step 1: Empty, Edit, and Group by Use
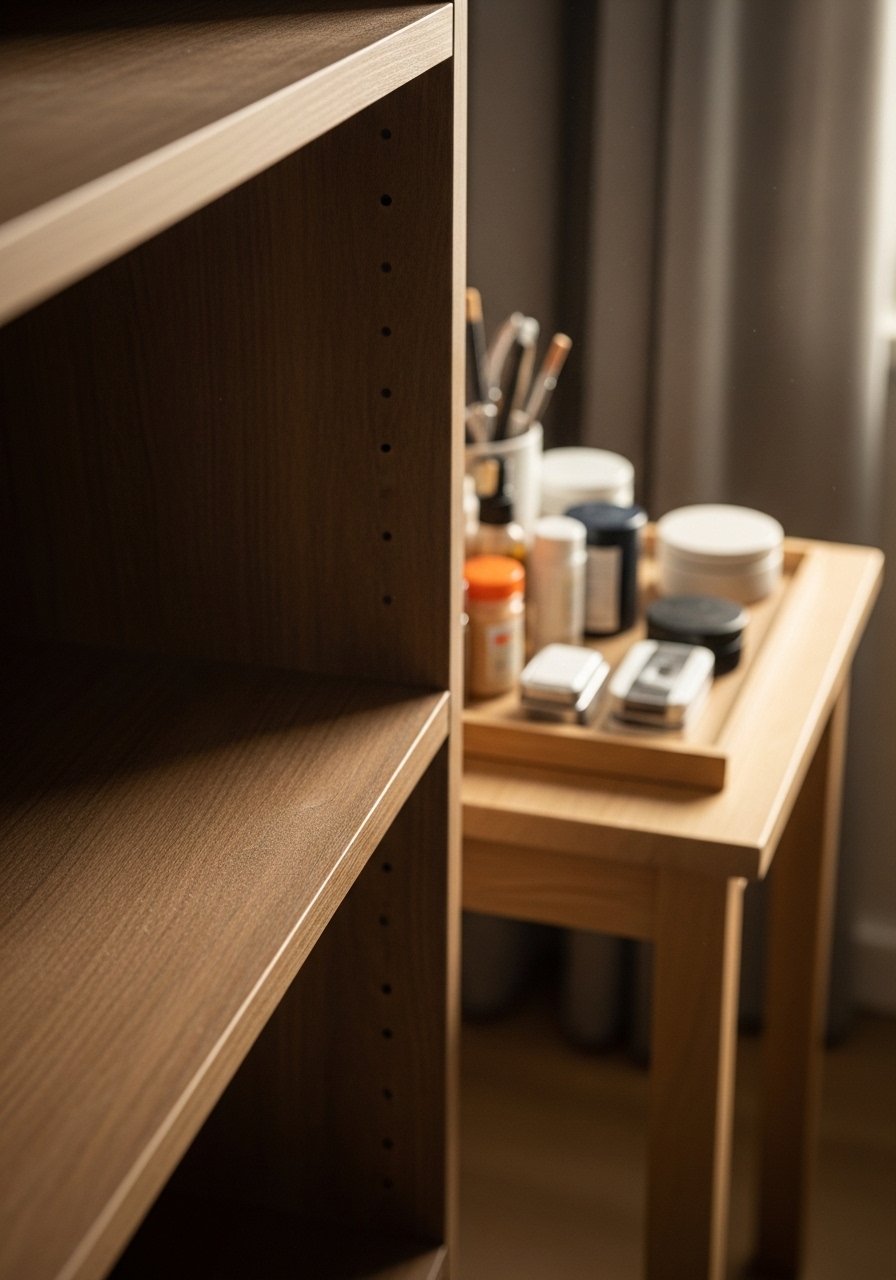
Pull everything out. Yes, everything. Group like with like. Plates, glasses, tins, linens. You need to see quantity and scale to decide what stays.
Visually this creates order. It shows which items you have too many of. I like to keep only 3 to 8 of any one item on display. Smaller kitchens need the lower end of that range.
Most people try to show their whole collection. That makes shelves look busy. Avoid keeping chipped or single items just because they are sentimental.
I used the woven baskets to hide mismatched plastic containers. If you do this, leave 2 to 3 inches of empty space at the front of the shelf so things do not look jammed.
Step 2: Build a Base Layer with Plates and Linens
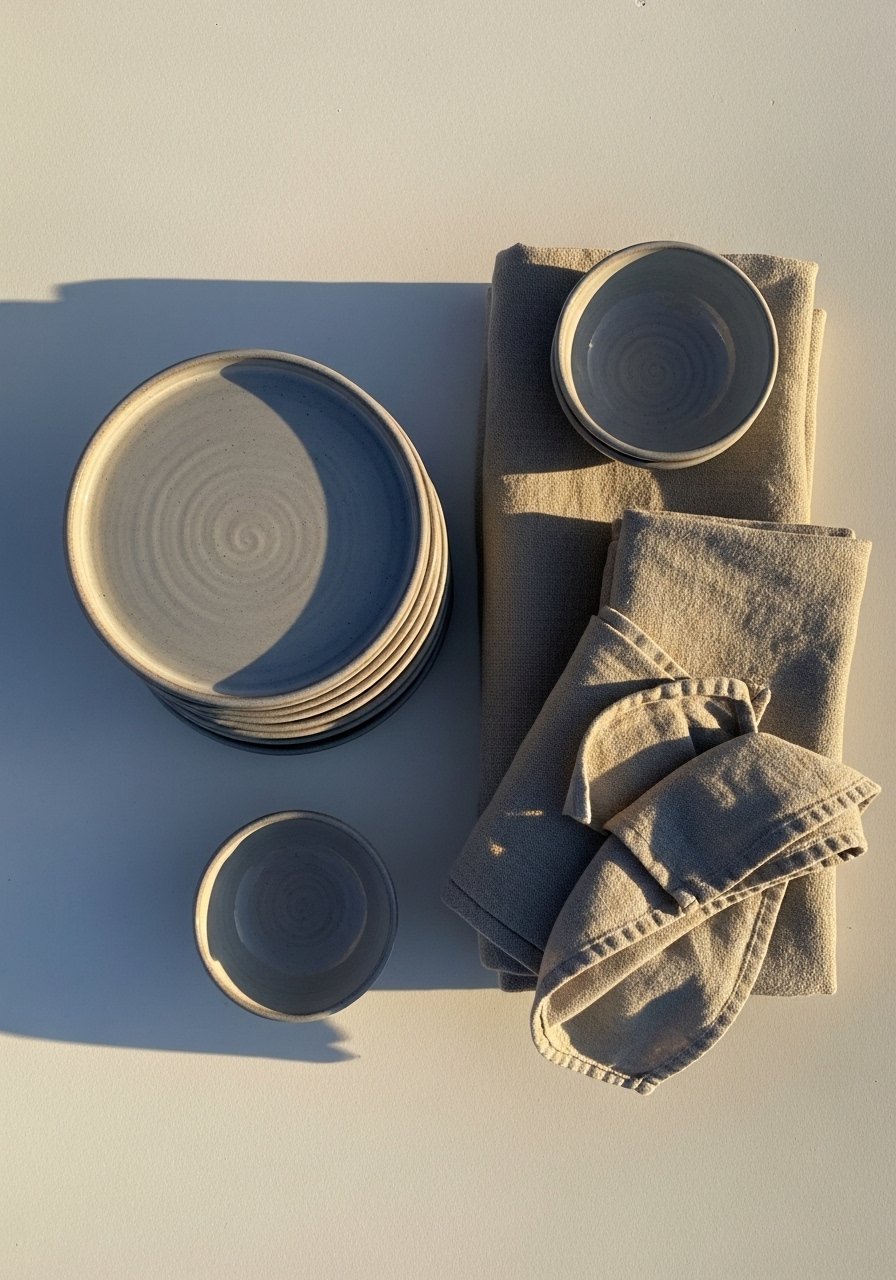
Start with the plates and folded linens. Stack plates in groups of 3 or 4. Fold towels into thirds and lay them flat or drape them over a small bowl.
This step gives the shelf a rhythm. Stacks are your horizontal anchor. Linen adds a soft color and breaks up hard edges.
A common miss is making every stack the same height. Vary heights by 1 to 3 inches. Think of small and medium stacks alternating down the shelf. If your shelves are shallow, limit stacks to one plate deep so nothing overhangs.
I keep a set of stoneware plates for display and daily use. The slightly textured edge reads intentional next to smooth glass jars.
Step 3: Add Vertical Anchors and Leaning Art
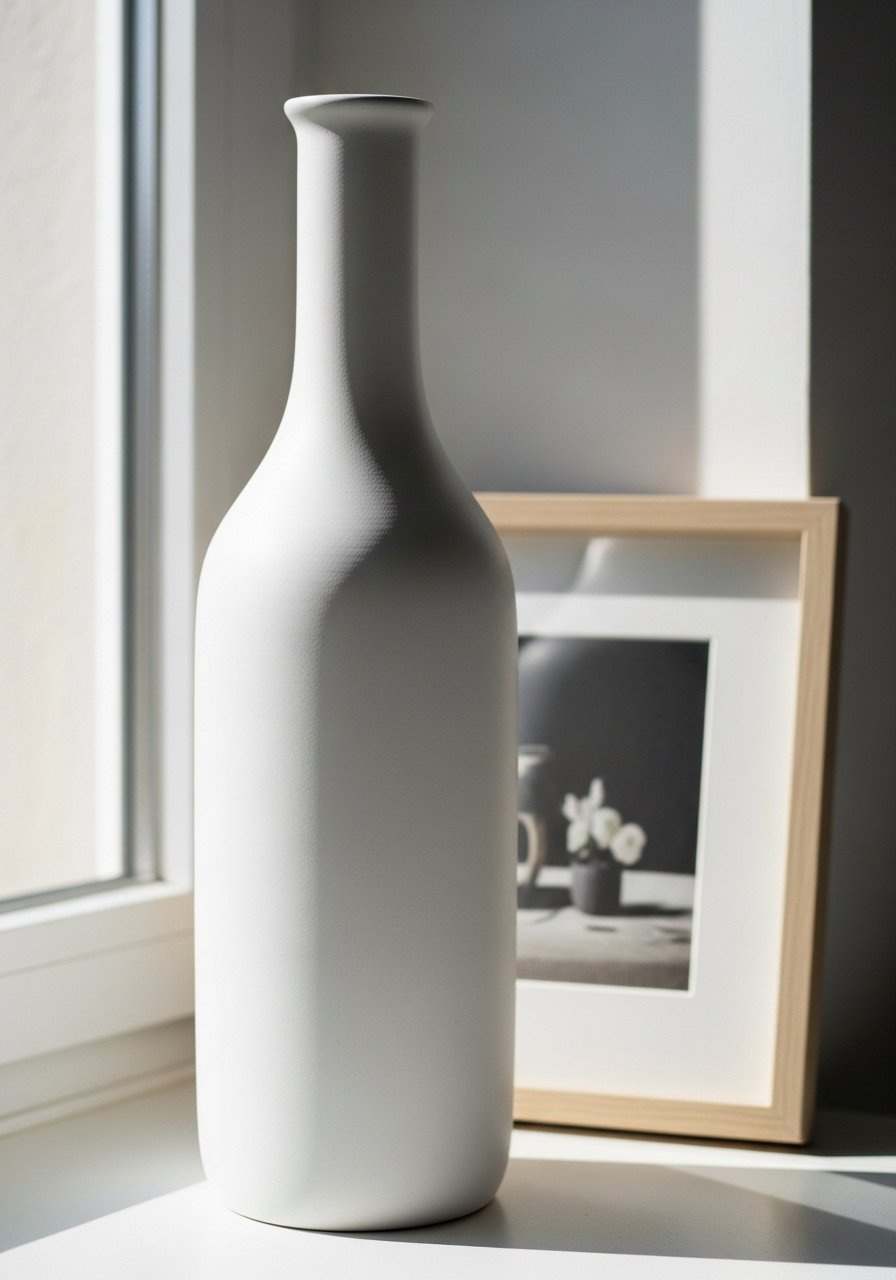
Place a tall item on one side of the shelf. A vase, a tall jar, or a stack of cookbooks works. Then balance it with a low group on the other side.
This creates a visual triangle. It is where the shelf begins to look styled rather than piled. I aim for one tall anchor per two to three shelves so the eye moves up and down.
People often center everything. That looks formal and flat. Avoid symmetry that mirrors left and right exactly. Lean one small framed print or plate against the back wall for a casual feel.
I use one of the ceramic vases on almost every shelf run. The matte finish keeps it from shouting at the rest of the items.
Step 4: Layer Small Objects, Greenery, and Light

Add texture with a plant, a wooden spoon in a jar, or a small woven bowl. Then turn on soft undercabinet lighting. The light makes glass and ceramics pop and reduces the cave effect in darker kitchens.
A good rule is to place one living or faux plant every three shelves. Use 3 to 4 inch pots on higher shelves. On lower shelves, use baskets for texture.
Temptation at this stage is to add many small items. That creates visual noise. Keep to one or two small accents per shelf and remove anything that competes with the anchor piece.
I installed LED warm-white strips to highlight textured plates and make the shelves feel intentional in the evening.
Step 5: Step Back, Edit Rhythm, and Reserve Space
Stand back and look at the whole run of cabinets. Aim for alternating dense and sparse shelves. One shelf should be visibly more open. That negative space is as important as what you put on the shelves.
You will notice if two adjacent shelves are too similar. Swap a stack for a plant or a basket. Leave roughly 25 to 30 percent of each shelf clear when possible.
A common error is filling every inch because it feels like value. Open cabinets look cheaper when every shelf is overcrowded. Less feels more edited and usable.
Keep one shelf as a "work" shelf for daily dishes. That reduces anxiety and keeps the look consistent.
Why Your Cabinets Still Look Busy
I've noticed people fix one shelf and stop. That creates visual hiccups across the run. Consistency matters more than matching everything.
Think in runs of three shelves. Repeat one or two materials across them. For example:
- Stoneware plates on two shelves
- One ceramic vase repeated
- Two baskets at the bottom for hidden storage
If your cabinet backs are a bright color, keep displayed items neutral so the color reads as a backdrop. If you want more contrast, add one dark object per run to ground the eye.
Making This Work in a Small Kitchen
I keep seeing compact kitchens adopt open cabinets because they visually expand the room. In small spaces, scale down everything.
- Use plates 9 to 10 inches, not oversized platters
- Limit visible stacks to 2 to 3 items
- Reserve bottom shelf for baskets to conceal clutter
Rotate seasonal dish towels to refresh the look. A single potted herb can do more for the vibe than several decorative pieces.
Mixing Open Cabinets with Closed Storage
A friend asked me about this last week, and I recommended a simple split. Keep everyday items behind closed doors. Display pretty or frequently used items in open shelves.
When combining styles, match finishes. If your hardware is warm brass, add one brass-accented tray or utensil holder on the open shelf. Keep the rest matte or natural to avoid a fussy look.
Closed storage handles the mess. Open cabinets show your personality. Let closed cabinets do the heavy lifting.
Start with One Shelf
Pick the shelf you use most, and style it first. Make it practical and edited. Leave breathing space and a single repeated material so it reads calm.
Try the ceramic vase and a small stack of stoneware plates as your first combo. Adjust from there. The rest of the run will fall into place once one shelf feels right

