

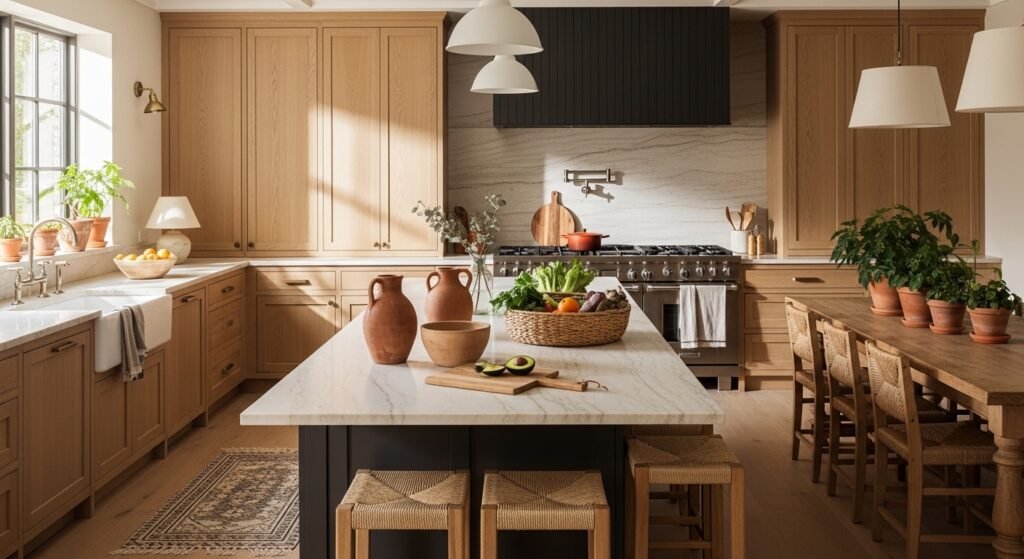
I kept rearranging jars and cutting boards until the counters felt cluttered but still cold. Every surface had something natural on it, but nothing read as deliberate. I wanted warmth without fuss. I wanted a kitchen that felt lived-in and calm.
This is the approach I use when a kitchen needs to settle into itself. You will learn how to layer wood, stone, fiber, and metal so surfaces read cohesive. The result should feel grounded, relaxed, and easy to live with.
What You'll Need
- Large wooden cutting board, acacia, 18×12 ($25 to $45). I lean it against the backsplash to add height and warmth
- Jute runner, 2×8 ($30 to $70). Place it where you stand most to anchor the work zone
- Set of 3 ceramic vases, matte white ($20 to $40). Great for a sprig of greenery on the island
- Linen tea towels, natural or oatmeal ($12 to $25). I fold one over a hook for a lived-in look
- Wicker produce baskets, medium and small ($20 to $45). Useful for fruit, onions, or hiding packets
- Stoneware dinnerware set, neutral glaze ($60 to $120). Mix with white dishes for depth
- Clay utensil crock, raw finish ($15 to $30). Keep frequently used tools visible and easy to grab
- Small potted herb, rosemary or basil ($8 to $25). Fresh and functional on a sunny sill
Step 1: Start by clearing and choosing one surface
I used to start with accessories and then wonder why things felt off. Pull everything off the chosen surface first. You need a blank canvas to feel scale and negative space. Pick the island or a single counter as your staging area.
Visually, you will see the proportions that actually work. A lone small vase will look lost on a large island. Aim for one large anchor item and one or two smaller accents, not five medium pieces crowding the view. A common mistake is using too many items of the same height. Vary height by 6 to 12 inches for balance.
Step 2: Place the largest natural piece as your anchor
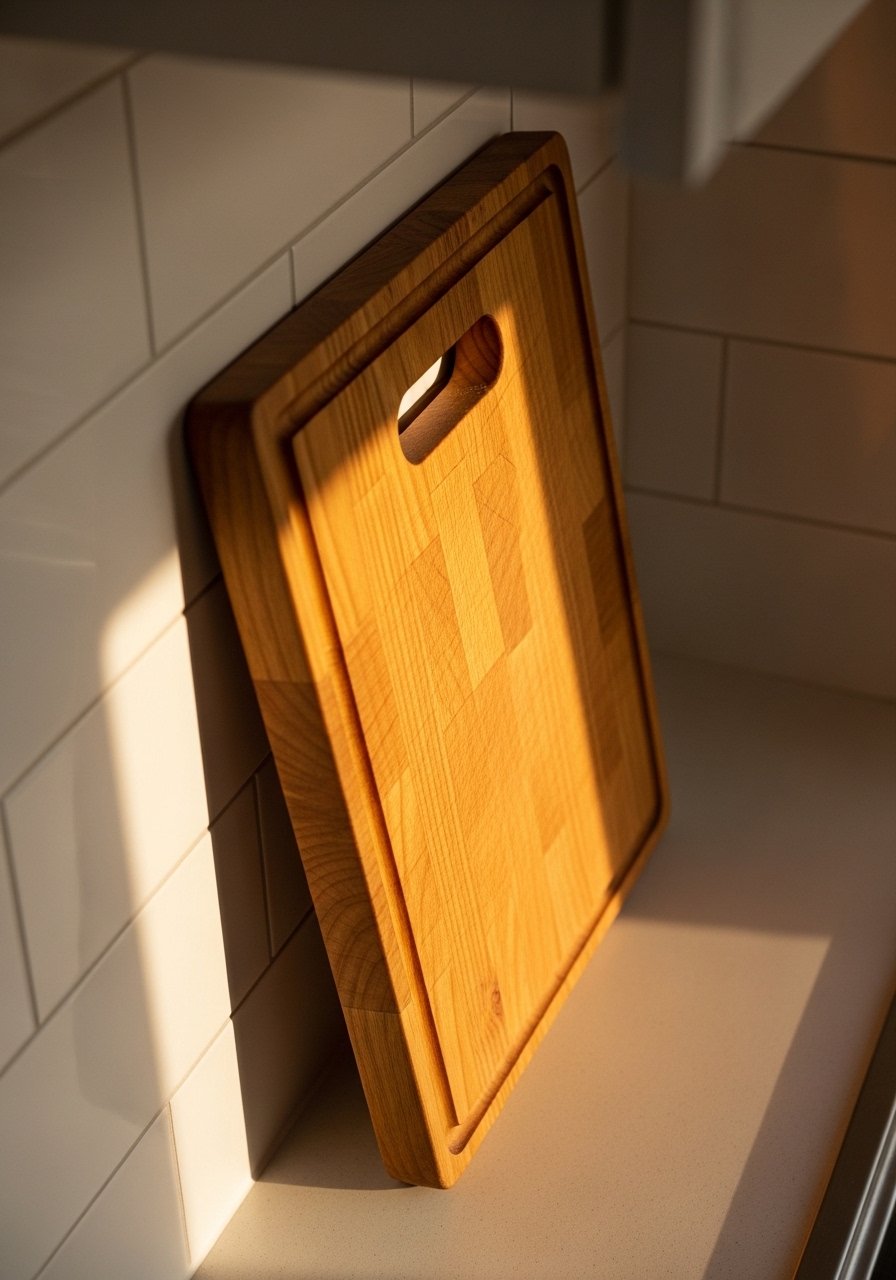
Pull the largest natural material into place, often a wooden board or a jute runner. I lean an 18×12 cutting board against the backsplash or lay a jute runner under a sink area. That one piece sets the tone and temperature of the whole composition.
When done right, the space reads warm and intentional. When wrong, every item competes. Leave 2 to 3 inches of breathing room around the anchor so it doesn't feel crowded. Avoid placing the anchor dead center unless you want symmetry. Off-center placement almost always looks more relaxed.
Step 3: Add a living element and a ceramic group
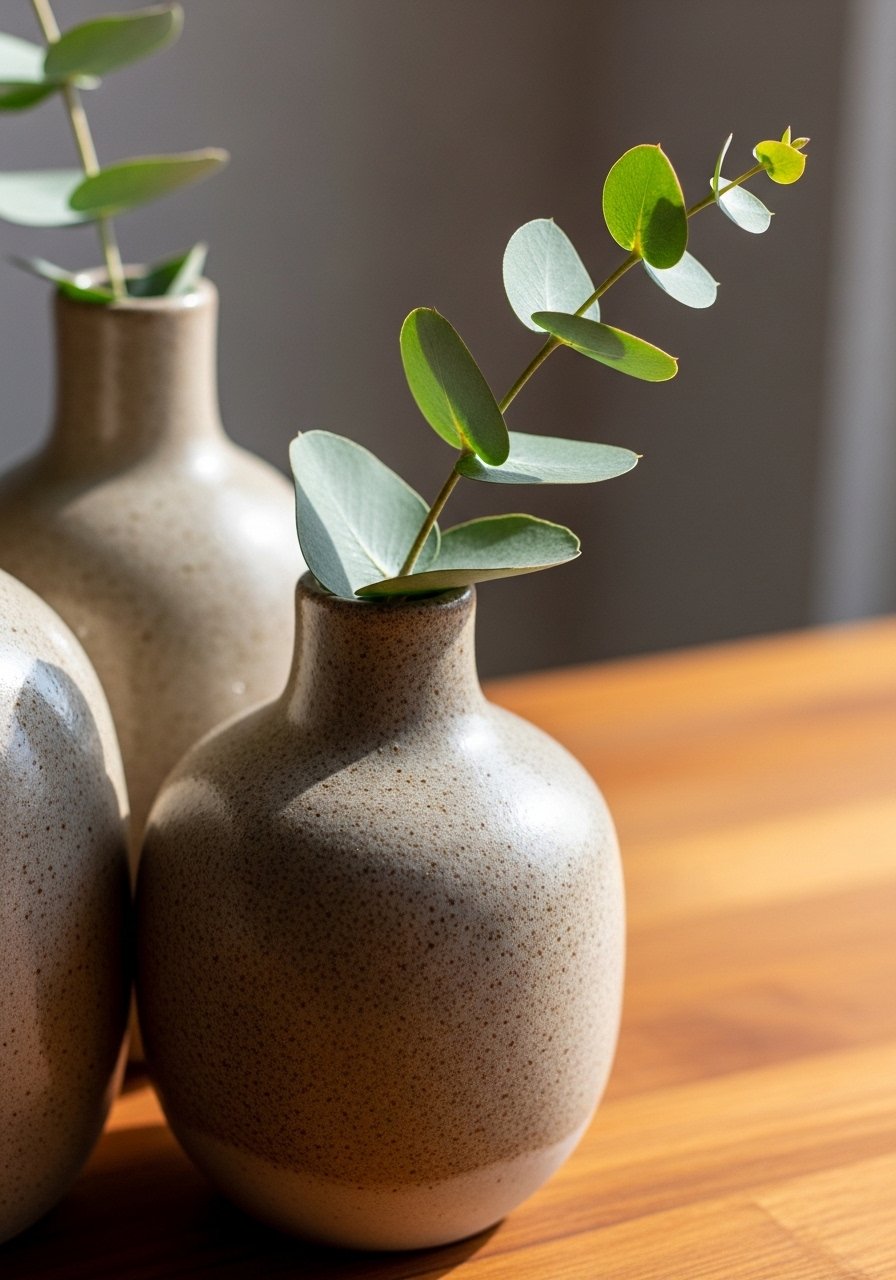
This is when the counter begins to look lived-in. I put a small potted herb or a sprig in a matte ceramic vase next to the cutting board. The contrast between clay, wood, and green makes the eye settle. Use odd numbers, three items is a safe bet for balance.
People tend to pick plants that are too large for the area. Choose pots that are 3 to 6 inches wide for counters, not 8 to 10 inches. A mistake is placing the plant directly in front of a window where it blocks light or in front of a sink where water splashes. Think of the plant as both texture and function.
Step 4: Soften hard edges with textiles and baskets
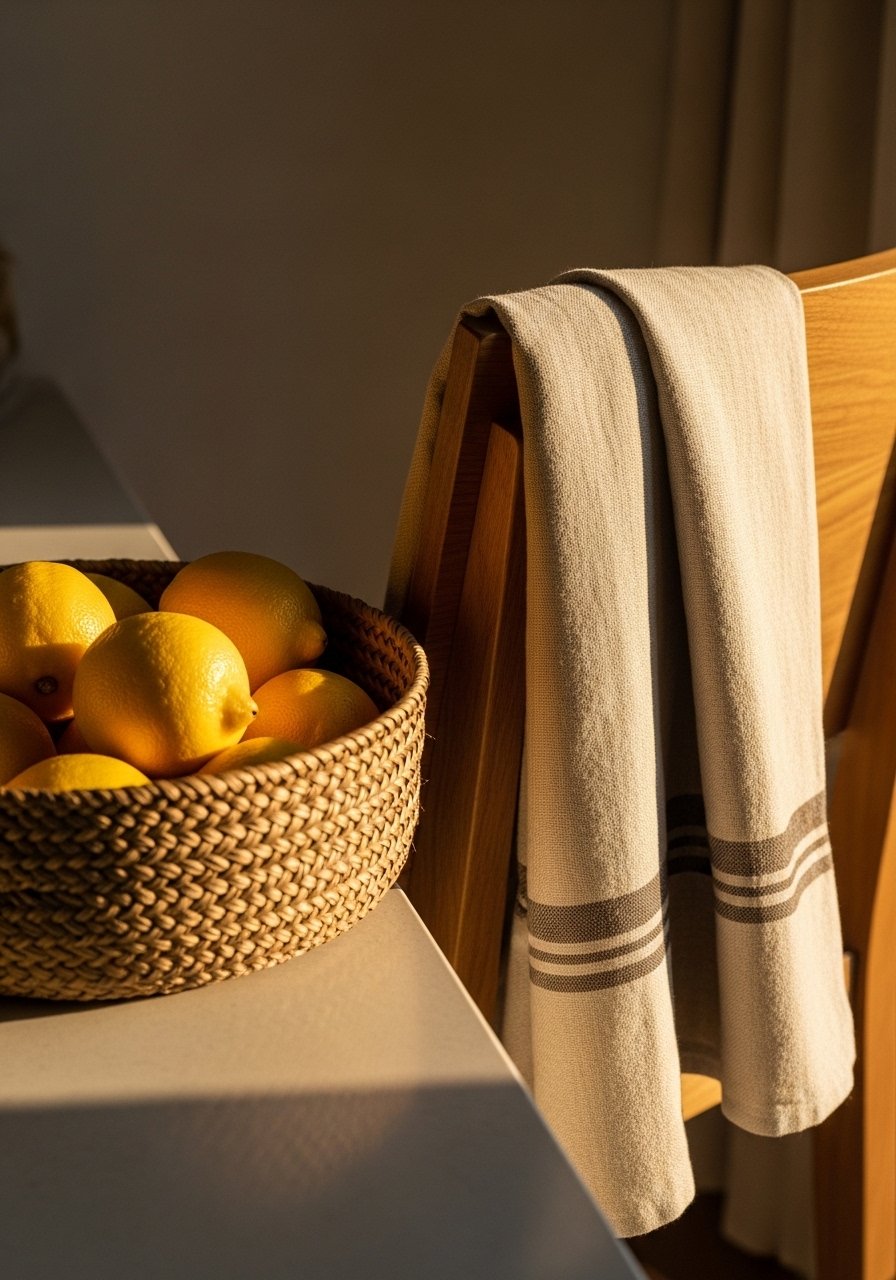
Most people leave the kitchen feeling cold because they skip textiles. I drape one linen tea towel over a hook and add a wicker basket with fruit. Textiles and woven baskets bring down the visual temperature in a way wood alone cannot.
Visually, the room stops looking like a showroom and starts feeling usable. A common error is using a bright patterned towel that fights with natural tones. Stick to neutral linen. Keep towels folded or casually draped, not crumpled. Leave at least 4 to 6 inches of visible counter between baskets and the sink so it reads intentional.
Step 5: Edit down and decide what to keep visible
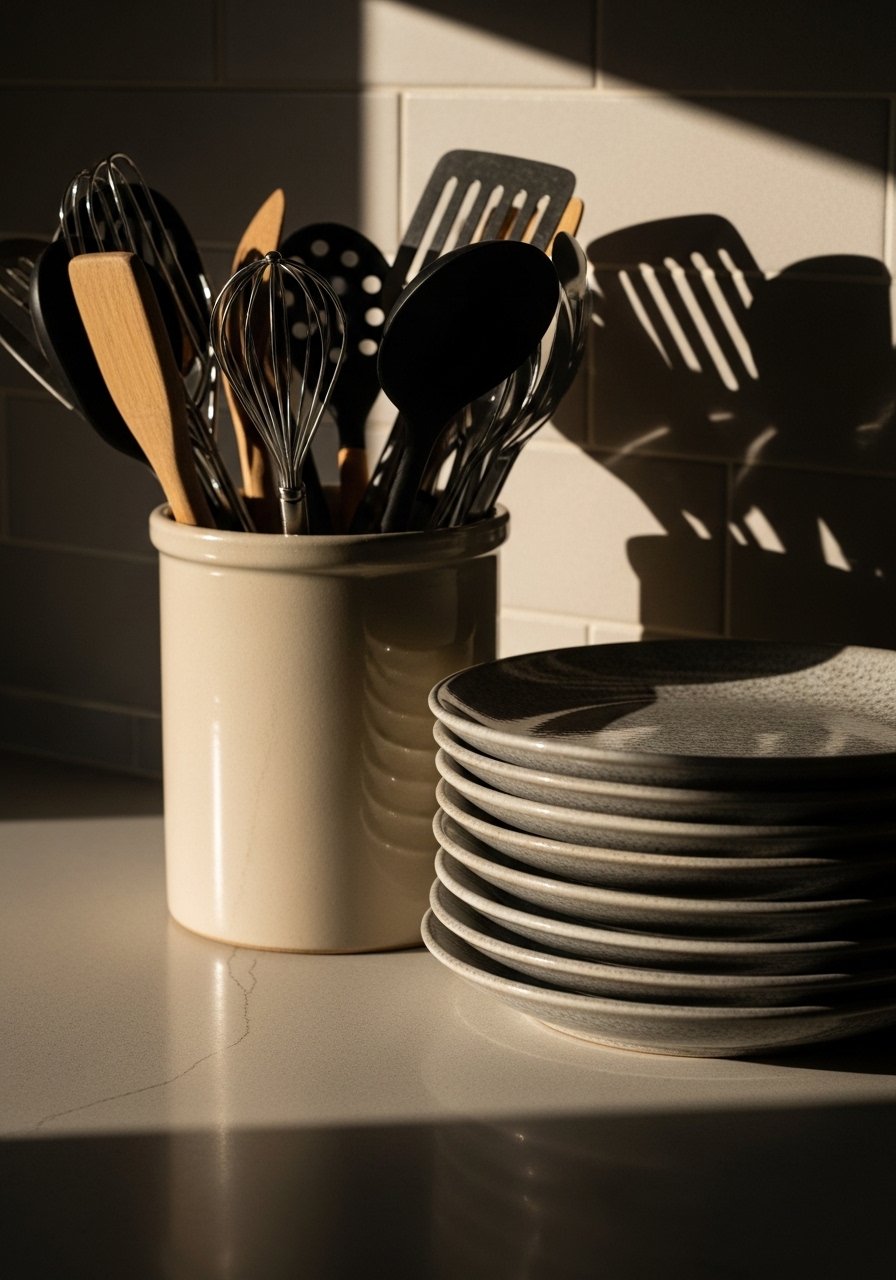
This is the moment the kitchen finally looks like it belongs to someone. I step back, remove anything that repeats a texture too often, and choose one utensil crock or one stack of plates to keep visible. Editing is the work that makes the styling last.
People hang on to sentimental items and then the counter feels cluttered. Ask if each item is used weekly. If not, store it. One mistake is thinking more equals richer. It does not. Fewer, well-chosen natural pieces read calm and collected.
Why your counters still feel cluttered after adding natural pieces
I keep seeing kitchens where every item is natural, but the layout is chaotic. Natural material alone is not enough. Placement and scale matter. Small items get lost. Large items overwhelm.
Quick checklist
- Keep one anchor per surface
- Vary heights by 6 to 12 inches
- Group in odds, like 1 large with 2 small
- Leave breathing room, 2 to 3 inches minimum
If you follow those points, the materials will read cohesive rather than competing.
Making this work in a small kitchen
When space is tight, focus on vertical balance. Use a single narrow jute runner, a slim cutting board, and a small ceramic vase. Hang one linen towel on a peg rail to free counter space. I use wall-mounted hooks for a clay utensil crock so everything feels accessible but off the worktop.
A 24-inch counter might need only one small basket and one plant. In a galley kitchen, repeat a material on both sides to create rhythm. I find repeating the same clay finish twice ties the whole space together.
Mixing natural materials with stainless appliances
Everywhere I look this year stainless appliances are the default. Natural materials soften metal without hiding it. Pair a warm wooden cutting board with cool steel by placing the wood near where you prep and the steel near the oven. Stoneware dishes layered onto open shelving help bridge the finishes.
Example: stack neutral stoneware near the dishwasher so the tones echo across the room. Use brass or matte black hardware as small punctuation marks. One or two metallic accents keep the look modern rather than rustic.
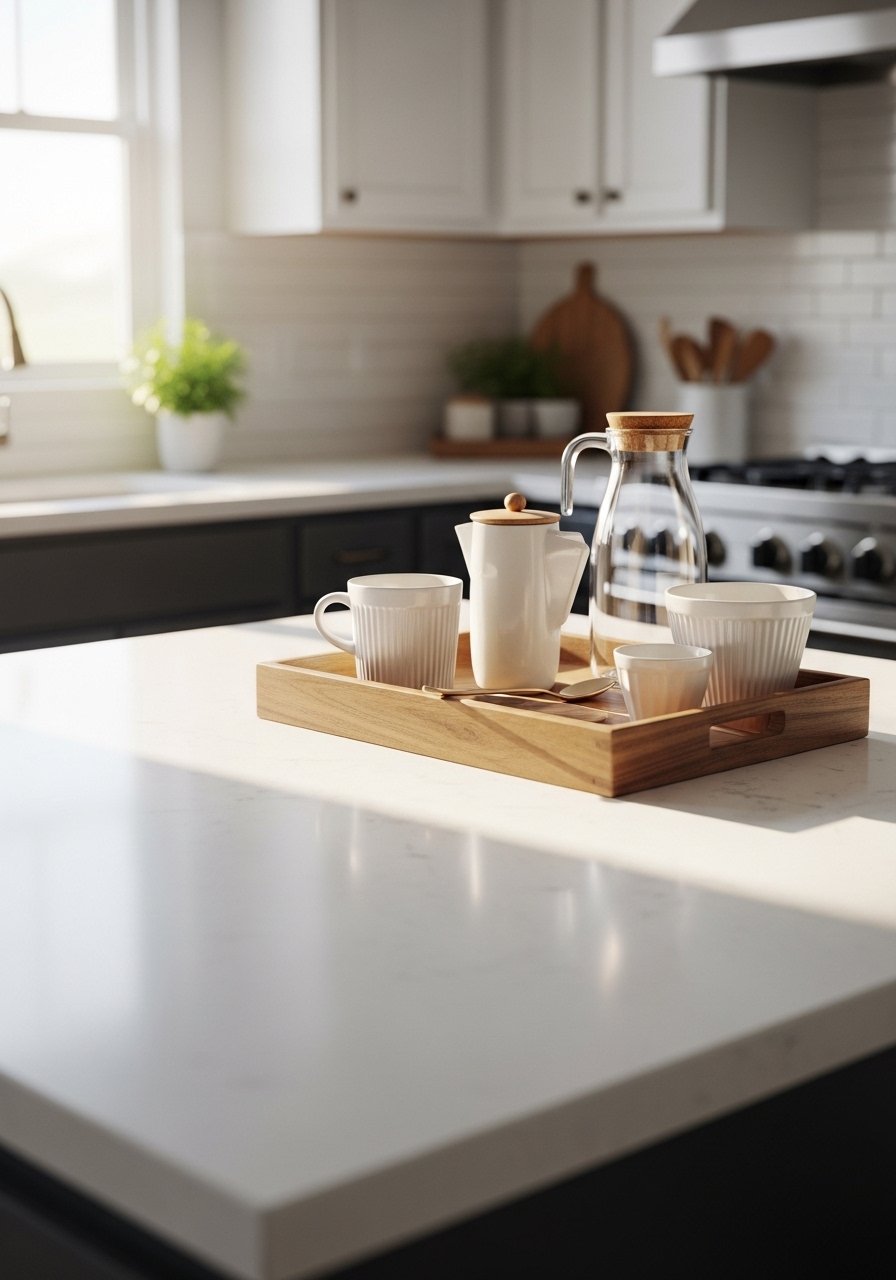
Start with the counter you use most
Pick one high-use surface and style only that first. I always begin at the sink or the island. It gives immediate payoff and builds confidence. Start with a large wooden board, a ceramic vase with a sprig, and one linen towel. That combination costs little and makes a visible difference.
You do not need to change everything at once. Edit ruthlessly, live with the arrangement for a week, then tweak. Small adjustments like moving a basket two inches or swapping a plant will teach you what your kitchen needs.

