

I used to shove everything onto the counter because I thought a busy surface looked inviting. It did not. It read as accidental clutter, and I kept reaching for the wrong jar. My first three attempts involved too many small trinkets, a fake succulent that glowed plasticky under light, and towels that looked like dish rags.
What finally worked was focusing on materials and space, not the number of objects. I learned to edit, pick a single large natural anchor, and let texture do the rest. It took a few mistakes and one shelf collapse before I trusted the quieter look.
Step 1: Pull Everything Off and Edit to a Few Natural Pieces
Pull everything off the counter. Yes, everything. The point of natural decor is breathing room, so aim to keep an 18 to 24 inch stretch of clear counter by the sink and about 60 percent of a long run visually free. That was hard for me at first because empty space felt like failure.
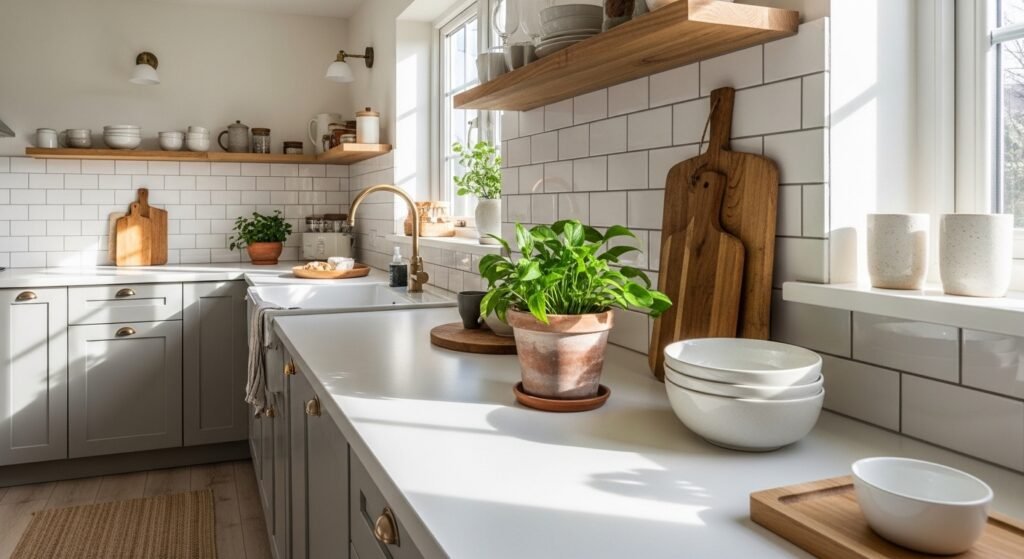
Keep three to five objects max on any single stretch. Choose one heavy, tactile piece, like a breadboard or a woven basket, one medium piece, and one small accent, and group them so the tallest is roughly 2 times the height of the medium piece. The surfaces should feel varied when you touch them, a warm wood, a cool ceramic, a nubby linen towel.
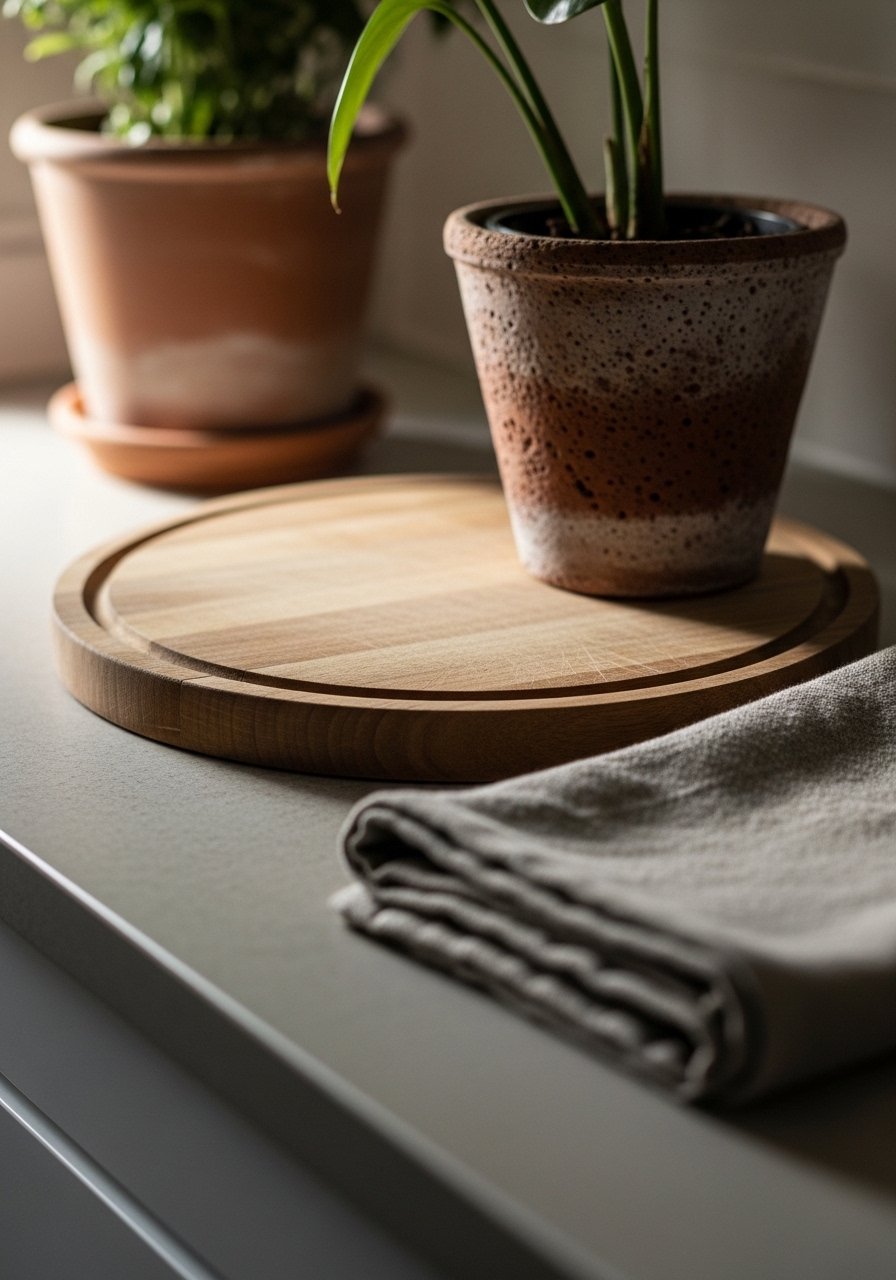
Step 2: Anchor with One Big Natural Element
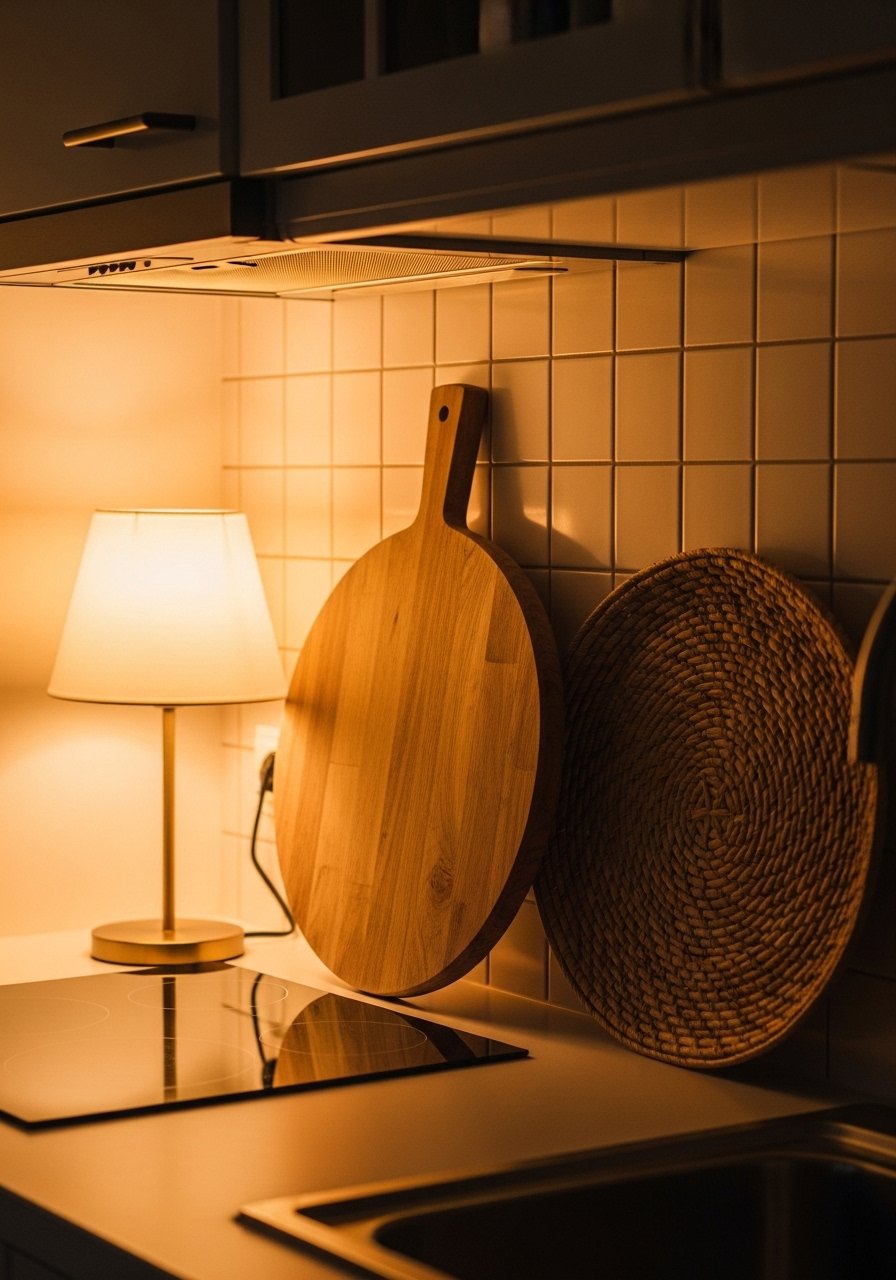
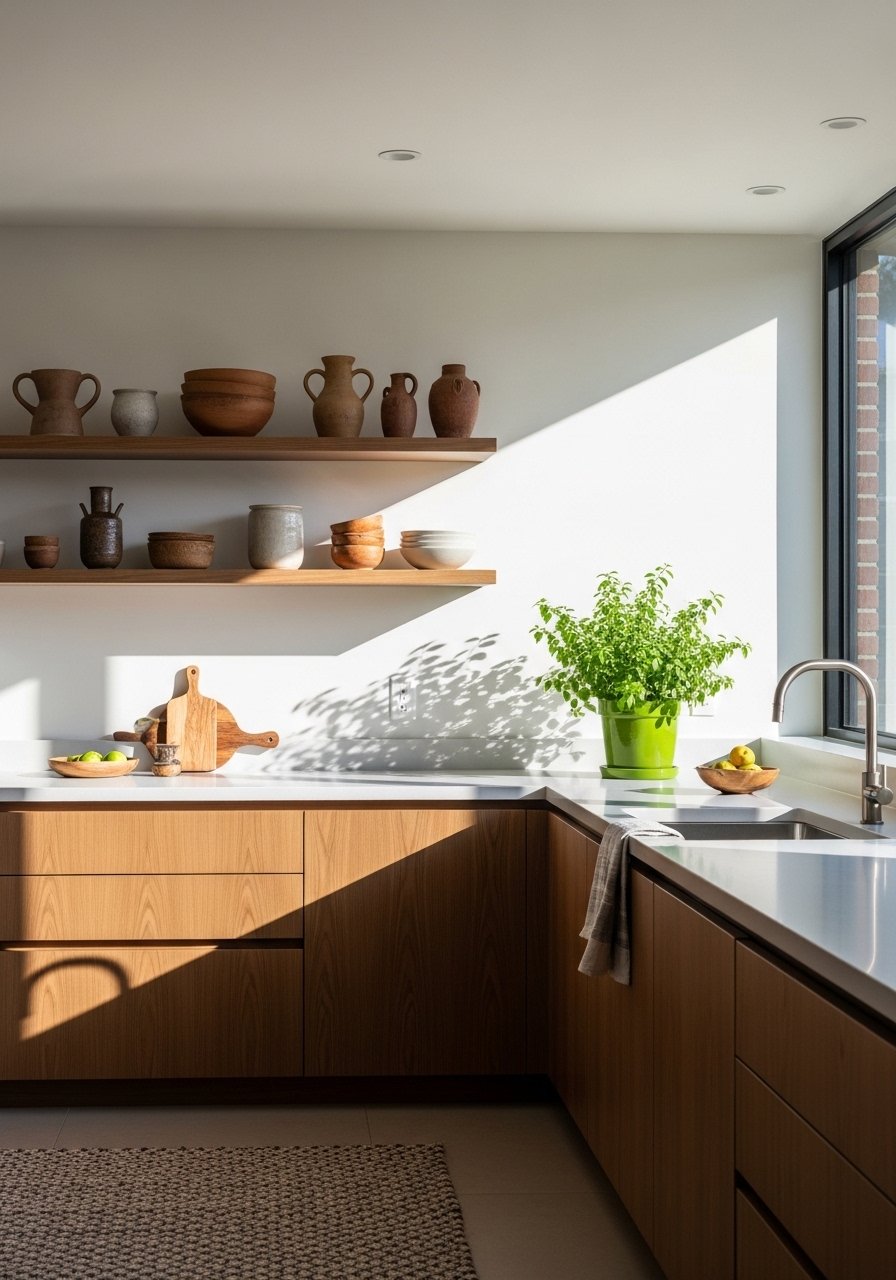
Most people try to make a statement with many small things. Instead, pick one anchor that reads from across the room. I chose a 20-inch wooden breadboard with a worn edge, and it immediately grounded the space. The board is heavy in the hand and cool at first touch, which gives it presence.
Place the anchor off-center, about one third into the run if the counter is long, or centered on the shortest run. Leaning it against the backsplash creates depth and hides marks. If you want the same look, try a wide board about 16 to 24 inches or a low woven basket 14 inches across.
Step 3: Add Greenery, Real or Dried, with Purpose
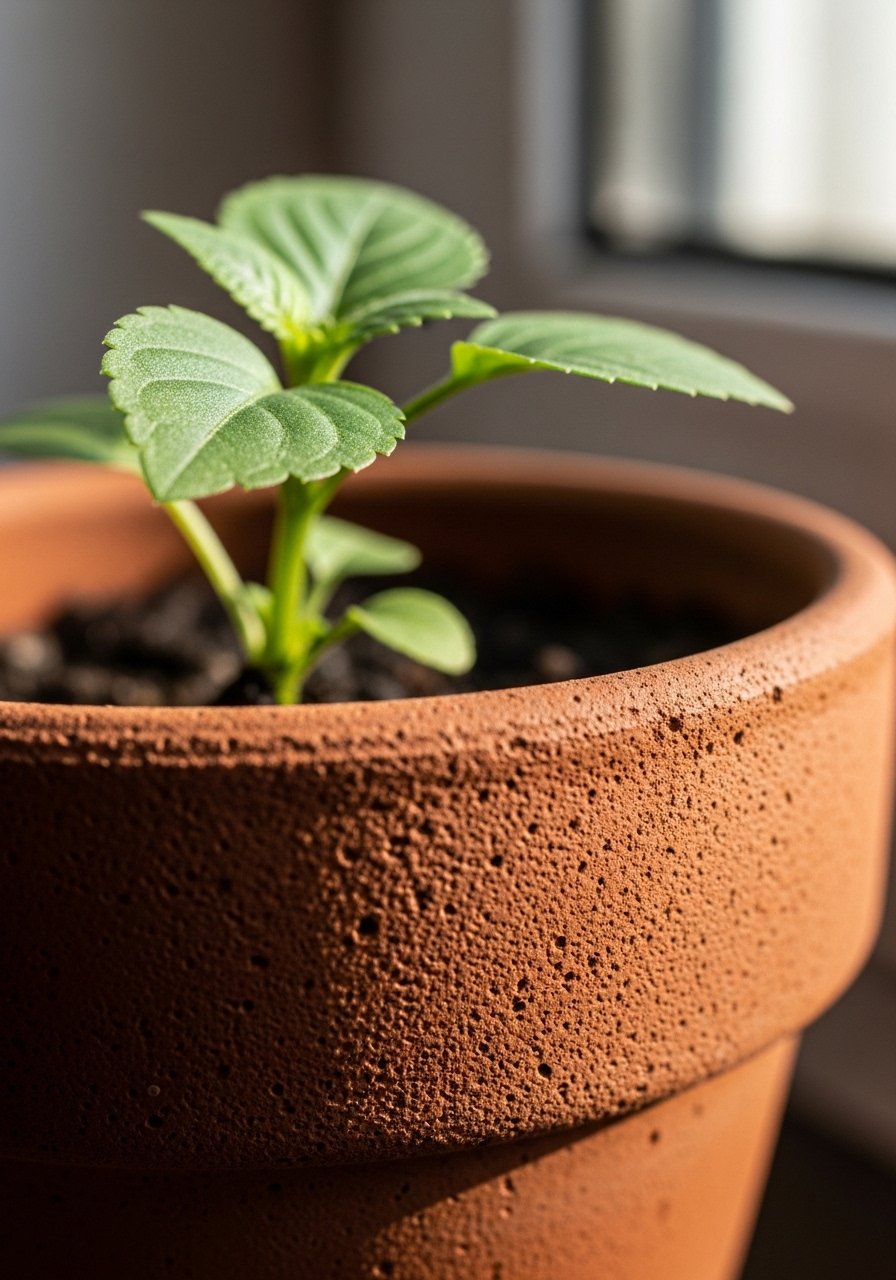
Plants change everything, but the wrong choice can look like an afterthought. Pick one plant with a clear silhouette, roughly 8 to 20 inches tall for counter placement. Terracotta and matte ceramic pots feel grainy and grounded to the touch, and a trailing pothos softens hard corners.
If you have kids or pets, choose a sturdy, low-toxicity option or go with dried stems like pampas or wheat in a matte vase. I almost skipped real plants because mine got knocked over constantly. Then I switched to a squat terracotta pot on a tray and it survived a week of busy mornings.
Step 4: Layer Textiles and Small Ceramics for Touch and Warmth
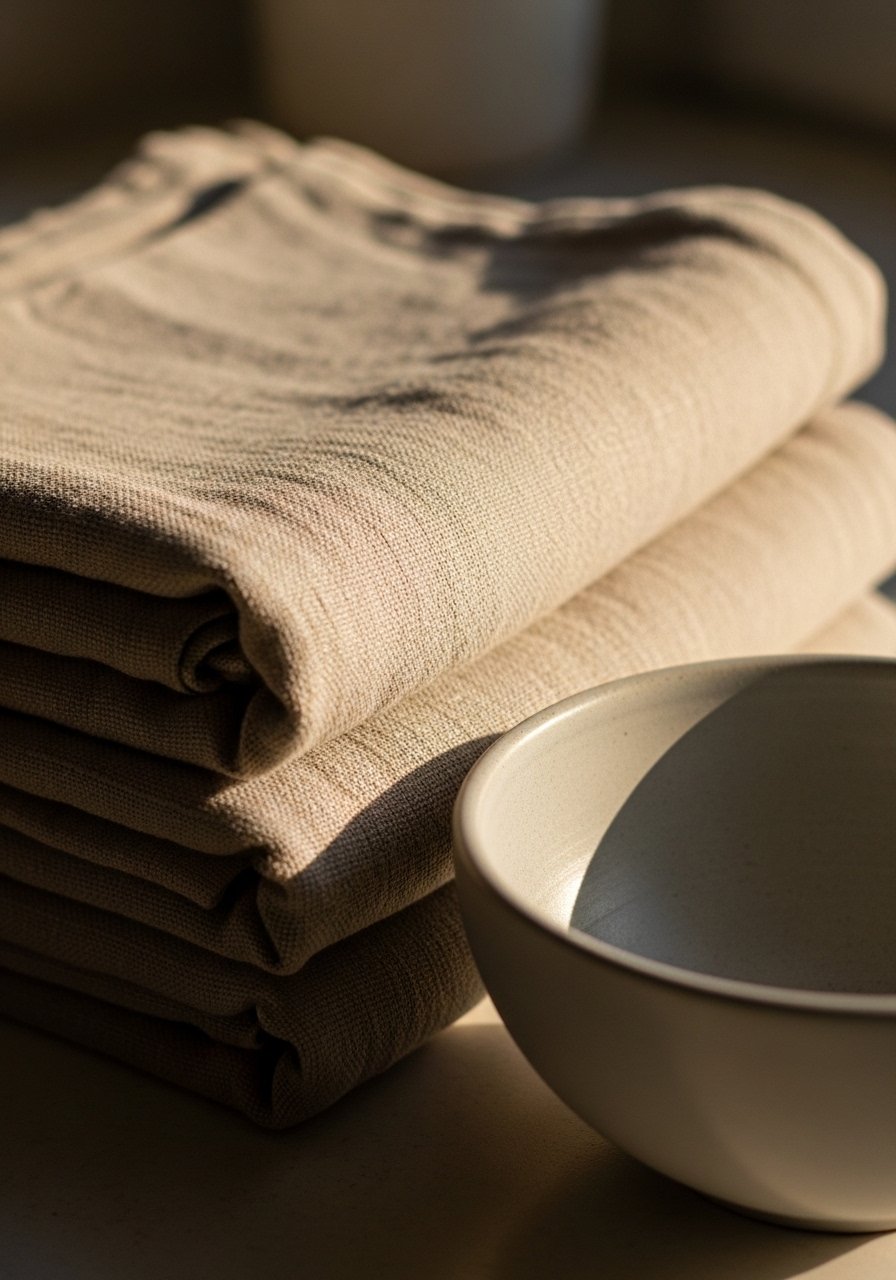
Textiles and ceramics bring everyday softness that photos do not show. A folded linen towel, about 12 by 18 inches when tucked, adds a soft edge and absorbs spills. Place it under a small ceramic bowl or a butter dish to anchor a vignette. Linen feels crisp and slightly rough, not slick like synthetic fabric.
Mix finishes: a smooth white ceramic pitcher, a rough unglazed vase, and a wooden spoon in a cup. One mistake I kept making was using too many shiny metals. That made the kitchen feel brighter but colder. Natural materials sit better together and invite touch.
Step 5: Step Back, Live with It, and Tweak After a Day
This is the step that takes patience. Walk away for ten minutes, then live with it for 24 hours. I found the temptation to add when something felt sparse was the hardest to resist. Usually the fix is subtraction, not addition.
If things look off after a day, move the small piece to another room, or swap a vase for a bowl. The visual weight should feel steady from across the room and soft up close. After the third rearrange my partner said it finally felt like us. That was the moment I stopped worrying about perfect symmetry.
What to Grab for a Natural Kitchen Refresh

- Wide wooden breadboard, 20-inch, reclaimed oak ($35-60). Use as your anchor in Step 2.
- Ceramic vase set, matte white, set of 3 ($25-40). Great for Step 3 dried stems or fresh sprigs.
- Terracotta planter with saucer, 6-inch ($12-20). For a low, tactile plant on counters, see Step 3.
- Linen kitchen towels, natural, 18×28 set of 4 ($20-35). Use folded in Step 4.
- Woven bread basket, 14-inch round ($15-30). Adds texture and holds produce, used in Steps 1 and 2.
- Jute kitchen runner, 2×6 feet ($45-80). Grounds the area like in the hero image, mentioned in Step 5.
- Small ceramic salt cellar, matte glaze ($8-15). Handy and tactile for the counter vignette in Step 4.
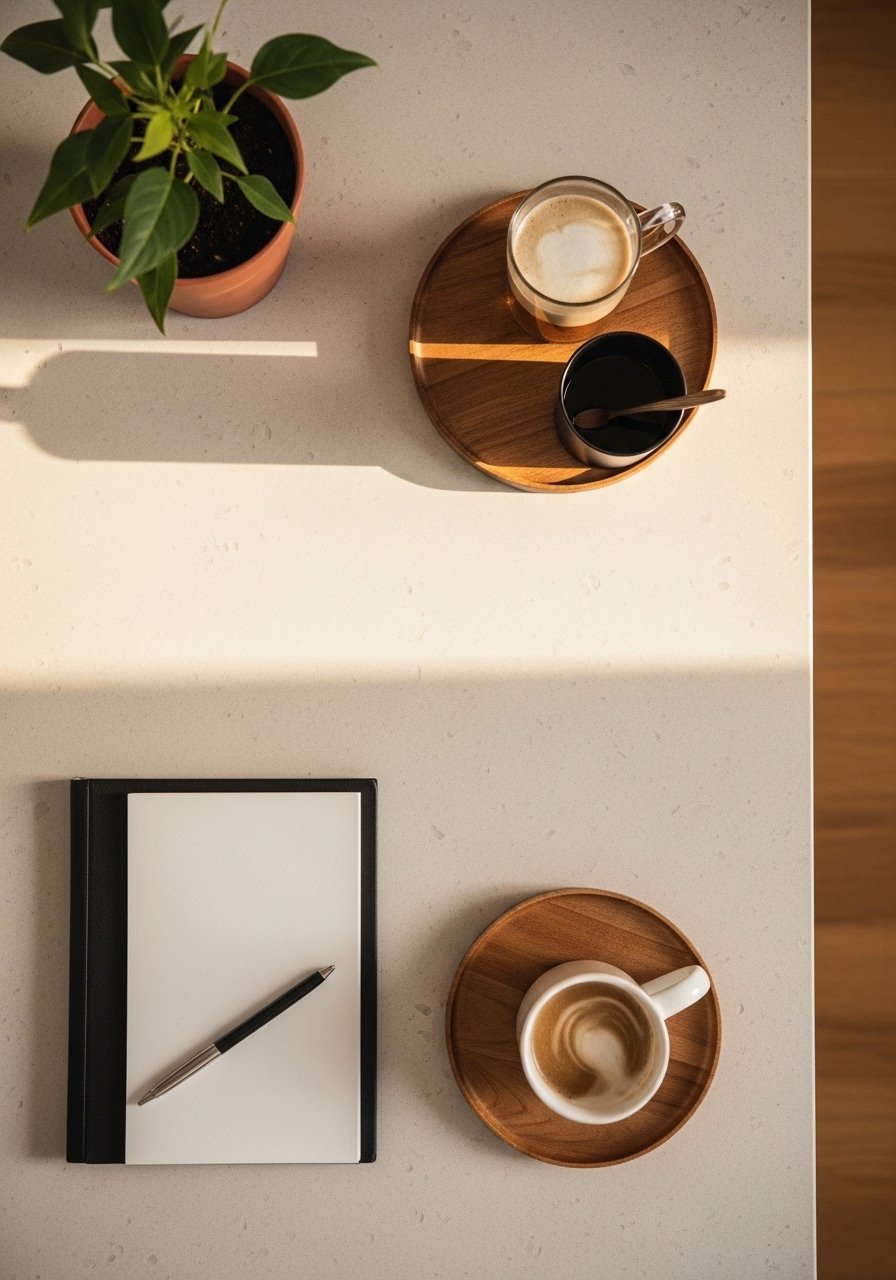
- Beeswax pillar candle, 3×4 inches ($10-18). Adds soft evening light, referenced in Step 5.
Most of these items are available at similar prices at Target or HomeGoods if you prefer to see them in person.
Why Kitchens Still Look Cluttered After Styling
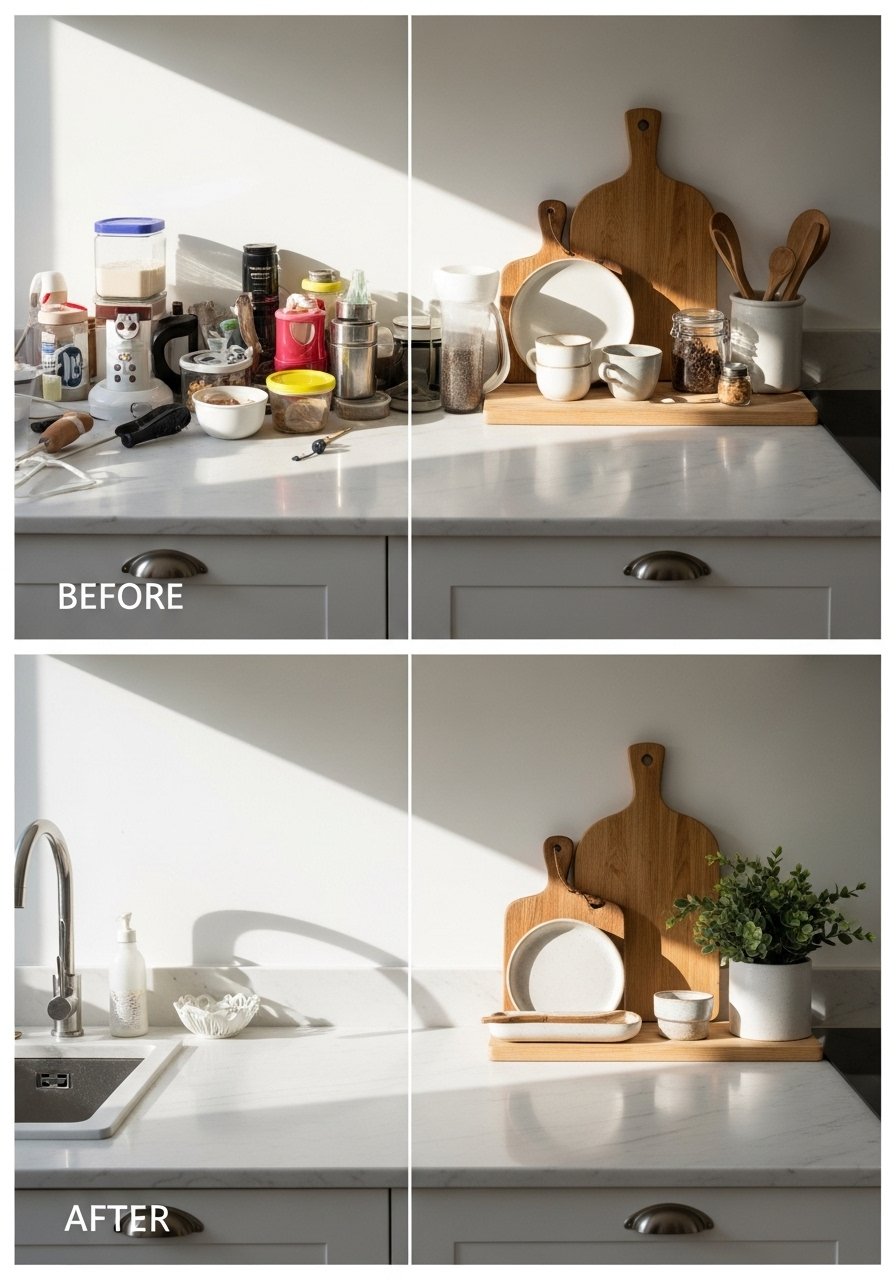
The main problem is too many small, shiny, or mismatched pieces. When everything competes, your eye gets stuck. Another common mistake is forgetting to touch items as you shop. If a bowl feels hollow and light, it will read that way on the counter.
Try editing down to one anchor, one plant, and one textile for each surface. My first cleaned-up version still felt off because I ignored the backsplash. Leaning a board adds vertical interest and hides scuffs. If something makes a slightly louder texture, like a rough clay vase, it will read as intentional rather than random.
Making This Work in a Small Kitchen
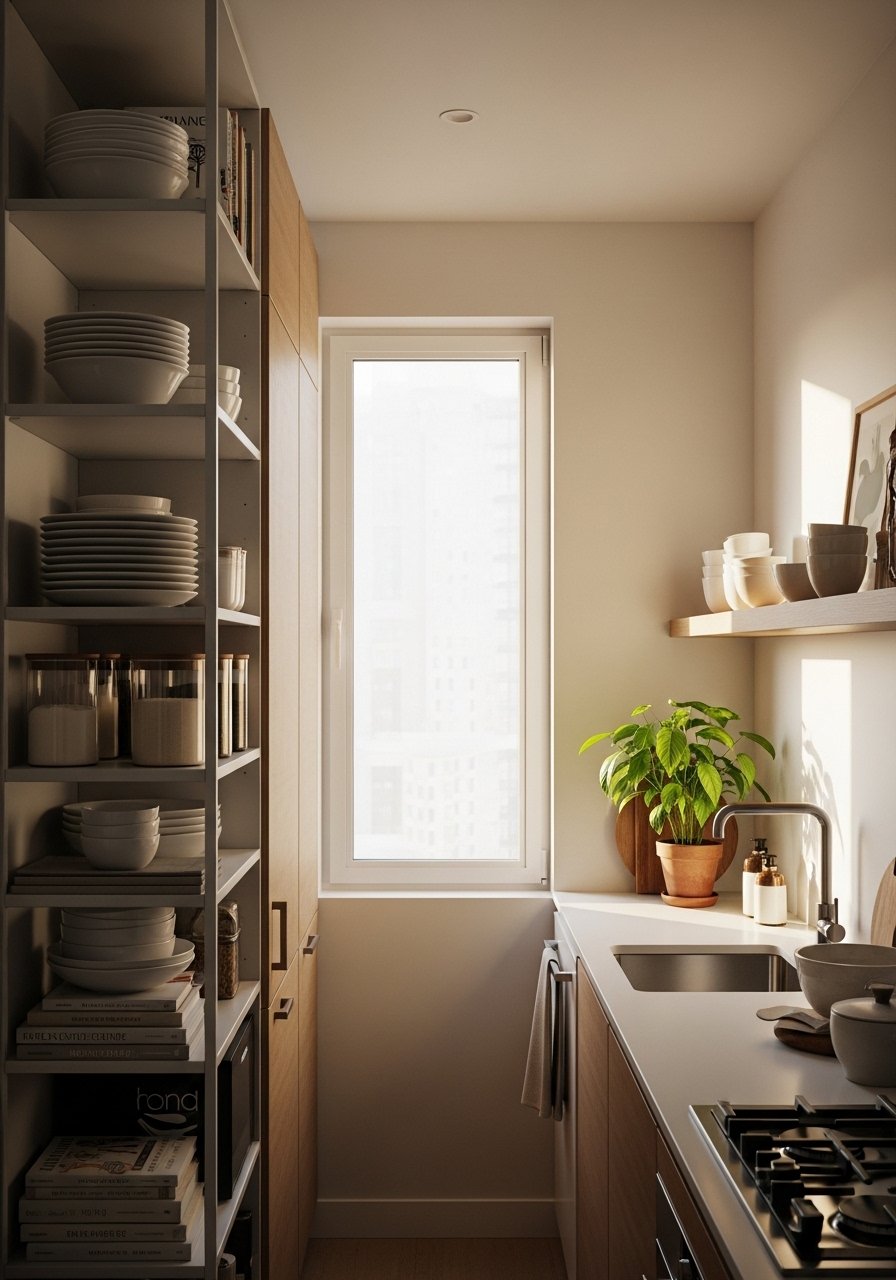
Small kitchens need scaled-down versions and smart swaps.
- Use a 12 to 16 inch board rather than a 20 inch anchor and keep one 12 inch stretch of clear counter for prep.
- Mount a slim rail for utensils to free up surface real estate, and choose a narrow jute runner instead of a full rug.
- Prioritize multipurpose pieces, for example a woven bowl that holds fruit and doubles as a bread basket.
I lived in a tiny apartment for a year and these small switches made the approach feel natural and usable, not fussy.
What This Looks Like After a Week with Real Life

Reality checks matter. Expect crumbs, a knocked-over twig, and a towel that needs refolding. If a vase is top-heavy, switch to a squat option. I learned to put fragile ceramics on a lower shelf rather than the busiest counter spot.
After a week, you will know what actually gets used. Keep those pieces nearby. Put the rest away in a drawer and rotate seasonally. The look should age into everyday life, softening at the edges where hands meet materials.
Start with the Counter You Use Most
Pick one counter to practice on, the one you touch every day. Arrange a 20-inch or smaller wooden board off-center, add a small terracotta plant and a folded linen towel, and live with that for a few days. The tactile contrast of wood, clay, and linen will teach you what to repeat elsewhere.
Start small, make tiny swaps after a day, and resist filling empty space right away. The payoff is a kitchen that feels calm in the hand and in the eye, and it is a lot easier to keep clean.

