

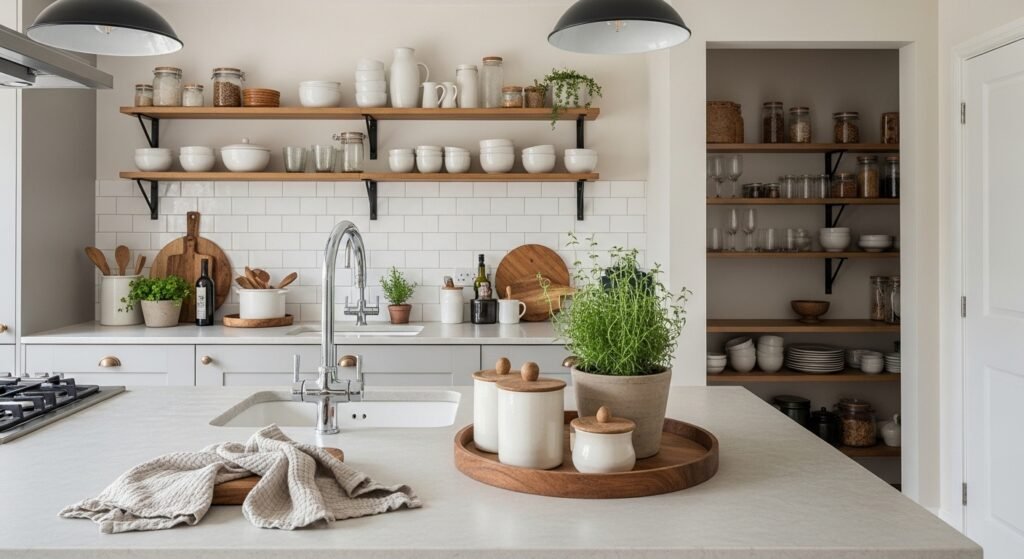
I used to stand in my kitchen and feel everything was slightly off. The towels were pretty, the canisters matched my mug, but the room still read as a collection of singles, not a set. For months I thought I needed more stuff. I tried matching every color, then matching everything white. It only made the space feel flat or too literal.
What finally worked was thinking like a cook, not a catalog stylist. I learned to limit the palette, pick one repeating texture, and give each group breathing room. My first three attempts looked crammed. The fourth looked like someone actually uses the kitchen.
Step 1: Clear a surface and choose an anchor piece
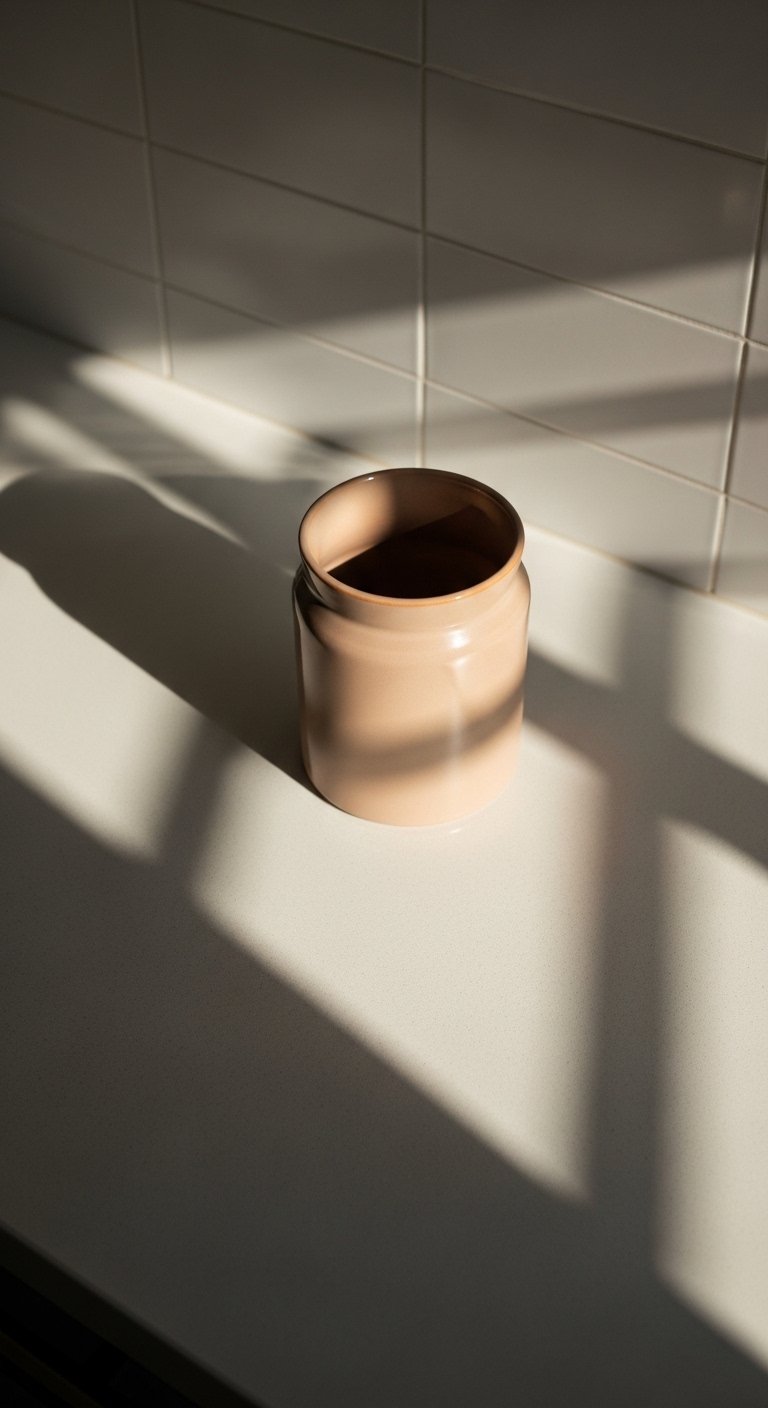
Pull everything off the counter. Yes, everything. I know it feels extreme, but clutter hides the gaps you need to see. Pick one anchor item, like a heavy ceramic canister or a wooden bread box, about 8 to 12 inches tall. This single piece tells your eye where the group should sit.
Place the anchor roughly one third of the way along the counter, not dead center. That slight off-center placement keeps the kitchen feeling casual, not staged. I ruined a set once by centering everything. That felt like a display case, not a working kitchen.
Step 2: Build a 3-2-1 height grouping around the anchor
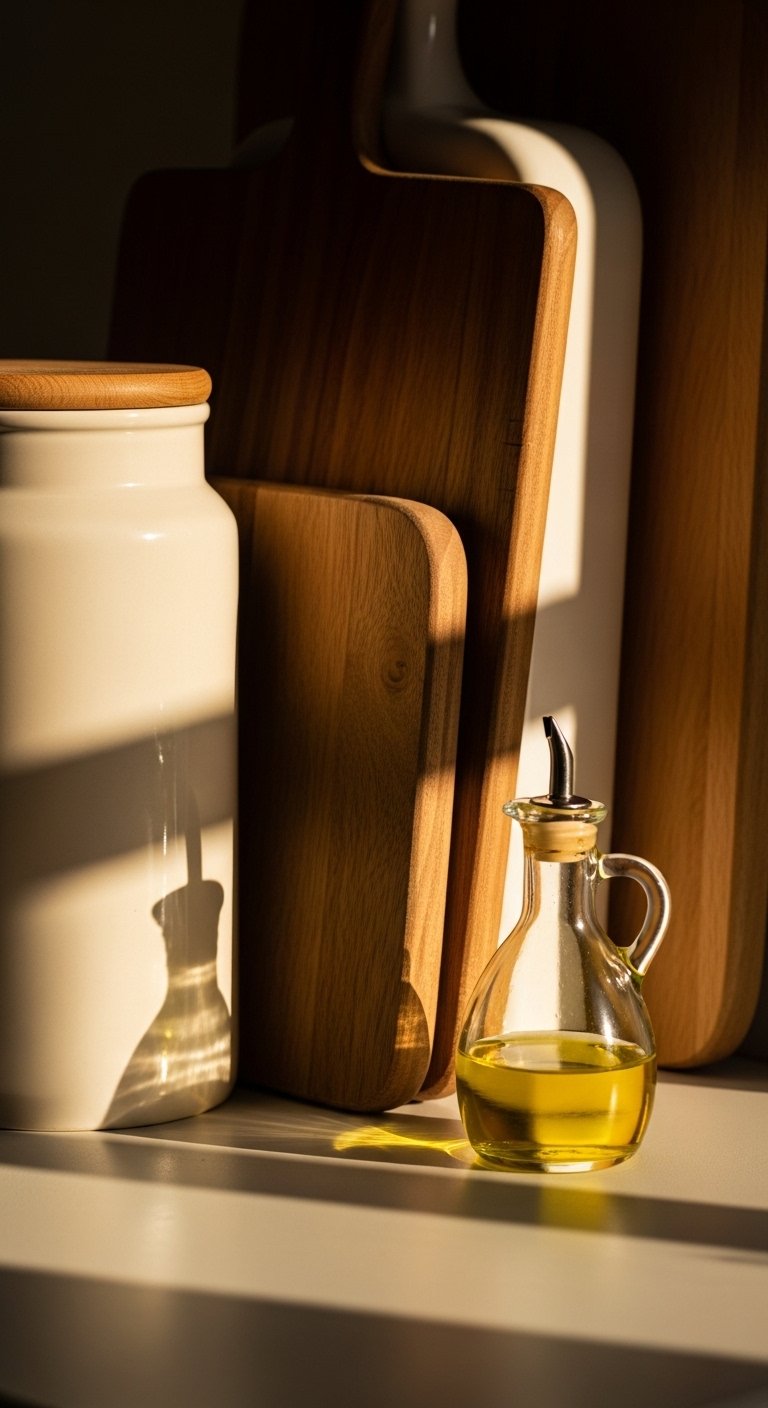
Start with the tallest item, then add a mid and a small object. Aim for a 3-2-1 height progression. For example, an 11-inch ceramic canister, a 10×14 inch upright cutting board, and a 4-inch olive oil bottle work well together. Leave 2 to 3 inches between objects so each piece can breathe. Too close looks accidental. Too far apart reads disconnected.
Texture matters here. A cool, smooth ceramic feels different next to a rough, warm wood cutting board. That contrast keeps the group readable, like a little still life that also survives real life. I once stacked two glass bottles and it felt flimsy. Swap one for wood and the arrangement grounded itself.
Step 3: Repeat a color or material three times across the room
This is where matching actually becomes subtle. Pick one material or color and repeat it in three places. Maybe matte white ceramics on the counter, a white planter on the shelf, and white frames on the wall. The rule of thumb I use is three repeats for cohesion.
Avoid making the repeats identical. Vary the scale. A large white canister, a medium planter, and a small ramekin read intentional. My partner hated the asymmetrical repeat at first. After a week he admitted it looked right. If you have kids or pets, keep the smallest repeat higher up or on a shelf.
Step 4: Anchor zones with textiles and a tray
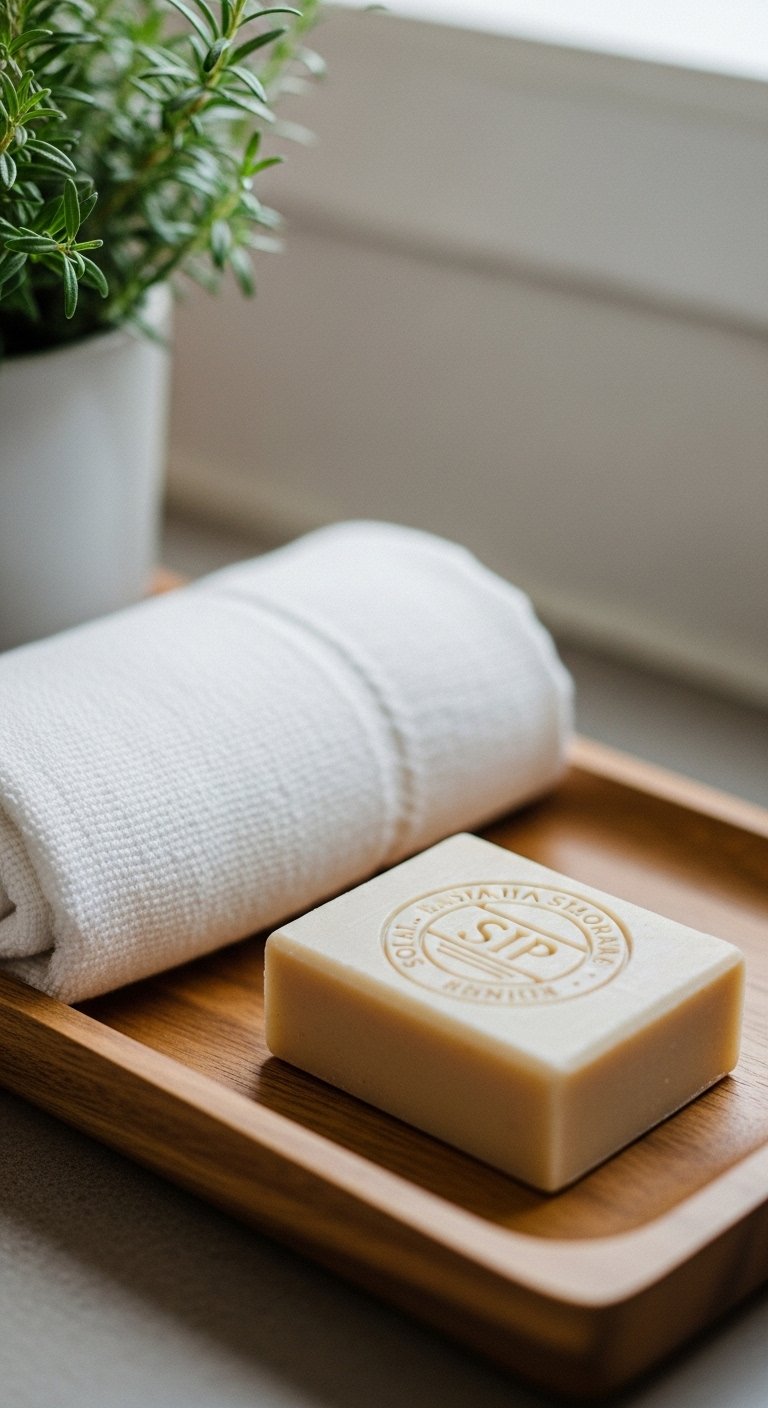
This is the step where the kitchen starts to feel lived-in. Use one tray about 12×16 inches to corral smaller items like soap, a sponge, and a small plant. A linen tea towel folded under part of the tray adds softness. Linen feels nubby and cool to the touch, it soaks up splashes and looks worn in fast.
If you leave everything loose, it reads messy. If you put everything on a tray, it reads curated. I nearly skipped the tray and regretted it. Trays make cleanup fast and keep the visual weight contained. For a larger counter, use two trays spaced 18 inches apart to create balance.
Step 5: Edit, step back, and live with it for a day
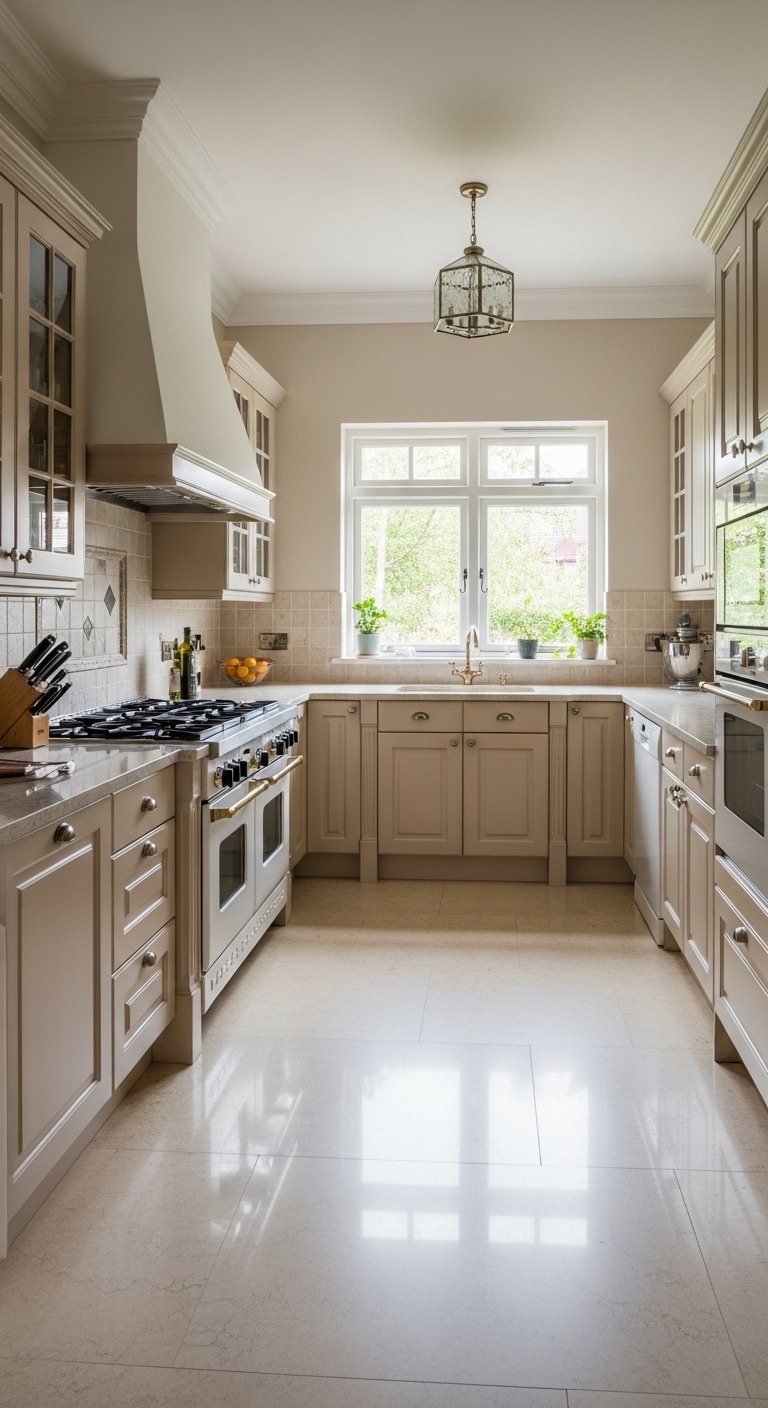
This step is the hardest, because you will want to tweak until midnight. Stop after the initial edit. Walk away for ten minutes. Come back with fresh eyes and remove one item. Often that one item is the one making the group noisy. I messed this up the first three times by overstuffing shelves because I was afraid of empty space.
Live with the setup for a day. Use the counter, move the towel around, water the plant, and note what interferes with function. If something gets knocked over twice, either move it or swap to a heavier version. A ceramic canister has presence and stays put. A thin glass bottle will not.
Your Matching Kitchen Decor Checklist

- Chunky linen dish towel set, 18×28, natural ($18-30). Use in Step 4 and Step 5 for texture and function.
- Matte ceramic canister, 3-piece set, white ($35-55). Anchor piece in Step 1.
- Bamboo cutting board, 18×12, edge grain ($25-45). Mid-height element for Step 2.
- Wooden serving tray, 12×16, reclaimed finish ($20-40). Used in Step 4 to contain smaller items.
- Small potted herb planter, matte white, 4-inch ($12-22). Repeated element in Step 3.
- Brass wall hook set, 6-pack, satin finish ($15-28). For hanging towels and repeating metal across the room.
- Jute runner rug, 2×6, natural ($40-80). Grounds the zone near sink, adds rough texture mentioned in Step 2.
- Ceramic oil dispenser, 8 oz, matte glaze ($10-18). Small object in height groupings from Step 2.
Most of these have similar alternatives at Target or HomeGoods, but sizes and materials matter. I used the linen towels and the matte canister exactly where mentioned.
Why matching still needs contrast
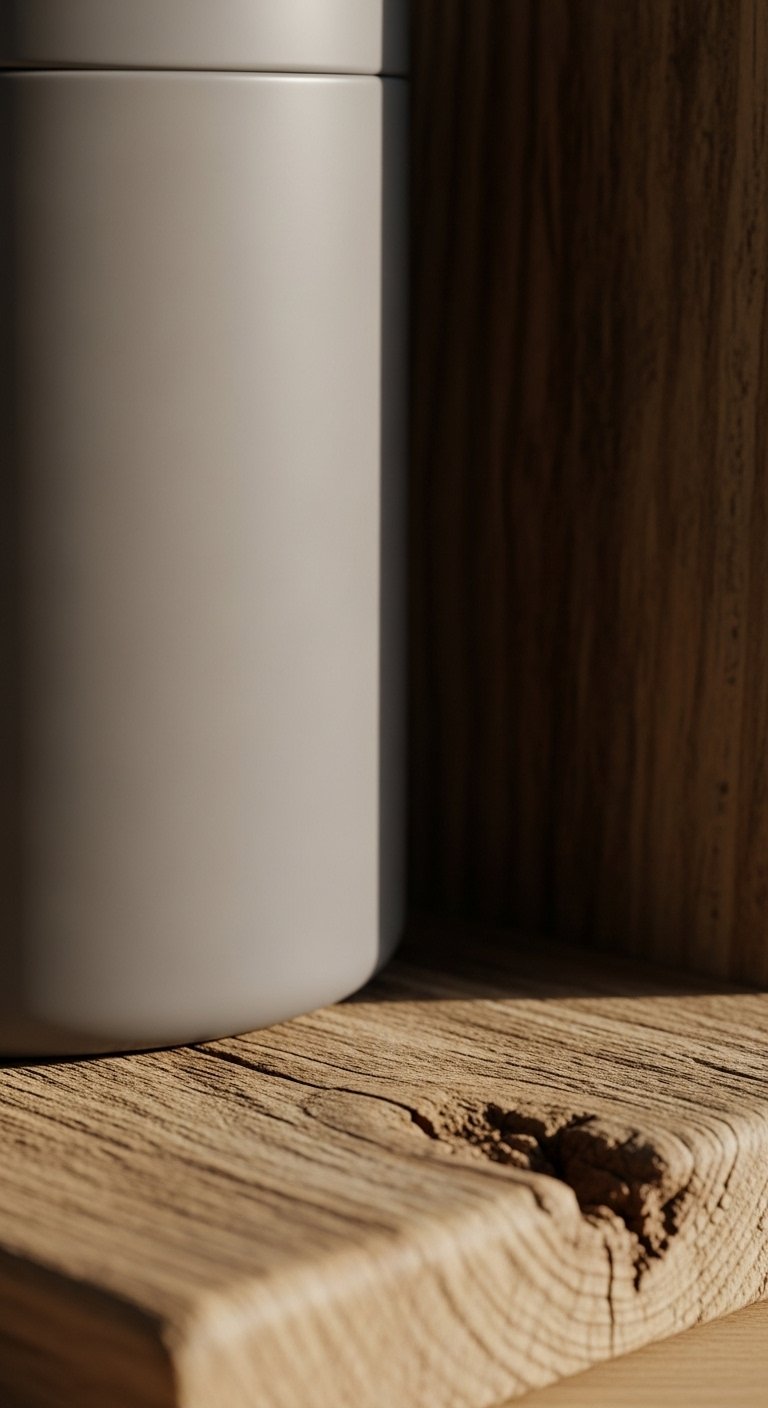
People think matching means everything identical. It does not. Matching is a thread you repeat, not a single finish you use everywhere. I always mix a smooth item with a rough one, and a warm wood with a cool ceramic. That contrast keeps the arrangement readable and tactile.
If your kitchen has mostly cool tones, introduce one warm wood to break monotony. If everything is light, add one darker object to anchor a group. One time I matched every surface to white and it read flat until I added a small dark cutting board. Simple swaps make a big difference.
Making this work in a small kitchen
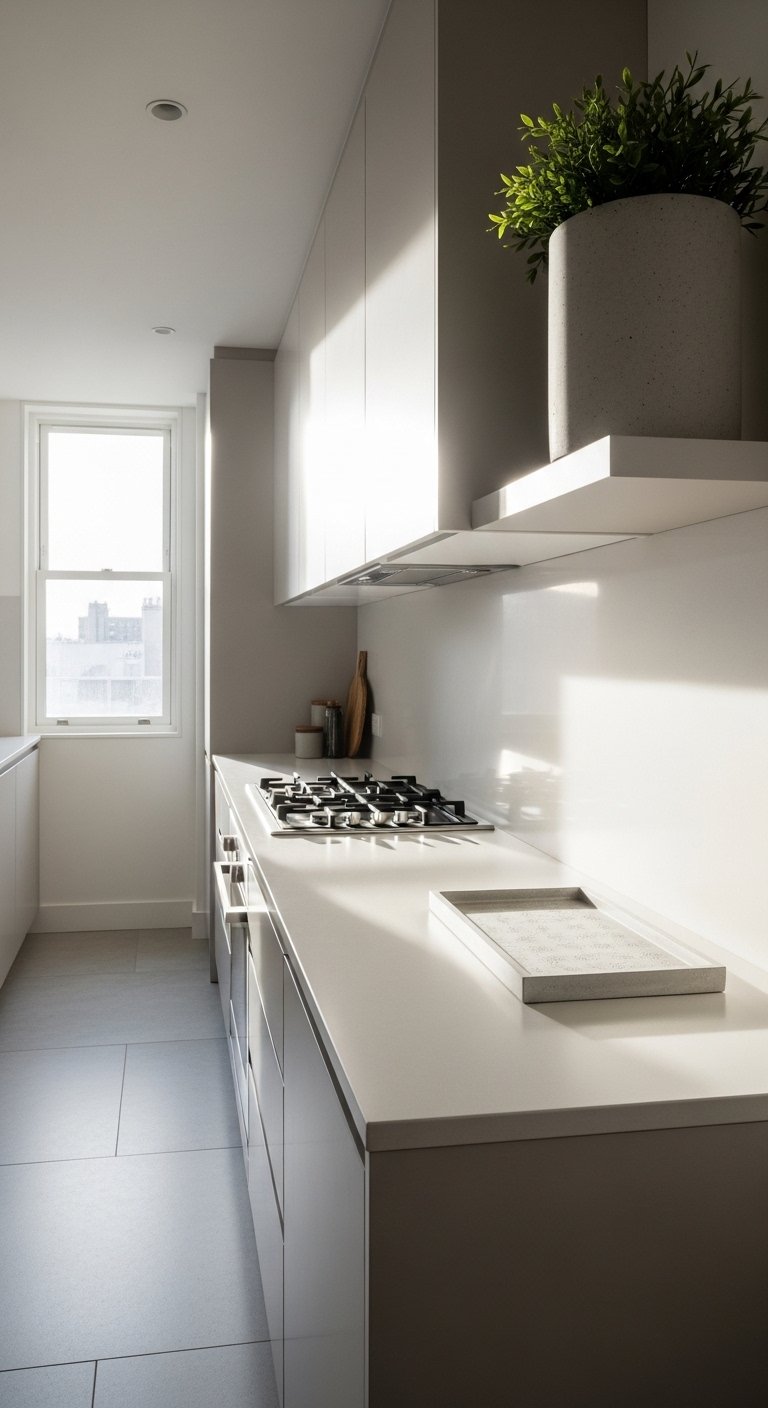
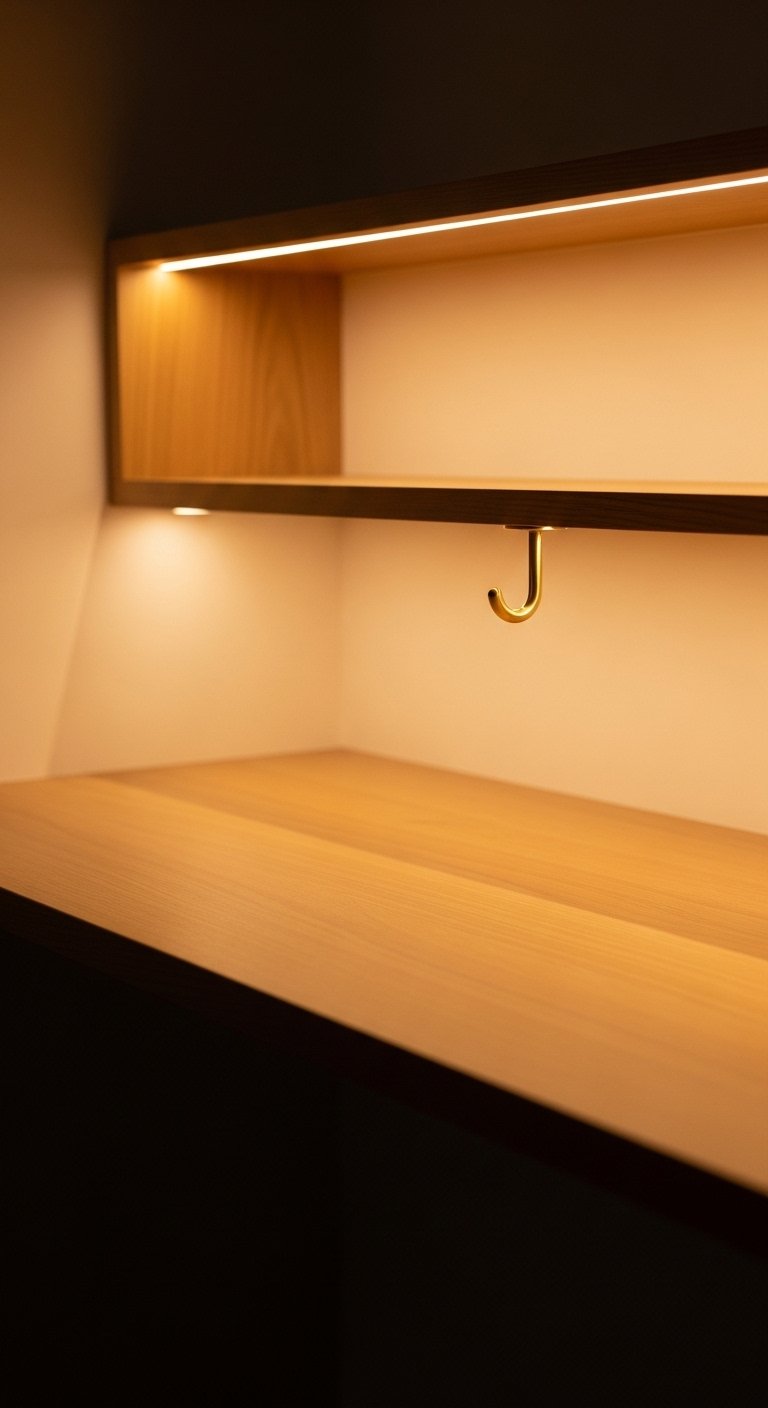
Small kitchens need fewer objects and more vertical thinking. Use the 3-2-1 principle on open shelves instead of counters. Keep the anchor piece under 12 inches so it does not block sightlines. Hang a towel on a single brass hook near the sink to repeat metal without taking up counter space.
Try a narrow tray of 10×14 inches to hold soap and a scrub brush. Keep one repeating color, like matte white, to make the space feel larger. If you rent, use Command hooks to repeat metal tones without damaging walls.
What a matched kitchen looks like after a week
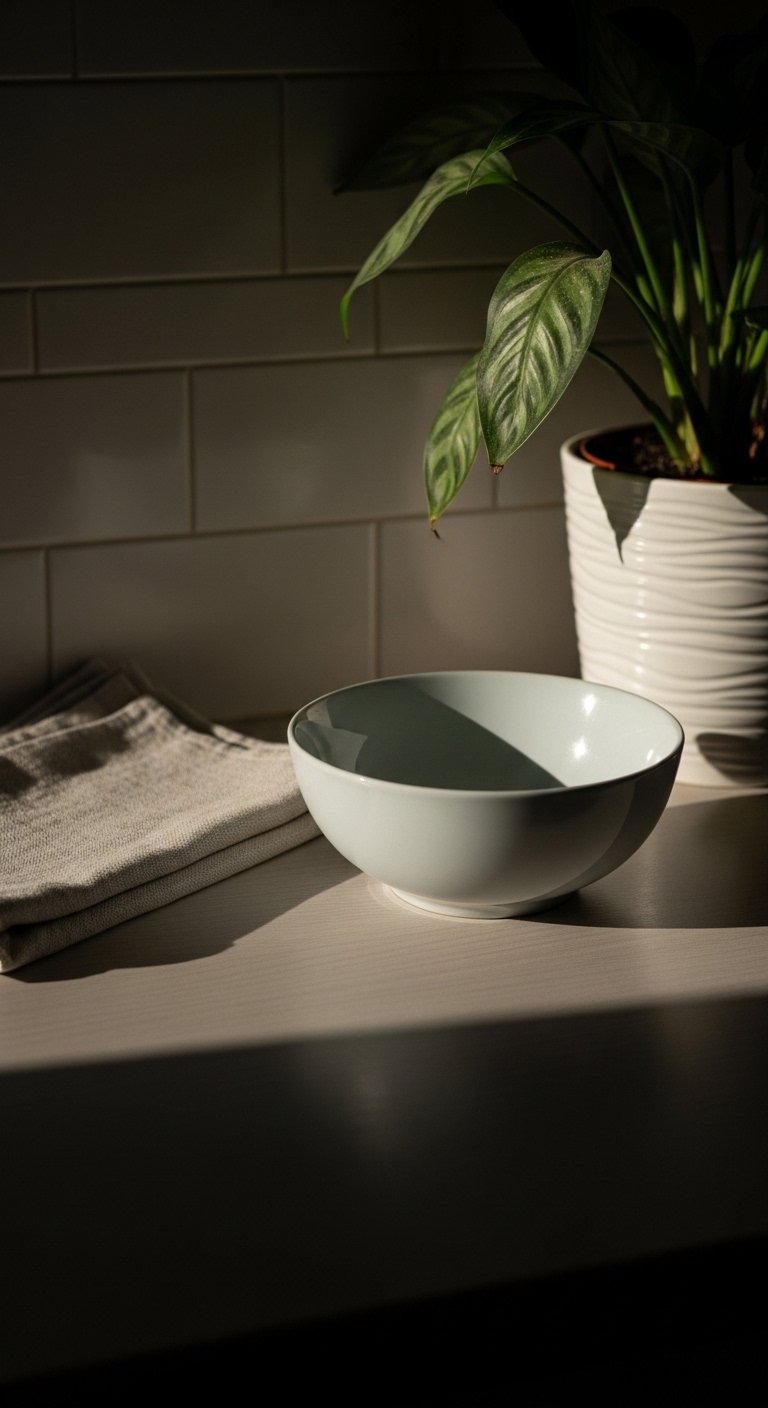
After a week of use, a matched kitchen should look lived in, not posed. The towel may be draped over the oven handle, the plant will tilt toward light, and the tray will collect a few stray mail pieces. That is fine. If any item consistently interferes with function, remove it.
My kitchen looked best when I accepted a little mess. The matching elements created a low-key backdrop that made everyday items feel intentional. The first week is when you learn which repeats work for your routine and which need swapping.
Start With One Counter
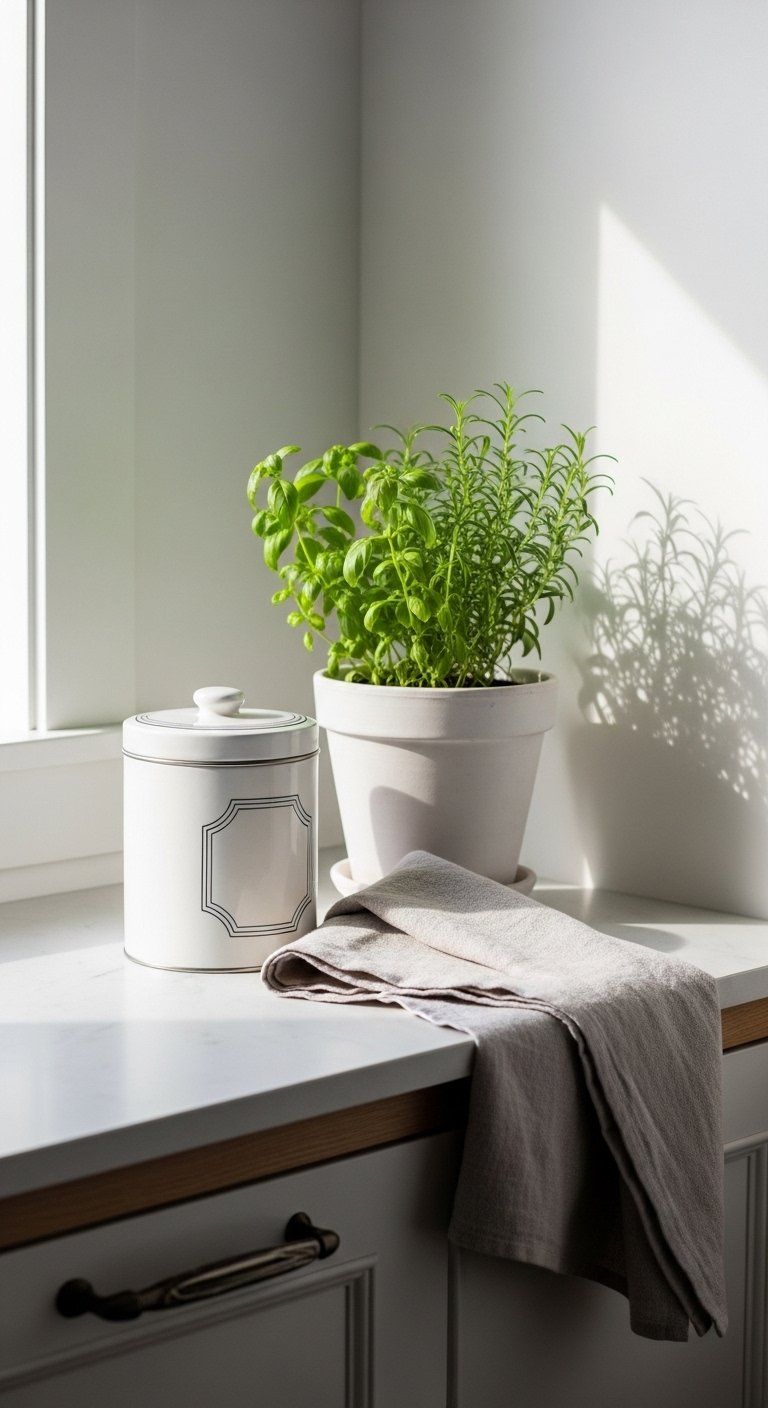
Pick one counter or shelf and style only that. Use one anchor, a 3-2-1 height grouping, and one repeating material across the room. Take photos after the first edit so you can compare versions without guessing. Start small, live with it for a few days, then add or remove one piece.
If you want a single low-commitment move, switch your dish towels to a neutral linen set. It changed my kitchen more than I expected, and it is easy to swap back if it does not fit your life.

