

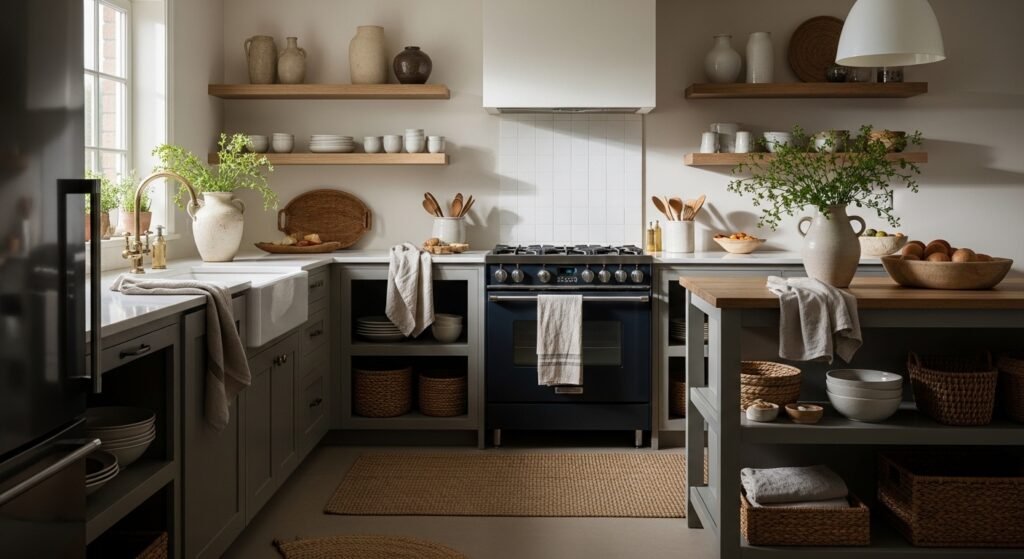
I had a counter full of single-use gadgets and a shelf of matched white plates that all read the same. Every attempt to fix it ended up feeling either cluttered or flat. I tried buying more stuff to "fill gaps" and went the other way with perfectly identical pieces. Both looked wrong.
What finally worked was thinking in layers, not items. First I stripped the surfaces back to nothing. Then I built three planes of texture: a grounding base, mid-scale pieces, and small tactile accents. It took me three tries before the balance felt natural.
Step 1: Pull everything back and define three planes
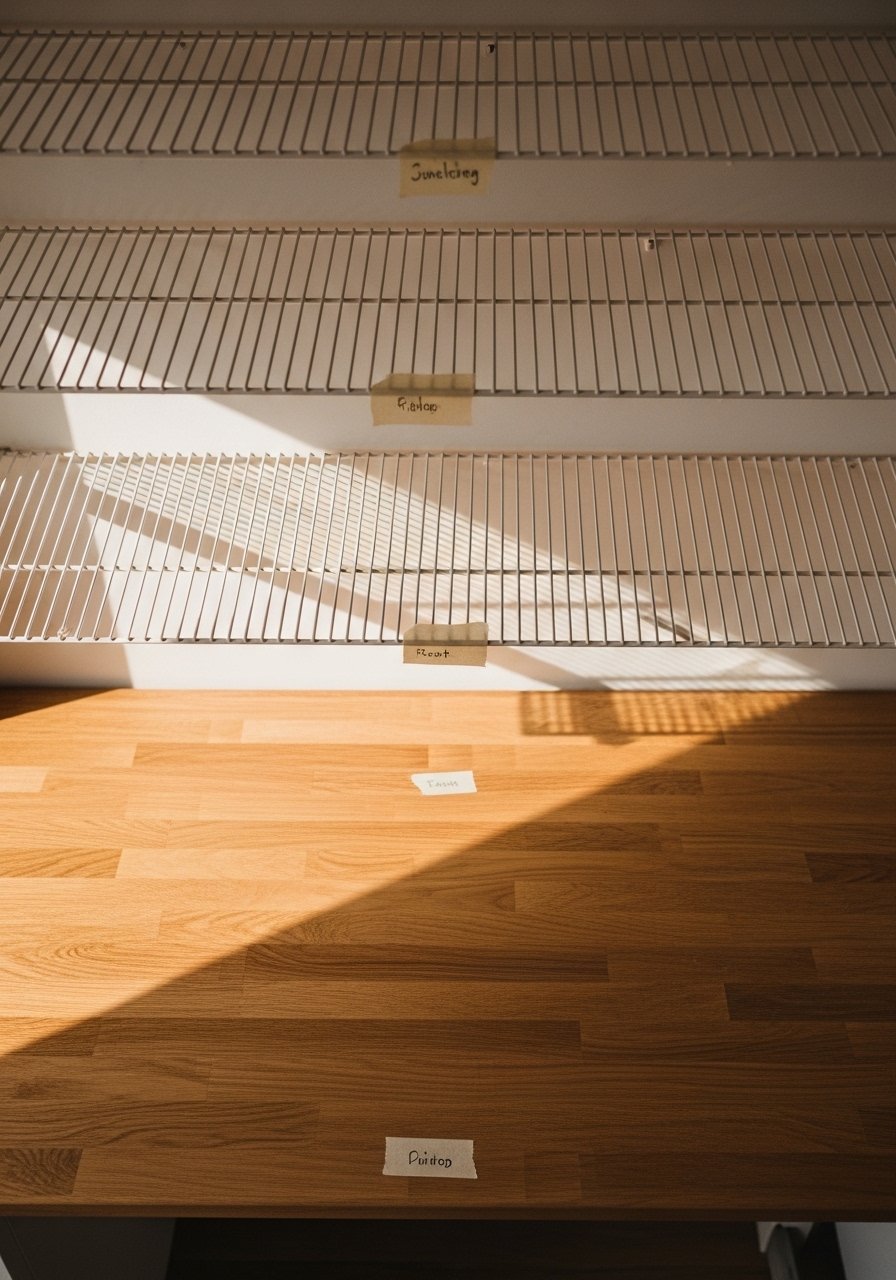
Pull everything off. Yes, everything. I used masking tape to mark where the base plane, mid plane, and top accents would sit. That simple separation helped stop me from cramming. Common mistake: starting by placing small objects first. Big pieces give the display scale.
Aim for about a 2-to-1 ratio of small pieces to large ones across a shelf. Leave 2 to 3 inches between objects so each texture reads. You will feel silly spacing things out at first. I did, and then I walked away and came back and it suddenly breathed.
Step 2: Lay a grounding texture and weight the space
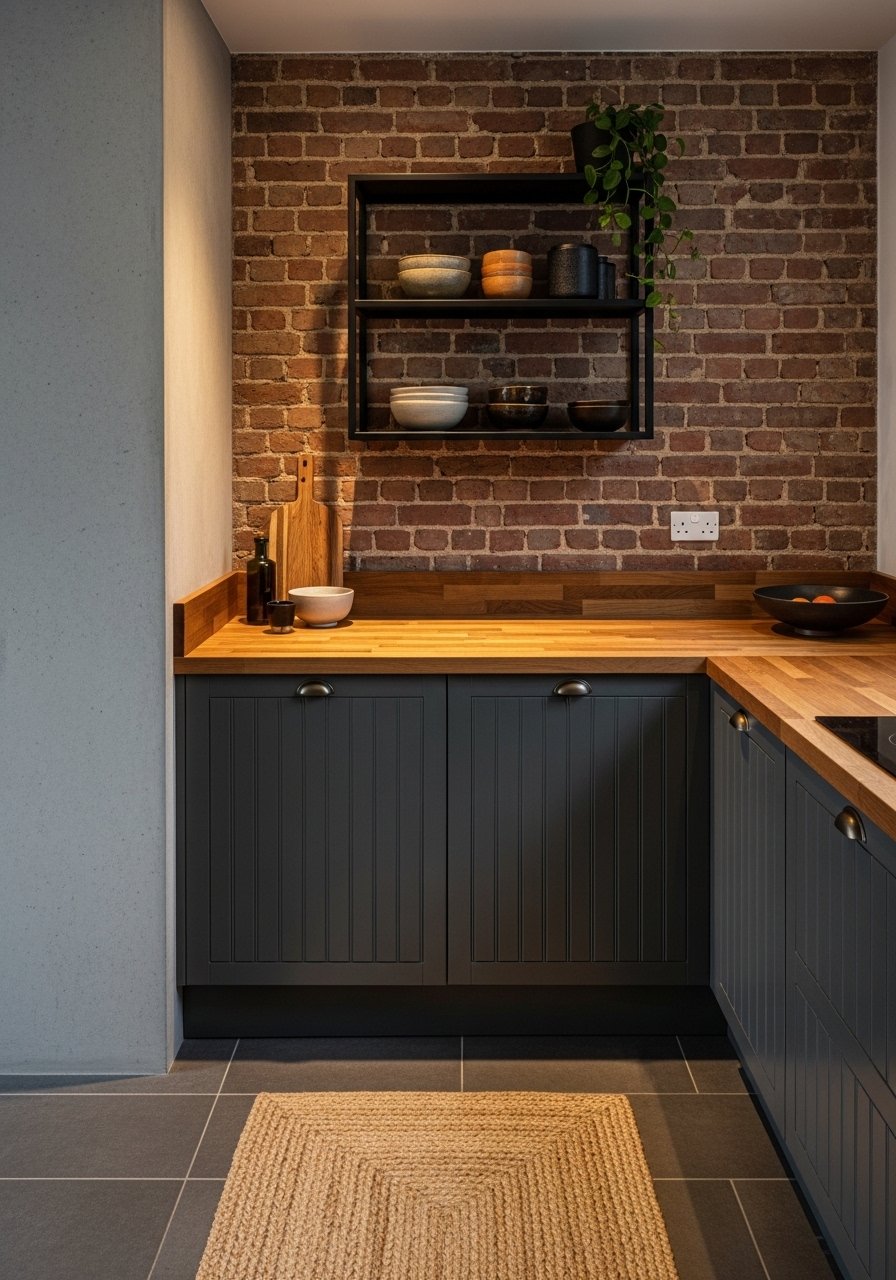
Start with something chunky and low. A jute runner or a folded chunky knit on a bench grounds the area and reads as the base layer. The jute is rough and a little scratchy under your fingertips, which makes smooth ceramics pop. Mistake to avoid: using two soft textures next to each other, which can look muddled.
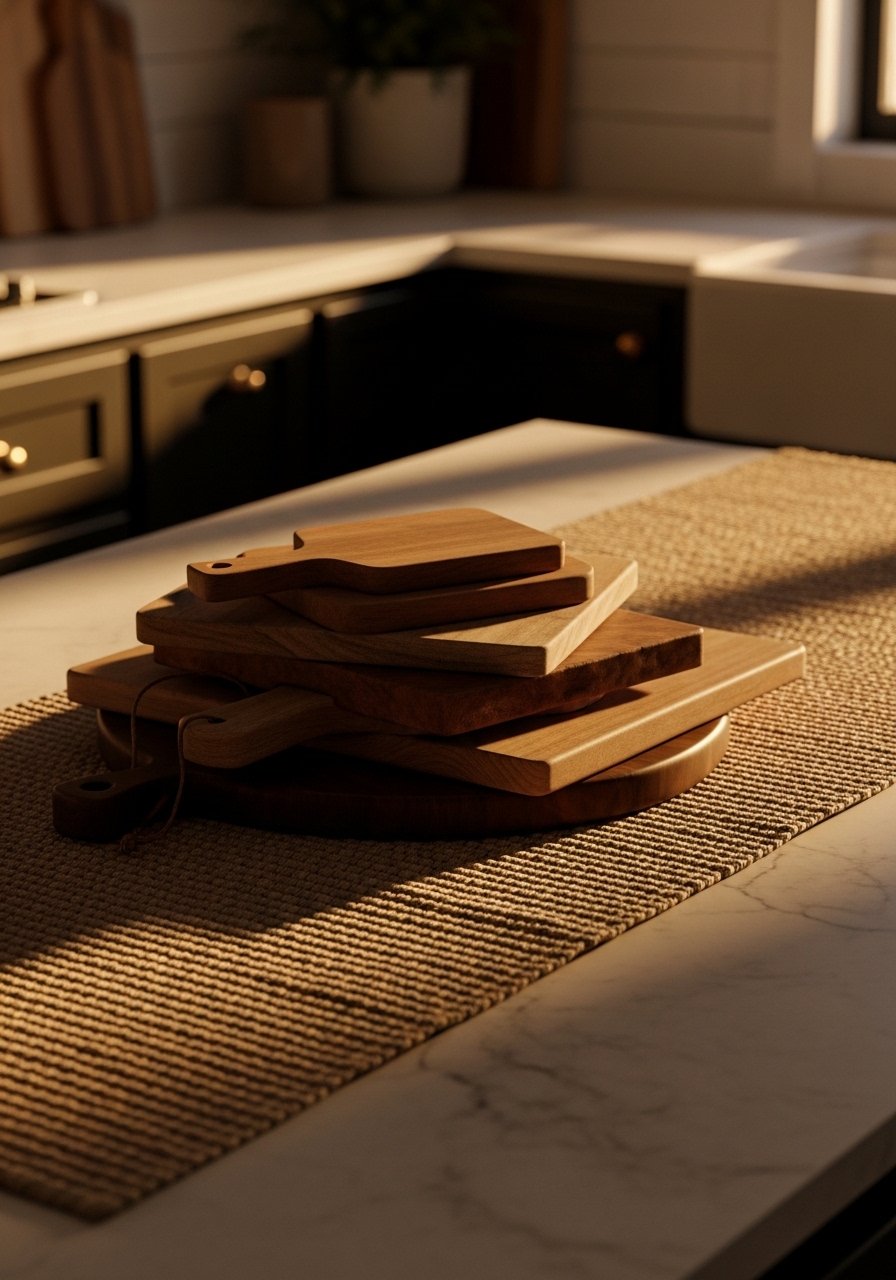
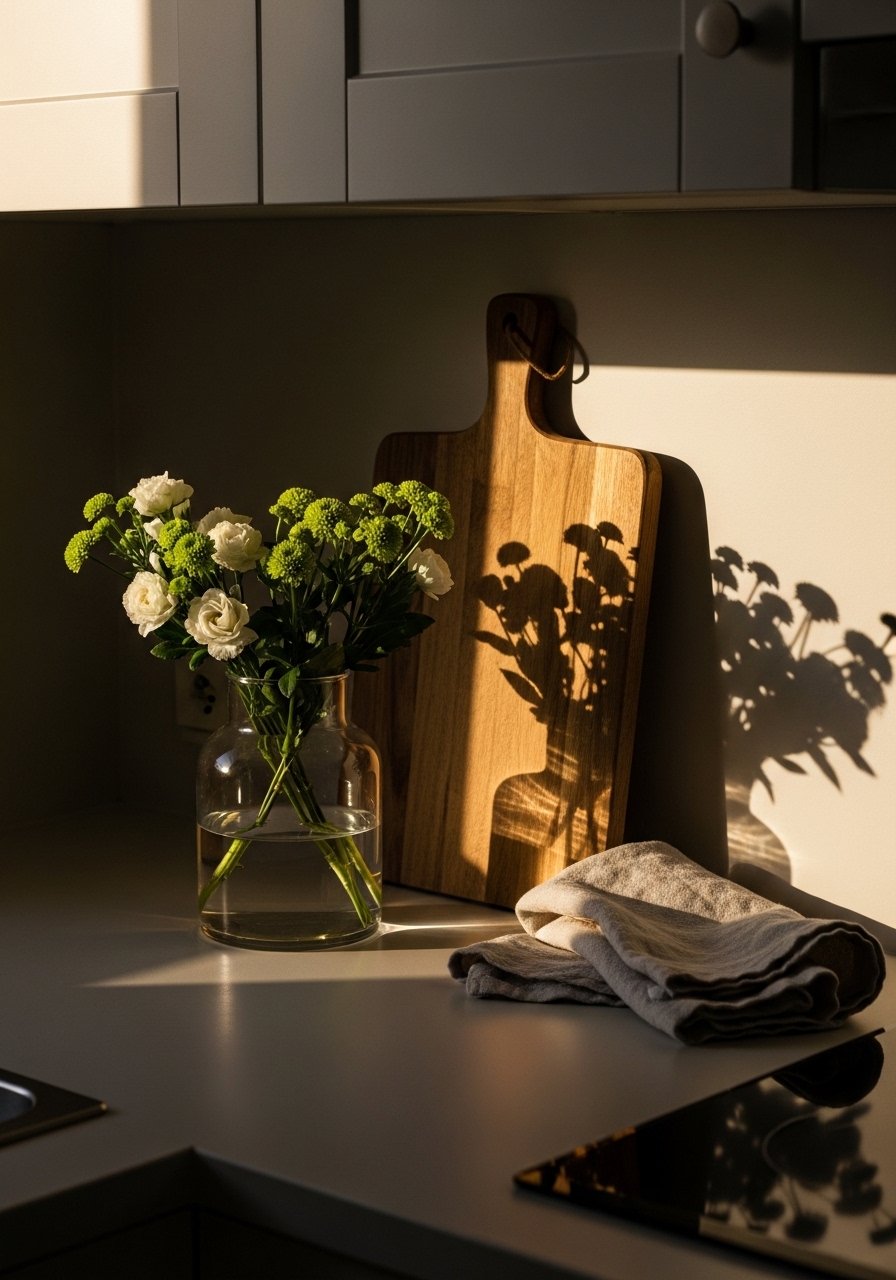
Add a tall, heavy anchor like a 12 to 16 inch ceramic vase or a large wooden cutting board to give vertical weight. I once skipped this and the whole counter felt unmoored, like it could float away.
Step 3: Introduce mid-scale textures and balance proportions
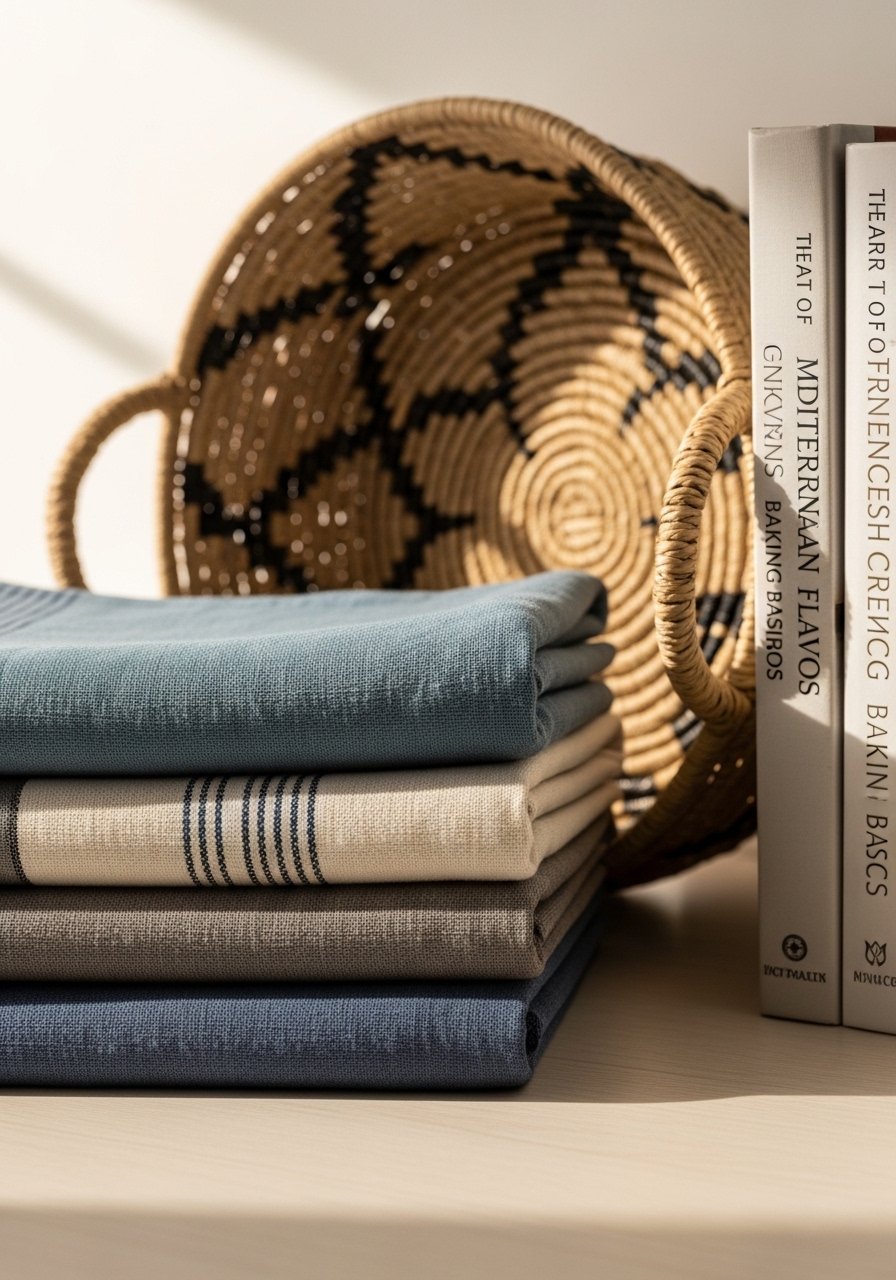
This is where linen, wood, and woven baskets live. Folded linen towels are cool to the touch and soften the display. Use a woven basket about 10 to 14 inches wide to corral utensils or produce. People miss mixing porous textures with hard textures. That contrast is what makes the eye linger.
Group in odd numbers, three works especially well. For height variation aim for pieces that step up roughly 1.5 times from one to the next. My first attempt had three items all the same height. It was predictable and boring.
Step 4: Add small tactile accents and finish with metal or glass
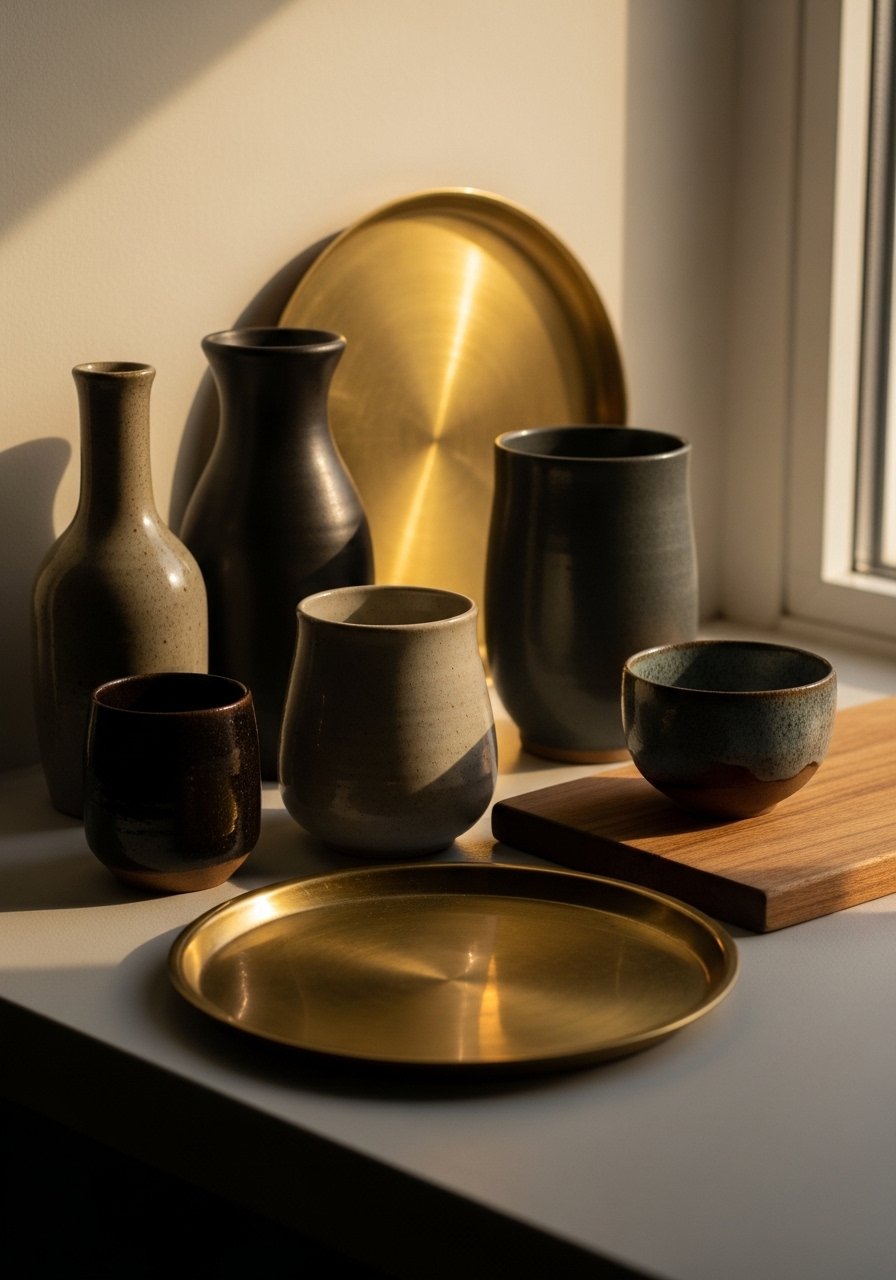
Place small items like a matte ceramic oil bottle, a smooth glass jar, and a brass salt cellar in clusters. The ceramic should feel slightly porous, the glass cool and slick, the metal solid and warm in your palm. Arrange them in a loose triangle with heights roughly 1x, 1.5x, and 2x so the composition reads as intentional.
Common mistake: making everything symmetrical. I fought asymmetry for weeks. My partner hated it at first. Give it a few days and the eye will prefer the imbalance.
Step 5: Step back, live with it, then edit down
This is the patience step. Walk away for ten minutes. Then come back with cold eyes. You should aim to keep about 30 percent of the shelf or counter visually empty. That negative space is the part that makes texture readable. My early versions were 90 percent full and exhausted to look at.
After a week of use you will notice what gets knocked over or ignored. Replace fragile items if you have kids or pets. I replaced a ceramic bowl after my roommate dropped it twice.
Your Kitchen Layered Texture Checklist
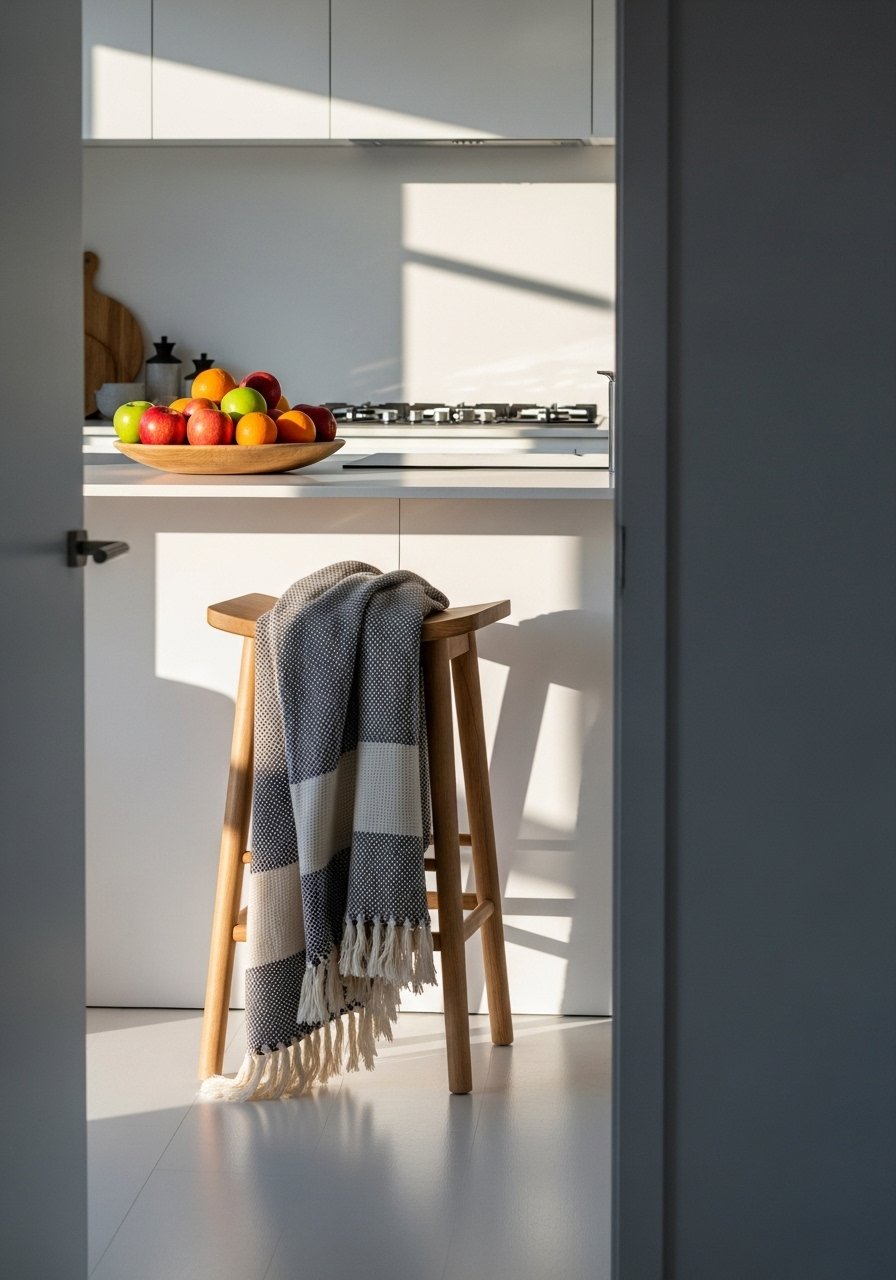
- Chunky knit throw in oatmeal, 50×60 ($40-65). Use on a bench or folded over a stool in Step 2.
- Jute area rug, 8×10 ($90-160). Grounding texture for a small kitchen floor or under the island, related to Step 2.
- Ceramic vase set, matte white, 12-16 inch ($25-40). Anchor pieces for Step 2 and Step 4.
- Woven storage baskets, set of 2, 10×14 ($30-50). Mid-scale texture used in Step 3.
- Linen kitchen towels, natural, 18×28 pack of 4 ($20-35). Soft, crisp texture for Step 3.
- Brass serving tray, 12-inch ($18-30). Good for grouping small accents in Step 4.
- Wooden cutting board, large, 15×11 inch ($25-45). Use vertically as a backdrop in Step 2.
- White stoneware mixing bowls, set of 3 ($30-50). Weighty, tactile pieces for Step 4 and everyday use.
Most of these are easy to find at Target or HomeGoods if you prefer to see and touch before buying.
Why Your Counters Still Look Busy After Styling
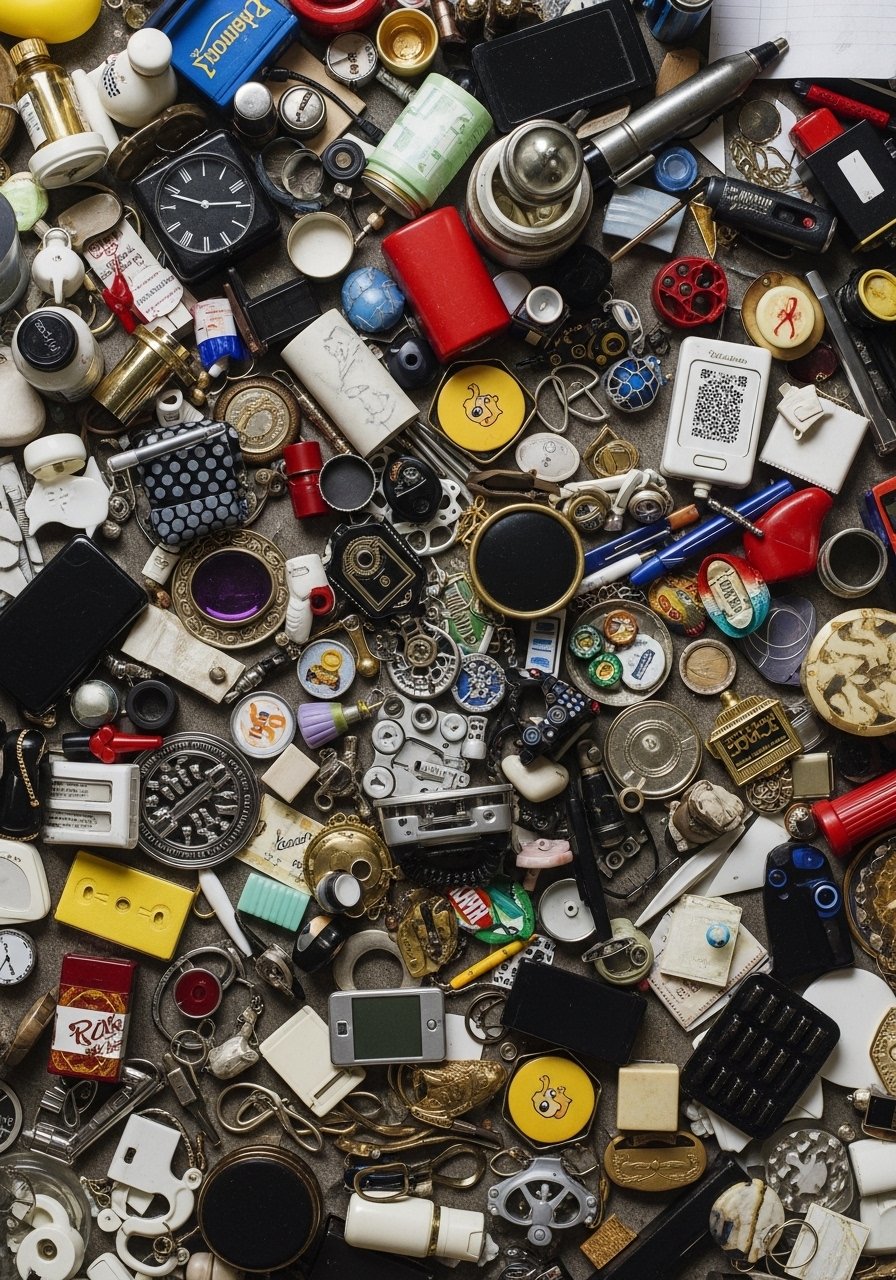
You probably skipped negative space. When every inch is filled textures clash and nothing reads. Edit by removing one item from every pair. Replace one small glass jar with a woven basket, or swap a second candle for a single taller vase. Another reason is matching textures too closely. If you have a soft linen towel next to a fuzzy throw it can blur into one mass. Mix hard and soft deliberately.
I missed this for months. Once I removed low-importance pieces the remaining items felt purposeful.
Making This Work in a Small Kitchen
Start vertical. Use a 12 to 16 inch tall vase or a stack of wooden cutting boards to add height without using counter depth. Choose one shelf and style it using the three-plane method rather than trying to style every surface. Keep scales small: baskets 10 to 14 inches wide, bowls under 10 inches. Bulleted checklist:
- Prioritize one grounding texture such as a small jute mat.
- Use baskets to hide clutter and keep counters clean.
- Leave 30 percent breathing room so the eye does not feel cramped.
These choices let texture read even in tight spaces.
What a Week with Kids and Coffee Looks Like
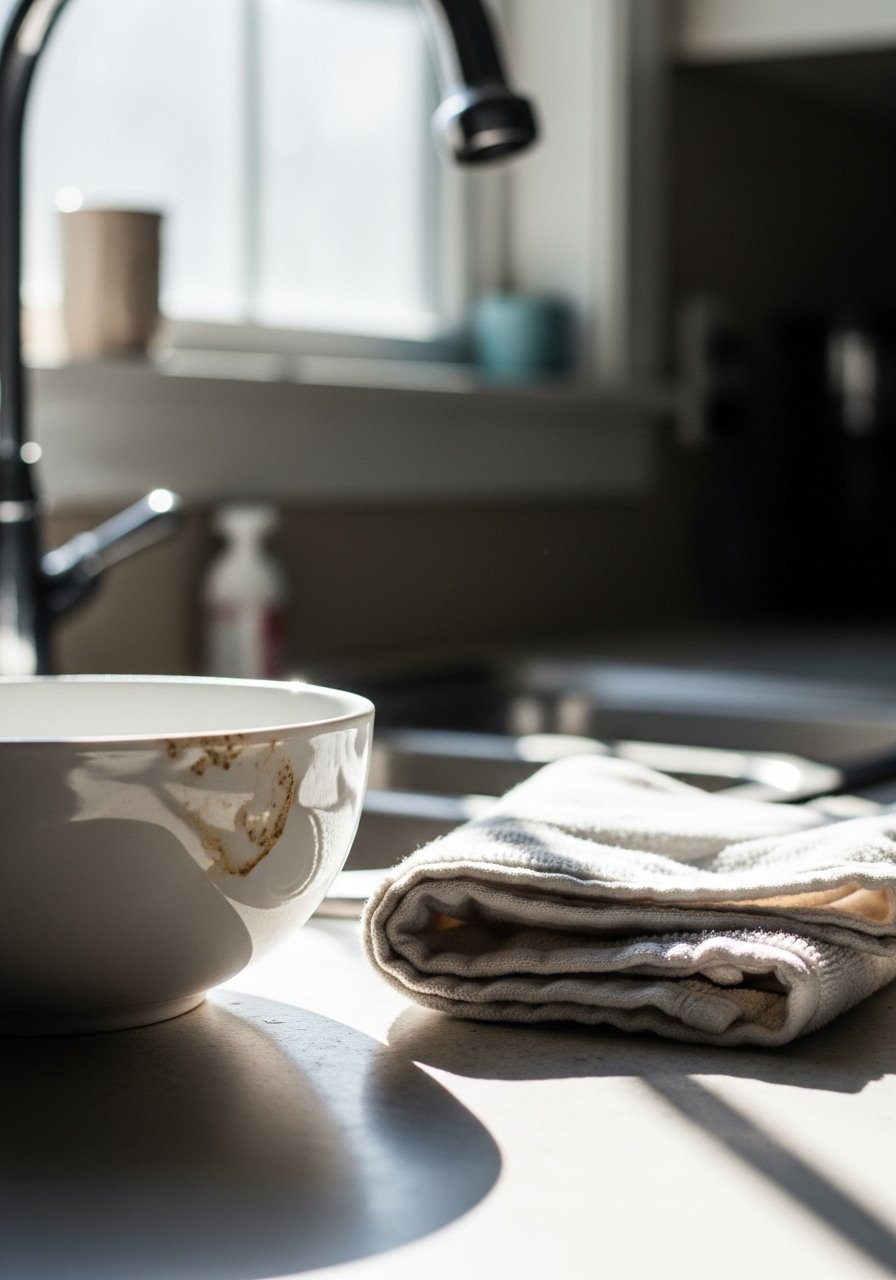
Reality check. After a week with kids and morning coffee the perfect arrangement will shift. Expect a mug on top of a stack, a towel moved to the sink, a fruit bowl half emptied. Keep one durable anchor, like the wooden cutting board or the brass tray, so the arrangement can be rebalanced in under two minutes. Replace fragile ceramics on lower shelves with heavier stoneware if you know things will be handled a lot. I swapped delicate pieces after my first weekend and never looked back.
Start with One Corner
Pick one small zone, a single shelf, or the corner of your counter. Layer a grounding texture, add a mid-scale piece, and finish with two or three small accents. You do not need to redo the whole kitchen to feel the change.
My first success was a 12 inch corner of counter with a jute mat and one ceramic vase. It felt so much better that I kept going. Start small, live with it, and tweak until it feels right.

