

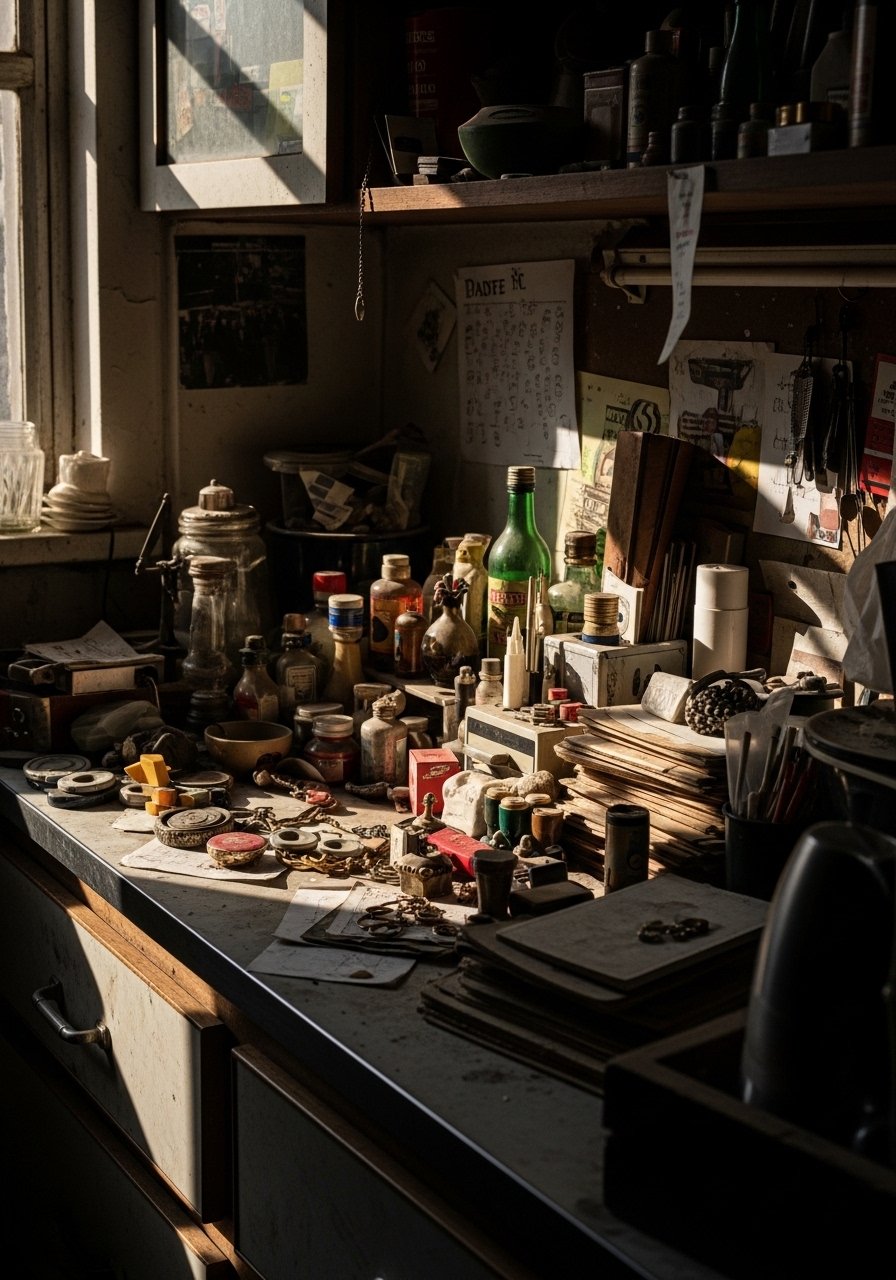
I had a long stretch of counters that felt like bad advertising. A coffee maker, a stack of mail, a lonely plant, and somehow nothing looked intentional. I tried matching everything, then color-coding, then covering most of it with a runner. It all ended up looking like clutter dressed as decor.
What finally worked was thinking in small zones, not whole-room makeovers. I learned to build one visual anchor, add a tall piece for scale, then edit until the counter could breathe. It took a few bad attempts, and one version where my partner asked if we were moving out, but the method is reliably simple.
Step 1: Clear, define, and decide where to style
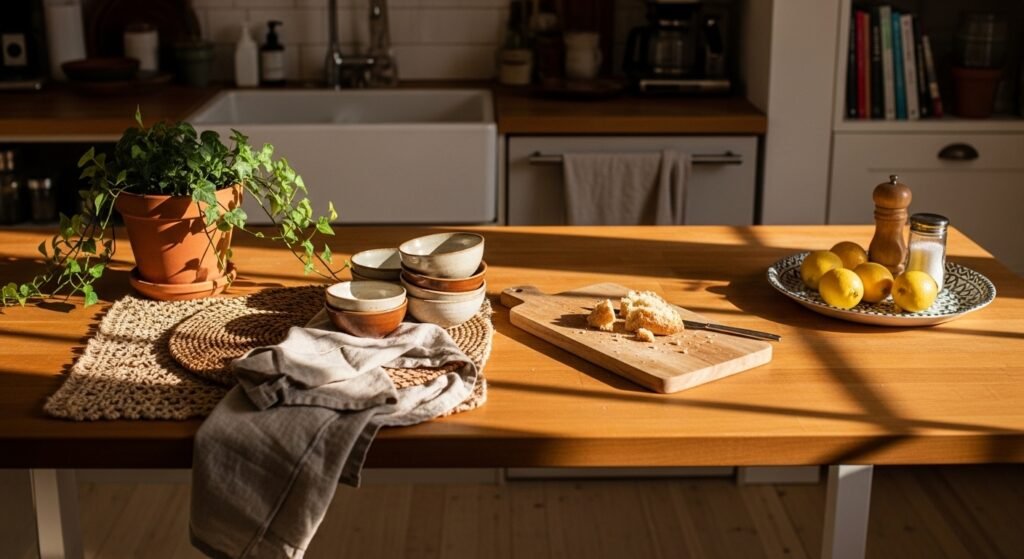
Pull everything off the counter. Yes, everything. When I did this the first time, I panicked and put it all back because the cleared surface felt too empty. Leave the large appliances where they belong, then pick one 18-24 inch zone to actually style. That width is wide enough for a tray, vase, and a small bowl without feeling cramped.
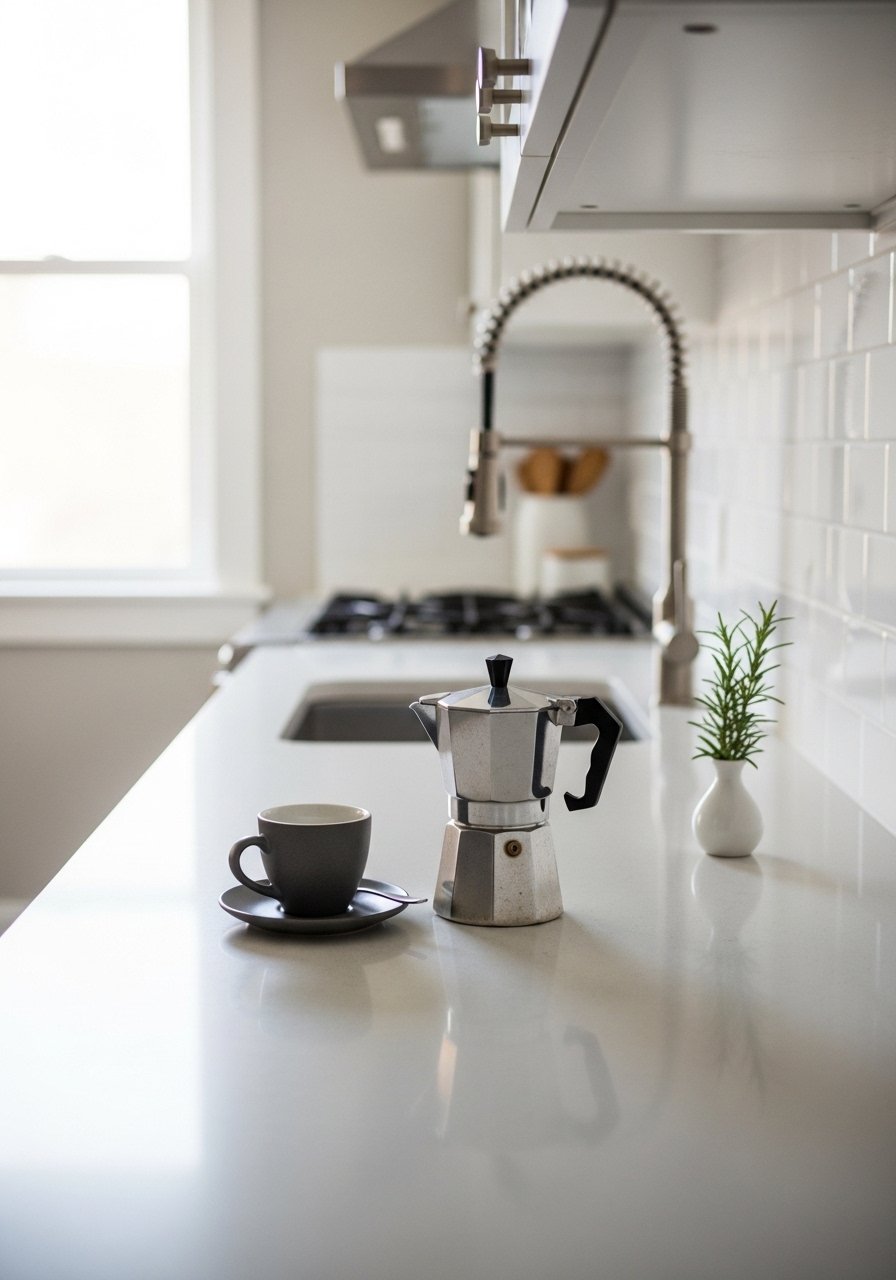
Set a wooden or rattan tray as your visual base, it unifies mixed objects and keeps the area cleaner in real life. I use a 16-inch tray because it contains things without swallowing the counter. The result is immediate, the counter goes from a confusing patchwork to a deliberate vignette with room to work.
Step 2: Add a backbone for height and scale

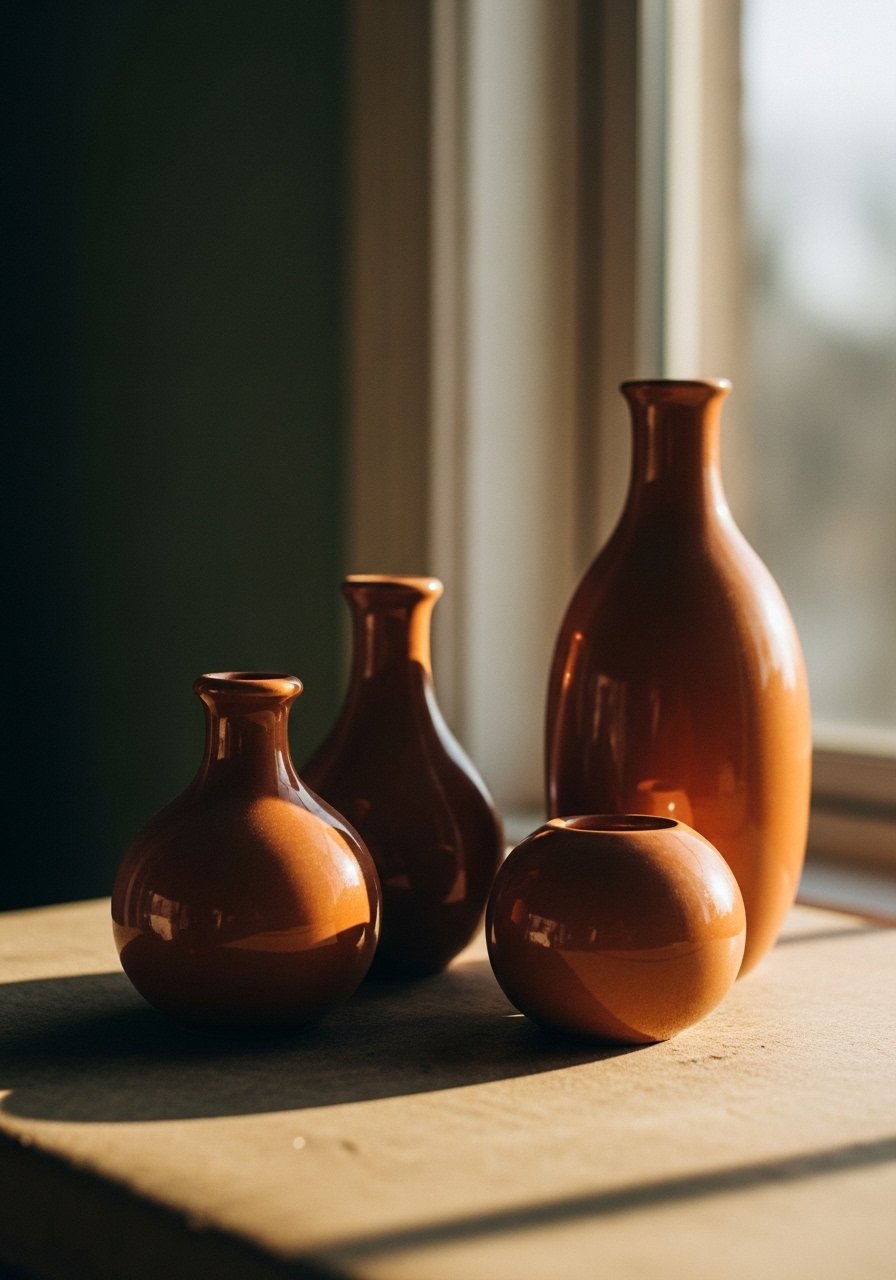
Most people reach for low items first, leaving the space top-heavy. Put one taller piece in the zone early. Think of a 10-14 inch vase or a utensil crock that rises about two-thirds the height of your backsplash. That vertical point gives the eye something to anchor to.
I bought a matte ceramic vase set and used the tallest one as the backbone. The vase feels cool and smooth in your hands, and it grounds everything else. It also rescued me from over-collecting small knickknacks because once the eye has a focal point, less is needed around it.
matte ceramic vase set, 12-inch and 8-inch ($25-40)
Step 3: Cluster in odds and mix textures

This is the step where it starts to actually look styled instead of cluttered. Group in odd numbers, usually three or five. Place a medium item, a small item, and a tall item together. Aim for a group width of about 12-18 inches so the trio reads as a single unit.
Mix materials so the arrangement feels tactile. A glossy glass bottle next to a rough clay bowl and a soft linen towel gives contrast you can see and almost feel. My first attempts were all ceramic and flat. It looked safe and boring. Adding a nubby cloth and a wooden cutting board changed the whole thing.
hand-thrown ceramic bowl, 6-inch ($15-30)
Step 4: Add a live or useful layer, but keep it real
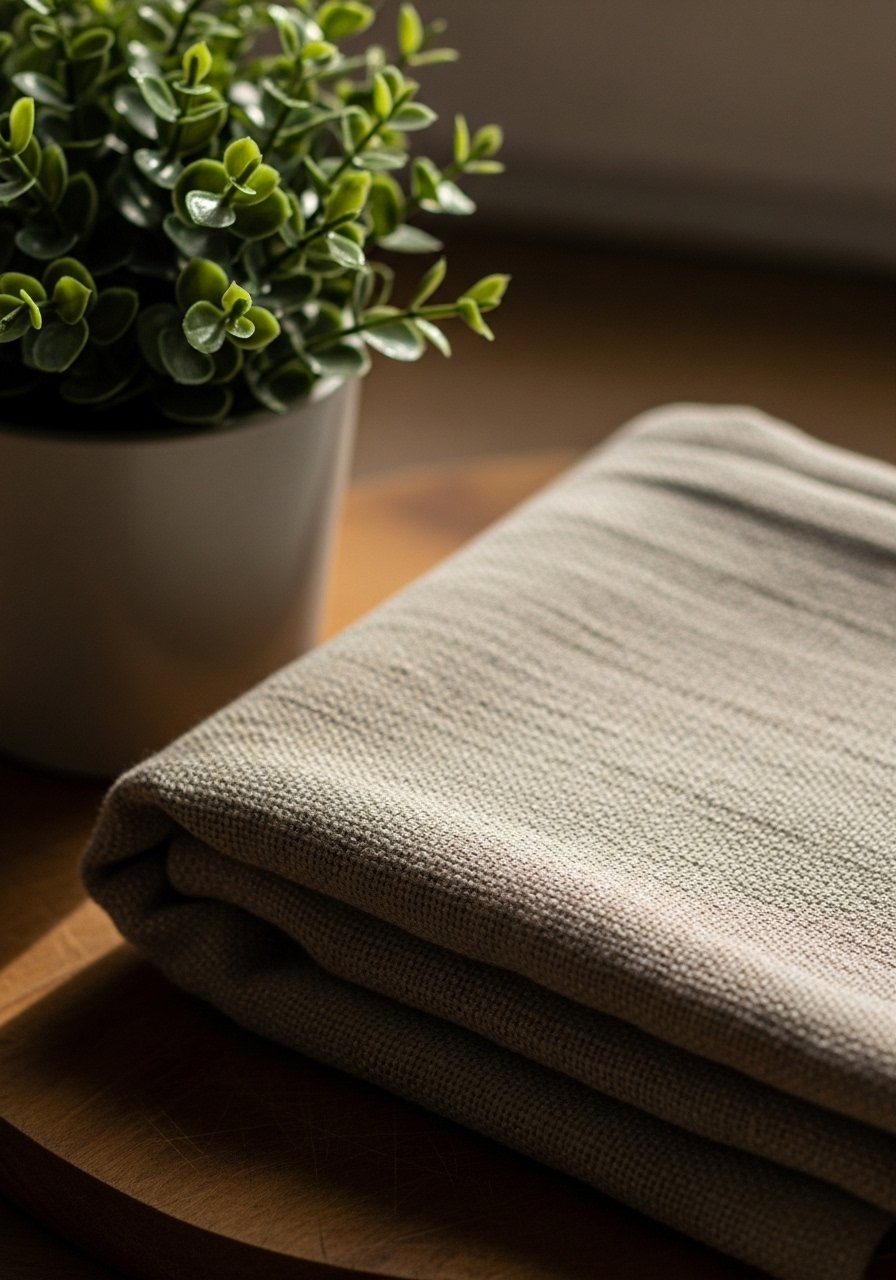
I almost skipped adding a living thing because I feared watering fuss. Don’t skip it. A small potted herb or a jar of fresh sprigs brings a soft green note and a faint scent when you cook, which makes the whole counter feel lived-in. Use a linen kitchen towel casually draped or tied around a jar for a soft, absorbent texture.
Include one useful item that pulls double duty, like a cutting board or a soap pump. The tactile contrast between a rough wooden board and a cool ceramic soap dish reads intentional. Quick note, if you have curious pets, put delicate open shelves out of reach.
linen kitchen towel, natural, 20×28 ($10-18)
Step 5: Edit, step back, and live with it for three days
This part feels wrong while you are doing it. Walk away for ten minutes, then come back. Remove one item. Remove another. The edited version will often look better than the fully loaded one. Aim to leave about one-third of the styling zone as negative space so the counter still functions.
My first version after editing looked too sparse and made me nervous, so I added back a small bowl. The third try was the keeper. Live with the setup for a few days and adjust based on how you actually use the space. If something is constantly moved, either make it more useful or put it away.
folding bamboo cookbook stand ($12-25)
What to Grab for Everyday Kitchen Styling

- Oval wood serving tray, 16-inch ($20-40). Use in Step 1 as a unifying base. Similar at Target.
- Matte ceramic vase set, 12-inch and 8-inch ($25-40). The taller vase is the backbone in Step 2.
- Hand-thrown ceramic bowl, 6-inch ($15-30). Good for Step 3 clusters.
- Linen kitchen towel, natural, 20×28 ($10-18). Soft layer used in Step 4.
- Small potted herb pot, 4-inch terracotta ($8-15). For the live layer in Step 4.
- Wooden cutting board, 12×8-inch ($15-35). Pulls double duty as styling backdrop.
- Folding bamboo cookbook stand ($12-25). Helpful in Step 5 for functional styling.
Why your counters still look cluttered after styling
Two common mistakes create that confused look. One, treating every object as if it must be displayed. If it gets used daily, put it in use during the day and tuck it away at night. Two, matching everything too closely. Uniform sets disappear into the background, so you end up adding more to compensate.
Fix these by choosing one anchor, one tall piece, and one useful item. If a spot still reads messy after that, remove another small piece until the vignette clicks. It will feel underdone at first, and that is okay.
Making this work in a small kitchen
Small spaces punish over-ornamenting. Use one 18-inch zone rather than trying to style the whole counter. Switch to narrower trays, choose vases 8-10 inches tall, and prefer vertical items to horizontal ones. Hooks for towels free up surface area. Practical choices keep the room functional and friendly.
Three quick tips: hang the herb pot, use a slim utensil crock, and pick a tray that tucks under a cabinet lip so it feels built-in.
What this looks like after a week with kids and a dog
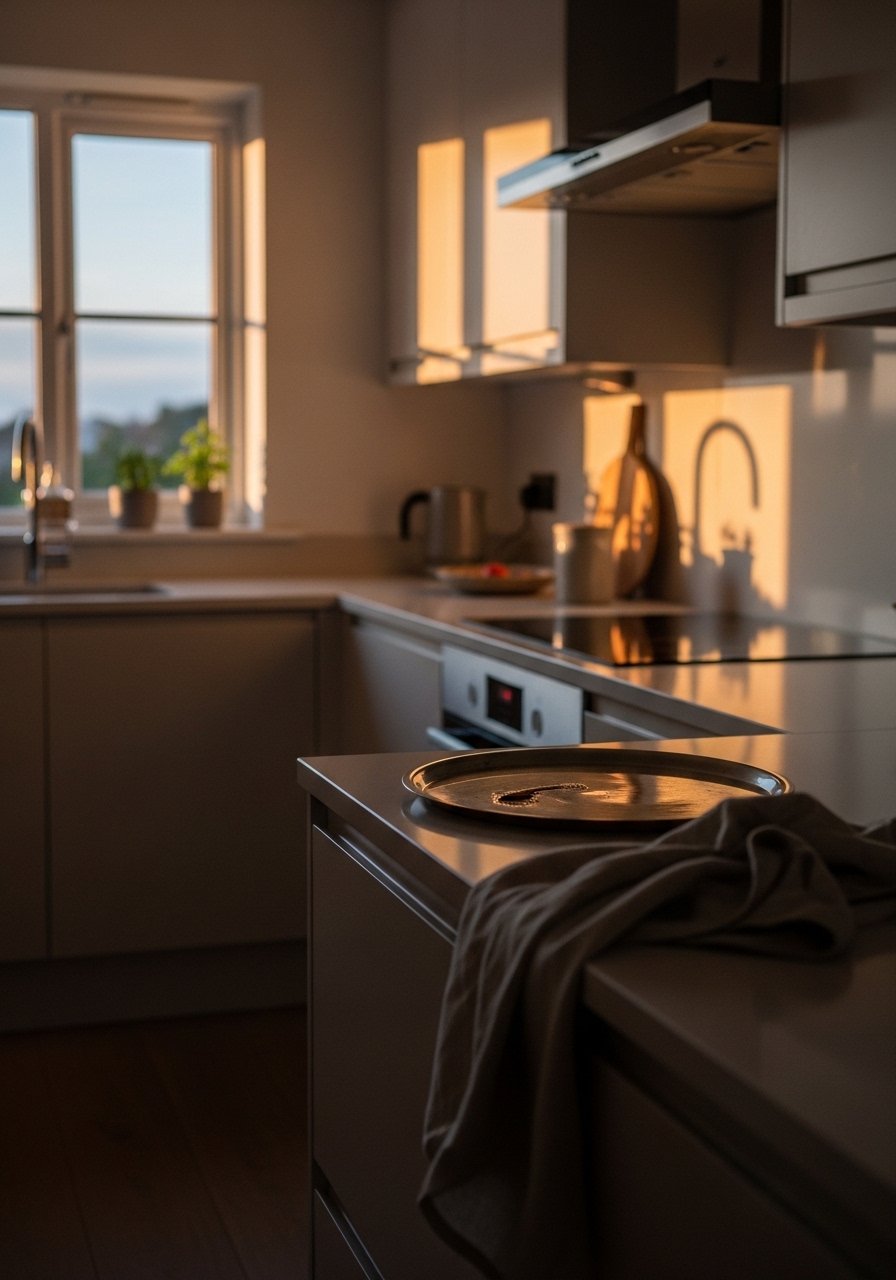
Expect adjustments. The towel will be used, the plant might get bumped, and the bowl may hold mail by day two. Keep breakable or expensive pieces higher up. I learned to favor sturdy wood and stone that can take daily knocks.
If something gets moved every day, make it functional or relocate it. After a week, you should have a rhythm. The vignette will settle into real life, softening around the edges rather than staying precious.
Start with One Counter
Pick the smallest counter you use regularly and style just that. Use the 16-inch tray as your base, add the tallest vase for backbone, then layer a bowl and a towel. Edit by removing one item, then live with it for three days.
You will feel uncertain at first. That is normal. The payoff is a counter that looks like someone lives there but can still cook on it. My counter now gets compliments, and more importantly, it works.

