

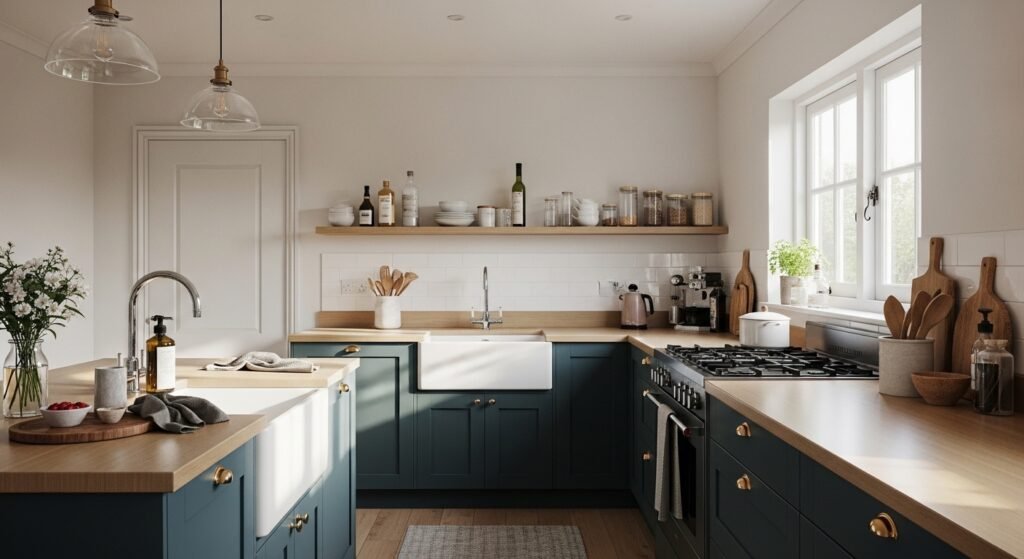
I used to look at my kitchen and feel tired, not inspired. I stacked useful things everywhere, thinking more would make it feel finished. Instead it read as kit-bashed clutter. One night I cleared everything and realized the problem was spacing, not stuff. Once I learned to treat everyday items as deliberate pieces, the room stopped fighting me.
I tried copying a photo, then tried a tighter minimalist look. Neither felt like my kitchen. What finally worked was a simple rule set: pick a small vignette, edit, leave breathing room, live with it for a week, tweak. Below is how I do that, step by step.
Step 1: Make a single countertop vignette and leave breathing room
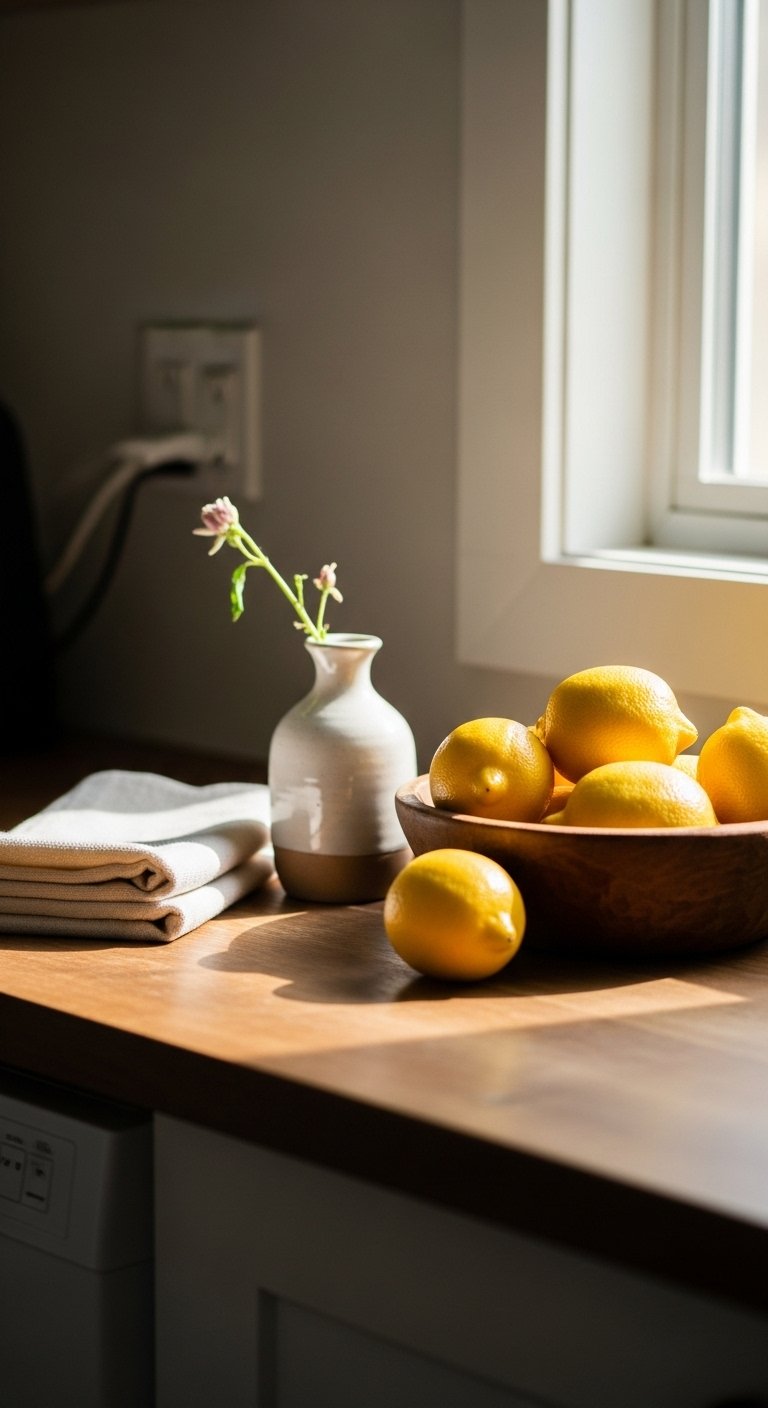
Clear a 12 to 24 inch stretch of counter to be your vignette. I start with a medium item, like a ceramic vase, then build around it. The vignette should take up roughly one third of a counter run. If your counter is 6 feet, aim for about 24 inches of objects, not the whole length. The ceramic vase feels cool and heavy in your hands, which anchors the display more than a plastic jar would. Mistake I made first: I bunched items up against the backsplash. That looked cramped. Let items float at least 2 inches from the wall so light can play around them.
Step 2: Group in odd numbers and vary heights for a natural look
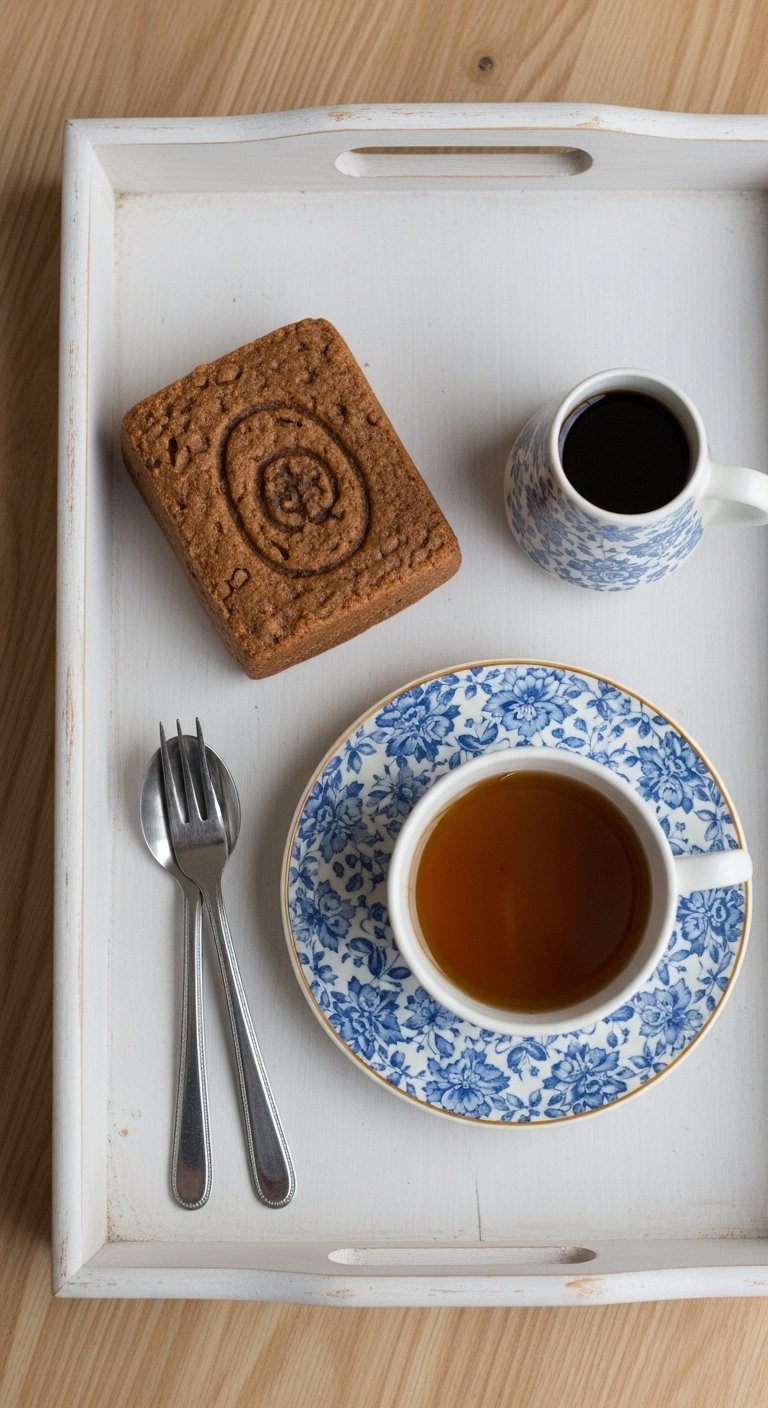
Make groups of three or five, not dozens. Start with a medium-height piece, then add a taller and a shorter item to create a loose triangle. A useful ratio is roughly 2 to 1 between the tallest and shortest object. Use a wooden cutting board as a backdrop, its rough grain contrasting with a smooth glass jar. I kept repeating bad versions because I began with the biggest item, and everything else looked like an afterthought. Flip that process. Try moving the medium item first, then layer. If you can, leave 2 to 3 inches between objects so each has a little air. For trays I use this ceramic vase set, matte white in Step 1, they feel substantial without being heavy.
Step 3: Use functional pieces as decor so nothing feels wasted
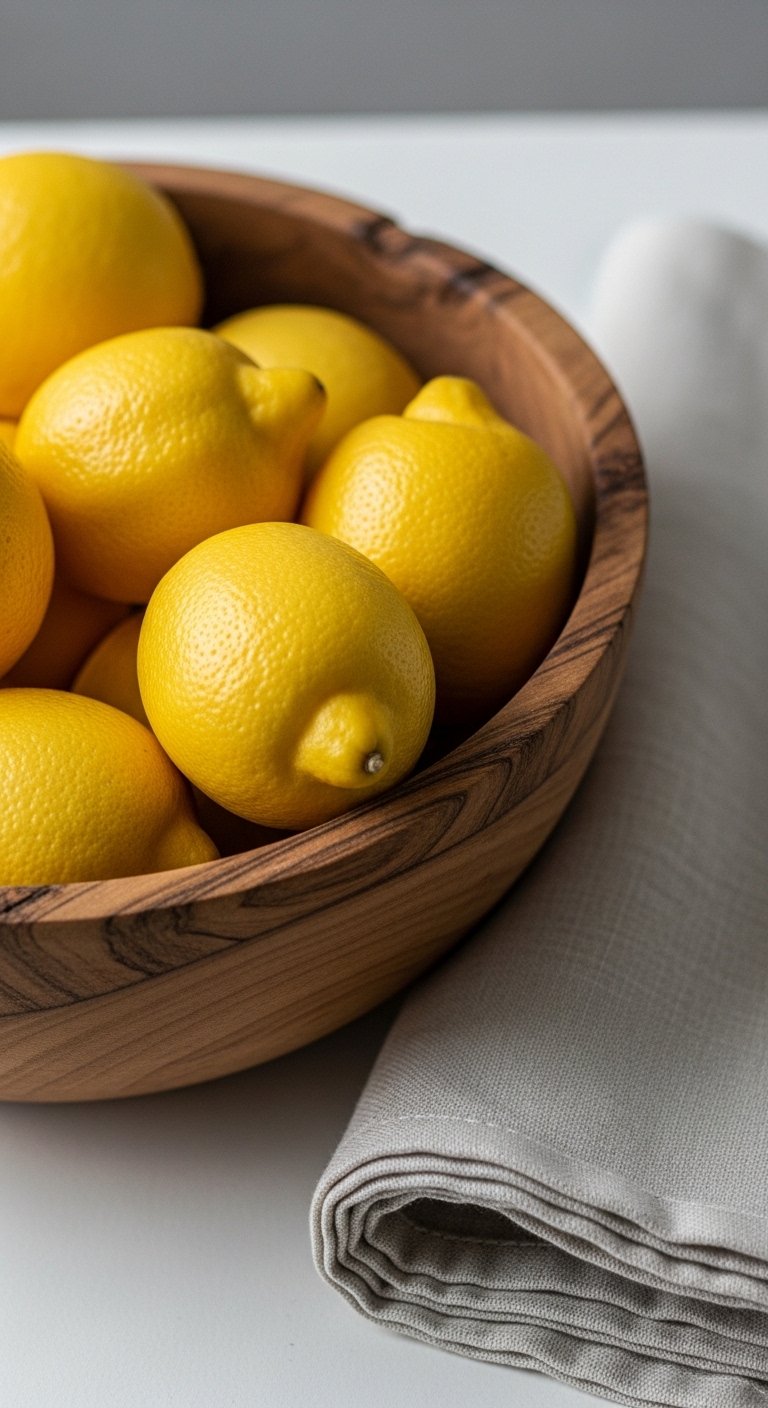
A fruit bowl, glass canisters, and stacked plates are decor when arranged. Pick a bowl around 10 to 12 inches in diameter so fruit reads like a composed object, not a spill. I used to hide dry goods in mismatched containers and it made the counter look chaotic. Switching to clear jars with uniform lids gave a calm, tactile rhythm. The glass has a cool smoothness on the fingertips that balances the warm, grainy wood of a cutting board. Side note, if you have cats, avoid small open bowls at edge level. My roommate knocked over the bowl twice before I moved it inward. I use this ceramic bowl, 12-inch, glazed neutral for color and weight.
Step 4: Add textiles and a touch of green for softness
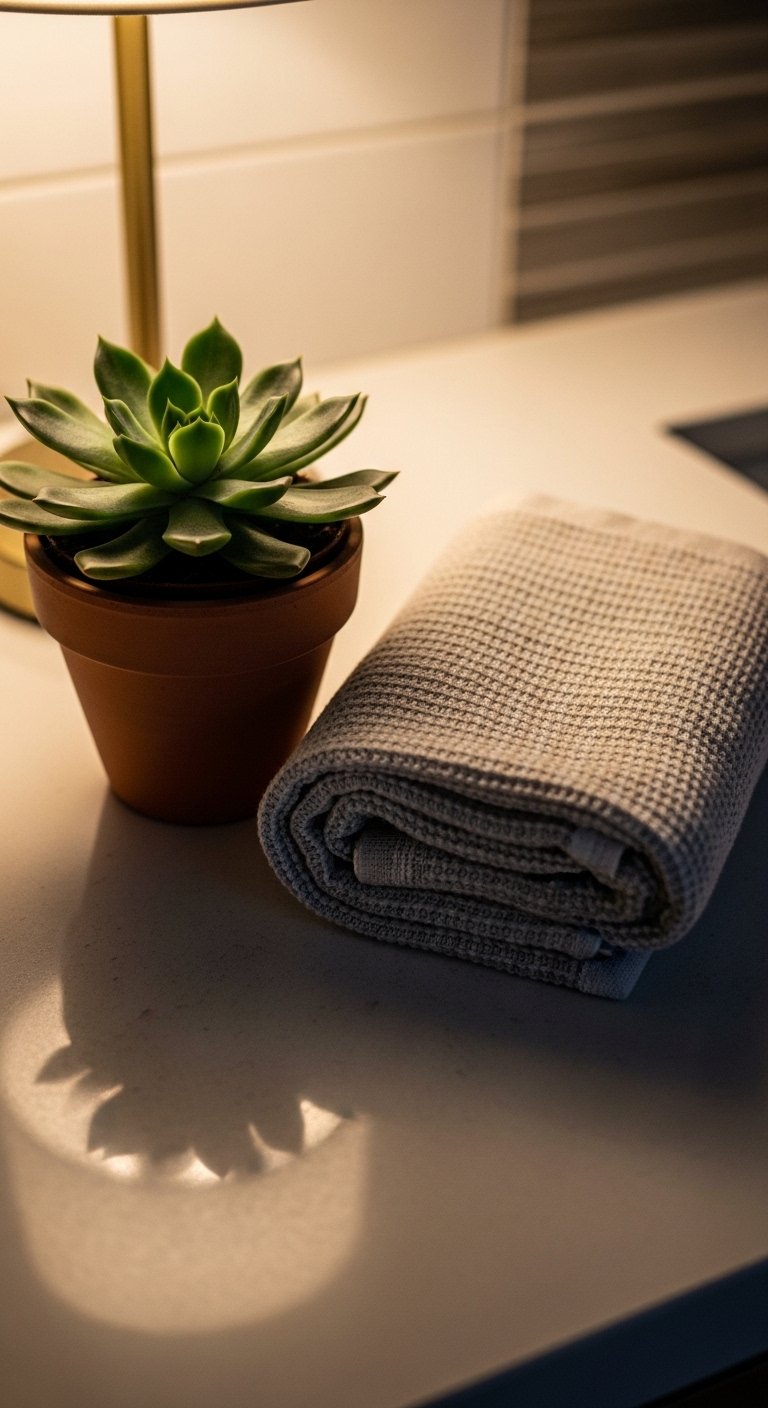
A folded linen towel and a little plant change the whole feel. Linen is slightly rough and cool, it breaks the kitchen sheen and invites touch. I like a neutral tea towel folded into thirds and draped near the sink. Use a small plant in a simple pot for a living contrast, not a jungle. Keep the plant compact, about 4 to 6 inches tall, so it does not compete. My first attempt used a floppy fern and it looked messy after two days. Swap that for a compact succulent if you want low maintenance. I keep a heavy linen towel, 20×28, oatmeal on rotation so the fabric holds shape and looks intentional.
Step 5: Edit, live with it for a week, then make tiny adjustments
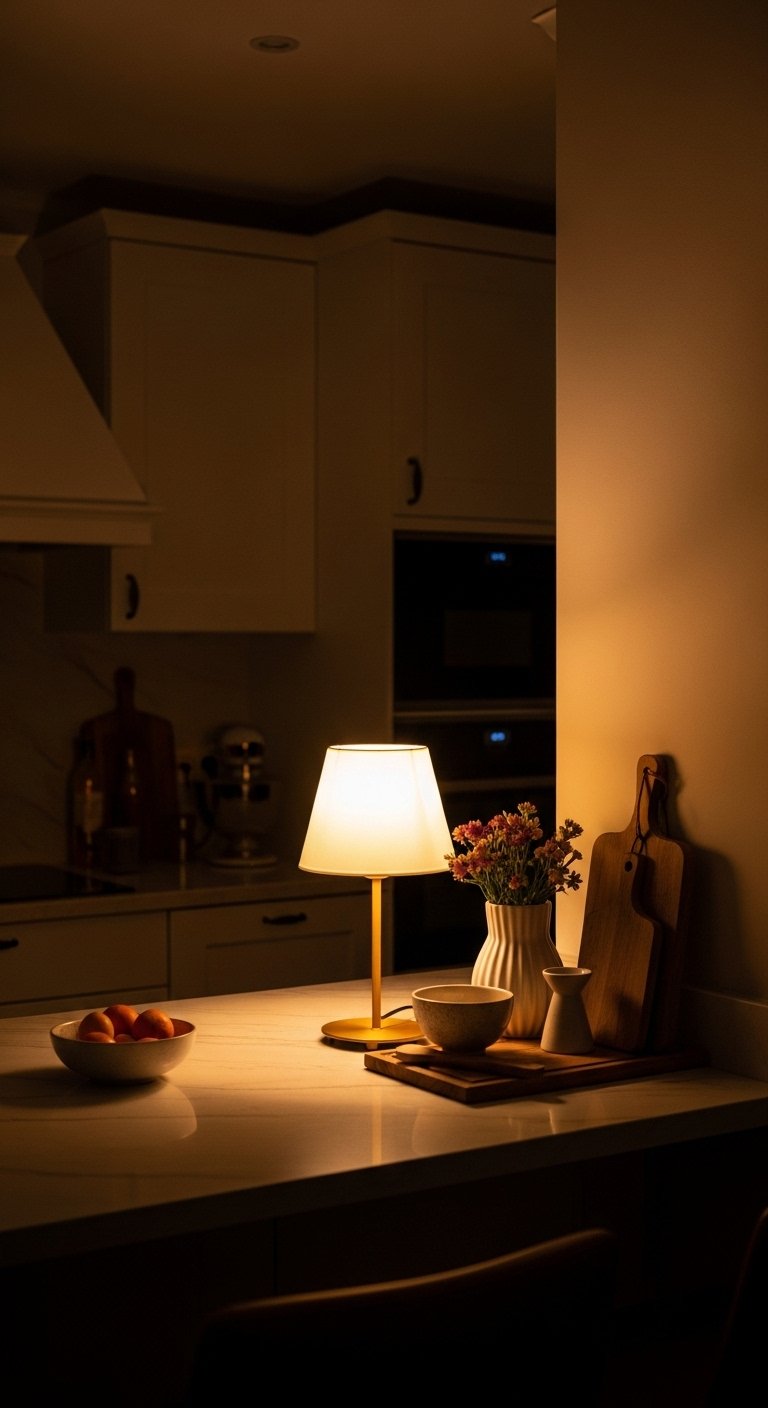
This step felt the most frustrating at first because I wanted immediate perfection. Walk away for a day. Use the space. After three breakfasts and a dinner you will notice what works and what gets in the way. Keep at least 2 to 3 inches clearance from the cooktop and sink for safety and cleaning. I learned to remove one object rather than add another when something looked off. Small tweaks usually do the trick. If a piece is inconvenient, it will tell you. Trust that feedback. For a low-commitment starting point, try swapping one jar or one towel rather than redoing everything.
Kitchen Items to Grab for an Everyday Refresh
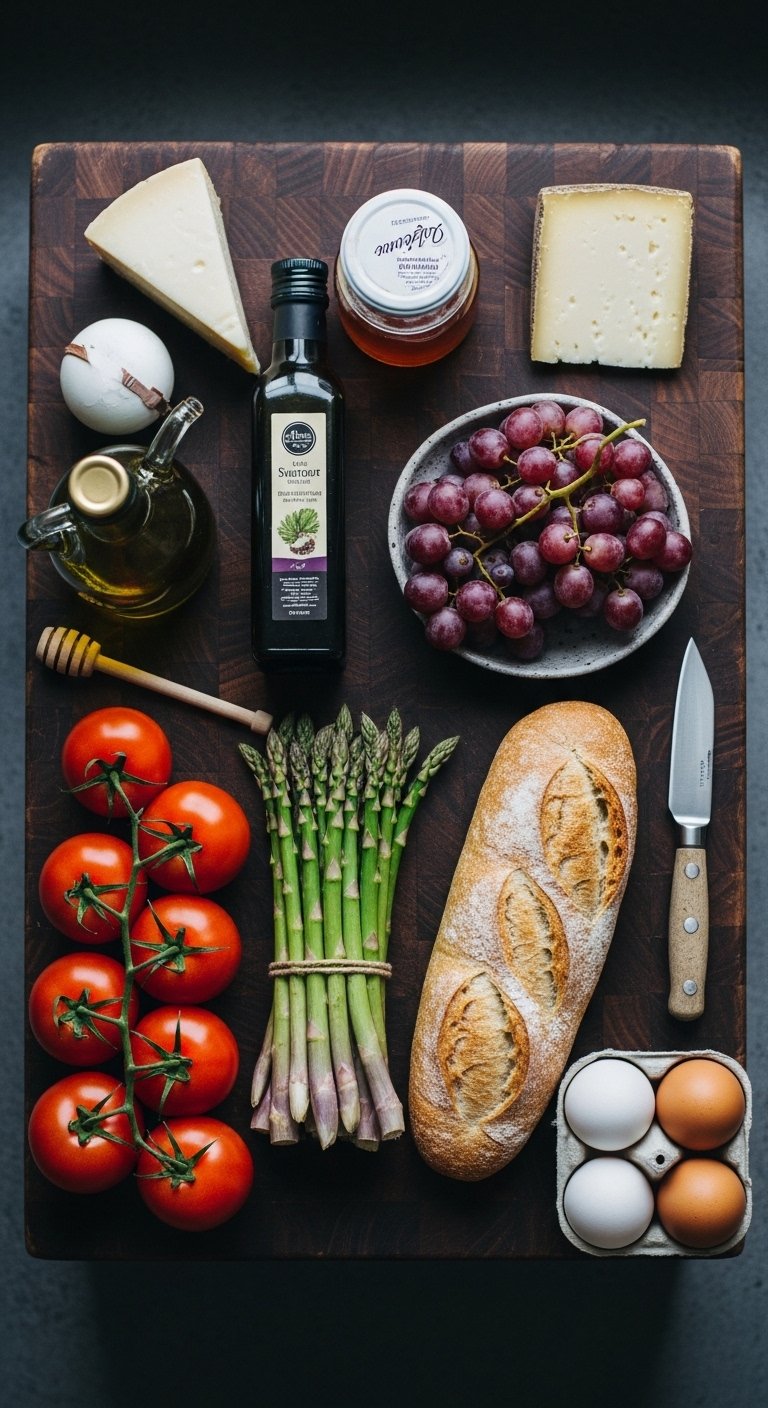
- Ceramic vase set, matte white ($25-40). Great for Step 1, feels heavy and grounded.
- Ceramic bowl, 12-inch, glazed neutral ($20-35). Use in Step 3 for fruit or bread.
- Linen towel, oatmeal, 20×28 ($12-22). Soft texture adds warmth in Step 4.
- Wood cutting board, 12×18-inch, end-grain ($30-70). Acts as a backdrop in Step 2.
- Clear glass canisters, set of 3 ($25-45). For Step 3, uniform lids make the pantry look calm.
- Small potted succulent, 4-inch pot ($8-18). Low-maintenance green for Step 4.
- Round woven tray, 12-inch diameter, natural jute ($15-30). Corals groups and protects counters in Step 2.
- Weighted mortar and pestle, medium ($20-40). Adds texture and function, useful in Step 3.
Why Your Counters Still Look Cluttered After Styling
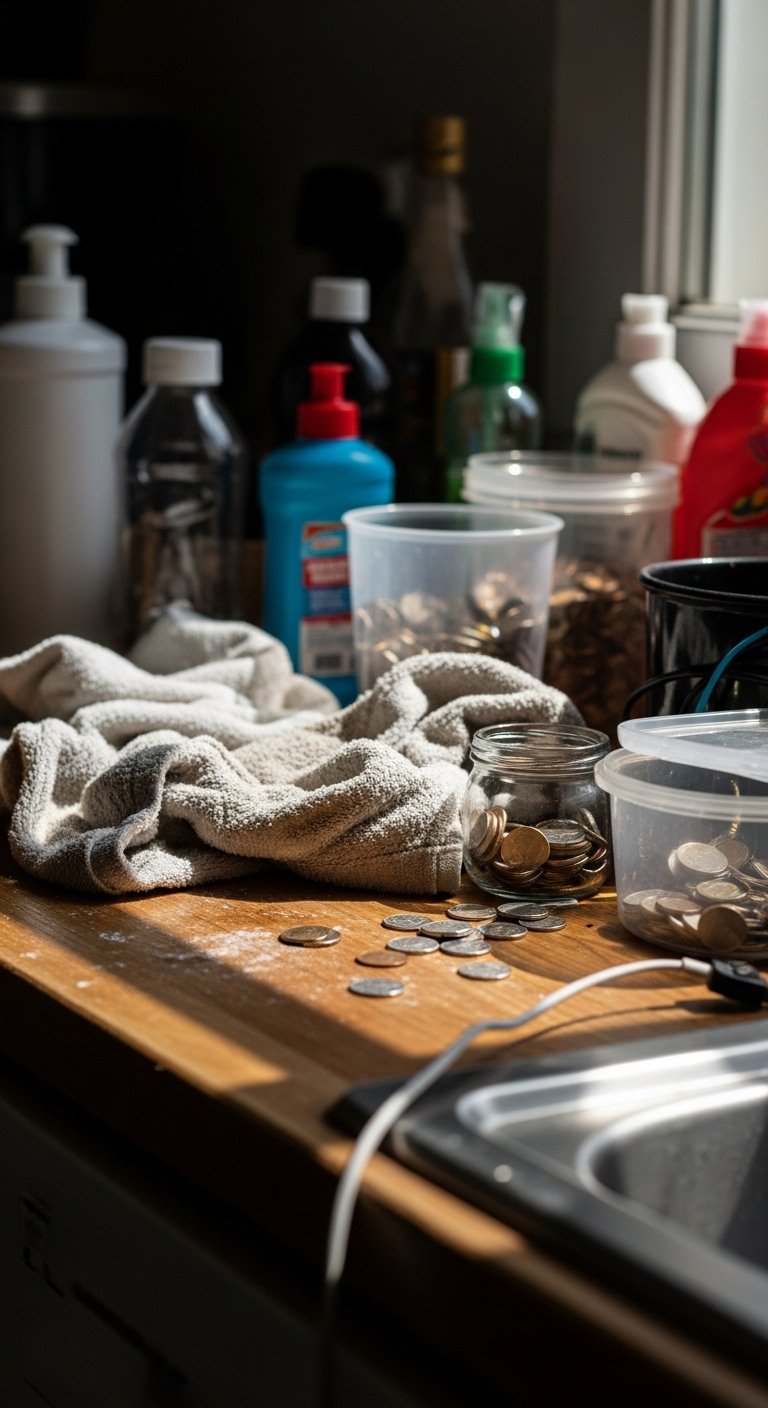
Often clutter is spacing, not the amount of stuff. Common mistakes I see and made myself:
- Placing items flush against the backsplash. That removes light and makes everything read as a single block.
- Using too many different materials at once. Pick two majors, like wood and ceramic, and add one small metal accent.
- Holding onto random freebies that do not fit the palette. If an item is more useful than pretty, tuck it away.
Editing down to a handful of reliable pieces will make each item feel intentional.
Making This Work in a Small Kitchen
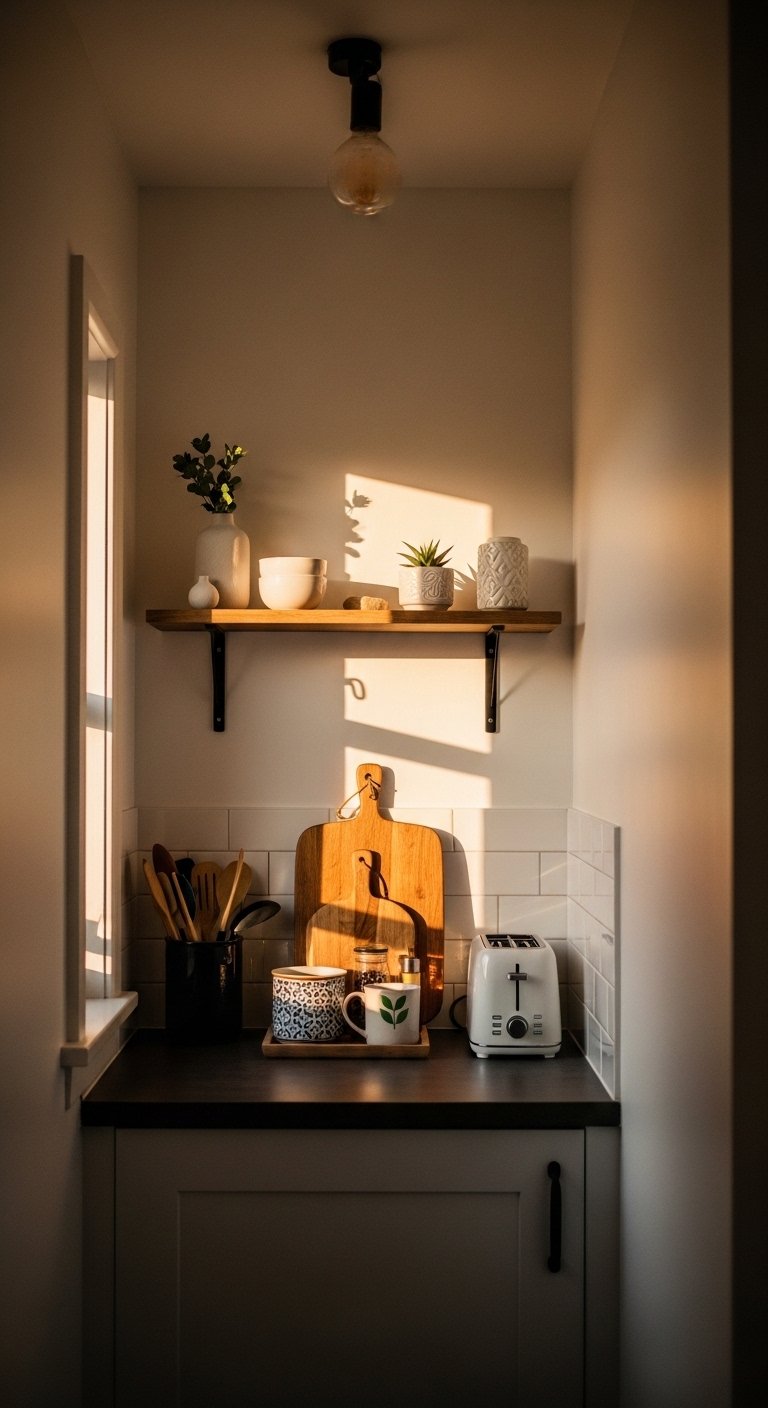
In a tiny kitchen, scale is everything. Use vertical moments such as a 12- to 18-inch shelf above the counter for one small vignette rather than spreading across every surface. Keep rugs to 2 feet wide for runner areas and choose compact trays about 10 to 12 inches across. If storage is limited, pick objects that serve twice, like a mortar that is both useful and sculptural. I blend a small plant, a towel, and one bowl and it reads like an intentional pause instead of chaos.
What Real Life Looks Like After a Week
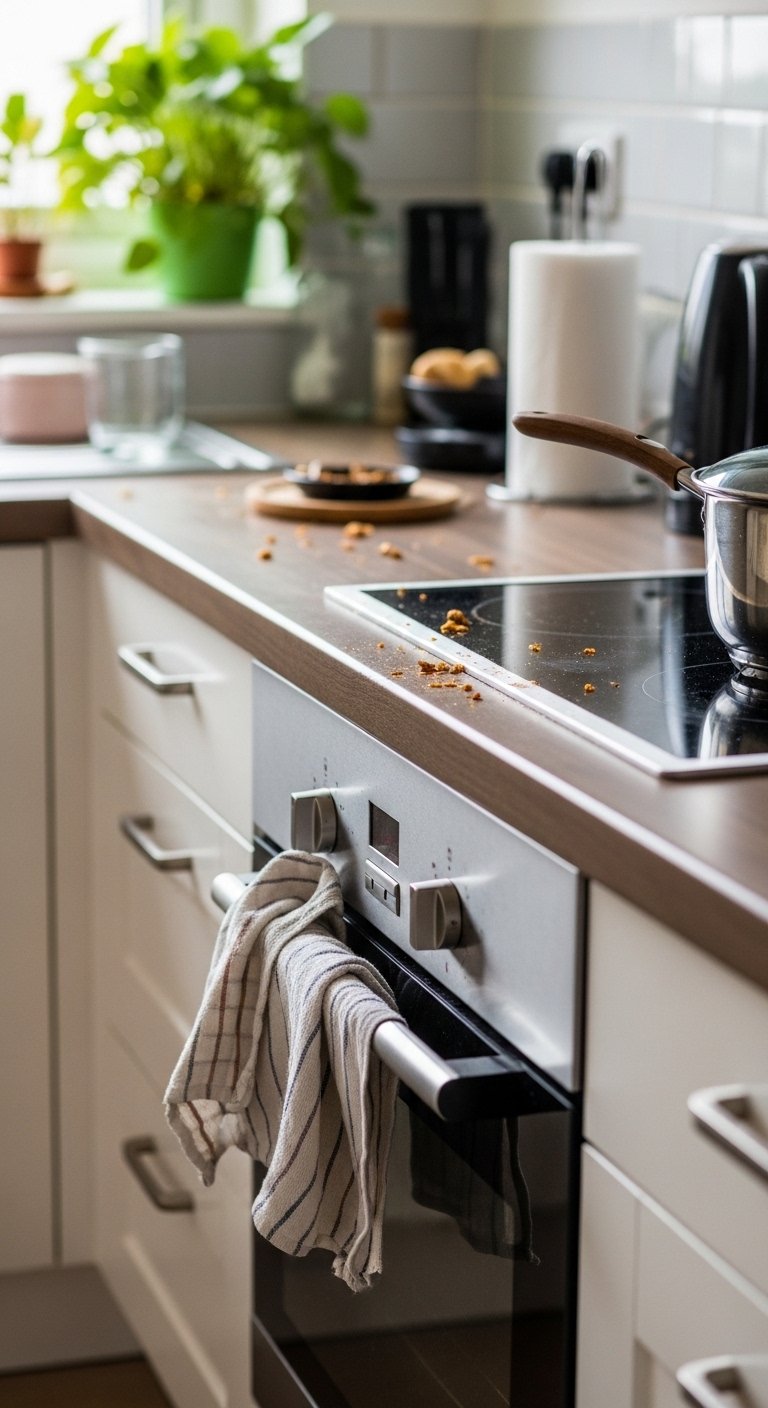
Give your styling time. After a week you will see which items survive daily use. Mine started with a photographed-perfect setup and ended with one dish towel in slightly different fold and a stray lemon left in a bowl. Little imperfections make it feel lived-in. If something seems to get in the way, remove it. If you reach for it often, keep it. I check once a week and remove one thing if it feels unnecessary. That small maintenance keeps the space feeling calm without constant redoing.
Start with One Countertop Vignette
Pick a single 12 to 24 inch stretch and style it using one medium anchor, one tall piece, and one soft textile. Live with it for a few days, then swap out one item if needed. It takes less time than you think and feels more personal than copying a full room. My first vignette sits by the sink now, used every day, and somehow it makes the whole kitchen feel quieter.

