

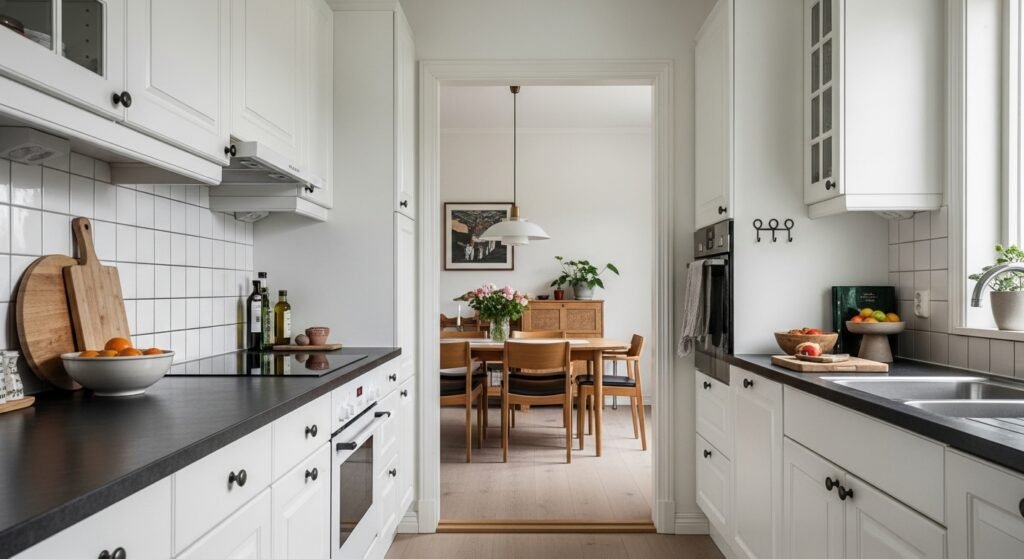
I used to walk into my kitchen and feel like something was missing. Counters looked either cluttered or too bare, and the walls felt cold.
Cutting boards fixed that. They add warmth, texture, and a collected look without fuss. I’ll show you how to place them so the kitchen reads intentional, not cluttered.
How to Decorate a Kitchen With Cutting Boards
This is the method I use every time a kitchen feels unfinished. You’ll learn how to mix sizes, materials, and placement so boards look like deliberate decor. The end result is a warmer, balanced kitchen with surfaces that feel edited and lived-in — a quiet, organic modern vibe.
What You'll Need
- Mixed acacia and walnut cutting board set, assorted sizes (~$30–80)
- Large marble serving and cutting board, 16×12 (~$40–100)
- Round olive wood board, 12-inch (~$30–80)
- Bamboo charcuterie paddle, 18-inch (~$20–45)
- Leather hanging strap for cutting boards, 2-pack (~$8–20)
- Matte black wall hooks / peg rail, 4-pack (~$15–35)
- Vertical countertop board stand, wood (~$12–30)
Step 1: Choose one "hero" board and start there
I always pick one board that sets the tone. For me that’s a large walnut or acacia board. It becomes the anchor for everything else. Placing it first tells the eye where to land and gives me a scale to work with.
One insight people miss is size hierarchy — the hero should be noticeably larger or different. Small mistake to avoid: starting with too many same-sized boards. That makes the display look busy, not deliberate.
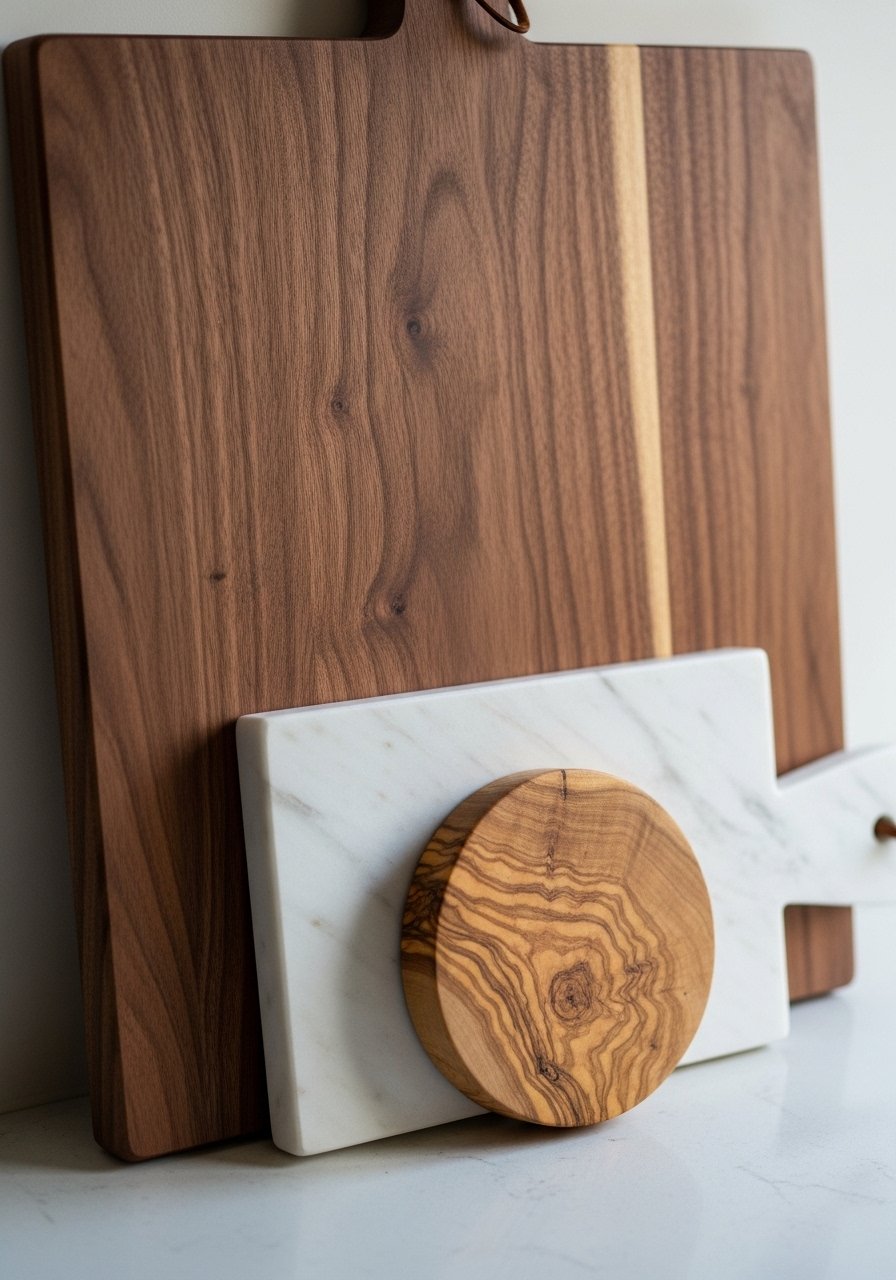
Step 2: Layer shapes and materials for texture
I mix round with rectangular and marble with wood. The contrast makes the arrangement feel collected. I usually place a round or paddle slightly overlapping a rectangular board to soften hard lines.
People often match everything too closely. That flattens the look. One insight: odd numbers read better — three pieces often feel more balanced than two. Small mistake: aligning every edge perfectly. A little overlap looks intentional.
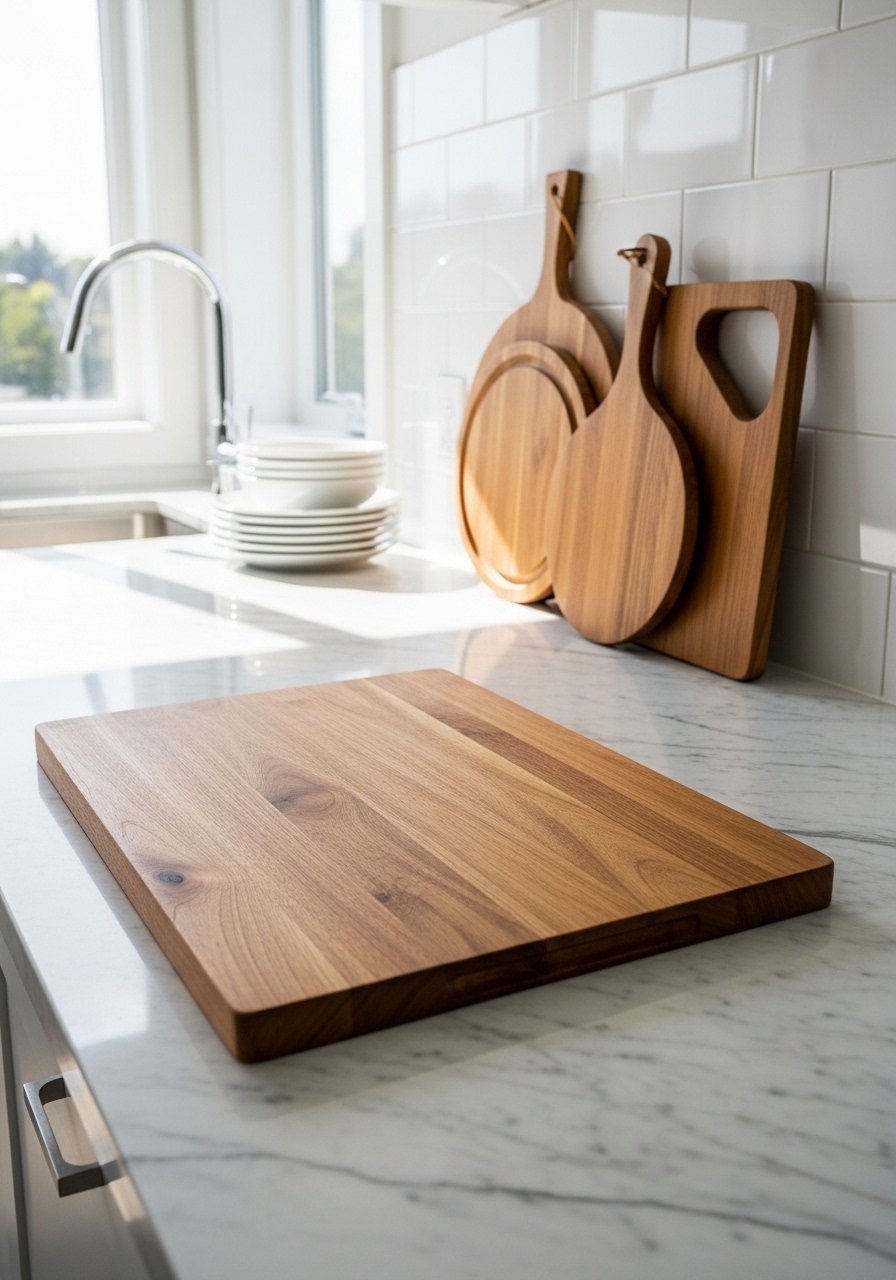
Step 3: Use vertical space — hang or prop boards
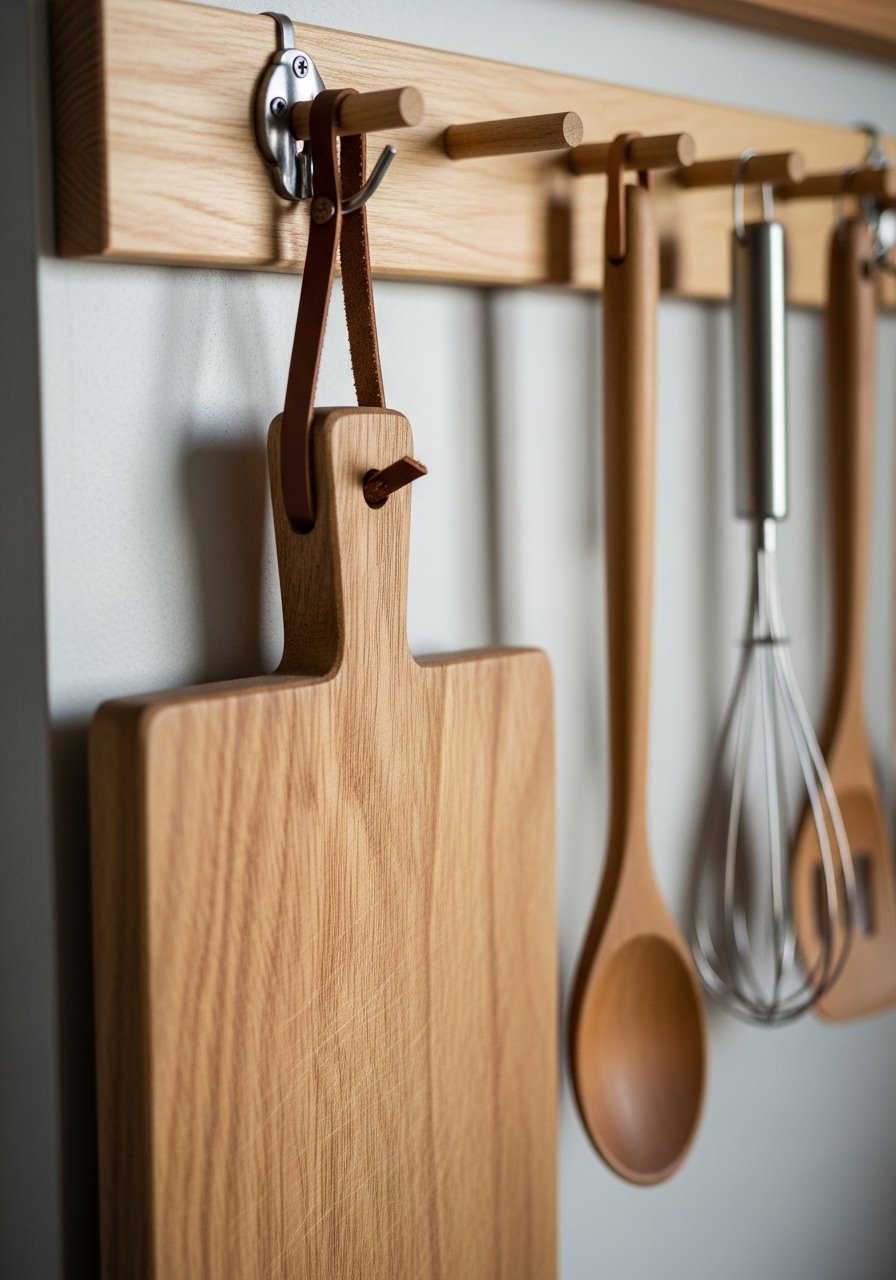
Empty wall space is an easy win. I hang lighter boards with leather straps or prop a few upright against a backsplash. It frees counter space and draws the eye up, which helps kitchens feel taller.
One insight is to mix hanging with propped pieces. Hanging every board looks utilitarian. Small mistake: overcrowding the hook area. Leave breathing room so each board reads as part of the styling, not storage.
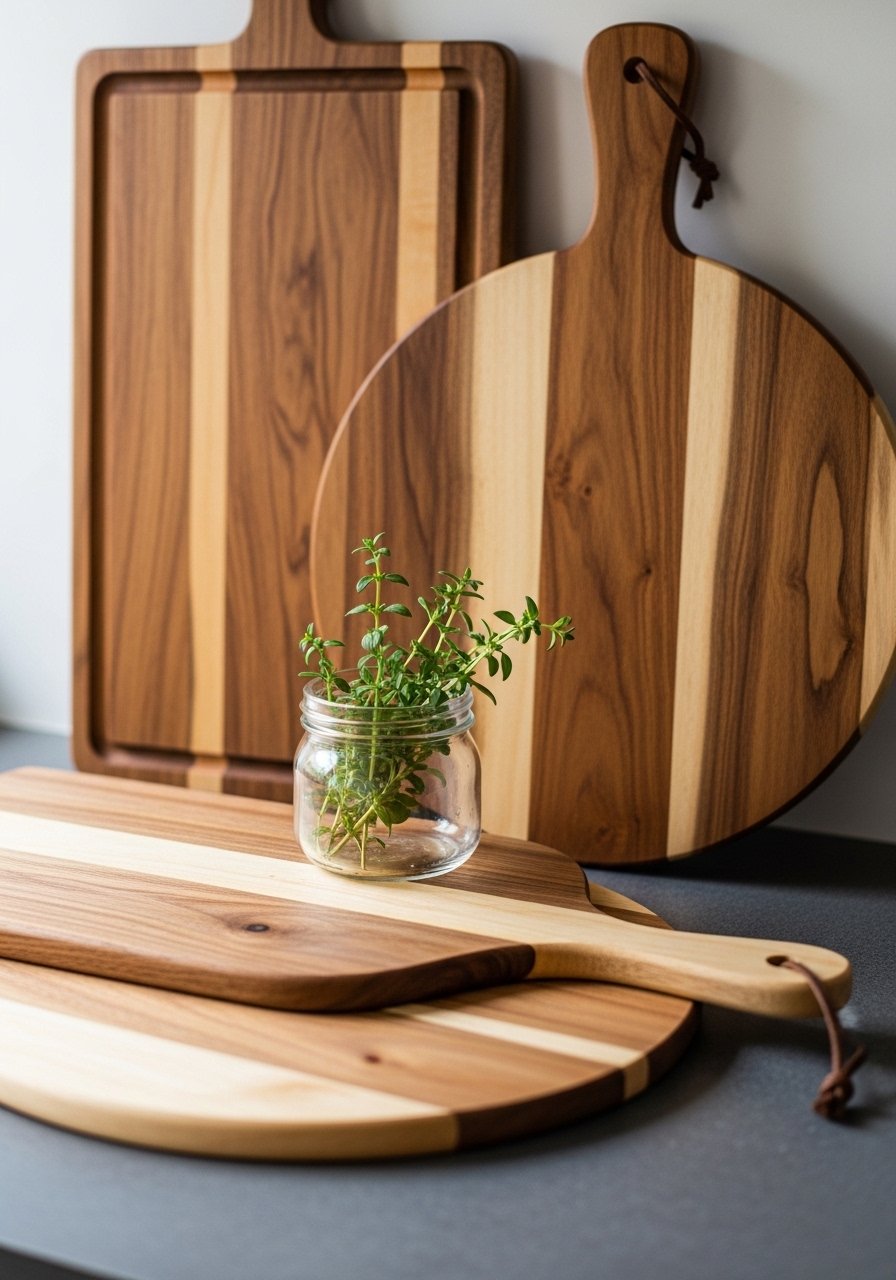
Step 4: Create small vignettes with boards as backdrops
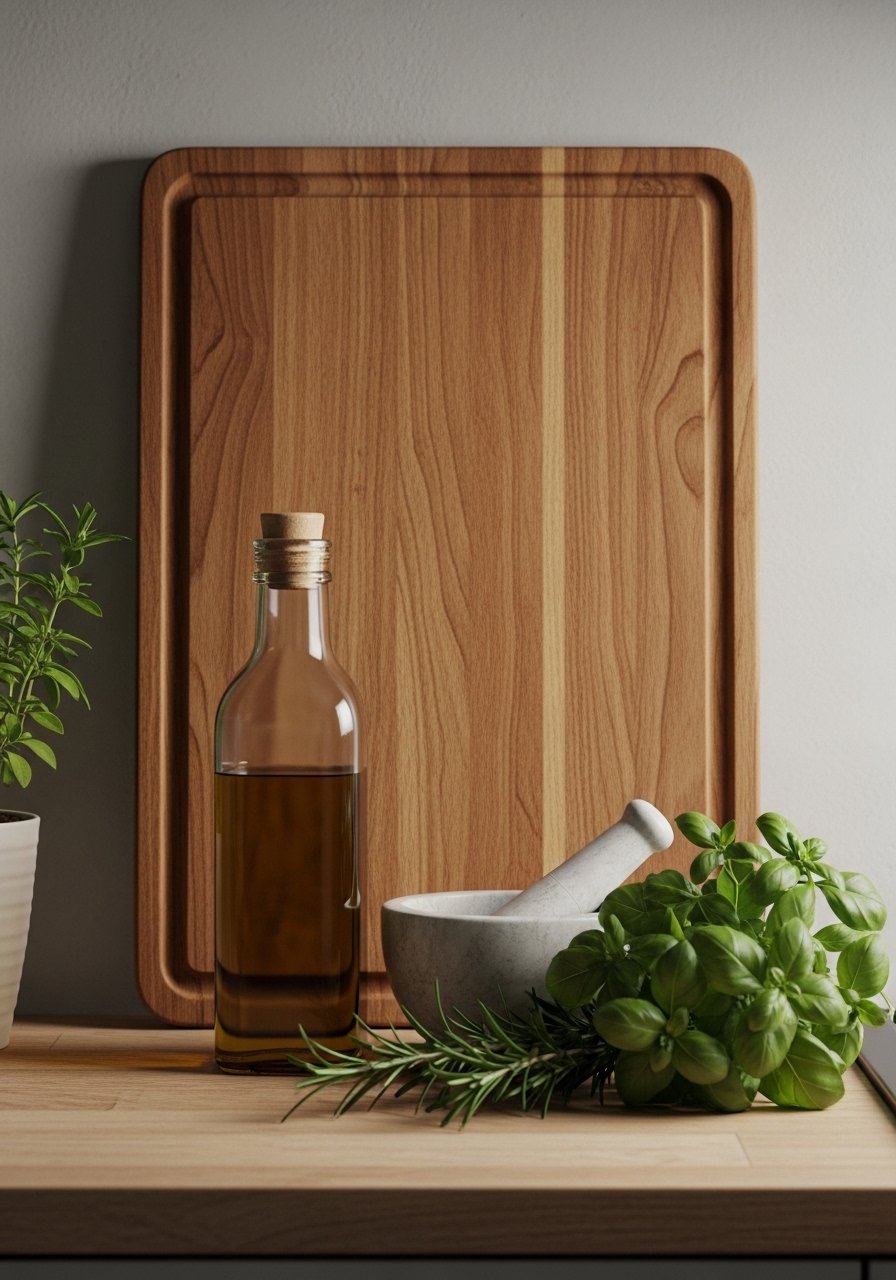
I treat a board like a tiny gallery wall: place it behind a jar of utensils, an oil bottle, or a plant. It makes even a microwave corner feel intentional. The board anchors the vignette and adds texture.
Insight: use negative space. One or two small objects on the board is enough. Small mistake: covering the whole board with items. That turns decor into clutter. Keep one board intentionally mostly visible.
Step 5: Edit regularly and keep function in mind
I rotate boards seasonally and edit when it feels crowded. That keeps the look fresh and prevents the pile-up that kills the vibe. I also keep one functional board within easy reach for daily use.
People forget cleaning and wear. Insight: a well-used board has character, but avoid styling grimy or sticky boards. Small mistake: styling every board you own—start with a curated handful and build from there.
Common mistakes and how to fix them
I see the same missteps in kitchens. Mostly it’s overdoing, matching too much, or using boards as actual storage.
- Don’t match every piece — mix tones and textures.
- Avoid placing boards directly in front of a window where they block light.
- Edit down: pick three to five boards for a typical kitchen.
If your counters feel cluttered, remove all but the hero and one functional board. Start adding back slowly until it feels balanced.
Adapting the look for small kitchens and budgets
I work the same way in a tiny galley kitchen. Less is more.
- Choose one mid-size board as your hero instead of several.
- Use a peg rail instead of a shelf to save space.
- Bamboo paddles and small olive wood rounds give good looks on a budget.
If you’re tight on funds, start with a bamboo paddle (~$20–45) and a leather strap. They create a curated feel without spending much.
Mixing this look with what you already own
I rarely buy everything new. Cutting boards mix well with existing trays, pie plates, or framed prints.
- Match one material to an existing element (a wood shelf, a brass tap).
- Use boards to bridge styles — a marble board softens rustic wood.
- Place a board near a favorite mug or plant to create cohesion.
Think of boards as connectors. They tie counters, shelves, and the sink area together visually.
Final Thoughts
Start with one board and one strap. Try placing the board as a backdrop for a small vignette and live with it for a week. I often tweak spacing and swap one piece until the kitchen feels calm.
This approach is low-commitment. A simple bamboo paddle is a good first buy and makes the whole room read more intentional.

