

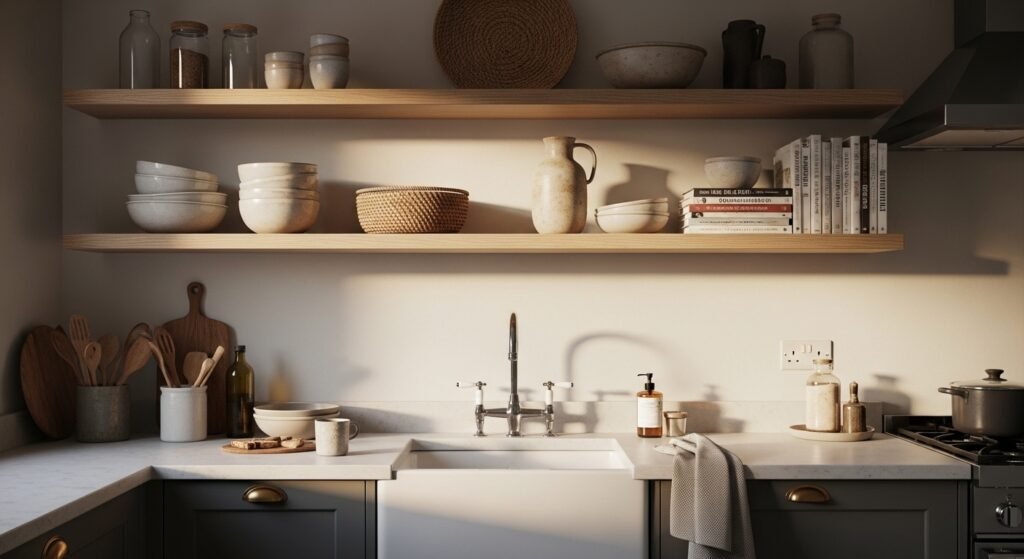
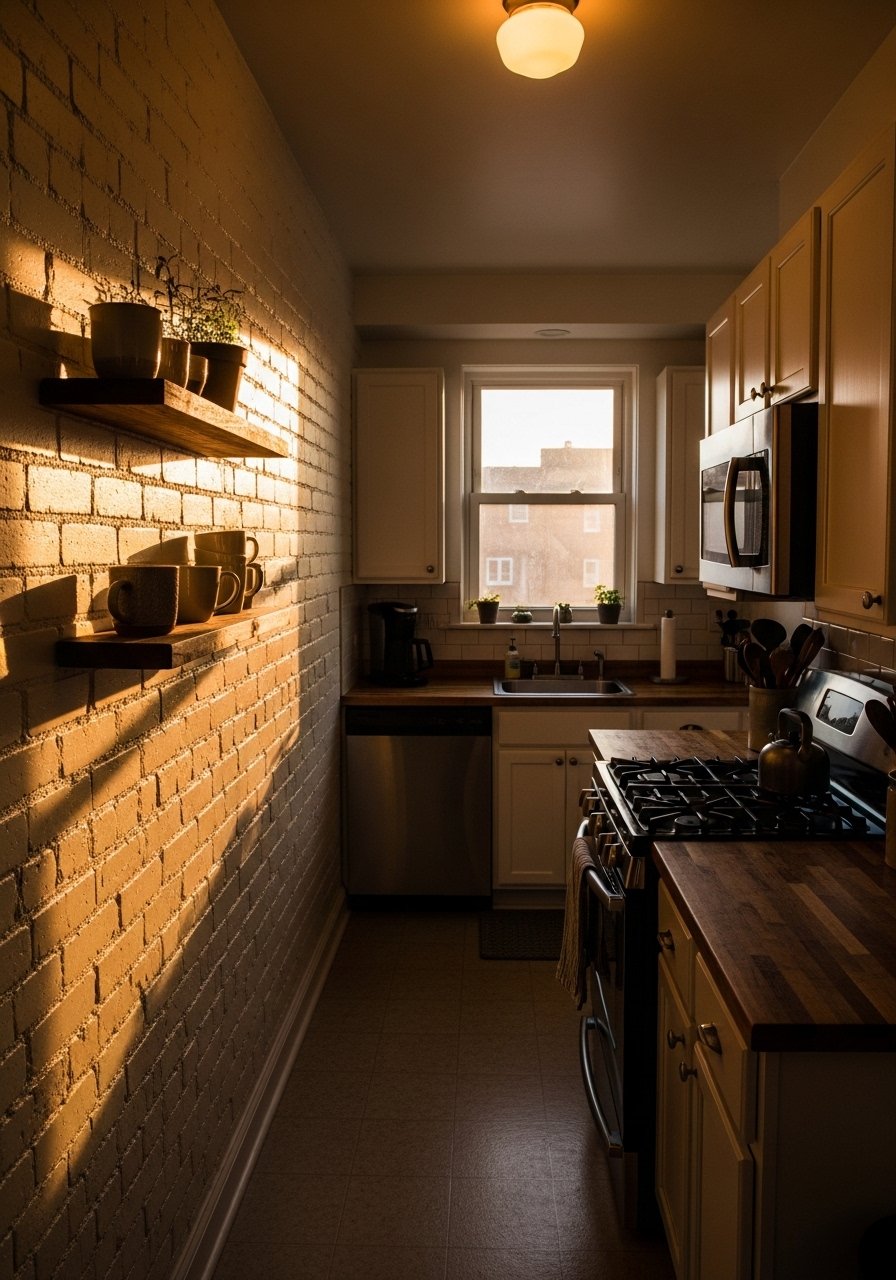
I had three narrow shelves over my kitchen counter staring back at me for weeks. Everything I put up looked like an afterthought, or worse, like clutter. Plates, a potted plant, an art print leaning against the wall. Nothing felt anchored.
I tried filling every inch because empty space scared me. Then I tried almost empty, which read as unfinished. What finally worked was thinking about groups, scale, and the way hands use the shelves. Once I stopped treating every surface like a display case, the shelves stopped screaming for attention and started feeling cozy.
Step 1: Clear the shelves and set your scale
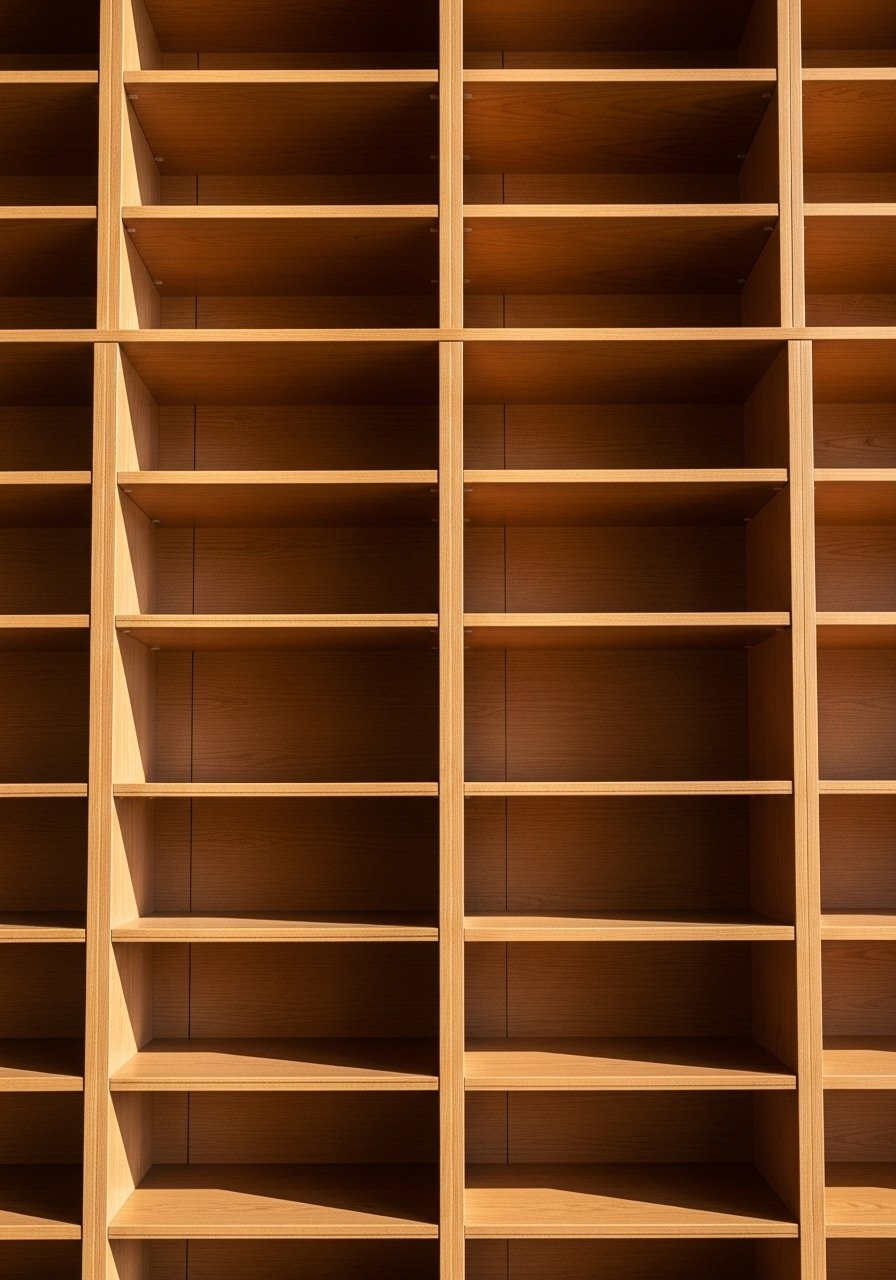
Pull everything off the shelves. Yes, everything. Seeing the bare wood made me nervous the first time, but it also showed me the true dimensions to work with. Measure depth and width. Aim to use items that take up roughly 60 to 70 percent of each shelf horizontally, leaving 30 to 40 percent as breathing room. If a shelf is 12 inches deep, put objects no closer than 2 inches to the front edge and leave about 3 to 4 inches of open space on one side for negative space.
Common mistake fixed here: filling the entire shelf edge to edge. The shelves will feel grounded, not crowded, when you respect that empty space.
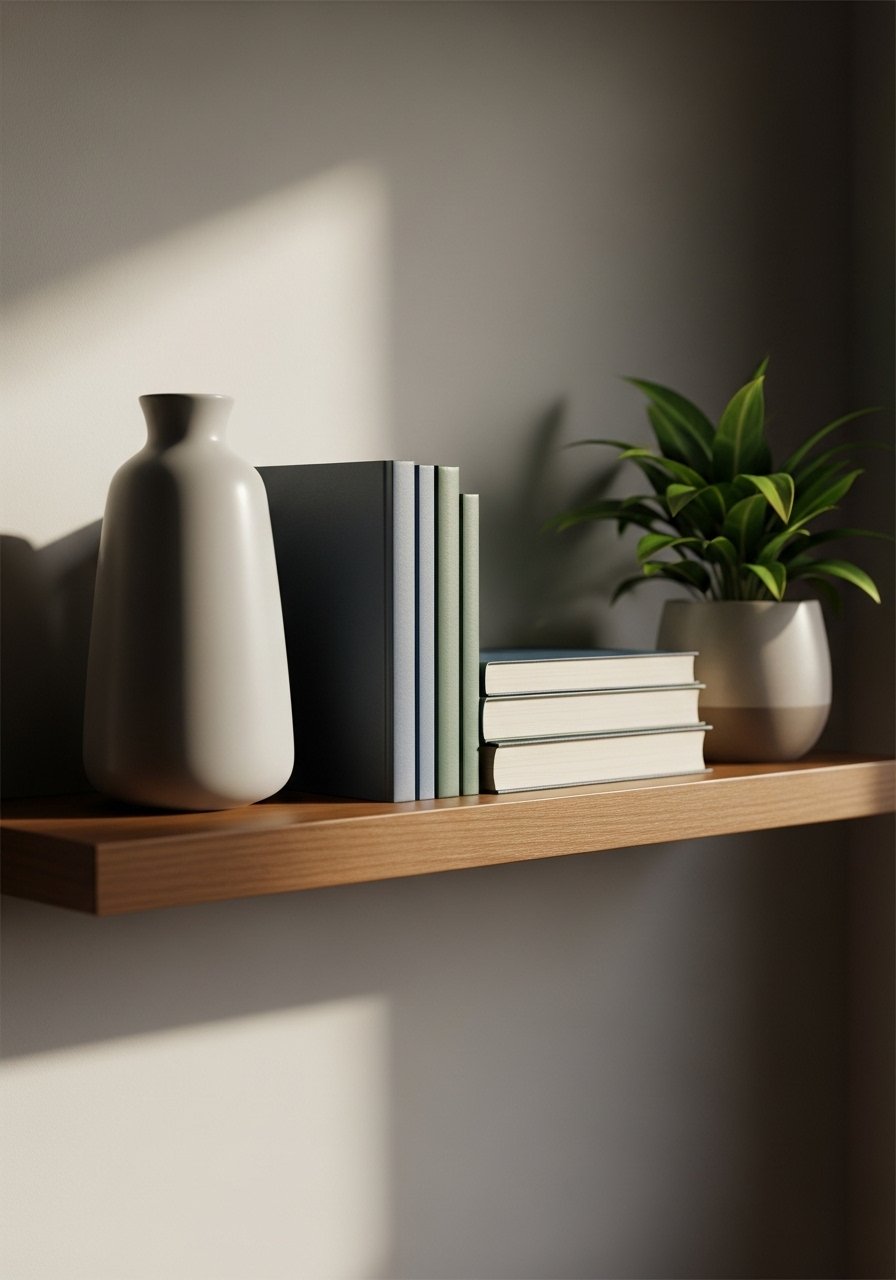
Step 2: Build in odd-numbered groups and vary heights
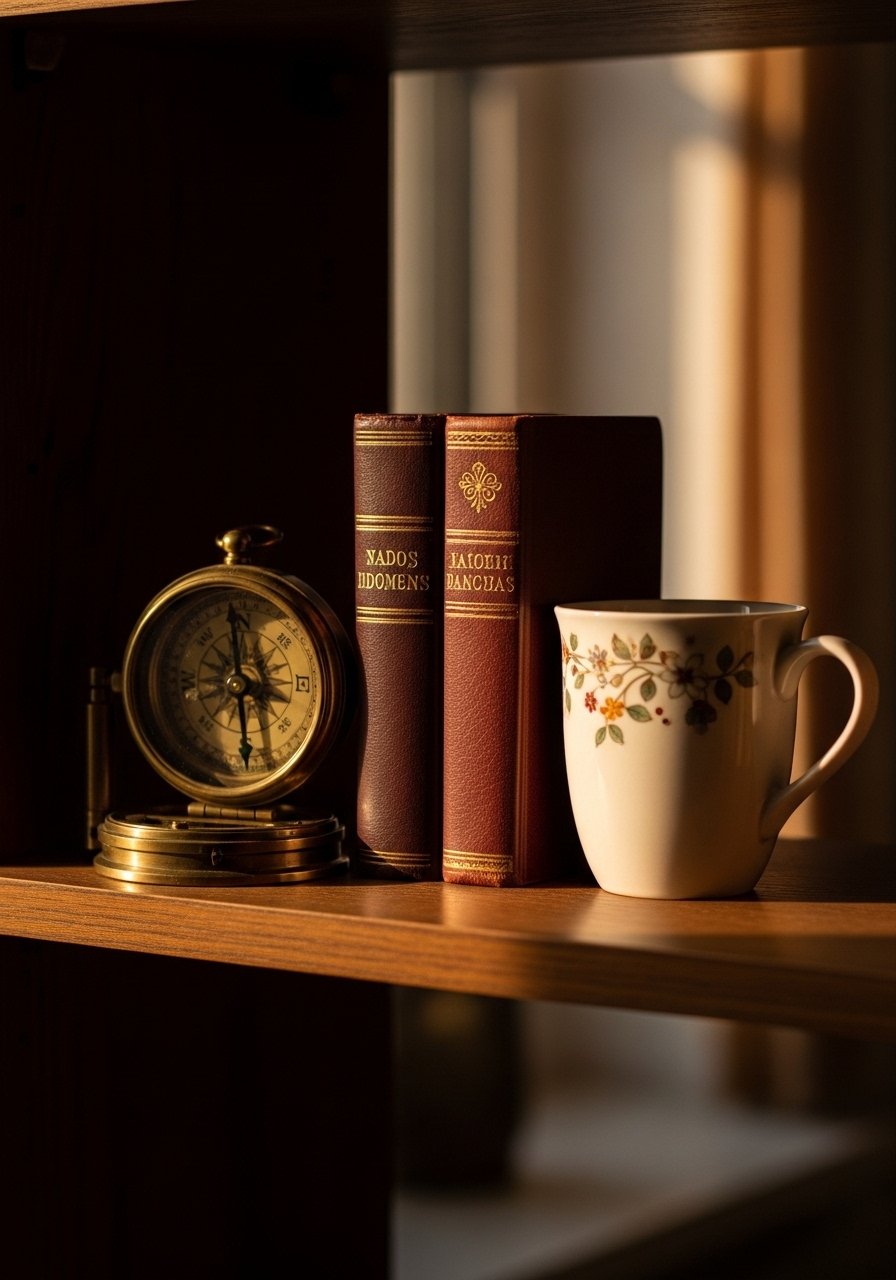
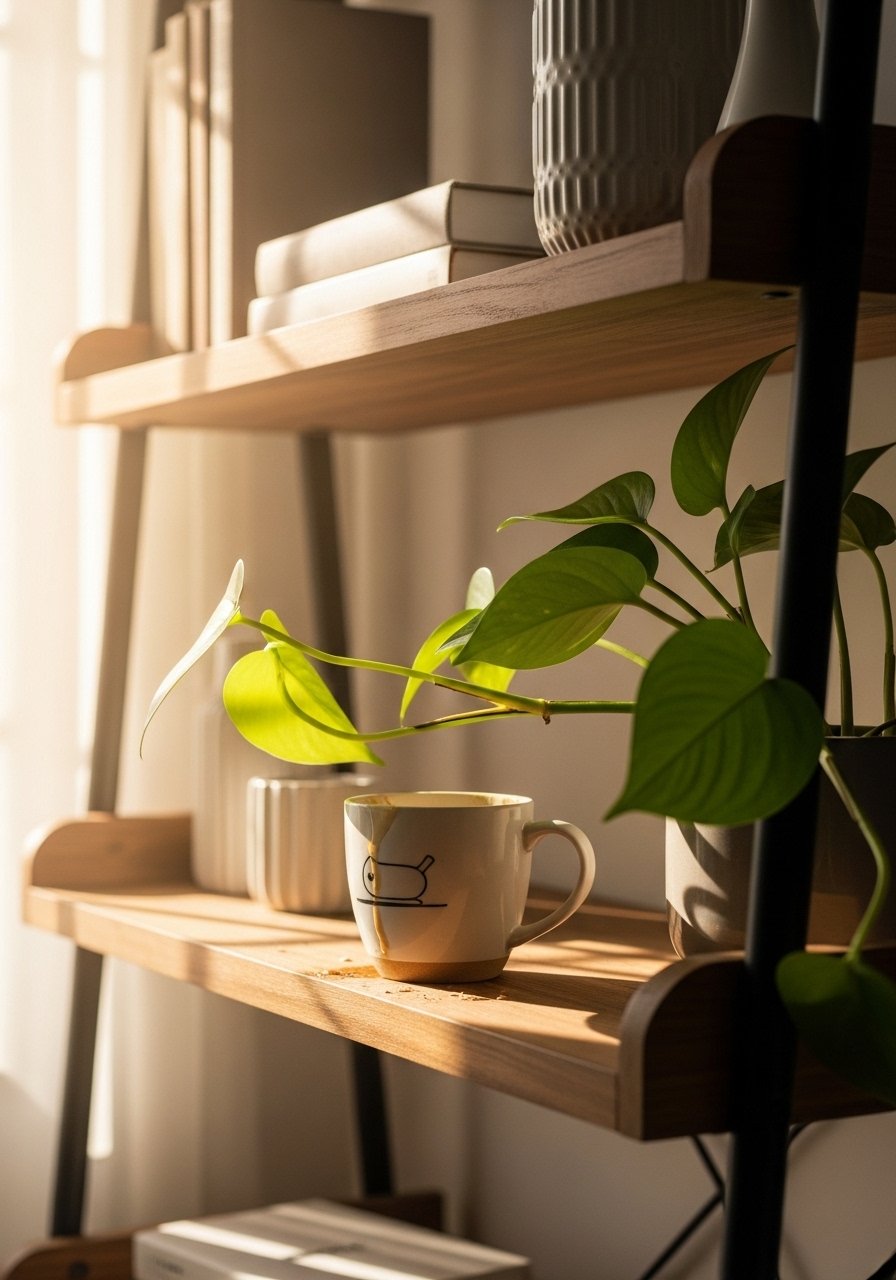
Most people start with a big thing and then panic. Start with groups of three or five. Arrange one taller item, one medium, and one low. For height play, use a 2:1 ratio often. If your tallest vase is about 12 inches, balance it with a stack of books around 6 inches high. Texture matters here. A cool, matte ceramic vase feels solid next to a soft linen towel draped over a stack of cookbooks. My first attempt had too many same-height objects and looked flat. I reworked it until the shelf read like a small vignette.
This step changes the silhouette of the whole shelf. It suddenly has rhythm and a place to rest the eye.
Step 3: Anchor each shelf with a heavy object and a soft counterpoint
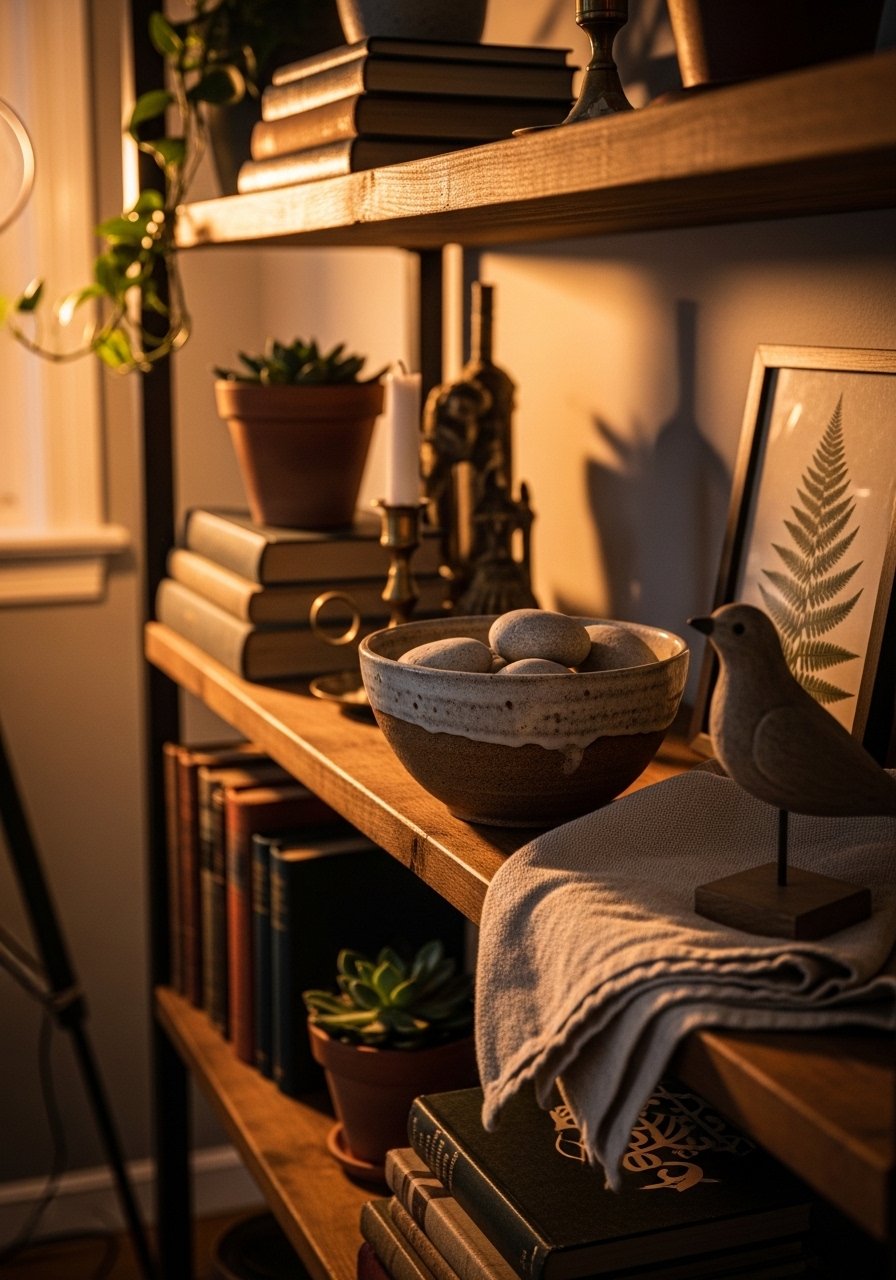
A single heavy object, like a wooden bowl or a stack of plates, gives the shelf weight. Pair that with a soft, textural item nearby, such as a folded linen towel or a small woven basket. The contrast between the bowl's warmth and the linen's nubby feel is tactile and calming when you reach for things in real life. I once used only glassware on a shelf and it felt fragile and cold. Adding a jute basket made it feel used.
Tip: keep at least 8 to 10 inches of vertical breathing room above the tallest object so the shelf does not feel top-heavy. This keeps the whole kitchen feeling cozy instead of cramped.
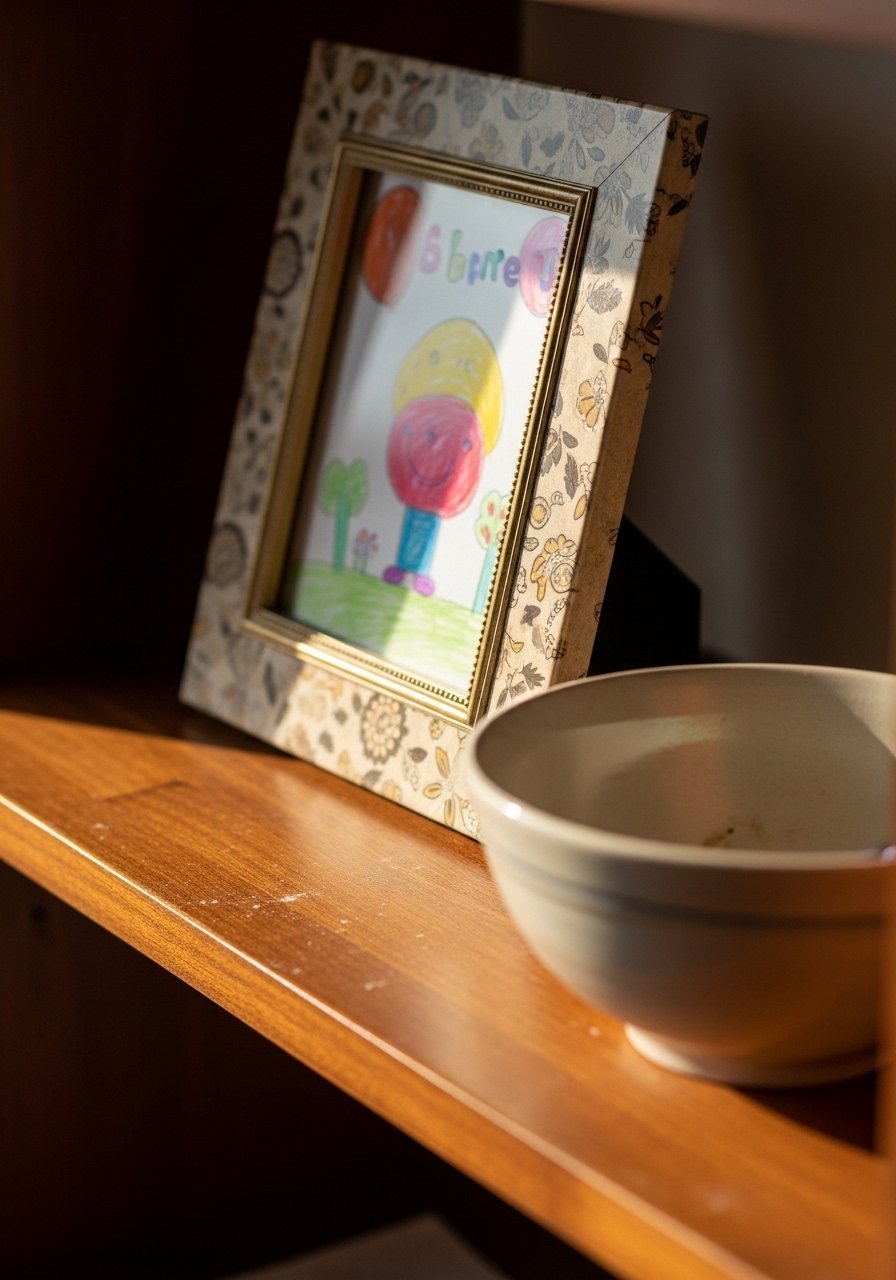
Step 4: Layer art and lean instead of committing to holes
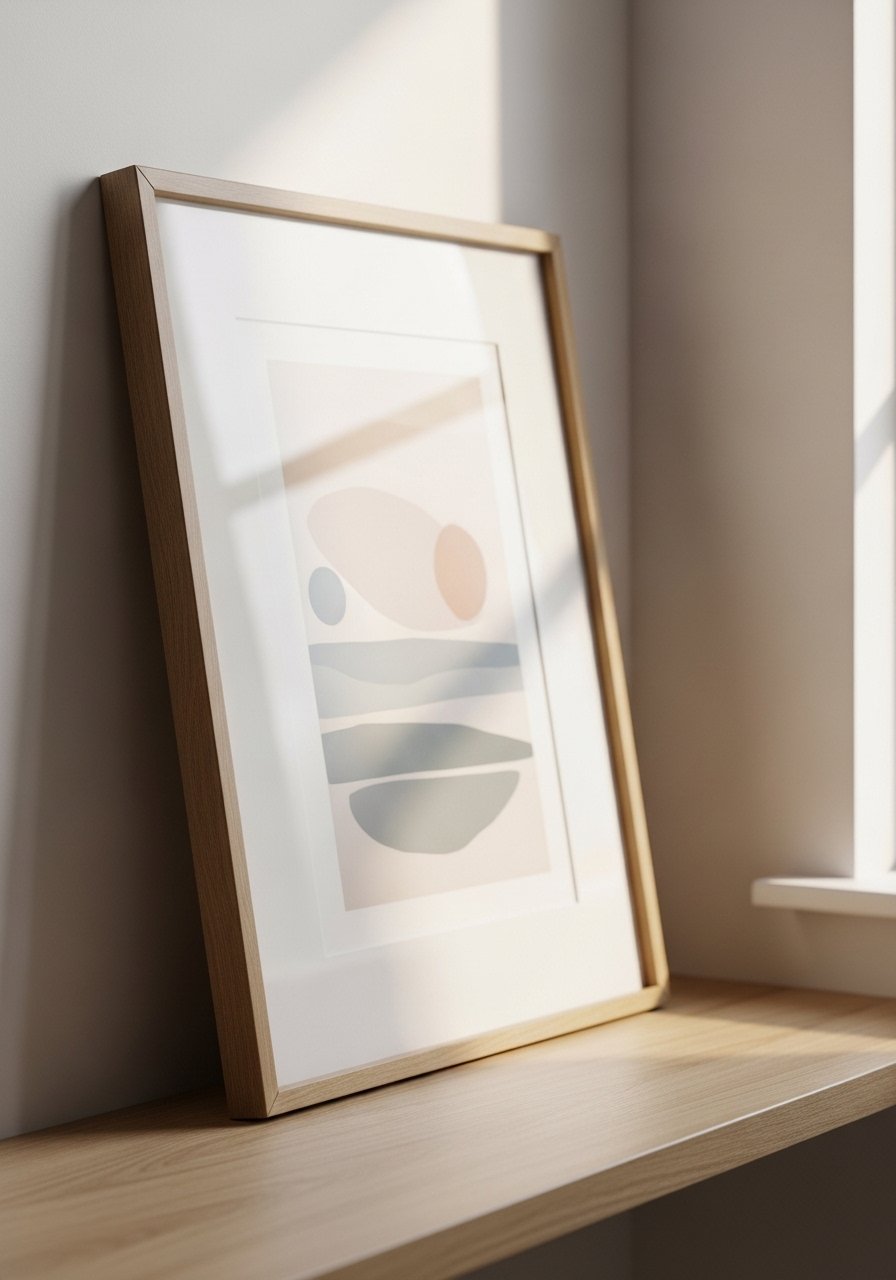
Hanging feels permanent. Leaning a small framed print or a cutting board at the back of a shelf gives depth and allows you to swap things without patching walls. Put the leaner slightly off-center, then place a mid-height object in front to anchor it. My partner hated asymmetry at first. After a week he admitted the leaner made the shelves feel more relaxed and lived-in.
Common mistake here is centering everything. Off-center leaners create flow and let light skim the objects differently throughout the day.
Step 5: Edit, live with it for a week, then tweak
This is the part where you will want to add more stuff. Don't. Walk away for ten minutes, then come back. Live with the arrangement for a week. Make one small change after days three and seven. I changed a vase color on day four and felt instant relief. Real life reveals what gets used and what just collects dust. If you have kids or pets, move fragile or low items higher. Keep a functional zone for frequently used bowls and plates within easy reach, about 12 to 18 inches from the counter level.
Small wins here build confidence, and the shelves start to feel like they belong to the kitchen instead of being staged.
Your Shelf Styling Checklist
- Chunky knit throw, 50×60, oatmeal ($40-65). Great draped over a chair near the kitchen nook, referenced in Step 3.
- Matte ceramic vase set, three sizes, white ($25-40). Use the tallest vase as your vertical anchor in Step 2.
- Brass picture ledge, 24-inch ($18-30). Useful for leaning art as in Step 4. Similar alternatives at HomeGoods.
- Jute storage basket, small ($15-28). For softness and texture, mentioned in Step 3.
- Linen kitchen towel, pack of 2, natural ($12-22). Nubby texture used for draping in Steps 2 and 3.
- Wooden bookends, walnut finish ($20-35). Keeps horizontal stacks steady on Step 2.
- Small terracotta plant pots, set of 3 ($18-30). Adds life and fits into the editing phase in Step 5.
Why your shelves still look cluttered after styling
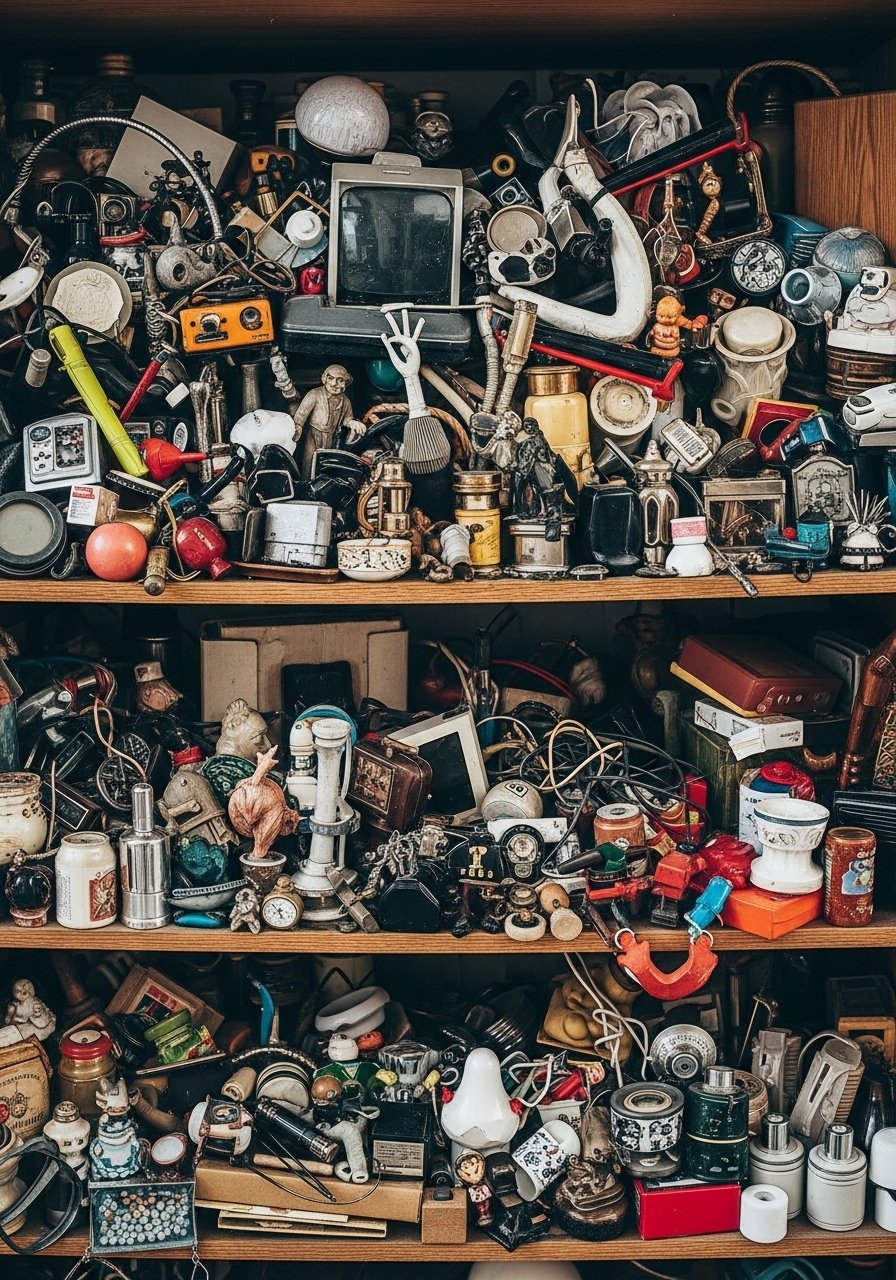
Clutter usually comes from too many small, similar items grouped without hierarchy. If every object is the same scale, nothing reads as intentional. One fix is to reduce the number of pieces on a shelf by a third. I learned this the hard way after two failed attempts. Another problem is ignoring how the kitchen is used. If you stash everyday mugs on the top shelf because they "matched" the aesthetic, you will resent the shelf. Keep frequently used items within reach and decorative items slightly higher or lower. Finally, rotate seasonal objects. A little change keeps the shelves from feeling permanent and dusty without heavy effort.
Making this work in a small kitchen
Small kitchens need sacrifice. Choose one or two shelves to style and leave others primarily functional. Use proportion: pick items no deeper than two-thirds of the shelf depth so the face of the shelf does not look crowded. Open shelving can make a small room feel airy if you keep lower shelves mostly clear. Hooks under the bottom shelf can store mugs without taking display space. If you rent, use removable ledges or freestanding shelving that sits on the counter. My roommate knocked a low vase twice before I moved it up, so think about traffic patterns when choosing placement.
What these shelves look like after a week with a family
Expect small shifts. A child will rearrange a stack of books and a partner will put their keys on a shelf. That is normal, and part of why I stop trying to make everything perfect. After a week, the shelf should still feel anchored with the heavy object in place and one consistent texture running through the shelves, like wood or linen. If things start sliding toward chaos, choose a single cleanup rule: either clear surfaces every night or return three items to their spots each morning. That tiny habit made my shelves stay cozy instead of chaotic.
Start with One Shelf
Pick the shelf at eye level and style only that. Try the matte ceramic vase from the checklist as your first anchor. Work in odd-numbered groups and leave 30 to 40 percent empty space to breathe. Give yourself permission to live with it for a week before changing anything. The satisfaction comes not from getting it perfect at once but from making small adjustments until the shelf feels like it belongs to your kitchen.

