

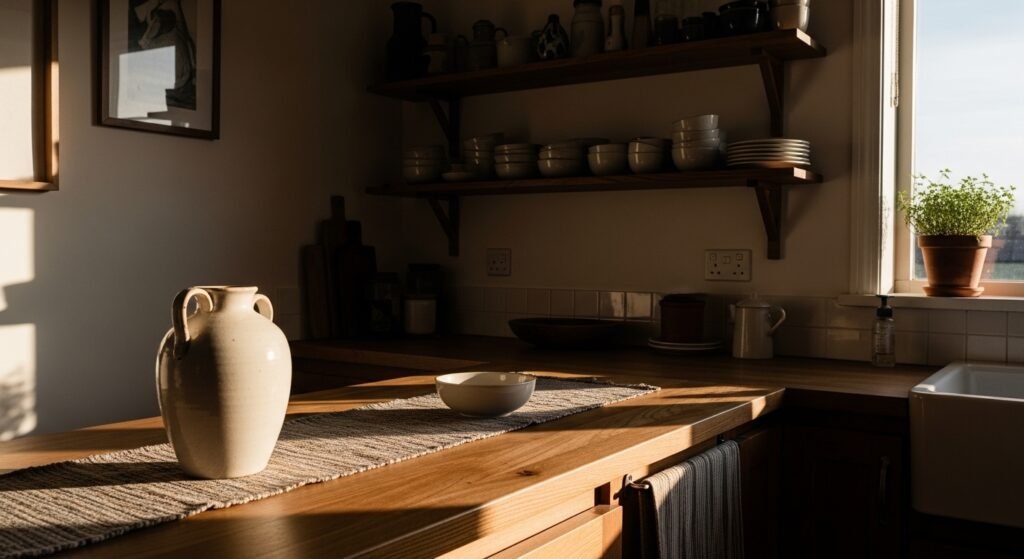
I used to walk into my kitchen and feel like I was looking at someone else’s photo shoot. Surfaces were either piled with stuff or wiped completely bare. What made it feel wrong was not the individual pieces. It was the spacing, the texture, and the lack of touchable things that made the room feel lived in.
I tried matching everything, then I tried matching nothing. First version had too many glass jars, second one was all wood and felt flat. It took a few rounds of editing, moving things back and waiting a day to see what really worked. This method focuses on small edits that add warmth without crowding the counters.
Step 1: Edit first, pick one anchor
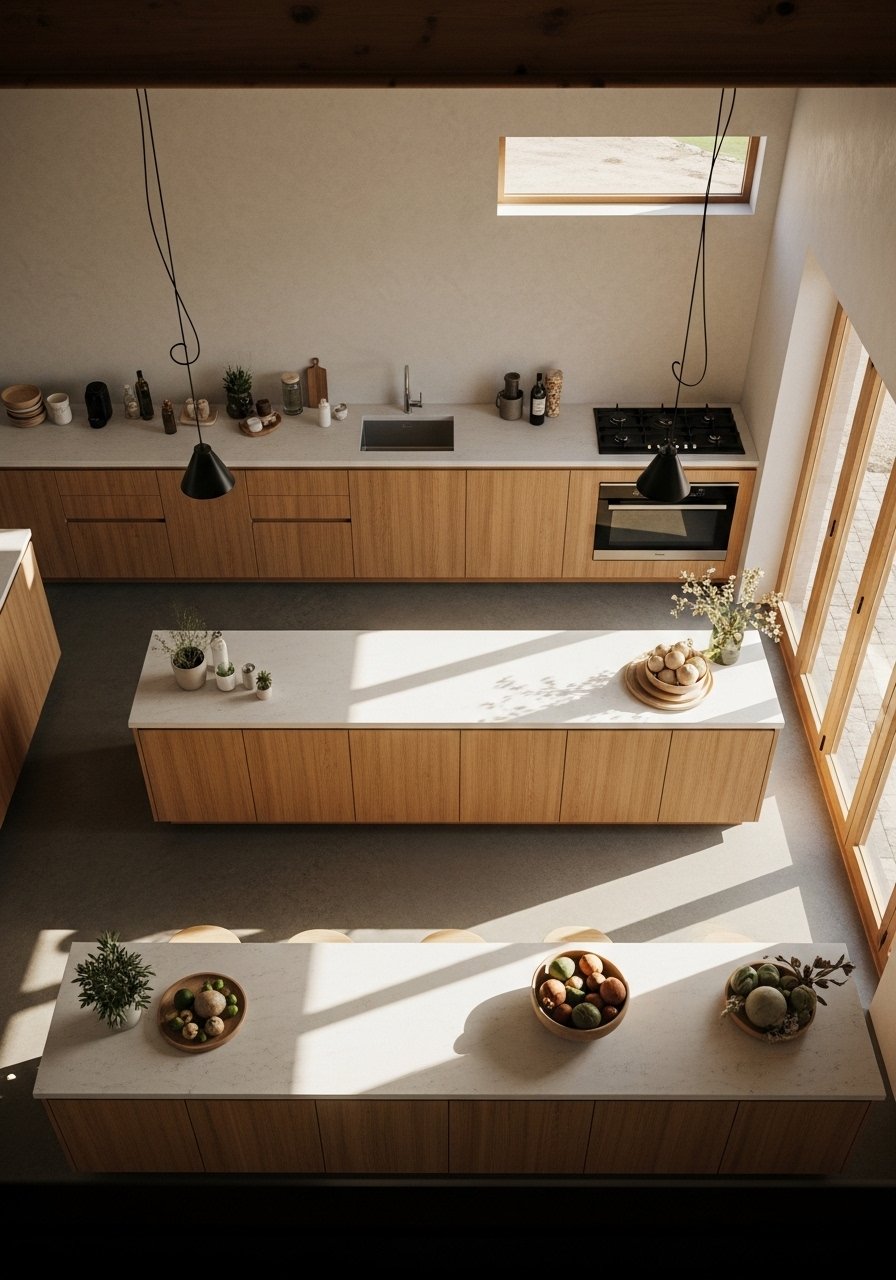
Start by clearing one surface you use every day, the island or a 3-foot stretch of counter near the sink. Keep only what you reach for. Choose one anchor, a bowl, a cutting board, or a small lamp, about 12 to 18 inches wide. That anchor gives the eye somewhere to rest and prevents the “everything everywhere” look that makes kitchens feel chaotic.
Common mistake: trying to style the whole room at once. I learned this the hard way. Style one area, live with it for 48 hours, then add a second piece. Visually this creates a 60/40 balance between open space and objects, which feels calmer. When you hang art over a small breakfast nook, aim for the center of the artwork to sit at about 57 inches from the floor. That small rule keeps things grounded.
Step 2: Layer soft textures where you can
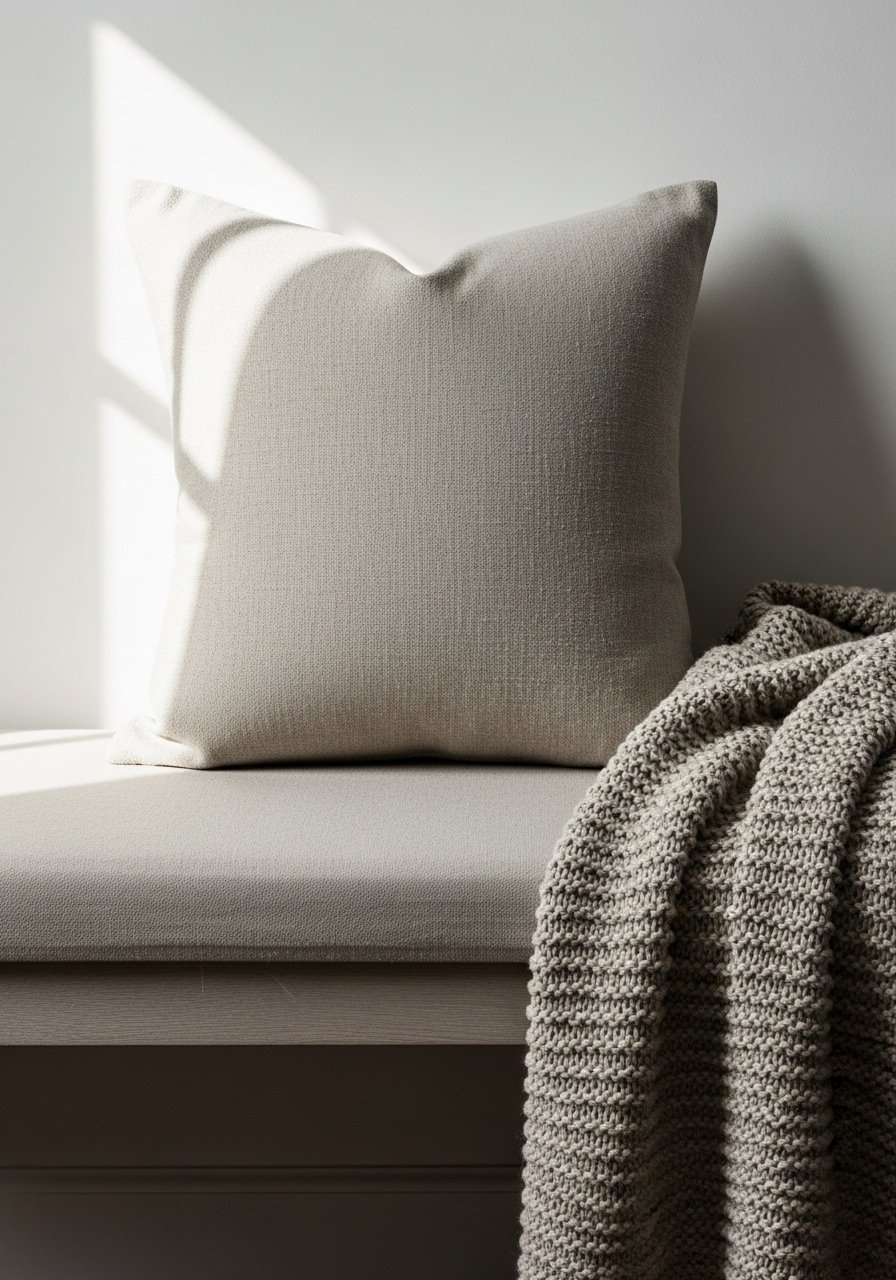
Kitchens are mostly hard surfaces, so add one soft thing within reach. A 50×60 inch chunky knit throw on a bench, a linen runner on the counter, or a nubby tea towel folded on a tray brings a tactile contrast. The throw feels heavy in your hands, cool wool against warmer hands. The runner underfoot should leave 6 to 12 inches of bare floor visible around it so it reads intentional and not like a misplaced rug.
I almost skipped adding textiles because I worried about crumbs. That hesitation cost me the warmth textiles bring. Use washable materials where possible. A cotton-linen mix will take daily wear better than pure wool in a busy kitchen.
Step 3: Style open shelves in groups and leave breathing room
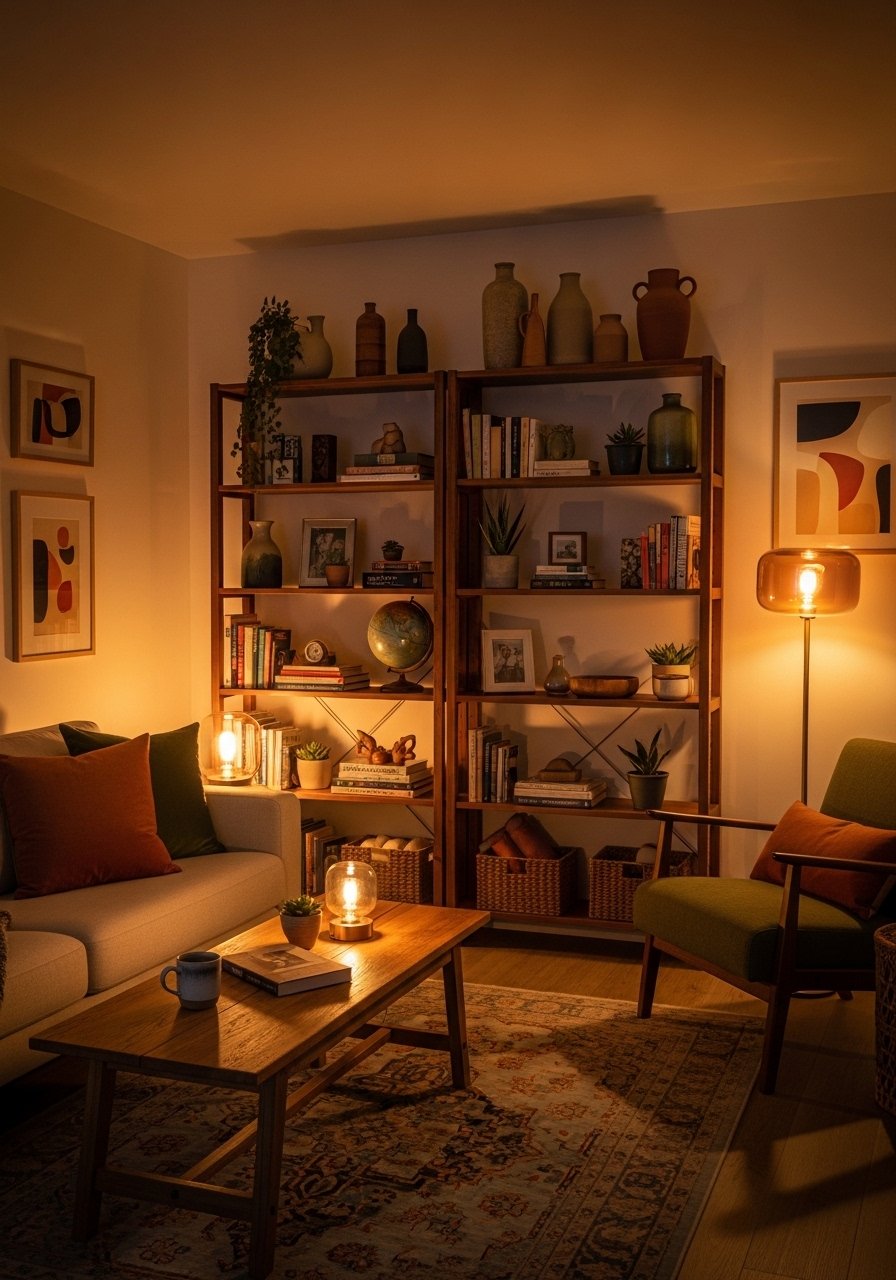
Open shelves need gaps. Group items in threes and fives, but also leave 6 to 12 inches of empty space between groups. On my third try I stopped clustering everything and left a horizontal line of negative space. The shelves instantly felt intentional. For scale, place taller items at the back with 2 to 3 inches of clearance to the shelf above so they do not look cramped.
Common mistake: filling every shelf with matching jars. That uniformity looks staged. Instead, mix a matte ceramic vase, a stack of 3-5 plates, and one small potted herb. The ceramic vase should be cool and smooth to the touch, the plates offer a slight rim weight, and the plant adds a soft leaf edge. If you have cats, skip the low open shelf that sits at floor level.
Step 4: Fix the light mood with bulbs and layers
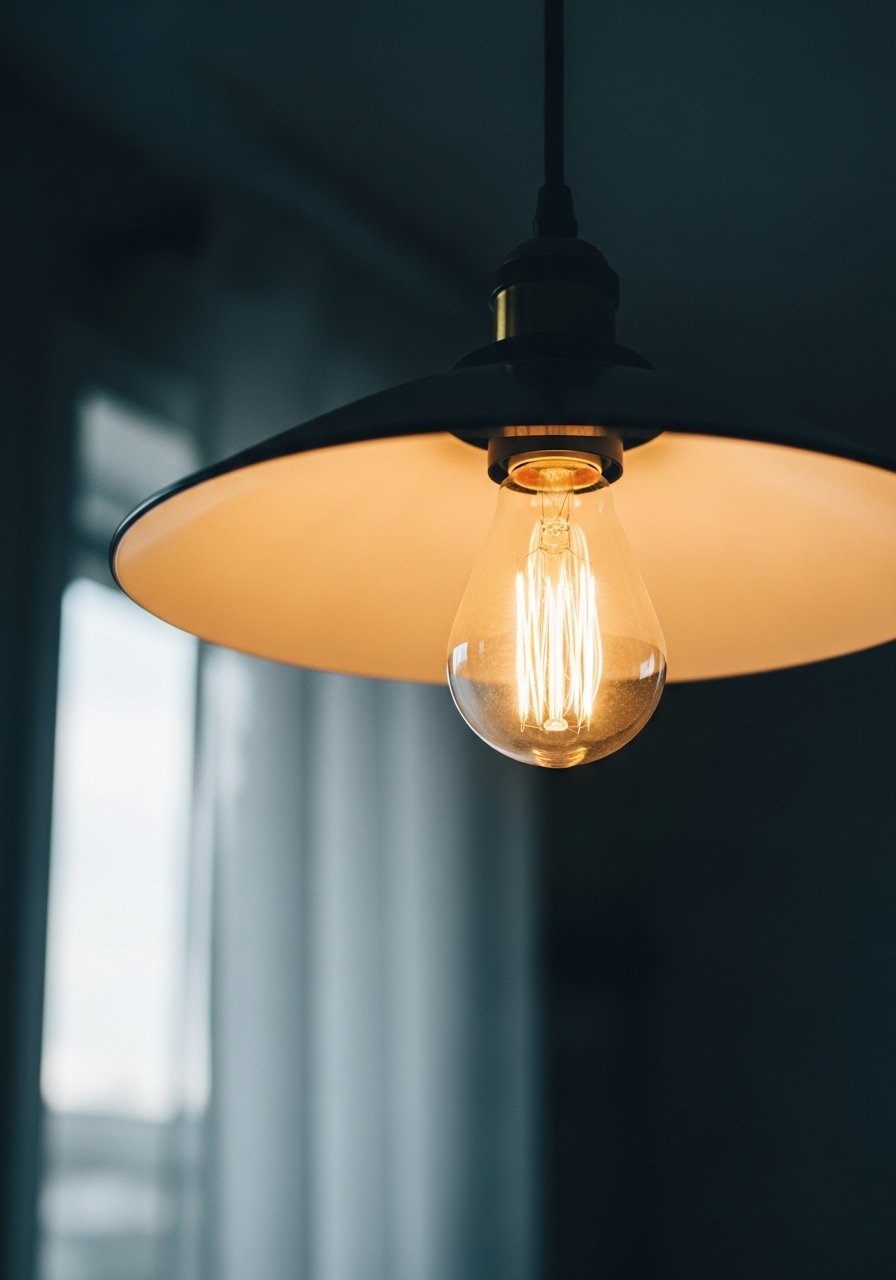
Swap bulbs to 2700K warm light and add a dimmer to the main fixture. For an island, set pendant height 30 to 36 inches above the countertop. That keeps the light close enough for cooking, but soft enough for late-night dishes. Add a small table lamp on a corner countertop or battery-operated candles for a warm pool of light when you do not want the overhead glare.
I used harsh white bulbs for a year and thought the problem was my decor. Changing the bulbs made the wood read warmer and brought out the linen tones in my towels. Bulky fixtures can weigh a space down. If you have a low ceiling, choose shallow shades that feel light when you reach up.
Step 5: Add edible greenery and functional decor
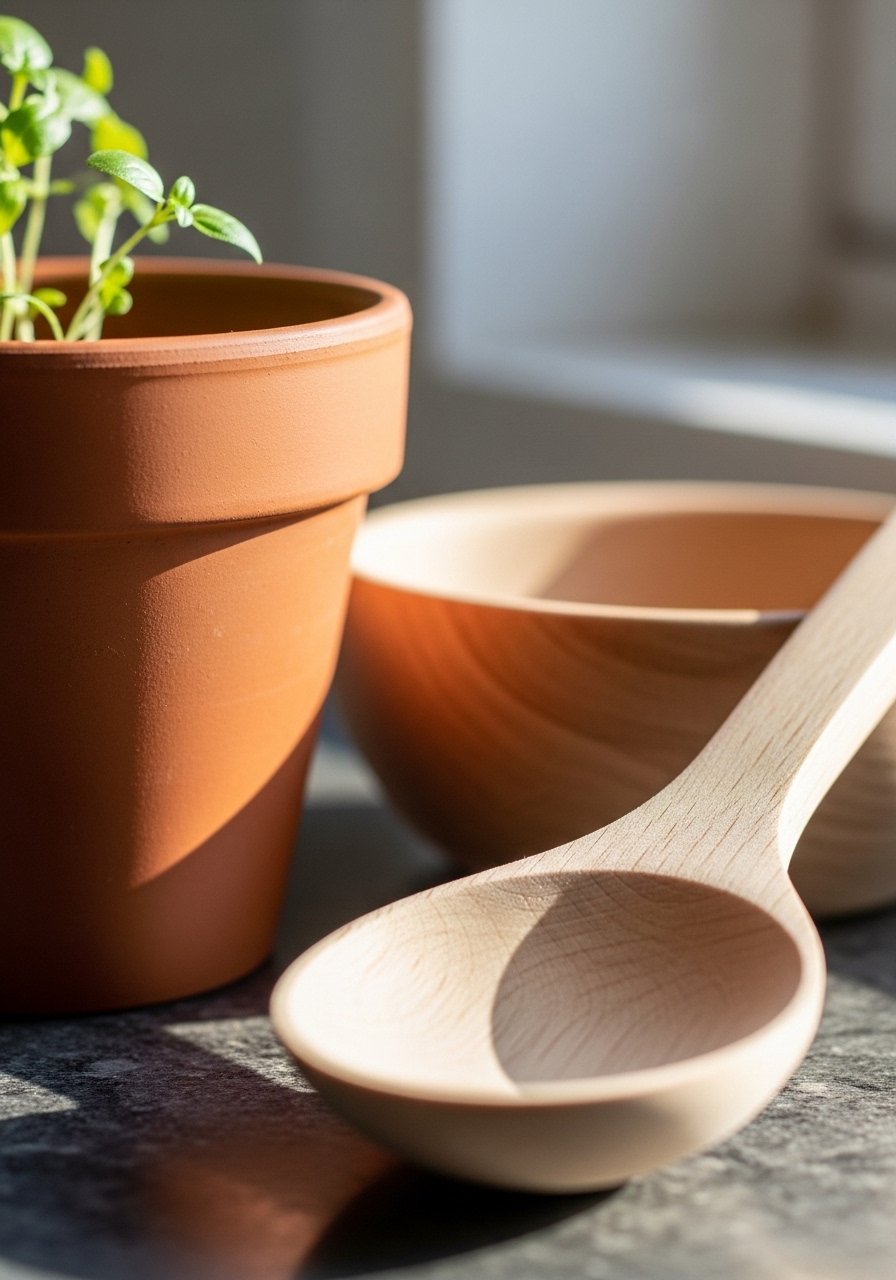
Plants that survive kitchen traffic are the best kind. Use small herb pots on a sunny sill, about 3 to 4 inches across, or a single 6-inch pothos for a hanging spot. Place functional items together on a tray: wooden spoons, a mortar and pestle, and a salt cellar. The bowl of wooden spoons has a weighty, warm feel compared with a plastic cup. Grouping functional pieces keeps counters useful and cozy.
I made a mistake buying too many faux plants that looked plastic under real light. Live plants add smell and small movement. If you worry about care, pick a hardy herb or use a self-watering pot.
Everything You Need for a Cozy Kitchen
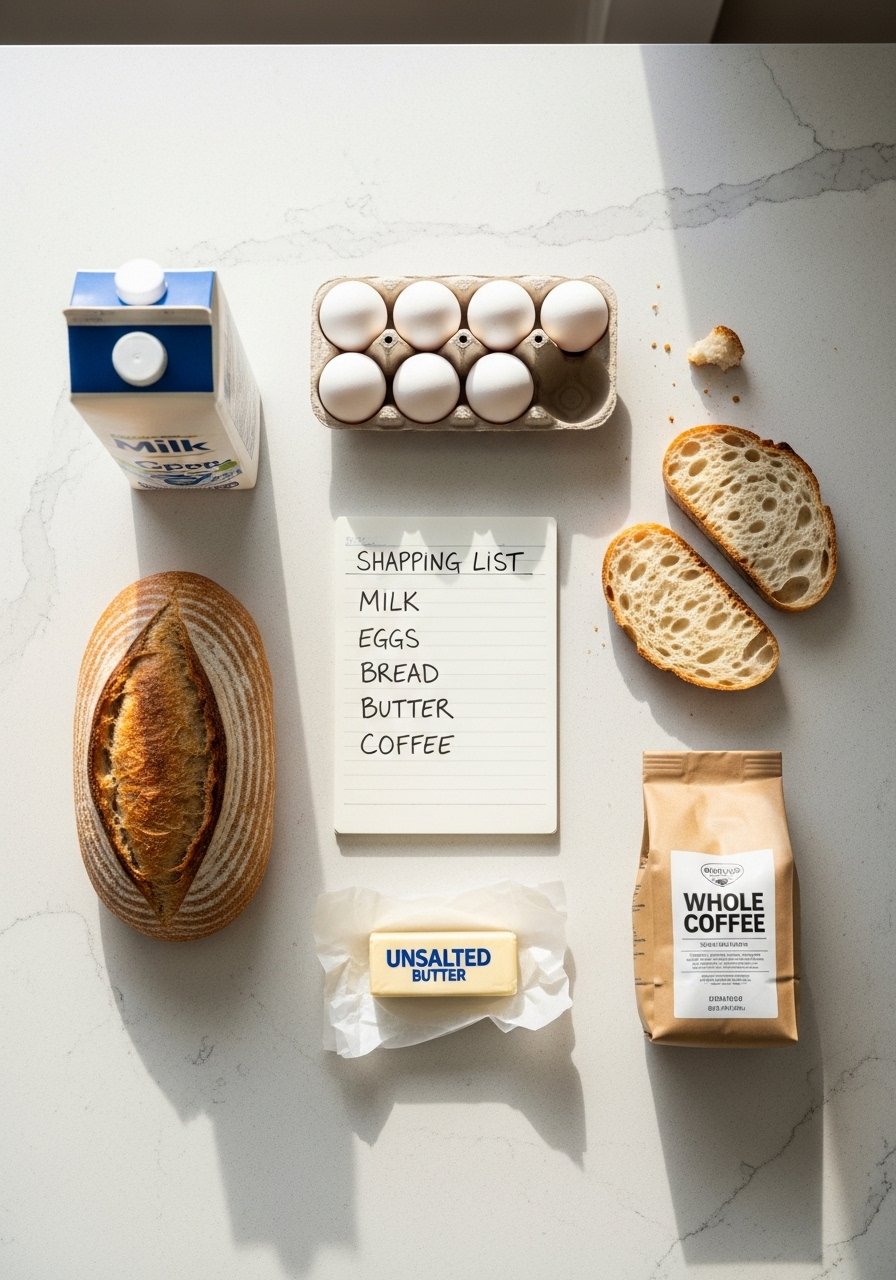
- Chunky knit throw in oatmeal, 50×60 ($40-65). Use on a bench as in Step 2.
- Linen runner, 2×6 feet, natural ($25-45). Soft underfoot and washable. See Step 2.
- Matte ceramic vase set, 3-piece ($25-40). For Step 3, use the tallest vase as your shelf anchor.
- Warm LED bulbs, 2700K, pack of 4 ($12-22). Swap these in Step 4.
- Wooden spoon set, beechwood ($10-18). Place in a small bowl as a functional display per Step 5. Similar at HomeGoods.
- Terracotta herb pots, 3.5-inch set of 3 ($15-25). Put them on your windowsill, Step 5.
- Small tray, rattan, 12×8 inches ($18-30). Corral kitchen tools in Step 5.
- Cotton-linen tea towels, set of 4, natural stripe ($16-28). Fold on counters or hang for texture, referenced in Steps 2 and 3.
Why Your Kitchen Still Feels Cold After Styling
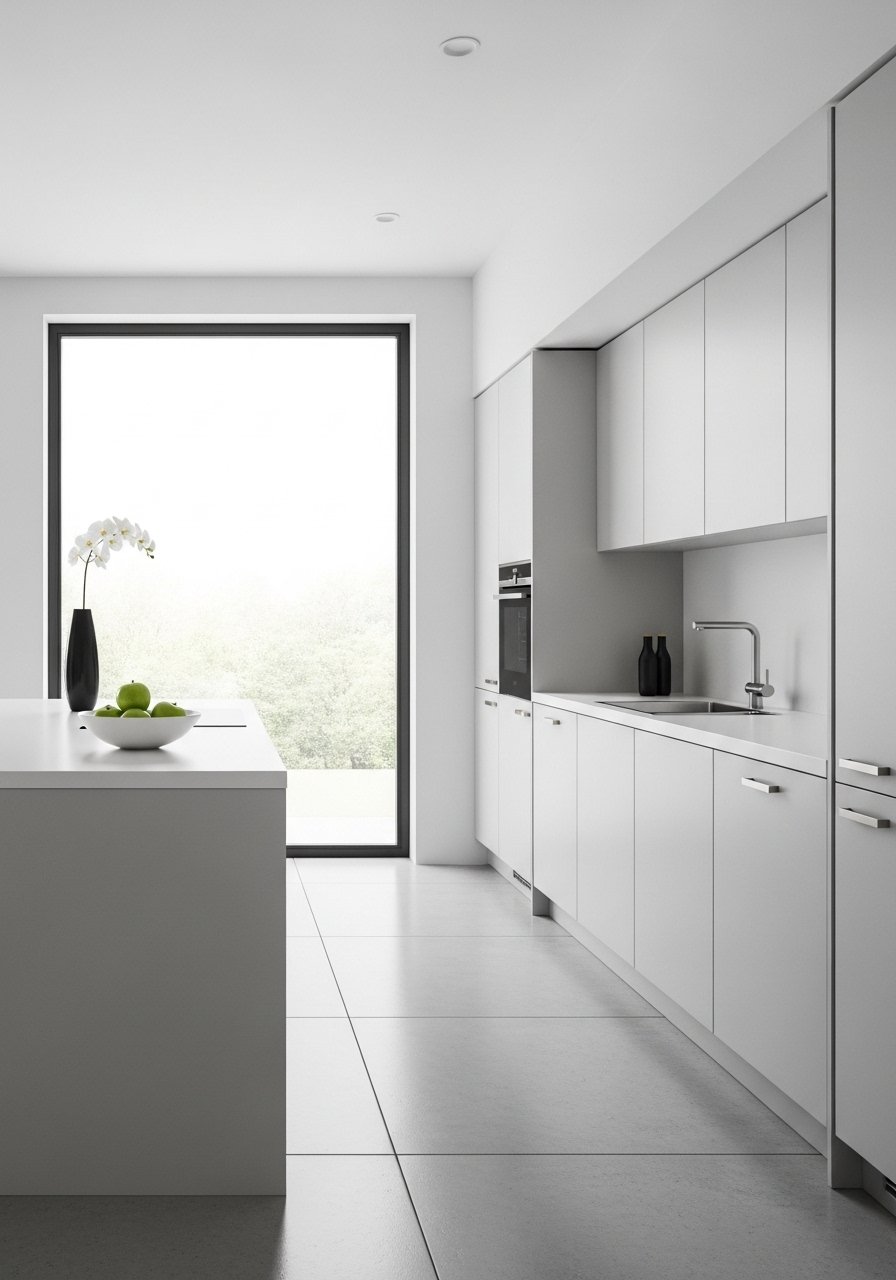
You might be stacking items that match too closely. If everything is the same color or material, there is no tactile contrast. Add one wood element and one fabric element to warm the space. Another common issue is scale. Small vases, tiny bowls, and tiny artwork all together read as indecisive. Add one piece about 12 to 18 inches tall to anchor the composition.
I swapped out a set of matching glass jars for a wooden cutting board and a linen towel, and the kitchen stopped feeling like a display cabinet. Leave a little empty counter space near your stove so the area breathes, that small gap will change how the whole room feels.
Making This Work in a Small Kitchen
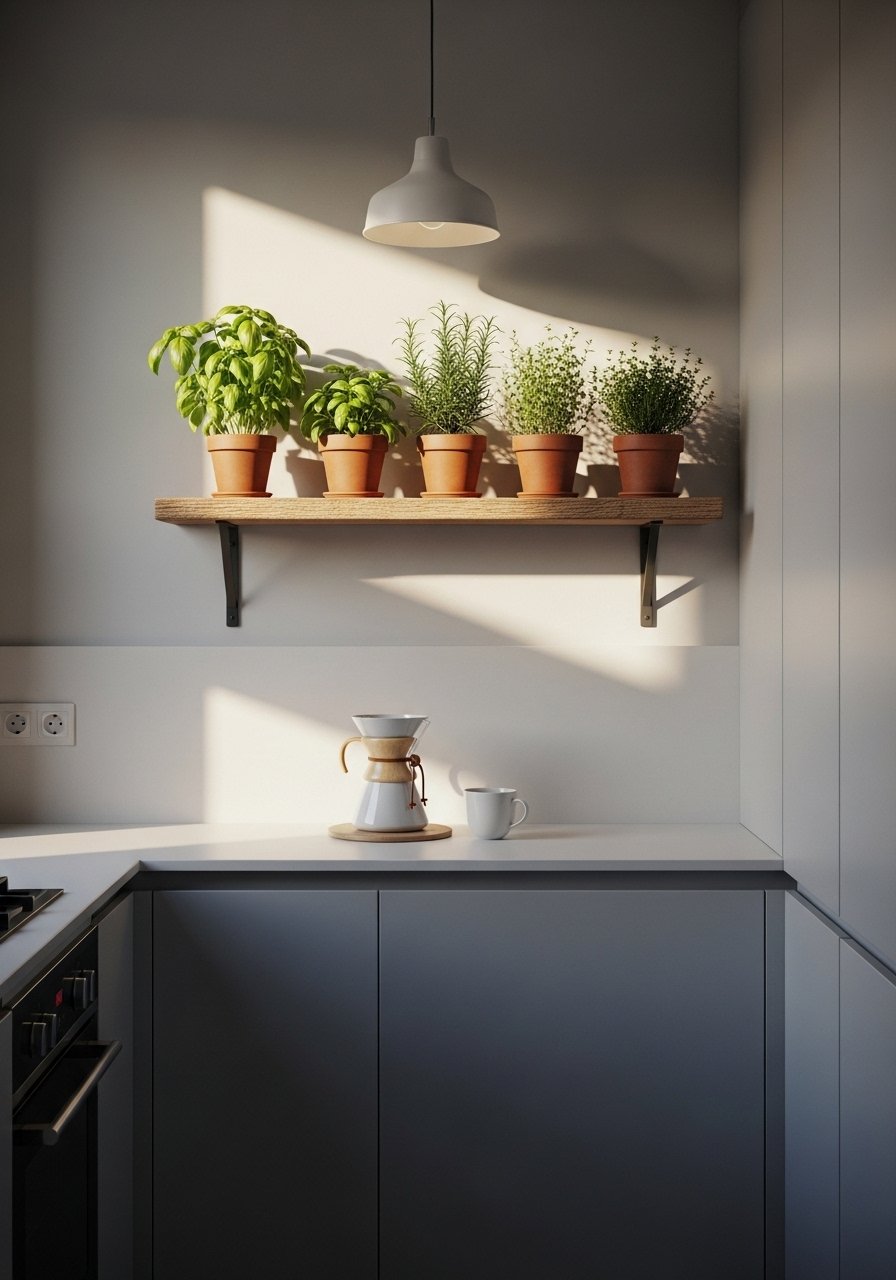
Tight on space, use vertical and usable decor.
- Install one 24 to 30-inch open shelf above the sink, and keep only 2 to 3 groups on it.
- Choose a runner no wider than 2 feet, leave 6 inches of floor on each side so it reads intentional.
- Swap large pendants for two smaller ones, each 8 to 10 inches wide, hung 30 inches above the counter.
If your counters are tiny, style a single tray on a landing instead of spreading items across the whole surface. That makes it feel curated, not cluttered.
What This Looks Like After a Week with Real Life
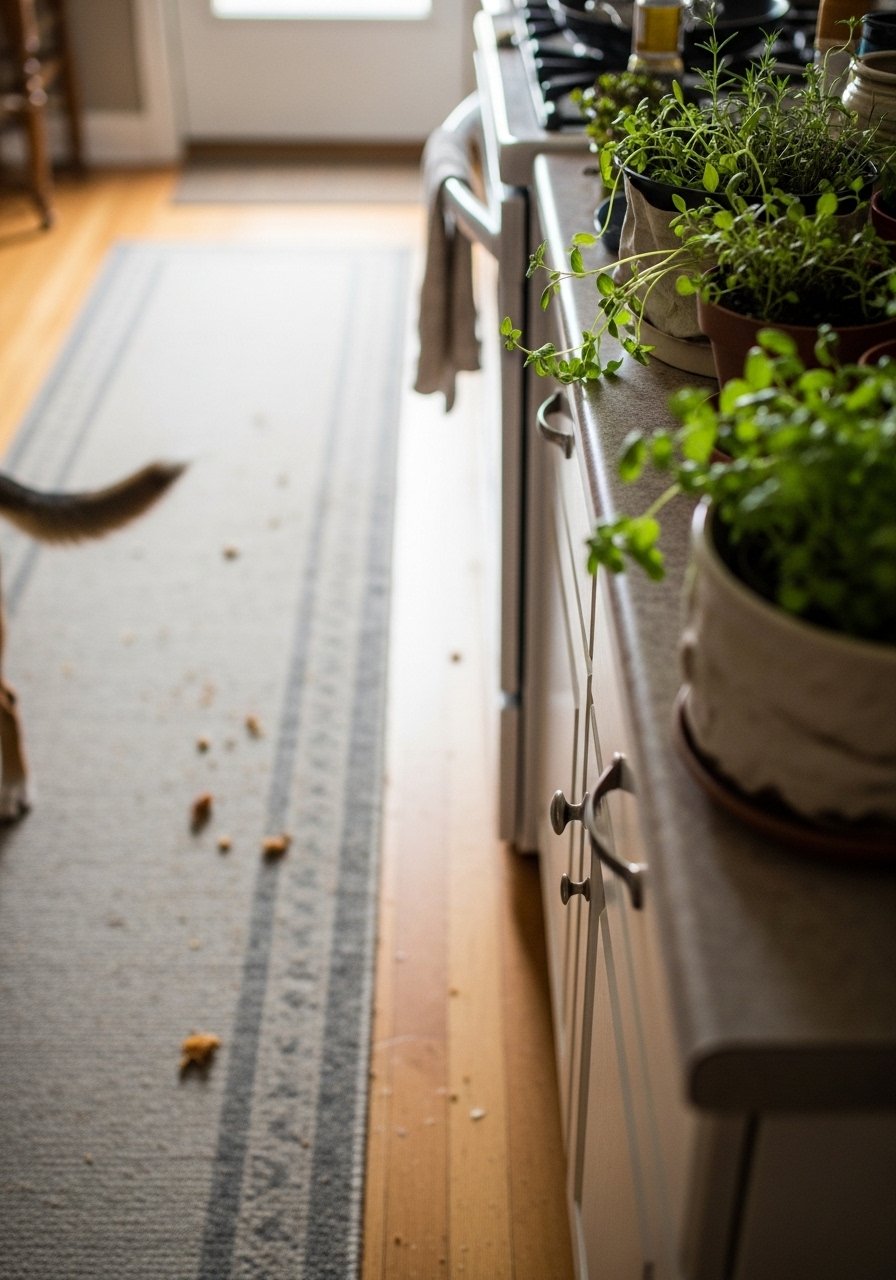
You will notice a difference immediately and another one after living with it. The first night the space will feel staged, and then it softens. In week one the linen runner will catch crumbs, the towel will darken in the corner and look purposefully used, and the herb pots will show new growth or need trimming. Adjust then. Tighten one shelf, move a plant, or swap a vase.
I had a version that looked perfect for a photo and then collected clutter by day three. Editing after a week is part of the process, not a failure. Expect small changes, and plan for them.
Start with One Counter
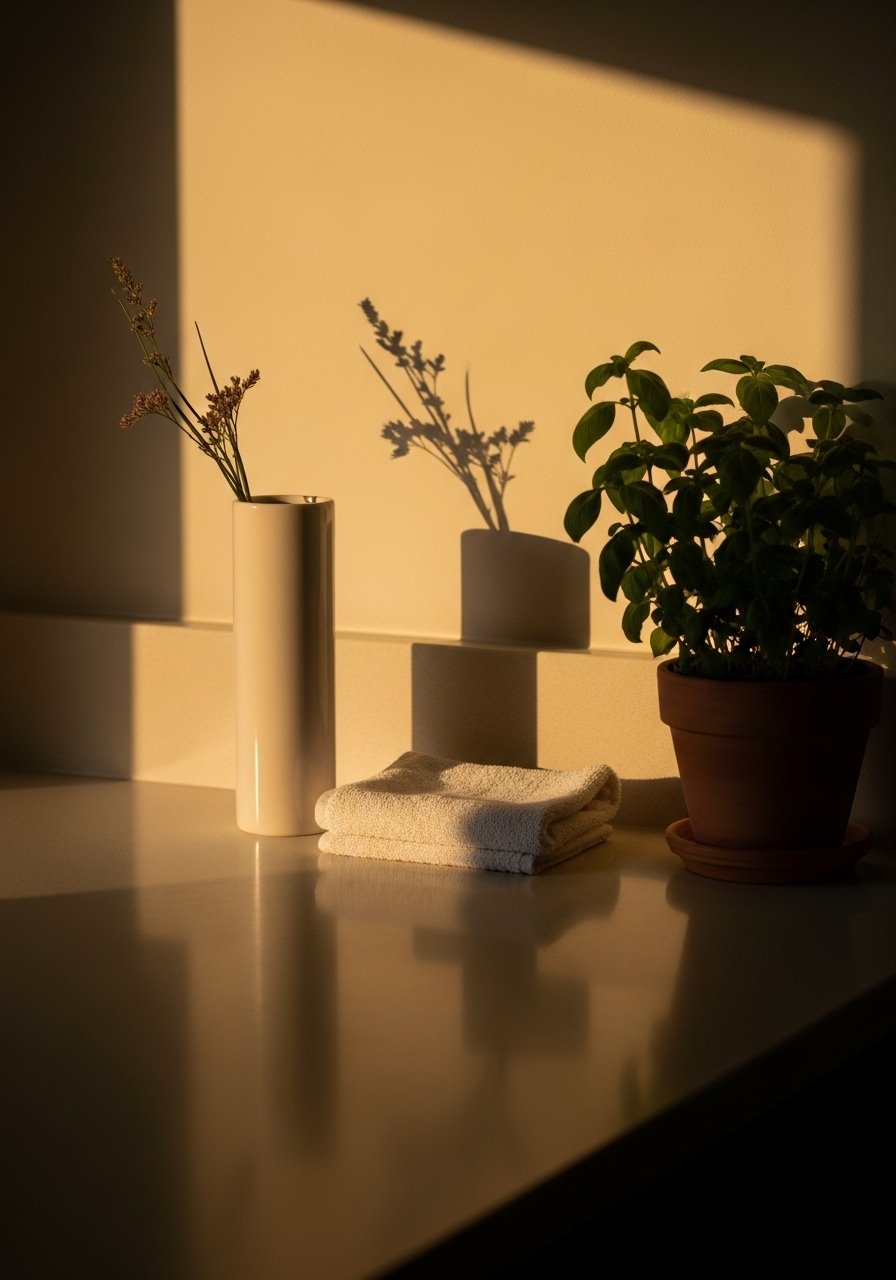
Pick the counter you touch the most and style a single corner. Use one ceramic vase like the set in the shopping list, a folded linen towel, and a small herb pot. Live with that for two days. If it feels right, repeat the idea on another surface. If not, swap the vase for a tray and try again.
It sounds slow because it is slow, but that slow approach keeps you from overdoing it. You will know you are done when the room feels easy to move in and warm to the touch.

