

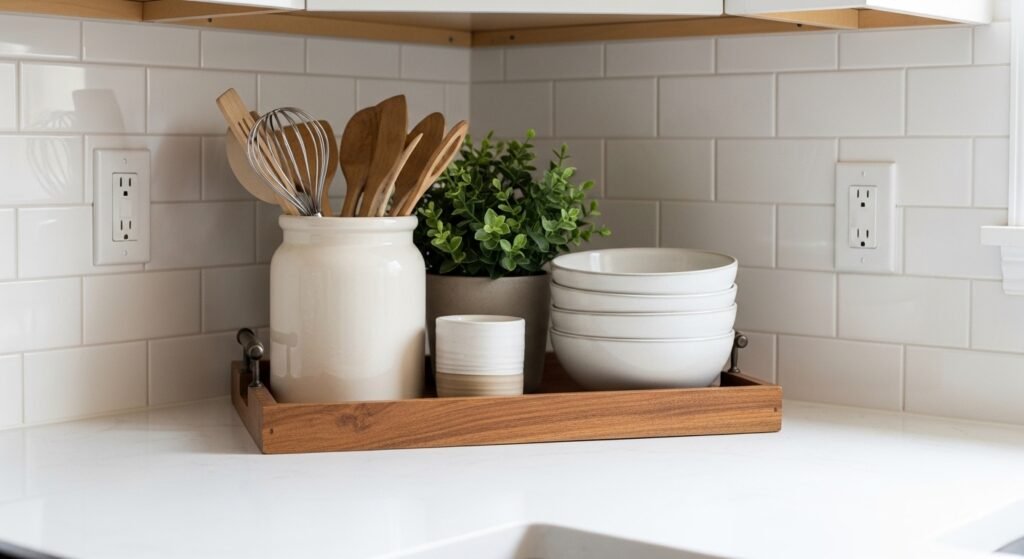
I kept shoving things into corners and thinking more stuff would make it look finished. What I ended up with was a crowded, choppy surface that felt like a pile instead of a display. One afternoon I cleared everything, which felt scary, and that is when I finally saw the problems.
I tried copying photos exactly and it failed. Too symmetrical, too many little things, nothing left to breathe. Once I learned to zone, anchor, and then edit, the countertop went from messy to calm. Below is the approach I wish I had the first time.
Step 1: Clear everything and create zones for function and display
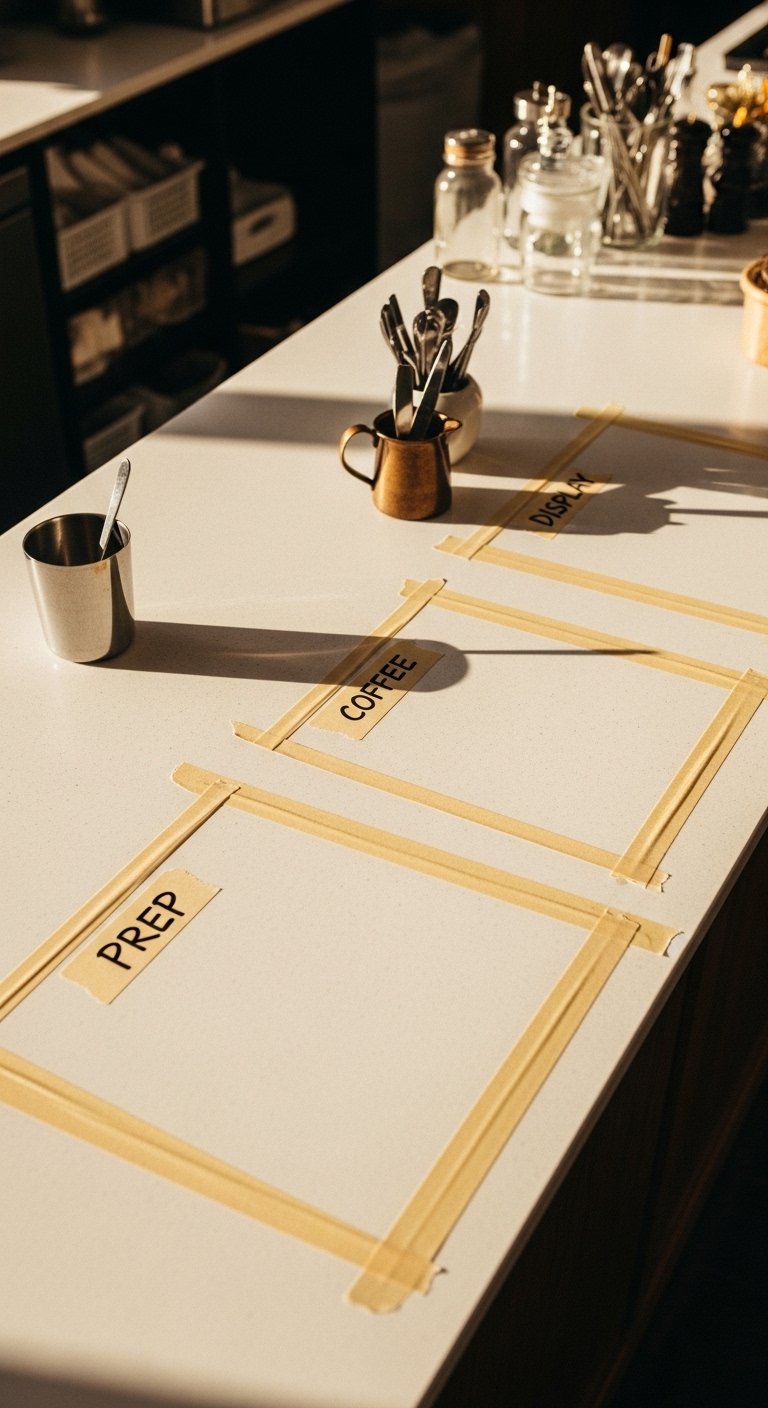
Pull everything off the counter. Yes, everything. I know this sounds extreme, but I used to skip it and end up rearranging clutter. Wipe the surface and mark three zones mentally or with a scrap of painter's tape: prep, coffee or breakfast, and a decorative zone. Keep at least 6 to 8 inches of clear workspace on either side of the stove and 10 to 12 inches around the sink for wet work. That simple spacing rule saved me from shoving decor into the only usable spot. If something lives there every day, it belongs in an open shelf or drawer instead.
Step 2: Anchor with a tray or cutting board, place it off-center
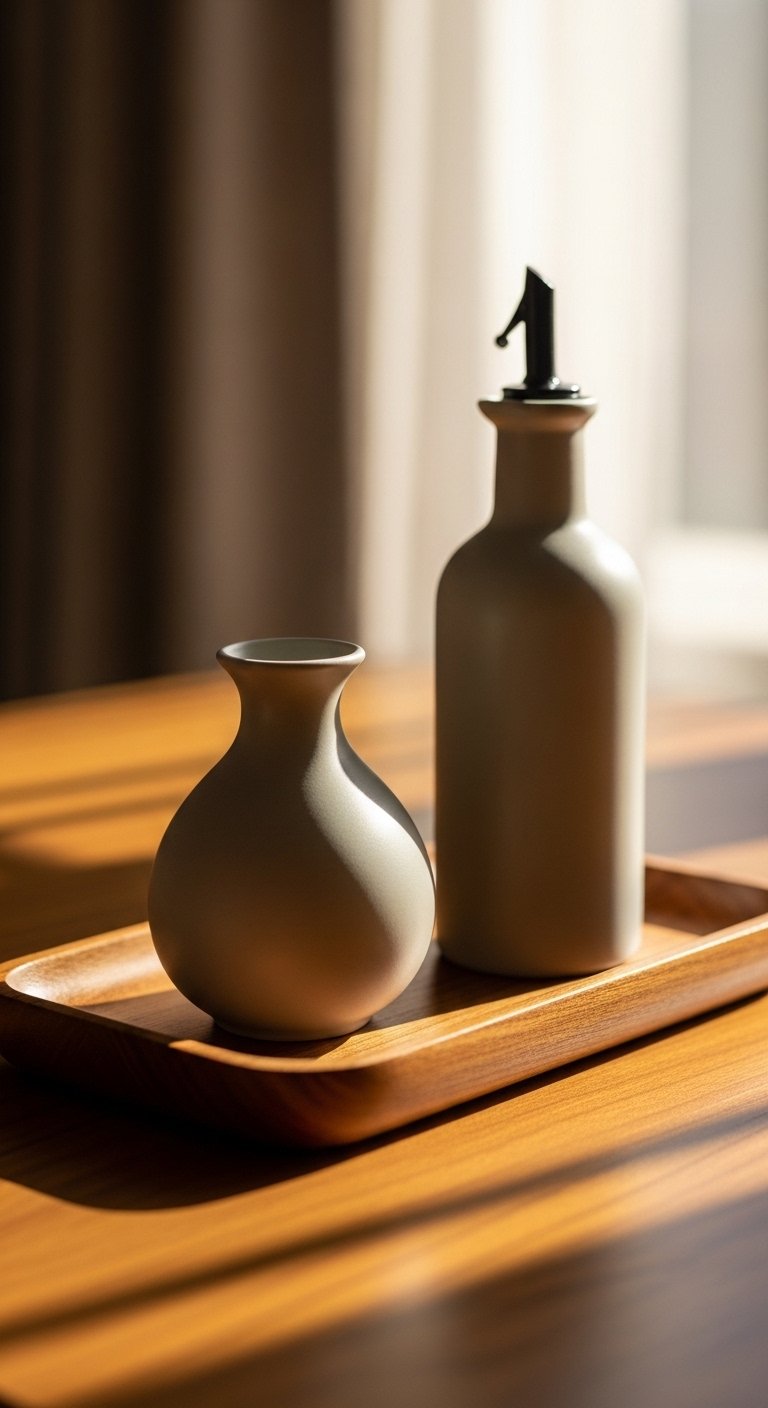
Start each vignette with one anchor about two thirds as deep as the countertop, like a 12-inch tray on a 18-inch depth counter. Put the anchor roughly one third of the way from an end, not bang in the middle. I once centered everything and it read as staged. Anchoring off-center gives flow and leaves usable space. A chunky wooden cutting board or a tray with a coarse grain feels warm and heavy in your hands, which grounds the display. If you want a tray similar to mine, the wooden options are great for Step 2.
Step 3: Group in odds, vary height and texture
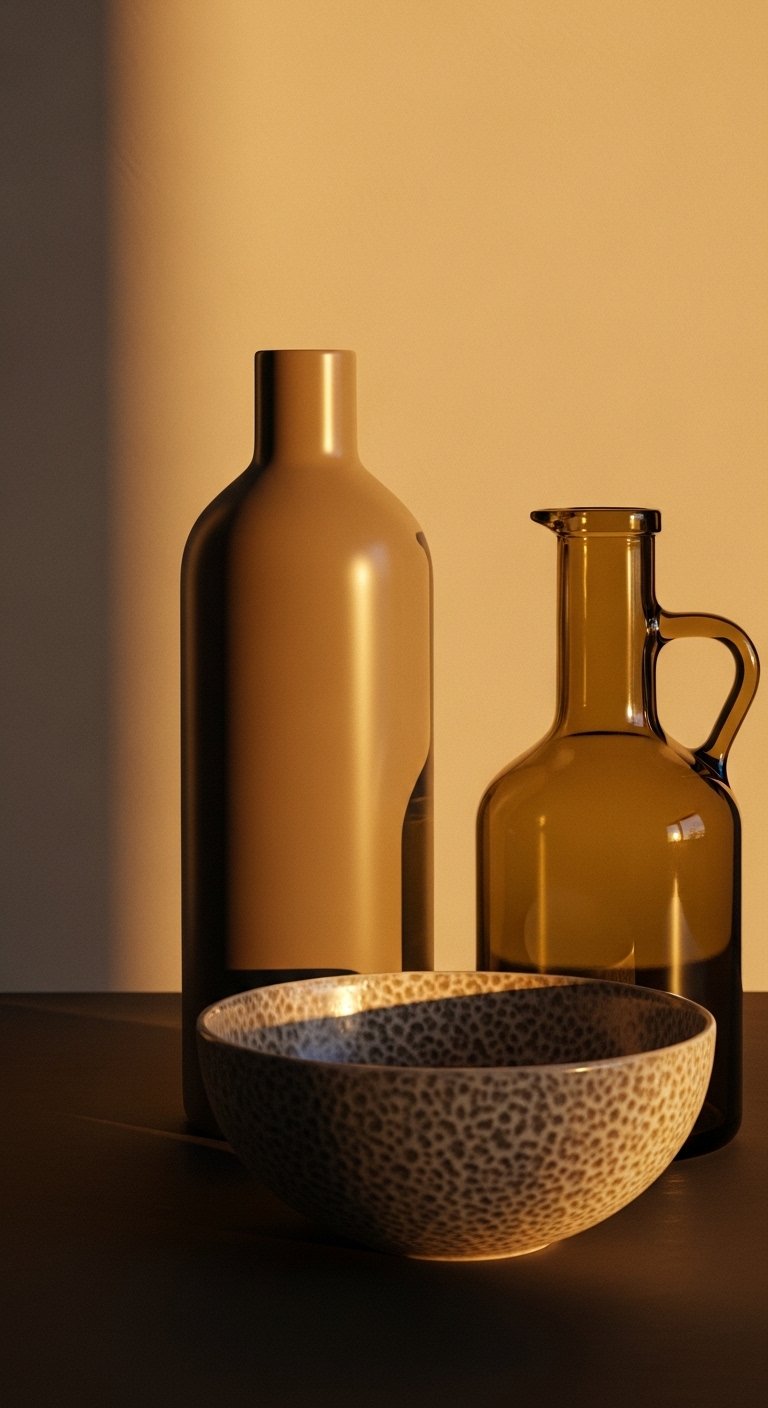
Clusters of three to five items work best. Use one tall object, one medium, and one low piece so your eye can move up and down. A common mistake is lining up things the same height. Another misstep is matching materials too closely. Mix a smooth ceramic vase, a cool glass bottle, and a rough wooden bowl so you get tactile contrast. Leave about 2 to 4 inches between pieces within a cluster so they read as related but not crowded. I blew this step the first two times, but when I stuck to odds and texture I finally liked the result.
Step 4: Keep cooking zones clear and make decorations functional
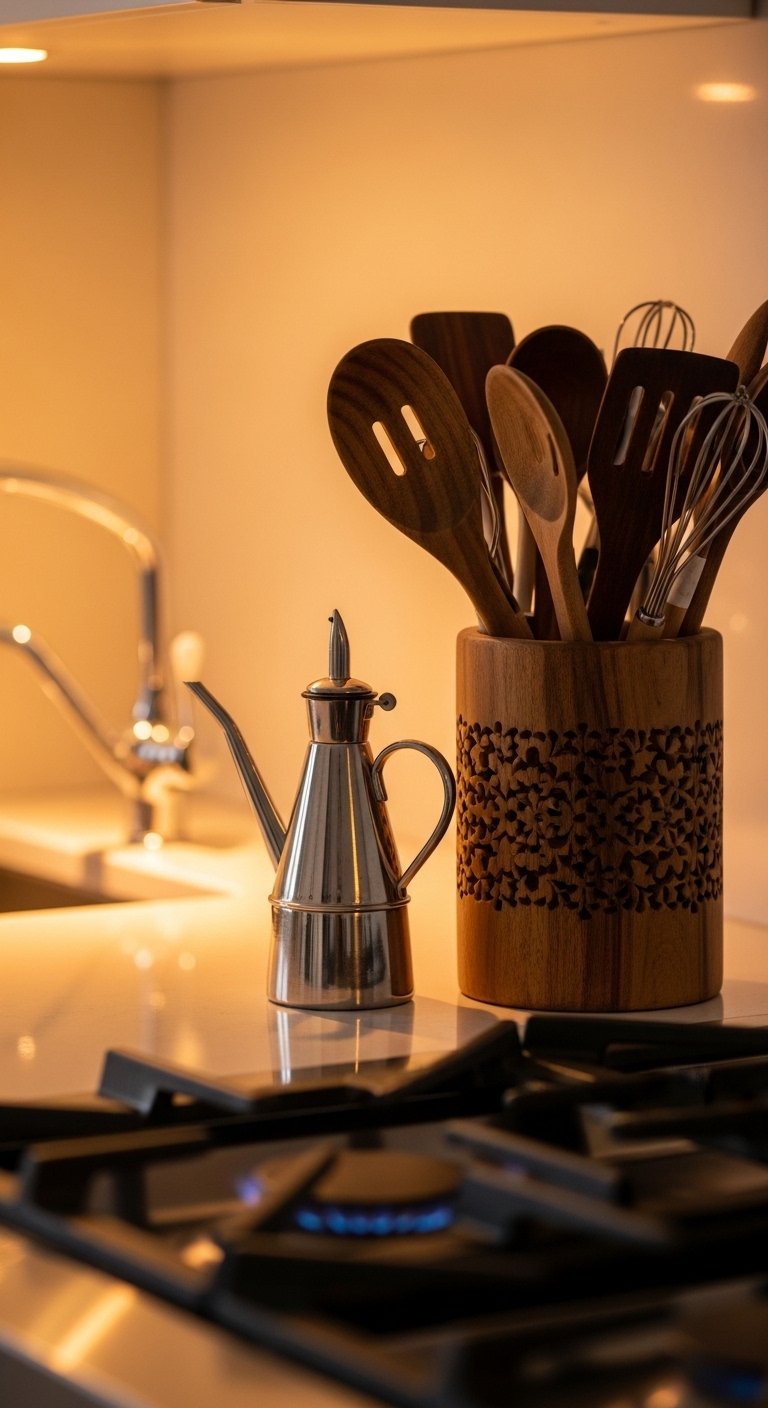
Don't put decorative clutter where you cook. Reserve the area closest to the stove and sink for things you actually use. I used to style across the stove and ended up moving things mid-cook. A slim oil dispenser or a utensil crock with smooth, cool ceramic is fine, but leave at least 6 inches of clear counter next to burners. If you want a decorative item near the prep area, pick something that doubles as storage, like a utensil crock or a mortar and pestle. This keeps the kitchen useful and still pretty.
Step 5: Edit, live with it for a week, then remove one thing
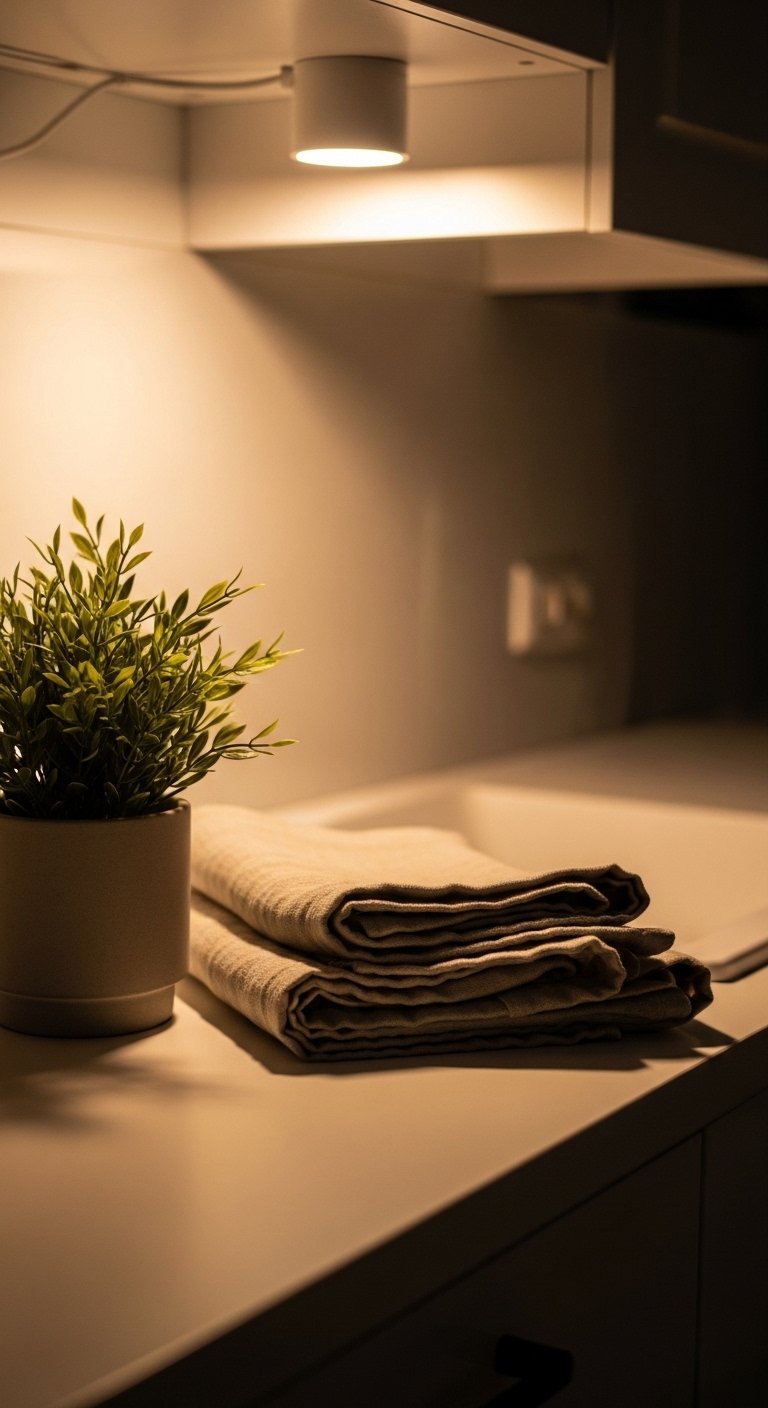
This is the step I almost skipped. After styling, step away for ten minutes, then come back. Live with the setup for a few days. If it feels off, remove one item rather than add another. My counter looked better after I took away a small bowl I thought I needed. Common mistakes here are being afraid of empty space and tinkering every hour. Keep a linen hand towel folded nearby and a small plant for life, then resist the urge to pile on extra decor. You will notice what is missing, and you will notice what can go.
Your Countertop Styling Checklist
Wooden serving tray, 12×16 inches, walnut finish ($20-45). Use for anchoring in Step 2.
White ceramic utensil crock, 6-inch diameter ($12-25). Keeps utensils accessible, referenced in Step 4.
Edge-grain cutting board, 12×18 inches, maple ($30-70). Feels heavy and warm in the hands, used as an anchor in Step 2.
Matte ceramic vase set, varying heights ($20-40). For the odd-number cluster in Step 3.
Glass oil dispenser with pour spout, 12 oz ($15-30). Smooth to the touch, practical for Step 4.
Small potted plant, 4-inch ceramic pot ($10-25). Adds life for Step 5. Similar plants at Target.
Linen hand towel, 18×28 inches, natural ($8-20). Keeps counters usable and textured, mentioned in Step 5.
Stackable ceramic bowls, set of 4, matte glaze ($25-45). Useful props you can actually use, referenced in Step 3.
Why your countertop still looks crowded

Most counters read as crowded because of scale and repetition. People put lots of small objects across the run and expect visual rest. Instead, pick one anchor that takes up roughly two thirds of the cluster's width and leave the rest empty. Another common issue is trying to match every color. Pick one accent color and limit repeats to two or three pieces. If you feel stuck, remove items until it breathes. I learned that empty space is an intentional choice, not a mistake.
Making this work in a small kitchen
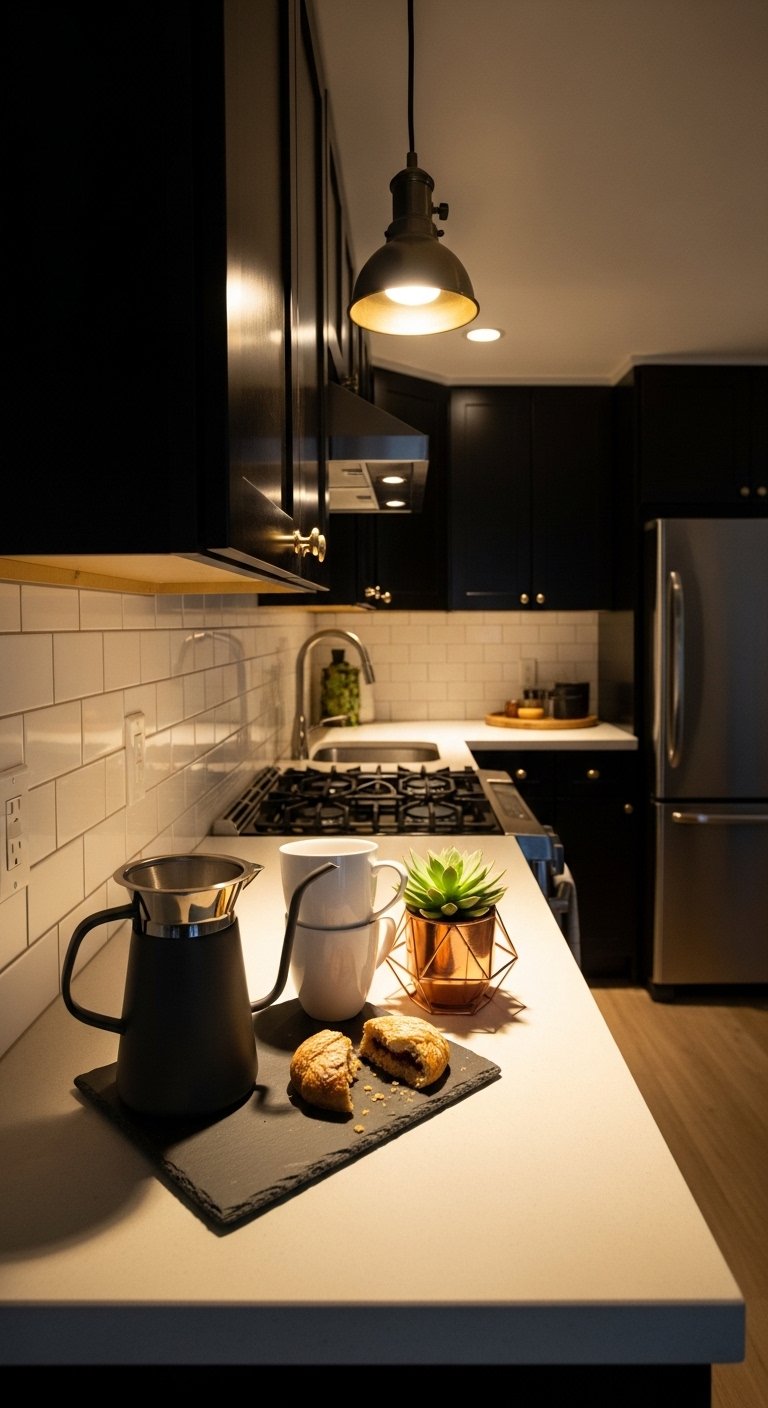
Small spaces require tighter edits. Use a shallow tray or a vertical element like a tall vase to create presence without eating work surface. Keep functional items mounted or stored under cabinets to free up the counter. Quick bullet suggestions:
- Choose anchors that are no more than one third of the counter run.
- Favor slim tools, like a narrow utensil crock or a hanging rail.
- Use plants that are low and compact, 3 to 4 inches across.
I once used a single 12-inch tray and it made a tiny counter look curated instead of slammed with stuff.
What your styled countertop looks like after a week with kids and a dog
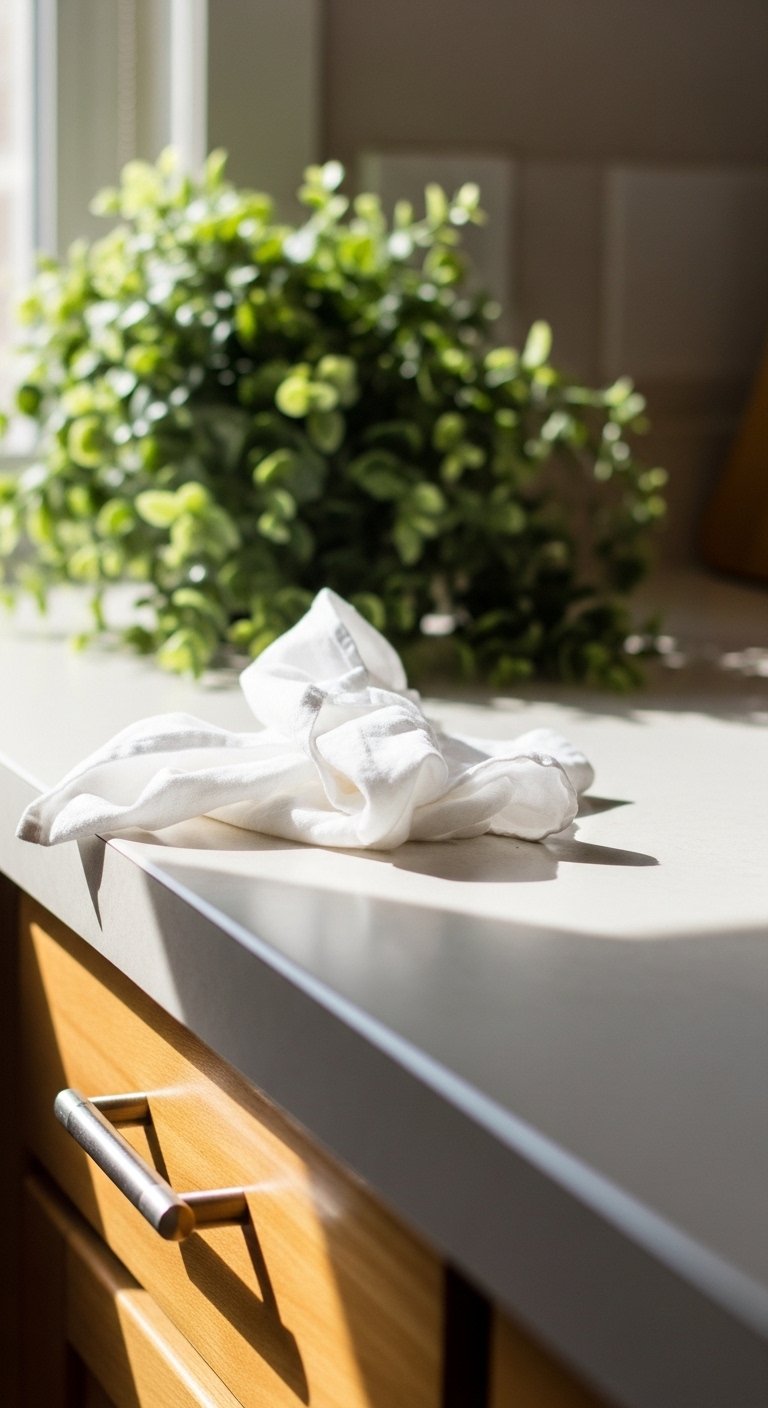
Expect small shifts. A dog nudges a towel, a kid leaves a spoon. The test of a good setup is how it recovers. Keep most decorative items elevated on a tray so you can sweep crumbs easily. Replace delicate items with sturdier versions if they keep getting knocked over. One practical swap I made was trading a fragile vase for a heavy ceramic one, which survived two tumbles. After a week, decide which pieces are practical and which need to move to open shelving.
Start with One Corner
Pick a small, low-commit spot, like the area next to your sink or a single two-foot stretch. Anchor it with a wooden tray or cutting board from the checklist, add one tall piece, one medium item, and a plant. Live with that corner for a few days, then remove one item if it feels busy. My first successful counter began as a scrappy little corner, and that slow editing is exactly how you get a countertop that feels calm and useful.

