

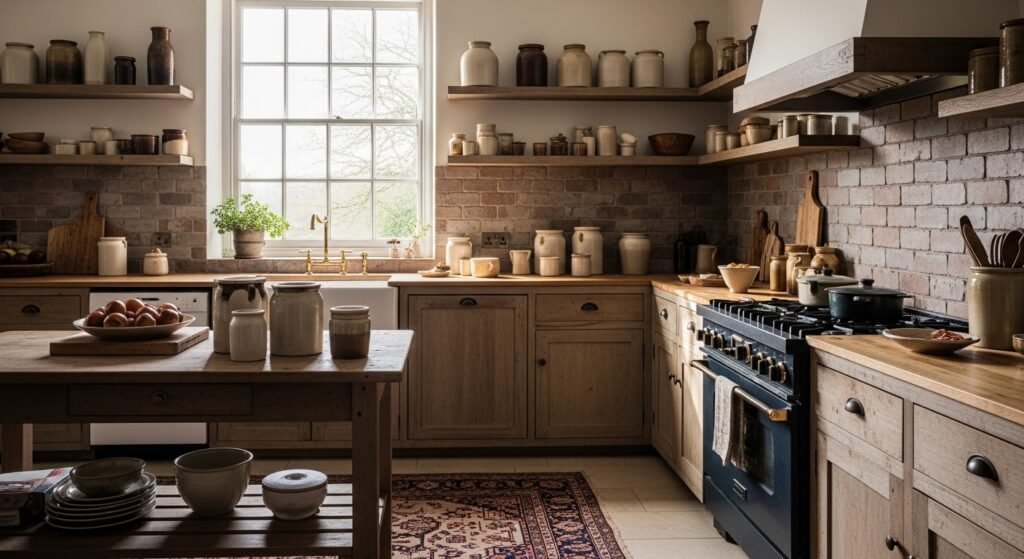
I’d stare at my counters and feel them whisper “unfinished.” Too many single jars, too much empty shelf space, nothing that read as intentional.
Ceramic jars fixed that. They add weight, texture, and a human scale. They make things feel edited instead of cluttered.
How to Decorate a Kitchen With Ceramic Jars
This is the method I use every time a kitchen feels flat or scattershot. You’ll learn how to place a few ceramic jars so the space reads calm and collected. The result is an organic modern, lived-in look that’s balanced, simple, and easy to keep tidy.
What You’ll Need
- White ceramic canister set, 3-piece, matte finish (~$35–65)
- Speckled stoneware jar with bamboo lid, 24 oz (~$20–40)
- Hand-carved wooden tray, medium (~$25–50)
- Natural wood cutting board, 16×10 (~$20–45)
- Open wall shelf bracket set, black metal, pair (~$15–30)
- Dried wheat stems bundle, neutral, 12 pcs (~$8–18)
- Small ceramic herb planter, glazed white, 4 inches (~$10–20)
- Tiered lazy Susan turntable, rattan edge, 12 inch (~$25–50)
Step 1: Decide the jar’s job and its spot
I always start by deciding what each jar is for. Is it a functional canister for flour, a utensil holder, or a decorative anchor? That choice dictates placement. Functional jars belong near prep zones. Decorative jars can sit on open shelving or a breakfast nook.
Visually, picking a job keeps the layout intentional. People often scatter jars without purpose. The mistake is using every flat surface; instead, give one zone a job and keep the rest quiet.
Step 2: Edit to three or fewer groupings
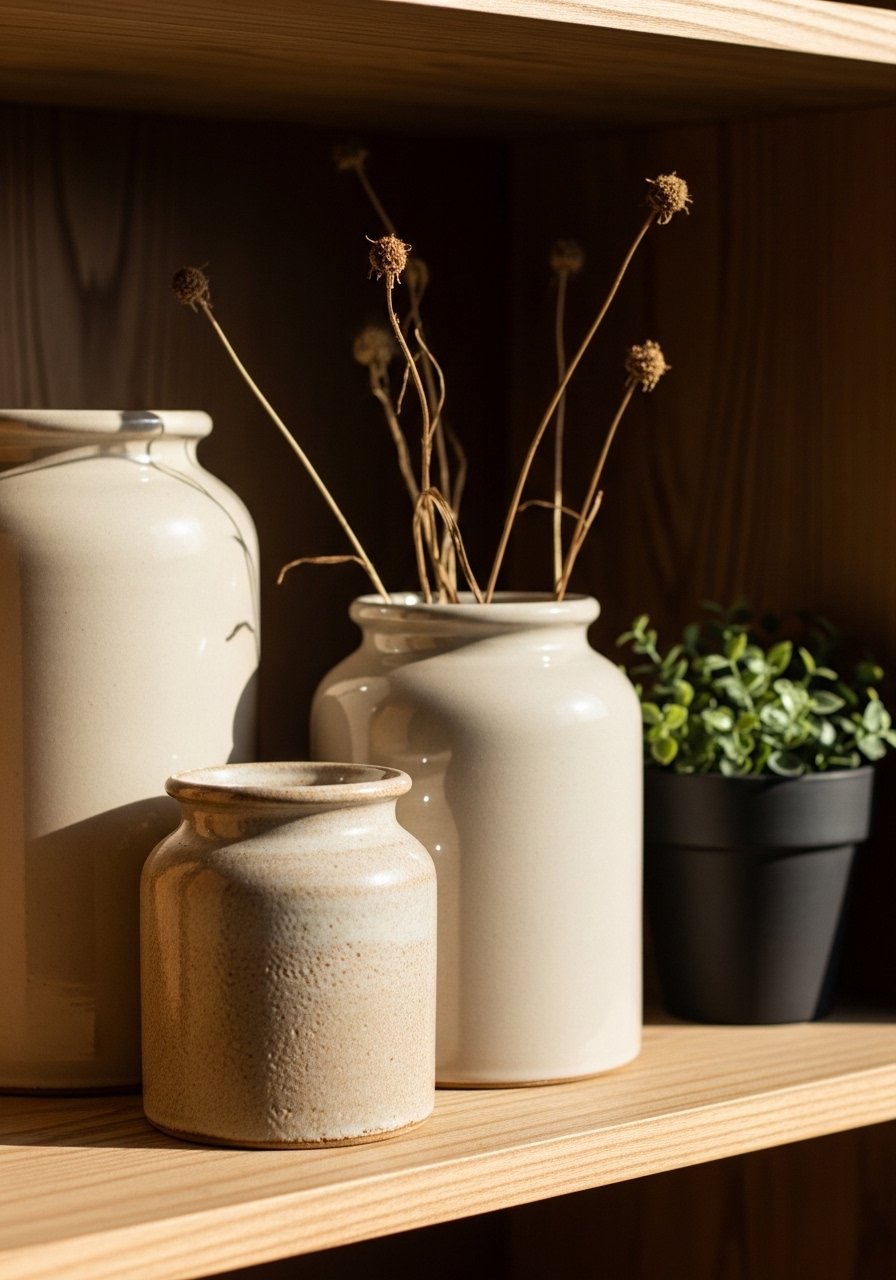
I aim for three groupings max: a countertop vignette, a shelf cluster, and maybe one statement jar. Within a grouping, use odd numbers—three jars look steadier than two or four. I vary height and finish (matte, speckled, glazed) to create depth.
People miss the power of negative space. Don’t line jars up across the whole shelf. The small mistake is symmetry for symmetry’s sake; a slightly off-center trio feels more natural and calm.
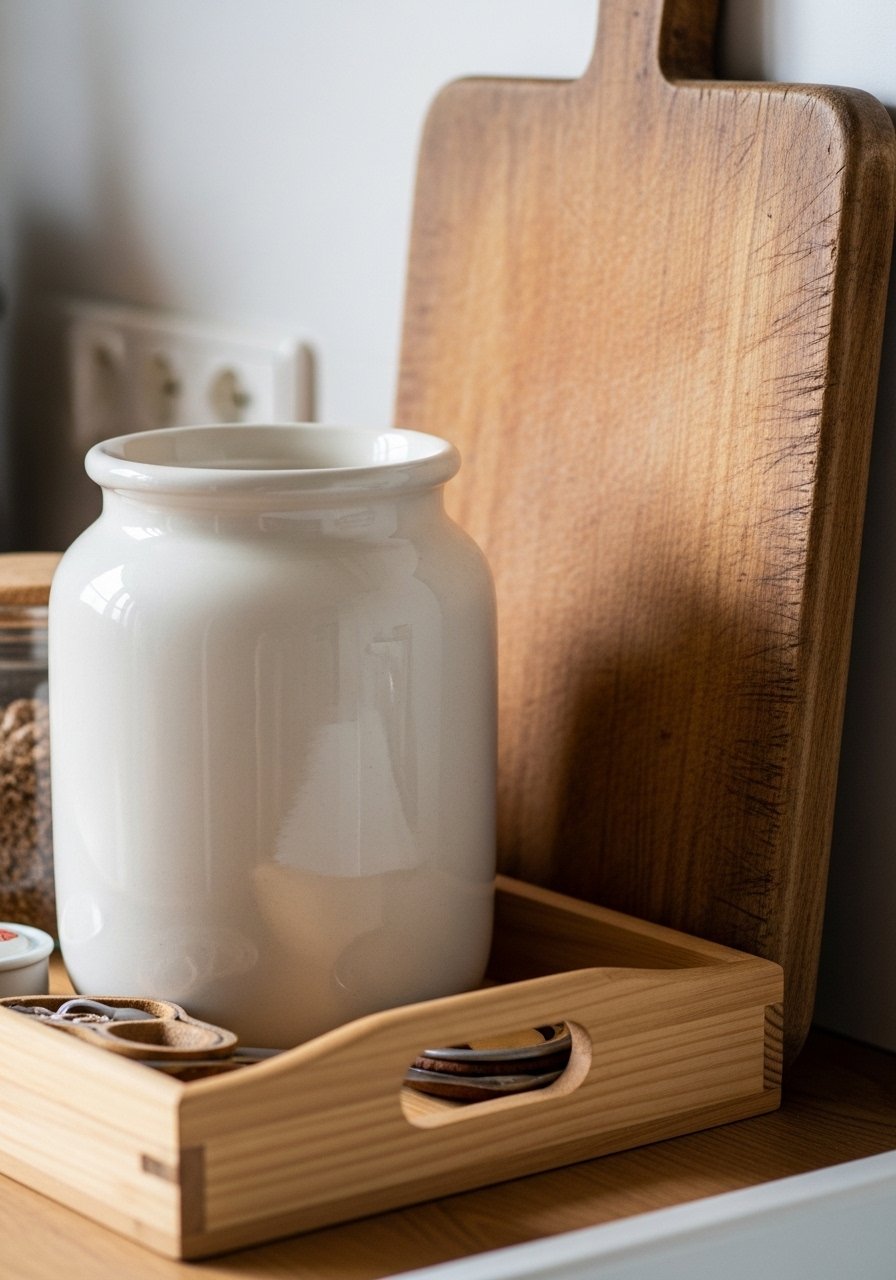
Step 3: Anchor jars with a base
I always place jars on a base: a wooden tray, a cutting board, or a lazy Susan. That base gives the group a footprint and reads like a single object. It also protects counters and makes the vignette feel composed.
Visually, the base helps when you mix ceramics with wood or metal. A common oversight is forgetting scale—the tray should be large enough to hold the jars comfortably. If it’s too small, the arrangement looks cramped.
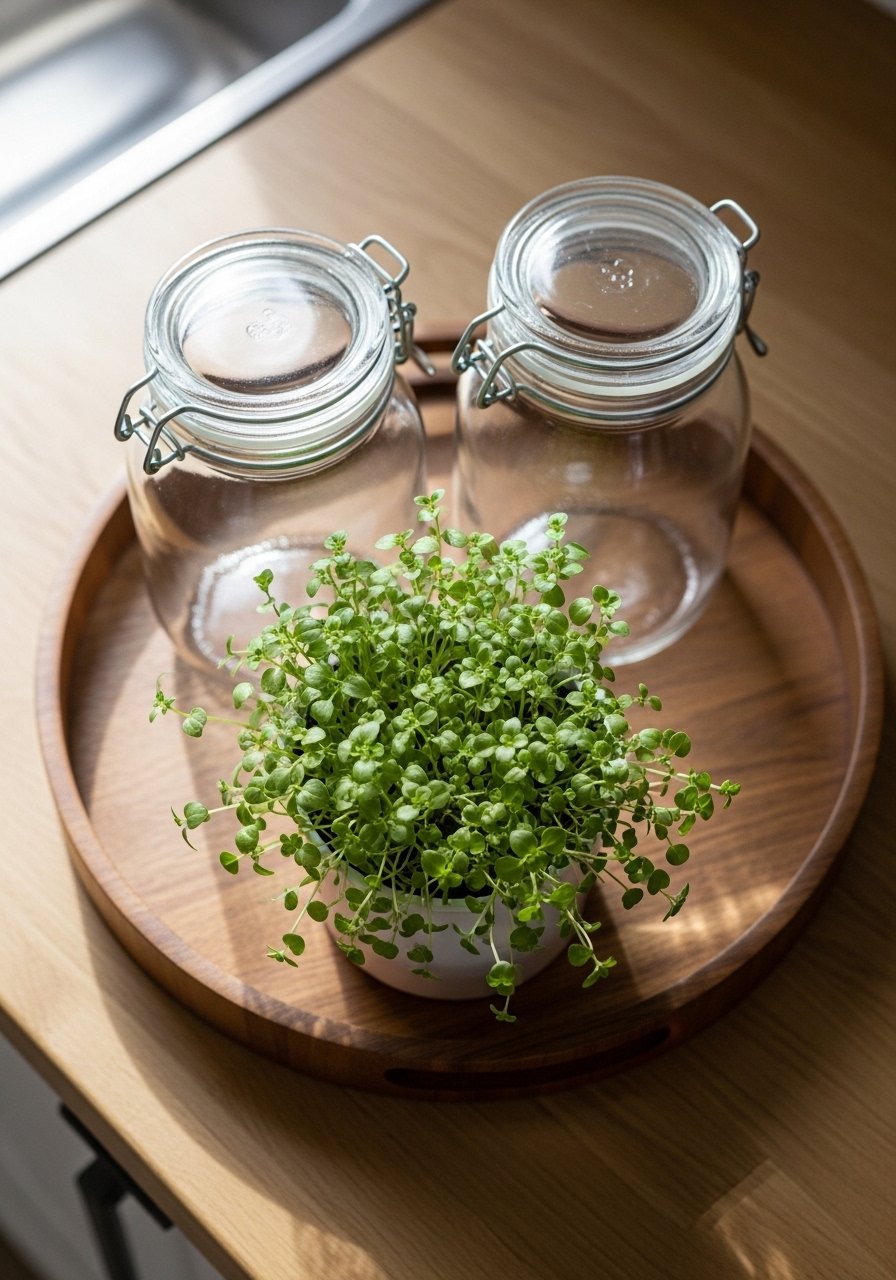
Step 4: Add living or dried accents for warmth
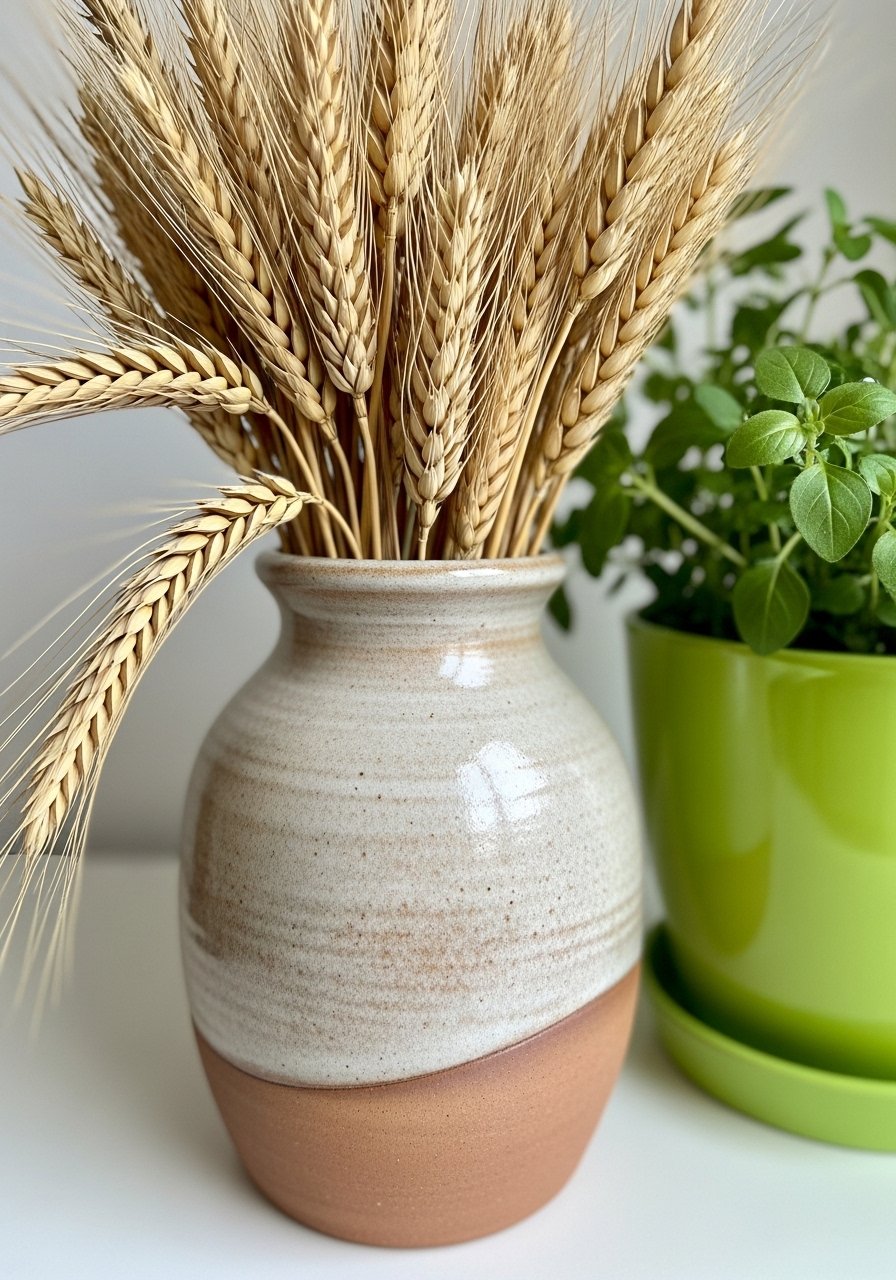
I tuck in one living element—an herb planter or a stem bundle—to soften the ceramics. Dried stems are great in winter; a small basil pot works in summer. This adds movement and keeps the look from feeling cold.
A missed insight is matching the plant scale to the jars. Too-tall stems overpower; too-small plants look like an afterthought. Avoid fussy arrangements—simple accents keep the mood calm and intentional.
Step 5: Repeat, scale, and balance across the kitchen
Once one vignette feels right, I repeat the approach elsewhere in smaller doses. A single jar on a windowsill can nod to a larger counter cluster. I pay attention to sightlines—what you see when you enter the kitchen should feel balanced, not symmetrical.
People often overdo matching. Instead of matching every jar, echo materials and heights. The small mistake is making everything identical; subtle repetition reads collected, not manufactured.
Common mistakes and how I avoid them
I see two frequent errors: too many jars and mismatched scales. Too many jars make the counter feel cluttered. I remove anything that doesn’t serve a purpose or a visual role.
Second, scale slips—tiny jars next to tall faucets get lost. I keep one taller piece in each grouping to anchor the eye. Quick checklist:
- Limit to 3–5 jars per major surface.
- Vary height and finish.
- Use a base to contain the group.
Adapting this look for small kitchens or a tight budget
I work small when space is limited. One statement jar on a narrow shelf makes a big impact. Use a single multipurpose jar (utensils + wooden spoons) instead of multiple canisters.
For budget-friendly updates:
- Start with one speckled jar or a single cutting board as the base.
- Use dried stems instead of live plants.
- Reuse what you have—mix thrifted ceramics with a new lid or tray.
Mixing ceramic jars with what you already own
I try to make jars talk to existing pieces. Match tones—warm clay with honeyed wood, white glaze with stainless steel. If your kitchen is modern, pick jars with cleaner shapes. If it’s more cottage, go for hand-thrown textures.
A few quick pairings I use:
- Matte ceramics + smooth wood cutting board for organic modern.
- Speckled stoneware + rattan tray for a relaxed, lived-in feel.
- A single glazed jar near herbs to hint at freshness.
Final Thoughts
Start with one purposeful jar and a base. It’s a small change that brings the kitchen into balance. I find the speckled stoneware jar with a bamboo lid is an easy, low-commitment place to begin.
Keep editing as you live in the space. A calm, intentional arrangement always reads better than a perfectly matched set.

