

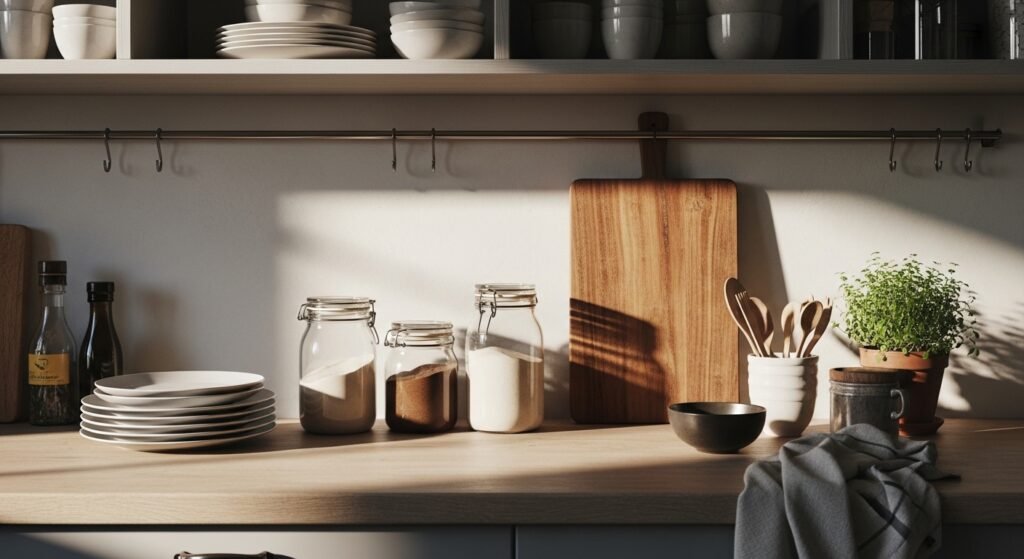
I used to shove jars against the backsplash and call it styled. Everything felt crammed or too matchy. I tried identical glass canisters once, then a full set of ceramic jars, then labeled chaos. None of those fixes did the trick.
What changed was thinking like a person living in the kitchen, not like someone staging a photo. It turned out spacing, texture, and a single anchor piece mattered more than matching every lid.
I messed up the first few attempts. This method is what finally stopped the jars from looking like a jumble and made the counter feel calm.
Step 1: Clear the counter and decide the spot
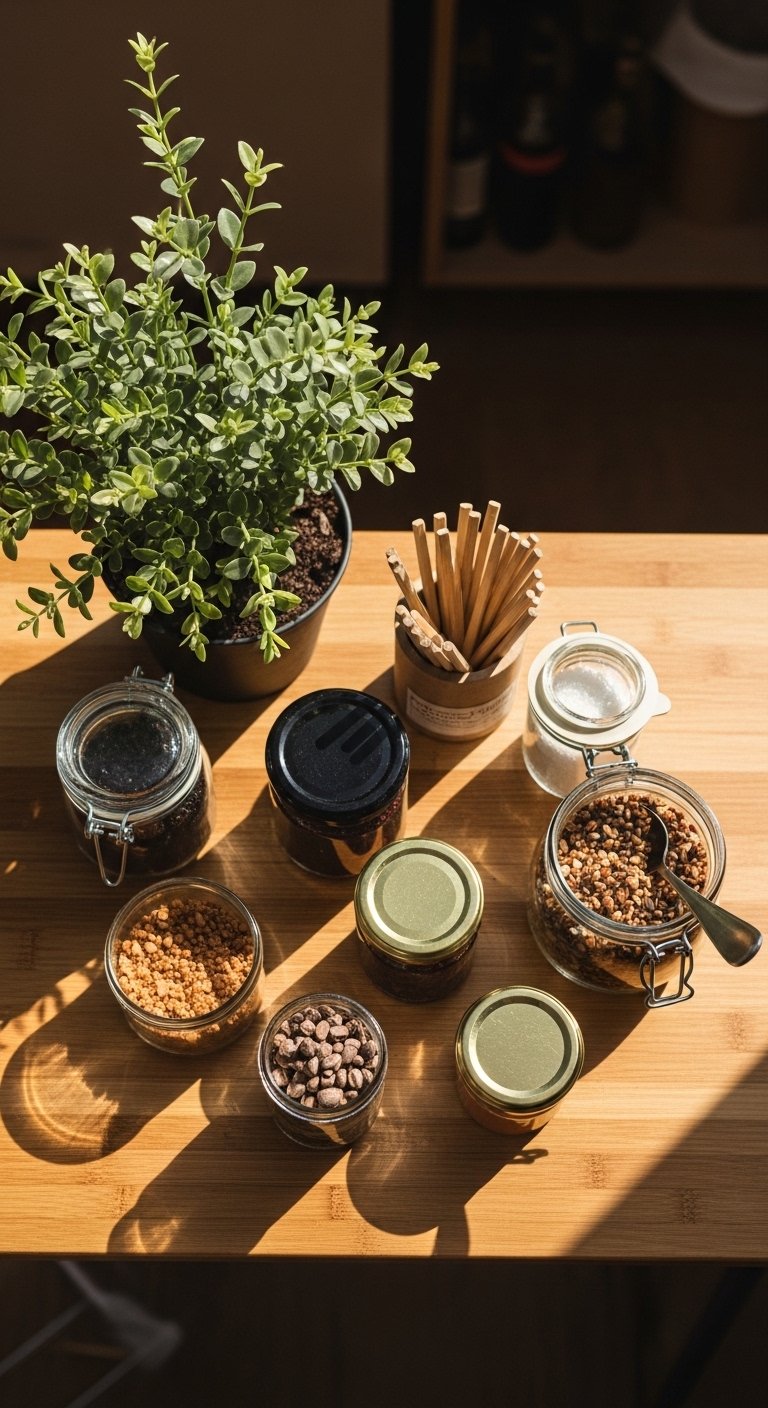
Start by pulling everything off the counter, even the stuff you think you will keep. Yes, everything. Wipe the surface so you can see the negative space. Choose a 2-3 foot stretch as your main vignette. That measurement keeps the grouping intentional and makes room for landing plates and a bowl.
Leave about 30 to 40 percent of that chosen area empty. That breathing room is what stopped my arrangements from feeling claustrophobic. The emptiness feels wrong when you are arranging, trust me. Walk away for ten minutes and come back with fresh eyes.
Step 2: Pick three jar types and mix materials
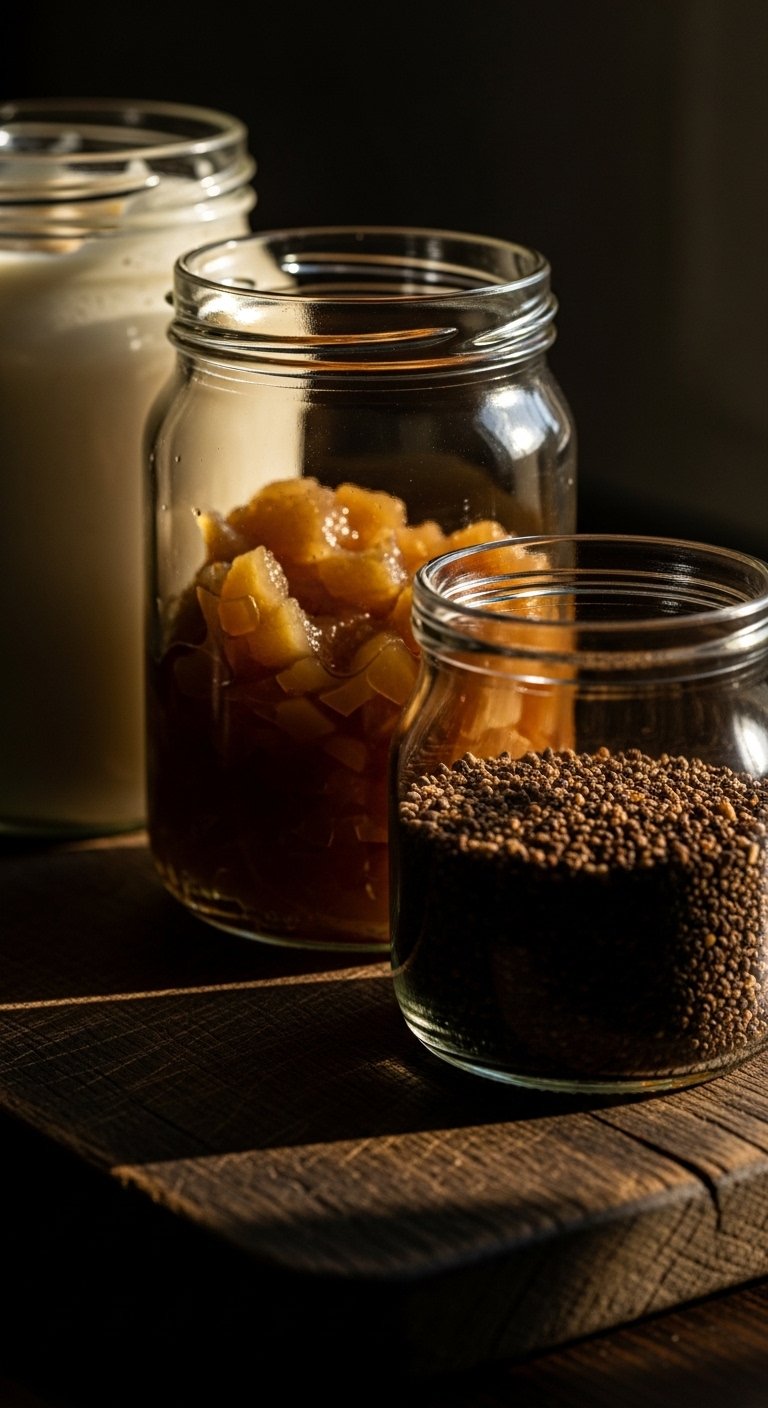
Most people start with identical jars. That is backwards. Choose one tall jar, one medium jar, and one small jar. Aim for the tallest jar to be about two to three times the height of the smallest. Use at least two materials, for example smooth, cool glass plus a matte ceramic. The contrast in weight and feel makes the group look curated instead of bought-at-once.
I use a set of glass apothecary jars for dry goods and a matte ceramic canister for sugar. The glass feels cool and light in your hand, while the ceramic has a satisfying heft. Mixing lids helps too, like cork on one, wood on another. I tried matching lids at first and it read as boring.
Step 3: Anchor the group and layer in odd numbers
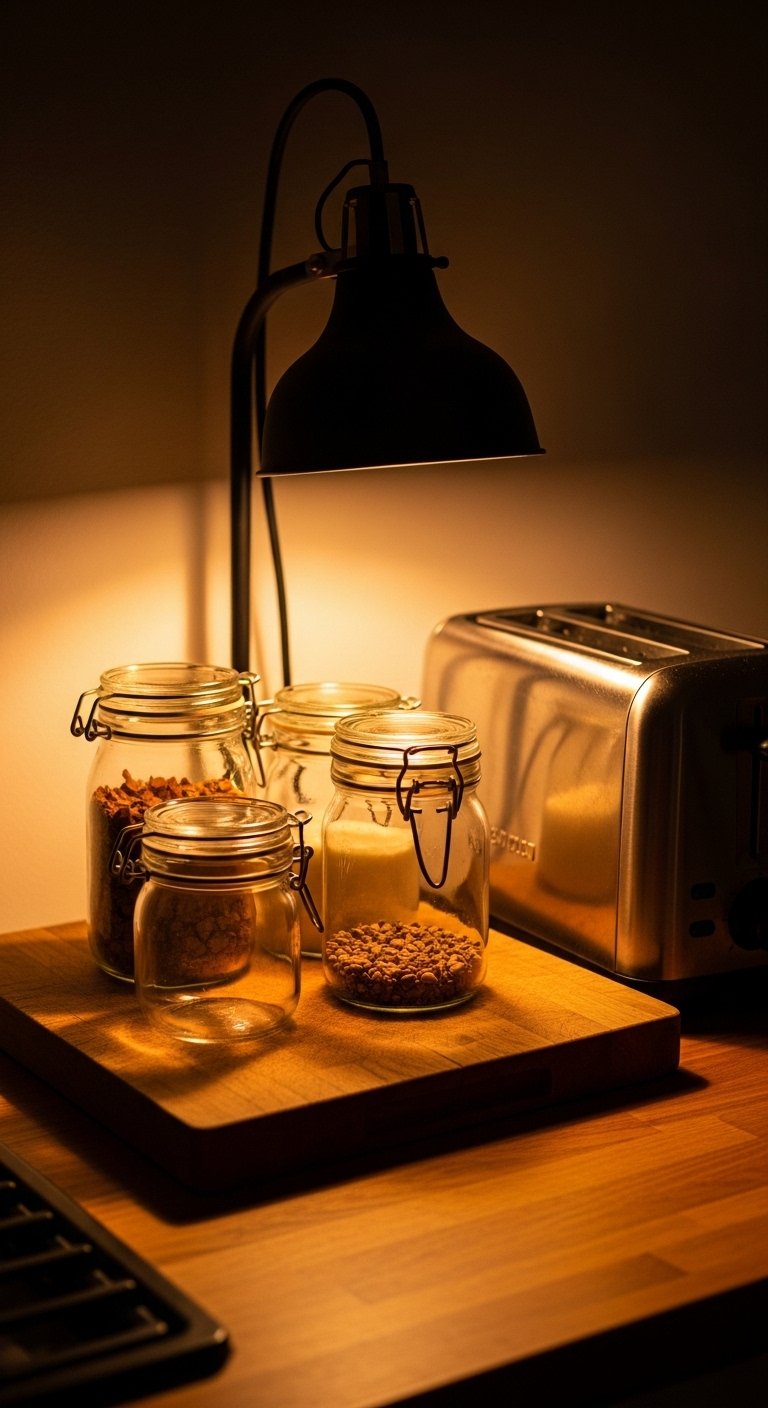
Put the tallest item on a base, like a wooden cutting board or a small tray. That anchor grounds the vignette and prevents things from feeling like they float. Arrange jars in odd-numbered groups, three or five pieces per vignette. I usually place one large, two medium or three small. That proportion reads balanced to the eye.
Try a 1-2-3 rule for visual weight. One substantial piece, two supporting pieces, three small accents. My first try ignored this and everything looked like it was fighting for attention. The anchor solved that within minutes.
Step 4: Add texture, labels, and a living touch
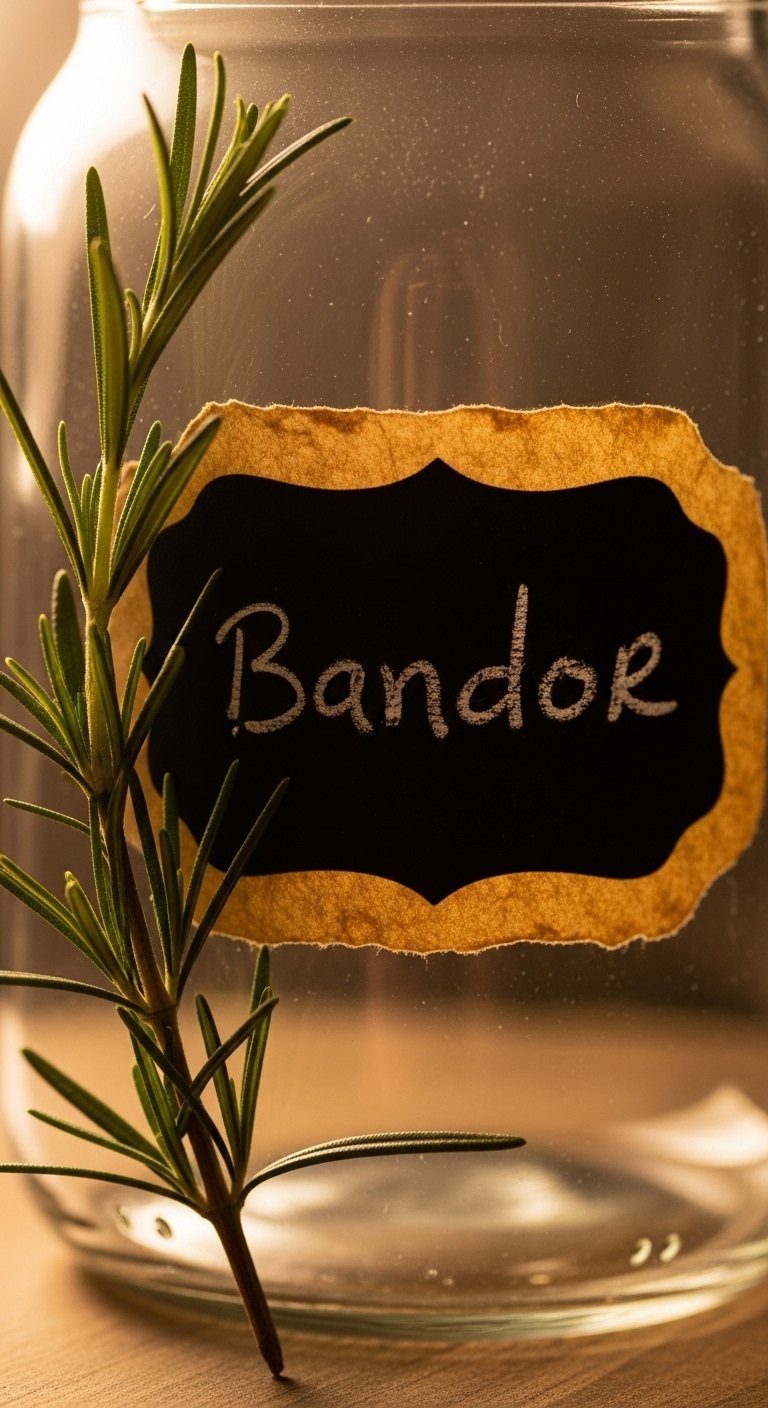
This is the step I almost skipped, and I am glad I did not. Labels should be small, tactile, and not perfect. I use chalkboard stickers for one jar and kraft paper tags on another. The slight imperfection makes them feel used, not staged.
Add one living element, like a small potted herb or a single eucalyptus sprig. The soft leaves offset the hard jar edges. Texture matters, so mix in a linen tea towel or a woven coaster. The roughness of the linen against smooth glass is what makes it feel calm and readable.
Step 5: Live with it, tweak after a week
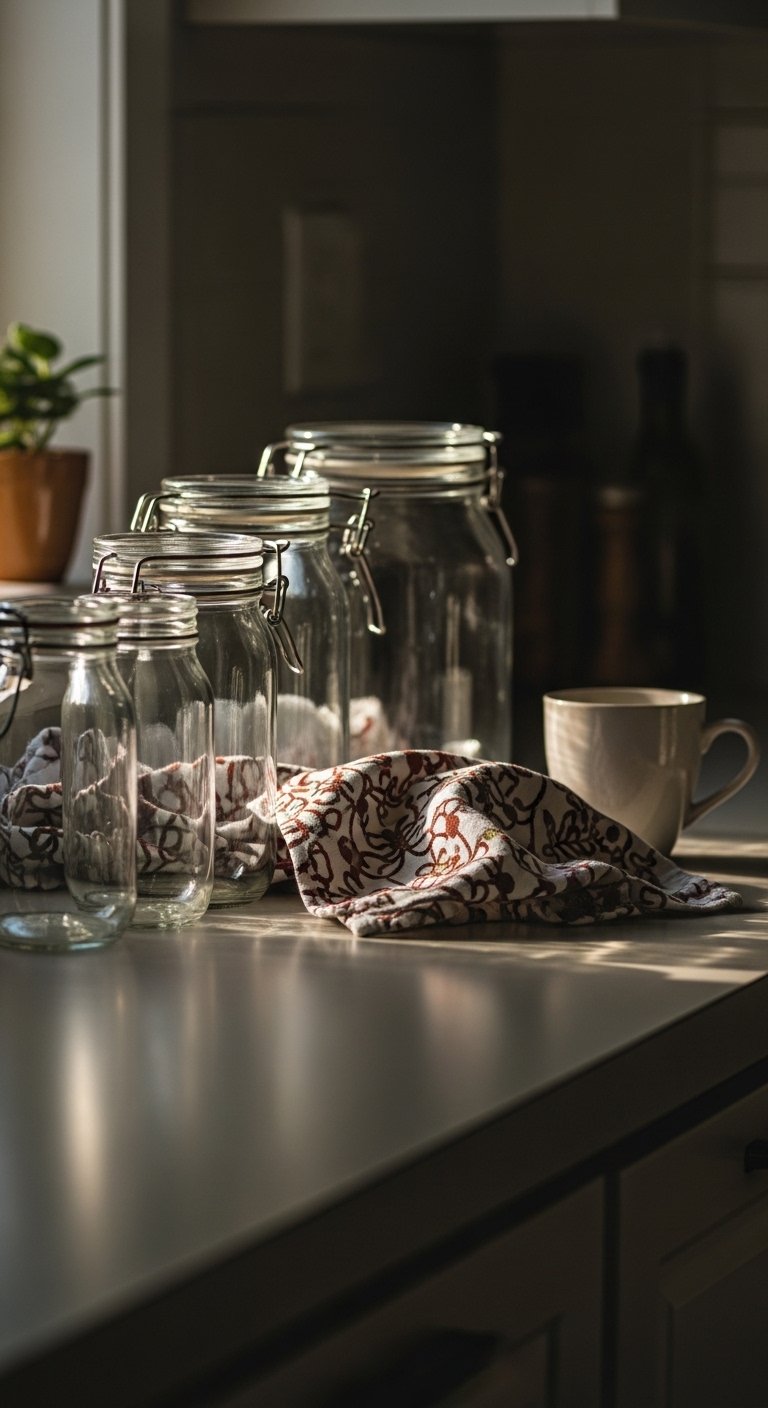
This part feels wrong while you are doing it. Live with the setup for a few days. Move one jar by an inch, swap a lid, remove an item if it feels heavy. My partner knocked over one arrangement twice before I found a safer, lower center of gravity layout. That mistake led me to shorten a tall jar and move it to a shelf.
After a week, you will know what you actually use and what collects crumbs. Adjust the functional jars to the left if you are right handed, or the reverse if you are left handed. Small changes complete the look without redoing the whole counter.
Your Kitchen Jar Styling Checklist

- A set of glass apothecary jars, small-medium-large ($25-50). I use these for flour and rice. Used in Steps 2 and 5.
- Matte ceramic canister with wooden lid, 1.5-quart ($20-35). Adds weight in Step 2.
- Wooden cutting board, 12×8-inch oval ($15-30). Anchor for Step 3.
- Chalkboard label stickers, pack of 48 ($7-12). For Step 4.
- Small ceramic herb pot, 4-inch ($8-18). Living touch for Step 4.
- Linen tea towel, 20×28-inch, natural ($12-22). Texture layer in Steps 3 and 4.
- Funnel set for filling jars, 3-piece ($6-12). Makes refilling easy in Step 5.
- A jar set of tall storage canisters, 2.5-quart ($30-55). For bulk items, used in Steps 2 and 5.
Why your counters still feel cluttered after adding jars
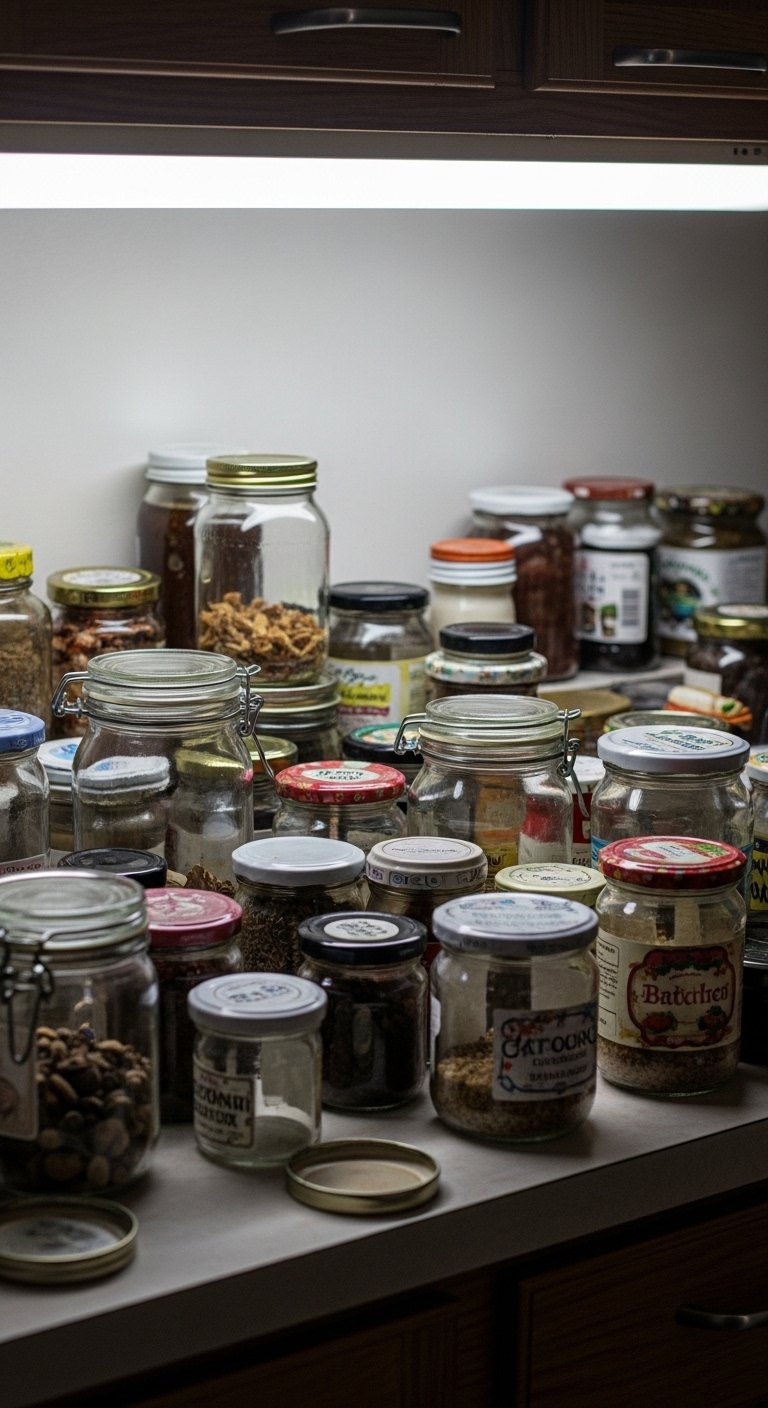
Most clutter problems are spacing problems in disguise. People add more jars instead of moving what they already have. You also want to avoid repeating the same texture across the whole counter. If everything is glass, it reads as fragile and flat. If everything is ceramic, it can feel heavy.
A quick fix is to remove half the items and reintroduce one at a time. I left three jars out for a week and the counter suddenly felt intentional. Another common mistake is poor anchoring. A small board or tray prevents visual drift. Lastly, remember function. If a jar is rarely used, it belongs on a shelf, not in the main vignette.
Making this work in a small kitchen
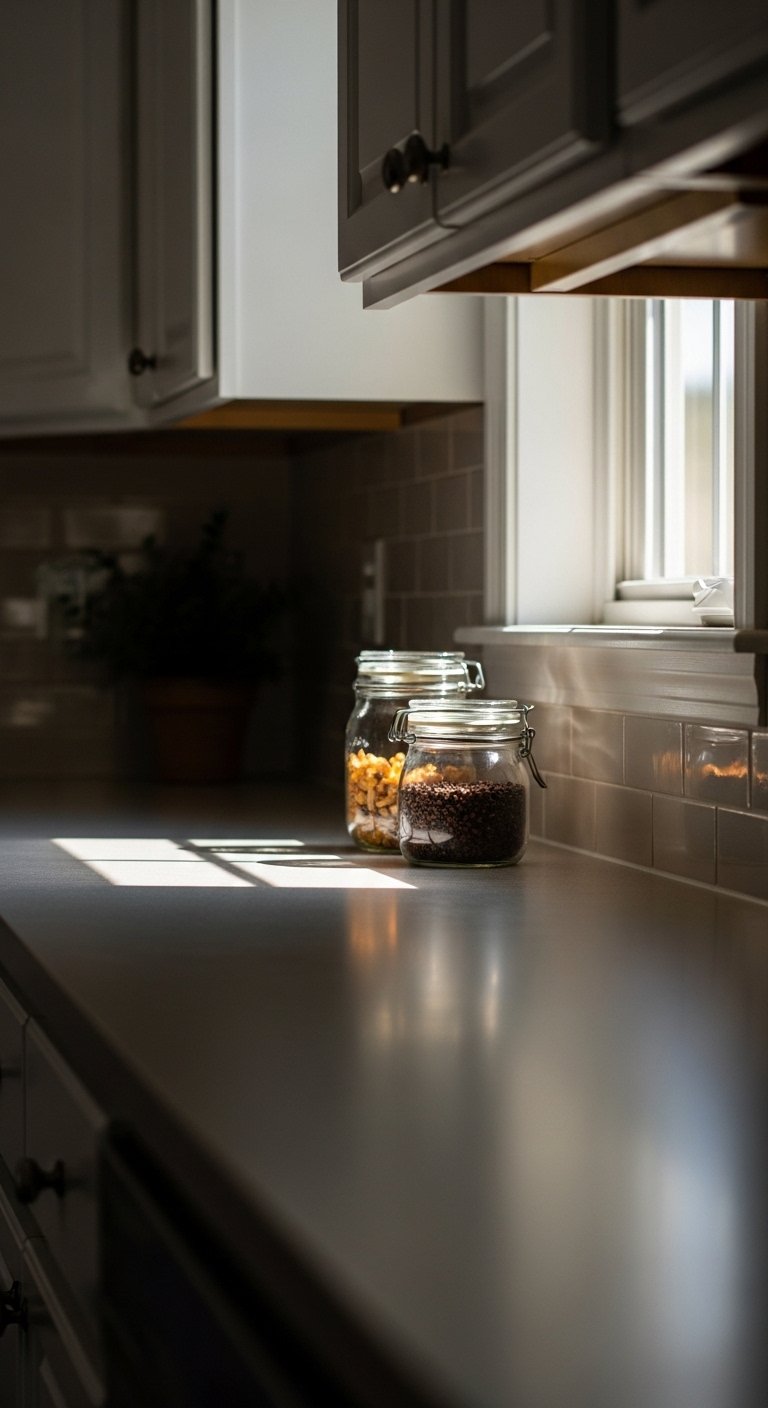
Small spaces need fewer pieces. Choose one tall jar plus one or two small jars, and keep the empty space at 40 percent. Use the back corner of the counter so the arrangement does not block prep work.
- Use vertical space, like a narrow shelf, to store less-used jars.
- Keep lids easy to open, textured, and not too heavy. Heavy lids add a sense of gravity that can overwhelm a small area.
- Swap a potted herb for a drying bundle of rosemary if light is limited. Herbs with thicker leaves survive lower light better.
What it looks like after a week with real life
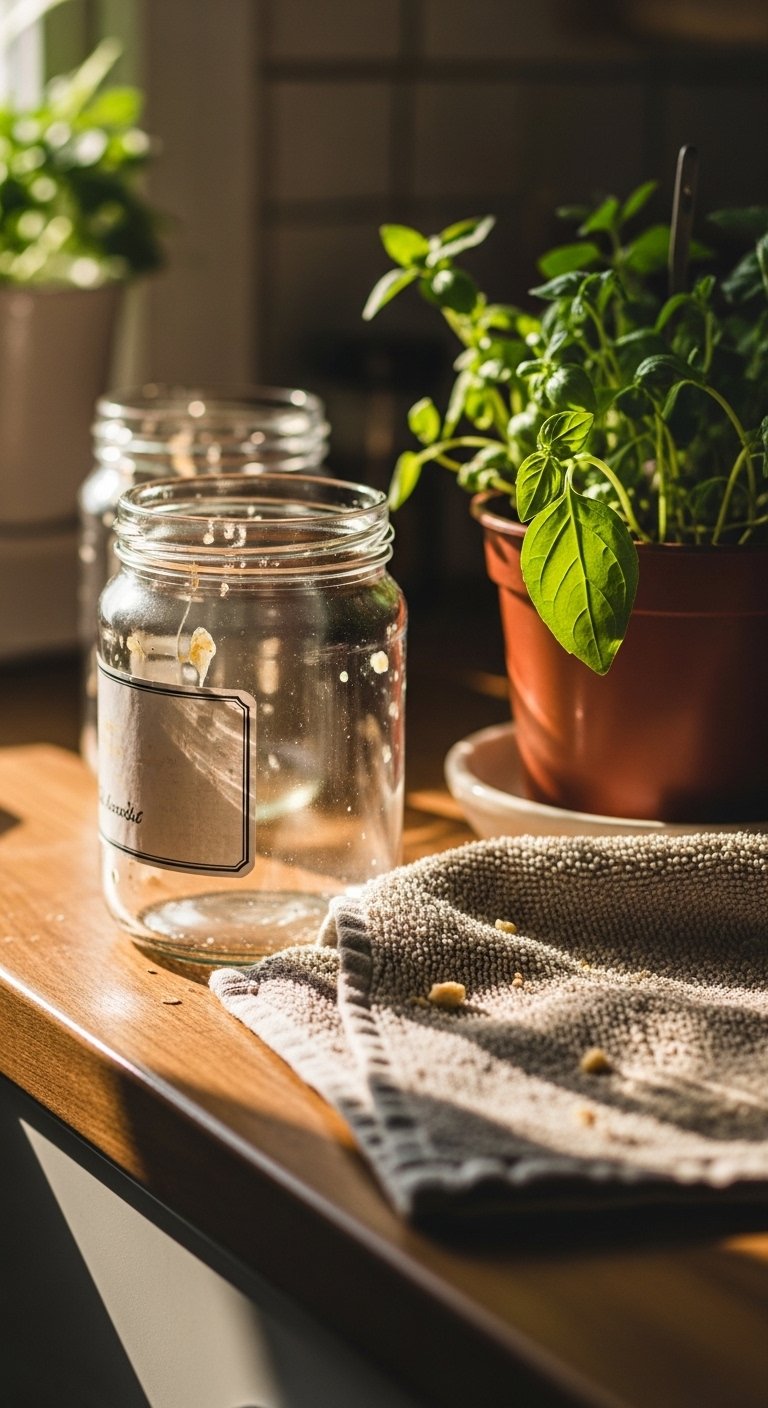
After a week the staged photo feeling will wear off. You will see fingerprints on glass, a tea towel that got used, and a lid that no one wants to wrestle open. I found that jars used every day needed to be lower and closer to the edge. Less-used bulk jars got moved up to the top shelf.
Expect to swap one item out. For me it was a tall jar that caught flour dust. I replaced it with a short, wider jar that is easier to clean. Those small, practical swaps are what turn a pretty counter into a lived-in one that still looks intentional.
Start With One Counter Corner
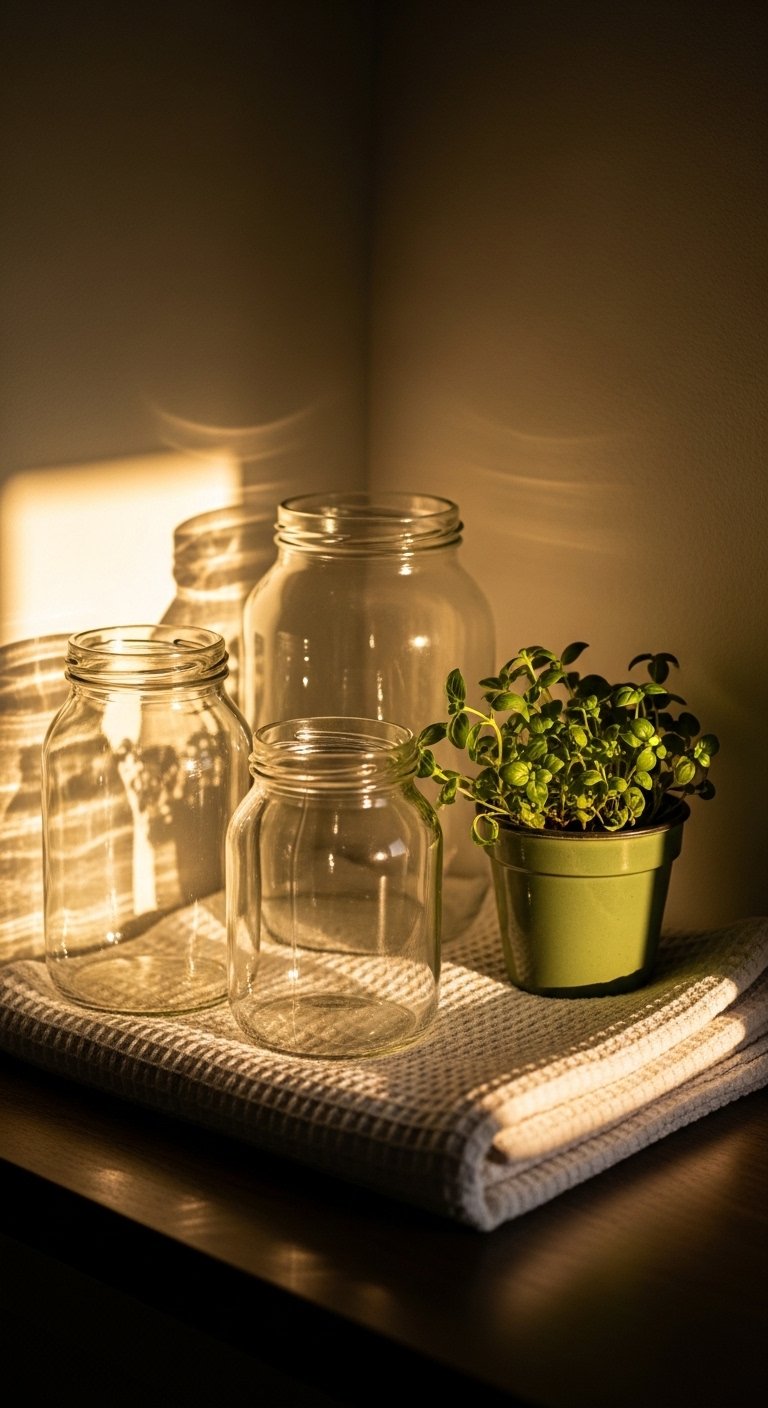
Pick one corner and stick to three pieces. Give yourself permission to move things around for a few days. The first corner is the hardest, but it teaches what your household actually uses and what just looks good in photos.
If you want a simple starting point, grab a small set of glass apothecary jars and a wooden board. Arrange them, live with them, then adjust. You will end up with a kitchen that feels calmer and more usable, without a lot of extra work.

