

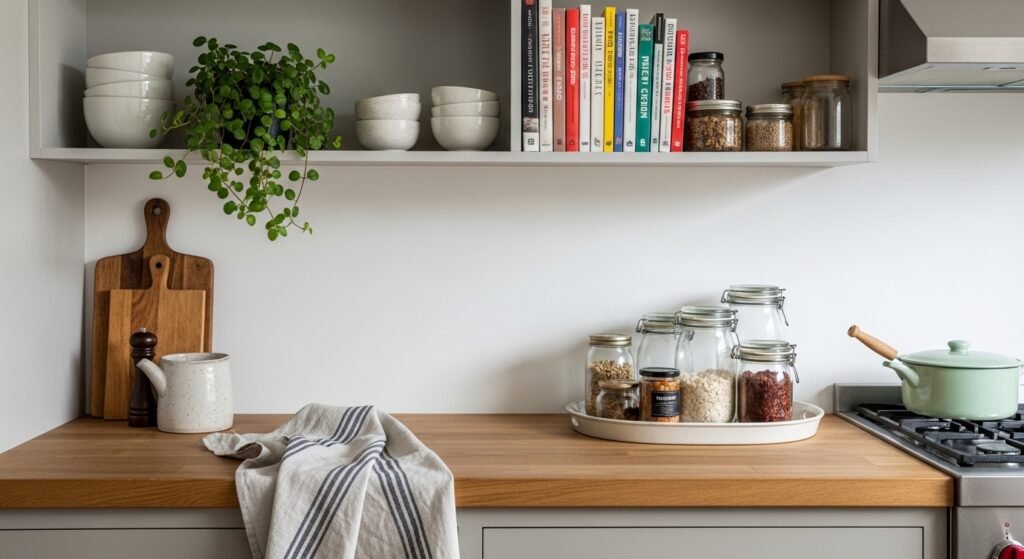
I had three shallow kitchen shelves staring at me for months. Everything I put on them looked like leftovers from other counters. Mugs, a plant, a candle felt thrown on instead of placed. It took a while before I realized I was treating the shelves like storage, not a stage.
I tried filling every inch because empty space scared me. That made the whole thing read cramped and anxious. When I finally cleared everything and started again with two anchors, the shelf stopped shouting and started to breathe.
Step 1: Clear, edit, and set your empty-space rule
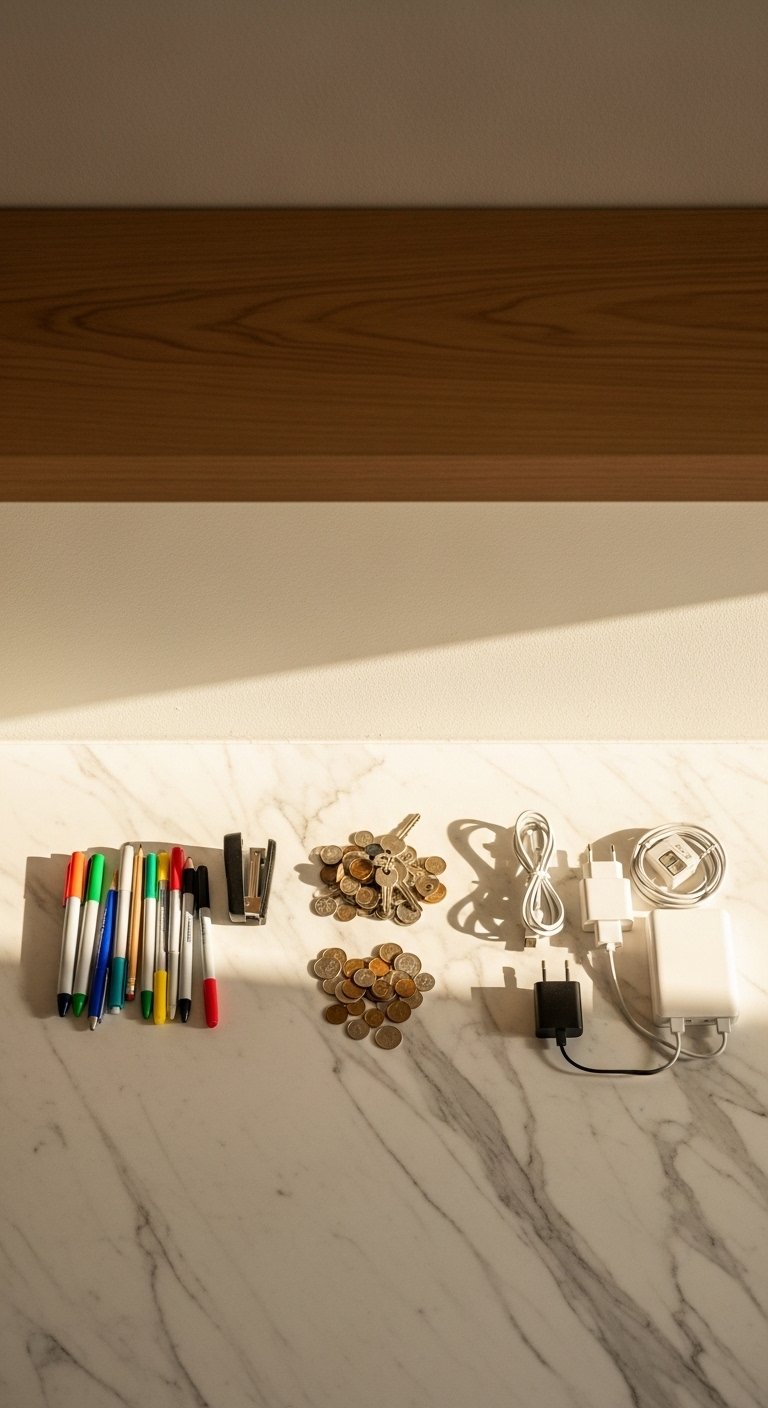
Pull everything off the shelf. Yes, everything. Sort into keep, store elsewhere, and donate. I used a linen storage box for small items I still wanted but did not need on display, and a rattan basket for larger overflow. My first attempt failed because I only shifted things around. Clearing gives you actual choices.
Decide on an empty-space rule before you put anything back. I aim for about 30 to 40 percent negative space per shelf. That might feel like too much at first. Walk away, then come back and you will see where the shelf wants breathing room.
Step 2: Place two anchors, then build around them
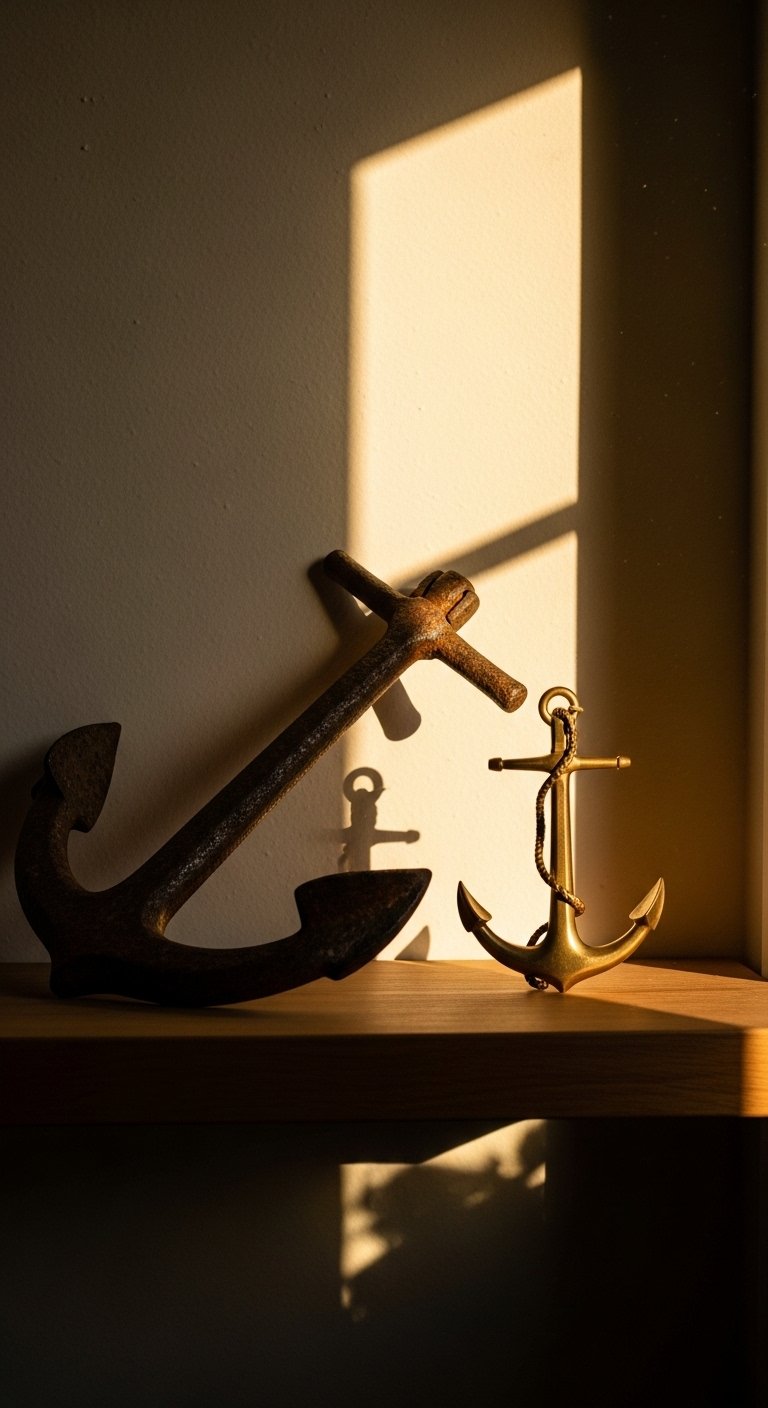
Most people start with the biggest item. I used to do the same and end up with lopsided shelves. Start with two anchors, one taller and one wider. The taller piece should take roughly two thirds of the shelf height, the wider one about one third of the shelf width. In my kitchen I used a matte white ceramic vase and a stack of horizontal cookbooks as anchors.
Anchors give scale and make everything else look intentional. If you only place small things first, the shelf reads like a collection of clutter.
Step 3: Group small things into sets and use a tray to tame them
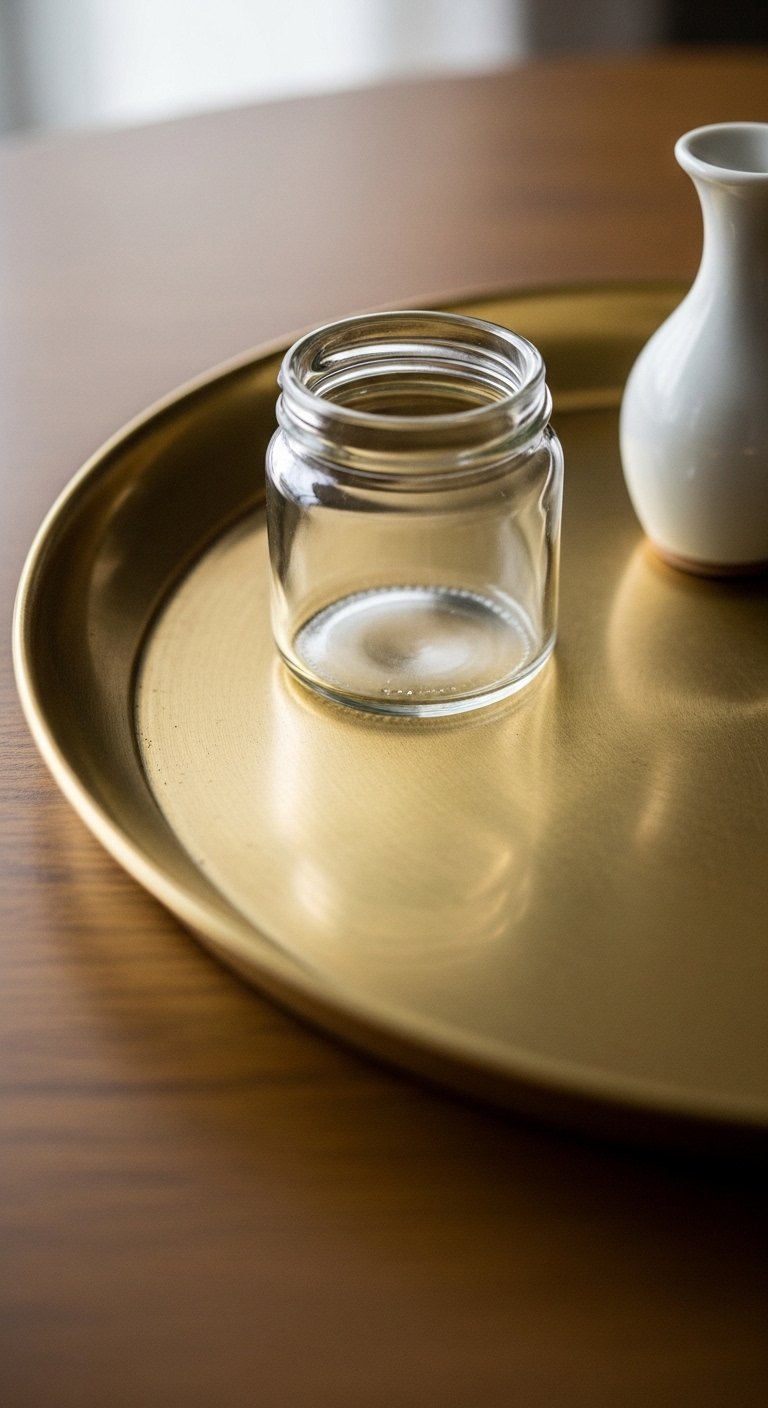
This is the step where it starts to actually look styled instead of cluttered. Small items belong in groups of three or five, not scattered singly. I group mismatched jars and a teaspoon on a 10-inch brass tray so they read as one object. Leave 2 to 3 inches between item groups so the eye can move.
A tray adds edge and a tactile contrast to ceramic and wood. The smooth brass is warm in the hand, the glass jars feel cool and solid. My first version had loose jars everywhere. Trays fixed that chaos.
Step 4: Add living color and low-maintenance texture
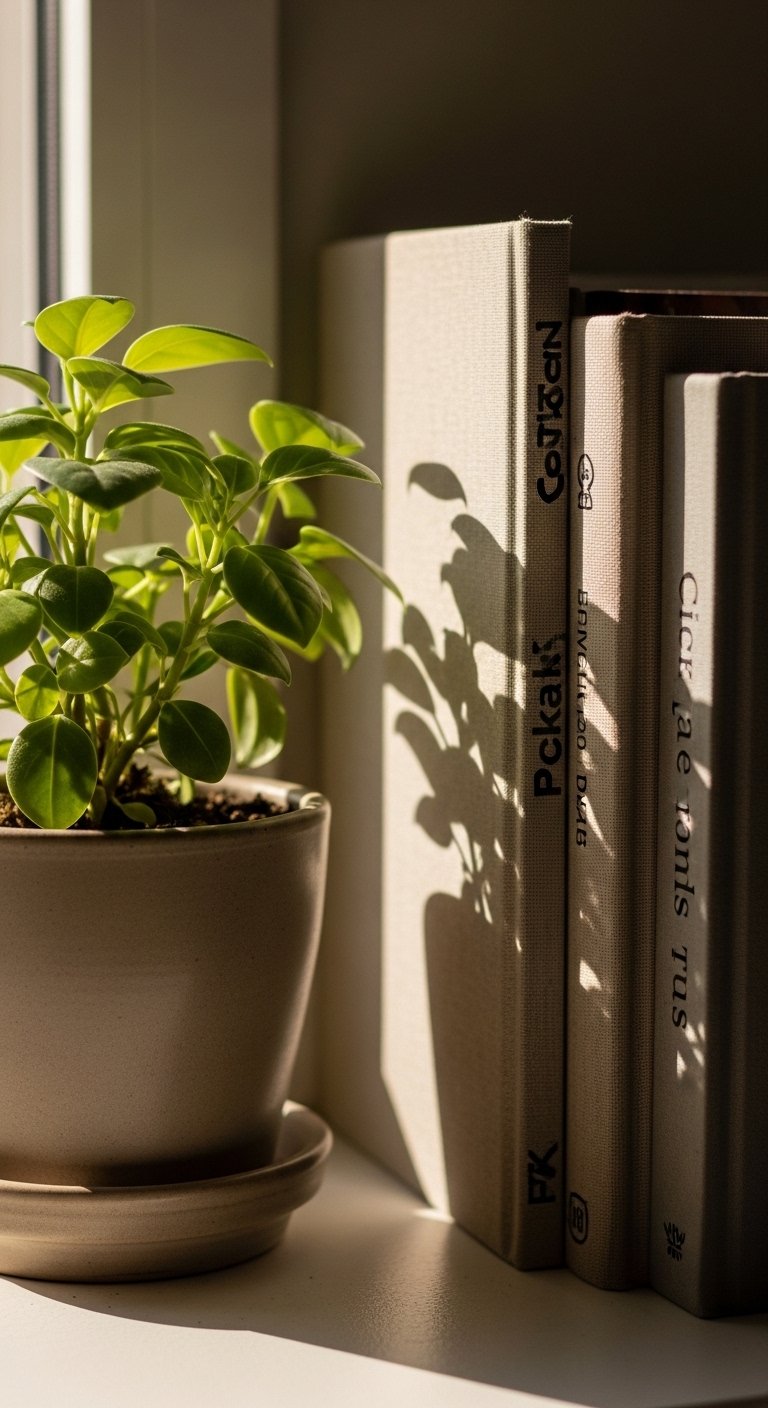
This part feels wrong while you are doing it. Plants and books breathe life into the shelf, but pick versions that work with your day-to-day. I use a small faux plant in a matte terracotta pot where light is limited, and a couple of linen-wrapped cookbooks stacked horizontally. The linen cover is slightly nubby and soft to touch, it cuts the gloss of ceramic.
Place greenery on the opposite side of a tall anchor to balance vertical weight. If you have light, choose a low-water real plant. If not, a realistic faux keeps the shelf fresh with zero maintenance.
Step 5: Live with it, edit after a week, and resist the urge to fill gaps
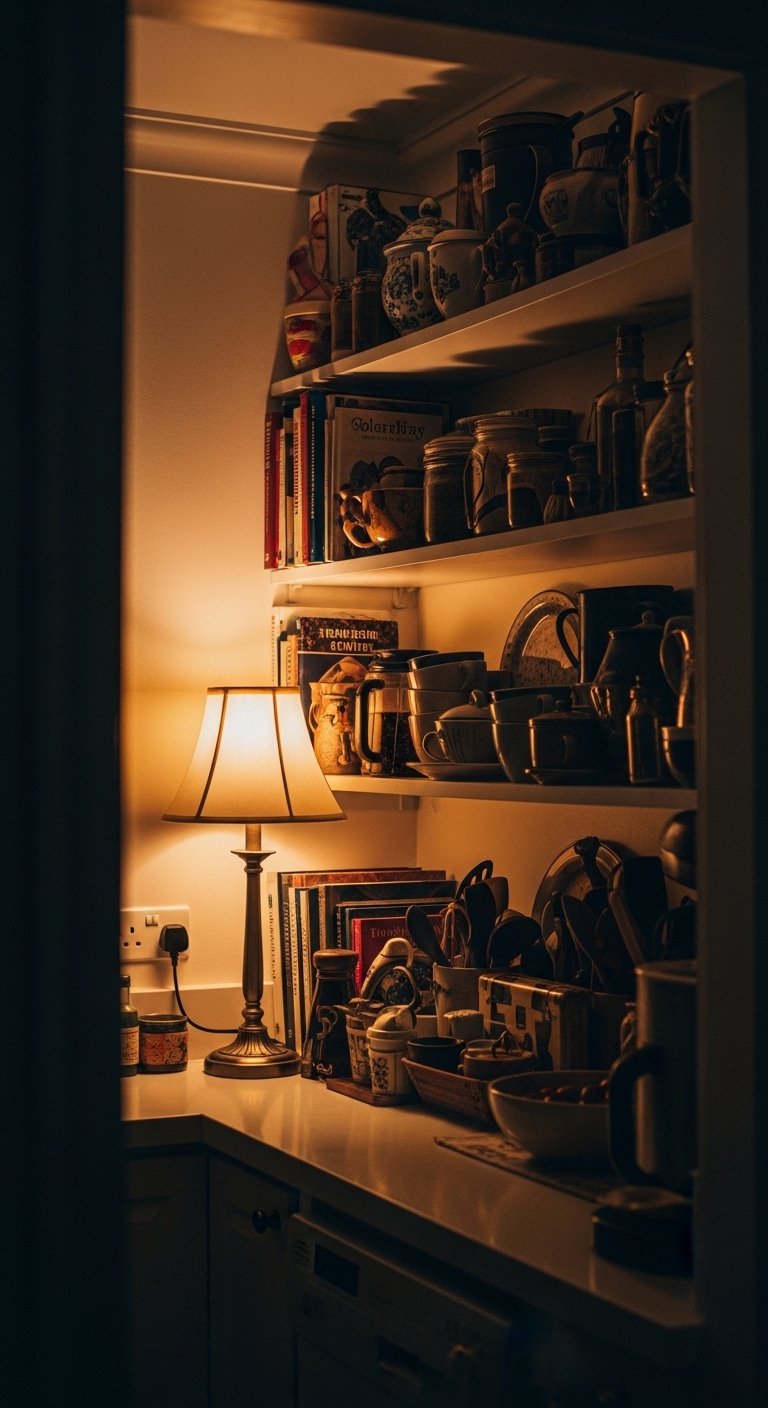
I almost skipped this part. Glad I did not. Give the shelf a week and notice what you actually use and what collects dust. The most common mistake is adding things to fill gaps right away. Instead, make one small change every few days. Move a jar, swap a mug, or remove an object you never touch.
If something still feels off, try the 1:2:3 height progression rule for a grouping, or shift a grouping 2 to 4 inches left or right. Little edits like that quiet the shelf, and you will feel the calm come back.
Your Shelf Styling Checklist
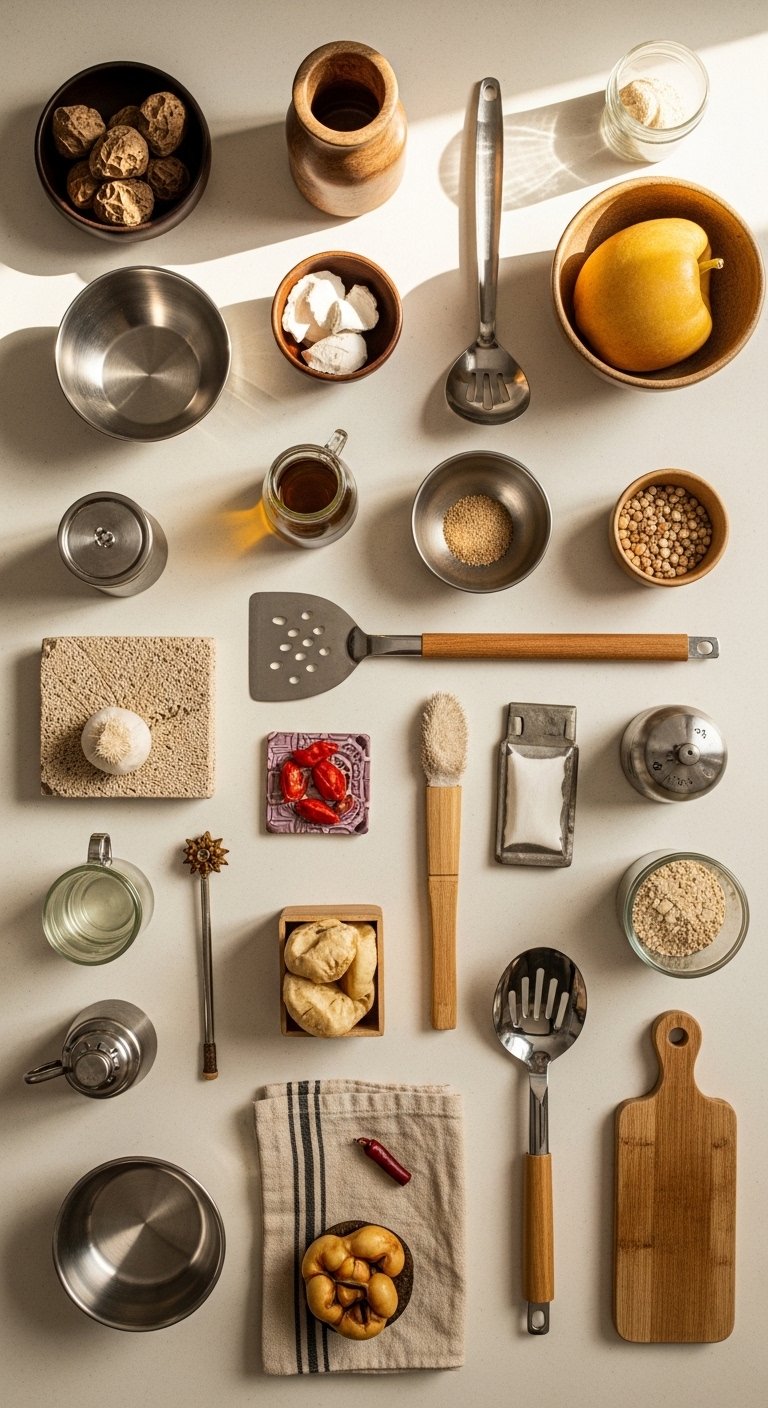
- Matte white ceramic vase set, 3 pieces, heights 8/10/12 inches ($25-40). Used as the tall anchor in Step 2.
- Brass tray, 10-inch round, polished finish ($18-30). For grouping small items in Step 3.
- Linen storage box, 12x9x4 inches, natural ($20-35). For things you want nearby but not on display, mentioned in Step 1.
- Small faux potted plant, 8-inch, matte terracotta pot ($12-22). A low-light green option from Step 4.
- Cookbook stack riser, walnut, 11×7 inches ($20-45). For horizontal anchors in Step 2 and Step 4.
- Woven rattan basket, 12x10x8 inches, natural fibers ($25-50). Good under-shelf storage noted in Step 1.
- Glass storage jar with cork lid, 16 oz ($8-15). For grouped pantry items on a tray in Step 3.
Why Your Shelves Still Look Cluttered After Styling
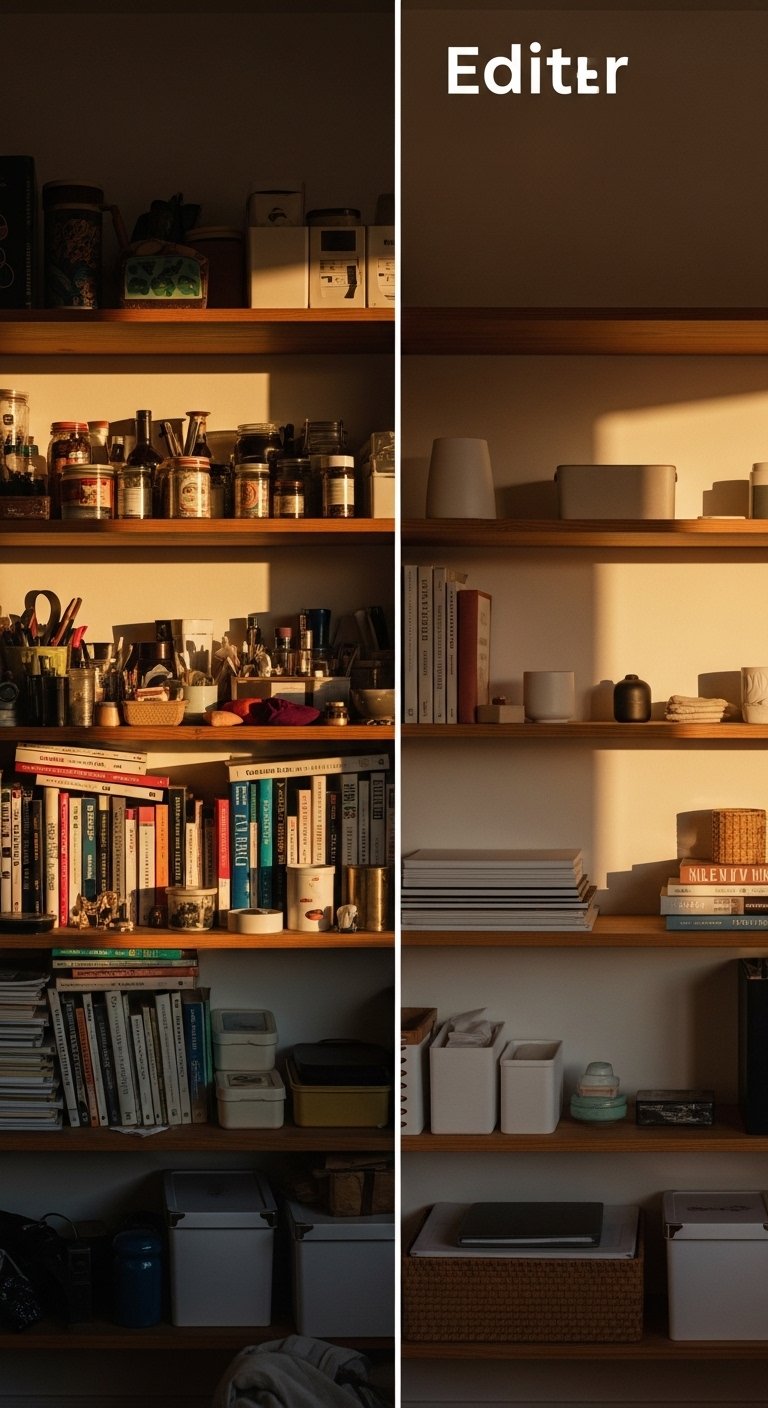
If your shelves still feel cluttered it is usually one of three things. First, too many small objects without a shared base. Trays fix that. Second, mismatched scale. If everything is the same height, the eye has no place to rest. Third, fear of empty space. You will want to add more, do not.
I tried matching every mug color once and it created a monotone mess. What helps is a repeated material, like ceramic or glass, used in two places only. That repetition gives cohesion without matchy-matchy fatigue.
Making This Work in a Small Kitchen
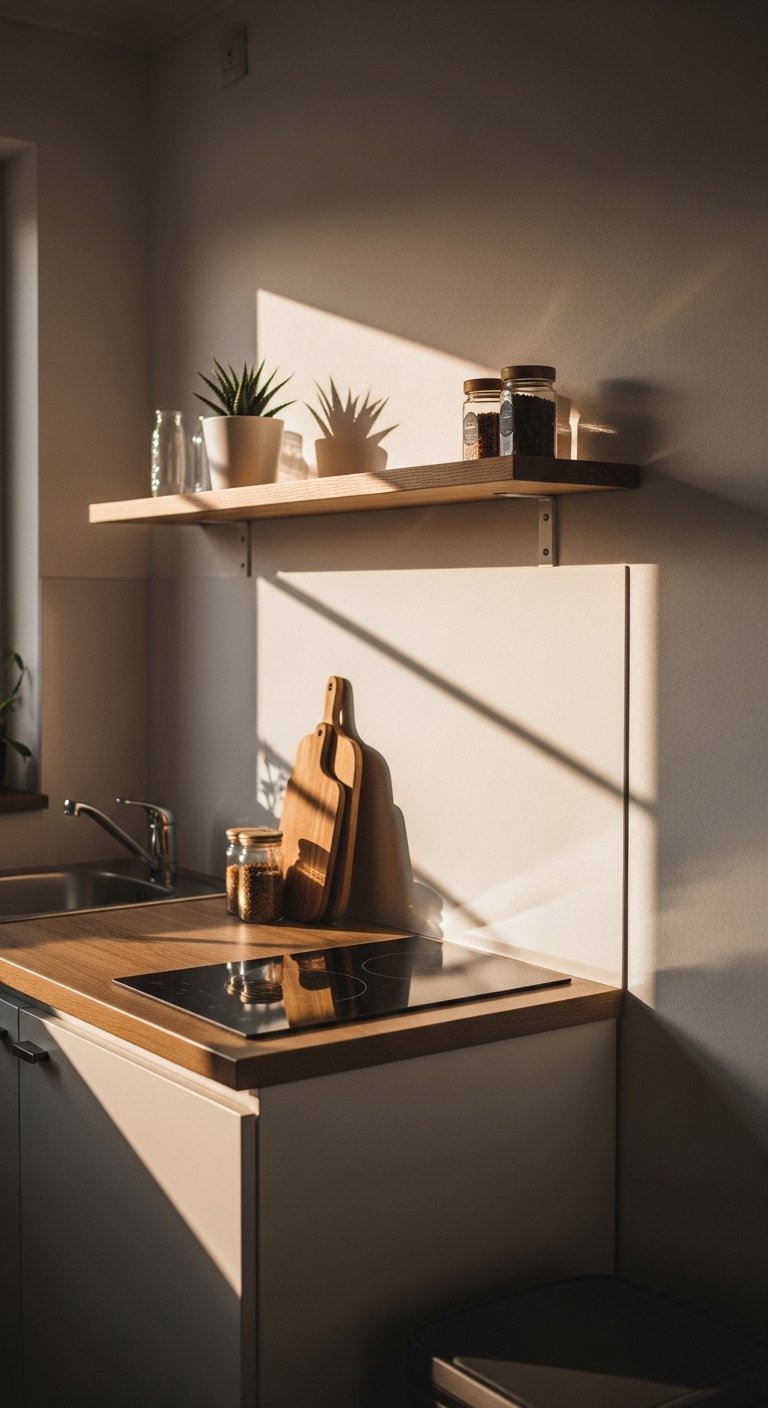
Small shelves need fewer, not smaller, pieces. Try these moves:
- Use a single anchor and one small group. Less is more in tight spaces.
- Put functional items on display. A pretty olive oil bottle or mortar and pestle earns its place.
- Stack cookbooks horizontally to act as a visual shelf, taking up less vertical space.
- Keep a single tray no larger than half the shelf depth to avoid a crowded look.
One practical note, if you have curious pets, skip fragile items on lower shelves.
How the Shelf Holds Up After a Week with Real Life
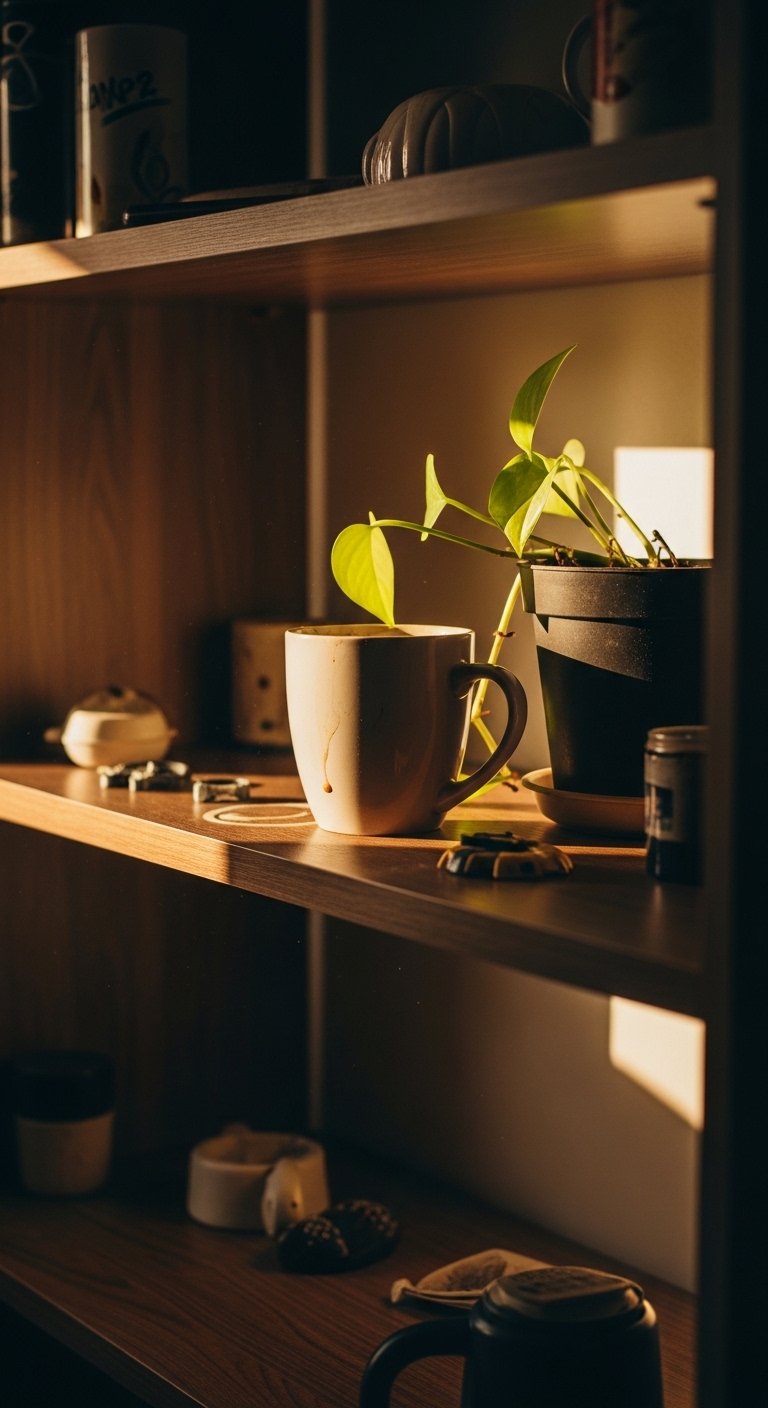
After a week you will see wear spots. My roommate moved a mug twice and the plant leaned toward the light. Those small changes told me which items were purely decorative and which were part of daily life. I moved high-use mugs to a lower cabinet and kept the shelf for prettier, lighter items.
If kids or a dog are involved, put breakables higher or replace them with tactile, unbreakable pieces like a wooden bowl. The goal is a shelf that lives with you, not a fragile photo prop.
The First Shelf Is the Hardest
Start with one shelf and treat it like a small composition. Choose two anchors, add a tray group, and leave 30 to 40 percent empty space. That one shelf will teach you how much to keep or remove.
Begin with an affordable anchor, like a single ceramic vase from the checklist. Edit over a week, and you will be surprised how calm the kitchen suddenly feels.

