

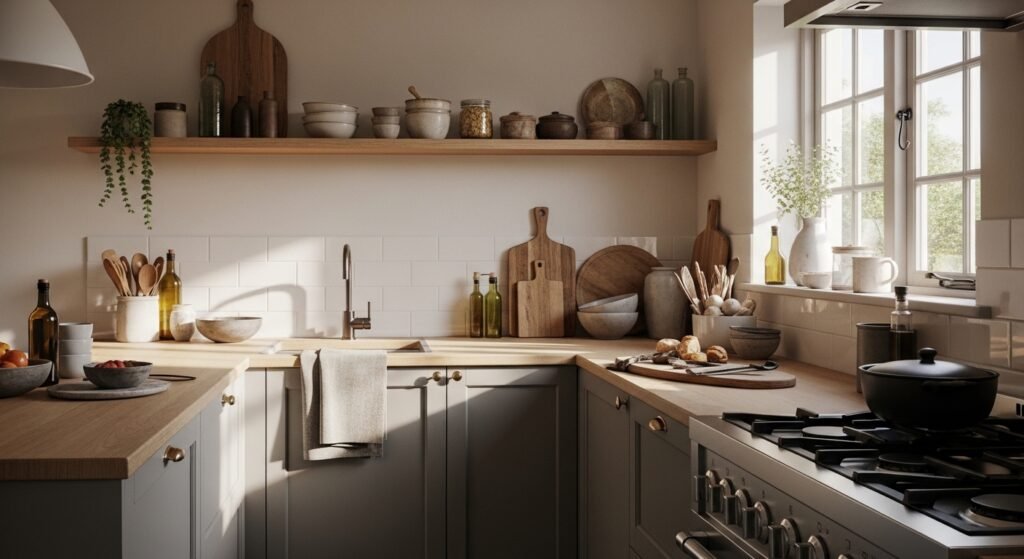
My counters used to feel like a yard sale. Coffee maker, soap, a sad basil plant, and the mail all fighting for space. Everything I added looked like an apology, crammed into the edges because I was afraid of empty surface.
I tried filling the whole run to look "designed." It read like clutter. The moment that clicked for me was when I pulled everything off and left a single marble tray and a cutting board. The space suddenly looked like it belonged to someone, not something.
After three tries that looked wrong, I learned a small set of moves that make a countertop feel tidy and lived-in at the same time.
Step 1: Edit Everything, Leave About 60% Clear
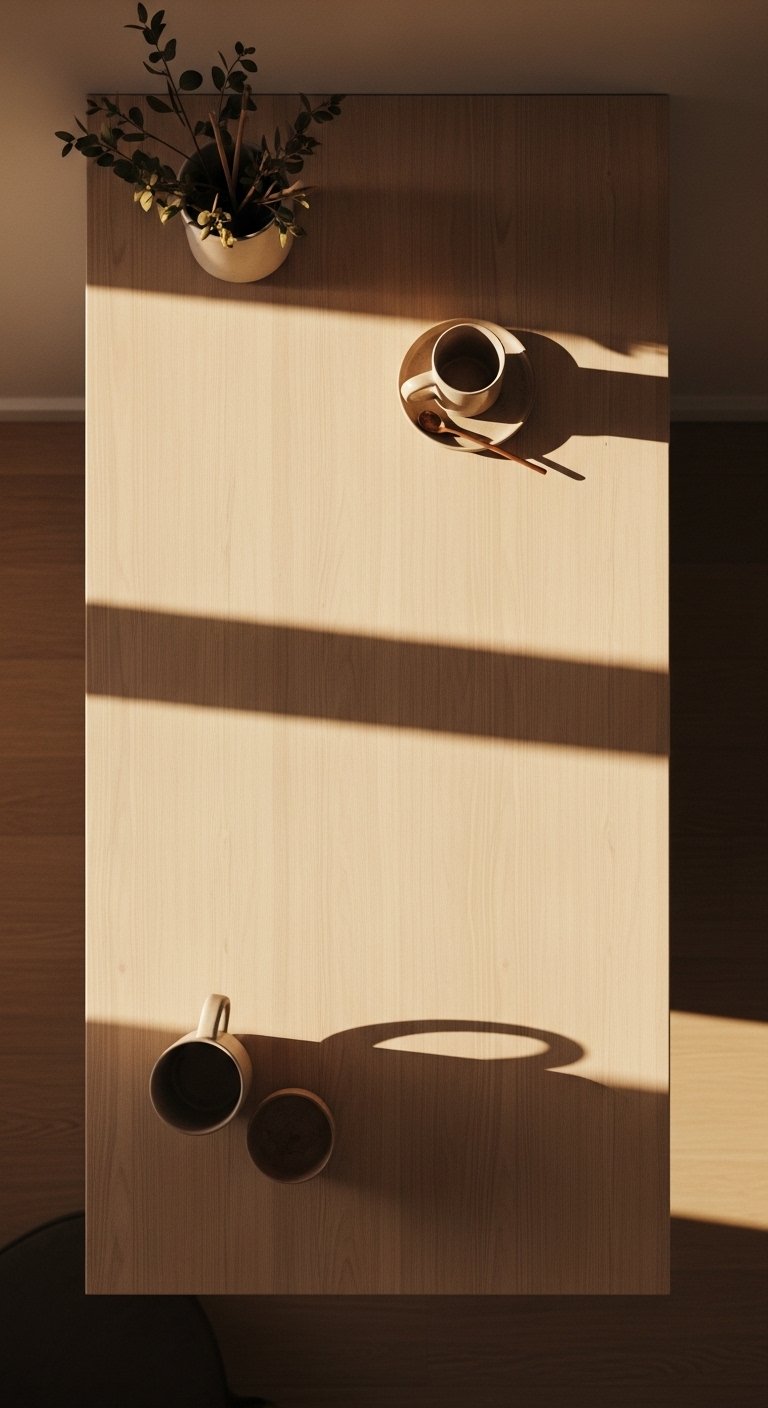
Start by removing everything. Yes, everything. When I did that the first time I panicked. The counter looked embarrassingly empty, but that emptiness is the point. Aim to leave about 60 percent of your visible countertop free. That gives each remaining object breathing room so it reads as chosen, not leftover.
Sort the removed items into daily use, occasional, and toss/donate. Keep daily items only. Visually group the daily things into one station, not spread across the whole run. This step fixes the common mistake of treating the counter like a catchall, and it gives you space to see how much you actually need.
Step 2: Place a Single Large Anchor Item
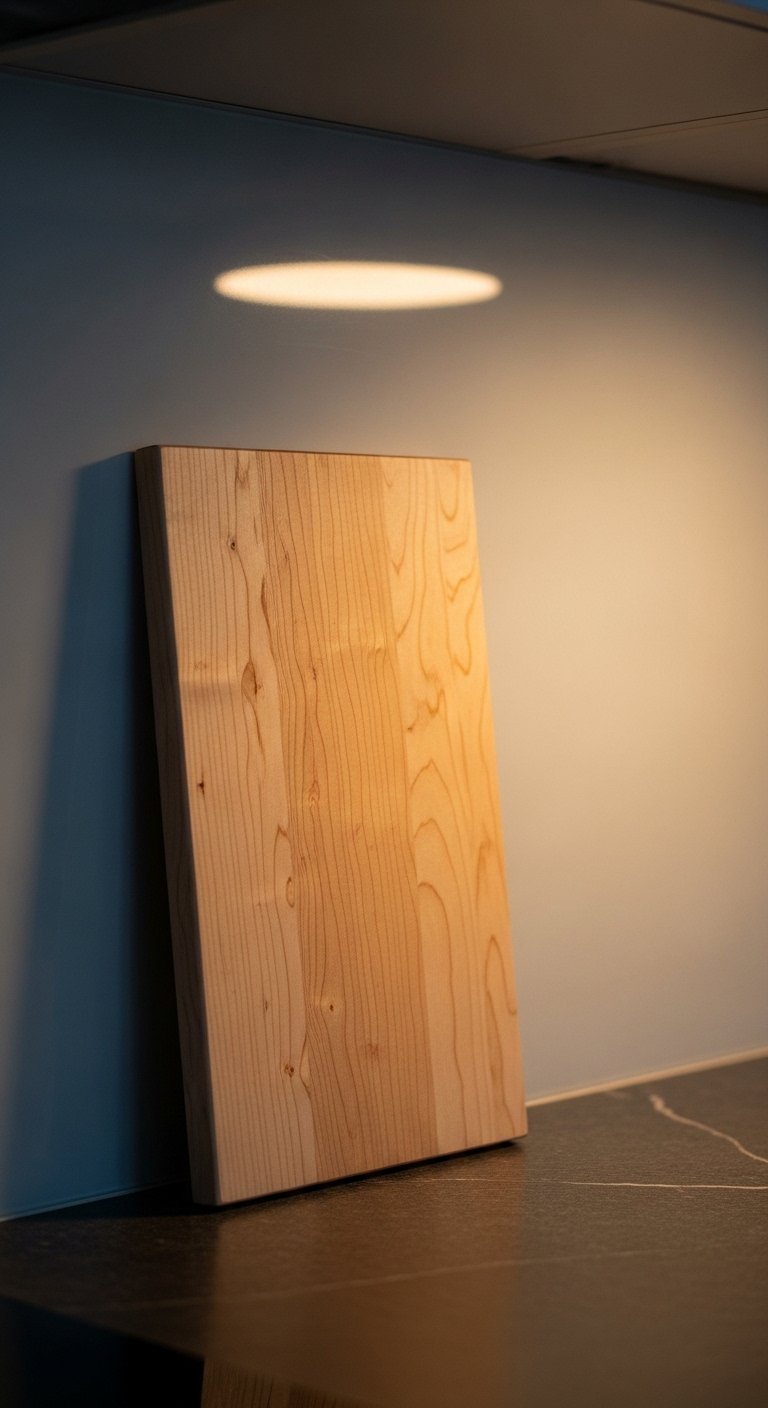
Most people start with small decorative pieces. I did this too and everything looked tiny and nervous. Instead, choose one large anchor about 12 to 16 inches tall and place it near the area you use most. I use a tall wooden cutting board next to the stove. It has presence, a warm, slightly rough grain you can feel when you move it, and it makes the rest of the setup feel intentional.
This one move replaces the "random knickknack" mistake and gives your eye a resting place. If you prefer a vase, pick one with a smooth, cool ceramic finish to contrast the wood.
Step 3: Group in Odds with Height Variation of 6 to 12 Inches
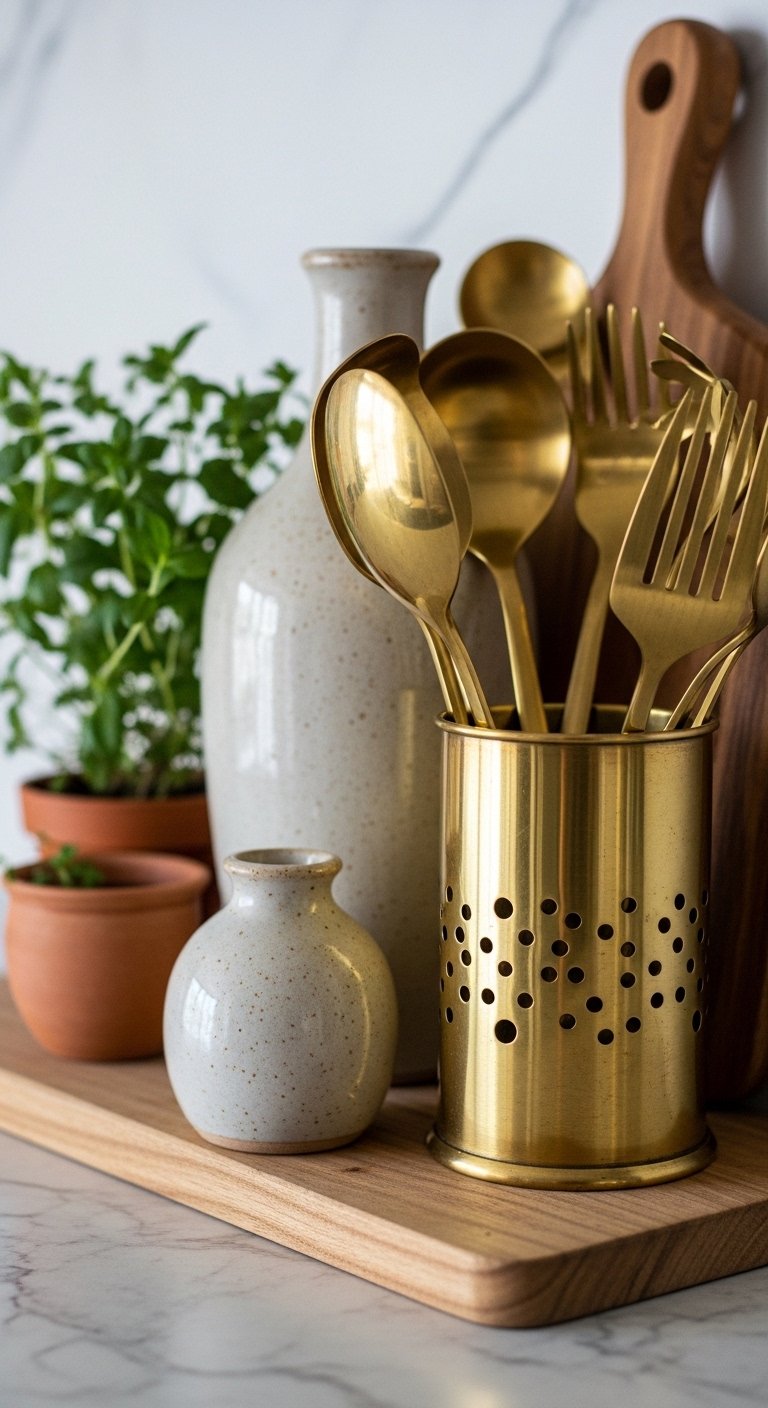
This is where it starts to look like styling instead of dumping. Group three or five items together rather than spacing single things all over. Make the heights step by roughly 6 to 12 inches apart. For example, a 14-inch vase, a 6-inch herb pot, and a 10-inch brass utensil cup reads balanced.
Texture matters here. Pair a cool matte ceramic with a warm brass holder and a rough wooden board so your hand notices the difference. One mistake I made was matching finishes too closely. It looked flat in real life. Mixing materials gives depth you can feel.
Step 4: Add a Functional Softening Layer with Textiles and a Plant
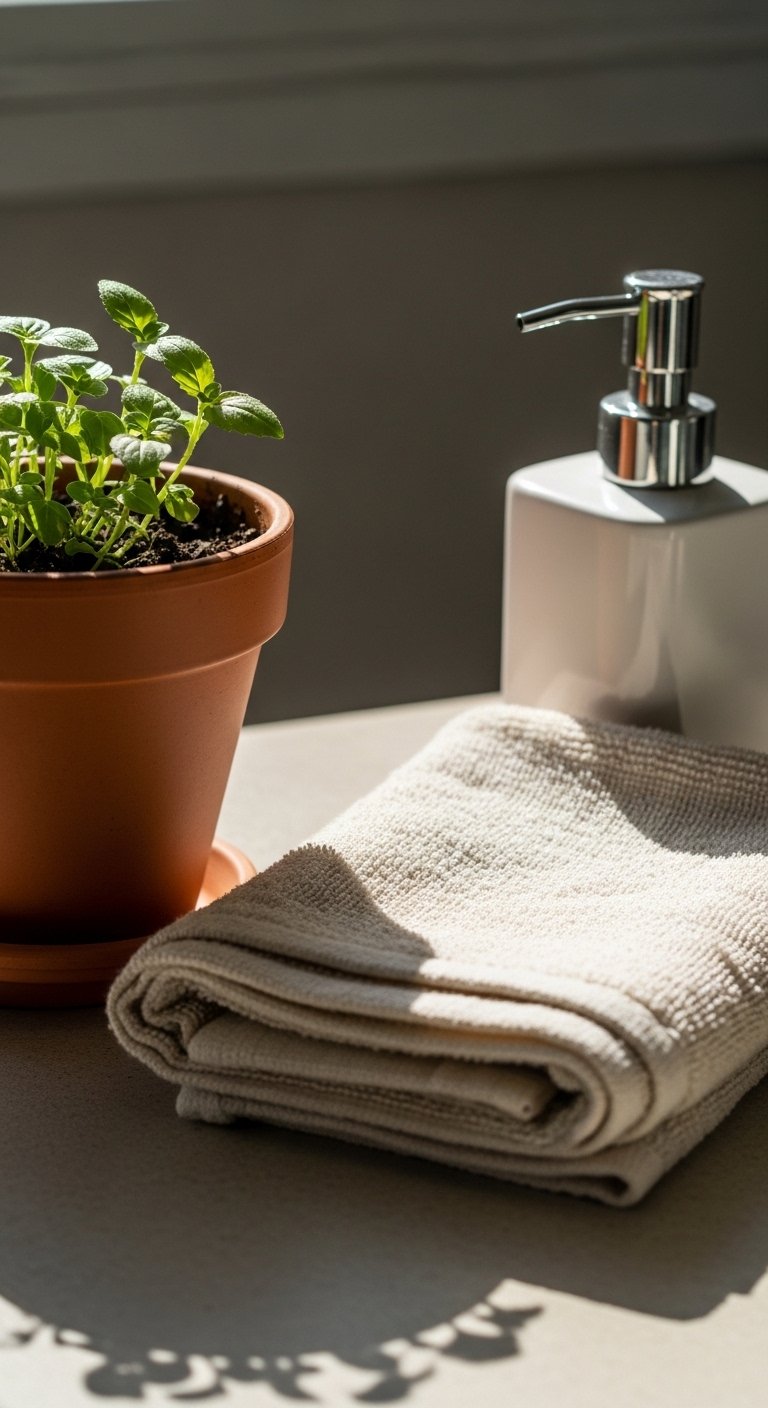
Soft elements make the counter feel lived-in and usable. Fold a linen hand towel, about 16 by 26 inches, and drape it nearby or tuck it under a tray. Add a small herb pot, around 4 inches wide, for scent and a green flash. If you have pets that dig, either secure the pot or use a faux herb with a matte finish.
One time I over-planted and it turned the counter into a jungle. Another time I skipped textiles and the area felt cold and slippery to the touch. The towel and plant solve both problems while staying functional.
Step 5: Designate One Functional Work Zone and Keep 18 to 24 Inches Clear
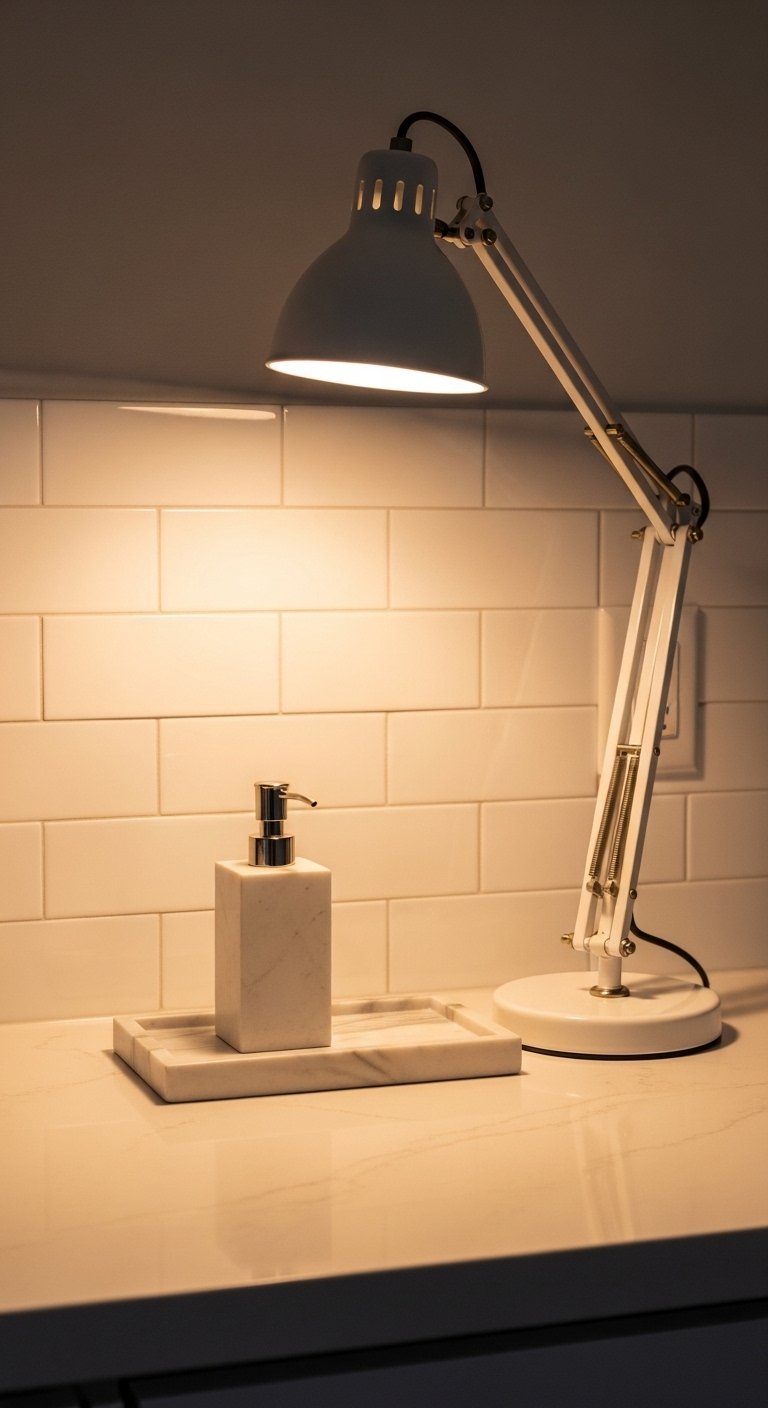
You want your counter to be pretty, but you also need to cook. Designate one clear work zone and leave 18 to 24 inches of uninterrupted space for chopping or plating. Use a low tray, about 12 by 8 inches, to corral soap, a small sponge, and a hand lotion. This keeps necessary clutter confined and makes cleanup easier.
My first styled counters were useless because I did not test the flow. After a week of real use, I adjusted placement so the empty workspace matched how I actually move. That made the styling survive daily life.
Your Kitchen Countertop Checklist
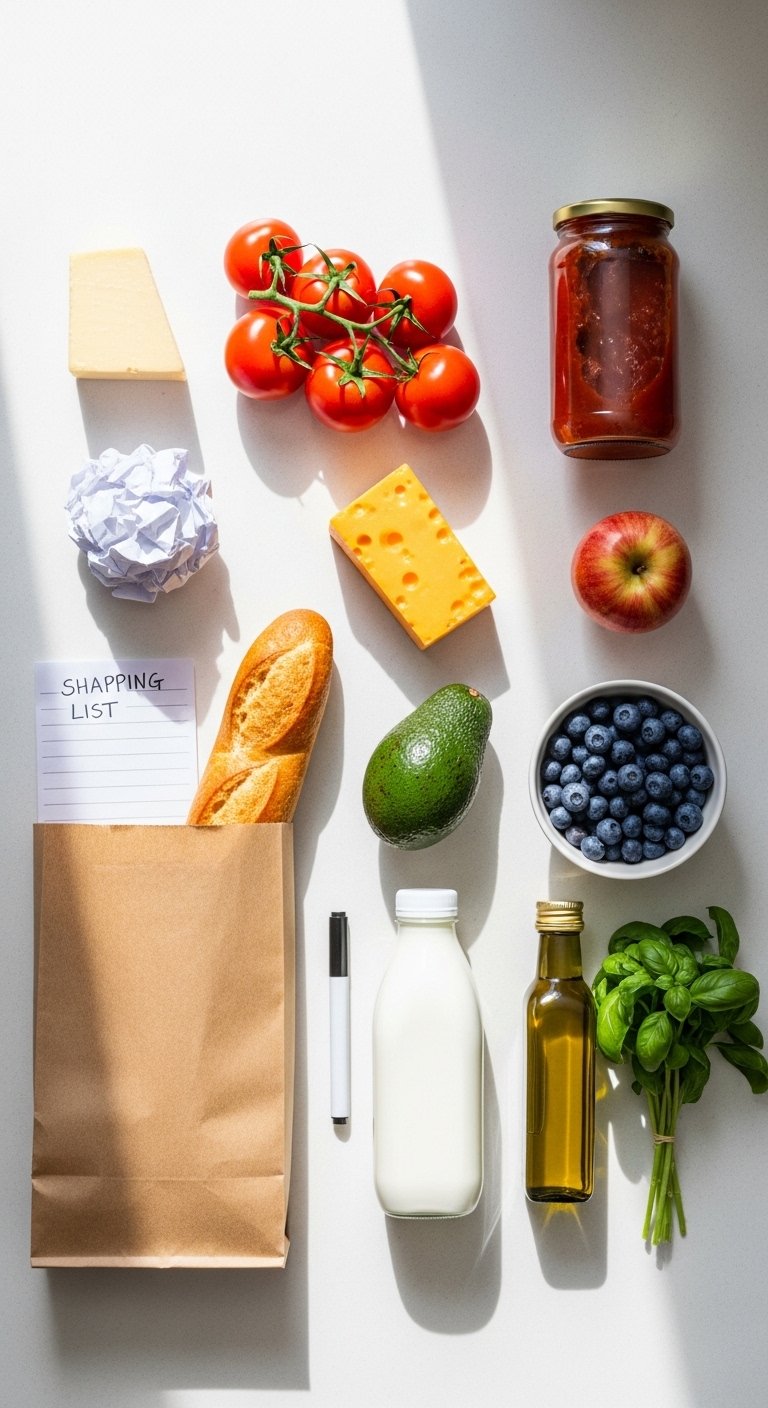
- Marble tray, 12×8 inches, white marble ($25-45). For Step 5, this keeps soap and sponges tidy. Similar at HomeGoods.
- Wooden cutting board, 16×10 inches, walnut ($35-70). Use it as the anchor in Step 2.
- Ceramic vase set, matte white, 8 and 14 inches ($20-35). For the grouped heights in Step 3.
- Brass utensil holder, 5 inch diameter ($18-30). Adds warm metallic texture in Step 3.
- Small herb pot, 4 inch, terracotta ($8-15). For Step 4, real or faux depending on pets.
- Linen hand towel, 16×26 inches, natural linen ($12-25). Soft layer in Step 4.
- Soap dispenser, matte ceramic, 12 oz ($15-30). Part of the functional station in Step 5.
- Cookbook stand, foldable, wood ($20-40). Optional display near the stove in Step 2.
Why Counters Still Look Cluttered After Styling

Often the issue is distribution, not item count. People spread essentials across the whole run. Consolidate into one station and an anchor group. Another common error is using too many matching finishes. If everything is stainless steel it flattens the scene. Finally, neglecting scale is frequent. Tiny items on a big counter read lost. Use one 12 to 16 inch anchor and build around it.
Quick checklist to fix clutter: remove, choose one anchor, group in odds, add one soft textile, leave 18 to 24 inches clear.
Making This Work in a Small Kitchen
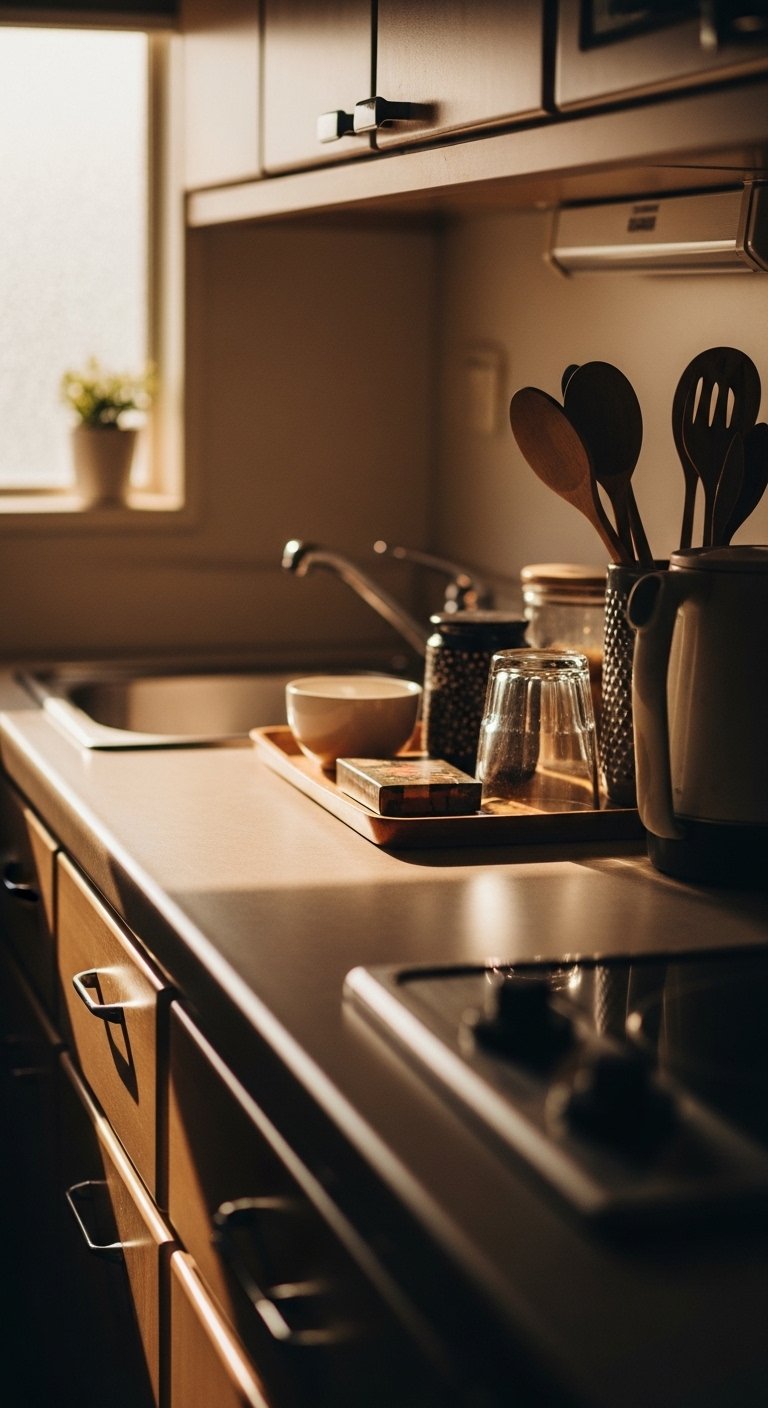
Small kitchens demand stricter editing. Aim to leave at least 50 percent clear rather than 60 percent. Use shallow trays, about 10 to 8 inches, and choose anchors under 12 inches so they do not overwhelm. Wall-mounted solutions are your friend. Move the coffee machine to a lower shelf if you can, and keep only the items you use daily on the countertop.
I tried scaling down by simply buying smaller items and that only hid the problem. The better fix was removing the nonessentials and testing the workflow for a few days.
What This Looks Like After a Week with Kids and a Dog
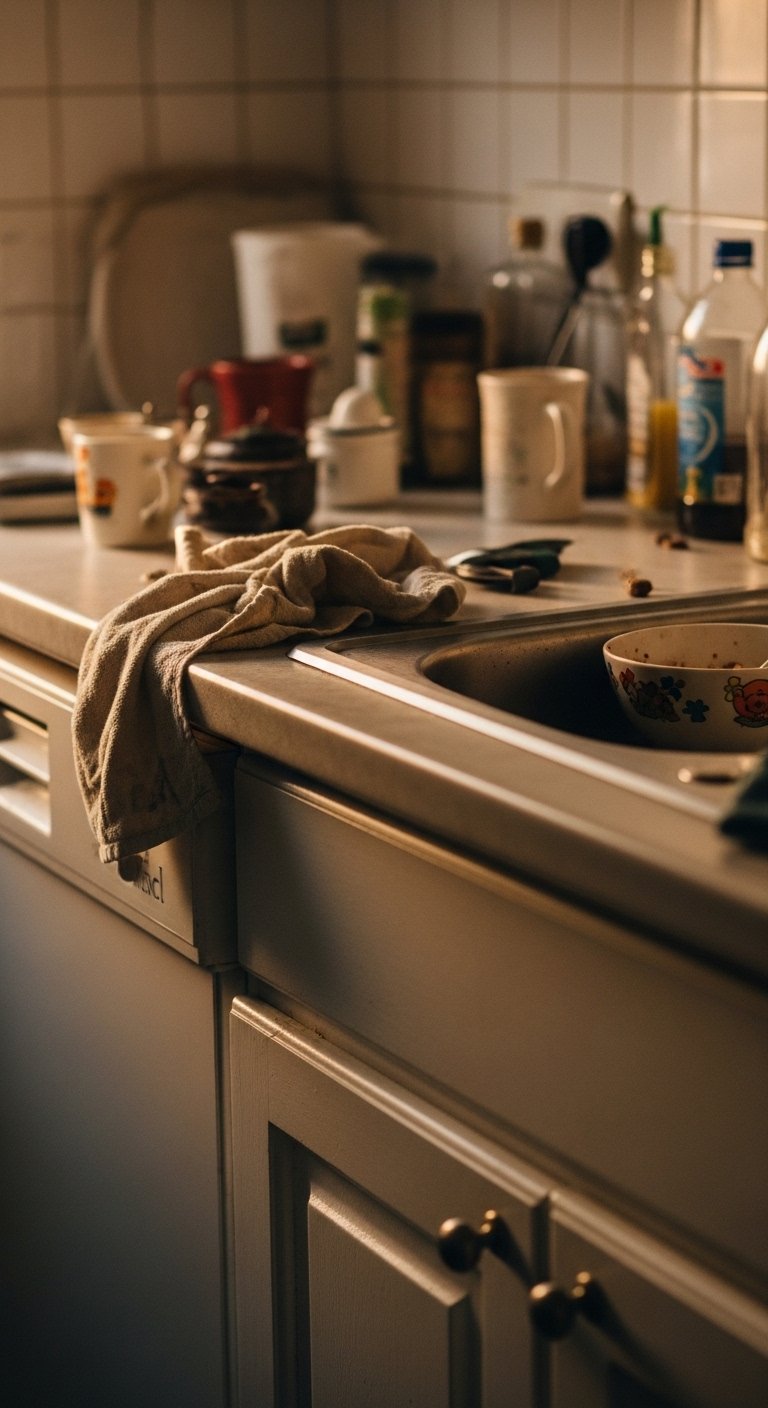
Real life will mess with styling. Expect the towel to be used, the herb to be trimmed, and the tray to get water spots. After a week I noticed fingerprints on the brass and a toy near the prep zone. Small fixes: keep a microfiber cloth in a drawer, swap brass for a brushed finish if fingerprints bother you, and raise fragile items by a couple of inches.
If you have kids or pets, lower or secure breakable anchors, and consider faux greenery. My roommate knocked over a vase twice before we moved it slightly back. It stayed styled and intact after that.
Start with One Counter Corner
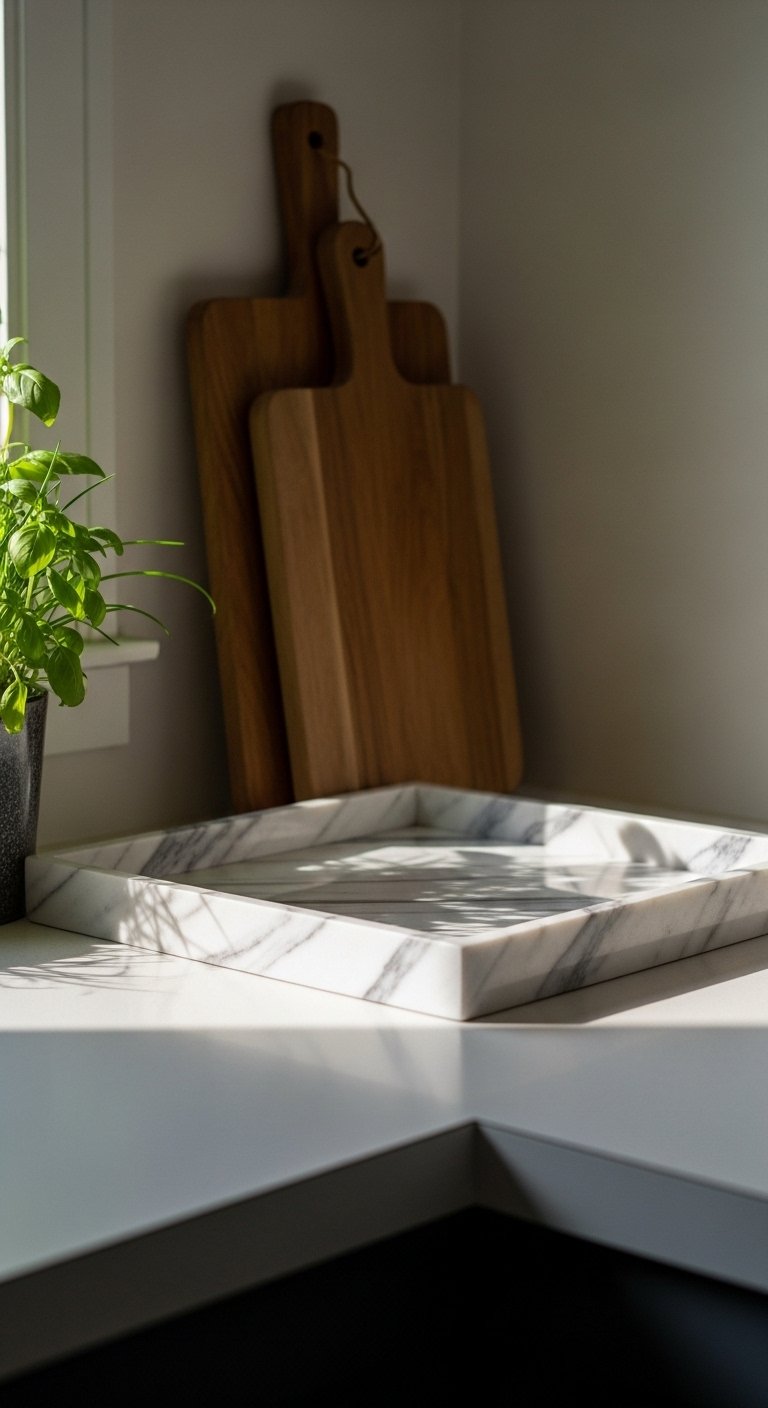
Pick one corner and style only that area today. Use a marble tray, 12×8 inches to corral the small daily items. Leave the rest clear and live with it for a week.
You will notice what actually gets used and what is just decoration. That little experiment saved me from redoing the whole kitchen. Start small, adjust after real use, and the countertop will begin to feel calm and useful.

