

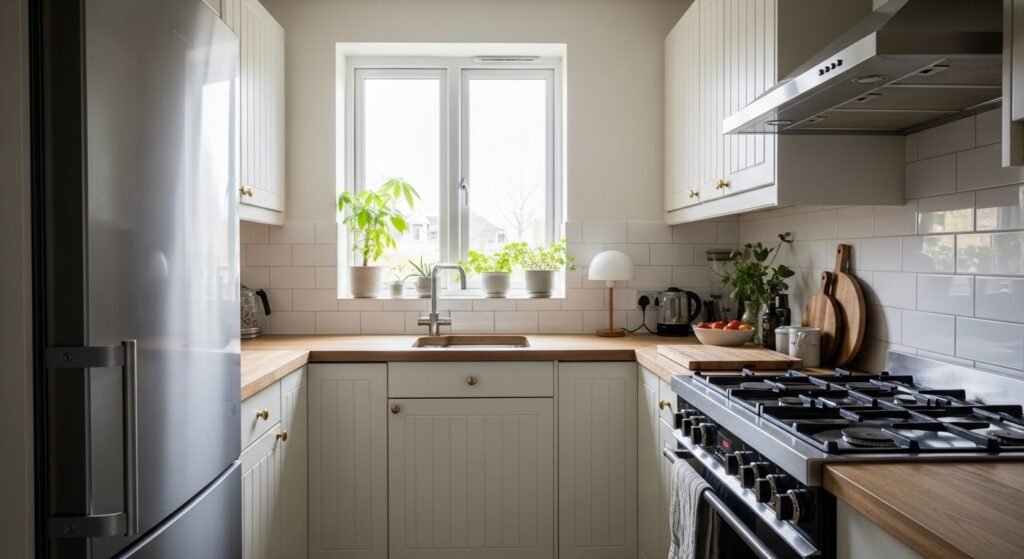
I hate when a kitchen corner looks like an afterthought. I’ve stood in many kitchens, staring at an empty stretch of counter that made the whole room feel unfinished and cold.
I learned to treat corners like small rooms. A few deliberate pieces and a clear purpose turn awkward space into a moment that feels calm and lived-in.
How to Decorate a Kitchen Corner That Feels Intentional
This is the method I use every time a corner feels unfinished. I’ll show how I pick a single purpose, anchor it with scale, and layer texture and function so the spot reads as part of the room. The end result feels organic-modern and quietly intentional—not crowded or staged.
What You'll Need
- Tall faux fiddle leaf fig, 5–6 ft, in ceramic pot (~$60–140)
- Hand-carved acacia wood cutting board, 18×12 (~$25–60)
- Glazed ceramic utensil jar, cream (~$20–40)
- Woven seagrass storage basket, medium (~$25–50)
- Plug-in task lamp with fabric shade, brass finish (~$50–120)
- Set of two framed kitchen prints, 8×10, neutral botanical (~$25–45)
- Round rattan tray, 14-inch (~$18–35)
- Ceramic spice jars with wooden lids, set of 4 (~$20–40)
Step 1: Decide the corner’s single purpose
I always start by naming the corner’s job: extra prep, coffee station, or display. Saying it out loud keeps me from cluttering the space with unrelated things. The visual change is immediate—when I commit to one role, every piece I add feels meaningful.
People miss how much a declared purpose simplifies choices. A common mistake is mixing two strong purposes (like prep and storage) so nothing reads clearly. I avoid that by testing the corner for a day or two before buying anything.
Step 2: Anchor with something tall and calm
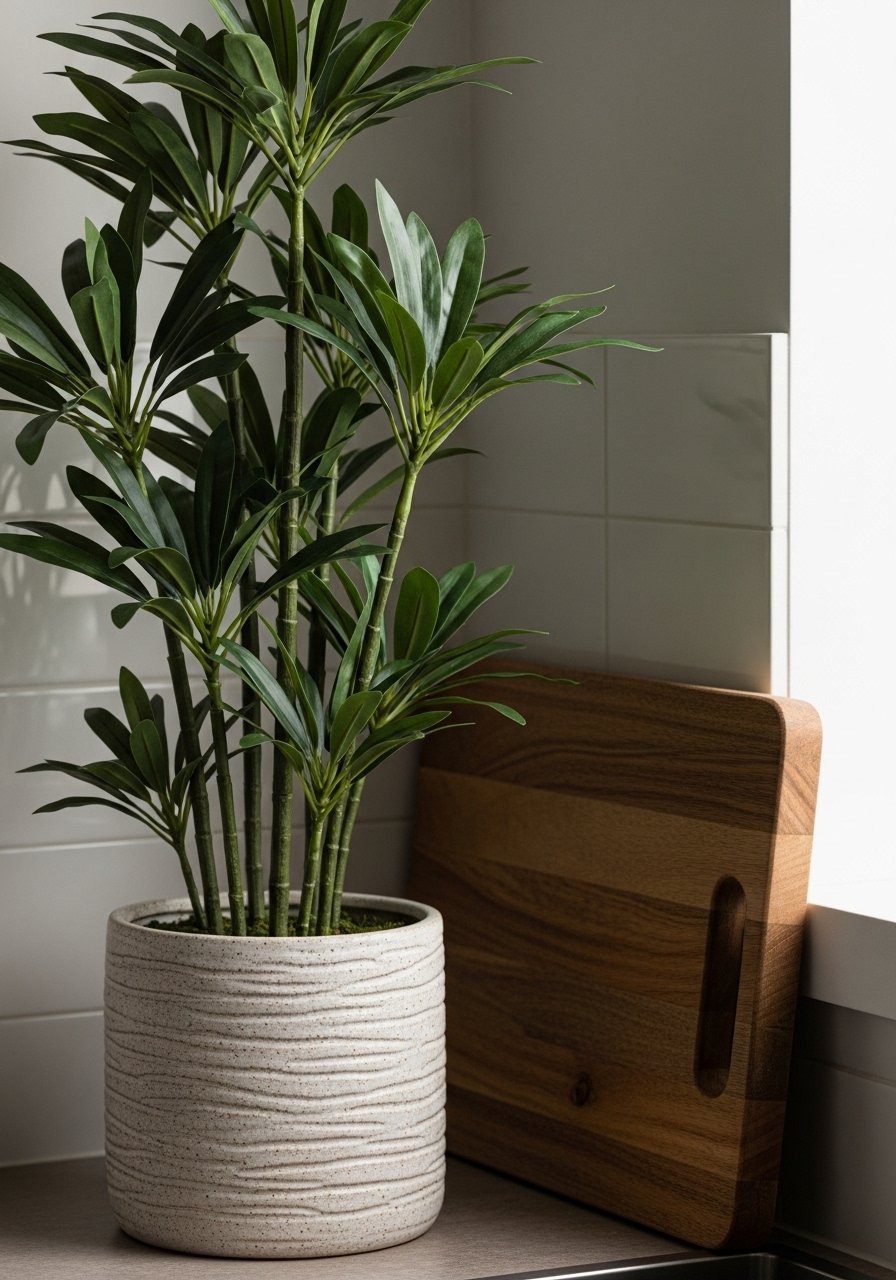
I anchor the corner with height—a plant or a lamp gives the eye a resting point. I often use a tall faux fiddle leaf fig or a plug-in task lamp to create vertical balance. The corner instantly feels intentional rather than scattered.
People underestimate scale; a tiny object gets lost. The mistake I see is picking decor that’s too small for the corner, which makes the rest of the counter look cluttered. I test by placing the piece and stepping back to see if it reads from across the room.
Step 3: Layer vertical pieces for rhythm
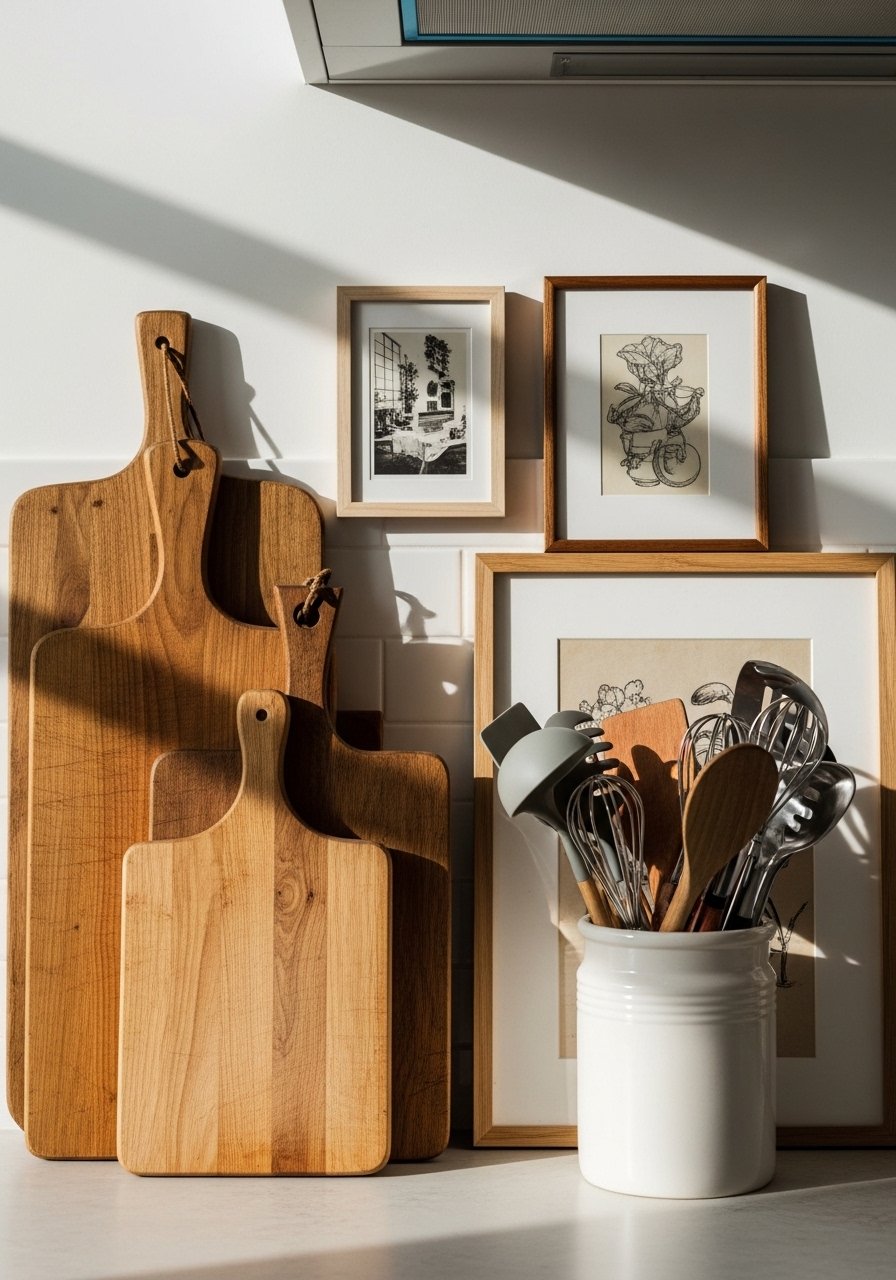
After an anchor, I add vertical layers: a tall cutting board leaning behind a framed print or a slim art piece. I like the warmth of an acacia cutting board and a neutral botanical print together. This creates a rhythm without crowding the counter.
One insight I learned is to vary materials—wood against ceramic against framed paper keeps the eye moving. A small mistake is centering everything; slightly off-center placement feels more relaxed and lived-in.
Step 4: Add functional accents that look curated
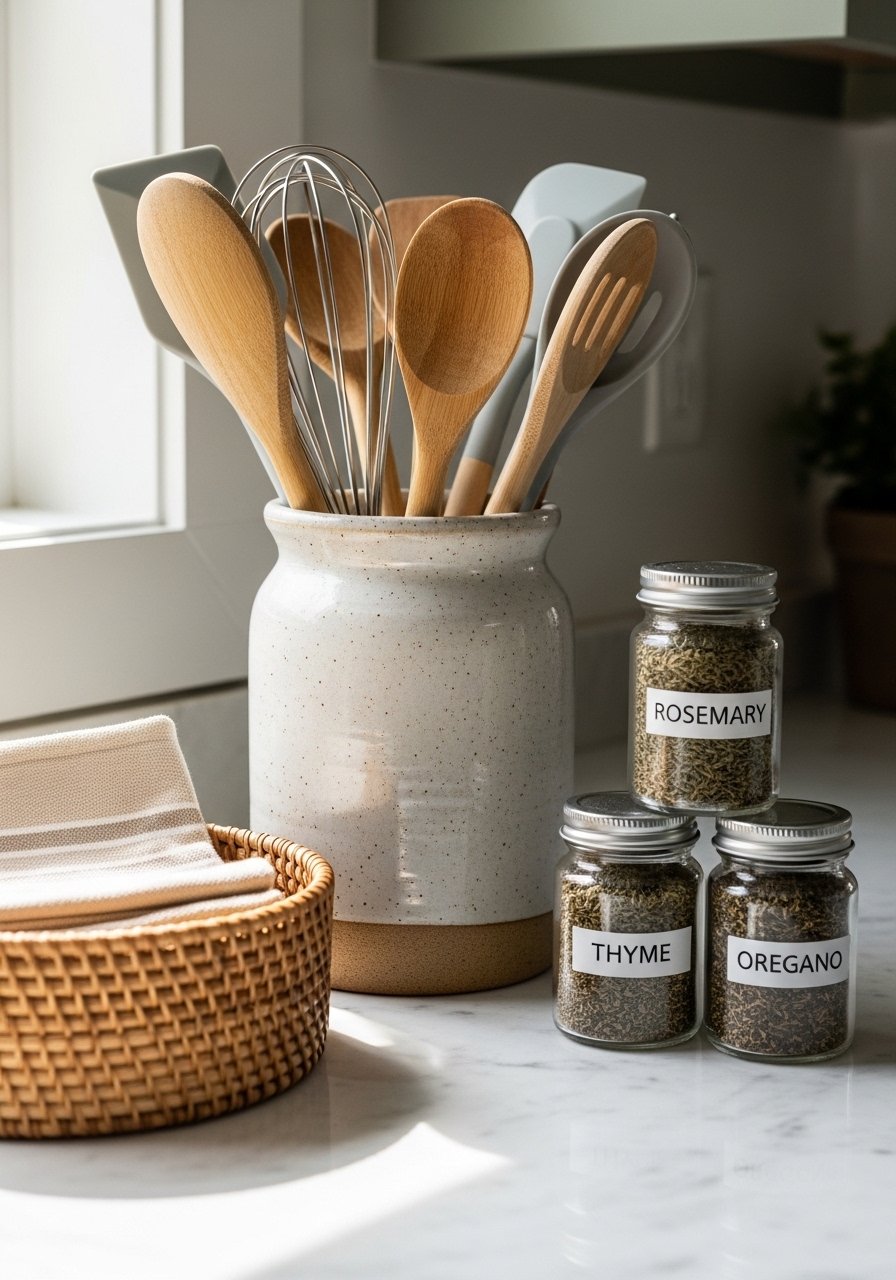
I choose functional accents that also look good—like a glazed utensil jar, ceramic spice jars, and a woven basket for napkins. These items make the corner useful and visually cohesive. I place the utensil jar near the prep zone and the basket where hands naturally reach.
People often treat function and style separately. I combine them so every item earns its spot. A common mistake is overfilling containers; leaving a little negative space keeps the arrangement feeling calm.
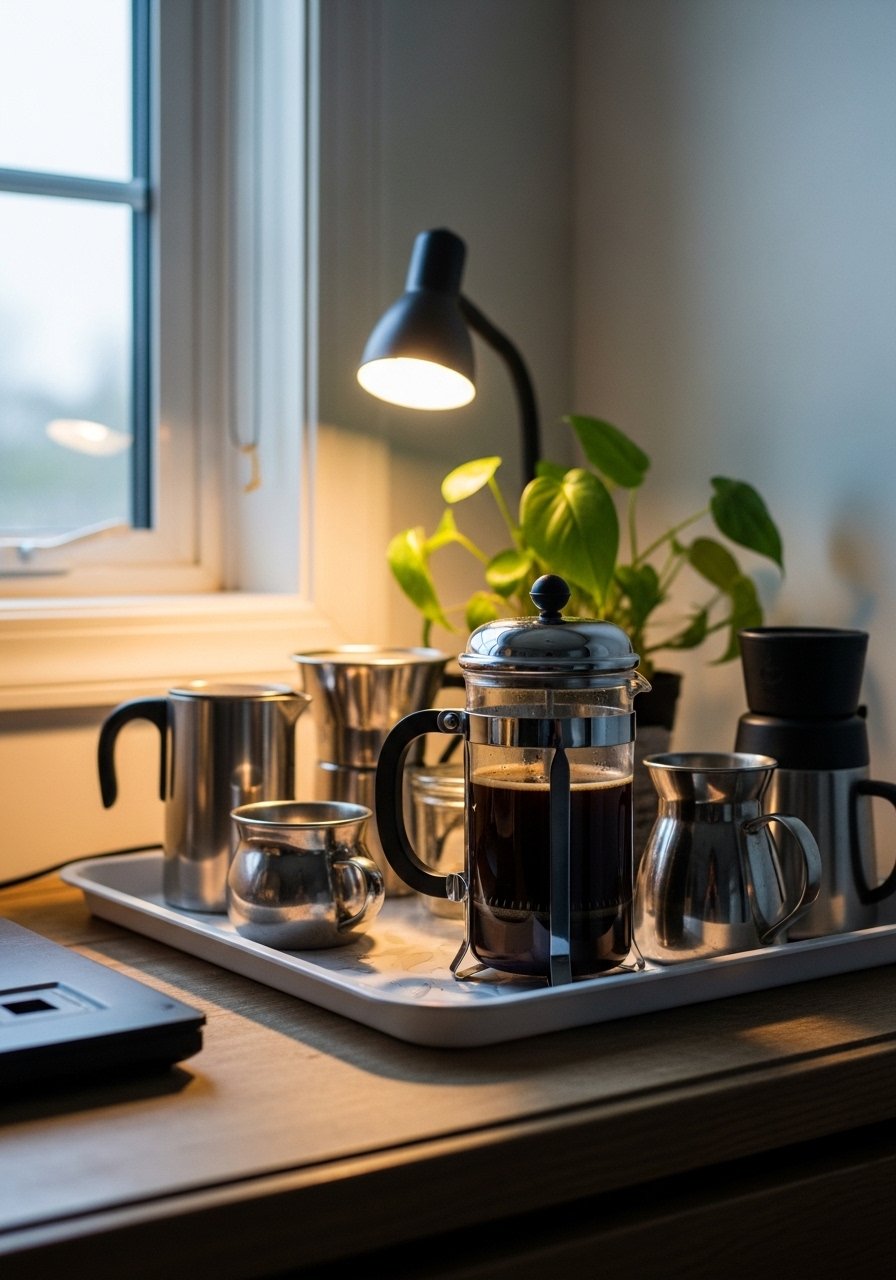
Step 5: Finish with a small tray and a soft accessory
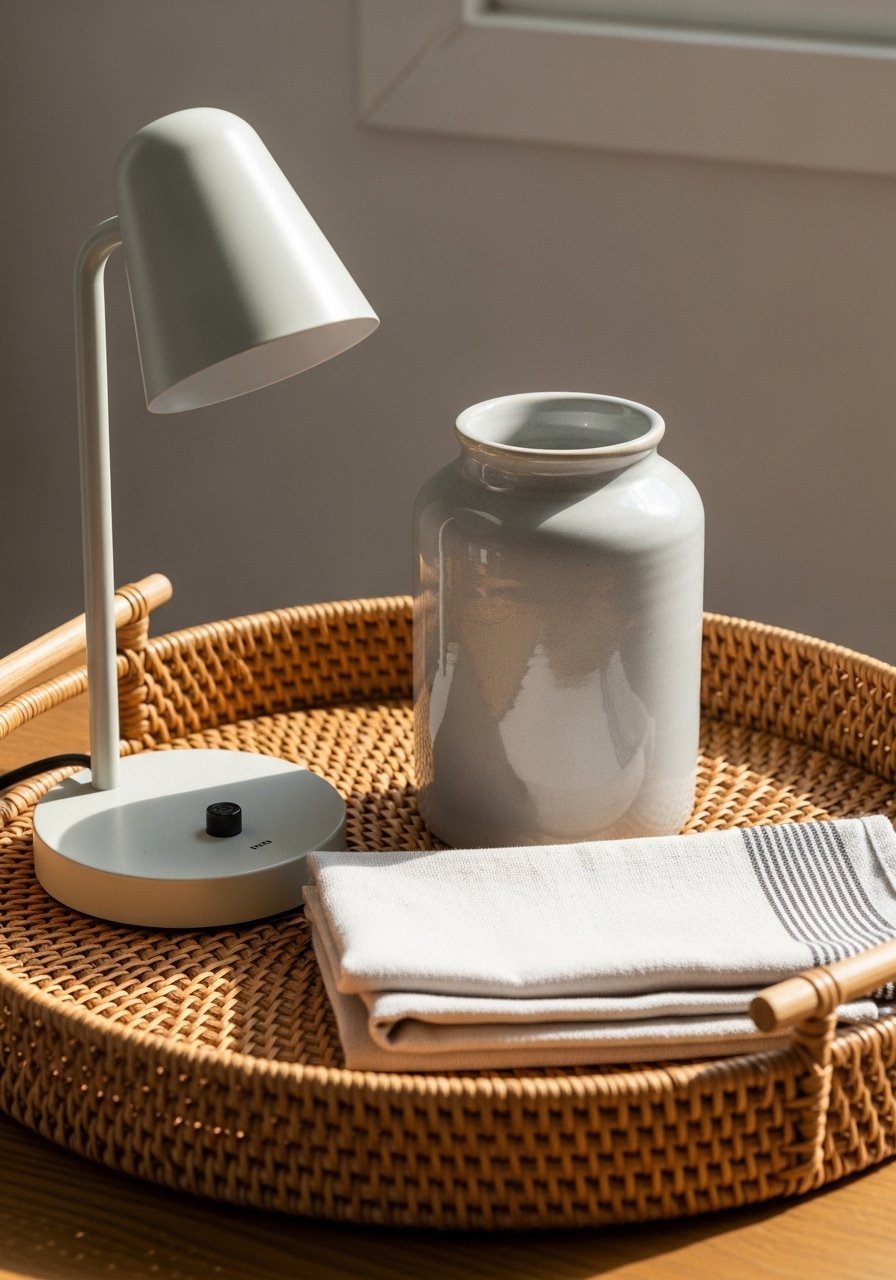
I finish by grouping small things on a tray—this collects visual clutter and makes the corner feel curated. I put the lamp and a ceramic jar on a rattan tray and tuck a folded tea towel underneath. The corner suddenly feels like it belongs.
An insight I use: trays create mini-scenes within the corner. The mistake I avoid is making every surface a display; I leave breathing room so the corner reads as intentional rather than staged.
Common mistakes that make corners feel accidental
I see the same issues in other kitchens. Often people pile like items without a plan, which makes the space noisy. Or they choose only practical items and forget about texture, so the corner reads flat.
Quick fixes I recommend:
- Pick one dominant material (wood, metal, or ceramic) and repeat it twice.
- Keep one clear surface—don’t cover every inch.
- Step back and adjust: small shifts (an inch or two) make a big difference.
How I adapt this for small kitchens or open layouts
In tiny kitchens I scale down the anchor—use a 3–4 ft plant or a narrow lamp. I prefer vertical elements (leaning boards, tall prints) so the floor stays clearer. In open layouts I make sure the corner’s style echoes the rest of the room so it feels connected rather than isolated.
Practical points I follow:
- Choose slimmer pieces that still read from across the room.
- Use open storage baskets to keep things tidy and breathable.
- Keep color palettes to 2–3 tones for a calm look.
Mixing what you already own with a fresh point of view
I rarely buy everything new. I pick one new piece—like a cutting board or small lamp—and mix it with what I already have. That keeps costs down and makes the corner feel lived-in.
Ideas I use:
- Pair an old jar with a new framed print.
- Reassign a pretty bowl from another room as a catch-all.
- Rotate one accessory seasonally to keep the corner feeling fresh.
Final Thoughts
Start small. I usually pick one anchor piece, test it, then layer slowly. That keeps decisions simple and the corner feeling calm.
I trust small changes—a new cutting board or a woven tray—more than big purchases. After a few tweaks the whole kitchen feels more intentional, and I’m usually happier with how the room comes together.

