

That awkward kitchen corner—empty counter, a lone paper towel roll, or a jumble of jars—can make the whole room feel unfinished. I used to ignore mine until it started pulling attention from the rest of the kitchen.
It only takes a few deliberate choices to make that corner feel intentional and calm, not cluttered.
How to Decorate a Kitchen Corner That Feels Intentional
This is the method I use every time a room feels unfinished. I’ll show how to pick one anchor, add supporting pieces, and edit so the corner reads as calm, intentional, and lived-in. It’s an easy, organic-modern approach that works in minutes, not days.
What You'll Need
- Floating oak shelf, 18–24 inches (~$30–70)
- Warm LED cordless table lamp, small (~$25–60)
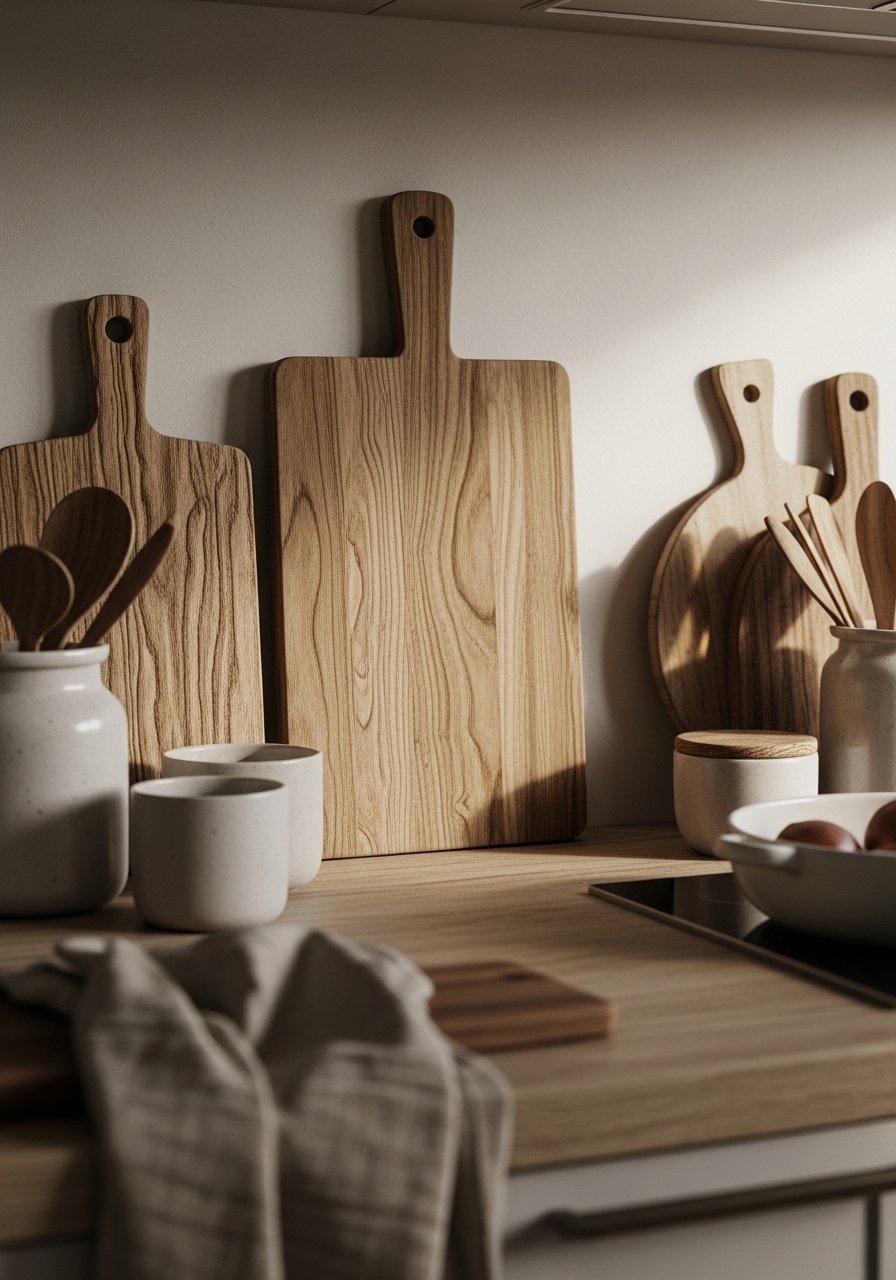
- Acacia wood cutting board, 12×8 inches (~$25–60)
- Ceramic utensil crock in matte white (~$15–35)
- Small faux potted plant, 6–8 inches (~$12–25)
- Seagrass storage basket, medium (~$20–45)
- Decorative round tray, 12-inch rattan or marble (~$20–50)
- 8×10 framed print, neutral tones (~$15–40)
Step 1: Pick a single anchor item and commit
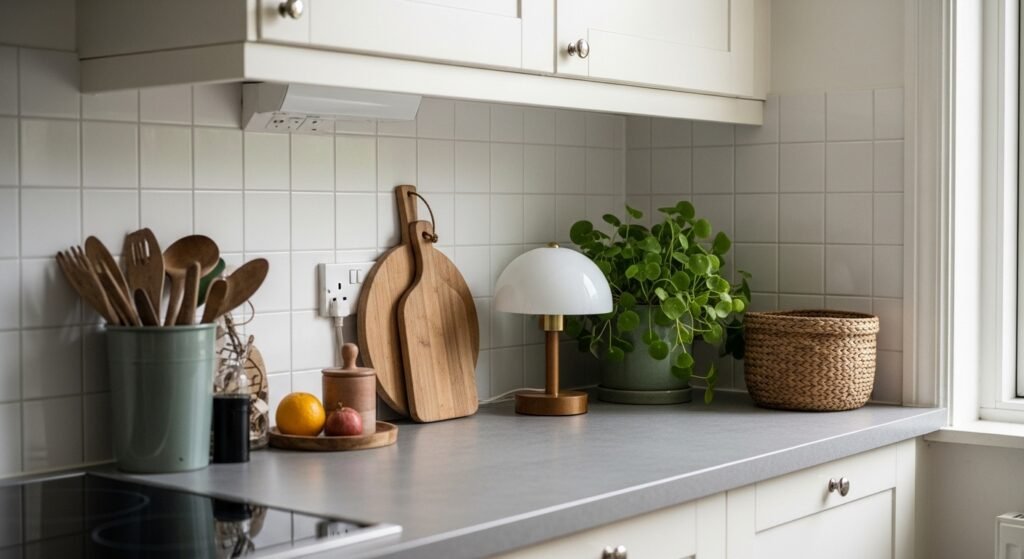
I always start by choosing one thing that feels like the main idea. For me that’s often a small cordless lamp or a tall cutting board. That anchor sets the corner’s scale and mood. Visually, the space immediately reads as intentional because your eye has somewhere to land.
Most people skip picking a single anchor and end up with competing pieces. Don’t make the corner a showcase for everything you like. One focal piece keeps the look calm.
Step 2: Layer height and shape around the anchor

Once the anchor is in place I add a taller-than-anchor, a same-height companion, and a low object. For example: cutting board at the back, utensil crock beside it, and a small plant on a low tray in front. This creates a stepped silhouette and keeps the eye moving.
A detail people miss is the power of negative space—leave breathing room so the layers read clearly. Avoid lining up everything in the same height; that makes the corner feel flat.
Step 3: Mix materials for a collected, organic-modern feel
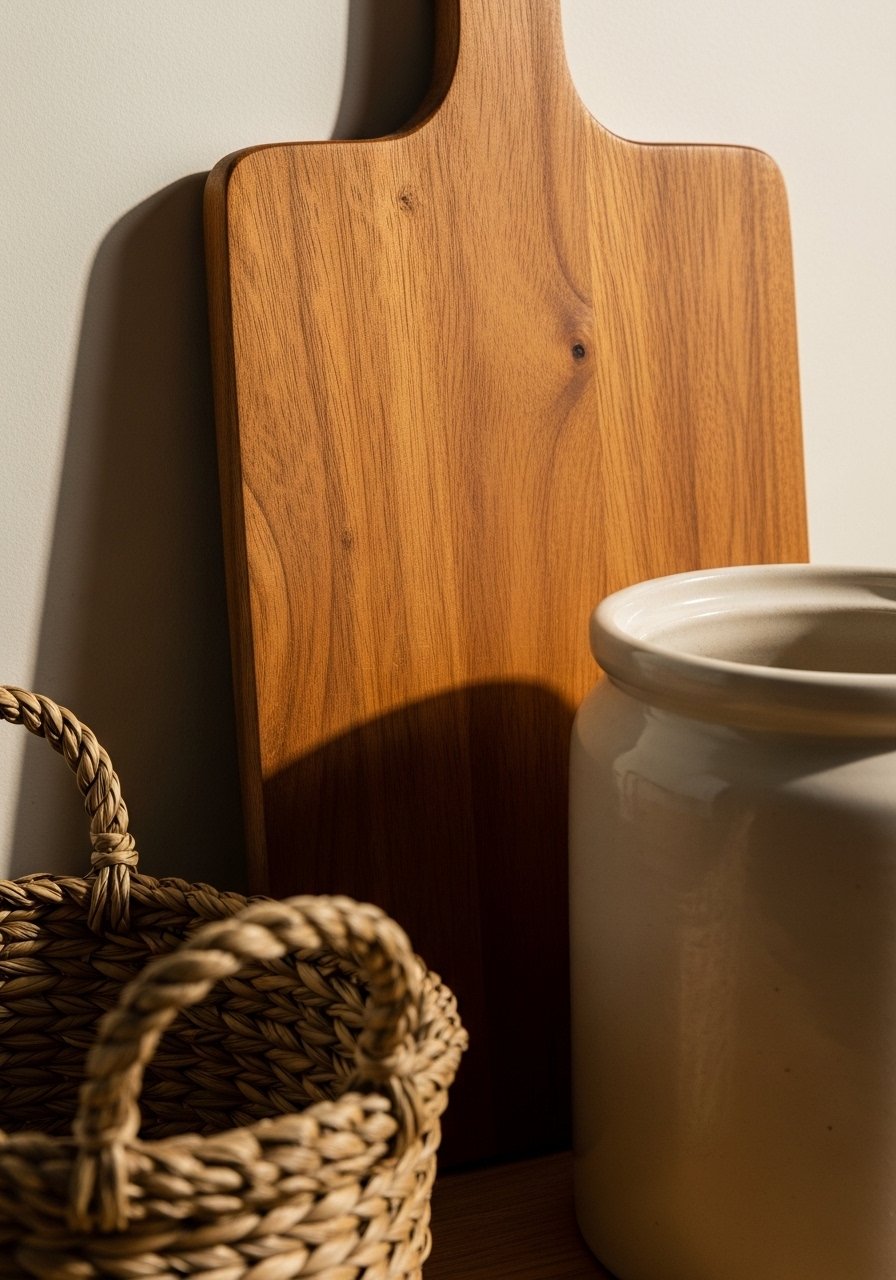
I balance warm wood, matte ceramic, woven seagrass, and a touch of metal. That mix gives the corner texture and warmth without fuss. Swapping one plastic jar for a wooden board and ceramic crock changed the whole mood for me.
People often match everything too perfectly. A small mismatch—like a slightly rustic board with a clean white crock—feels more intentional. Don’t use more than three material types at once or the corner will read busy.
Step 4: Add function that looks good
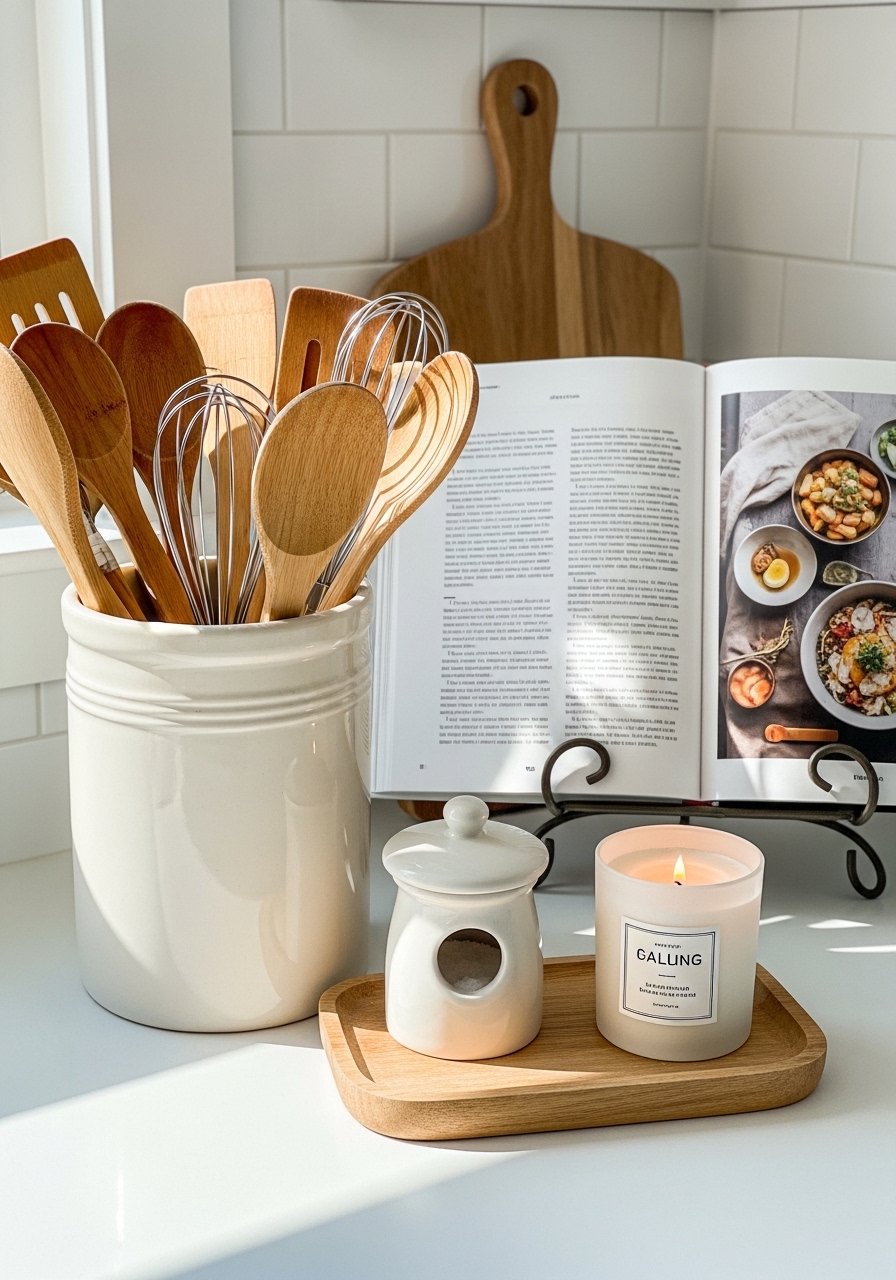
I then pick two functional pieces that double as decor—an attractive utensil crock, a cookbook or tray for salt and oil. Function keeps the corner useful and prevents it from feeling staged. The visual change: the corner looks lived-in and purposeful.
A common mistake is making function invisible—hide it, but make it pretty. Avoid over-accessorizing with seasonal knickknacks; they tend to clutter rather than add personality.
Step 5: Edit, live with it, and adjust
I always step back, take a photo, and live with the setup for a day. I remove one item, shift another, then leave it. Editing is where the look becomes effortless. The change is subtle: fewer pieces, clearer lines, and a calmer feel.
People think they must get it perfect in one go. I rarely do. The small mistake to avoid is over-tweaking—move one thing at a time, not the whole group.
Common mistakes I see and how I fix them
I notice the same things in other kitchens: too many small items, lack of a focal point, or everything being the same height. Each of those makes the corner noisy.
My fixes are simple: remove half the objects, add one anchor, and introduce one contrasting texture. Bullet reminders I use:
- Keep one tall item, one mid, and one low.
- Limit material types to three.
- Leave some counter space—negative space matters.
Adapting this approach for small kitchens and tight budgets
In a small kitchen I pick smaller-scale anchors: a slim cutting board or a narrow lamp. Floating shelves are great for adding vertical interest without stealing counter space. Budget-wise, thrifted frames, faux plants, and a simple tray deliver a big visual payoff for little money.
Practical swaps I recommend:
- Replace a pricey lamp with a small cordless puck or battery lamp.
- Use a thrifted wooden board instead of a designer cutting board.
- Group inexpensive pieces on a tray so they read purposeful.
Mixing this look with what you already own
I don’t throw out what I have. I look for one piece that fits the new plan—a favorite bowl, a frame, or a unique utensil—and build around it. That keeps the corner personal and cohesive.
Quick tips:
- Reuse linens or a small tray to unify mixed pieces.
- Match one metal tone across items (handles, lamp base).
- If your kitchen is modern, soften with a woven basket; if it’s traditional, add a crisp ceramic piece.
Final Thoughts
Start with one anchor and a single edit. I find that small, steady changes make a corner feel intentional without stress.
You don’t need anything expensive—an LED cordless lamp or a thrifted cutting board is a great low-commitment start. Keep it simple, leave room to breathe, and adjust after a day or two.

