

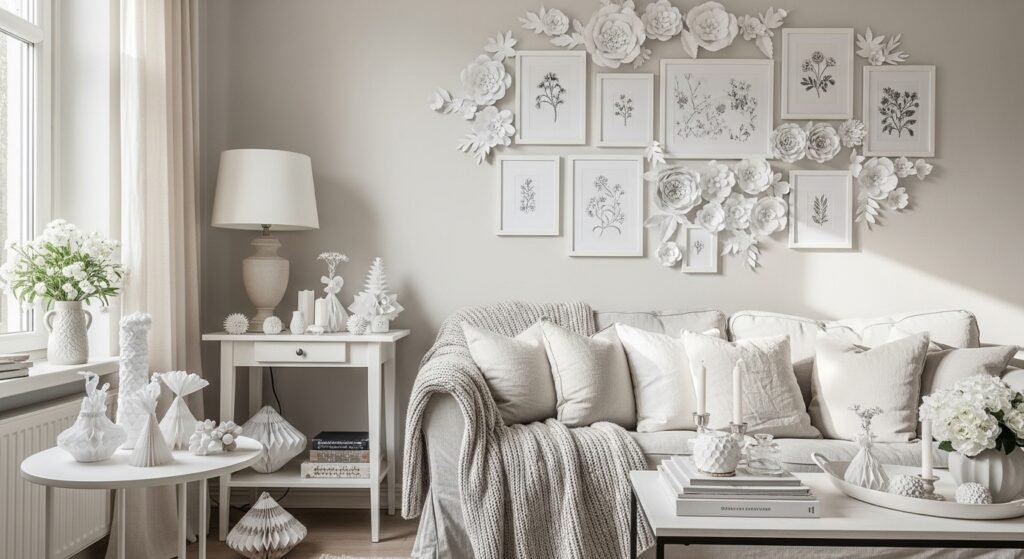
My living room had nice furniture and decent lighting but it still felt like a waiting room. Took me embarrassingly long to figure out it was missing texture. Every surface was smooth, every color was flat, and nothing invited you to actually sit down. These paper craft ideas fixed that for me on a tight budget and without power tools.
These ideas lean casual modern with a bit of handmade charm. Most projects cost under $25, with a few up to $60 if you buy tools. They work in living rooms, entryways, nurseries, and small apartments where you want big visual impact without permanent changes.
Paper Flower Wall for a Cozy Bedroom
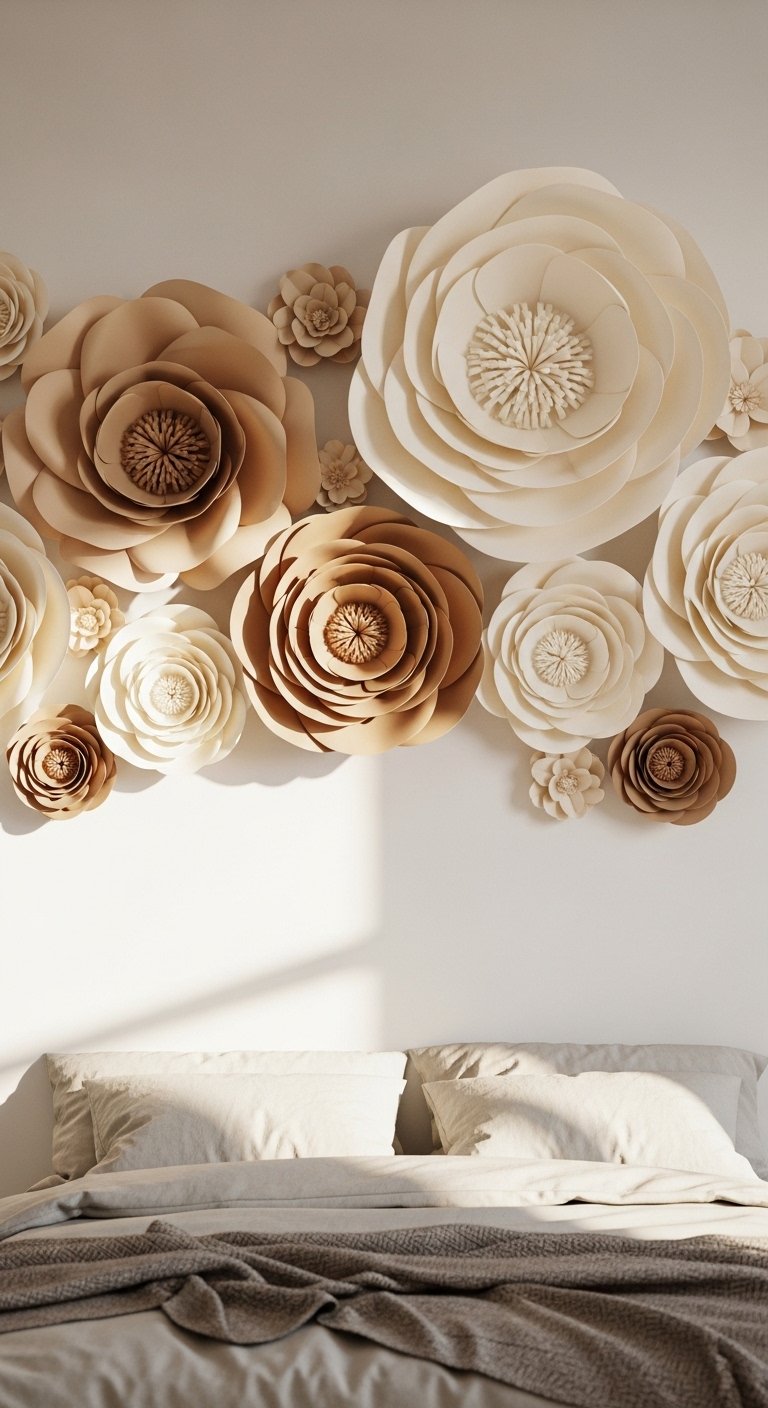
The moment I draped a chunky knit throw over the arm of my gray sofa, the whole room stopped looking flat. Same idea with paper flowers. Big petals give scale, and five oversized blooms in a 3:2 arrangement above a bed fills the visual gap a headboard might leave. Use 65-80 lb cardstock in blush, cream, and a darker accent for depth. I like using a hot glue gun and floral wire to secure petals, and mounting with removable picture-hanging strips so renters are fine. Common mistake is making every flower the same size. Vary diameters by 4 to 6 inches for a natural look. Try heavy-weight cardstock packs for reliable color.
Folded Book Art for Rustic Living Rooms
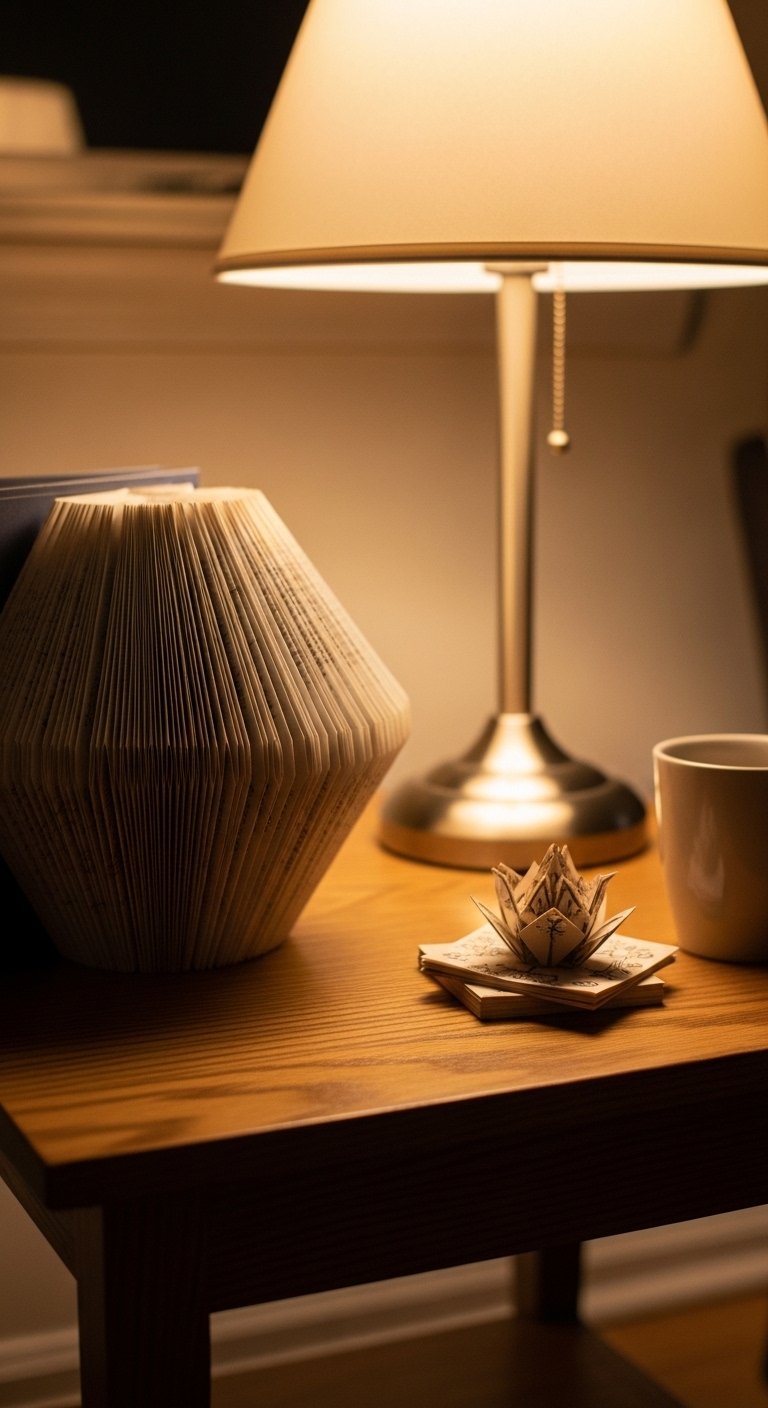
I used folded book art to fill a narrow shelf and it stopped feeling like empty vertical space. Take an old paperback, measure 120 folds for a dense pattern, and mark every 10th fold to keep alignment. The result reads like sculpture but costs next to nothing. It fits rustic or farmhouse living rooms and looks great next to wood and woven textures. If you worry about damaging a favorite book, use thrift store copies or bookbinding glue and repair tape to stabilize pages. A common mistake is over-creasing. Aim for gentle, even scores to keep pages soft, not brittle.
Origami Wall Grid for Minimalist Hallways
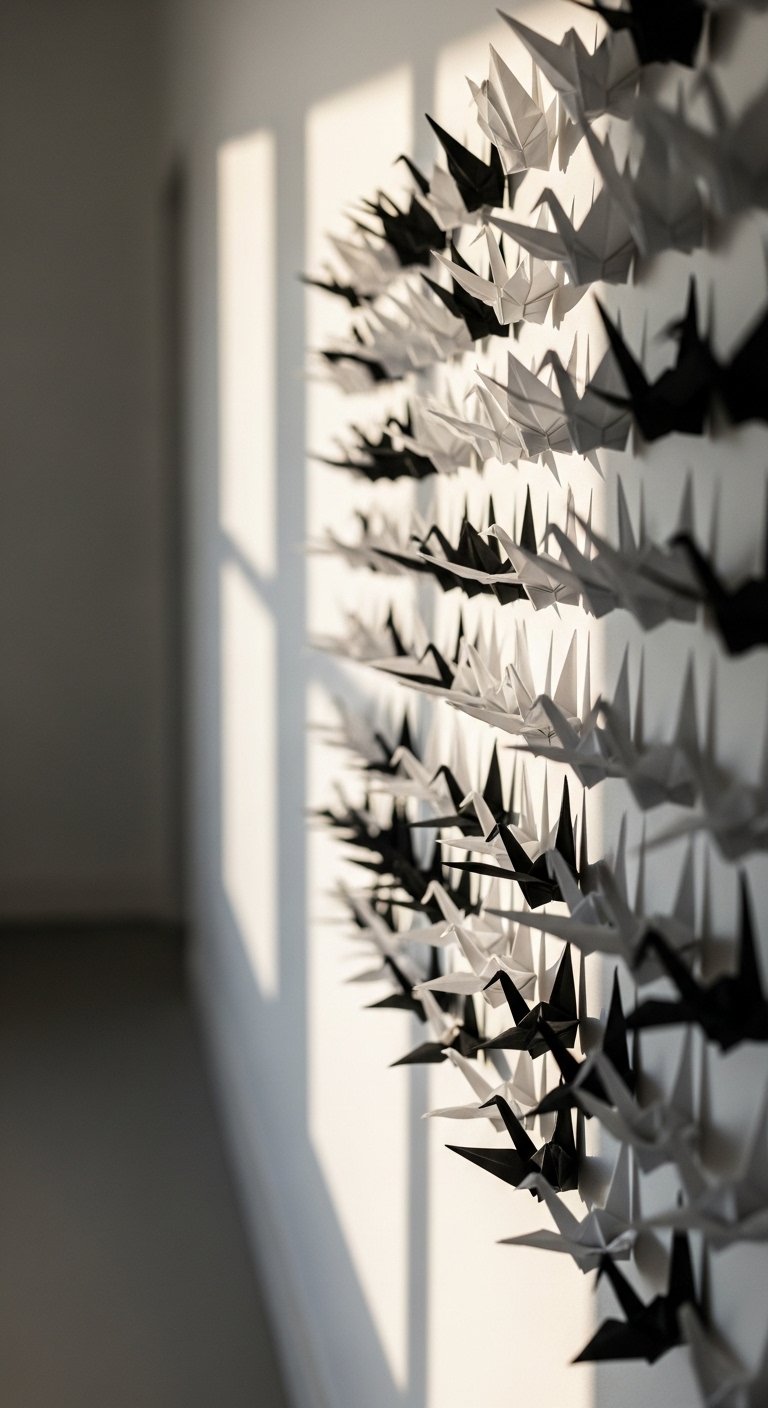
Origami cranes or geometric boats arranged in a 4×5 grid add rhythm without loud color. I cut 6×6 inch origami paper and taped the grid 1.5 inches apart, which keeps the eye moving and the scale right for a 6-foot wall. Minimalist hallways benefit because these pieces are lightweight and renter-friendly. One mistake people make is uneven spacing. Measure gaps with a 1.5-inch spacer and level as you go. For a quicker option, peel-and-stick mounting squares and origami paper pads in muted tones keep costs low.
Tissue Paper Lanterns for Party-Ready Dining Room
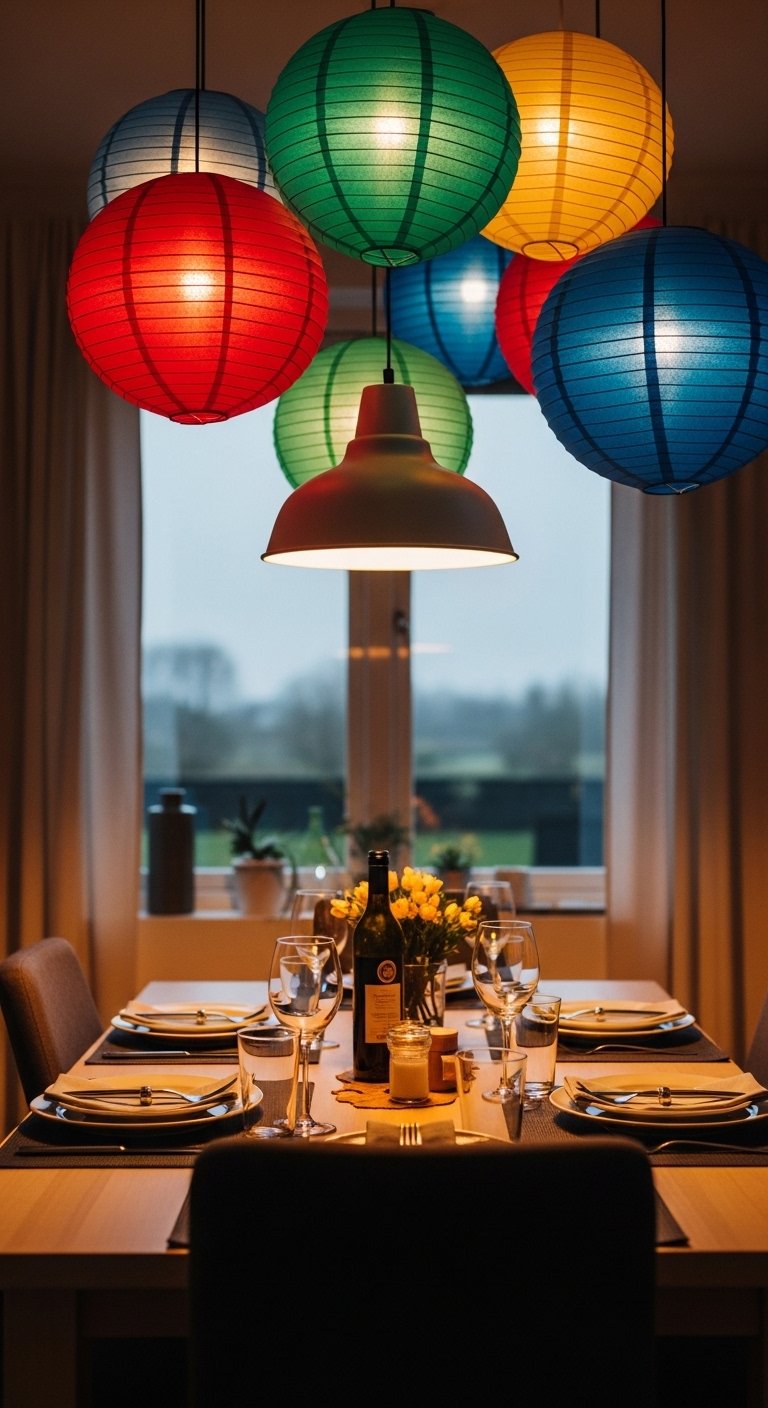
Tissue paper lanterns are forgiving and luminous. I used a 14-inch paper lantern frame and layered tissue in three colors at a 60/30/10 ratio, the smaller amount the bright accent. Hang them at staggered heights above a dining table for instant party energy. They are cheap, kid-friendly, and pack flat for storage. The usual mistake is over-gluing, which makes edges look stiff. Use tiny dots of glue and fluff the layers by hand. If you want a kit, grab round paper lanterns and hanging kits to start.
Quilling Coasters for Casual Coffee Tables
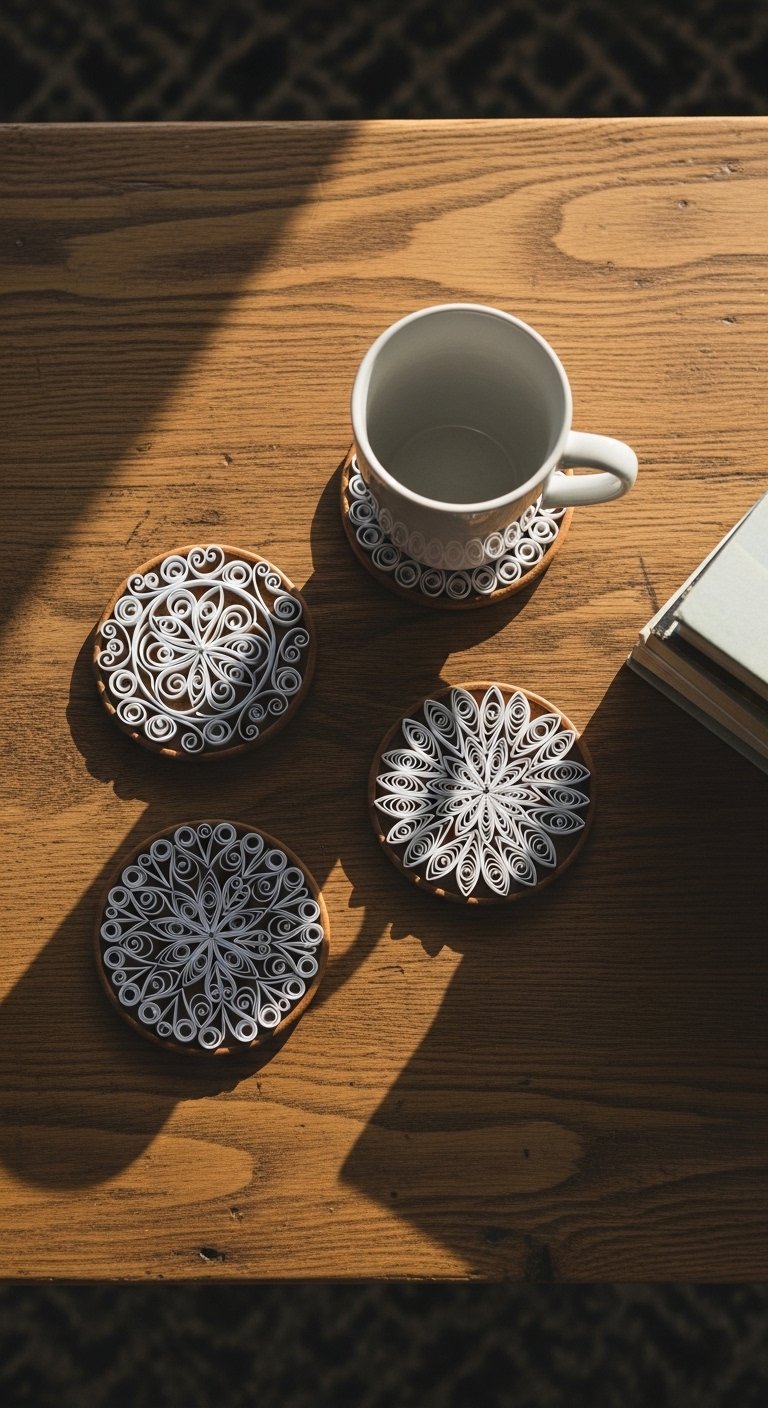
Quilling is compact and practical. I made coasters using 3/8-inch quilling strips and a coil size of 2 inches to fit standard mugs. Glue the coil to a cork backing and seal with a matte Mod Podge so they survive condensation. They look handmade and deliberate with a middle-range color palette. A frequent error is making coils too tight, which makes pieces brittle. Leave a tiny gap so coils can bend slightly. For tools, try a paper quilling starter kit with slotted tools and strips.
Paper Garland for Entryway or Mantel
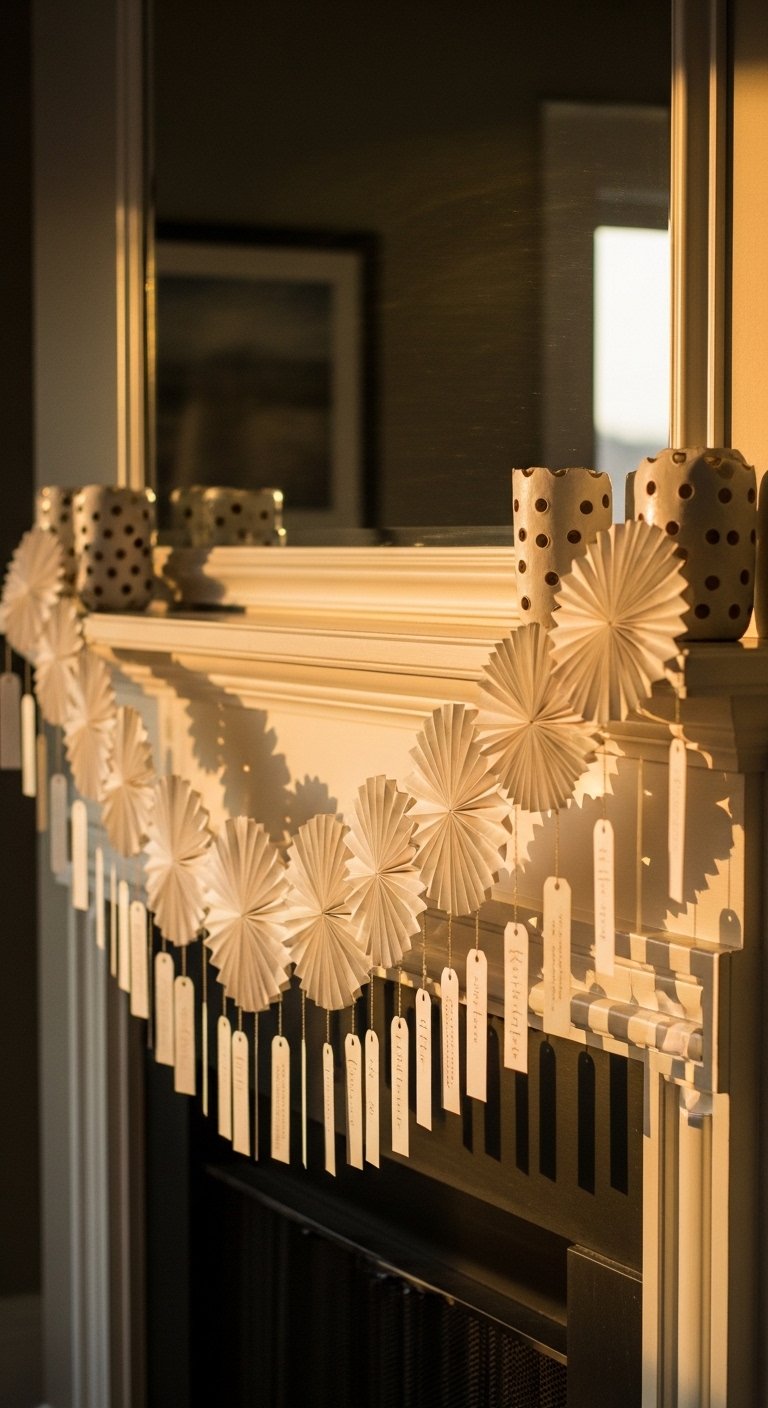
A paper garland is the fastest way to add personality to an entryway. I fold fans that are 4 inches wide and string them on twine with 6-inch spacing. Use an 80/20 color ratio where 80 percent is neutrals and 20 percent is one bold color. It keeps the look intentional and not circus-like. The main mistake is too-tight spacing, which reads cluttered. Give each fan visual breathing room by adding 6 inches. For quick assembly, use washi tape and craft twine and clip the garland with small clothespins.
DIY Paper Lampshade for Soft Bedroom Light
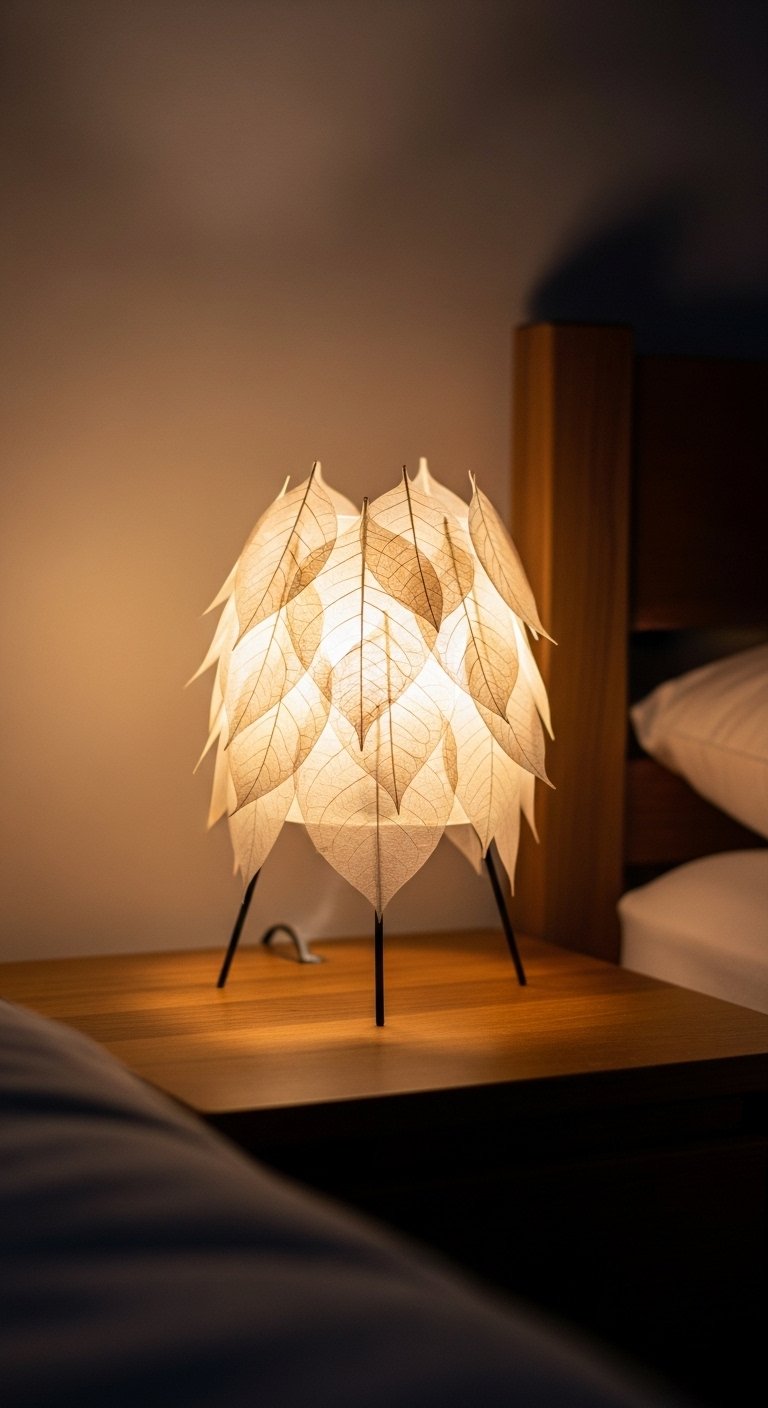
Swapping a lampshade for a DIY paper version changed my bedside light from harsh to gentle. Use vellum or translucent heavyweight paper and cut leaf shapes about 4 inches long. Overlap by 30 percent to avoid gaps and maintain even light diffusion. This works well in bedrooms or reading nooks where soft light matters. Common mistakes are using low-quality paper that yellows from heat. Stick to flame-retardant or LED-safe materials. If you need a base, I used a simple drum shade frame and anchored paper with double-sided tape. Consider vellum paper packs for consistent translucency.
Paper Succulent Pots for Sunny Kitchen Shelves
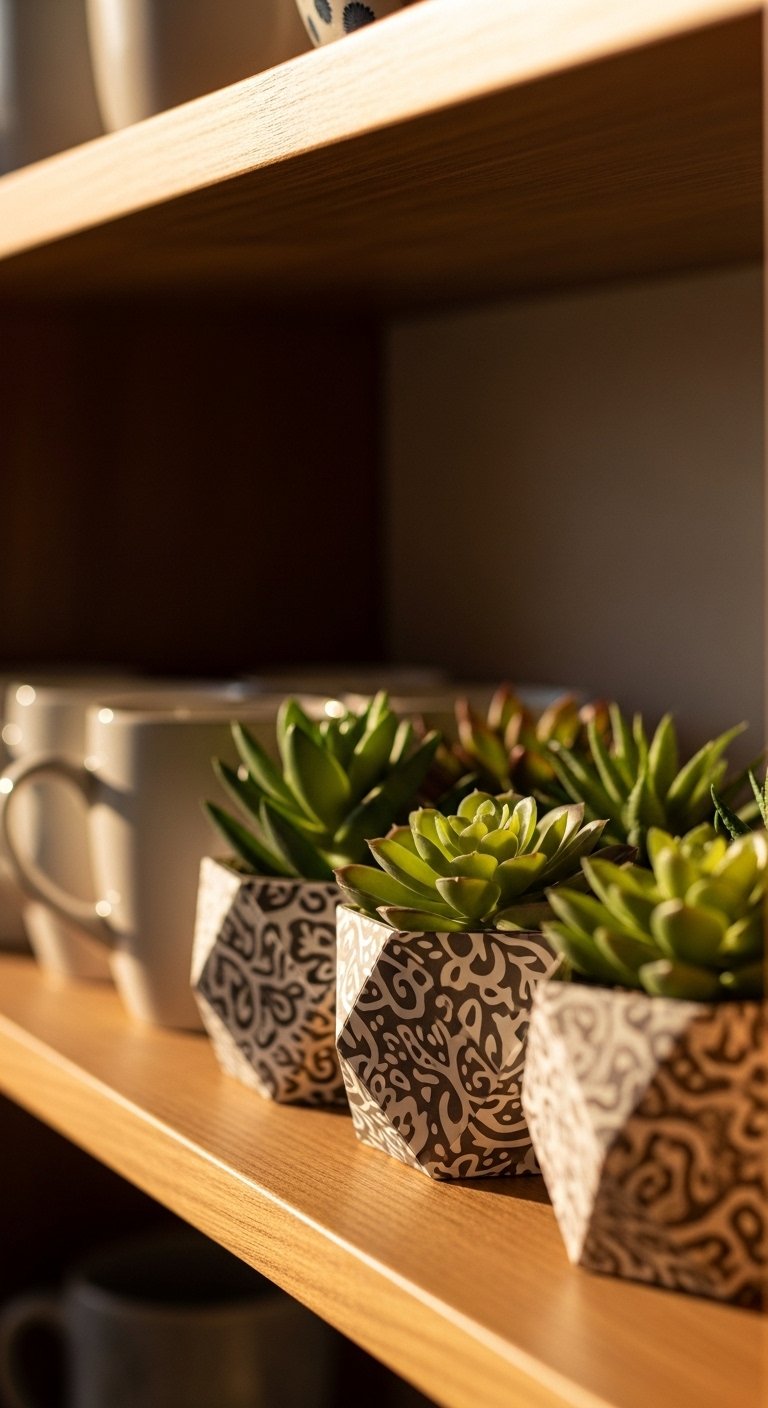
Paper pots give you plant height and texture without commitment. I folded pots from 8×8 inch heavy-weight paper and used a 1-inch base square for stability. Insert a small faux succulent or a tiny real plant in a plastic liner to protect the paper. They are perfect for sunny kitchen shelves where soil spills are a worry. People often overcomplicate the base. A 1-inch square gives enough support without bulk. For faux greenery, try mini faux succulents in pots to avoid watering headaches.
Layered Paper Collage for Modern Home Office
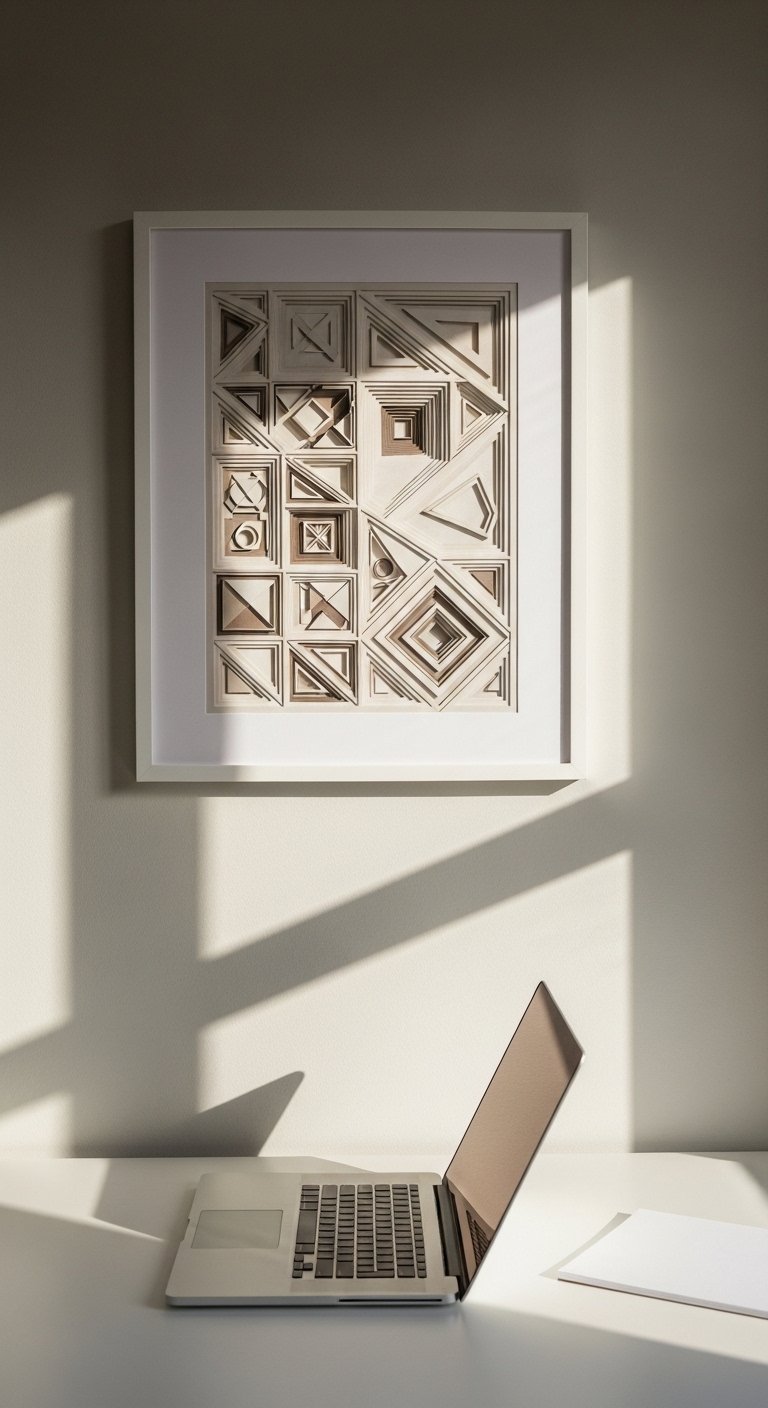
I made a layered collage and it fixed the lack of a focal point in my home office. Cut shapes in 3 sizes following the rule of three, then place the largest shape 1.5 inches off center for tension. Use a foam board backing to add depth and shadow. It reads modern when you pick a restrained palette, like slate, terracotta, and cream. A mistake is committing to a frame before you arrange the pieces. Lay everything out first. For cutters, I use a self-healing cutting mat and rotary cutter for crisp edges.
Paper Banner with Calligraphy for Playroom
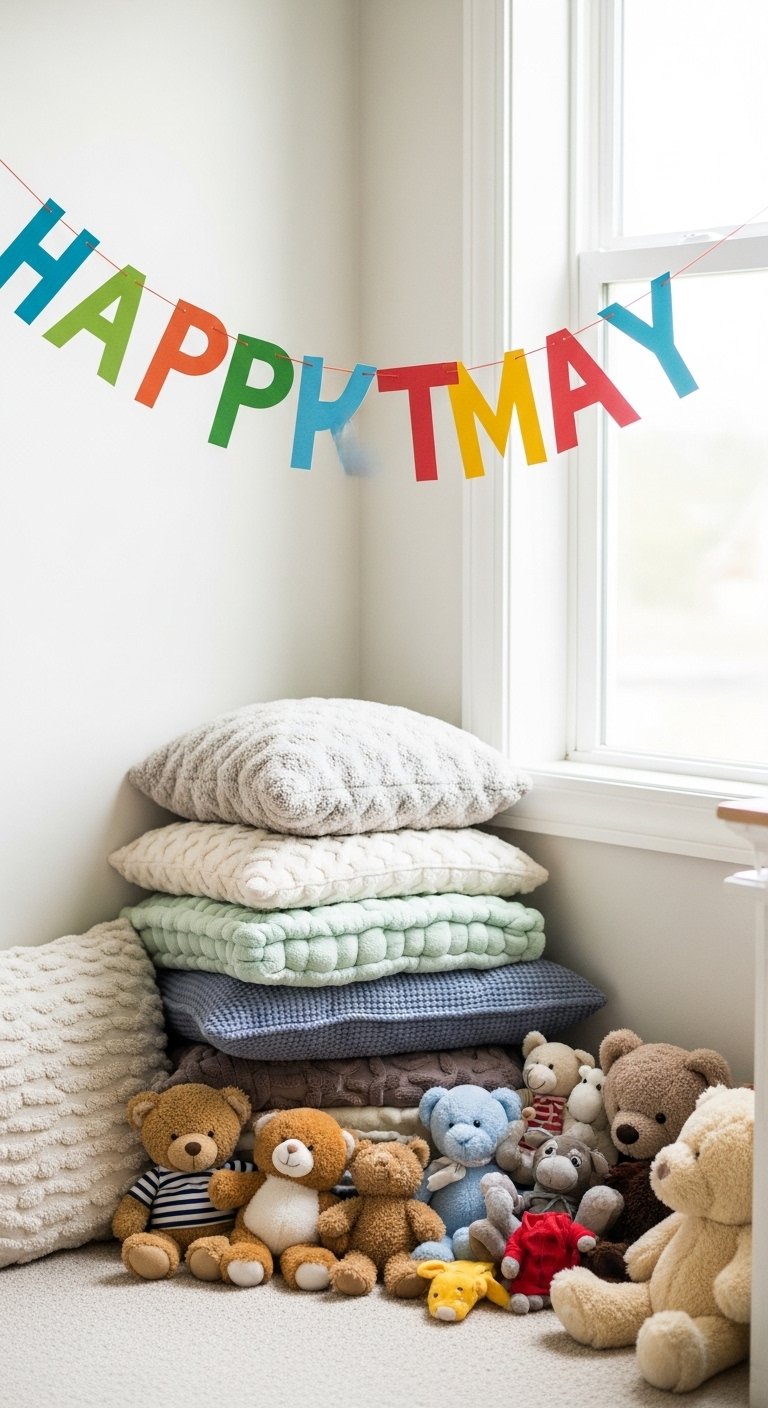
There is something about a reading nook with layered pillows that makes you want to cancel your plans. A paper banner with your child’s name or an encouraging phrase personalizes the space. Cut pennants 5 inches wide and paint letters with a brush pen for a handmade look. String on ribbon and hang low enough that kids can reach it for craft play. Avoid tiny pennants that look fiddly from a distance. For tools, a set of brush pens and card stock keeps lettering bold and legible.
Paper Bead Necklace Bowl for Nightstand Catchall

Rolling paper beads into a tight spiral and gluing them into a shallow bowl makes an inexpensive catchall. Use strips 1 inch wide and start with a 1-inch tight roll. The finished bowl should be about 3 to 4 inches across to fit rings and a watch. I varnish with clear sealer for durability. This is a great fix for the "no drawer space" frustration. People often glue beads without shaping. Press beads into a shallow mold while the glue dries to keep a smooth profile. Try a paper bead-making kit to speed things up.
Faux Stamped Wallpaper Panels for Rental Accent Wall
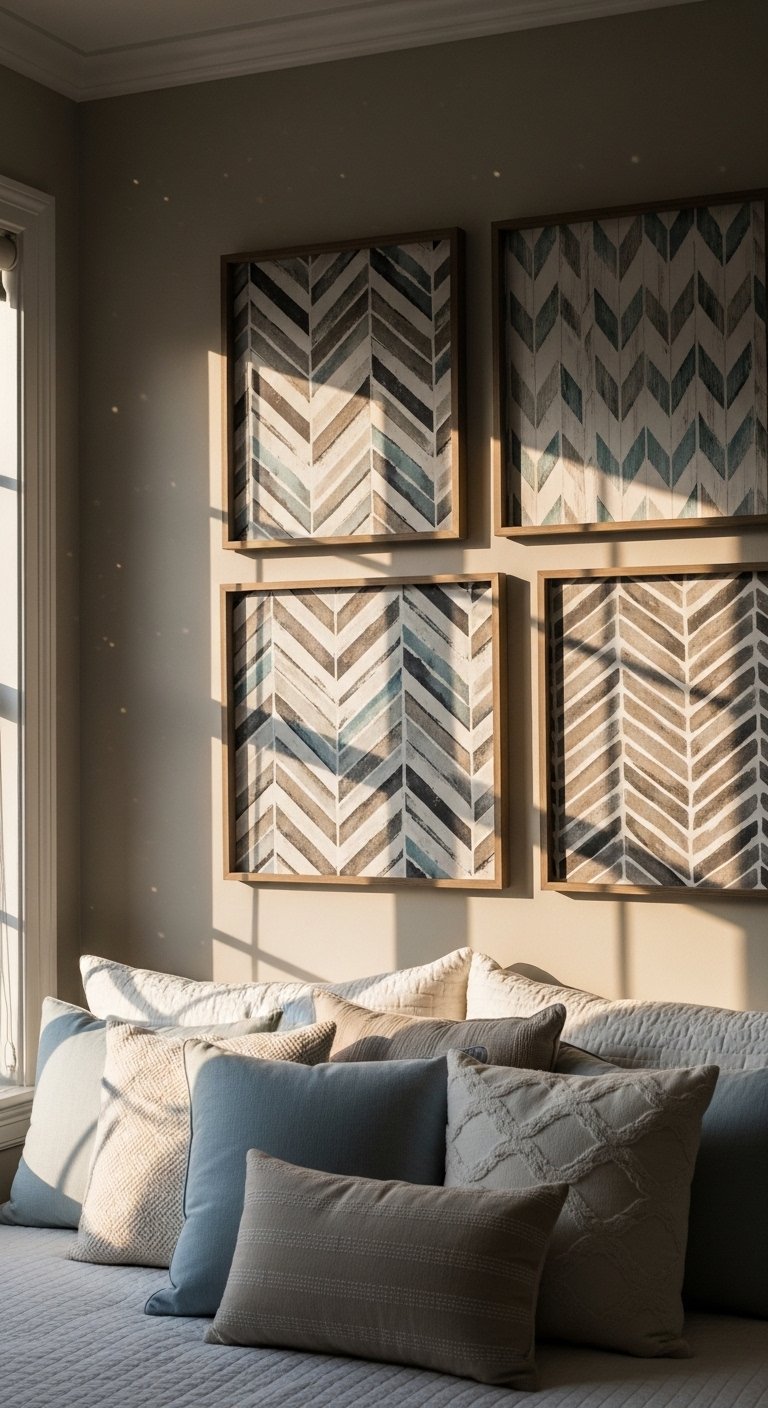
Frame stamped paper panels instead of committing to full wallpaper. I made three 18×24 inch panels using a foam roller and one color, then mounted them in simple black frames. It gives the look of pattern without new nails across the whole wall. The trick is aligning the repeat across panels using a 1-inch bleed area. A common mistake is ignoring scale. Small repeat patterns disappear at 18×24. For supplies, a small foam paint roller set and heavy art paper work best.
Book-Page Wreath for Rustic Front Door
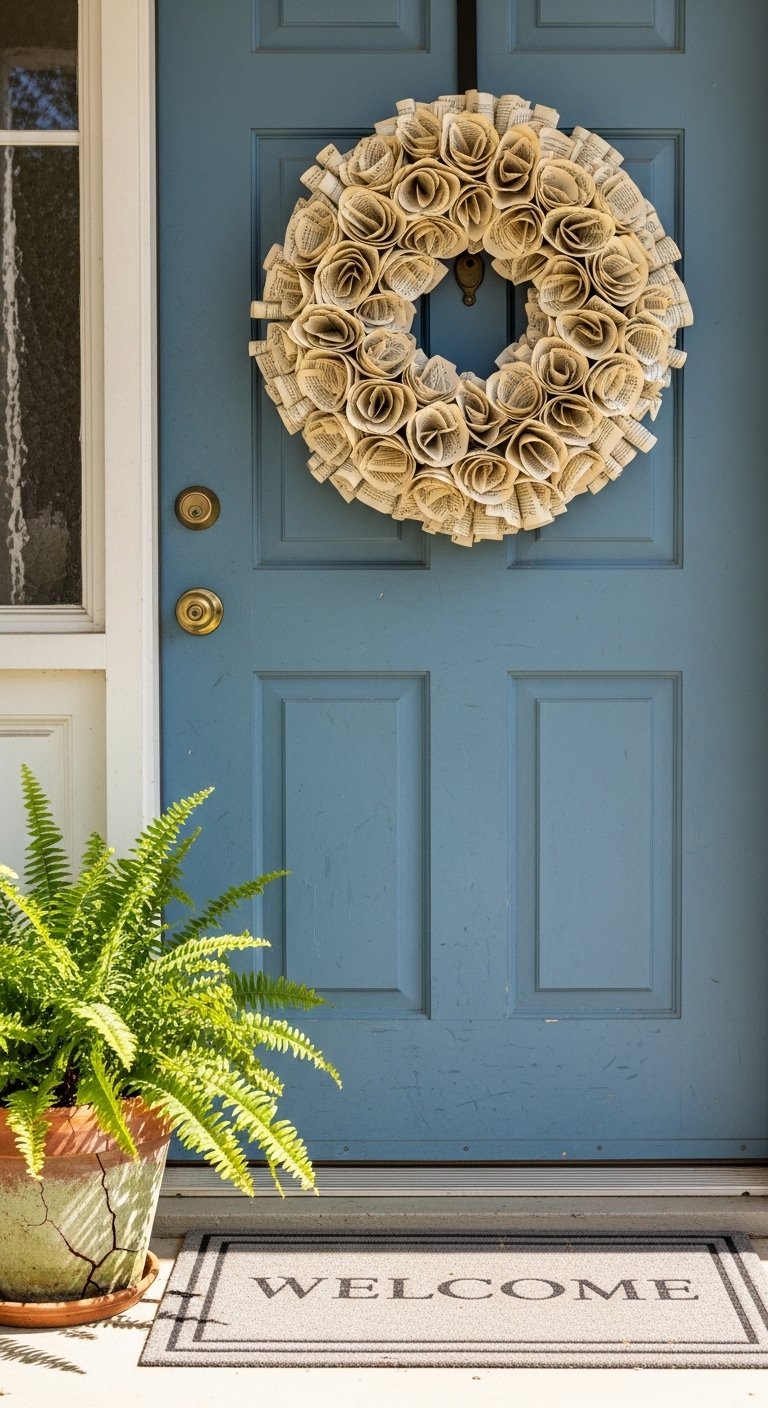
A book-page wreath reads warm and lived-in on a front door. Roll pages into cones about 2.5 inches long and glue them in concentric rings on a 12-inch straw base. Use an old novel or thrifted pages for texture. It costs almost nothing and packs away flat if you detach it from the base. The most common error is too few cones, which makes gaps. Plan for 80 to 100 cones for a dense 12-inch wreath. If you prefer no glue near your door, use a hot glue gun on a cardboard base and secure with a back hook. I found straw wreath forms cheap and reliable.
Paper Stars Mobile for Nursery or Reading Nook
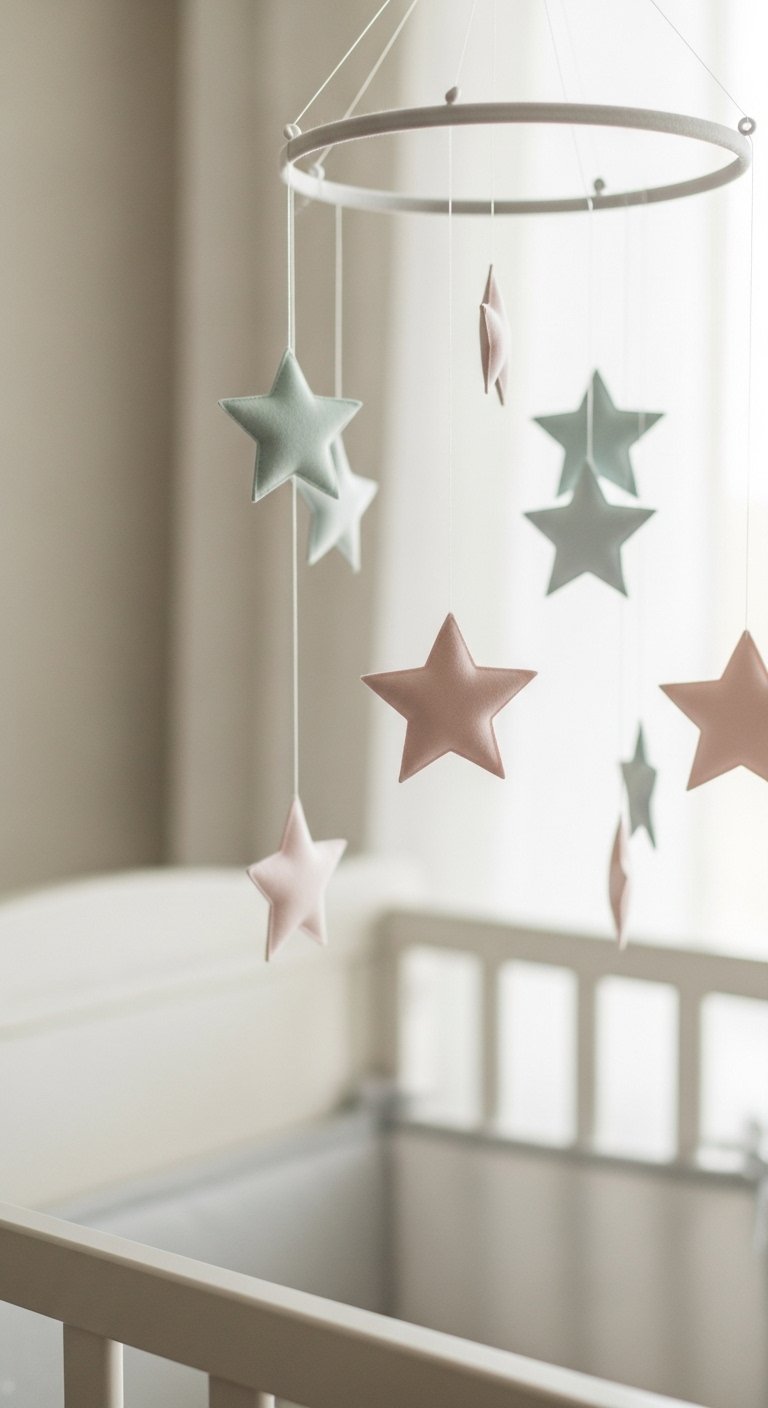
Paper star mobiles are lightweight and calming. Fold stars from 3×3 inch paper and string them at 4, 8, and 12-inch drops for depth. Hang over a crib or in a reading nook where gentle movement matters. A mistake I made once was using heavy string that tangled. Use thin nylon thread and space stars at least 3 inches apart. For a durable option, mix in a few small LED fairy lights. I bought a pack of small LED fairy lights with battery pack to tuck among the stars.
Paper Fringe Mirror Frame for Glam Dressing Area
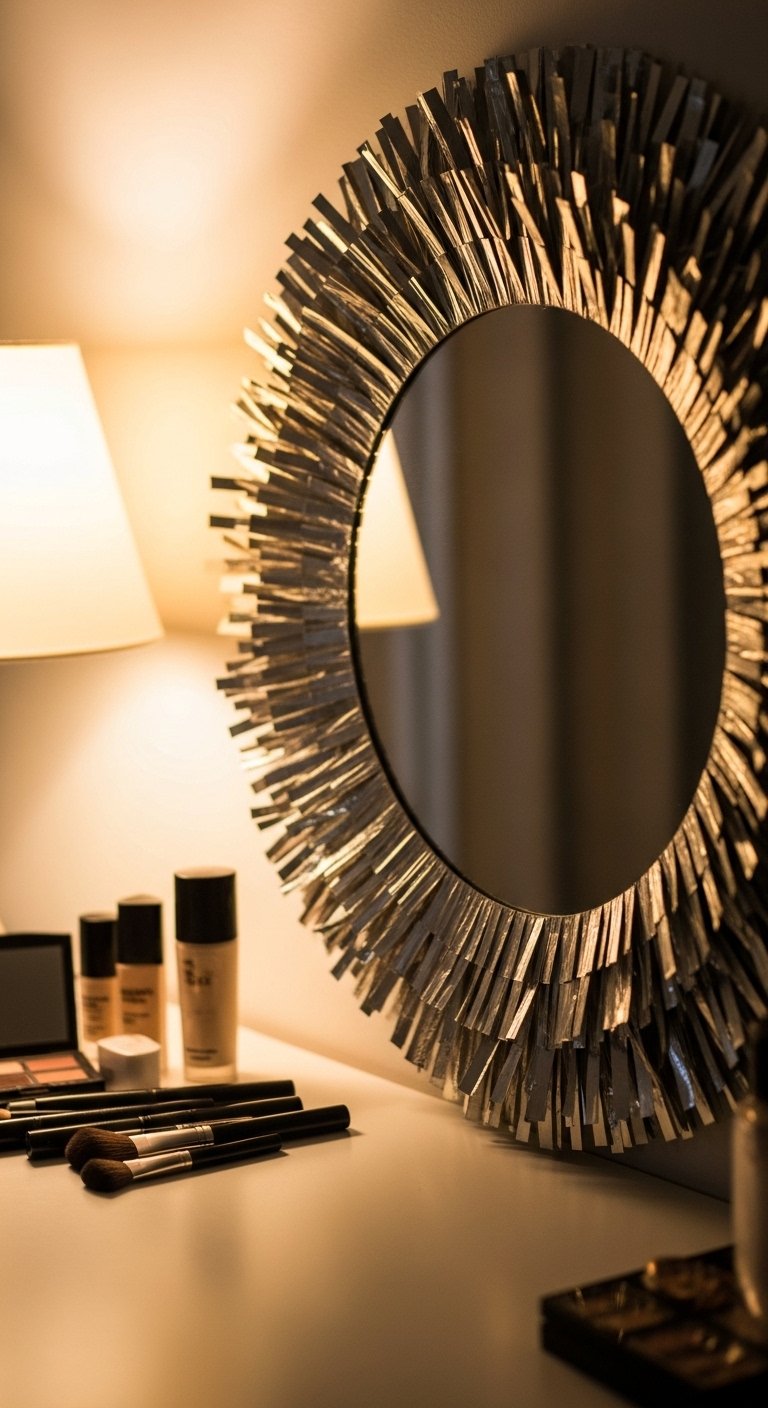
Fringe adds movement and glamour without the price of a new mirror. Cut fringe strips 1.25 inches wide and layer them in 1-inch overlaps around a mirror frame. Metallic paper in gold or bronze reads more intentional than glitter. I used 1.25-inch spacing and three concentric layers for a 24-inch mirror. The usual mistake is cutting fringe too sparse. Aim for an 80 percent coverage so no backing shows through. If you want easier application, a metallic craft paper pack has consistent color and weight.
Patterned Paper Drawer Liners for Bathroom Vanity
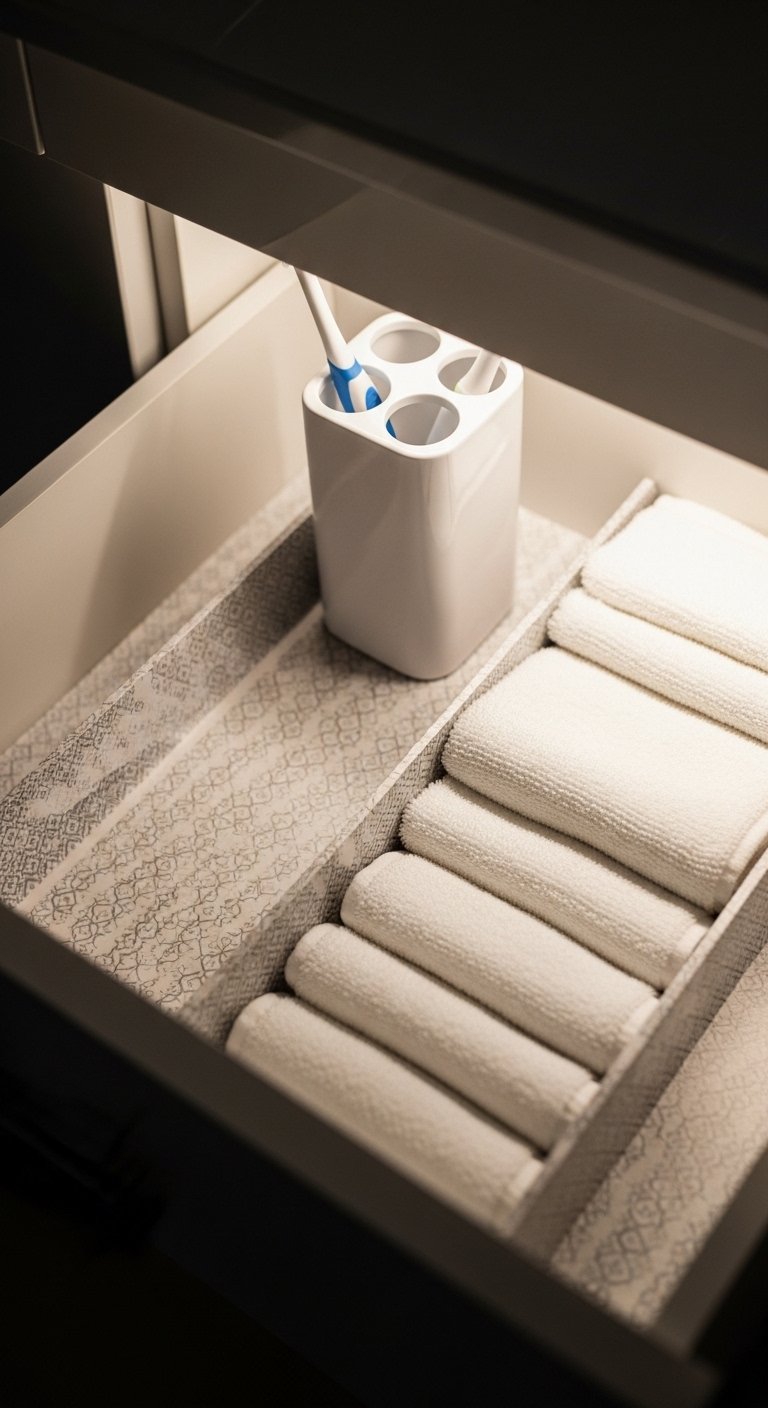
Lining drawers with patterned paper is one of those 10-minute wins. Cut liners 1/4 inch smaller than the drawer base so they sit neatly. I use vinyl-backed paper for wet areas and replace every six months. It brightens a bathroom vanity and hides water marks. A mistake is cutting to the exact drawer size, which leads to peeling. Leave that 1/4 inch breathing room. For waterproof options, search for vinyl-backed patterned shelf liner.
Paper Mosaic Tray for Serving Snacks
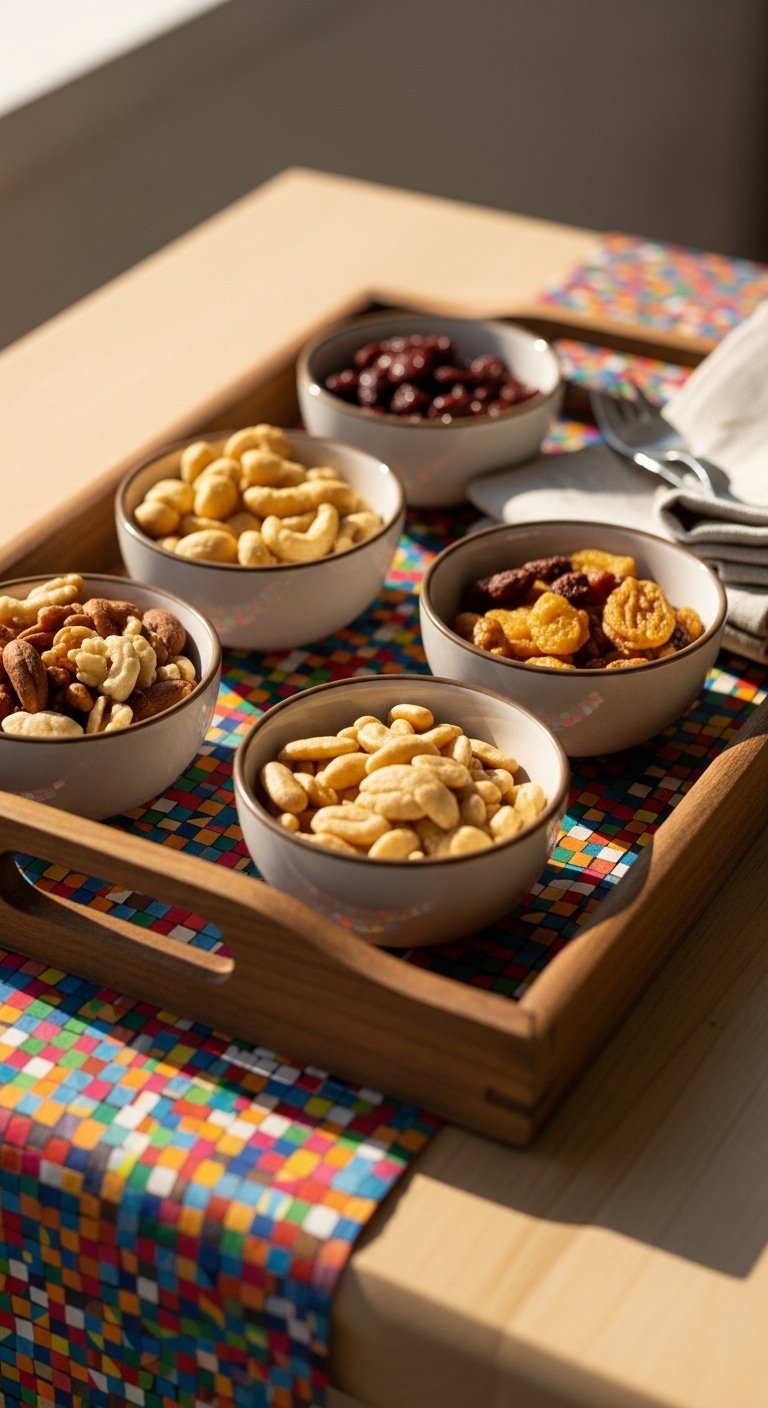
I made a paper mosaic for a serving tray and it became the easiest way to add color to a balcony coffee setup. Cut shapes into 1.5-inch pieces and arrange them in a grid, sealing with a waterproof sealer. Keep a 1/8-inch gap between pieces for grout-like definition. This works for snack trays, but avoid hot items directly on the surface. The common mistake is using thin paper that warps. Use heavyweight paper and a clear epoxy or a food-safe sealant. I use clear craft sealant spray for a durable finish.
Geometric Paper Shelf Backing for Office Nook
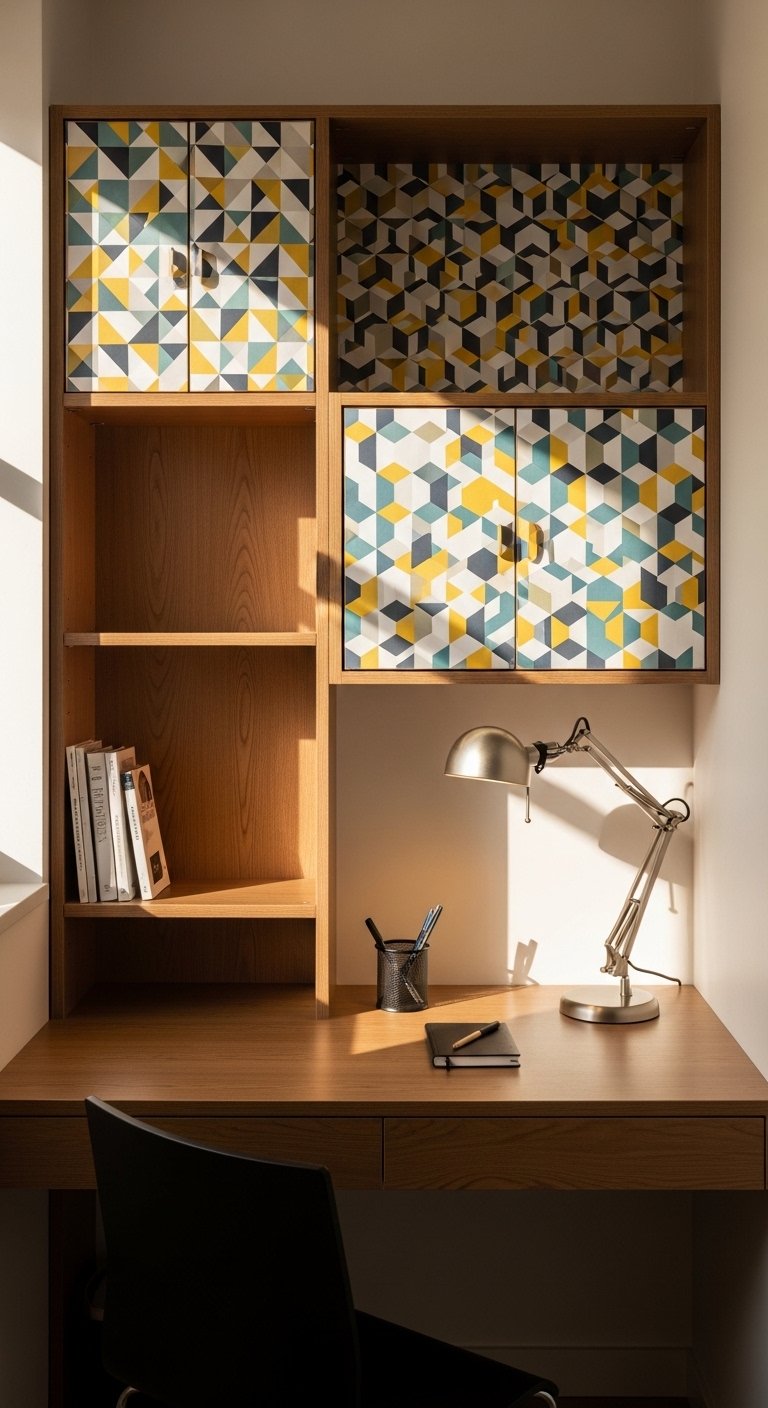
Adding a paper backing to open shelves gives instant depth. I cut geometric panels 11 inches wide for standard cube shelves and used double-sided tape to avoid nails. Use an 80/20 color rule, with 80 percent neutral and 20 percent a bolder accent on the middle shelf. Measure twice and cut once to avoid misaligned seams. A common error is using thin tape that fails. Choose strong double-sided mounting tape. If you want to change looks seasonally, removable adhesive dots make swaps easy.
Folded Paper Photo Frames for Gallery Wall
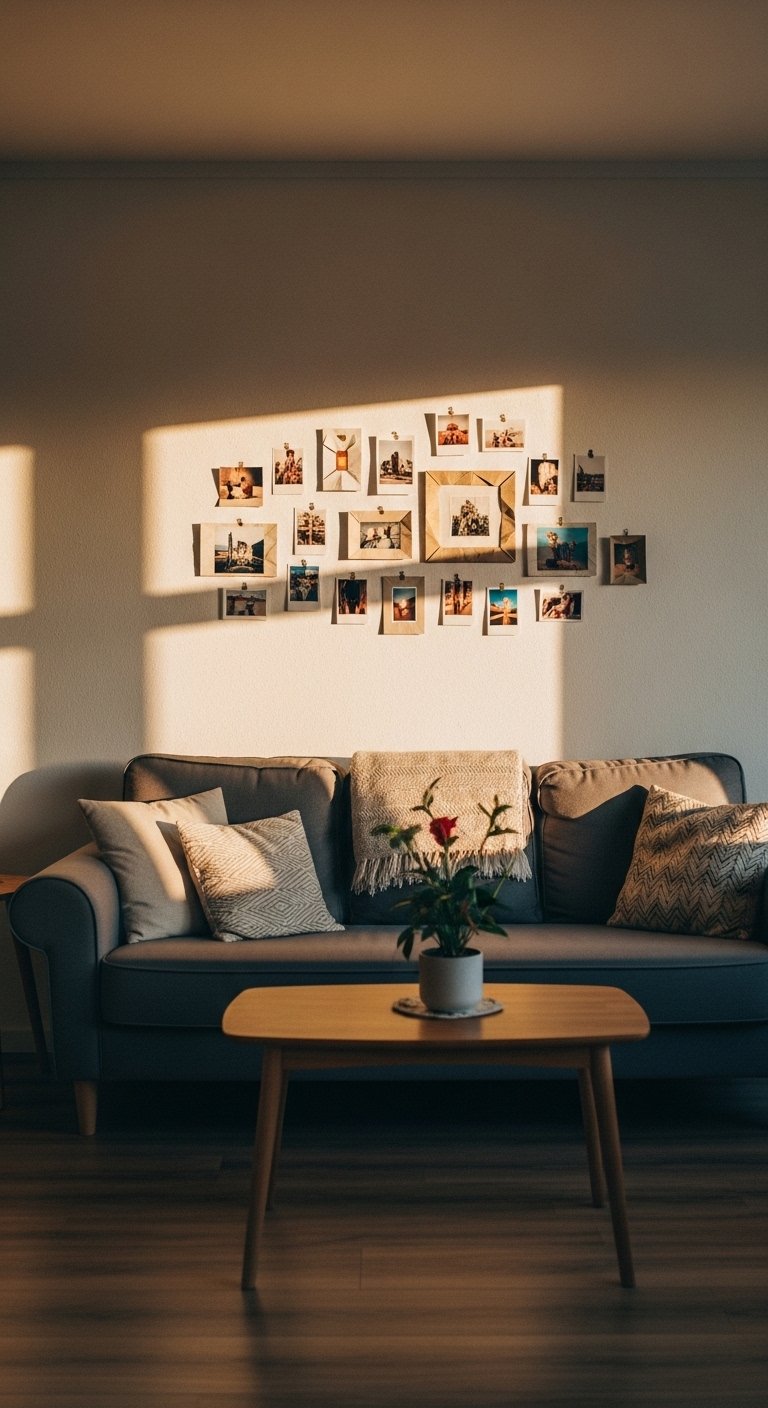
I used folded paper frames when I was indecisive about a gallery wall. Cut mats that fold over the photo edges, leaving a 1/4 inch lip, and mount on 8×10 frames. It lets you switch photos without taking the frame apart. This is great for renters or people who like seasonal shoots. A rookie mistake is choosing paper that is too thin, which curls. Use 100 lb cover stock for stability. For quick swaps, try 8×10 tabletop frames so you can rotate art often.
Recycled Paper Gift Wrap and Tags for All Occasions
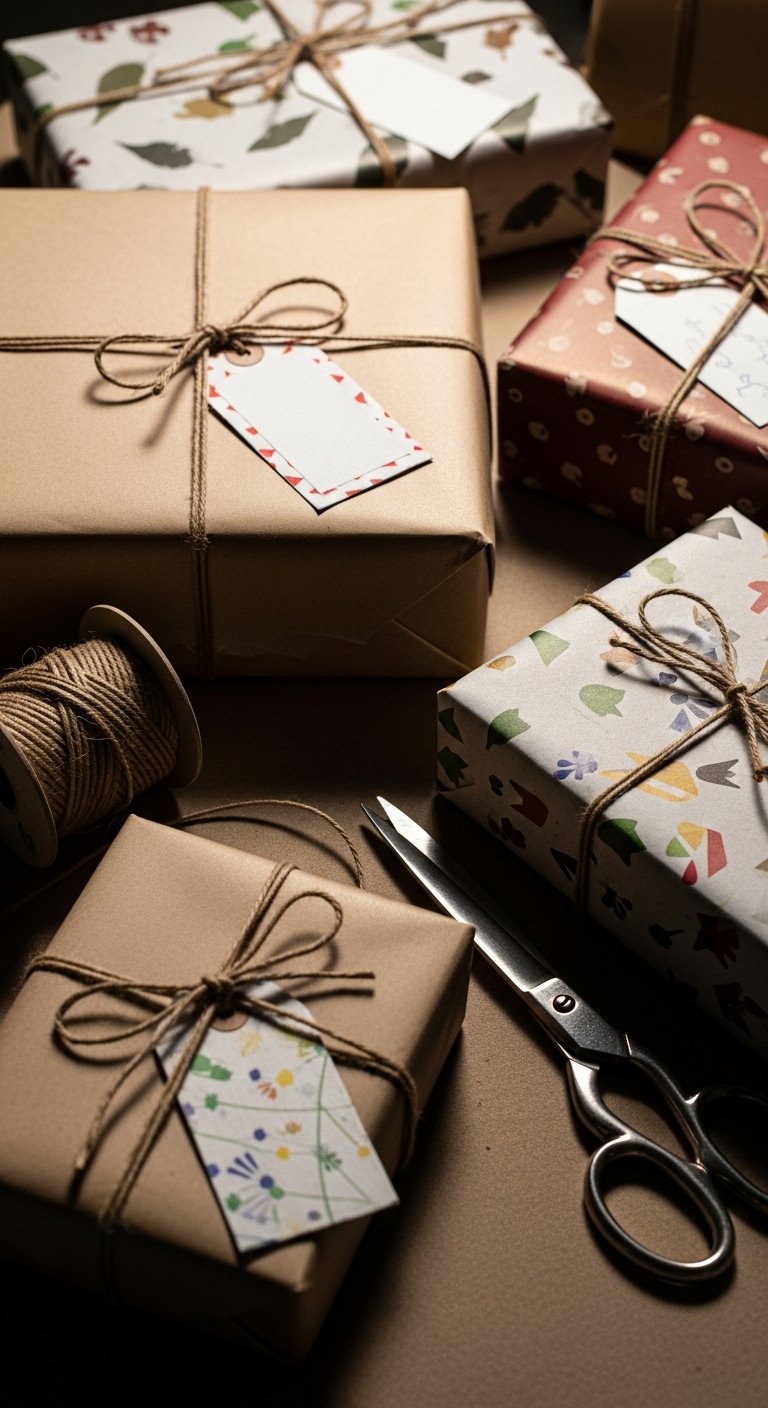
Wrapping gifts with recycled paper and handmade tags feels more personal than buying printed wrap. I keep a roll of kraft paper and stamp or stencil a repeating motif in one color. Use tags cut 2.5×4 inches and tie with 18-inch twine. This method is cheap and works across holidays. The main mistake is heavy ornamentation that makes the gift look busy. Keep one accent ribbon or tag and let the paper do the work. For stamps, a hand-carved stamp kit is a tiny splurge that pays off.
Your Decor Shopping List
Textiles
- Honestly the best $35 I have spent. Chunky knit throw in cream 50×60 inches, great over sofas and reading chairs
- 22-inch down-filled linen pillow covers, set of 2 in warm gray for layering
Wall Decor
- Heavy-weight cardstock pack, assorted colors 100 sheets, good for flowers and collages
- 8×10 tabletop frames, set of 6 for folded-photo frames and rotating art
Tools & Adhesives
- Self-healing cutting mat and rotary cutter set for crisp shapes
- Hot glue gun with low-temp and sticks essential for quick assembly
Lighting & Finishes
- Small LED fairy lights with battery pack for mobiles and lanterns
- Clear craft sealant spray for trays and beads
Budget Finds
- Origami paper pads, 6×6 inch multi-color, under $10
- Washi tape and craft twine set for garlands and banners
Shopping Tips
White oak beats dark wood in 2026. Design feeds have shifted completely. These white oak floating shelves look current, not dated.
Grab origami paper pads for $10. Swap colors every season and the whole room feels different.
Curtains should puddle or kiss the floor, never hang halfway up. These 96-inch linen panels are right for standard 9-foot ceilings.
Everyone buys five small succulents. One single 6-foot fiddle leaf fig has ten times the visual impact.
Lead with durable supplies if something will see wear. Clear craft sealant spray keeps paper trays and coasters usable.
If you are indecisive about a gallery wall, start with brass picture ledges to swap art without new nail holes.
Frequently Asked Questions
Q: Can paper crafts survive real daily use on a coffee table?
A: Yes, with the right finish. Seal coasters and trays with a clear craft sealant and use cork or felt bases to protect paper from moisture and heat. Keep hot mugs on saucers to be safe.
Q: Which projects are best for renters who cannot make holes?
A: Paper garlands, framed panels, and shelf backings work well. Use removable adhesive strips and double-sided tape. Folded book art and tabletop frames add interest without wall damage.
Q: How do I avoid a craft project looking cheap?
A: Stick to three colors, use heavyweight paper, and add one real material like a wood frame or ceramic bowl to mix textures. The rule of three and an 80/20 color ratio helps the eye settle.
Q: Can I mix real plants with paper pots?
A: Yes if you use a plastic liner inside the paper pot. For tall, high-impact plants in small spaces, a faux option like a mini faux succulent saves maintenance.
Q: What size should paper flowers be for a bedroom headboard area?
A: Aim for three to five flowers with diameters from 10 to 18 inches. Arrange in a loose 3:2 ratio across the wall so the composition feels balanced.
Q: Are there quick paper craft ideas for last-minute guests?
A: Tissue paper lanterns, paper garlands, and a DIY paper centerpiece take under an hour. Keep a kit with glue, scissors, and paper pads handy for fast styling.
Q: My living room still feels flat after trying a few projects. What else should I try?
A: Missing texture is the usual culprit. Add a chunky throw, one plant with height, and a paper art piece with depth. Layering three textiles with different scales fixed that exact problem for me.

