

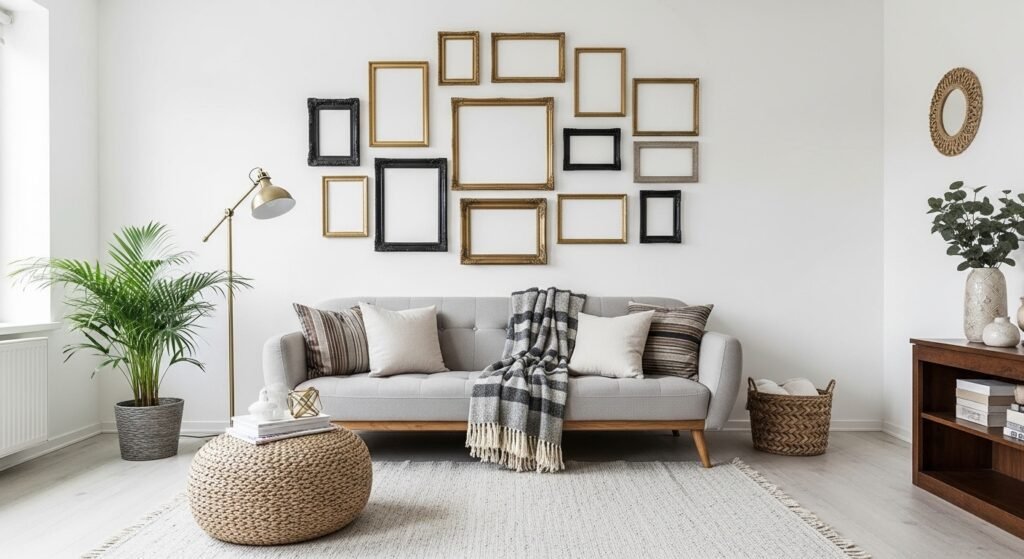
My living room had nice furniture but it still felt like a waiting room. Took me embarrassingly long to notice the frames I grabbed at the last minute were all different sizes and cheap plastic. Swapping them out was the single change that finally made the room feel like it belonged to someone.
These frame ideas lean modern-traditional with a few cozy and rustic options. Most projects cost $10 to $60, with one or two splurges under $120. They work for living rooms, bedrooms, hallways, and small entryways where scaled artwork actually matters.
Clean Minimal Black Frames For A Modern Living Room
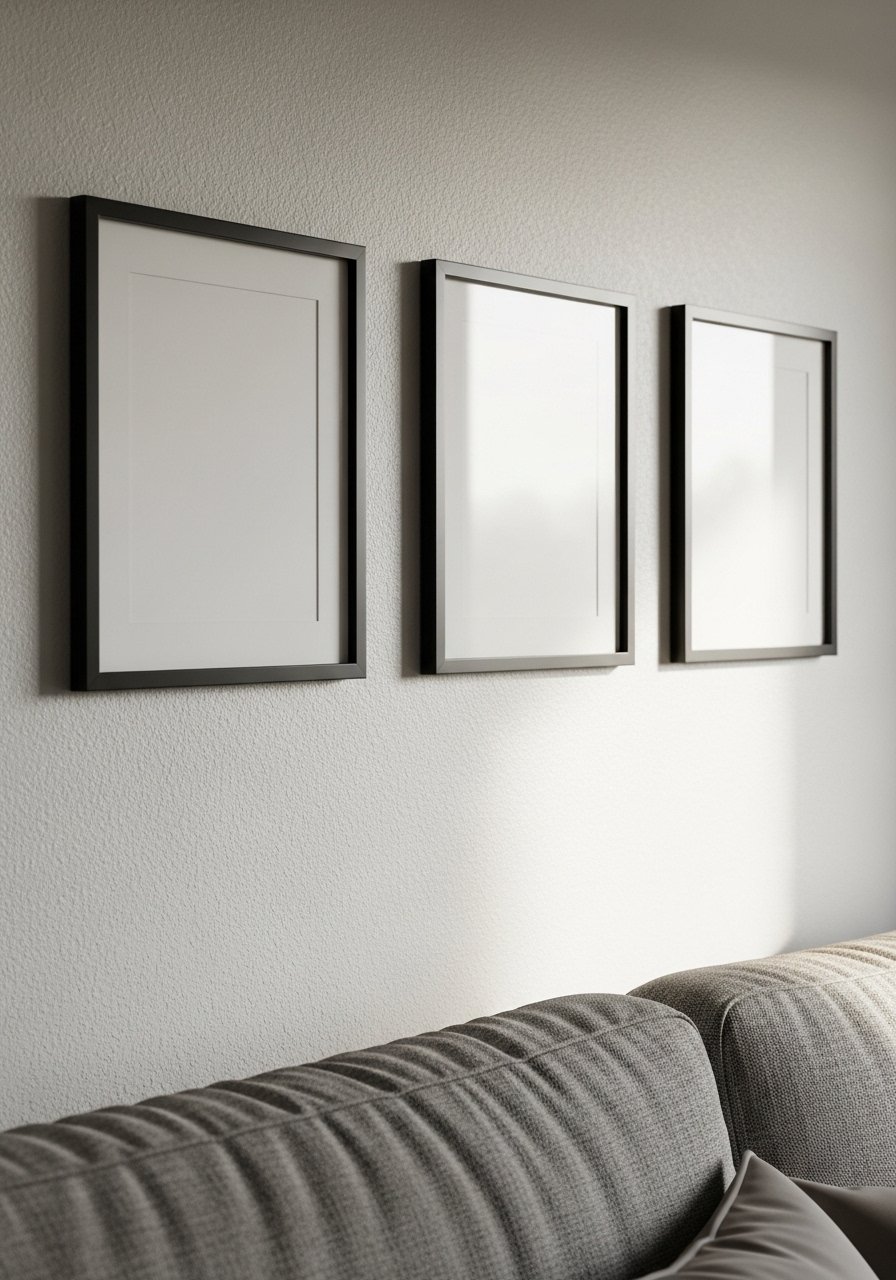
The easiest premium trick is matching slim black frames across a cluster. The visual math is simple, two inches between frames, center at 57 inches from the floor. It makes the whole arrangement read as intentional instead of cluttered. I used 1/2-inch rabbet frames and swapped glossy photos for prints with 1.5-inch white linen mats to feel gallery-level without the cost. A common mistake is mismatched frame widths. Keep the same profile and you avoid the roadside-mismatched look. Try thin black frames for under $25 each and pair with archival tape for straight mounts. This works best in a modern living room and sits around $40 to $90 for a three-piece set.
Wide Linen Mats For A Hallway Gallery Wall
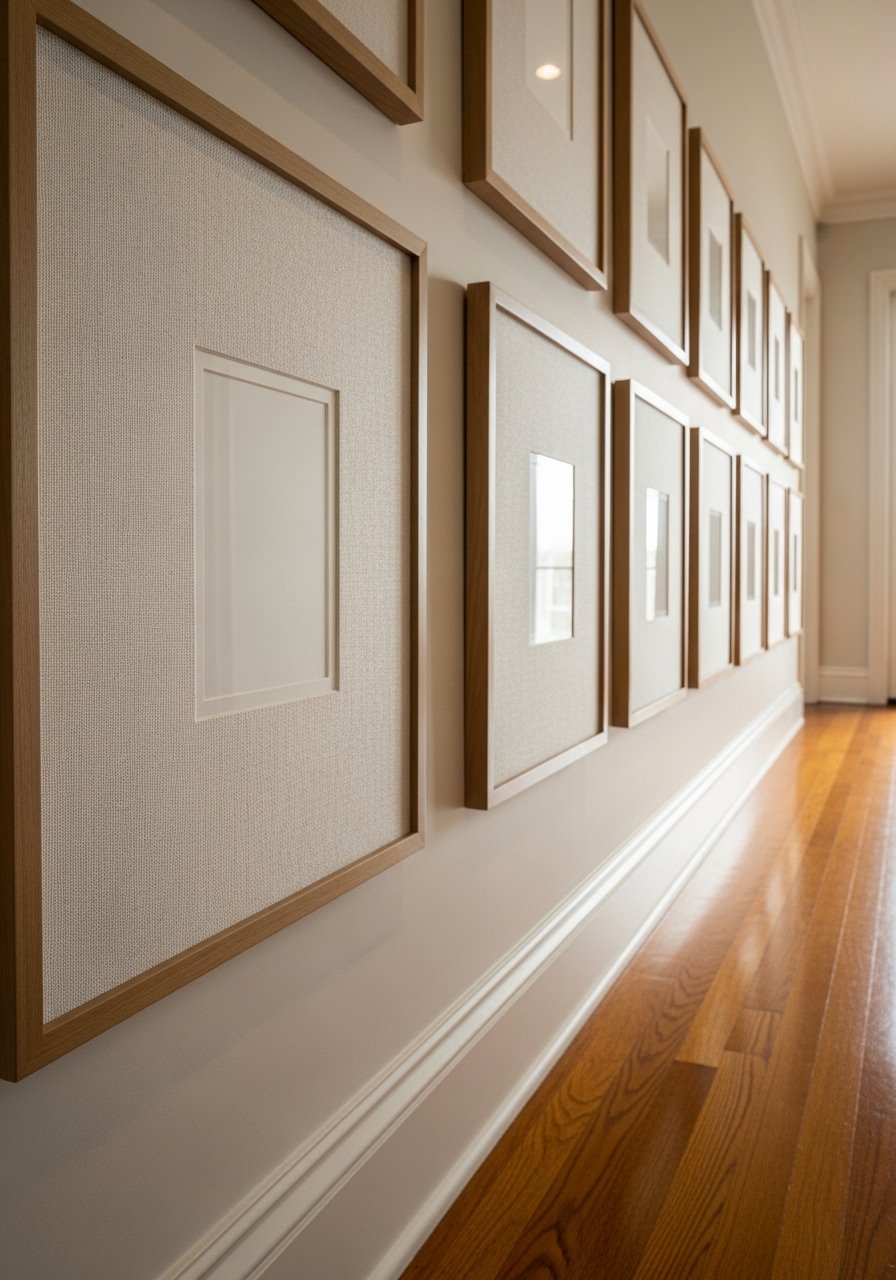
Wide linen mats give art room to breathe and instantly read as custom. I cut mine to a 2:3 art-to-mat ratio, which keeps prints centered visually. For a hallway, stagger heights but keep consistent mat widths, and use 2-3 inch spacing between frames. People often skimp on mat width because they think smaller is neater. That makes pieces look like thrift finds. Use pre-cut 16×20 mats or buy a pack of linen matboard and trim with a craft knife. I used neutral linen matboard sheets and saved about half the cost of framing. Budget here is $15 to $60 depending on number of mats.
Gold Trim Vintage Look For A Cozy Bedroom
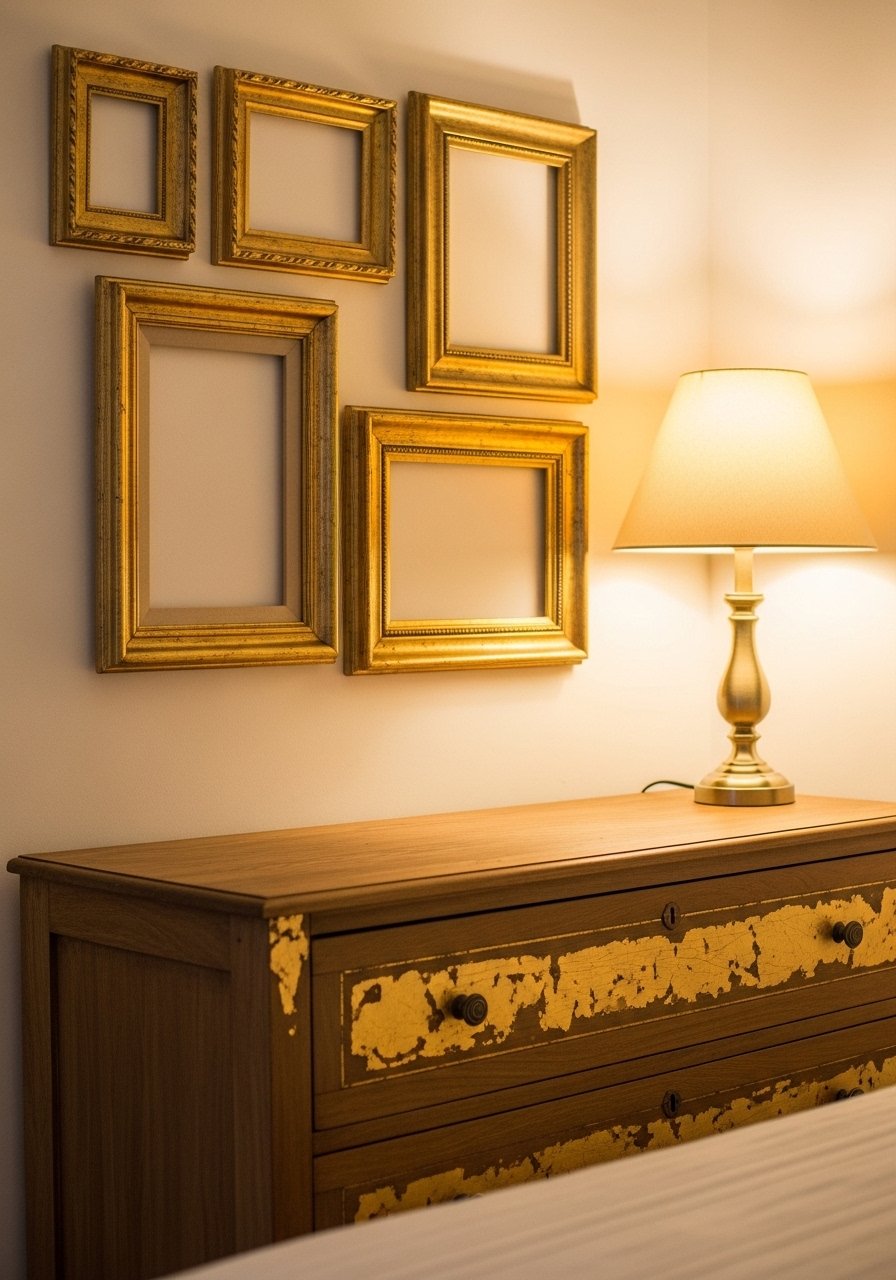
A thin gold trim gives frames a vintage feel without being fussy. I glued gold leaf tape to plain wood frames and gently sanded edges to age them. The result reads like an heirloom, and it warms up bedside lighting. Common mistake is over-polishing the gold. Keep a little imperfection for character. This is a great fit for a cozy bedroom and pairs nicely with linen pillows. Use a small gold leaf kit like gold-leaf-gilding-tape for about $12 to $25. Aim for a 1/4-inch trim on frames under 18×24 to keep the proportions friendly.
Floating Frame Shelves For An Entryway That Switches Easily
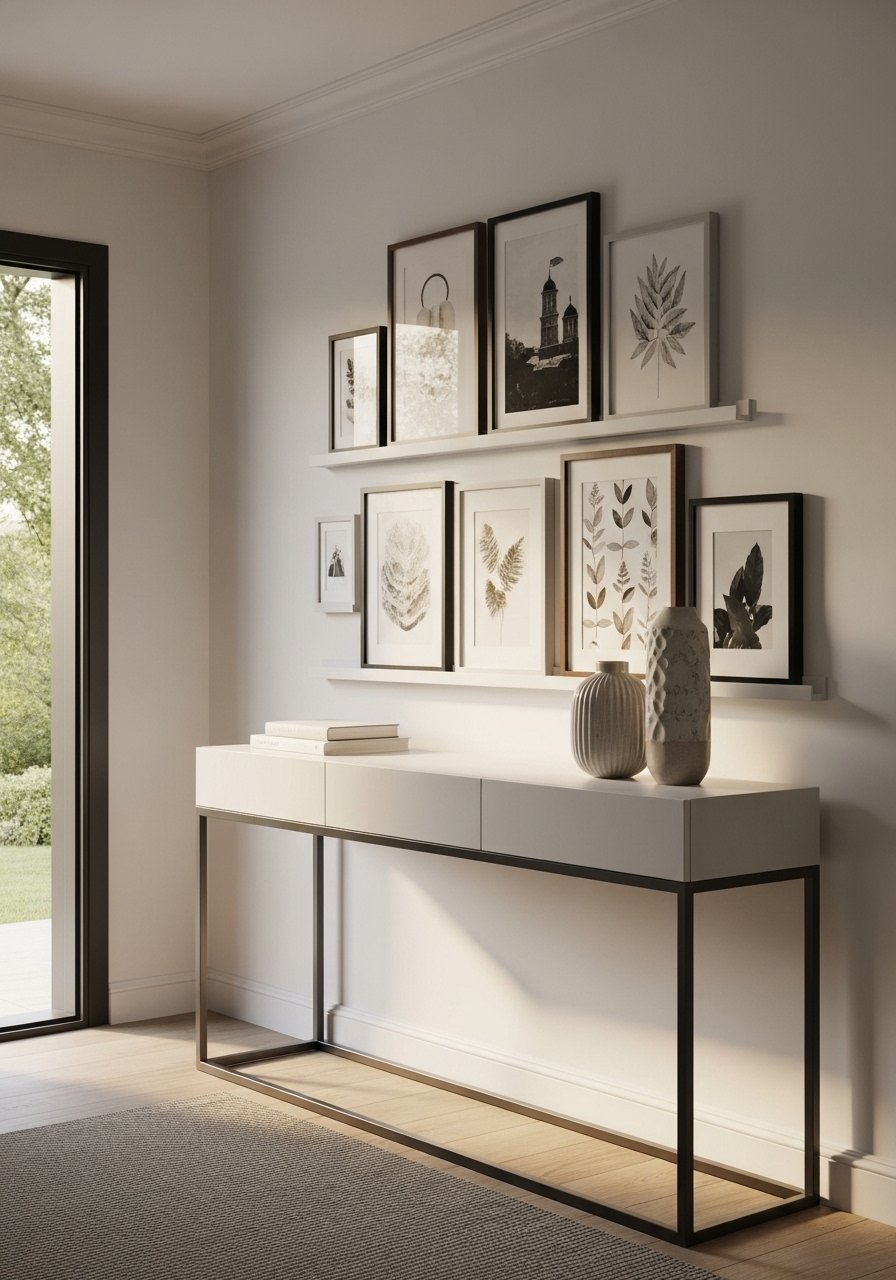
Picture ledges let you layer frames and swap art without new holes. I mounted two 24-inch ledges, one 6 inches above the other, and styled with frames leaning forward slightly for depth. The problem most people run into is crowding the ledge. Leave one-quarter of each ledge empty so it breathes. I keep a stack of seasonal prints to rotate. Try wood-picture-ledges in white oak or black for around $18 to $40. This trick works for narrow entryways and home offices and complements the gallery wall idea later in this list.
Faux Marble Contact Paper For A High-End Dining Room Frame
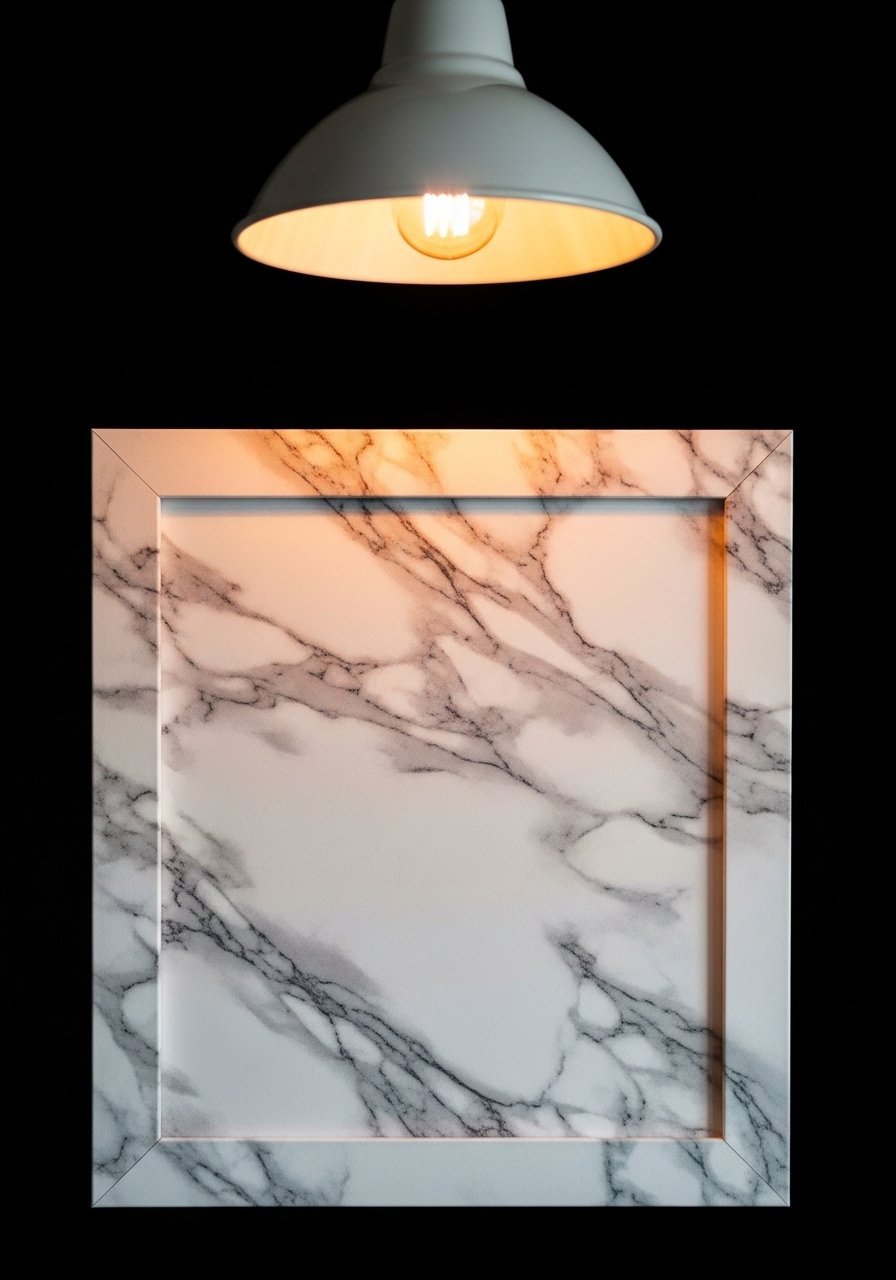
Wrapping cheap frames with marble contact paper makes them read twice their price. I used a single sheet across 11×14 frames and smoothed seams with a straight edge. The detail most people miss is wrapping the inside lip of the frame as well, so it looks continuous from all angles. Avoid using busy marble patterns on small frames or it looks tiny and toy-like. Gray-white-marble-contact-paper runs $8 to $20 a roll and is a fast budget upgrade for dining room walls. Pair with matless prints for a clean, modern look.
Reclaimed Wood Frames For A Rustic Family Photo Wall
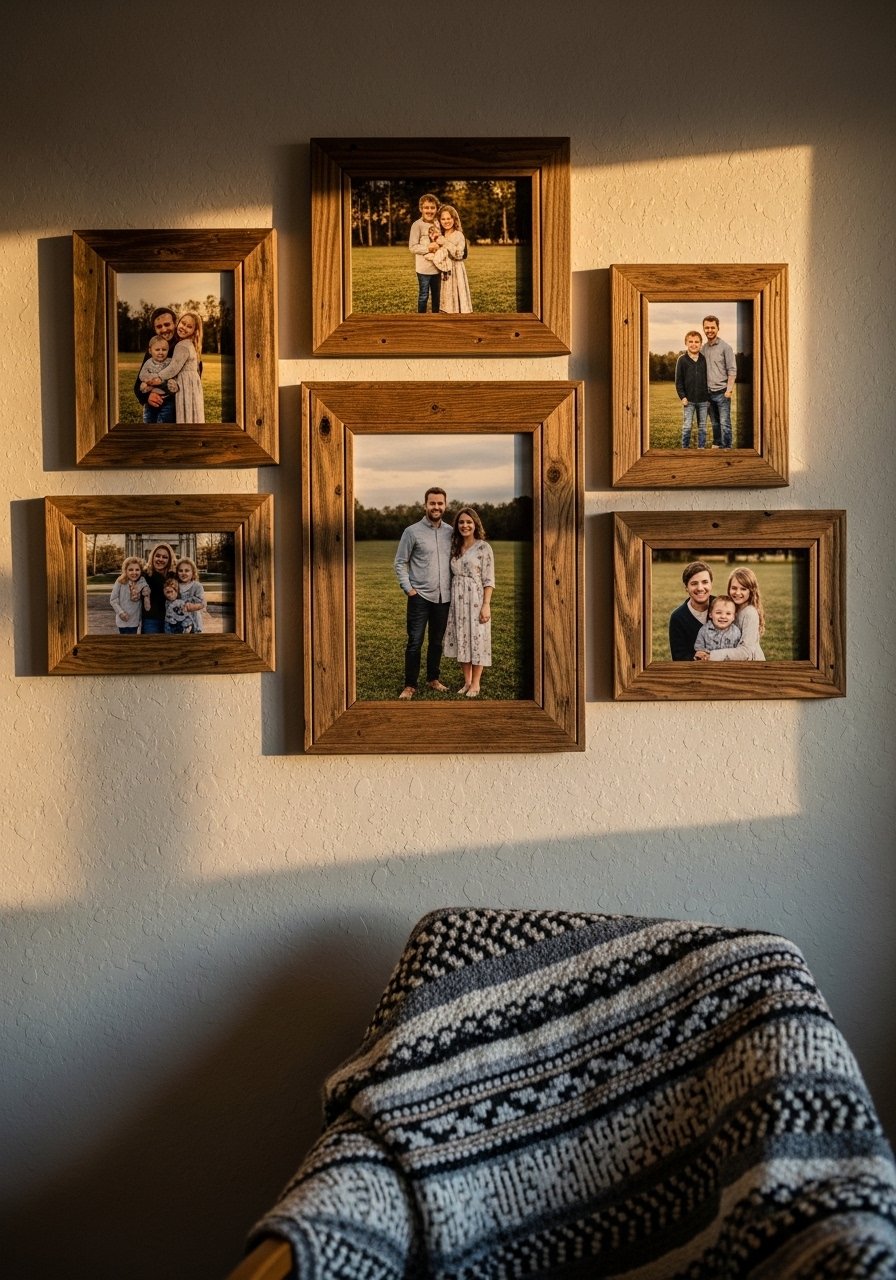
Reclaimed wood frames add weight and personality to family photos. I cut boards to 1.5-inch widths, joined corners with wood glue and small nails, and finished with tung oil. The specific ratio I use is a 2-inch frame on photos smaller than 11×14, and a 3-inch frame for anything larger. A rookie mistake is sanding off all the character. Keep knots and nail holes for authenticity. If you do not have a saw, reclaimed-wood-frame-kits are an easy alternative for $25 to $70. Works for family rooms and rustic kitchens.
Mixed Metal Grouping For A Staircase With Movement
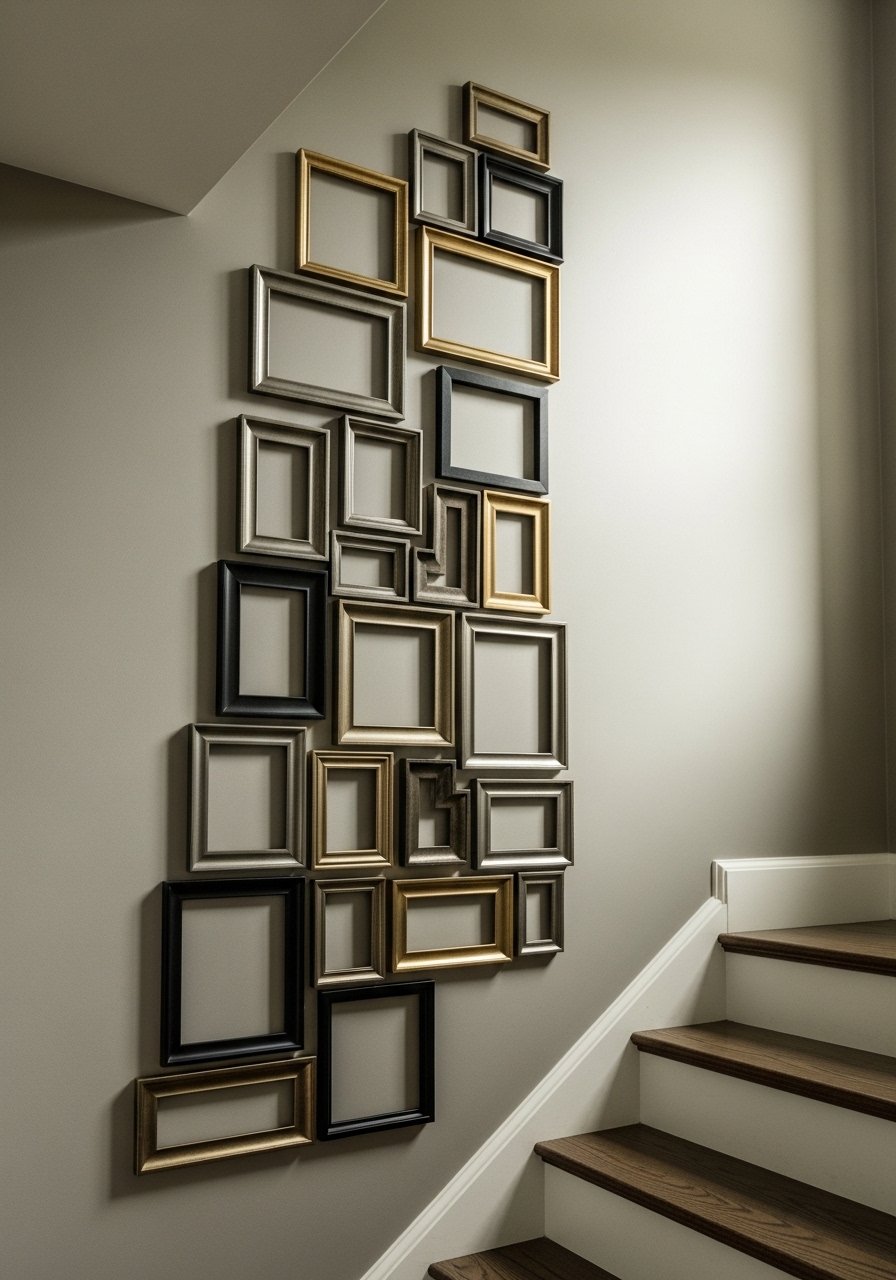
Mixing metals is more modern than matching everything. I balance metals by keeping one dominant metal and using the others as accents, aiming for an 80/20 ratio. On my staircase, brass dominated and brushed black was the accent. People often match every knob and frame to the same finish. That looks staged. Space frames 2-3 inches apart and maintain the same centerline to keep rhythm. Try mixed-metal-picture-frames if you want a quick cohesive set without sourcing separate frames. Budget varies, $40 to $120 depending on size.
Oversized Single Print Without a Mat For High Ceilings
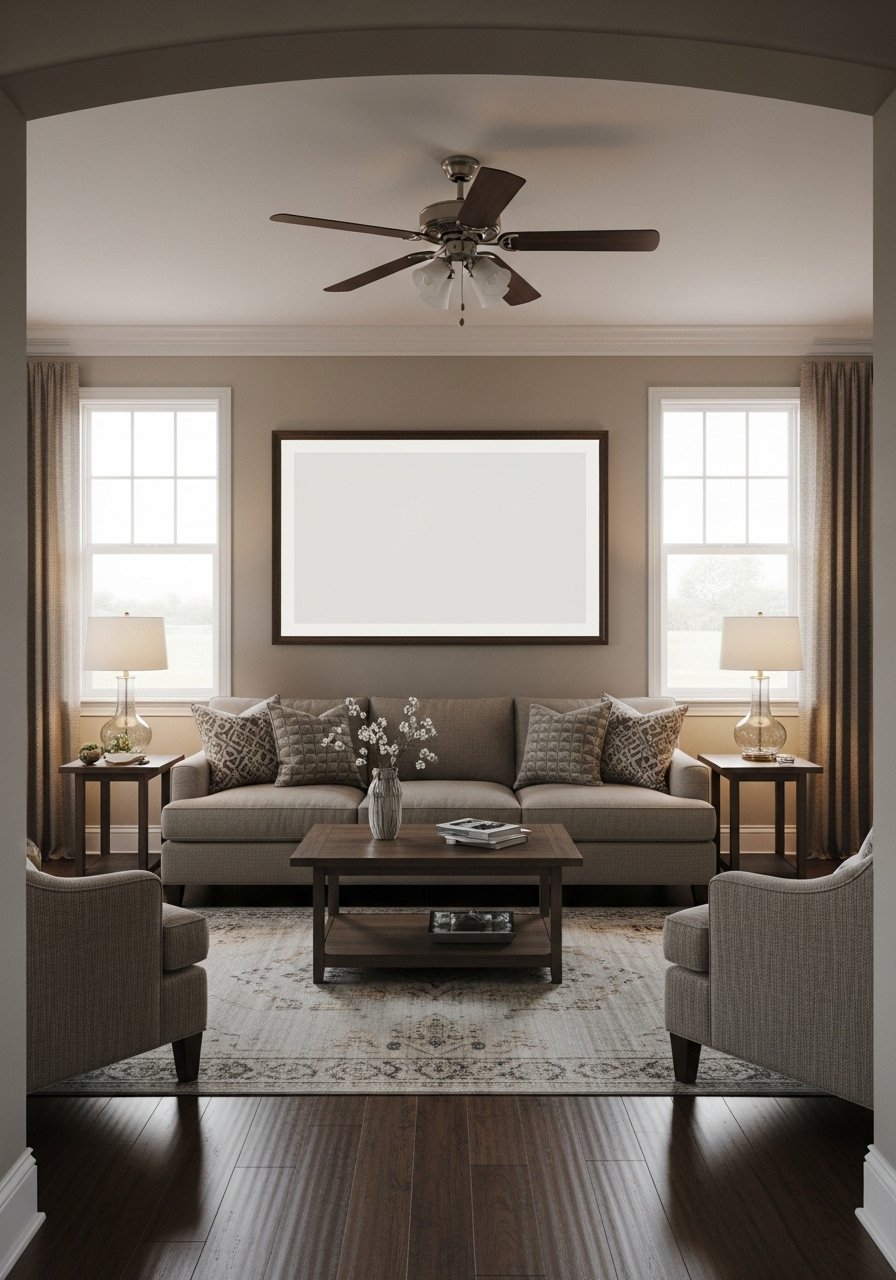
One oversized print can read more premium than a lot of small pieces. I framed a 30×40 print and hung it so the bottom edge sat 8 inches above the sofa back. That spacing makes the art feel connected to furniture. A common error is choosing a print too small for the wall. If you have 8-9 foot ceilings, go at least 24 inches wide for balance. 30×40-frame-wood options are affordable and cut the framing cost because you only deal with one piece. This approach is great for high-ceiling living rooms and entry halls.
Fabric-Covered Mats For Textural Bedrooms
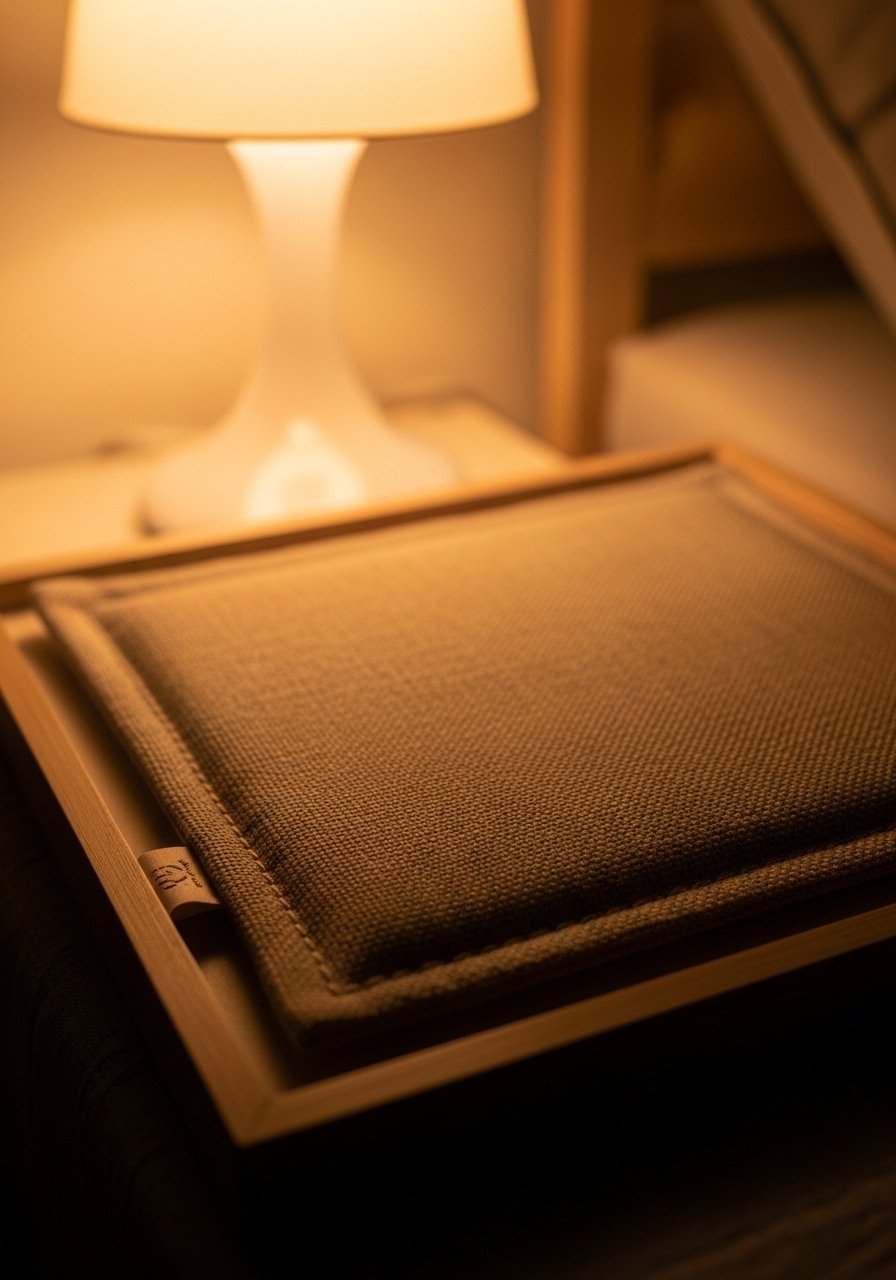
Covering mats with fabric changes the texture game. I used a washable linen in natural and glued it to 11×14 mats, trimming corners neatly. The detail most guides skip is fusing an extra inch at each corner and cutting a tiny diagonal notch so the fabric sits flat. Fabric mats pair beautifully with wood frames and layered textiles on the bed. Keep fabric light in tone for small bedrooms to avoid soaking up light. neutral-linen-fabric-by-yard is inexpensive and lets you match pillows you already own. Expect $15 to $40 per frame project.
Switchable Frame Ledge For A Home Office Gallery
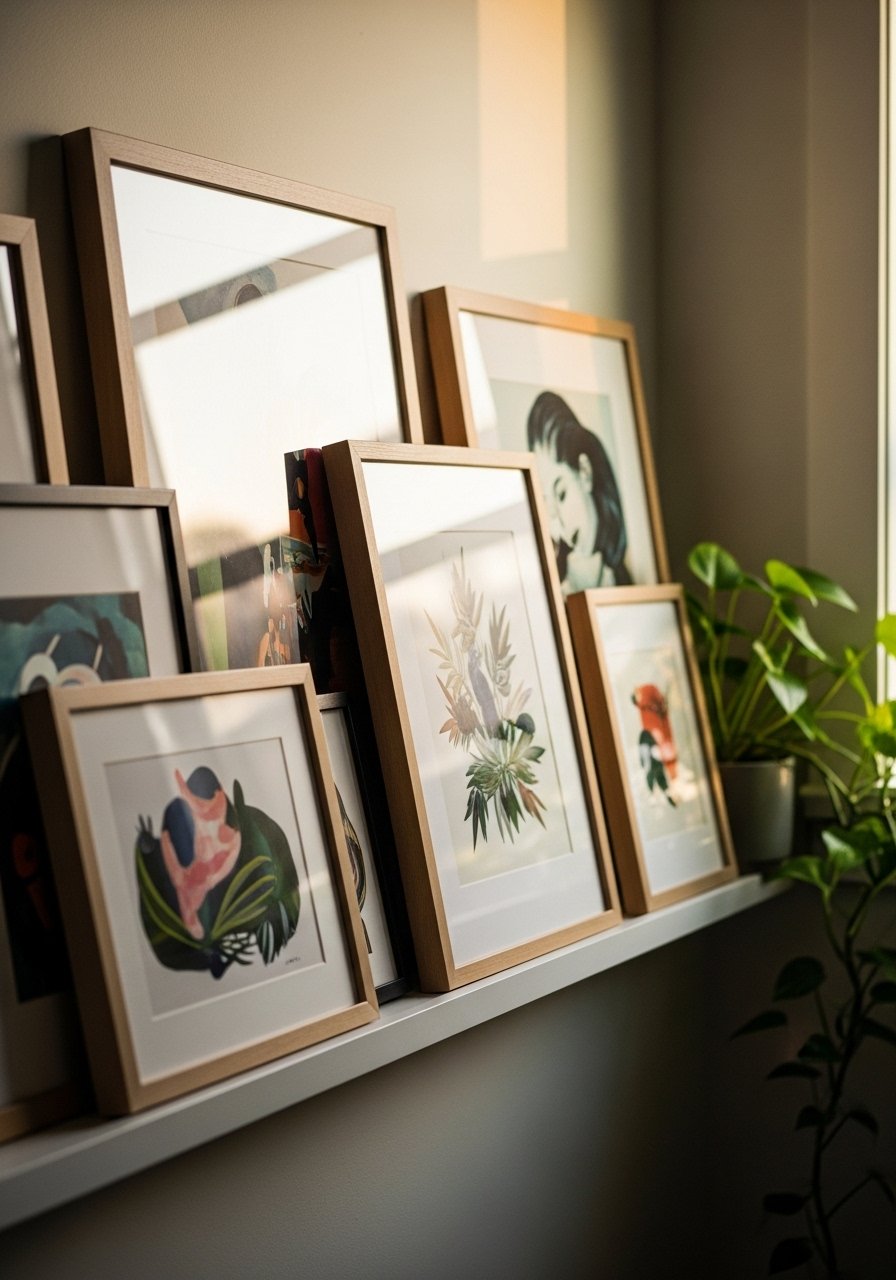
For a home office I created a switchable wall using shallow ledges and lightweight frames. Every morning I swap one print to match my mood or meeting background. The productivity benefit surprised me. A mistake I made early on was using heavy glass frames which fell off the ledge. Swap glass for acrylic prints to keep things safe. I use acrylic-frame-replacements in 8×10 and 11×14 sizes to keep costs down. This is renter-friendly and inexpensive, around $30 to $70 total.
Painted Ombre Frames For A Kid’s Playroom

Ombre frames are playful and low-commitment. I taped stripes and blended two colors per frame. Start darker at the bottom and fade up for a grounded feel. The mistake is using too many colors in one cluster. Pick a palette of three and repeat each color twice to form visual rhythm. For little hands, use water-based finish and acrylic instead of glass. acrylic-paint-multi-color-set works well and is cheap, around $12 to $25. Kids rooms are forgiving, so experiment.
Shadowbox Keepsake Frames For A Nursery Or Memory Wall
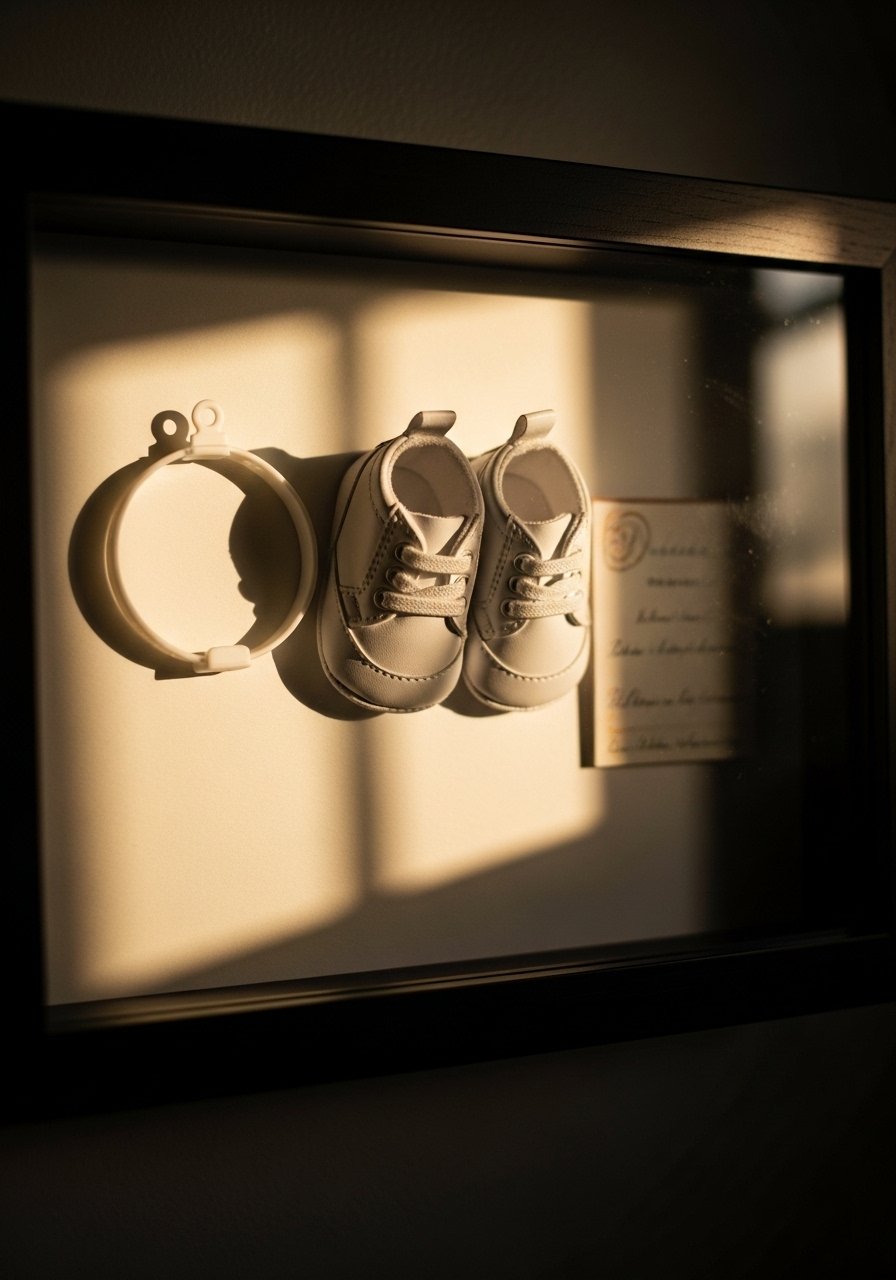
Shadowboxes let you preserve things that deserve depth. I used one for a tiny pair of shoes and a concert ticket, arranging items so nothing overlaps awkwardly. The trick is planning negative space, give each object one to two inches around it. People cram things in and the box reads chaotic. Use acid-free tape for textiles to avoid long-term damage. deep-shadowbox-frames are great for this and range $30 to $80 depending on size. Works in nurseries, hallways, and memory walls.
Leather-Wrapped Frames For A Masculine Den

Leather wrapping adds instant warmth and a tactile richness. I wrapped small frames with leather strips and secured with brass tacks at the back so the front looks seamless. The specific detail I kept was to stitch the leather at the corner to avoid peeling. People assume leather is only for sofas. It looks deliberate on 8×10 and 11×14 frames in a den when paired with dark woods. Try adhesive-leather-strips-for-crafts if you do not want to cut hides. Budget $20 to $60 depending on leather quality.
Trim-Molding Frame Upgrade For A Formal Dining Room
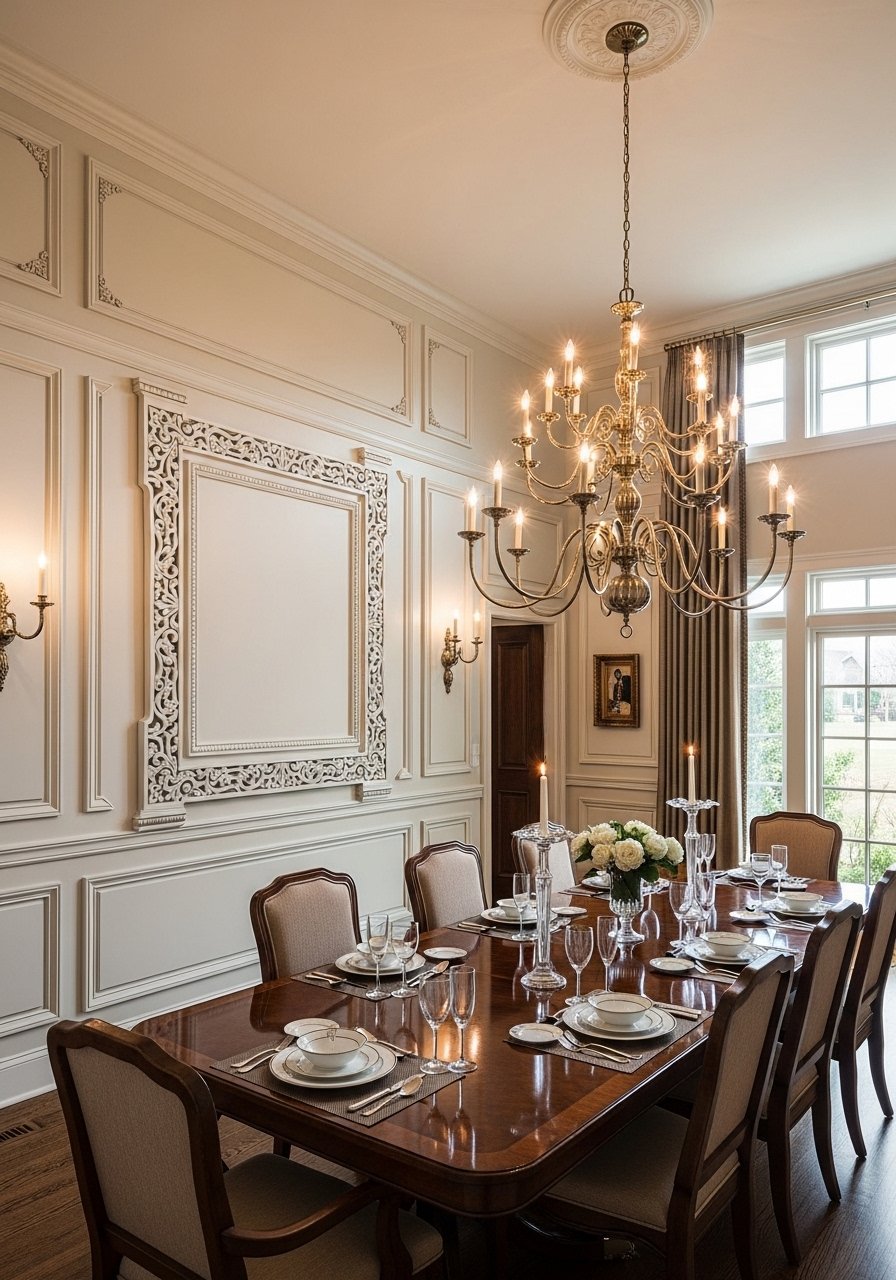
Gluing decorative trim to a plain frame reads custom and expensive. I used 3/4-inch crown molding pieces cut to mitered corners and stained them to match my table. The ratio I use is a 1:4 trim to frame width, so the molding looks in proportion. Avoid using oversized trim on small frames; it overpowers the art. Use wood glue and a couple of 1-inch brads for strength. decorative-molding-samples allow you to try stains first. This is a splurge under $120 that makes printed art feel historic.
Washi Tape Accent Frames For A Rental-Friendly Update
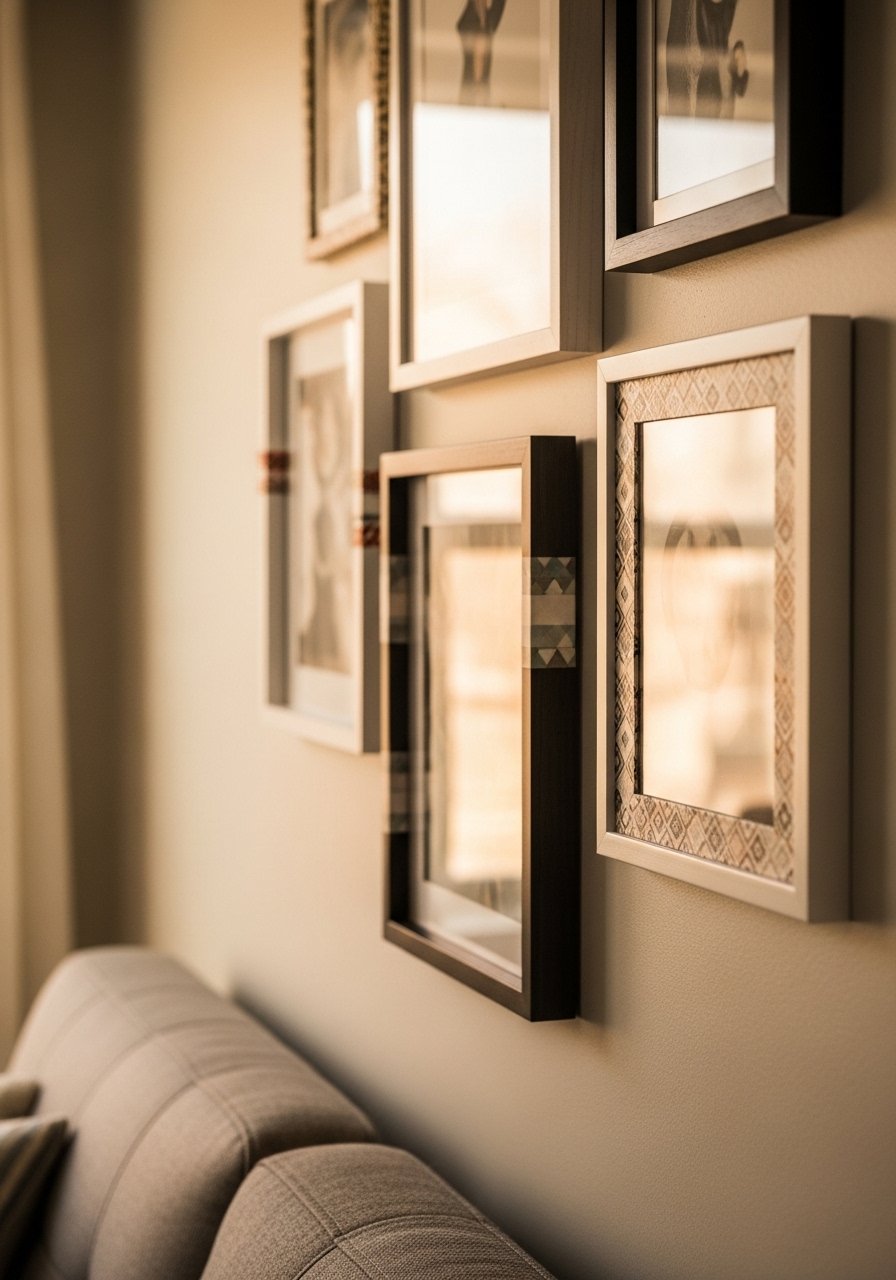
Washi tape is the fastest renter-friendly update. I outlined 5×7 frames with a 1/4-inch stripe of patterned tape and swapped it monthly. The cassette of patterns means the same cheap frame can look seasonal. Mistake to avoid is using opaque tape with thick seams. Choose thin washi that lays flat and remove slowly to protect paint. patterned-washi-tape-assortment is cheap, $6 to $12, and perfect for apartments. Pair this with the floating ledge idea for instant change with no holes.
Your Decor Shopping List
Textiles
- Honestly the best $40 I have spent. 22-inch down-filled linen pillow covers, set of 2 in natural and charcoal for layering
- Chunky-knit-throw-blanket-cream (~$35-55). Drape over the sofa arm for instant warmth
Wall Decor
- thin-black-frames in 11×14 and 16×20, budget $15-40 each
- wood-picture-ledges 24-inch in white oak (~$18-40)
Art Supplies
- linen-matboard-sheets for custom mats, cut to size
- gray-white-marble-contact-paper for faux stone finishes
Craft Tools
- reclaimed-wood-frame-kits if you do not have power tools
- gold-leaf-gilding-tape for trims and accents
- deep-shadowbox-frames for keepsakes
Budget Finds
- patterned-washi-tape-assortment for quick seasonal updates, similar at Target
Many of these items are also similar at Target or HomeGoods if you prefer to see materials in person before buying.
Shopping Tips
White oak beats dark wood in 2026. Design feeds have shifted completely. These white-oak-floating-shelves look current, not dated.
Grab velvet-pillow-covers for $12 each. Swap them every few months and the whole room feels different.
Curtains should puddle or kiss the floor, never hang halfway up. 96-inch-linen-curtain-panels are right for standard 9-foot ceilings and instantly make windows feel tall.
If you are buying frames for a gallery wall, plan first on paper. Use paper-frame-templates to tape shapes to the wall so you know scale before committing.
One large plant beats five small succulents. Place a 6-foot-fiddle-leaf-fig-artificial in the corner if you need height without maintenance.
Swap glass for acrylic on frames in kid areas. acrylic-frame-replacements keep art visible and reduce breakage risk.
Frequently Asked Questions
Q: What height should I hang frames for a standard sofa?
A: Aim for the center of the art to be about 57 inches from the floor, and leave 6 to 8 inches between the bottom of the frame and the sofa back. For oversized pieces, the bottom edge can sit 8 to 10 inches above the furniture.
Q: Can I mix mats and matless prints in the same gallery wall?
A: Yes, mix them but keep consistent mat widths or a consistent visual margin. I like a 1.5-inch mat for small pieces and a 2.5-inch mat for medium pieces to maintain balance.
Q: How much spacing should I leave between frames in a cluster?
A: Generally 2 to 3 inches between frames works well. For very large groupings you can bump to 4 inches. The spacing determines whether the cluster reads as one unit or separate pieces.
Q: Can I make frames look premium on a tight budget?
A: Absolutely. Small finishes like a linen mat, swapping plastic for wood, or adding a 1/4-inch gold trim read expensive. linen-matboard-sheets are an inexpensive way to make prints look custom.
Q: Should I use real plants or faux when styling frames?
A: Both. Use real low-care plants like snake plants where light allows. Put an artificial-fiddle-leaf-fig-6ft where you want height without maintenance. Mixing real and faux is fine if you keep scale consistent.
Q: How do I avoid the "cheapo frames mismatch" problem?
A: Pick a single frame profile or keep the same mat width across pieces. Matching a single element brings cohesion even if frames are different finishes. If you must mix finishes, follow an 80/20 rule with one dominant finish and an accent finish.

