

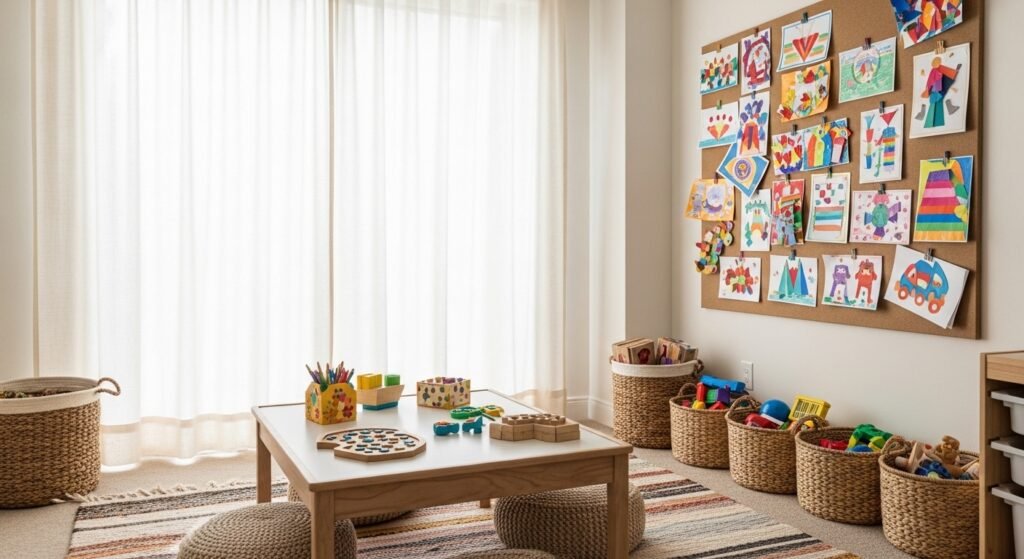
My living room had nice furniture but it still felt like a waiting room. Took me embarrassingly long to figure out it was missing texture and little handmade things that say someone actually lives here. Turning a corner of the house into a crafting station for the kids did more than keep them busy. It made our whole place feel used, loved, and like it belonged to the people who live there.
Spent $400 on a new coffee table. Room still looked off. Spent $35 on a throw and three candles. Suddenly everything clicked. These ideas lean casual family-friendly and slightly modern. Most projects are under $15 each, with a few $25 splurges for nicer paint sets. They work in playrooms, kitchen corners, or any small surface that needs personality.
Pasta Necklace Craft for Fine Motor Practice in the Kitchen
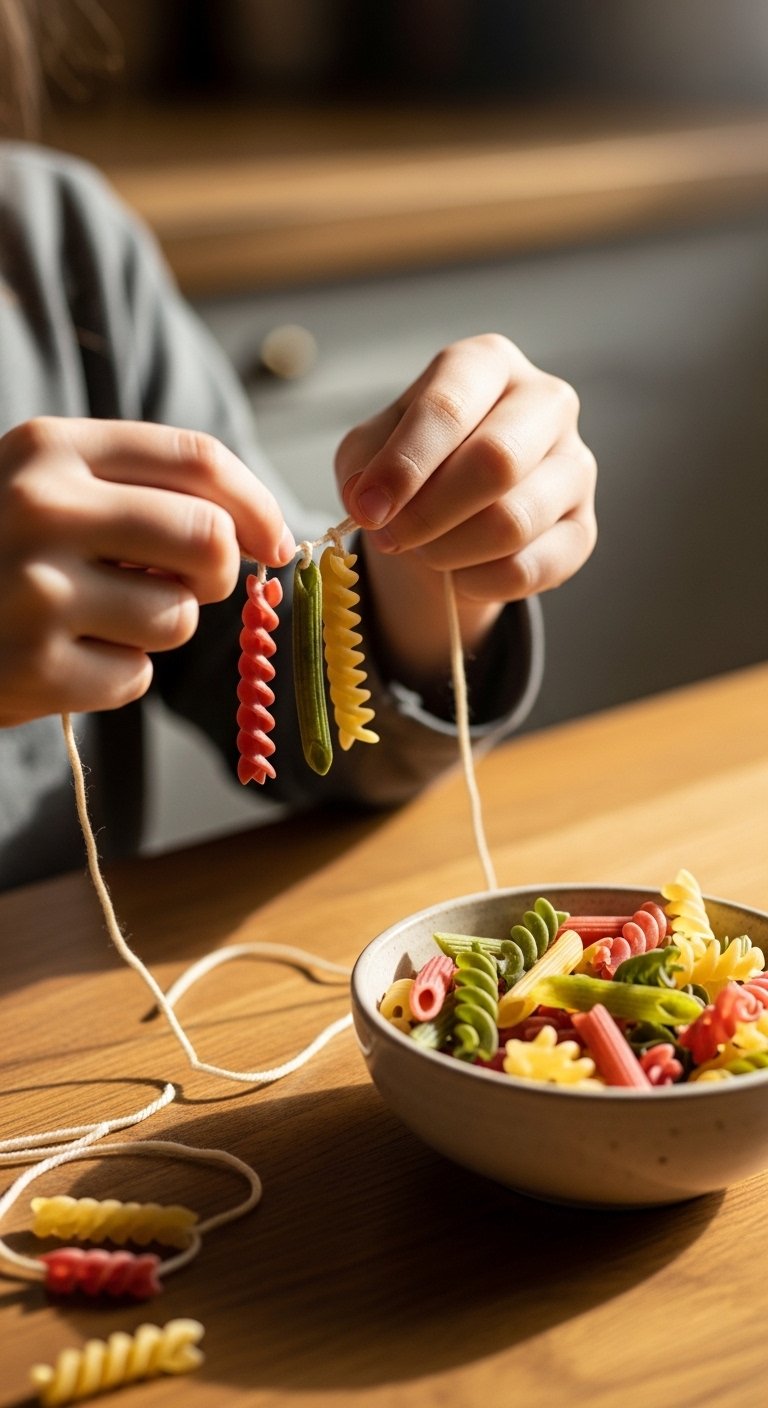
Start with plain tube pasta and basic acrylic paint. The visual wins here are color blocking and rhythm, so pick three colors and repeat them in a pattern roughly every inch. It teaches fine motor control while leaving the table usable afterward. Expect to spend $5 to $12 for pasta and paint. A common mistake is cutting the yarn too short. Measure wrist plus 6 inches so necklaces can knot comfortably. I like using washable tempera paints and colored craft yarn. If you want these to double as decor, string multiple finished necklaces on a branch and hang in a play nook.
Painted Rock Family for Front Porch or Window Ledge
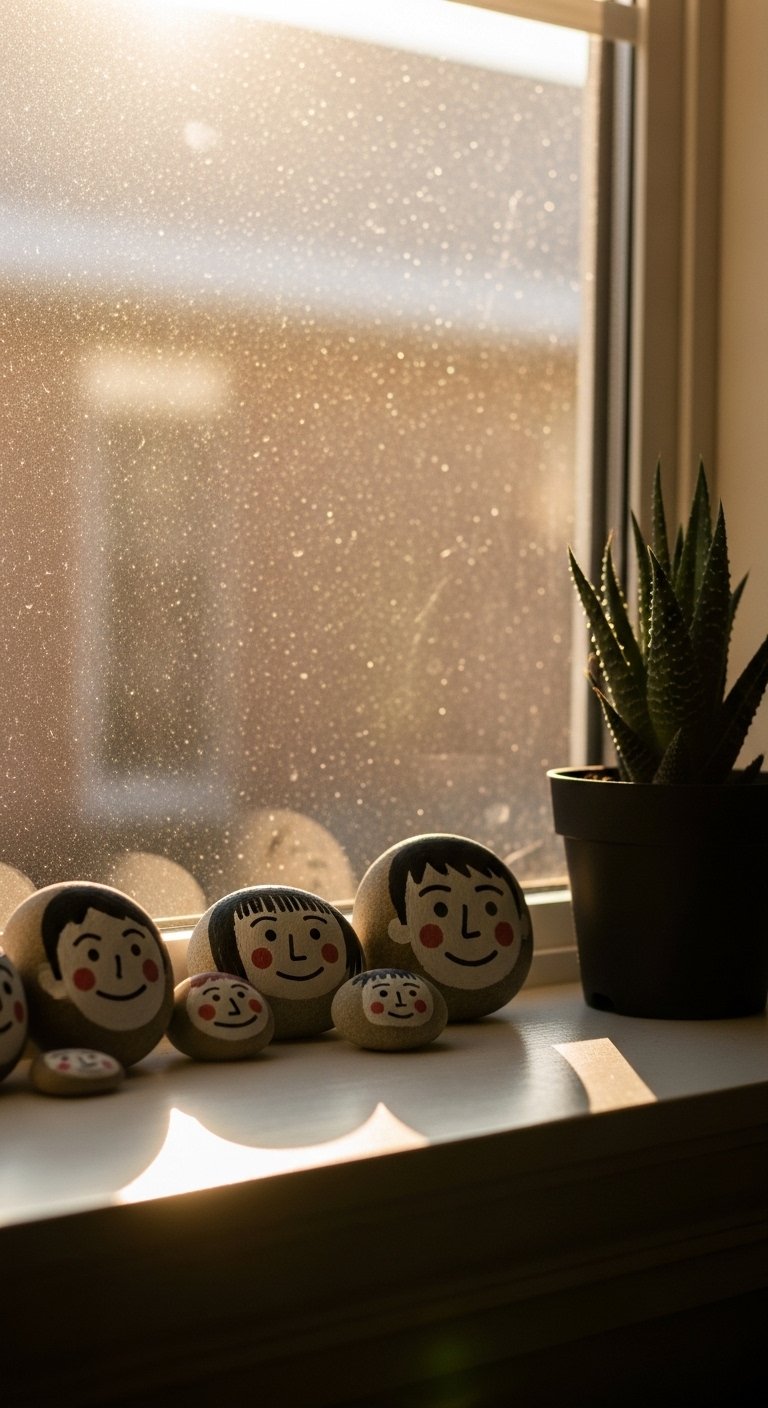
Painting rocks is cheap and portable. We collected smooth stones from a weekend walk, then used a 3:1 paint-to-sealer ratio when finishing so the designs survive damp porches. The result makes a sweet little family display on a porch step or shelf. Budget is about $10 for paint and sealant. A mistake is using paint that flakes, so try acrylic paint pens for crisp lines. Pair painted rocks with a small basket of pebbles for texture contrast. If you have limited outdoor space, these fit perfectly on a 12-inch wide ledge.
Clothespin Puppets for Storytime in a Cozy Corner
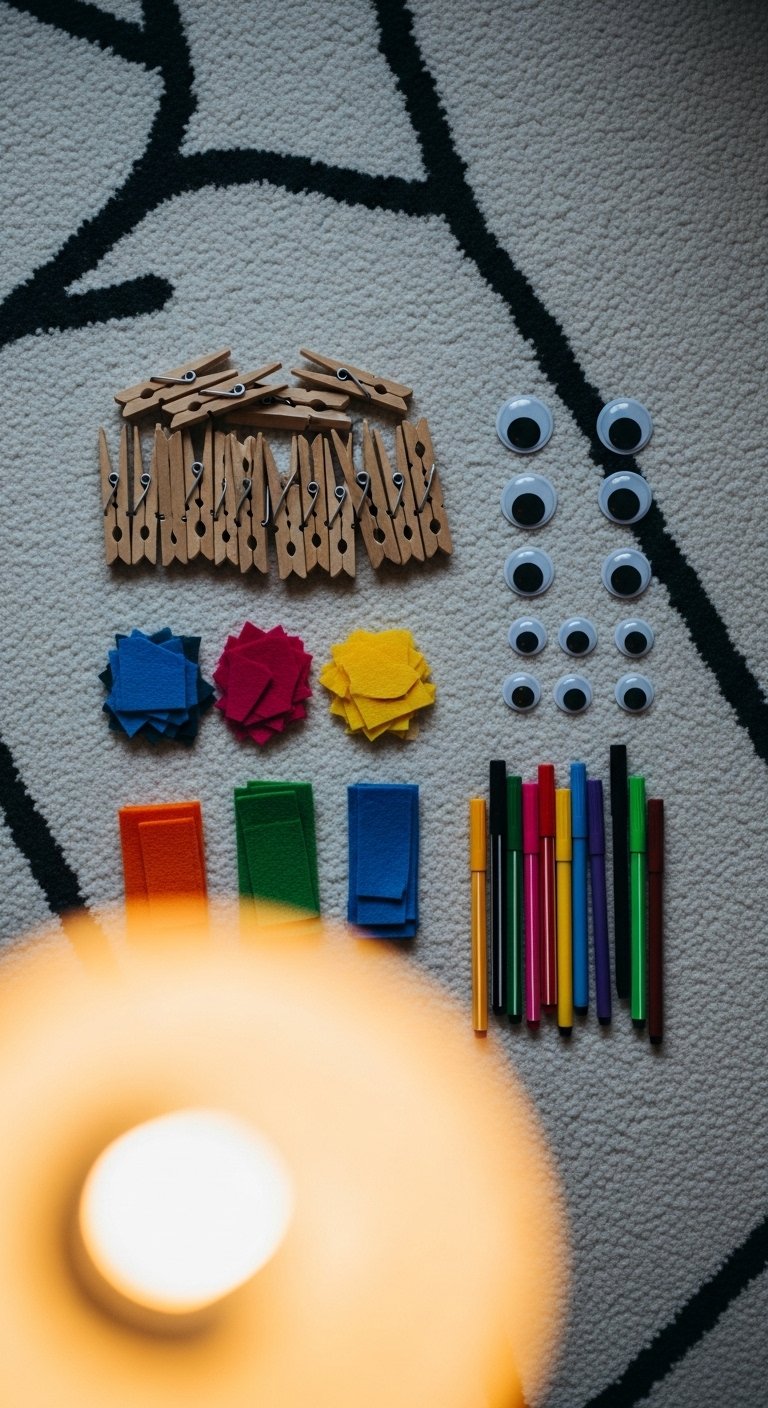
Clothespin puppets sparked my kids’ interest in telling longer stories. You only need clothespins, glue, and scraps of felt. Make a simple template so each puppet has a 1.5-inch square felt body. The visual payoff is huge because puppets bring motion and character to a reading corner. Typical cost under $15. One mistake is using tiny glued pieces without reinforcing them; add a dab of hot glue for durability if older kids handle them. I keep a small craft glue gun and googly eyes pack near the basket so repair is quick.
Recycled Magazine Collage for Fridge Art and Gifts
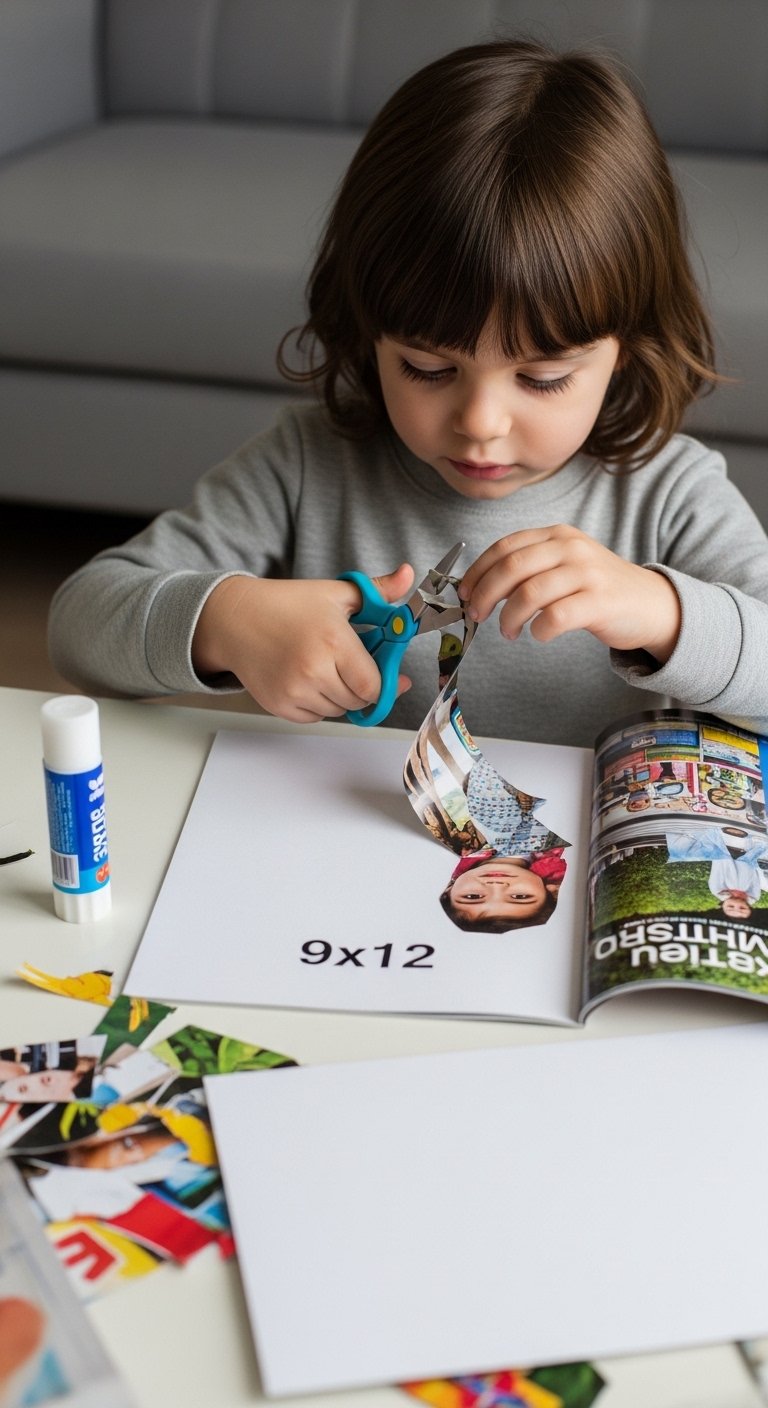
Collage is perfect when you have a tiny stash of supplies. I set a 20-minute timer because attention spans drop, and that keeps projects finishing. Use a 9×12 cardstock base so finished collages are easy to frame in inexpensive 8×10 frames. This activity costs nearly nothing if you save old magazines. A common slip-up is giving too many magazine choices, which overwhelms kids. Limit selections to three magazines or three color families. For finishing, I use acid-free glue sticks so art lasts and can become a gift.
DIY Window Sun Catchers for Bright Corners
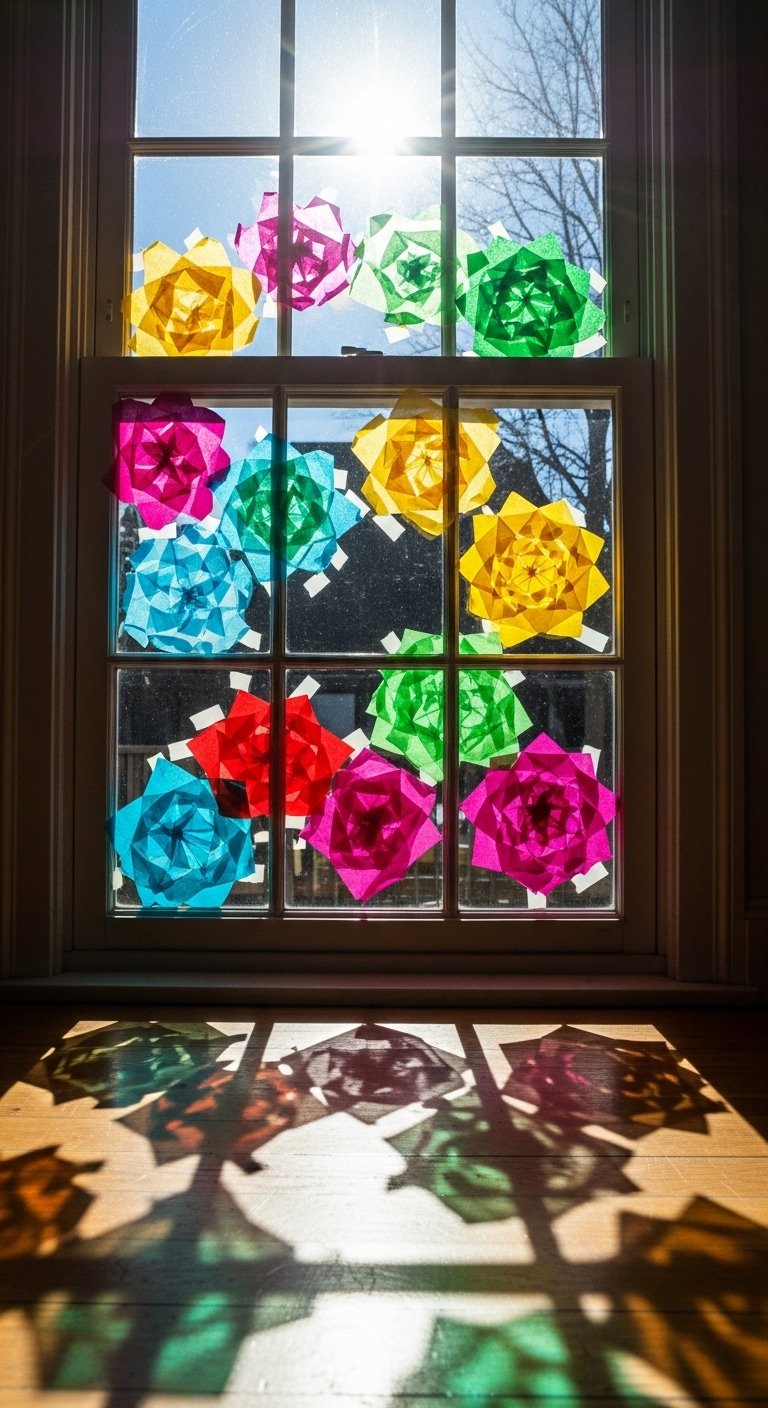
Sun catchers are simple and instantly change a room. Cut clear contact paper into 8×8-inch squares and stick torn tissue pieces inside. The 8×8 size fits most kid-level window panes and creates bold light patches without getting lost on a big window. This project is under $10. Mistake to avoid: sticking the contact paper over wet paint. Let glue dry or everything becomes wrinkled. I store finished pieces on a cardboard sheet between craft sessions. These look great in a breakfast nook or the window seat mentioned in the curtain idea later.
Paw Print Ceramic Tile Coasters for Playroom Table
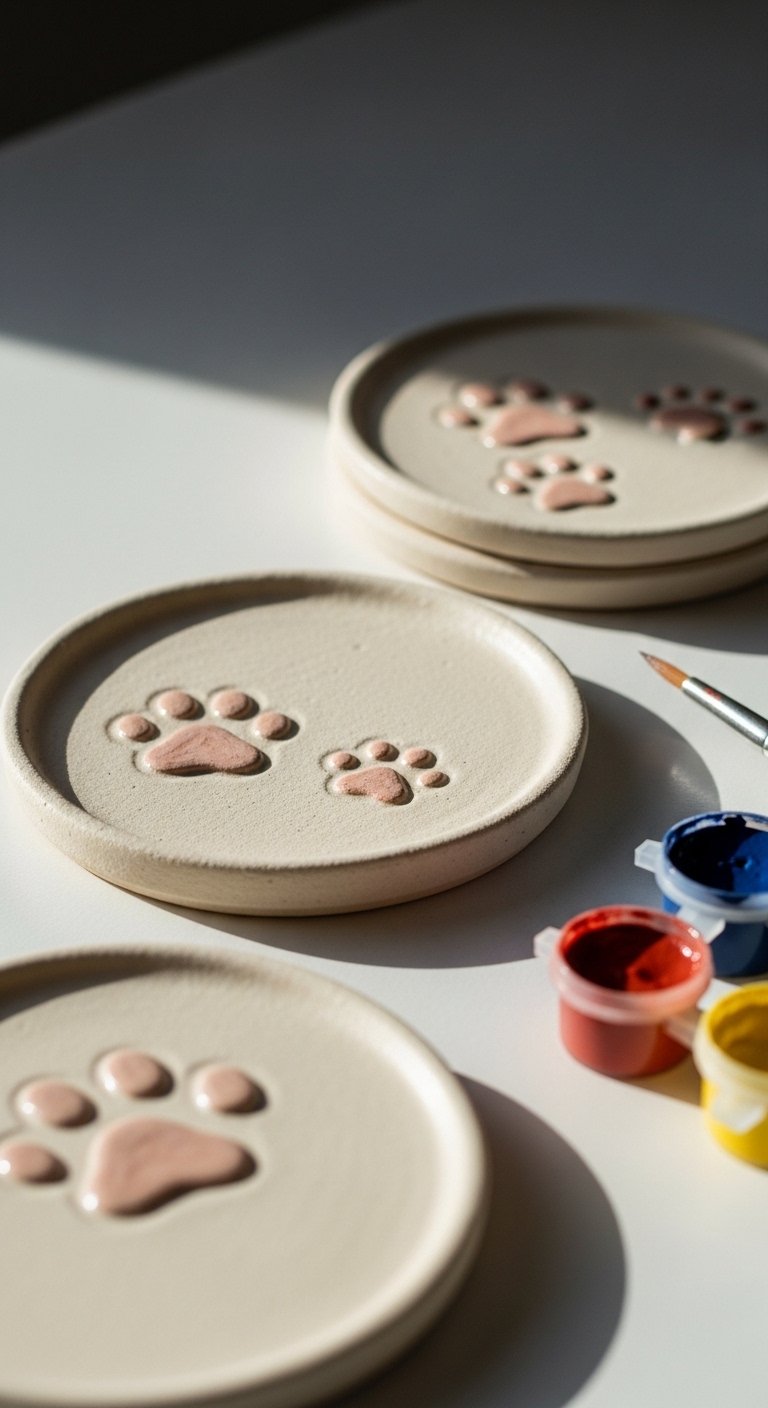
Tiny tiles make the best canvas for handprint or pawprint coasters. Use 4×4-inch ceramic tiles and ceramic paints that cure in the oven. The size keeps the craft manageable and gives you a real, usable item. Common mistake, I found, is skipping the seal; then cups leave marks. Cure the paint per instructions and finish with a clear sealer. Supplies run $12 to $20 for a set. I bought ceramic tiles 4×4 and a ceramic paint set. These make for quick gifts for grandparents and double as playroom decor.
Washable Chalkboard Placemats for Messy Snack Time
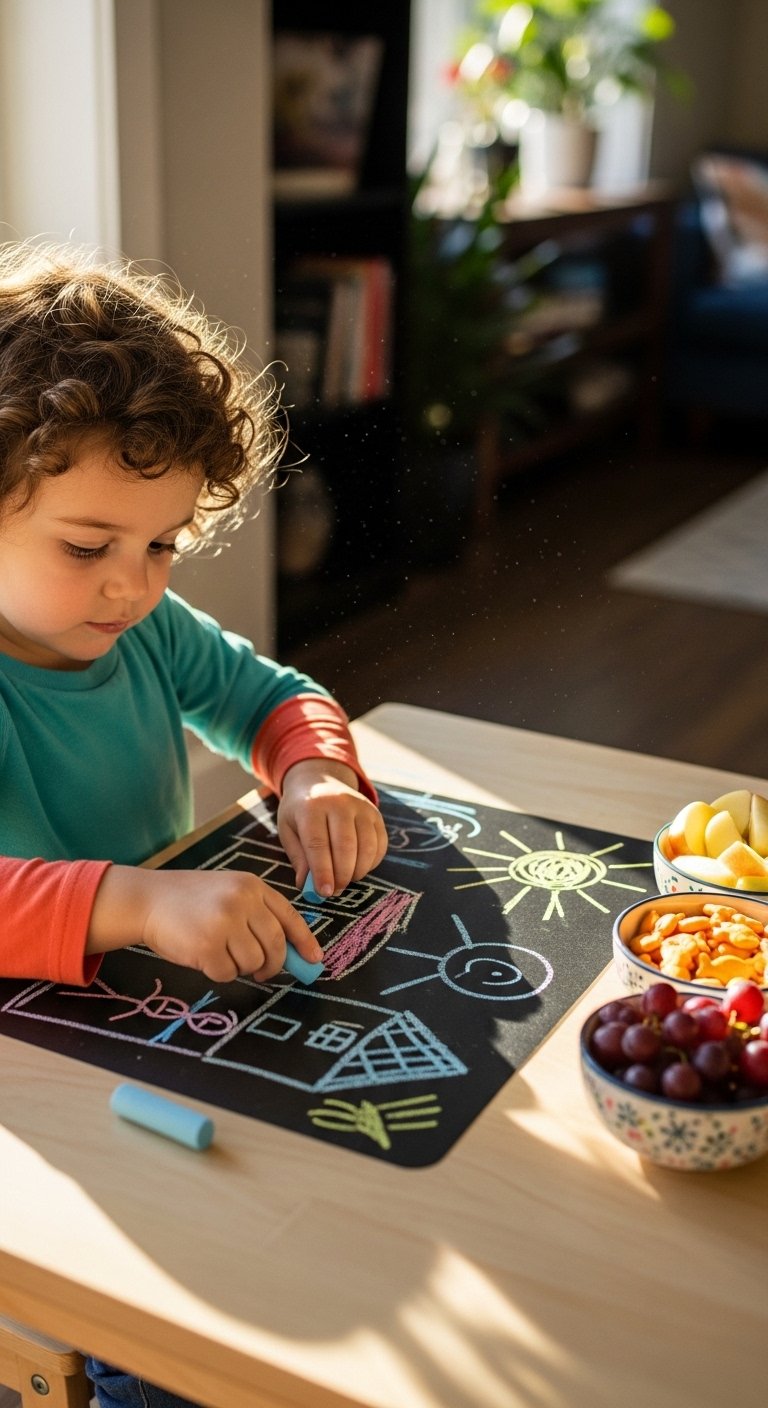
Make reusable placemats from black craft foam or chalkboard vinyl cut to 12×18 inches. They protect the table and give kids a surface to draw while they wait. I learned to round the corners by 0.5 inch so they do not curl. Budget about $8 to $15 for a pack. Mistake many parents make is using permanent markers near the placemat; keep only chalk here. For easy cleanup, I keep a can of baby wipes handy. These placemats work great for craft surfaces too, keeping paint off the table.
Puffy Paint T-Shirt Stations for Outdoor Play
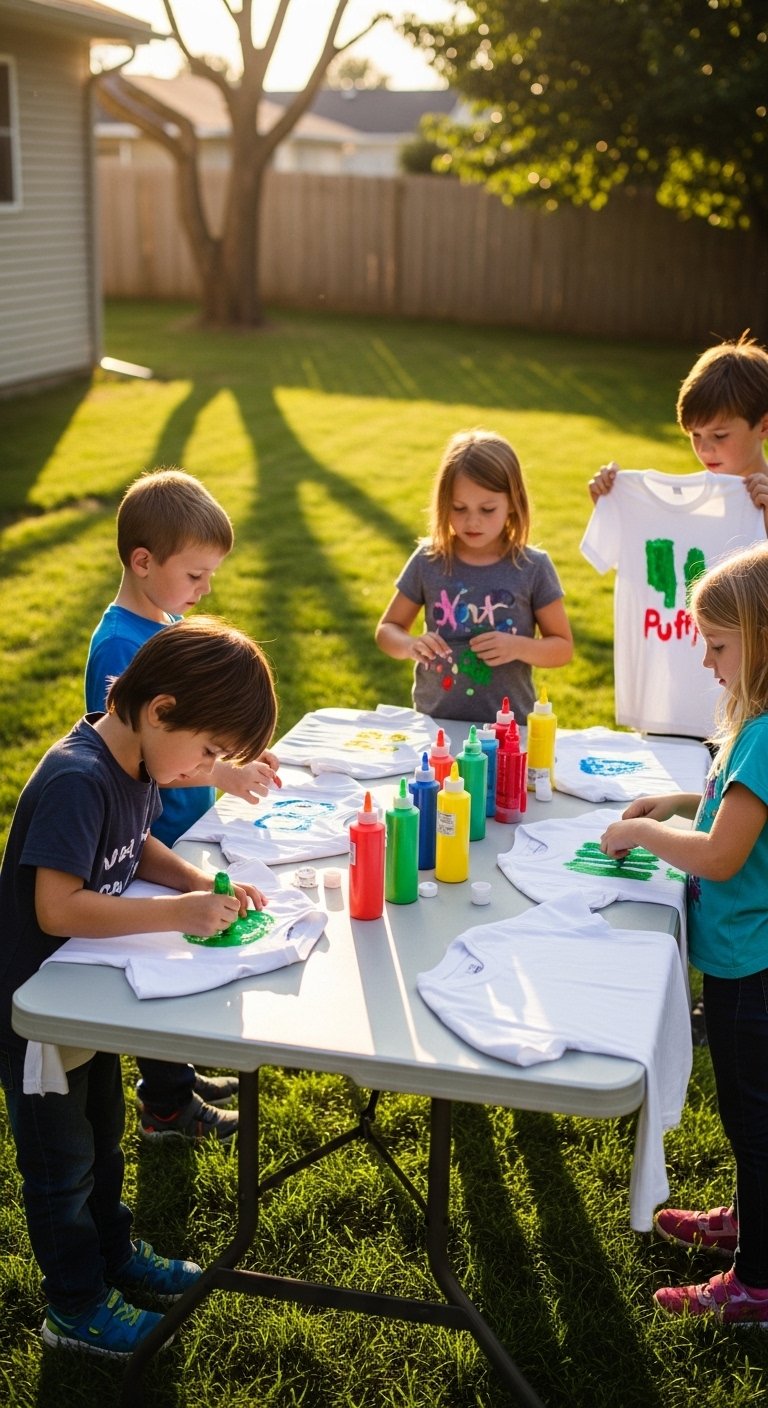
Set up a t-shirt decorating station with fabric puffy paint and plain cotton shirts. For a neat look, pre-place a cardboard insert to keep paint from bleeding through. The trick I use is a three-dot rule for each design, spacing dots about 1 inch apart for balance. Cost per shirt runs $5 to $12. A common mistake is not testing paint on scrap fabric first. I always have a scrap cut from an old sheet. Grab a puffy paint set and some plain cotton tees.
Nature Mobile Using Driftwood for Porch or Bedroom
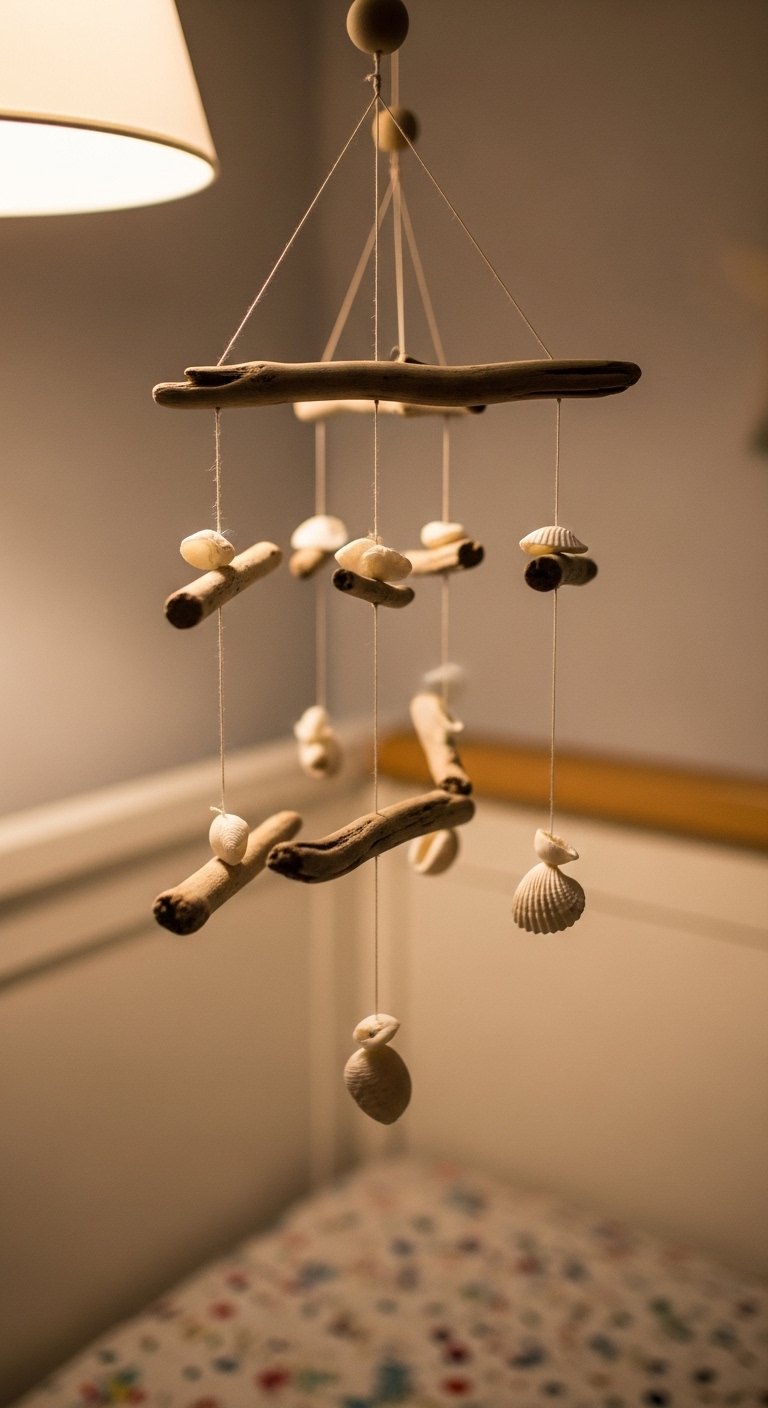
Collect small branches or driftwood and hang natural items like feathers, leaves, and shells. Keep the top branch at about 18 inches wide so the mobile balances. I use a three-point string system to stop it from leaning to one side. Budget depends on finds, roughly $0 to $10 for twine and hooks. Mistake to avoid is making strings too long; keep hangers under 10 inches so they do not tangle. If you want a freestanding display, the driftwood mobile looks lovely beside the sewn pillow from another idea.
Sticker Resist Canvas for Bold Wall Art
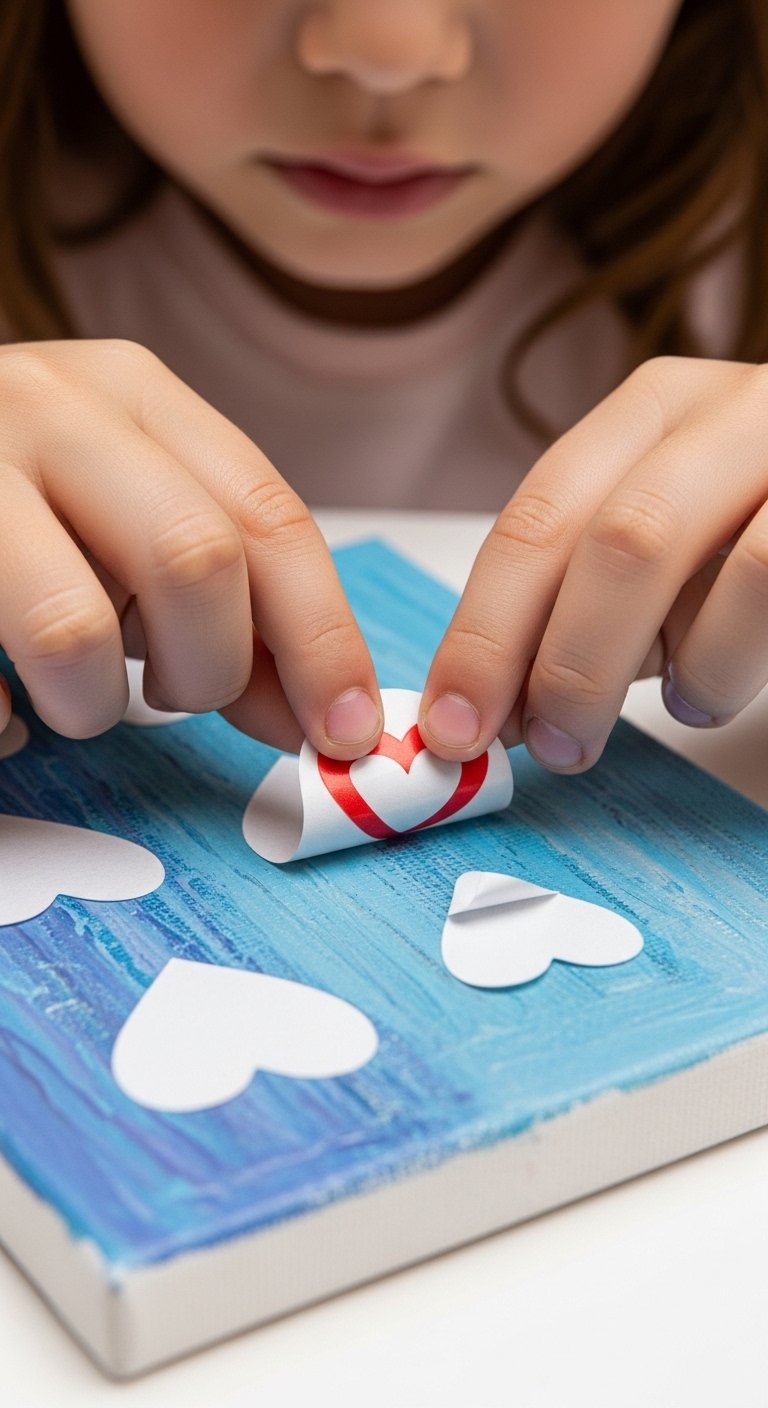
Sticker resist is an easy step into painting for kids. Place stickers on a 12×12 canvas, paint over with two thin coats, let dry, then remove stickers to reveal crisp shapes. The key detail most people miss is painting in a ratio of one thin coat plus one slightly thicker coat for even coverage. Budget about $10 to $20. A mistake is not pressing stickers firmly, which lets paint seep under. Use sticker sheets and small canvases. These canvases look great as a small gallery in a child's room.
Puffy Slime with Glitter for Sensory Play in a Bin
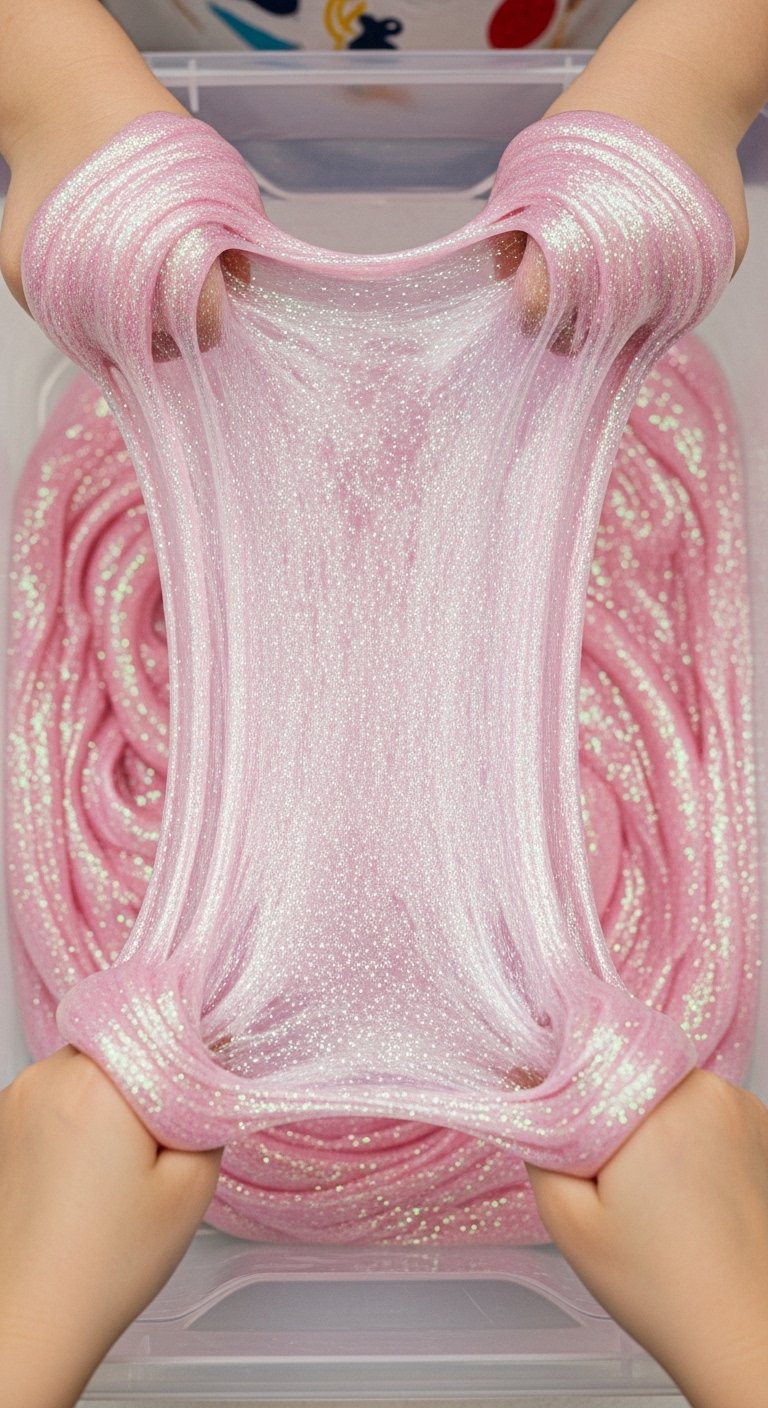
Slime keeps kids engaged, and puffy slime adds a tactile layer. Use a white glue base with shaving cream to puff it up, and a tablespoon of saline for consistency. The small detail that matters is the glue-to-shaving-cream ratio: roughly 1 part glue to 2 parts shaving cream. Mistake to avoid is adding too much activator too quickly. Store in an airtight container and replace after a week for hygiene. I use clear storage containers and glitter-safe for kids. Set this up outside if you have limited indoor space.
Popsicle Stick Birdhouses for Backyard Learning
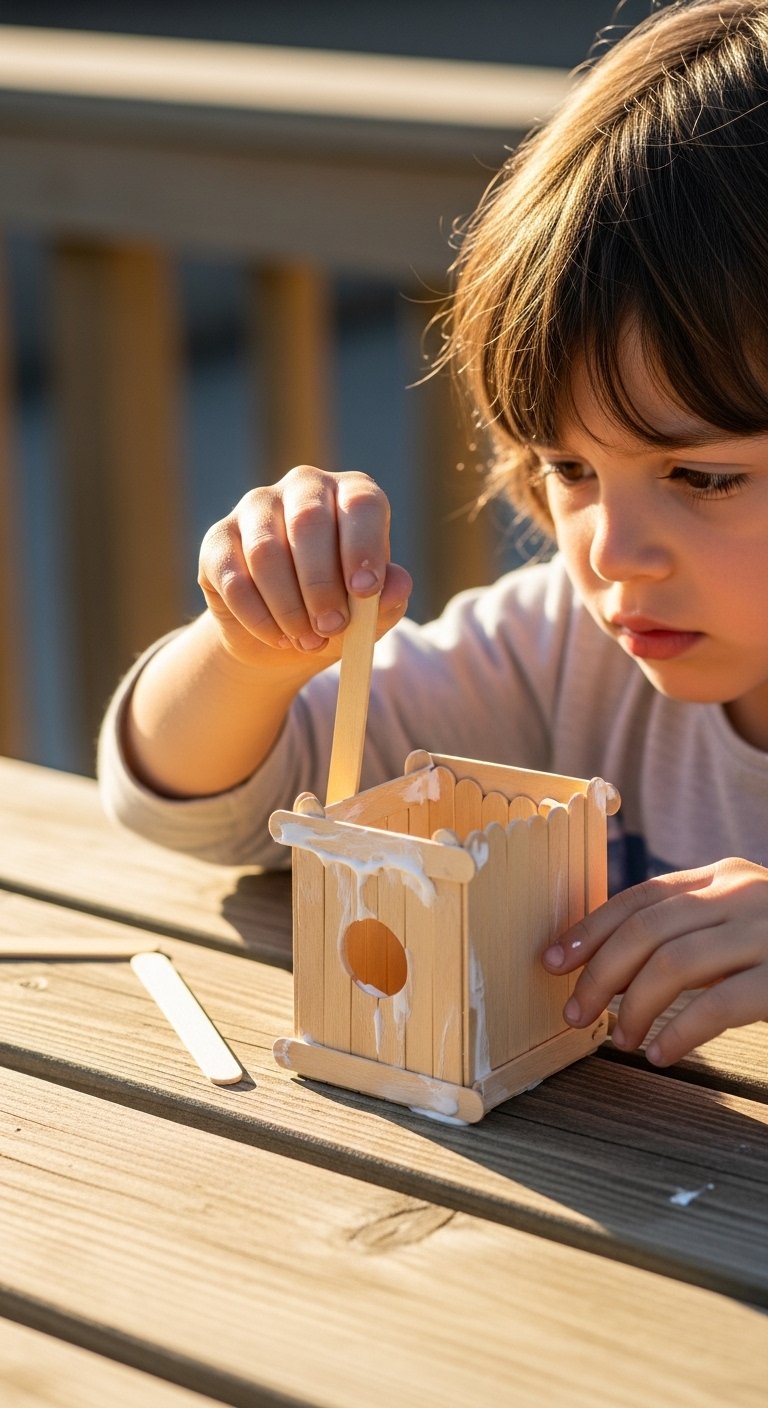
Popsicle stick birdhouses are rewarding because they become part of your yard. Use small wood glue and a 4×4 base so birds have room. Expect 30 to 45 minutes build time, then add waterproof paint. The specific detail I learned is to cut a 1.25-inch entrance hole so common small birds can enter comfortably. Common mistake is using thin glue only; try a wood glue for outdoor durability. I keep a pack of craft popsicle sticks and outdoor acrylic paint on hand.
Button Mosaic Frames for Displaying Kids’ Artwork
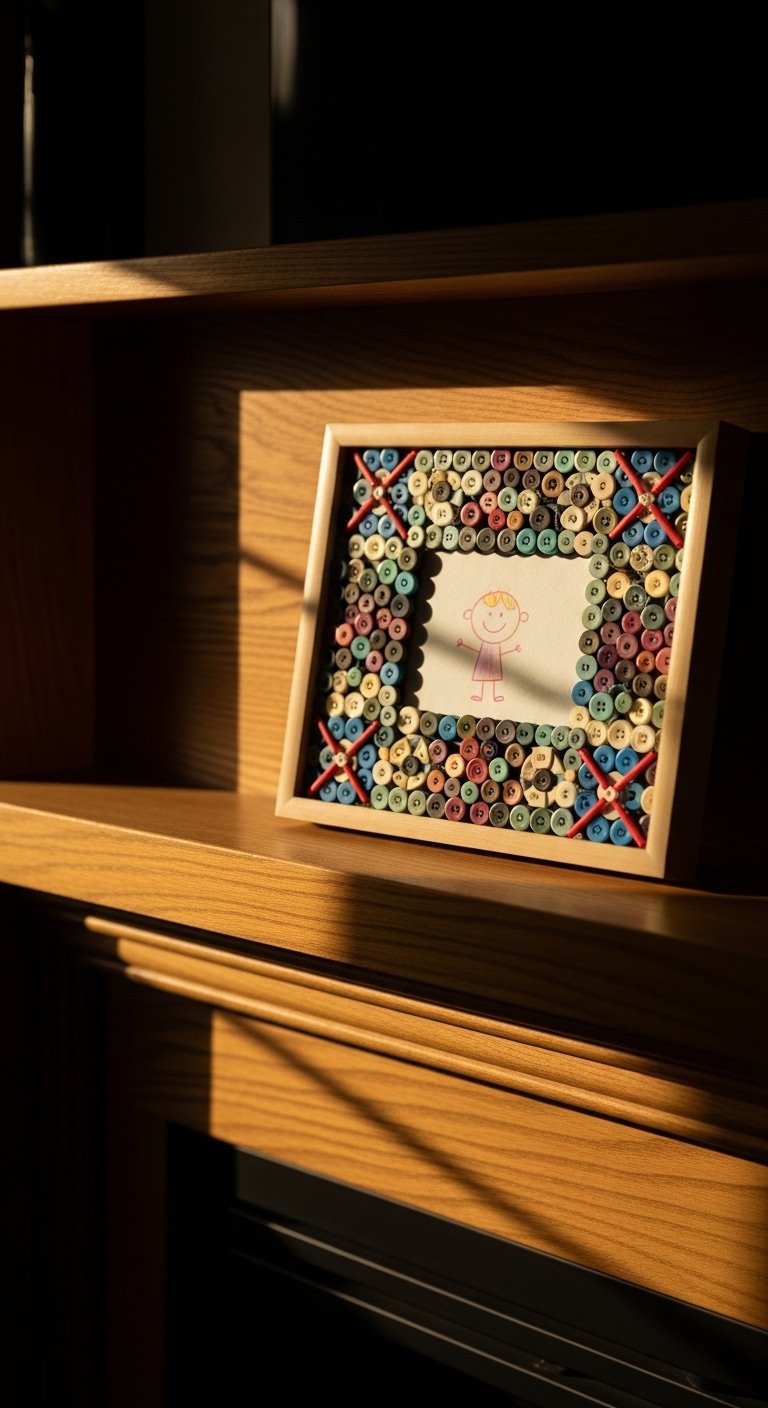
A button mosaic frame is an easy way to honor your kids’ work. Use an 8×10 frame and reserve 1 inch border for buttons so the central art remains visible. The thing most people miss is staggering button sizes in a 60/40 ratio of small-to-large buttons for depth. Mistake to avoid is gluing buttons directly to glass. Mount onto a backing board instead. I keep a mixed button jar and an 8×10 frame set in my craft closet. These frames look intentional on a hallway ledge.
Stamped Tote Bags for Library Days
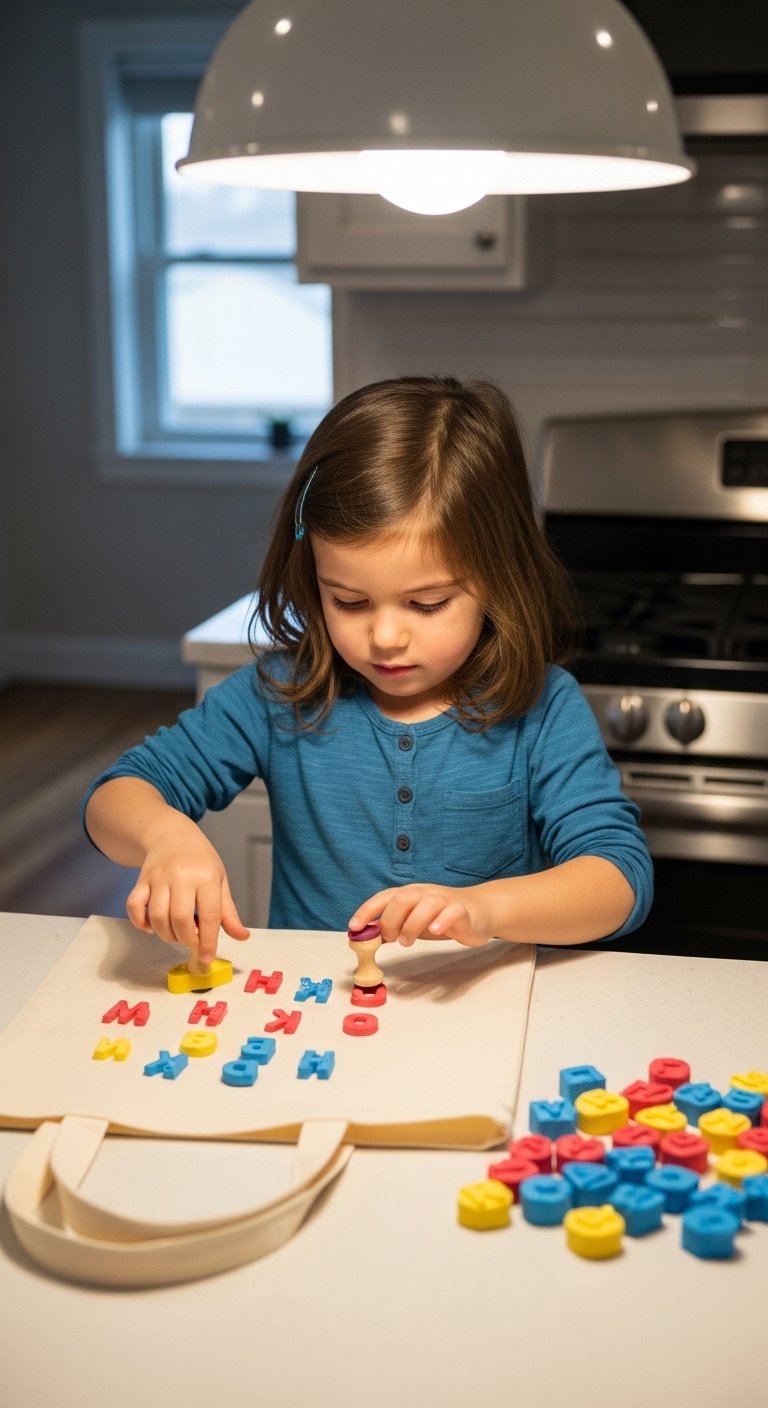
Stamping tote bags teaches pattern repetition and gives kids a useful item. Use fabric ink and foam letter or shape stamps. The rule I follow is three repeats of the main motif across the bag for balance. Budget is $8 to $20 depending on stamp quality. A common mistake is over-inking, which blurs edges. Press with moderate force and heat-set per ink instructions. I like using fabric stamp sets and plain canvas tote bags. These bags are perfect for library trips or snack runs.
Salt Dough Keepsakes for Gift Giving
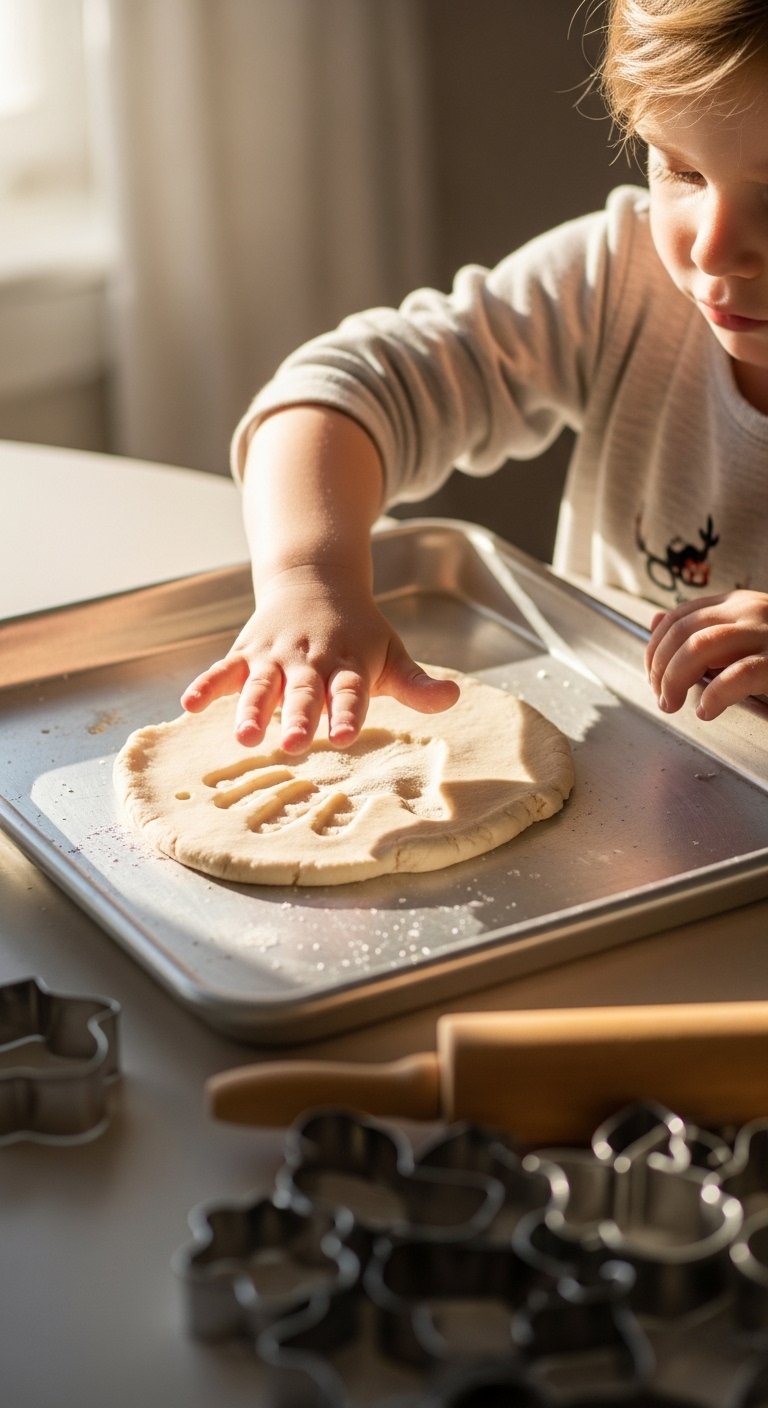
Salt dough is forgiving and bakes into a durable keepsake. Use a 2:1 flour-to-salt ratio so dough holds detail but does not crack. Press handprints or small objects, bake at low heat, then paint. The detail most people miss is thinning edges to 1/8 inch so ornaments hang flat. Budget per batch is under $5. Mistake to avoid is uneven thickness, which causes cracking. I use ribbon packs for hanging finished pieces. These make great holiday gifts and look sweet hung in a child's room.
Your Decor Shopping List
Textiles
- Honestly the best $25 I have spent. Chunky knit throw in cream (~$25). Drape over a kid-size couch for softness.
Art Supplies
- Washable tempera paint set (12 colors). Great for pasta necklaces and rock painting.
- Acrylic paint pens for detail work on rocks and tiles.
Tools
- Mini hot glue gun (~$10). Keep in a drawer for quick repairs and puppet assembly.
- Mini chalkboard vinyl rolls for placemats and labels.
Storage and Extras
- Airtight plastic containers set for slime and saved crafts.
- Mixed buttons for crafts jar for mosaics.
- 4×4 ceramic tiles for crafts for coasters.
- Craft popsicle sticks bulk pack for birdhouses and frames.
Notes: Many of these are similar at Target or HomeGoods if you prefer to see materials in person.
Shopping Tips
White oak beats dark wood in 2026. These white oak floating shelves look current, not dated. Use them to display lightweight kid crafts like canvases and framed prints.
Grab fabric stamp sets for about $12. Swap stamped tote bags every season and the kids feel proud of their creations.
Curtains should puddle or kiss the floor, never hang halfway up. These 96-inch linen panels are right for standard 9-foot ceilings and help craft nooks feel intentional.
Lead with insight, not brand. If your craft storage is a mess, a single set of clear plastic bins organized by material makes cleanup painless and keeps kids crafting more often.
Lead with the link. Buy washable tempera paint set now if you have a short attention span to spare. It makes quick projects like pasta necklaces and rock painting fail-safe.
Frequently Asked Questions
Q: What if my child loses interest halfway through a craft?
A: Shorter steps help. Try setting a 15 to 20 minute timer and promise a small reward when they finish. Projects like the pasta necklace or sticker resist canvas are built to finish in one short session.
Q: Can these crafts double as decor without looking messy?
A: Yes. Group three to five finished items together using the rule of three and a consistent color palette. For example, three painted rock families on a windowsill or a set of 8×10 sticker-resist canvases above a child’s bed looks intentional.
Q: Are these projects safe for toddlers?
A: Many are, but avoid small parts like googly eyes and small buttons for under-three-year-olds. Use larger materials and supervise closely. For sensory play, store slime in airtight containers and discard after a week.
Q: How do I keep the craft area from taking over the house?
A: Contain supplies to one basket or set of bins and put them away after each session. Use labeled clear bins so kids can help clean. A small side table or crate that fits under a console works if you have limited space.
Q: What supplies are worth spending more on?
A: Buy a decent glue gun, a good set of acrylic paints, and washable paints for kids. Those items last through dozens of projects and keep finished pieces looking better. A small investment in quality tools saves time and frustration later.

