

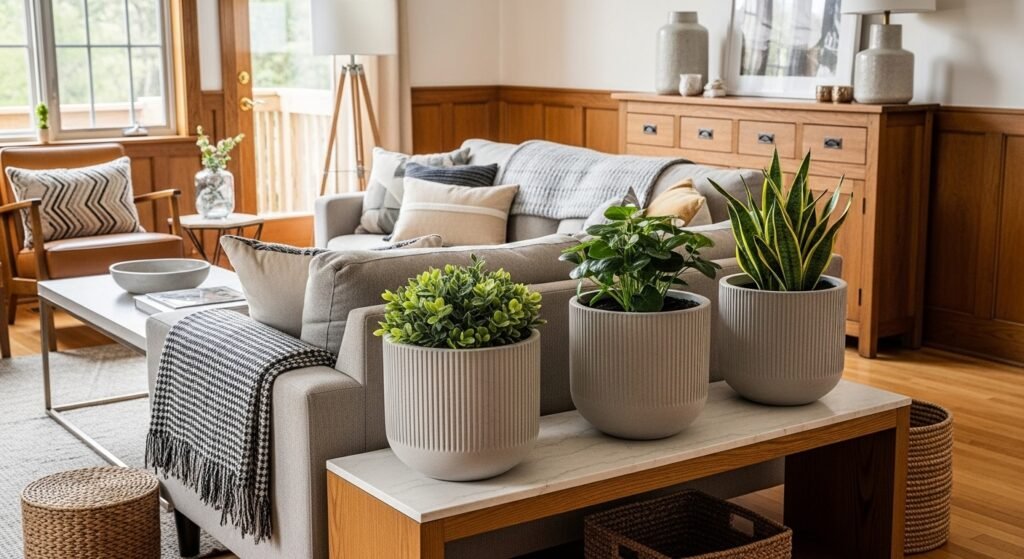
My living room had nice furniture and decent lighting but it still felt like a waiting room. Took me embarrassingly long to figure out it was missing texture and weight, so I made a set of DIY concrete planters and suddenly corners stopped disappearing. They grounded the space the way a heavy coffee table does, without stealing the show.
These planters lean modern-minimal with a few industrial touches. Most projects cost between $10 and $60, with a couple of splurge molds around $30-50. They work for windowsills, shelves, coffee tables, and tiny balcony corners that need a little presence.
Scandinavian Mini Pots For A Clean Shelf

I started with tiny Scandinavian-style pots when I wanted a low-commitment project. The trick that makes them look premium is a 1/4-inch wall thickness and sanding the rim smooth after curing. They feel refined, not cheap. These are perfect for a bedroom shelf or bathroom ledge and cost about $10-20 each to make. Use a round silicone mold and fast-setting concrete mix if you want results in under 24 hours. A common mistake is overfilling the mold so the base bulges. Tap the mold and rotate it for an even coat. Pair three pots using the rule of three for a neat vignette.
Stacked Box Planters For A Balcony Corner
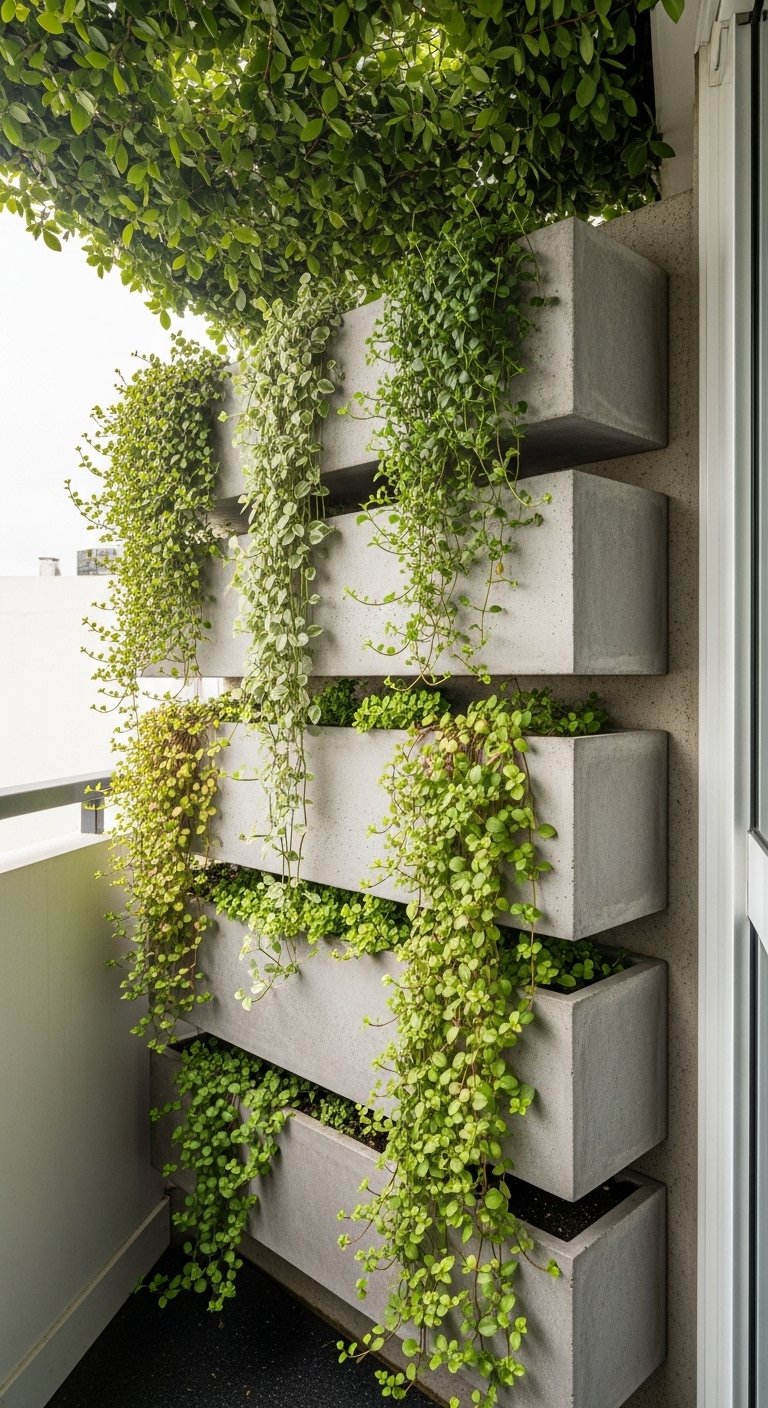
My balcony was a jumble until I stacked two box planters to create height without a shelf. Stacking hides drainage holes and looks like a custom built-in. For stability aim for a 2:1 length-to-height ratio so the stack doesn’t tip. This works great outdoors or on a protected balcony and runs about $40-80 for two medium boxes. I like using a rubber mallet-friendly silicone mold to get crisp corners. People often forget to sand the join and seal the top edge. Seal with a matte sealer to look finished and avoid that raw cement dust problem.
Low Wide Planter For Coffee Table Style
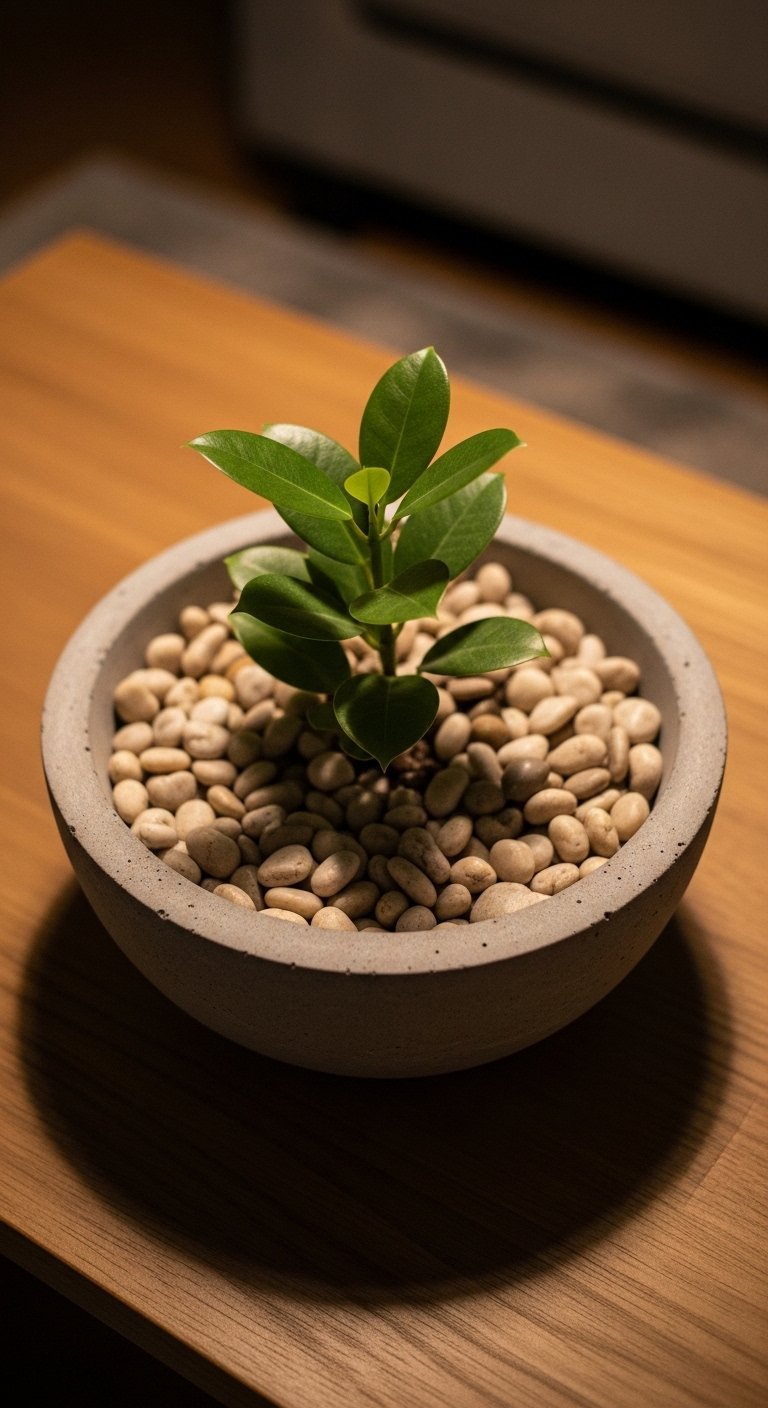
The moment I put a low wide planter on my coffee table the whole room felt anchored. A shallow tray allows a statement plant without blocking sightlines. Go for a 12-16 inch diameter with 2.5-3 inch depth for proportion on most coffee tables. Budget around $30-60 depending on pigment and finish. For a cleaner surface use a fine-grit sandpaper after curing and try concrete colorant powder to tint the mix. A common mistake is making it too deep. Too much soil makes it top-heavy and it reads clumsy compared to a low, trimmed silhouette.
Polished Mini Planter For Bathrooms
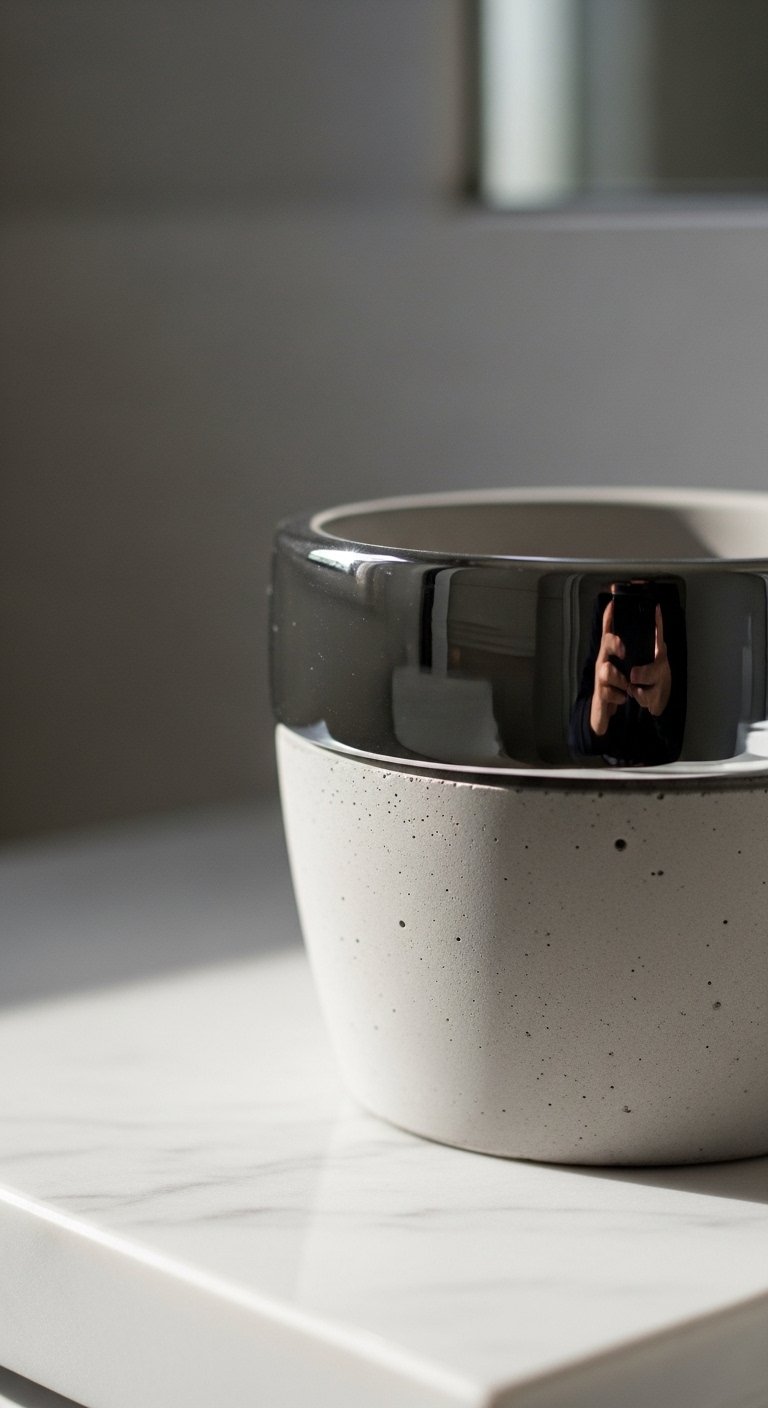
Bathrooms demand materials that take humidity. I sealed a tiny polished planter and it survived shower steam without staining. Polishing with successive grit pads to a 400 grit finish makes concrete read like stone. These are small, under $15 apiece for materials, and excellent for toothbrush holder swaps or tiny succulents. Use concrete sealer and avoid leaving raw edges exposed to soap. People expect concrete to be rough but a refined polished finish looks premium and matches modern bathroom metals.
Tapered Herb Planters For A Kitchen Windowsill
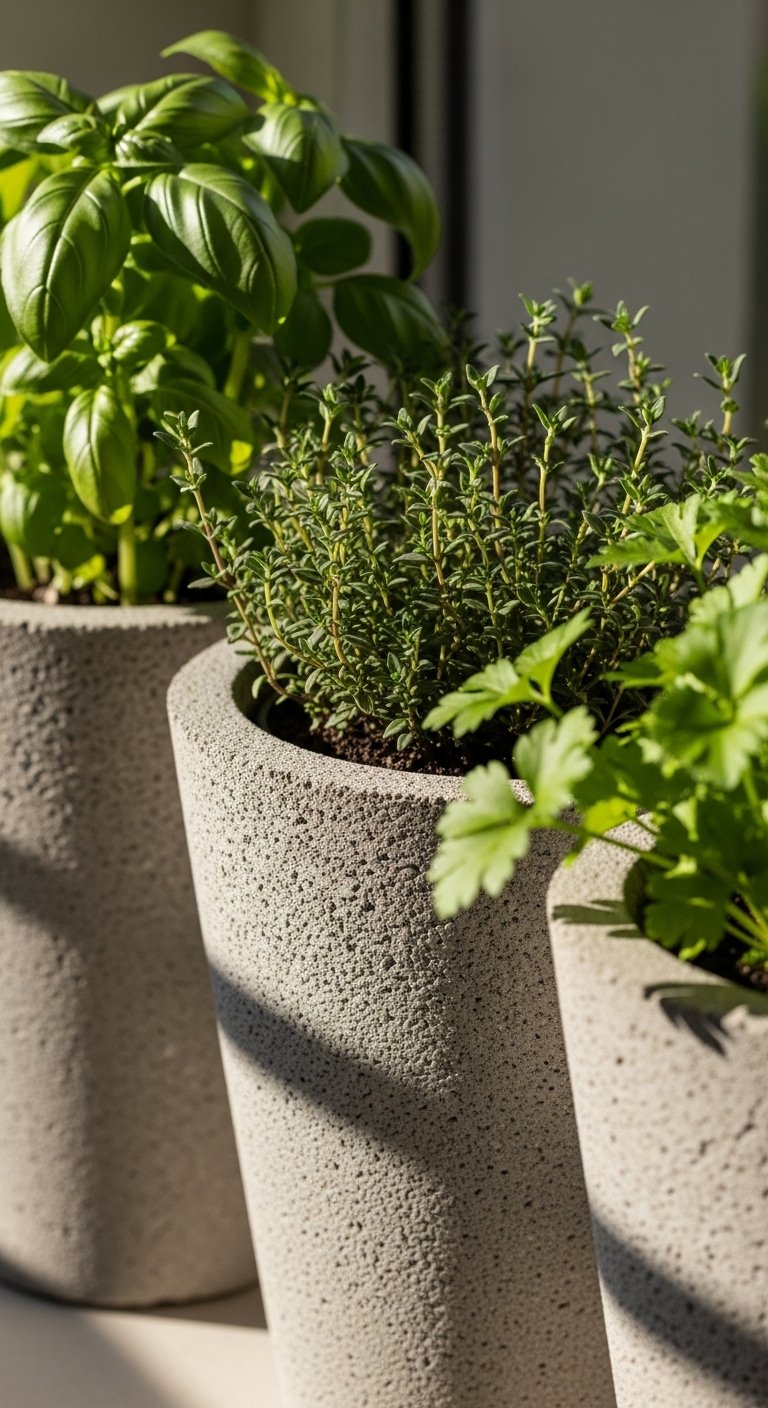
I made tapered pots for herbs so my kitchen windowsill would be useful and tidy. The inward taper hides root soil and helps water drain without messy trays. Aim for a top diameter 1.5 times the base, and 4-6 inches tall for most herb varieties. Materials run $10-25 each. I used a silicone funnel mold set that doubled as a baking mold later. A common mistake is making the hole too big for drainage. Punch smaller holes and test with pebbles so plants do not drown.
Geometric Desk Planter For A Home Office
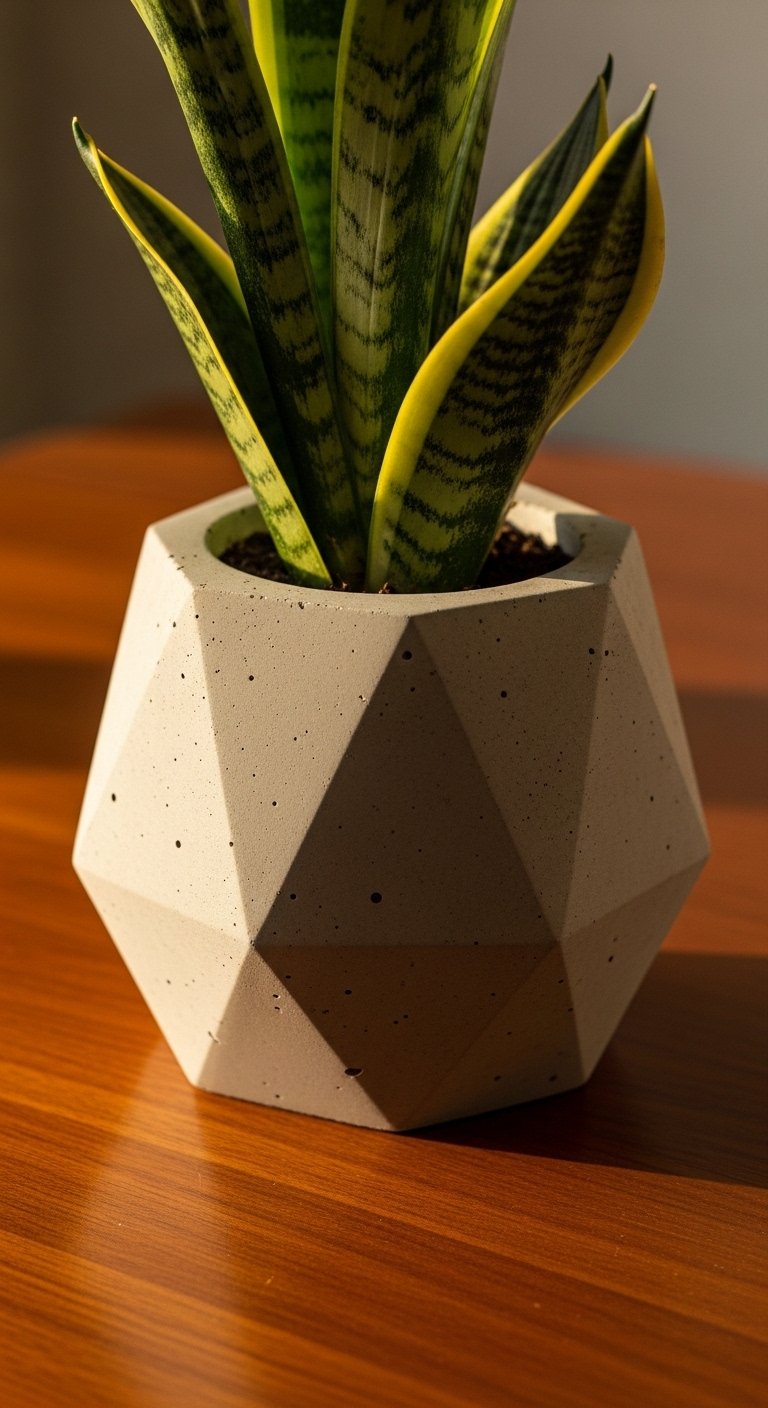
My home office was a sea of same-size tech boxes until I put a geometric planter on the desk. Sharp facets paired with a warm wood desk give a modern contrast and make screens feel less clinical. Concrete molds for geometric shapes cost about $15-30. I used a faceted silicone mold and mixed 1 part water to 3 parts powder for a sturdy piece. A mistake people make is leaving the mold seam obvious. A light sanding and a thin swipe of matte sealer blends that seam away, then the planter reads like a designer object.
Sculptural Floor Planter For A Corner Anchor

Corners that feel empty were my first reason to make a large sculptural planter. A 16-20 inch bowl on an 18-24 inch stand creates presence without cluttering the room. When casting big pieces use a lightweight concrete mix with perlite to avoid a backache when moving it. Expect materials and a metal stand to total $60-120. I grabbed a lightweight perlite concrete mix to keep weight manageable. The common error is underestimating weight. Test with a temporary fill of sand to check balance before final curing.
Terrazzo-Inspired Planter For Color And Depth
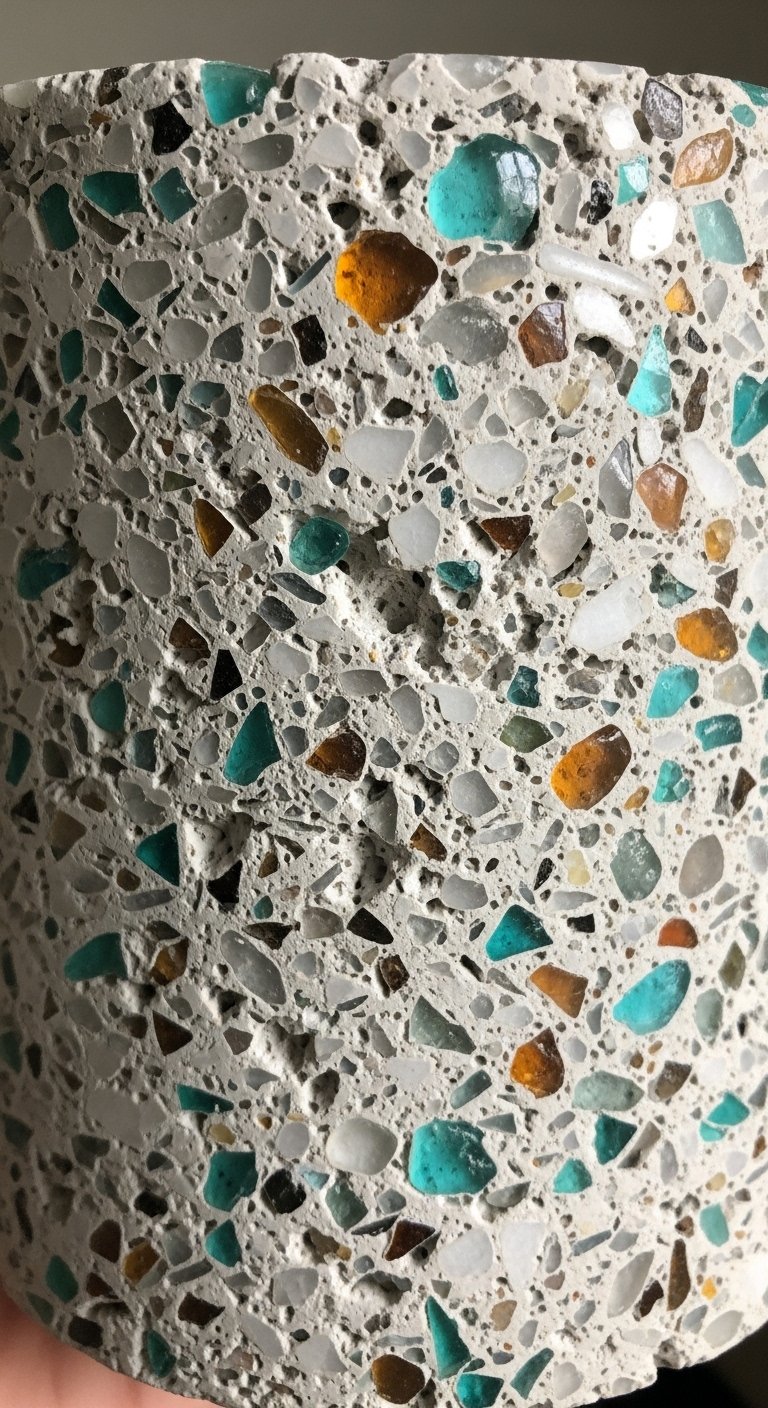
I love terrazzo because it hides imperfections and reads luxe. Mix in marble chips or colored glass chunks at a 10-20 percent ratio for a speckled finish that still feels modern. It costs a bit more for materials but looks designer. Use a bag of decorative marble chips and press them into the outer layer while the concrete is damp. A rookie mistake is using too large chips. Keep them under 1/4 inch so they sit flush and polish well.
Hanging Concrete Planter With Leather Straps For Boho-Modern
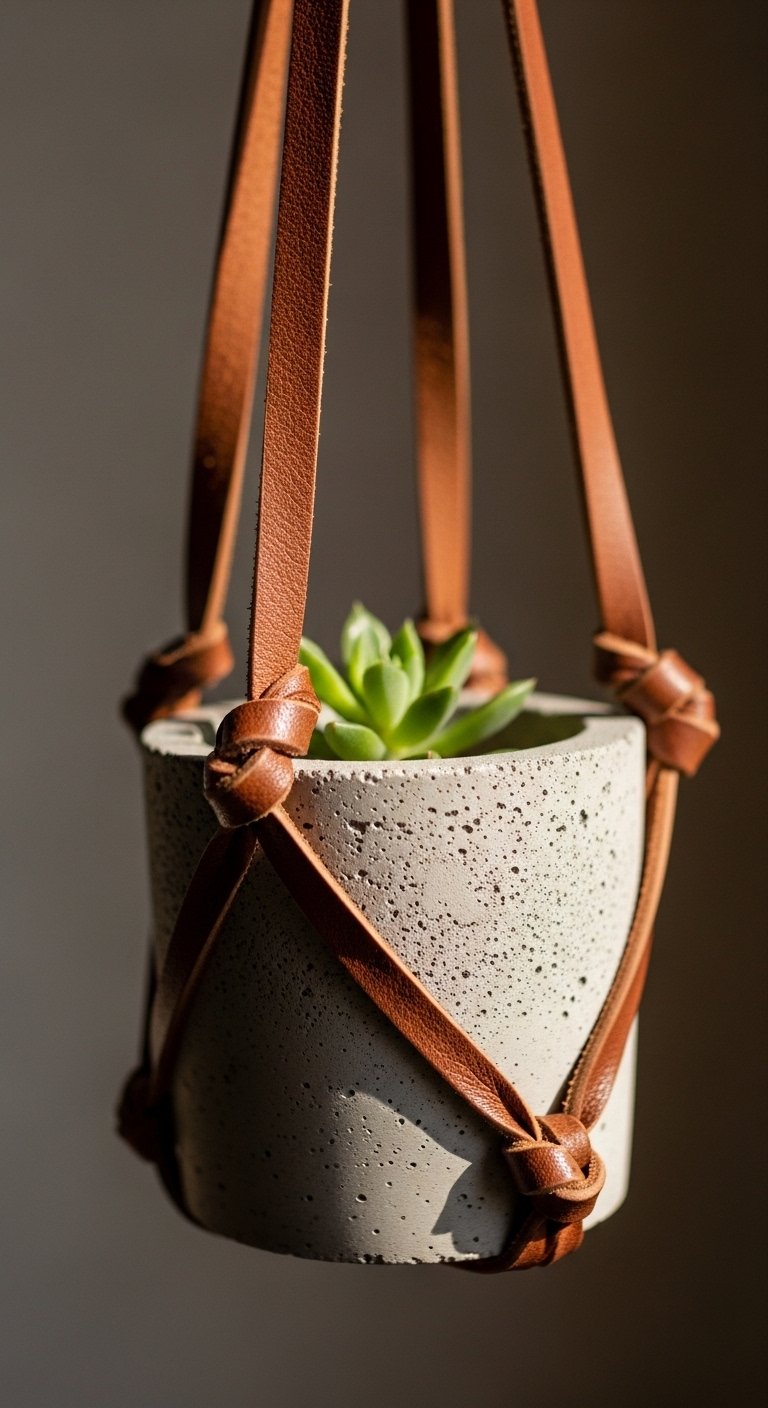
I made a hanging planter because my cat loved everything on low surfaces. Leather straps take the edge off raw concrete and add a warm contrast. Use a 3-inch pot and 1/4-inch leather straps with brass hardware for a polished look. Materials are about $20-35. I used a pack of vegetable-tanned leather strips for straps. One frequent error is using indoor rope that soaks water. Leather or sealed webbing lasts longer and looks nicer against modern fixtures.
Ombre Wash For A Soft Modern Finish
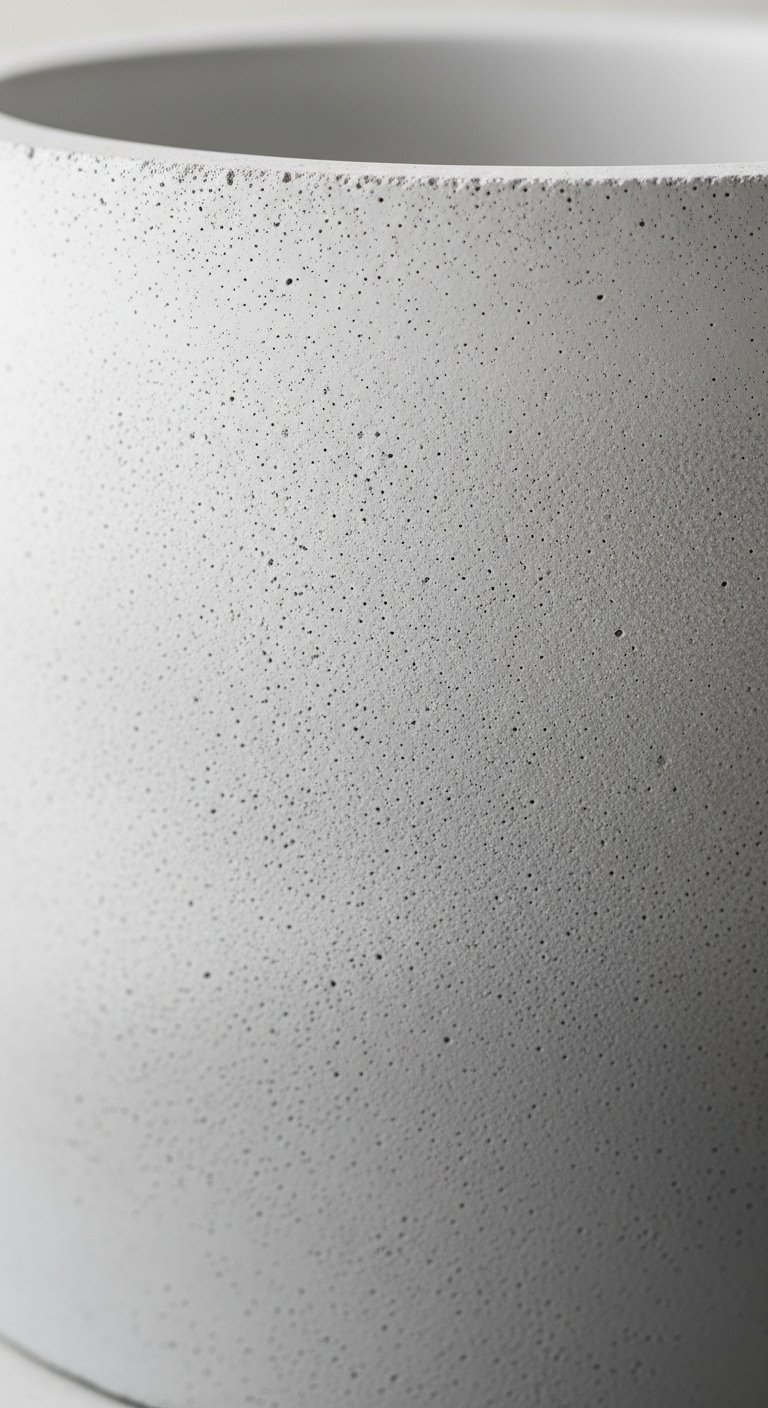
If raw concrete feels heavy, try an ombre wash. I thin acrylic paint with water and brush it in layers, working top to bottom to avoid hard lines. The rule I use is three passes, each 30 percent lighter than the last, which keeps the effect subtle. Supplies run about $10-20. Use acrylic craft paints and seal lightly. People often mistake bright pigment for refinement. Muted tones read premium. Pair an ombre planter with a matte black stand for contrast.
Multiuse Planter For Utensils And Storage
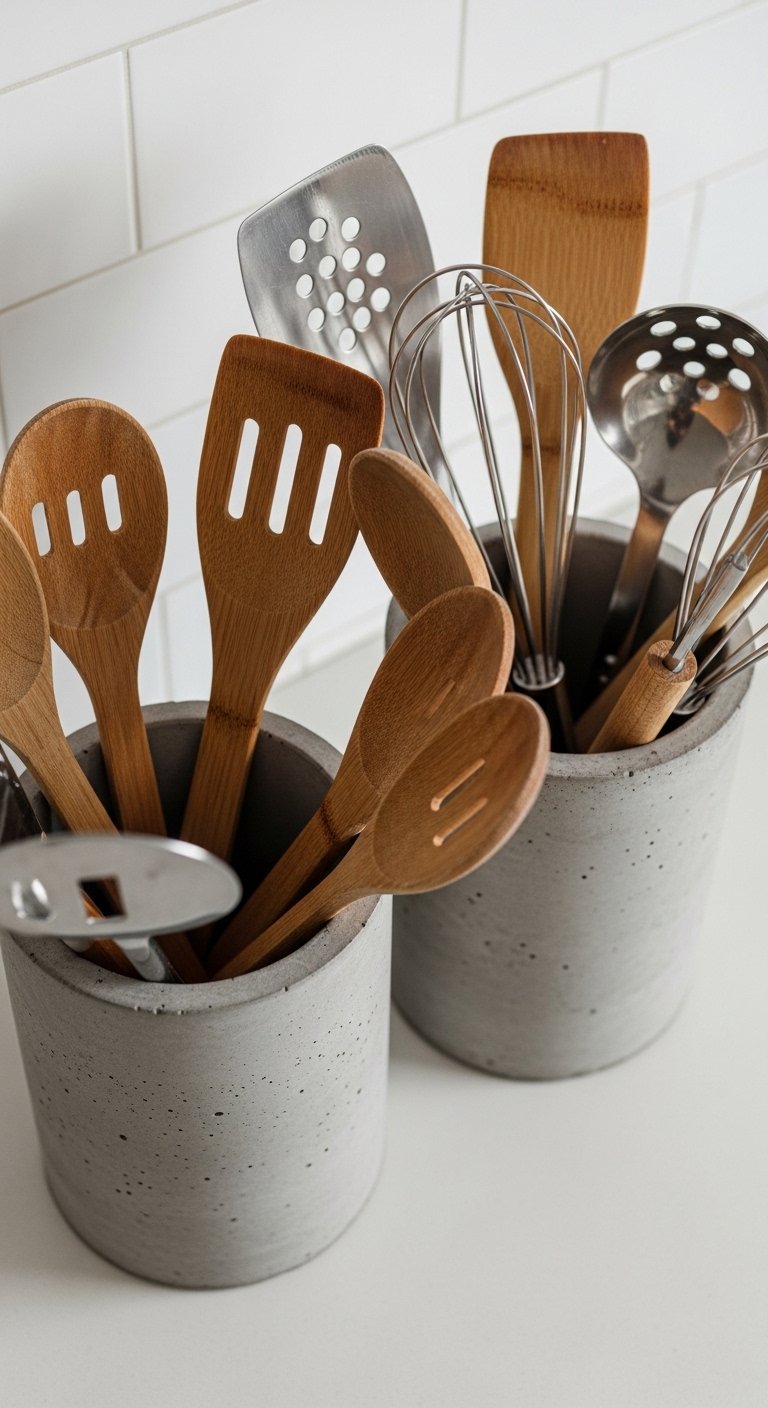
I made a couple of taller concrete cylinders to hold utensils so everything felt cohesive. Concrete for storage objects is forgiving because dents and hairline pores look intentional. A 4×6 inch cylinder keeps utensils upright. Plan for $12-25 per piece. I used a PVC pipe form as a simple core and sealed the inside. A mistake is skipping a liner. For food or utensil contact use a clear food-safe sealer to avoid staining.
Copper-Rim Concrete Planter For Warmth
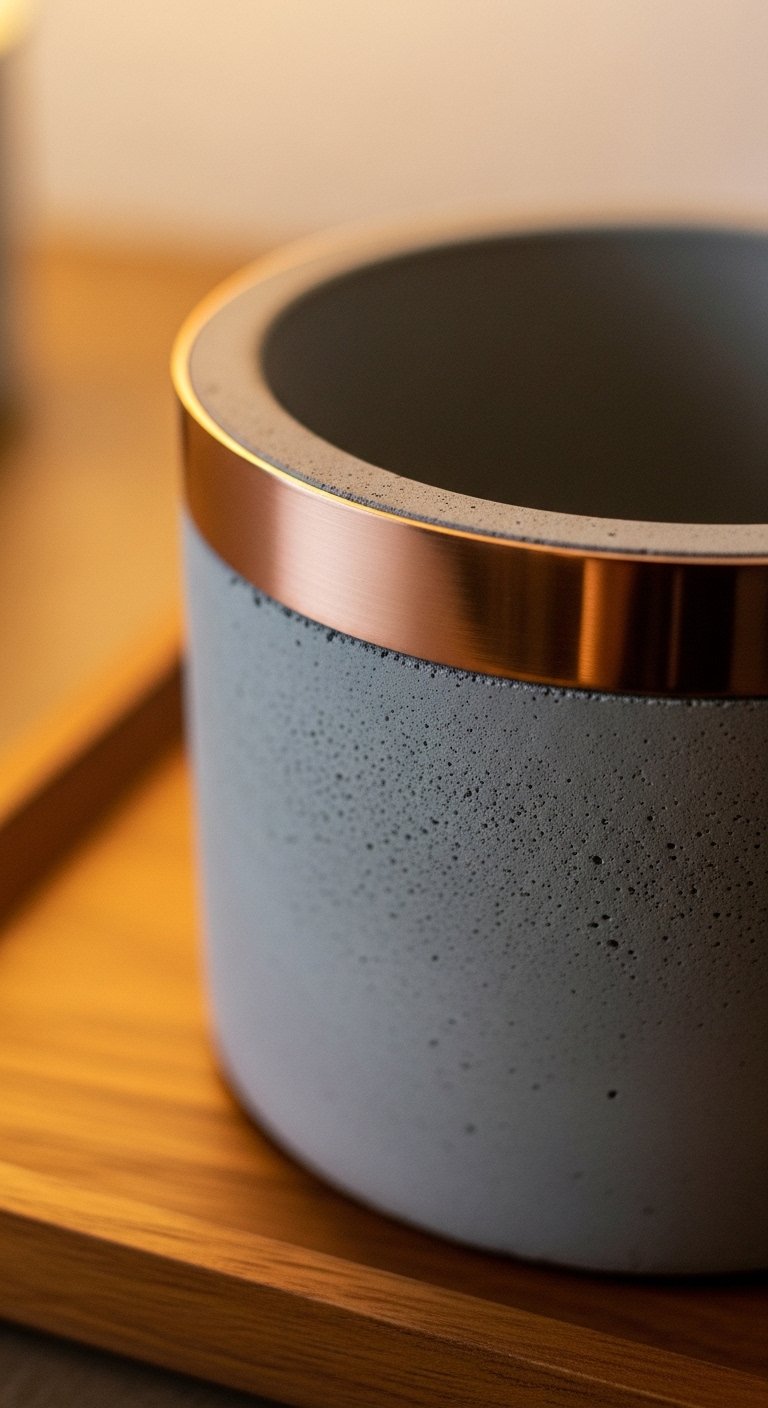
Adding a copper rim instantly warms concrete. I used a thin copper tape pressed into the wet top edge before cure and it reads like a purpose-made piece. This costs roughly $20-40 and works nicely next to warm oak furniture. I used adhesive copper trim tape and polished it gently after cure. Common mistakes are letting the copper oxidize intentionally. If you want shine, seal it right away or it will darken unevenly.
Nesting Planters For Flexible Styling
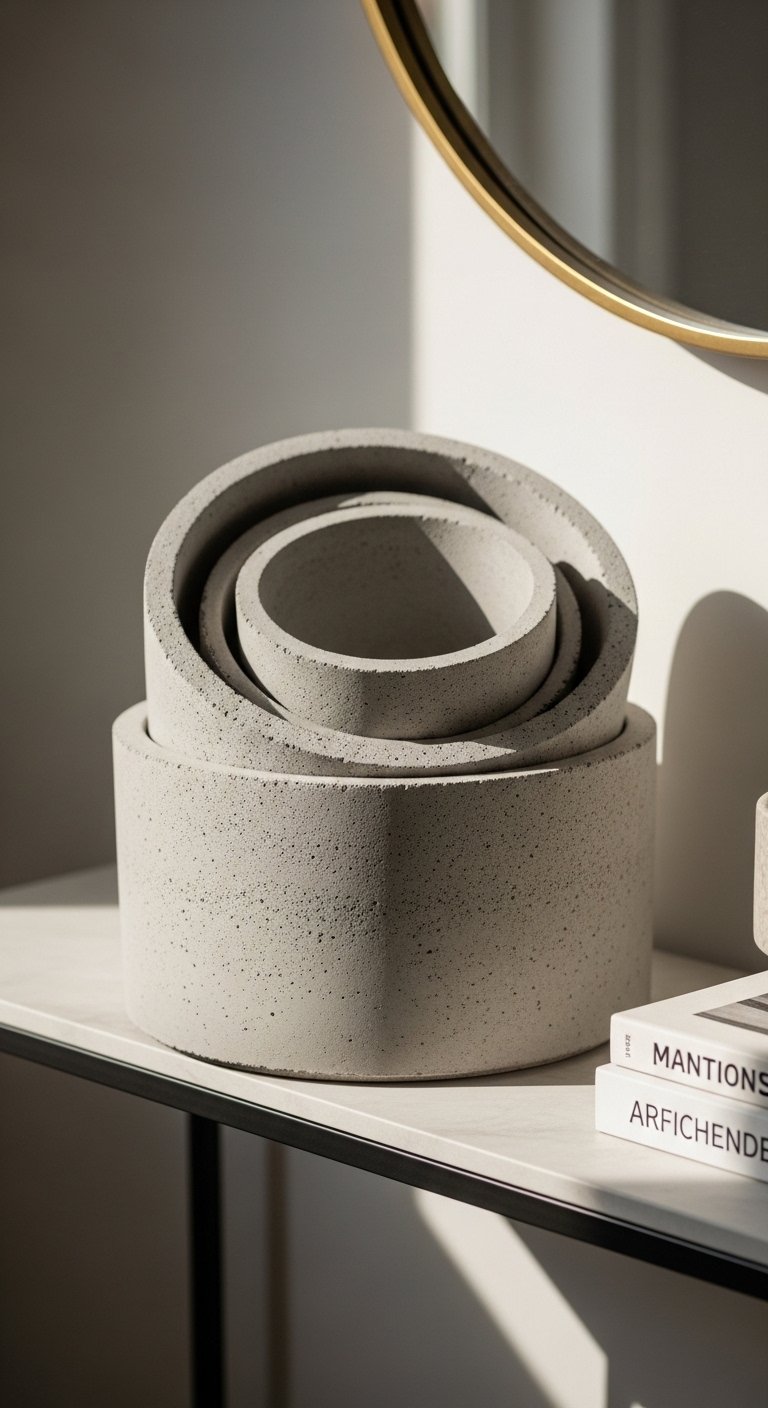
Nesting planters give you options. I made a set that fits one inside the other for seasonal swaps. Make the outer pot 10 percent wider than the inner so they slide without binding. Nesting is budget-friendly because you can mix two sizes on one shelf and it looks curated. Mold choices like stackable silicone molds make consistent sets easy. A common error is mismatched rims. Keep rim thickness consistent so they nest cleanly.
Labelable Chalkboard Planter For Herbs And Gifts
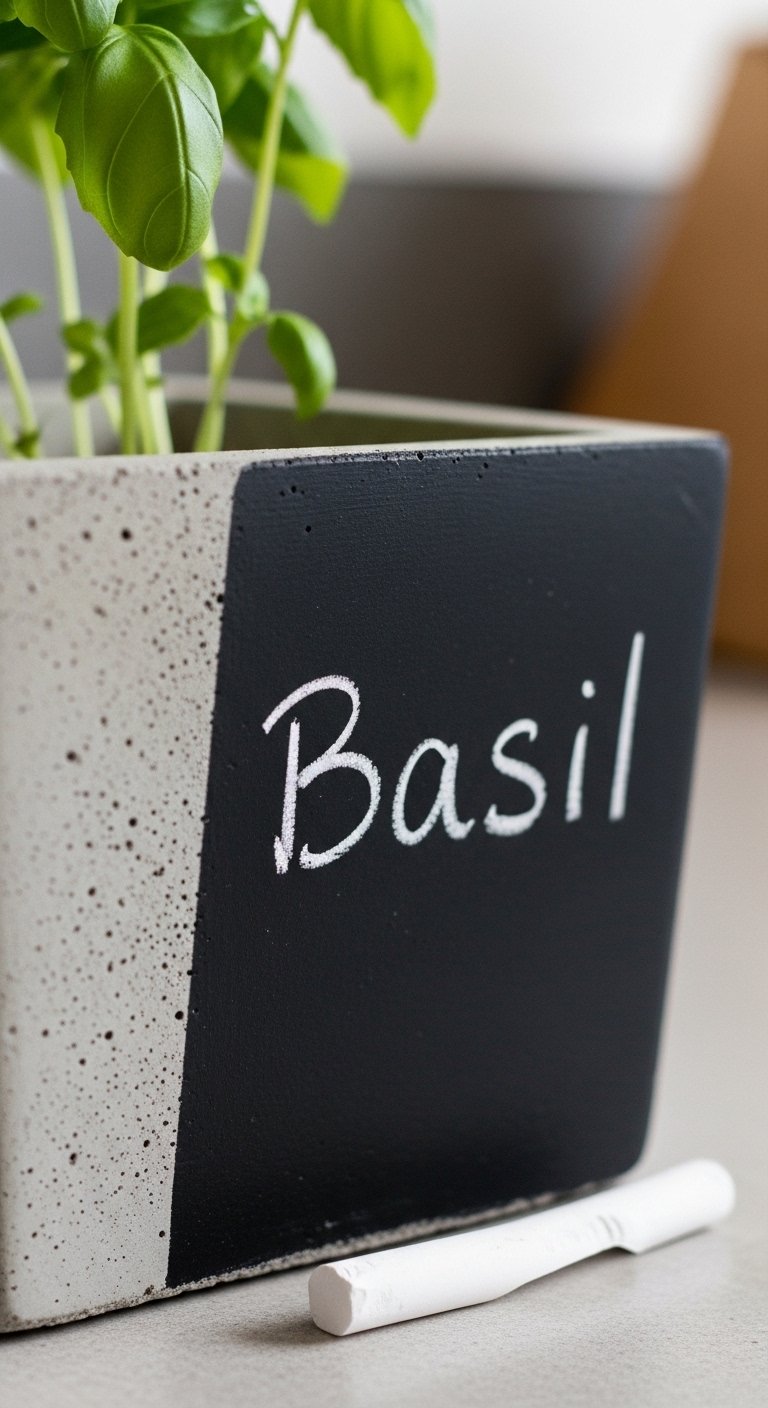
I made chalkboard-painted planters for gifts and they were an instant hit. Paint a 2×4 inch panel of chalkboard paint then write plant names in a casual script. It’s about $5 extra per pot and adds personality for a kitchen or gift bundle. Use standard chalkboard paint. People sometimes chalk on wet surfaces and it ghosts. Condition the surface with chalk before first use so your handwriting stays easy to read.
Coastal-Inspired Planter With Natural Inlays
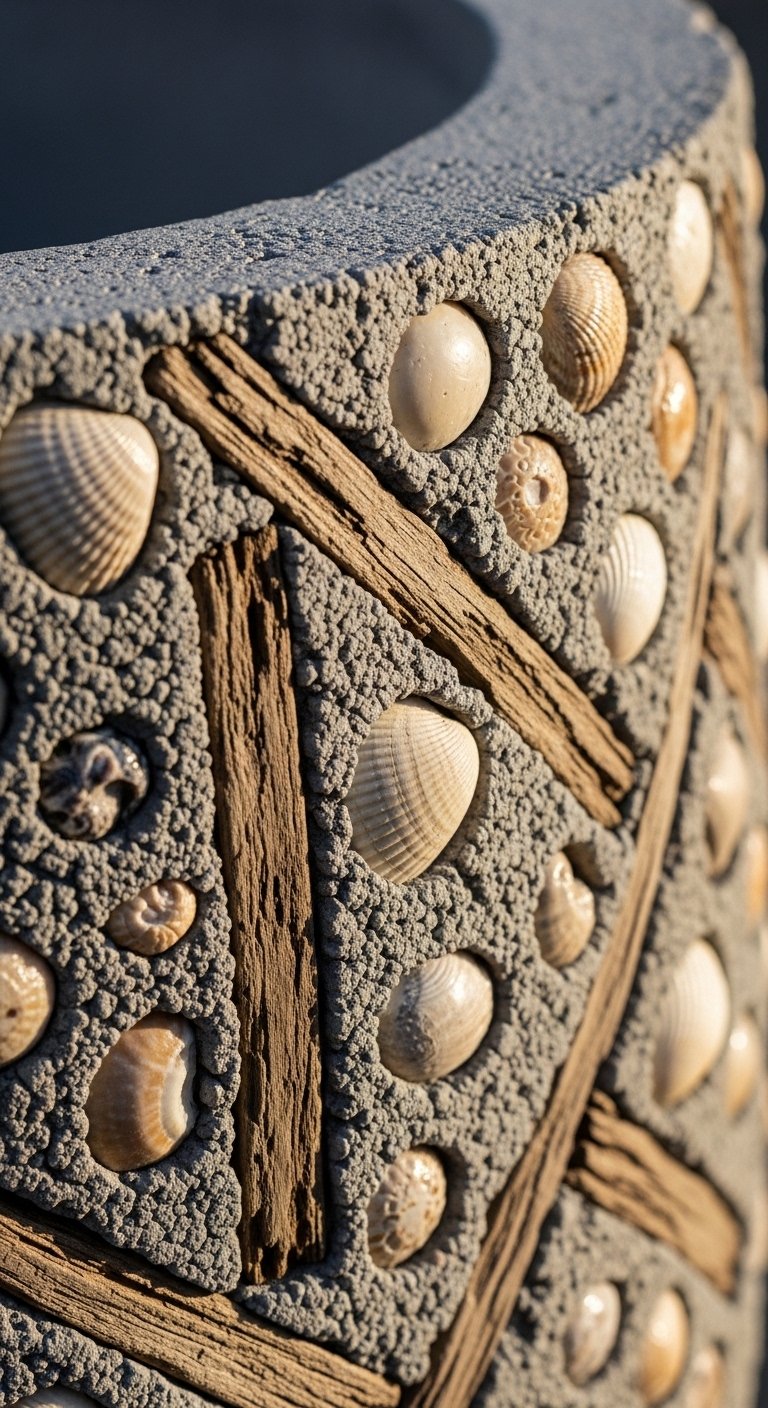
I pressed shells and small driftwood into one planter after a beach trip and it felt like a souvenir, not a novelty. Use small items and press them gently at the damp surface. Keep inlays under 1 inch to avoid cracking during demold. This is a low-cost project if you have found objects. A good supply is natural seashell mix. Avoid large objects that act like stress points. The result looks thoughtfully collected rather than kitschy.
Planter With Hidden Saucer For Indoor Use
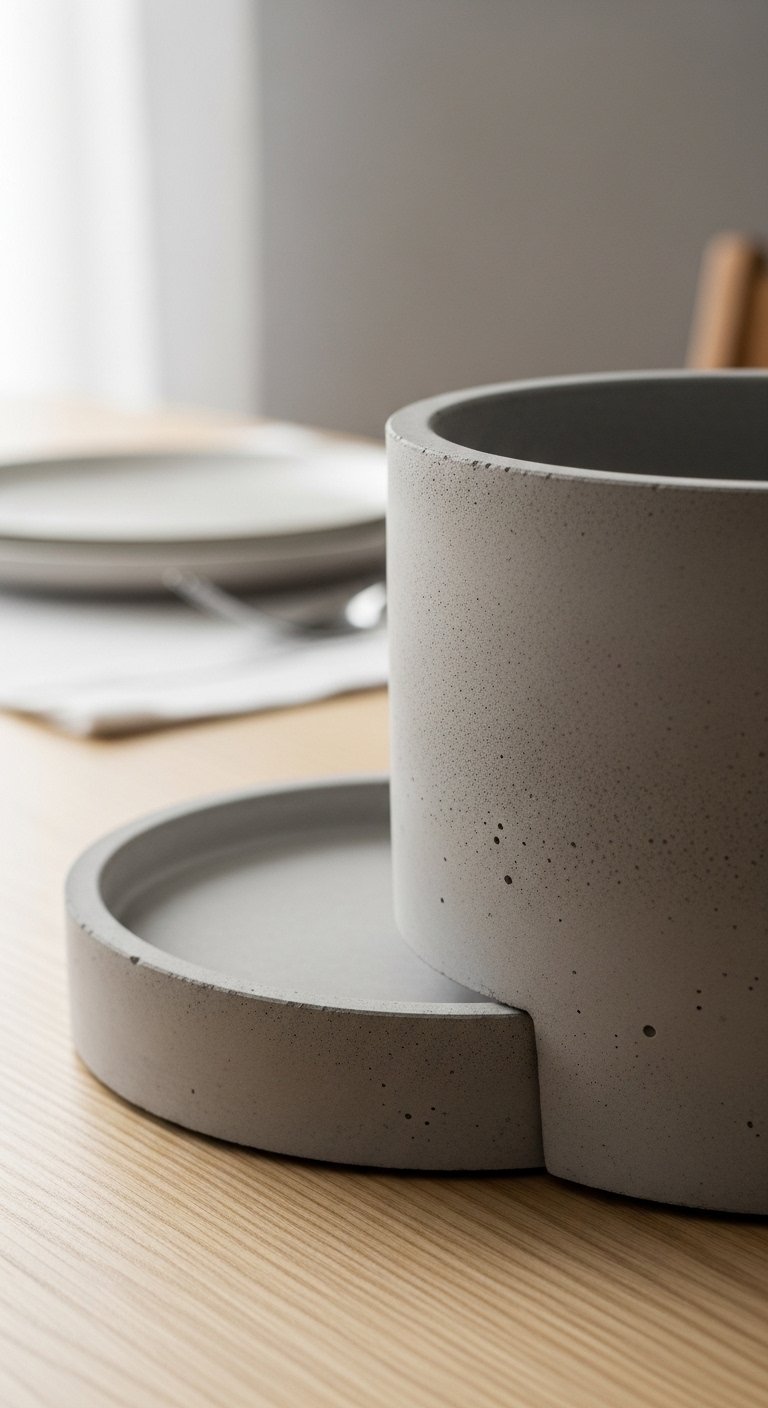
Water worries kept me from putting many plants on furniture until I made a planter with an integrated, sliding saucer. Design the recessed tray 1/4 inch smaller than the base so it slips out cleanly. It avoids water rings and costs a little more in mold planning. A silicone sliding-saucer mold helps. People forget to slope the saucer slightly toward one side. Add a small notch to make it easy to pull out and inspect.
Matte Black Concrete For Modern Minimalism
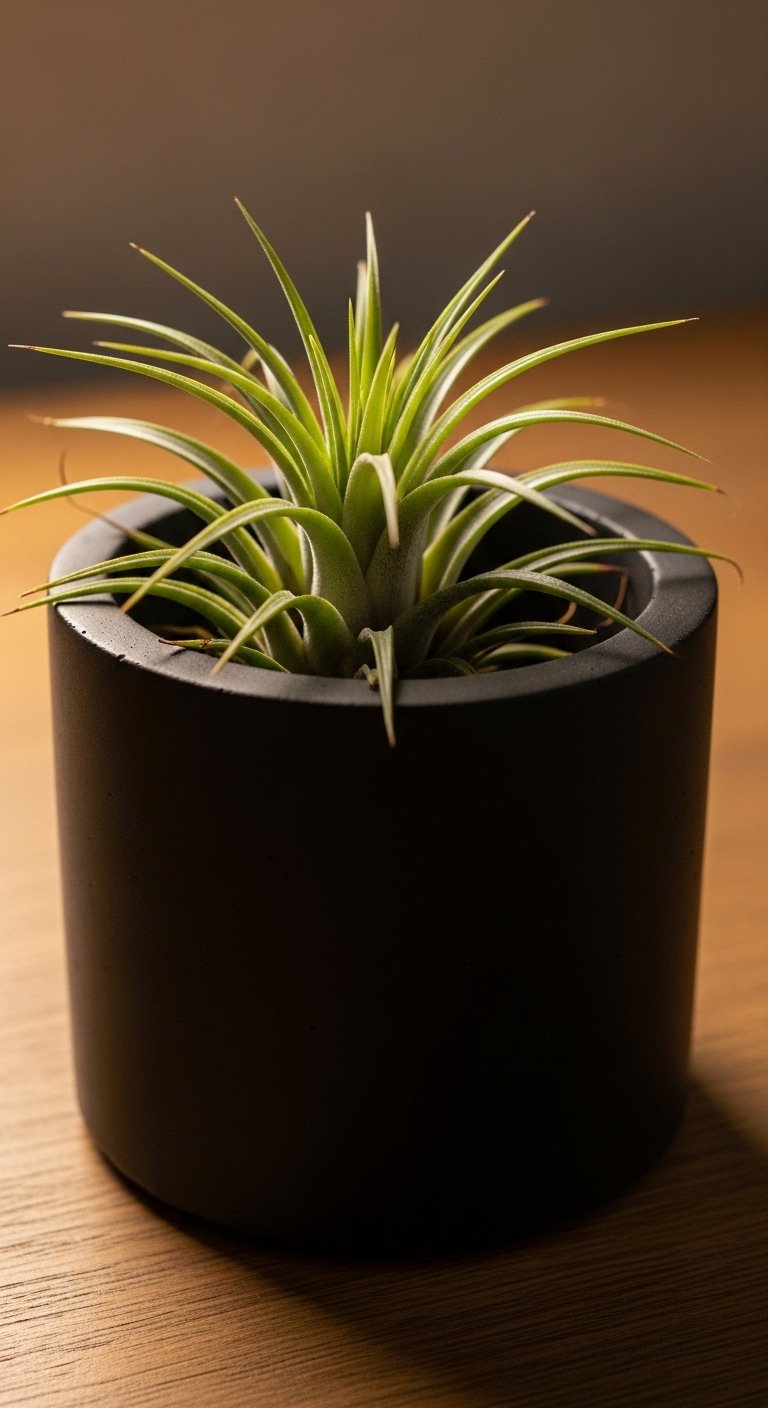
Matte black changes everything. I mixed a black oxide into the concrete for a consistent deep tone. A 2-3 percent pigment by weight keeps the color even without streaks. Matte black looks expensive next to light wood and linen. Use black concrete oxide pigment. A common mistake is trying to paint raw concrete black after curing. In-mix pigment is more durable and hides small surface flaws.
Use Leftover Mix To Make Matching Accessories
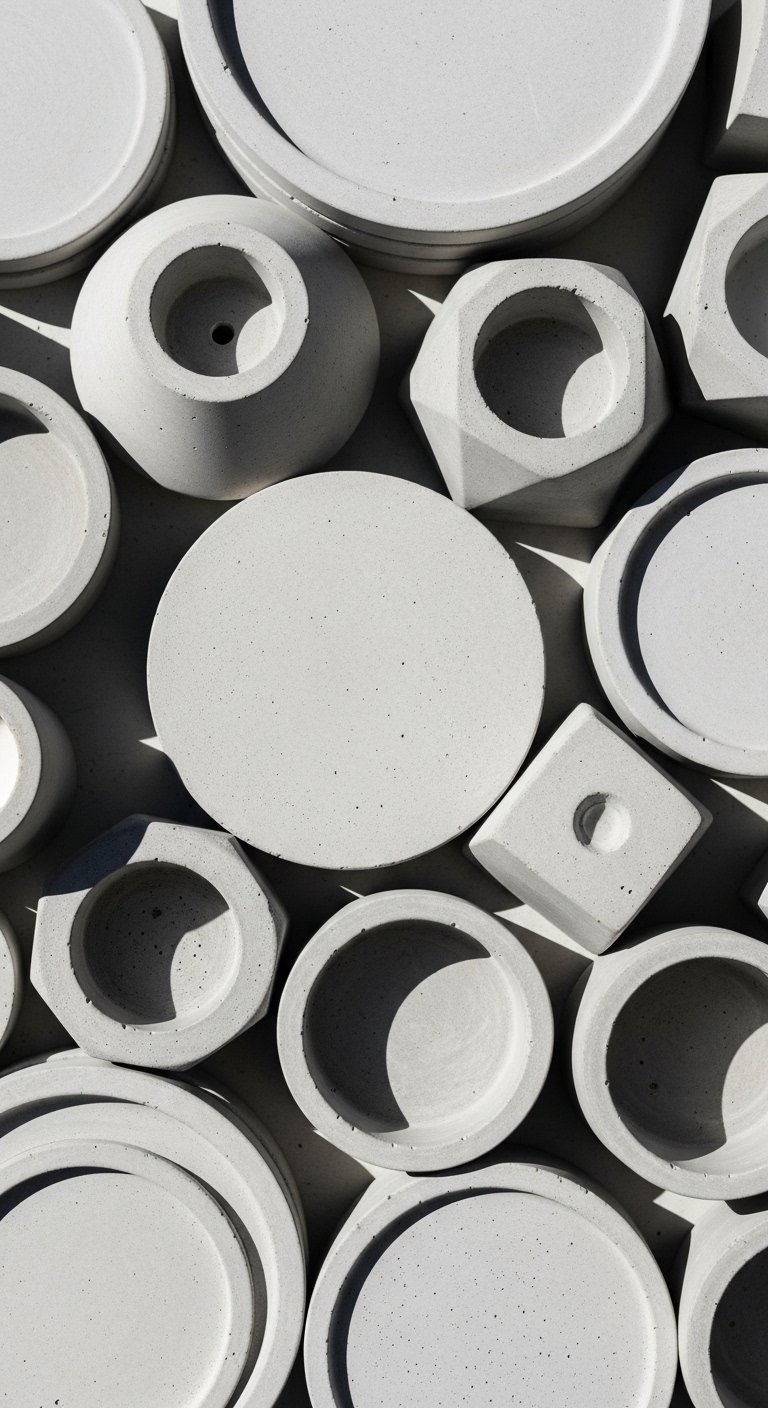
I hate wasting a good batch of mix so I pour leftover concrete into coaster molds and candle molds to make a coordinating set. Coasters require a fiberglass mesh insert for durability, and a 1/2-inch thickness is enough to protect tables. A set of three coasters and a small candle holder costs under $10 extra. Try round coaster molds. People toss leftovers into the yard and regret it. Small extras unify the look across a room.
Hybrid Concrete-And-Ceramic Planter For Texture Contrast
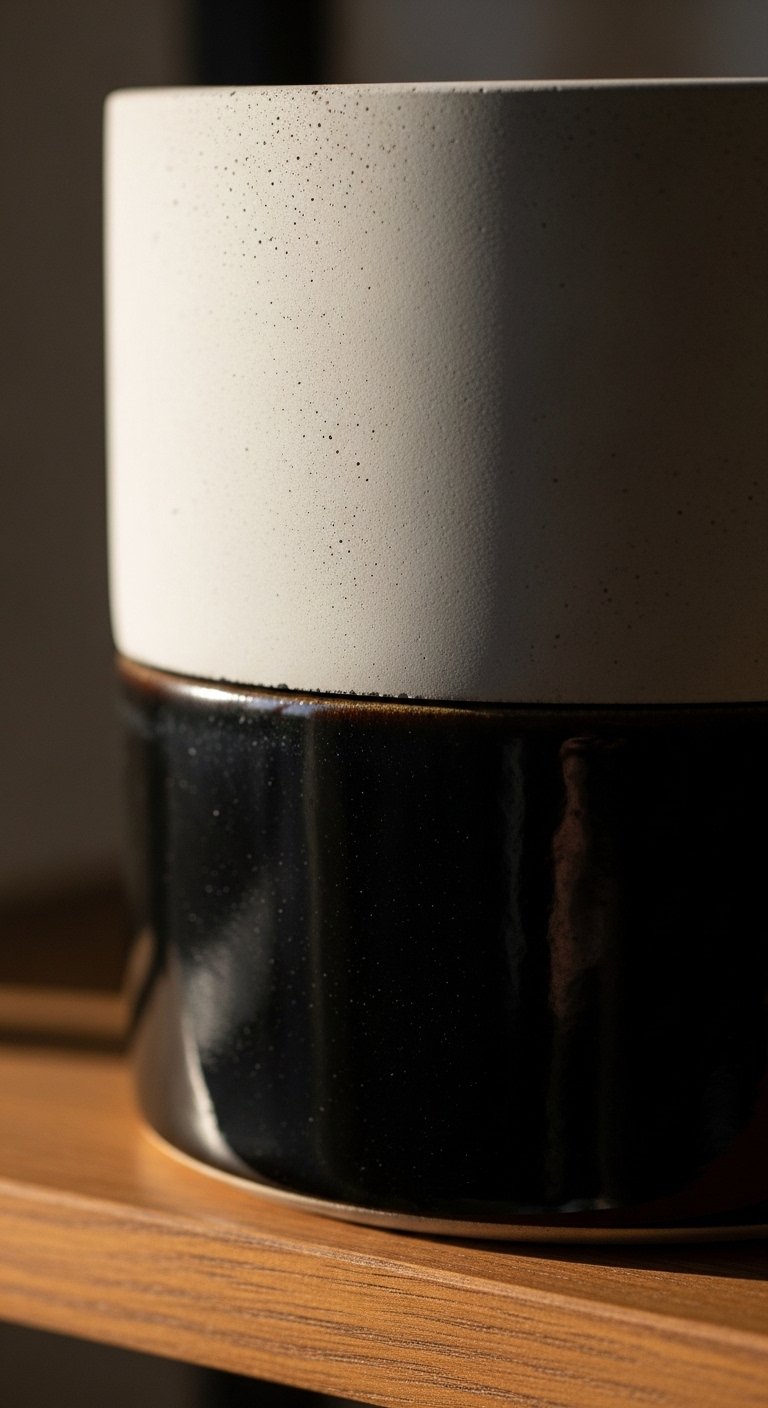
I paired a concrete collar with a glazed ceramic base when I wanted a softer bottom for indoor shelving. The concrete gives weight and the glaze gives color and moisture protection. Make the concrete lip 1 inch thick so it feels solid. Materials are around $25-60 depending on the ceramic. I used small ceramic bowls as cores. A mistake is not sealing the ceramic before casting. Dry glaze can pull moisture from the concrete and cause uneven curing.
Mix Sizes For Stair Landings Or Entryways
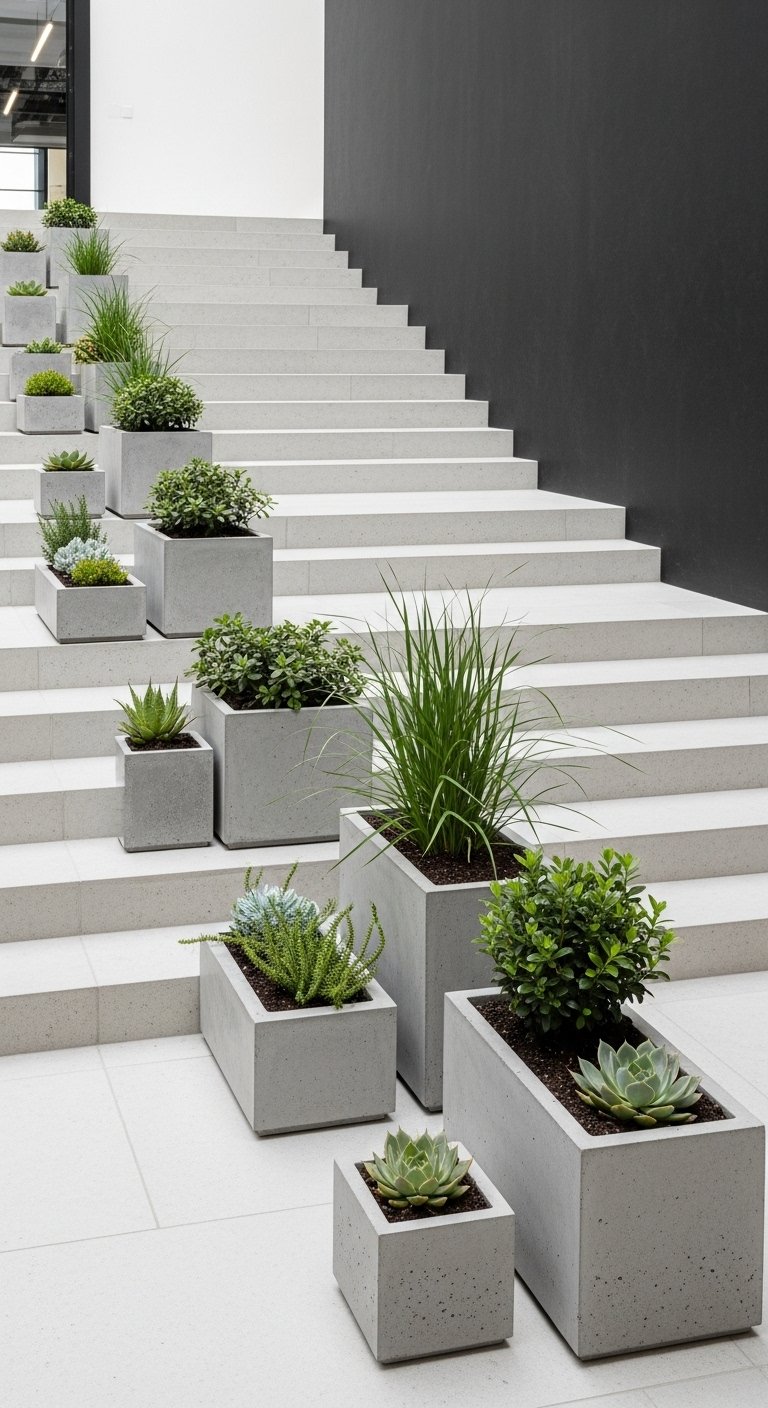
A stair landing felt empty until I grouped planters in three sizes. Mix small, medium, and large and alternate finishes for rhythm. Keep the largest at about 18 inches high and scale down by roughly 40 percent for the medium and small sizes. This cluster costs $60-150 depending on scale. I used varied silicone molds to match sizes. People make everything the same size and it looks static. Size variation reads professional and intentional.
Your Decor Shopping List
Textiles
- Honestly the best $40 I have spent. Chunky knit throw in cream (~$35-55). Drape over a sofa arm for instant warmth
- 22-inch down-filled linen pillow covers in warm gray and oatmeal, set of two
Planter Tools & Materials
- Rapid-setting concrete mix (~$15-25 per bag)
- Concrete colorant powder (black, warm gray)
- Fine-grit sanding pads set for finishing
Molds & Forms
- Stackable silicone mold set for consistent planters
- Rectangular silicone baking mold for box planters
Finishes & Hardware
- Premium concrete sealer in matte and gloss
- Vegetable-tanned leather strips for hangers
- Adhesive copper foil tape for accents
Budget Finds
- Decorative marble chips for terrazzo effect
- Round silicone coaster molds to use leftover mix
Notes: Most items have similar options at Target or HomeGoods if you prefer to see them in person.
Shopping Tips
White oak beats dark wood in 2026. Design feeds have shifted completely. These white oak floating shelves look current, not dated.
Grab black concrete oxide pigment for deep tones. Mix 2-3 percent by weight for even color.
Curtains should puddle or kiss the floor, never hang halfway up. These 96-inch linen panels are right for standard 9-foot ceilings.
Lead with a single large plant instead of five small ones. Artificial fiddle leaf fig 6ft is a low-maintenance way to get height without effort.
Use a silicone mold for crisp edges. Faceted silicone mold helps produce consistent pieces that look store-bought.
Mix in a few terrazzo chips to hide minor surface flaws. Decorative marble chips add depth and disguise bubbles.
Frequently Asked Questions
Q: How long does a DIY concrete planter actually take to cure before use?
A: Plan on 48-72 hours for basic handling and at least seven days for full cure. Use a fast-setting mix for small pieces when you need them sooner. If you plant right away mist less for the first week to avoid slumping.
Q: Can I make light-weight planters that are easy to move?
A: Yes, use a lightweight concrete mix with perlite or pumice. It cuts weight dramatically and still looks substantial. I used a perlite mix for a large floor planter and could move it without stress.
Q: What common mistakes make planters look cheap?
A: Thin inconsistent walls, visible mold seams, and unsealed raw edges. Sand rims to 220 grit, hide or blend seams, and apply a matte sealer. Also avoid bright, saturated pigments unless you are going for a bold look.
Q: How do I prevent cracking in larger castings?
A: Keep wall thickness consistent and use reinforcement like small wire mesh or expanded metal for very large pieces. Avoid pouring in direct sun and mist the piece during early cure days if heat is high.
Q: Can I combine concrete planters with ceramic ones without it looking mismatched?
A: Yes. Mix textures and finishes but keep a common color family or metal accent to tie them together. A copper band did this for me and made both materials feel intentional.
Q: Are these projects renter-friendly?
A: Many are. Make small pots and use adhesive felt pads to protect surfaces. For hanging options use removable anchors and avoid drilling into walls where it is not allowed.
Q: What should I do if I overwater and stain the concrete?
A: First, blot and dry quickly. Sand a little and reseal if staining persists. Using a sealed interior surface from the start prevents most staining problems.

