

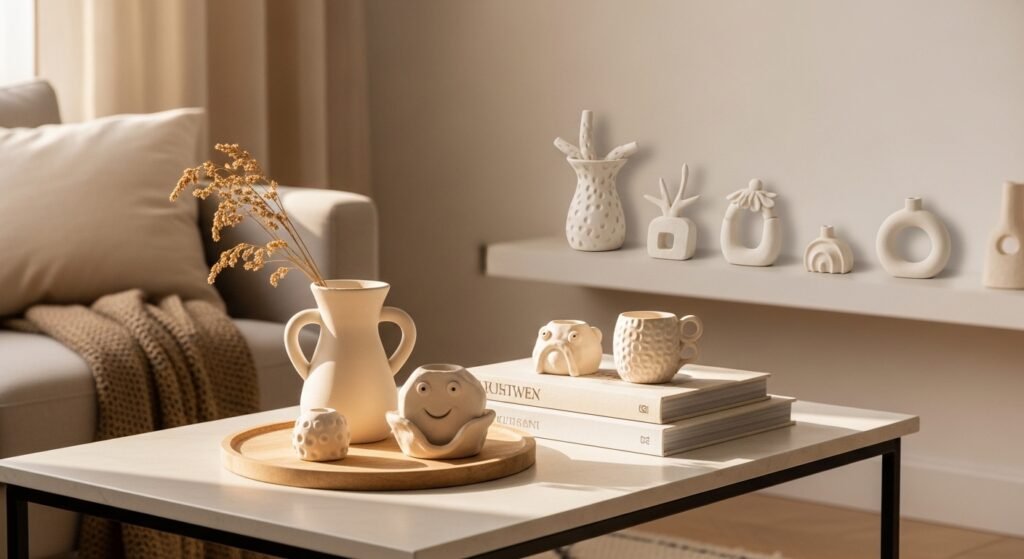
My living room had nice furniture and decent lighting but it still felt like a waiting room. Took me embarrassingly long to figure out it was missing texture and little handmade pieces that make a space feel personal. After a weekend of clay projects I had tiny sculptures on shelves and practical items that actually get used.
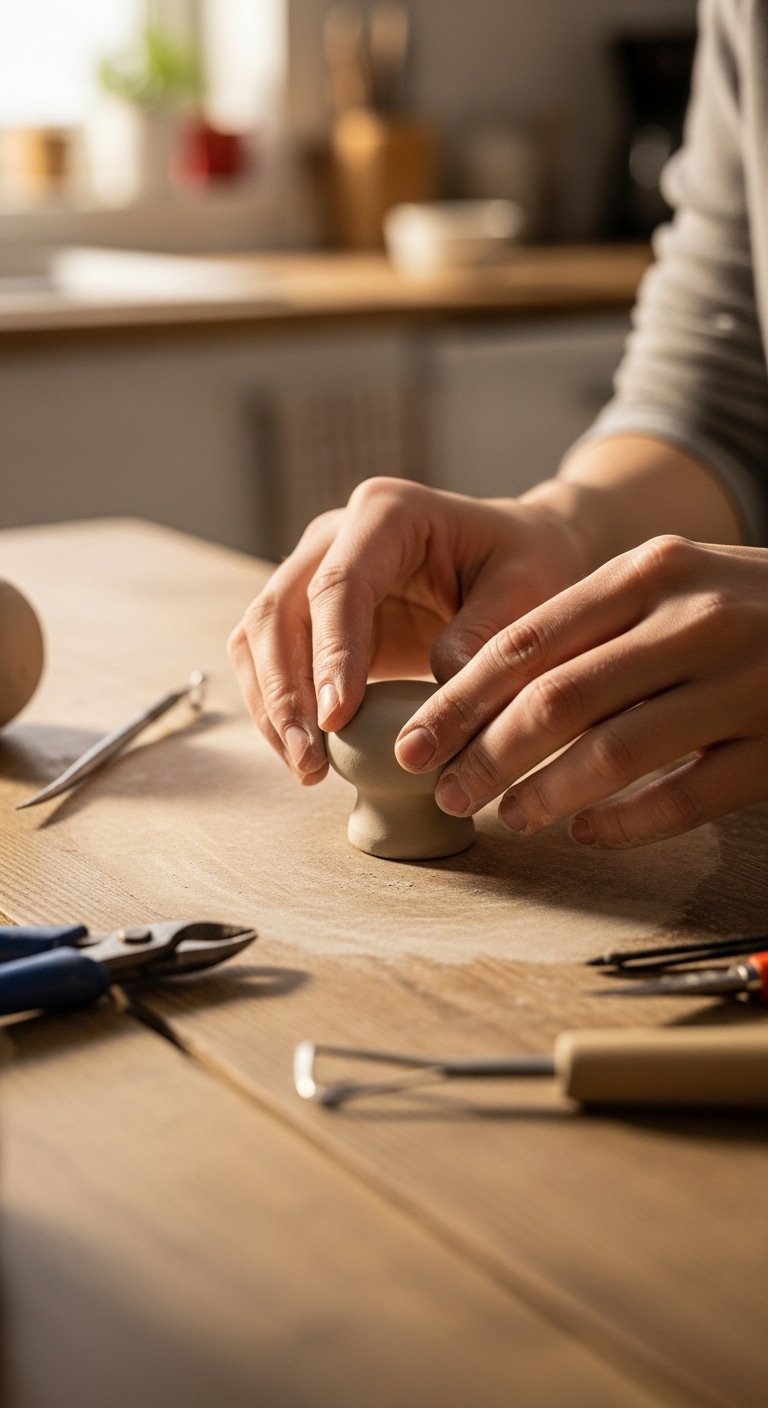
Clay Drawer Knobs for a Cozy Kitchen Upgrade
I swapped out boring drawer pulls for handmade clay knobs and the cabinet faces finally felt intentional. Make them about 1.25 to 1.5 inches across, press a standard M4 screw into the wet clay for a perfect fit, and sand to 220 grit once dry. In my small galley kitchen this cost under $25 for ten knobs, and the result reads crafted not cheap. Common mistake is making knobs too flat; give them a slight dome so they sit comfortably under fingers. Pair with brass screws or matte black hardware. Try a basic air-dry-clay-kit if you do this for the first time.
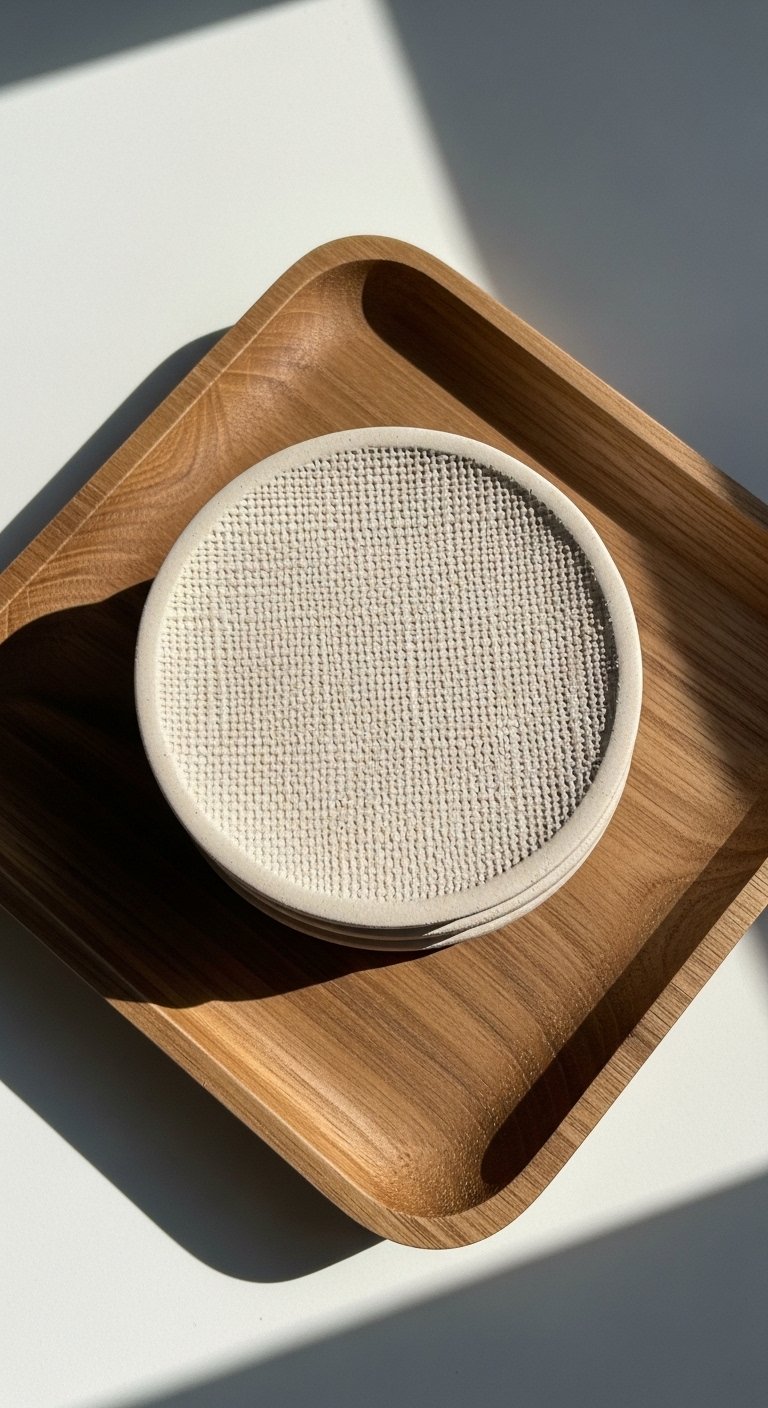
Textured Coasters for a Casual Coffee Table
The moment I put a stack of clay coasters on my coffee table, drinks suddenly had a home and the surface stopped looking lonely. Roll clay to about 1/4 inch thick and use a 3.5 inch biscuit cutter for uniform pieces. Use a napkin or old lace to press texture into the surface, then seal with a matte varnish after 24 hours of drying. Budget is under $20 for a set of four, depending on sealant. People often make them too thin and they warp. If you want even edges, use a tiny rolling pin and a wafer-thin spacer, a 2:1 clay-to-water ratio for smoothness helps.
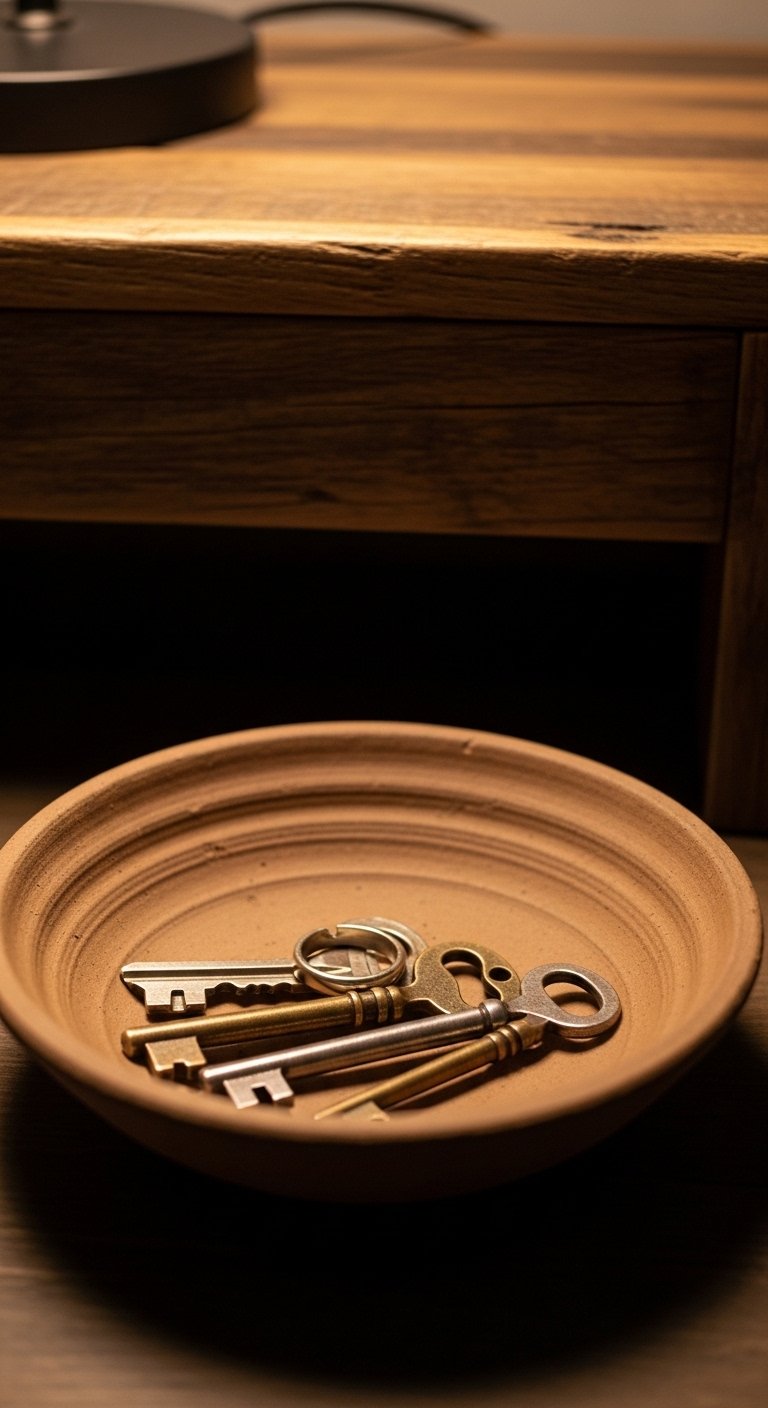
Trinket Dish for Entryway Organization
My entryway used to be a dumping ground for keys. Making a 4.5 inch shallow clay dish took twenty minutes and gave me a place to drop things that actually looked intentional. Press your thumb in the center to form a nest, then smooth the rim with a damp fingertip for a clean finish. Budget around $10 including sealant. A common mistake is making the dish too shallow, so aim for a 1-inch lip. These look great in ceramic white or terracotta tones and pair well with the drawer knobs idea above.
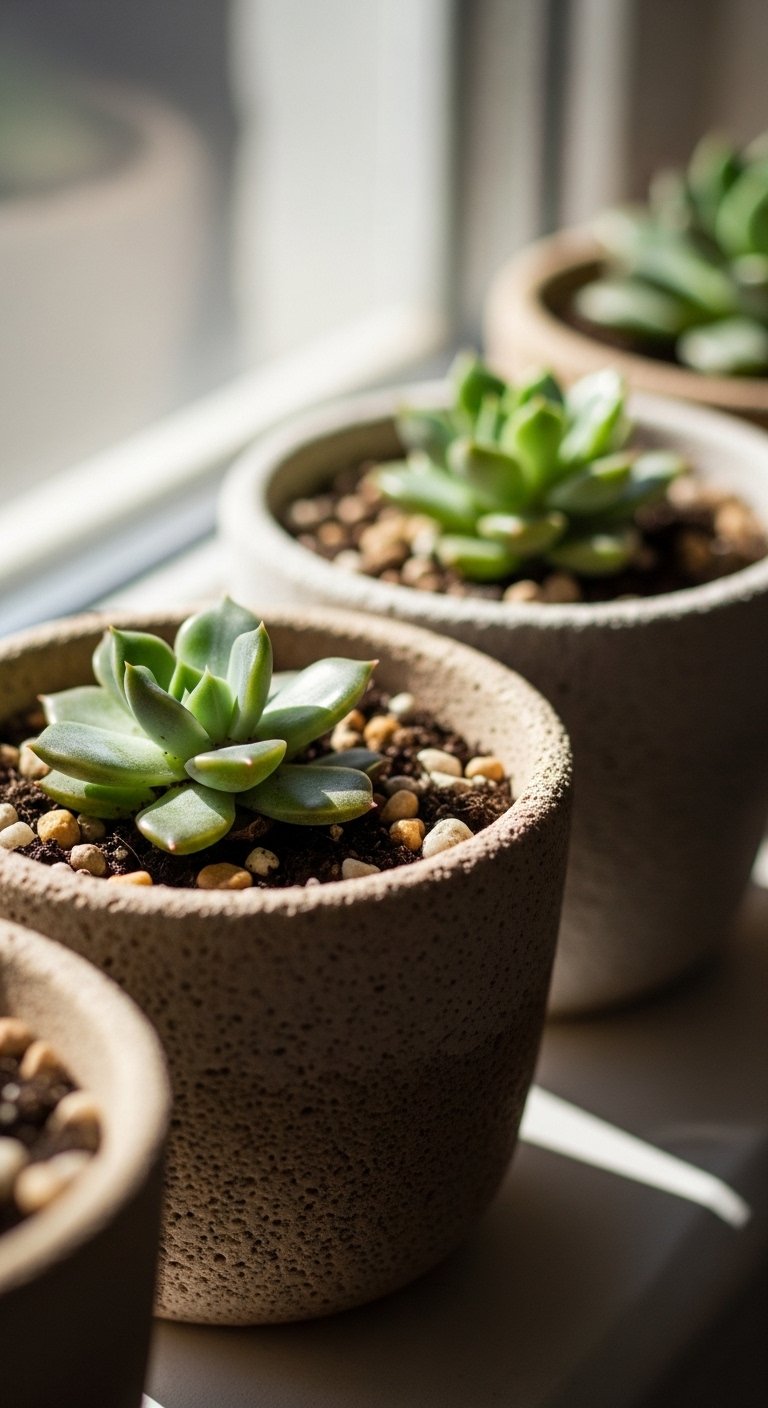
Mini Planters for Succulents on Small Windowsills
Everyone buys five small succulents. One weekend I made six tiny planters and suddenly my kitchen windowsill felt like a curated garden. Make cylinders about 2.5 inches tall and 2.5 inches wide, and leave a 1/4 inch thickness for strength. Add pebbles to the bottom for drainage, or use plants that tolerate little soil. Budget is under $15 for a set of three if you already have clay. Mistake to avoid: sealing the inside with too glossy a finish, which looks plastic. A matte beeswax rub looks natural and matches modern or rustic spaces.
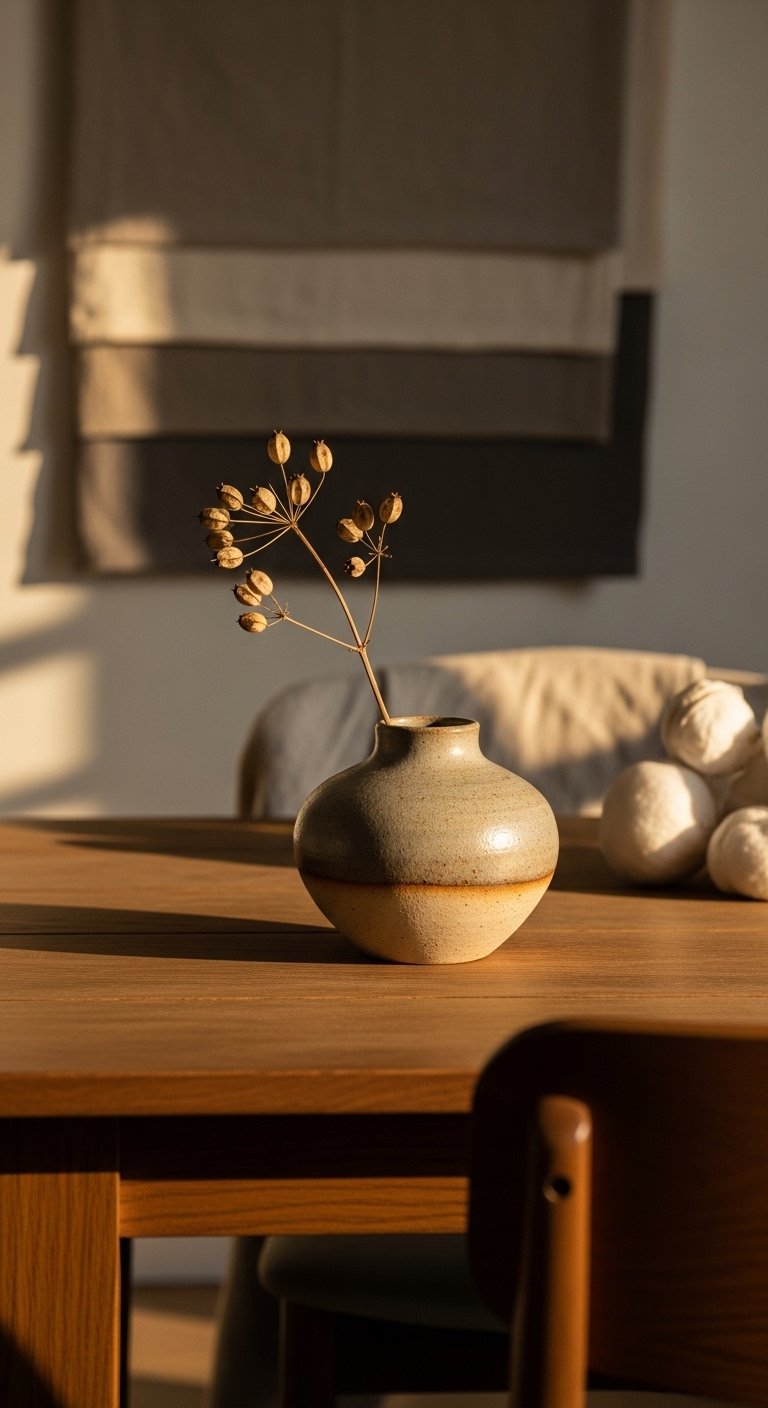
Minimalist Bud Vase for Dried Stems and Single Blooms
There is something about a simple bud vase with a single stem that makes me cancel plans and sit at the table longer. Roll clay into a tube 5 inches tall and 1.75 inches wide, score and slip seams so it does not separate while drying. These are perfect for dried stems or a single tulip and cost under $10 each. People over-glaze them and lose tactile texture. A raw matte finish reads cozy-modern. Pair a vase with the trinket dish from earlier on a bedside table for a tiny vignette.
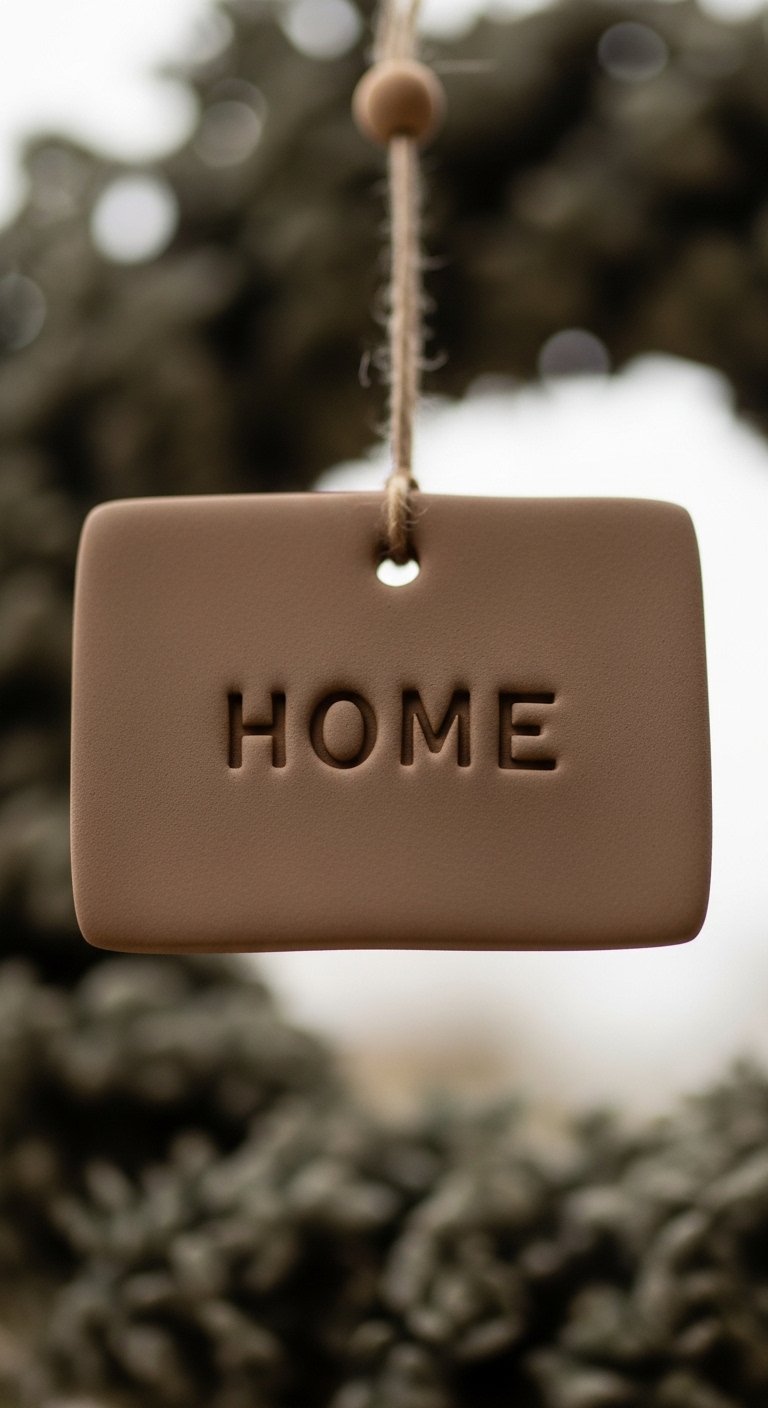
Custom Holiday Ornaments with Simple Lettering
Making ornaments is a fast way to give gifts that feel personal. Cut shapes 3 inches across, stamp letters about 3 mm deep for legibility, and thread with leather cord. You can dry them flat so they stack in a cookie tin for gifting. Budget is under $1 per ornament when you buy clay in bulk. A common error is making holes too close to edges; leave at least 1/2 inch of clay around the hole to prevent breakage. These work in neutral palettes for a modern tree or in colorful glaze for a playful look.
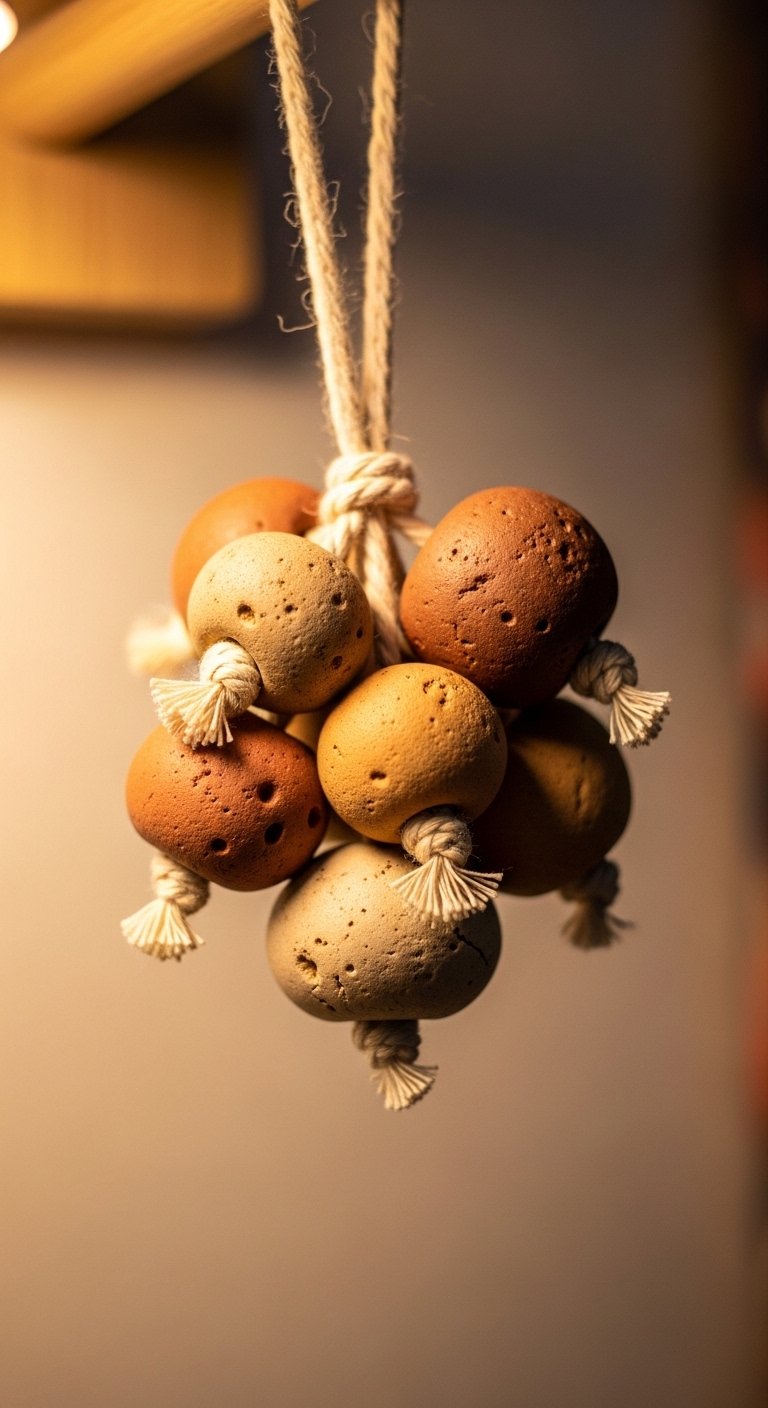
Clay Bead Garland for Shelves or Mantels
I used clay beads strung on twine to break up a long shelf and suddenly the space stopped feeling cold. Make beads 12 mm to 18 mm across for a nice rhythm, roll by hand or use a bead roller for uniformity. Mix in wooden beads for contrast, keeping a 60/40 ratio of clay to wood for warmth. Mistake to avoid is overloading with too many small beads, which reads busy. Budget runs small since you only need a handful of beads. These are great above the mantle or draped on a hook next to framed art.
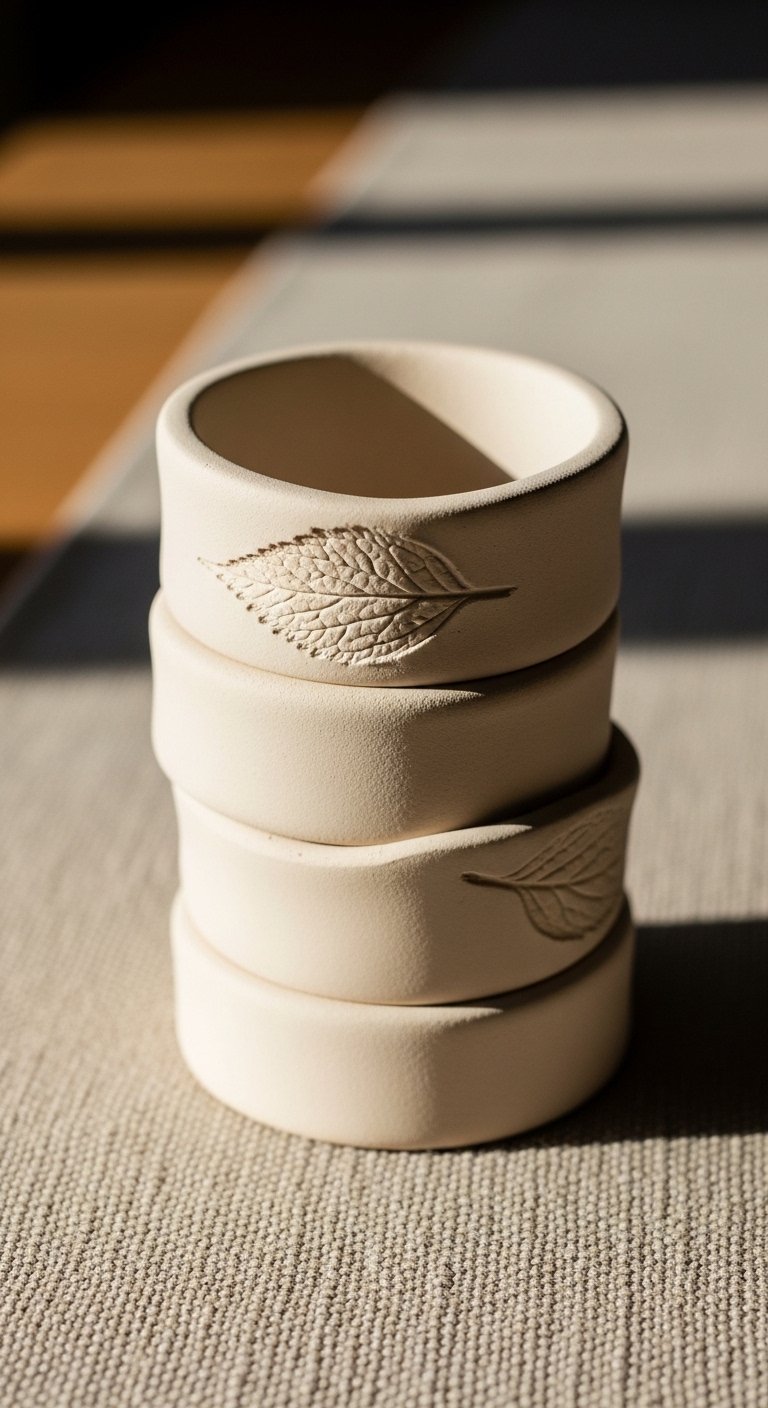
Napkin Rings to Make Dinners Feel Intentional
The first time I used handmade napkin rings, even simple takeout felt like a dinner party. Cut strips 1.5 inches wide, wrap around a napkin and join with a small seam. Make a trial ring 4 inches in diameter so it fits folded napkins. Budget under $15 for a set of six. People make rings too tight or too loose, so test with your napkin fold before drying. Texture them with a pressed fern or a tooth comb for subtle detail. Pair with a minimal bud vase in the center of the table.
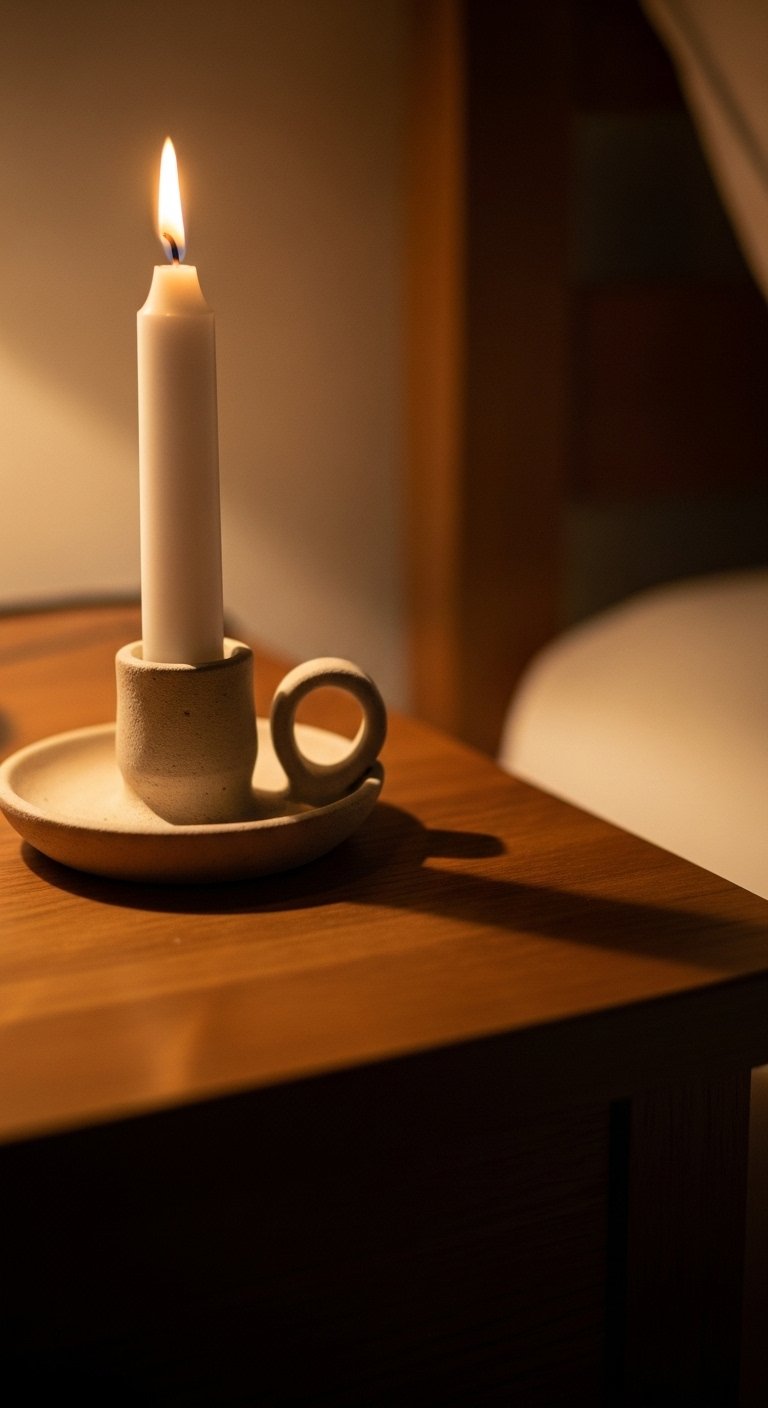
Small Candle Holders for Nightstands or Shelves
A pair of clay candle holders made my bedroom feel lived-in and softer than a lamp alone. Push a tapered candle into a 1.25 inch opening and let clay dry fully. Keep the base at least 2.5 inches wide so they do not tip. These are inexpensive, roughly $5 each in materials, and the hand-pressed fingerprints make them charming. Common mistake is not making a wide enough base. For safety, use drip trays or choose LED taper candles. Mix with textiles that follow the 80/20 color ratio for balance.
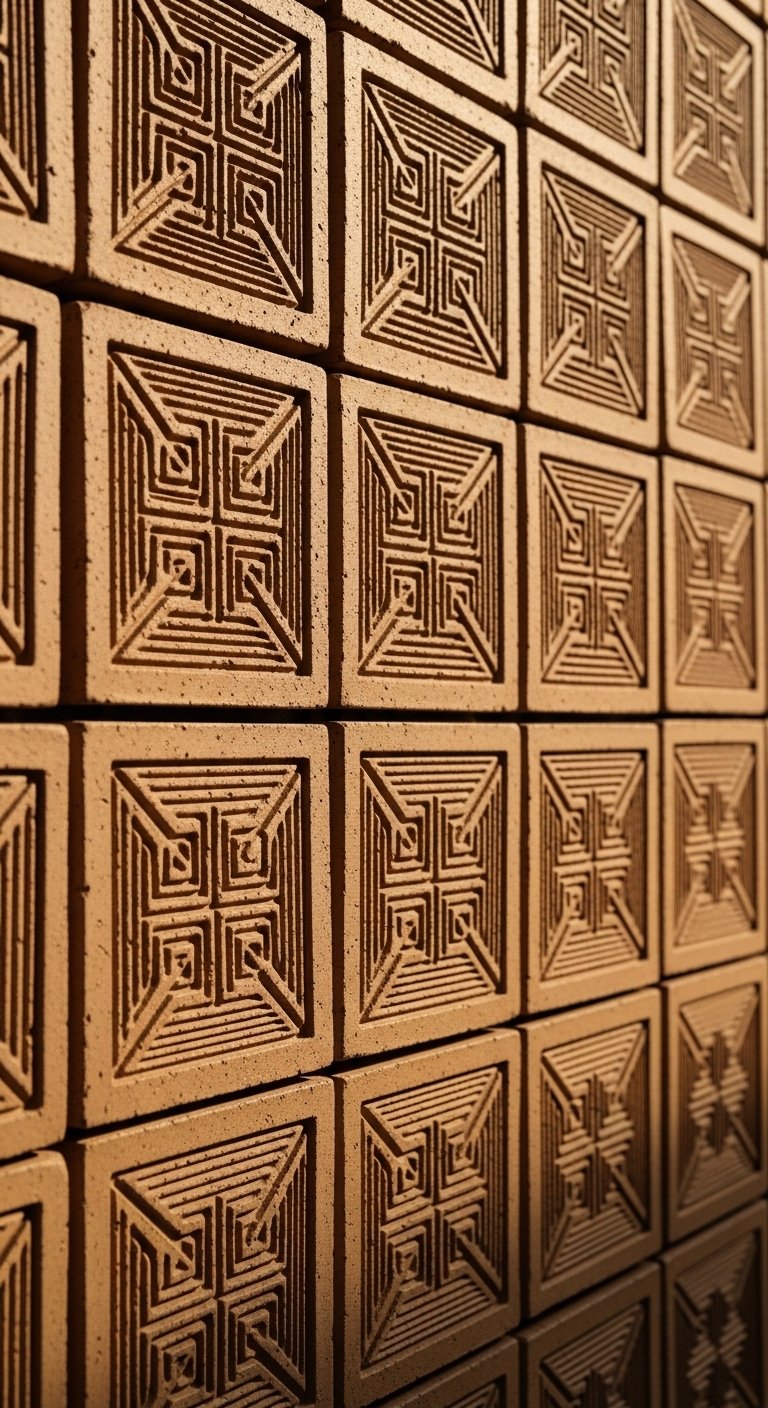
DIY Clay Tiles to Create a Small Accent Wall
I was skeptical until I installed a 3×3 grid of handmade tiles behind a console table and the wall finally read like it had personality. Make tiles 4×4 inches and 3/8 inch thick, allow 72 hours to cure, and use removable adhesive strips for renter-friendly installation. Cost varies but a nine-tile grid can be under $50 if you do your own pressing and glazing. A mistake is making tiles too heavy for adhesive. Use a lighter clay body for wall pieces. These look great behind a lamp or mirror and pair well with the gallery wall idea below.
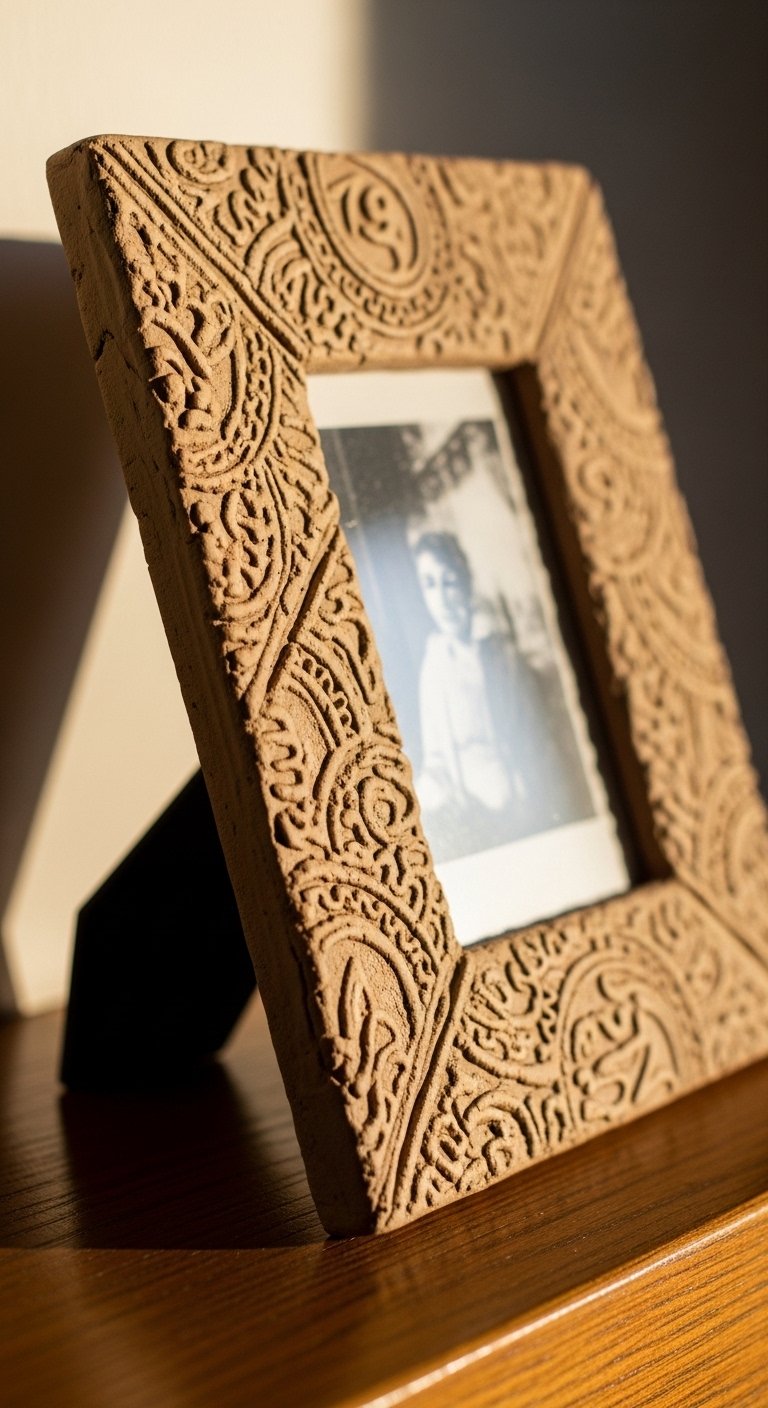
Clay Photo Frames for Personal Shelves
My shelf felt less staged when I added a handmade frame holding a slightly crooked photo of friends. Build a frame 6×8 inches with a 1-inch lip for a photo and back it with thin cardboard after drying. Paint the frame or leave it raw. Budget under $20 including hardware. A common mistake is making the opening too small, so measure twice. Pair this with mixed metallic accents instead of matching everything. These frames let you rotate images without buying new frames all the time.
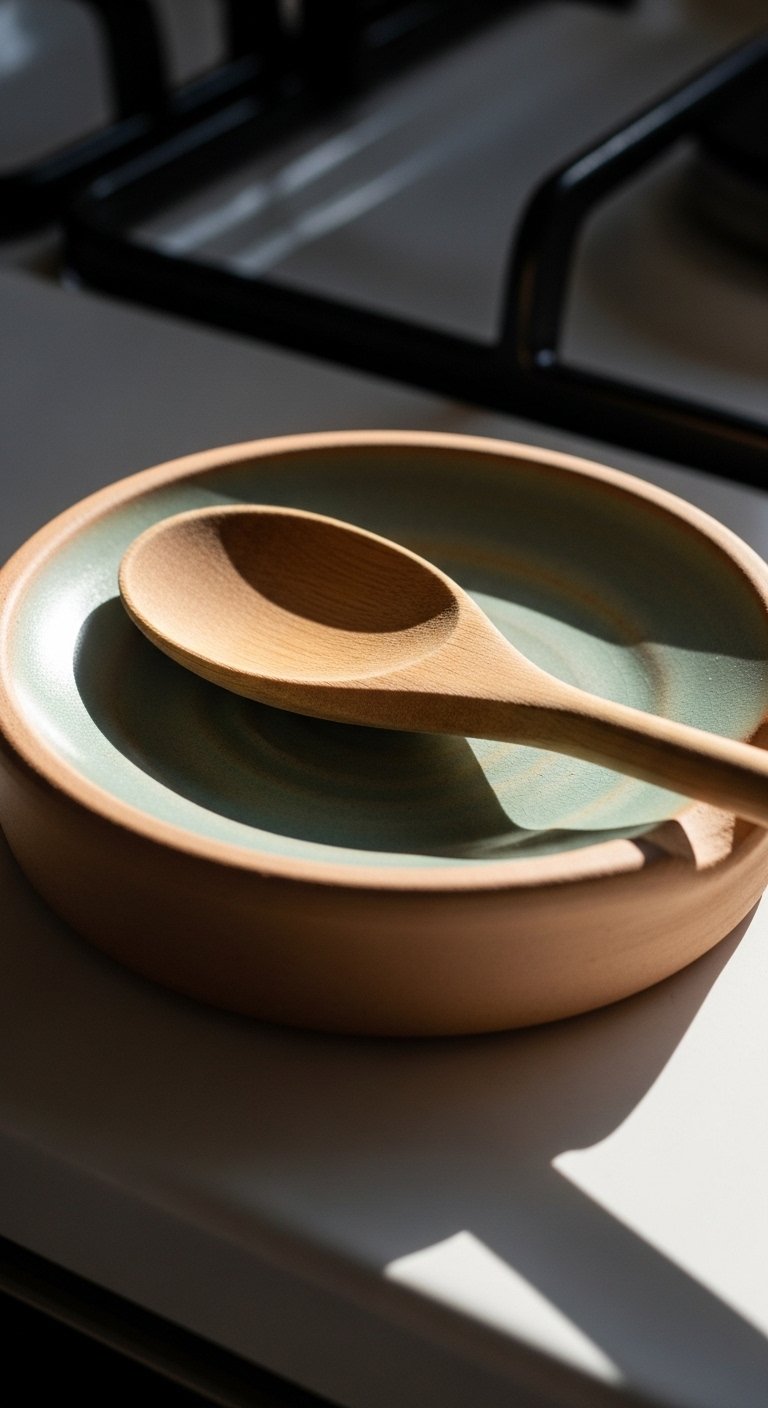
Spoon Rests for Real-Use Kitchen Styling
Spoon rests saved me from splatters and gave the stove a small moment that feels considered. Form a 6-inch long shallow dish with a 1.25 inch notch to cradle a spoon handle. Seal the glazed area for easy cleaning. It cost less than $12 to make one, and they stack for gift sets. Mistake to avoid is using non-food-safe glazes on surfaces that will touch utensils. These look good next to a small clay planter to tie the counter styling together.
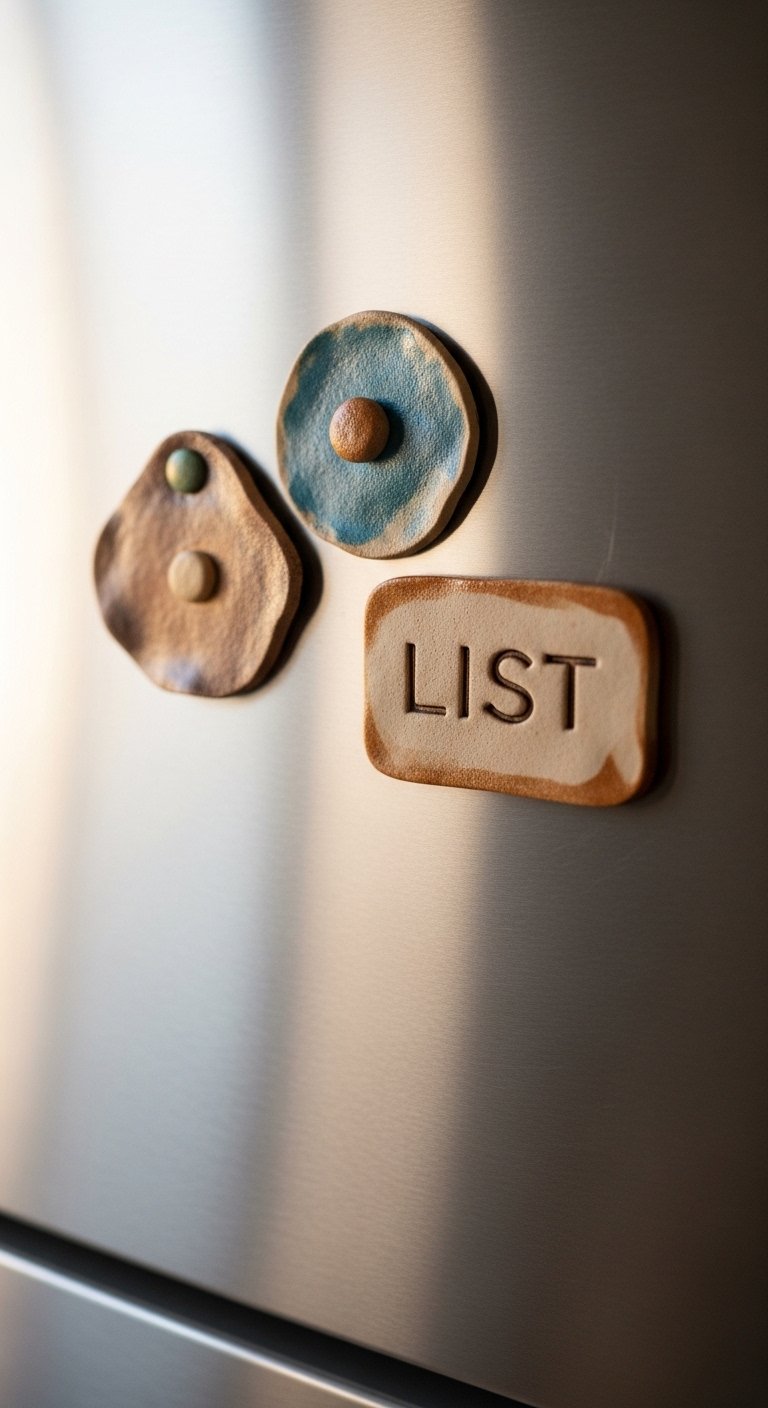
Refrigerator Magnets with Messages or Dates
I made a set of date magnets for photos and tickets and they made my kitchen notice board feel edited. Make circles 1.25 inches across, embed a small round rare-earth magnet while the clay is tacky, and glue a second magnet if needed for strength. Budget is under $10 for a set of six. People often place magnets too close to the edge and they pop off. These work great for reminders, or to highlight the small clay photo frame idea.
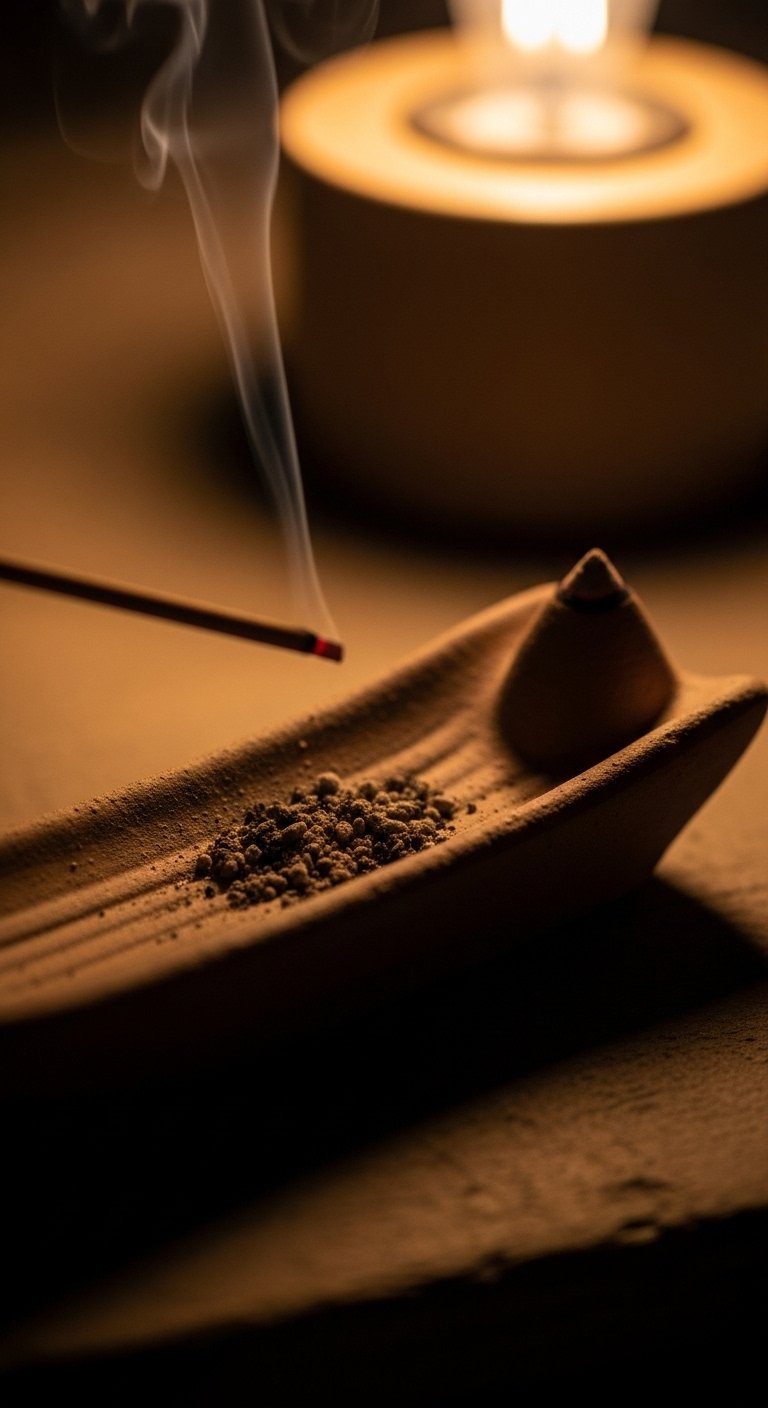
Incense Holders That Catch Ash Cleanly
I tried making an incense holder once to hide a love of ritual and it actually reduced the mess. Roll a long thin strip and curl it into a shallow "s" shape about 6 inches long to collect ash. Make the hole 3 mm and angle it slightly so the stick sits firm. Budget is minimal. A pitfall is making the hole too wide. Use natural clays and matte finishes for a calming look. These pair with the candle holders to create an intentional nightstand vignette.
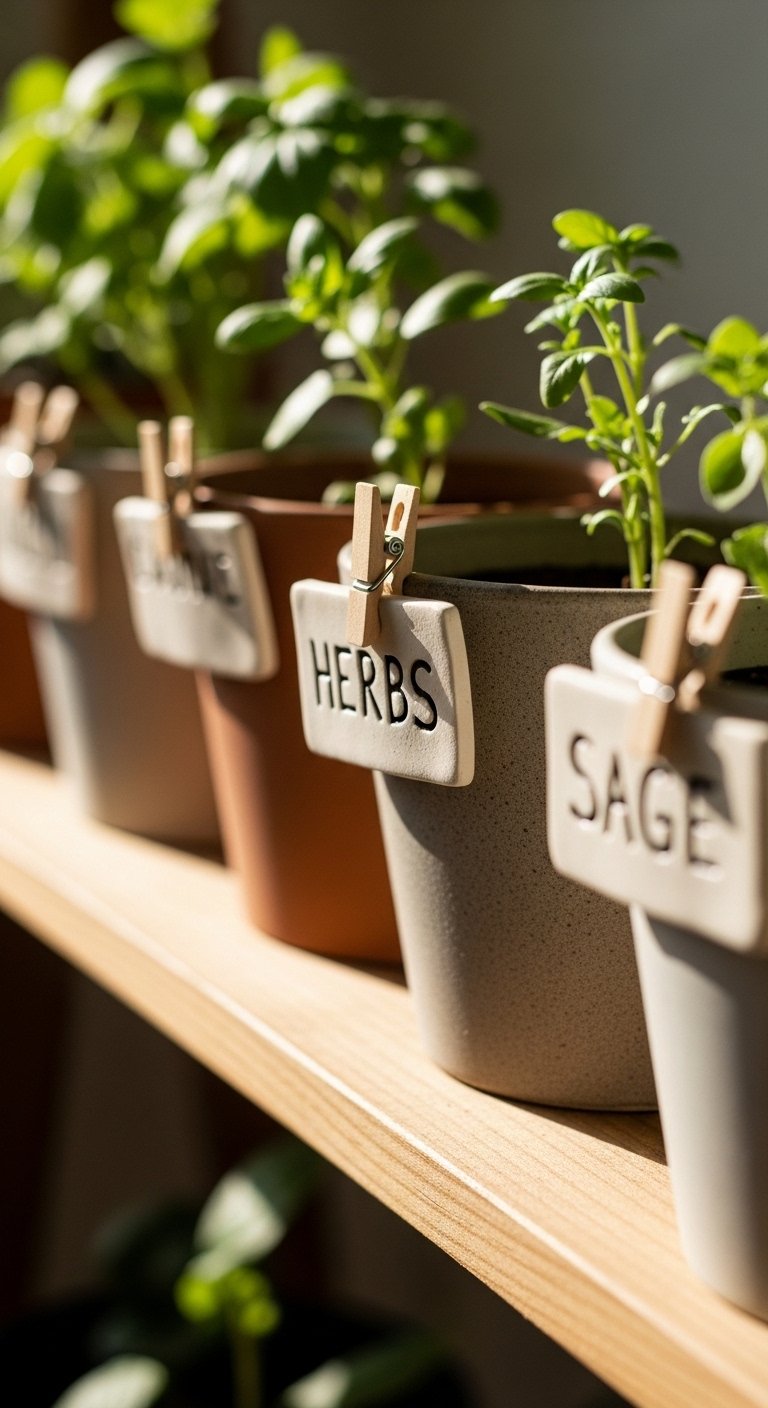
Small Clay Plant Labels for Indoor Herb Pots
Labeling my herbs with tiny clay tags stopped me from killing the cilantro. Roll thin tags 2.25 inches by 0.75 inches, stamp names about 2 mm deep and drill a tiny hole for twine. Don’t make the tags thicker than 3 mm or they look heavy. Budget under $8 for several labels. Mistake people make is using permanent marker which fades. Clay labels feel rustic and match mini planters from earlier.
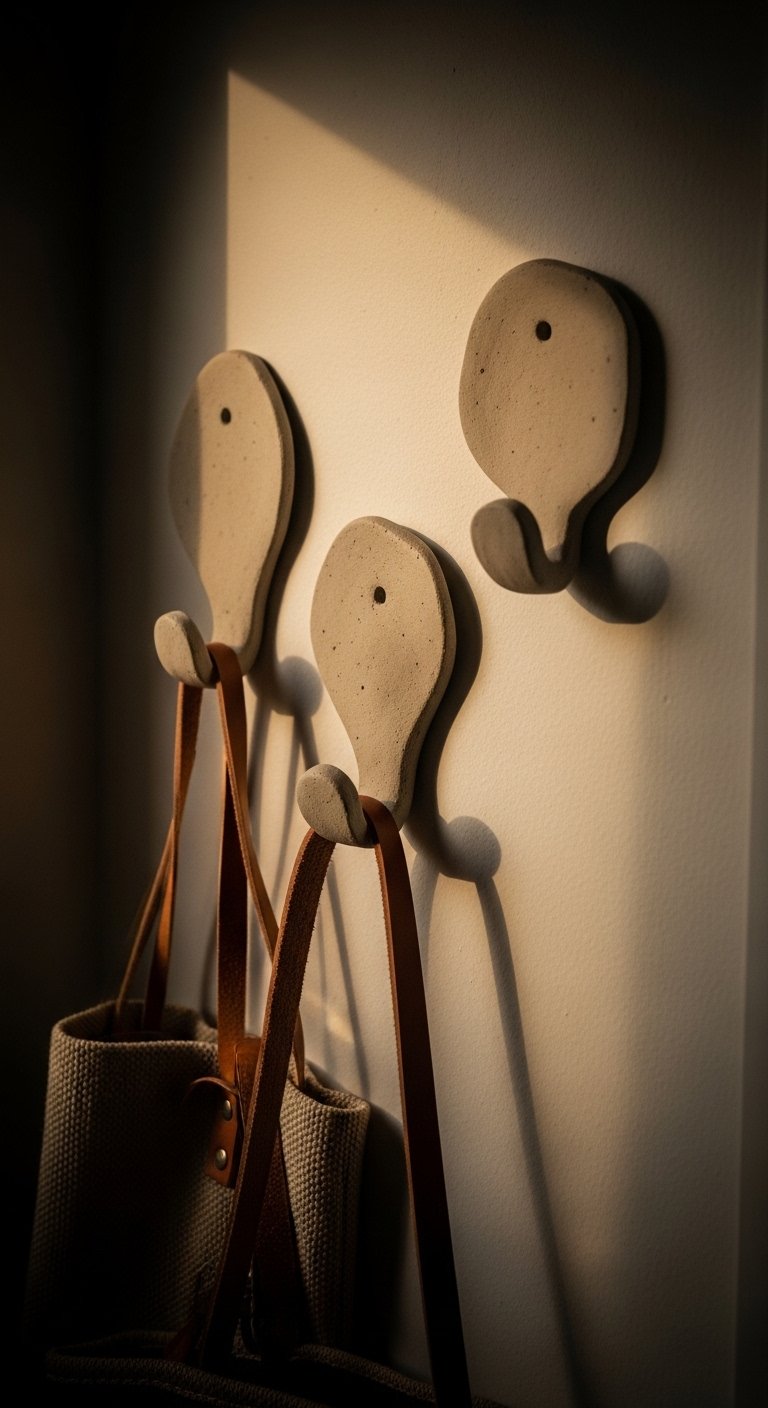
Simple Wall Hooks for Light Totes and Hats
Adding three clay hooks by the door made my entryway functional and stopped the bag pileup. Make hooks about 2.5 inches wide with a 1-inch lip and anchor them to a small wooden backer for strength. Use 2 to 3 hooks for a standard entry console, keeping a rule of three for visual balance. Budget under $20 for a set when anchored on wood. Common mistake is mounting directly to drywall without reinforcement. These pair perfectly with the trinket dish idea in the same zone.
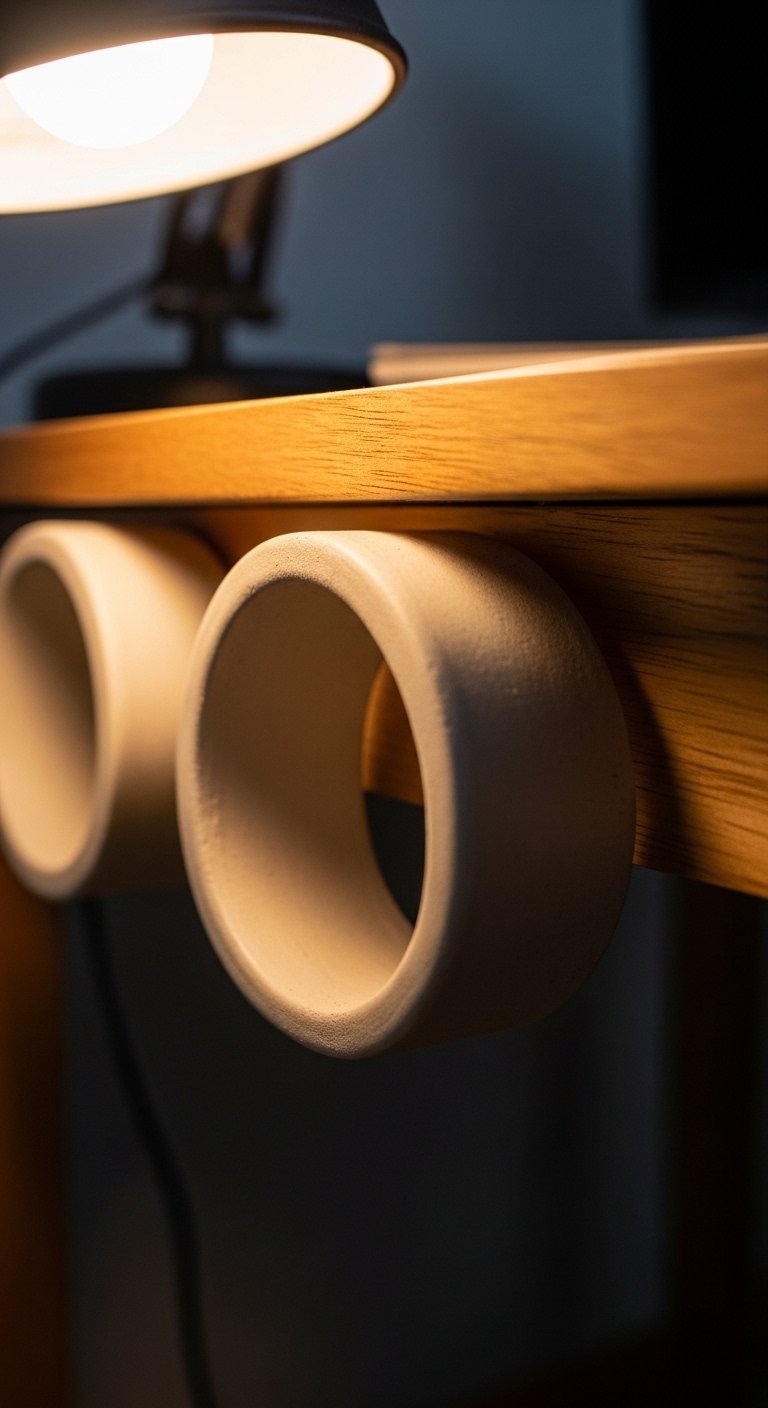
Desk Organizers for Headphones and Cords
My desk stopped looking like a tangle when I added a couple of clay cord catchers and a headphone hook. Mold a shallow catch for cables 3 inches wide and a hook about 1 inch deep for the headphone band. They dry fast and are perfect for small home offices. Budget is under $10 total. People make them too thin and expect them to bear heavy weight. Use them for light items and pair with a small clay tray for pens.
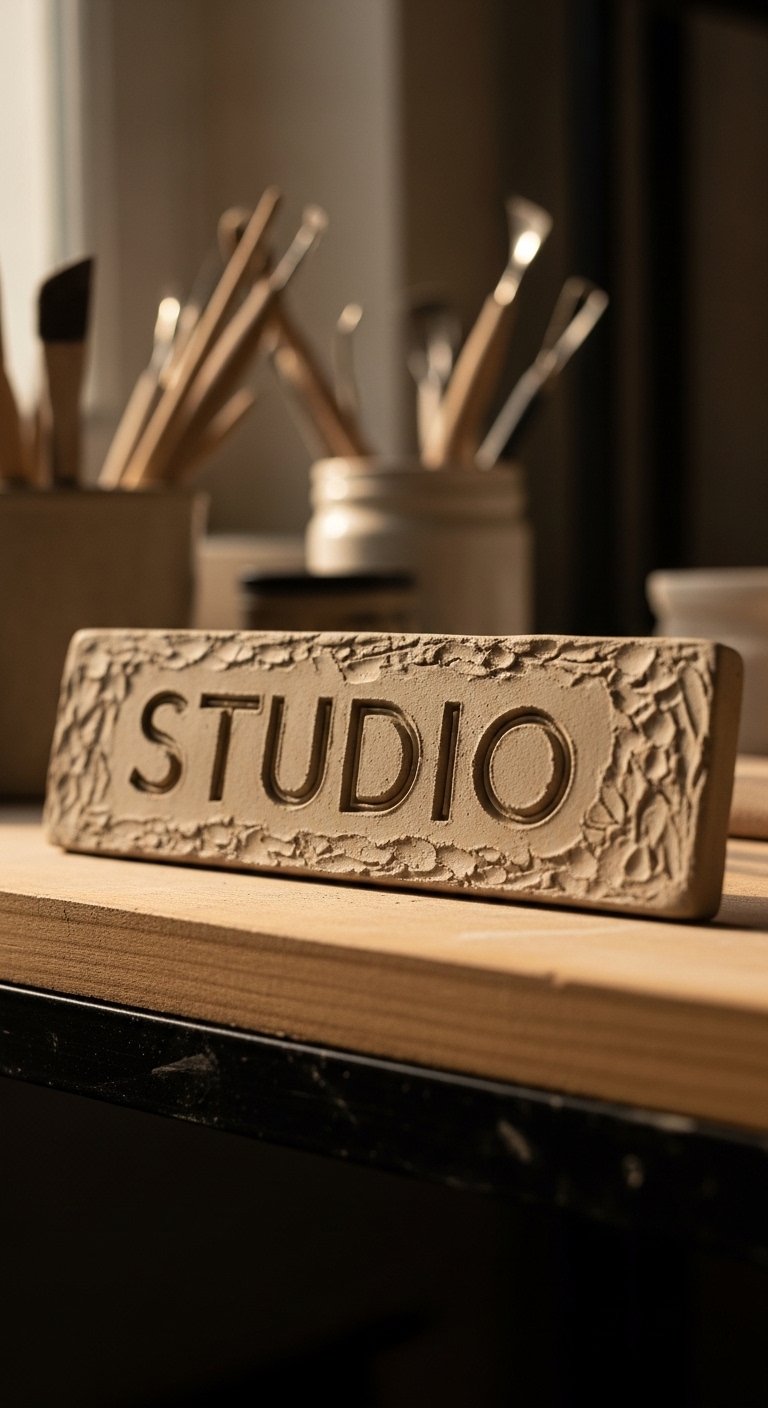
Small Shelf Signs to Make a Workspace Feel Owned
Putting a tiny clay nameplate that says STUDIO over my workstation made the desk feel like mine. Make a plaque 6 inches wide and 1.5 inches tall, stamp letters with 6 mm depth for clean shadows, and hang with double-sided tape. Budget under $12. A common misstep is using letters too close together; leave at least 4 mm spacing. These are great when paired with clay tiles behind the desk for a cohesive look.
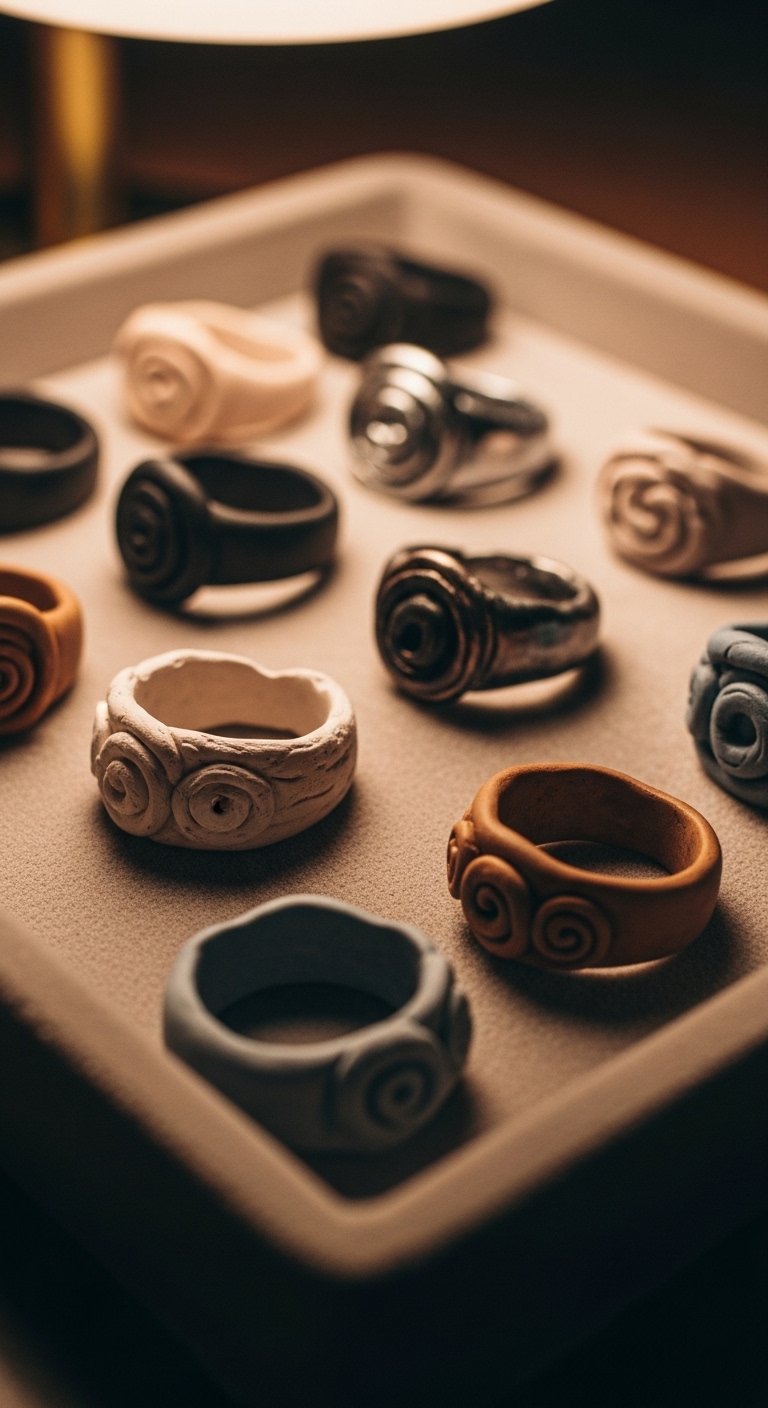
Wearable Clay Rings and Simple Jewelry Dishes
I made a couple of wearable clay rings and a tiny dish to keep them in, and it turned out to be a sweet, easy gift. For rings, form a band with an inner diameter of 17 to 20 mm depending on finger size and a band width of 4 to 6 mm. Finish with a matte varnish so they don’t feel sticky on skin. Budget is low but do test wear for a day before gifting. People expect clay jewelry to be fragile. Proper thickness avoids breakage and keeps them practical.
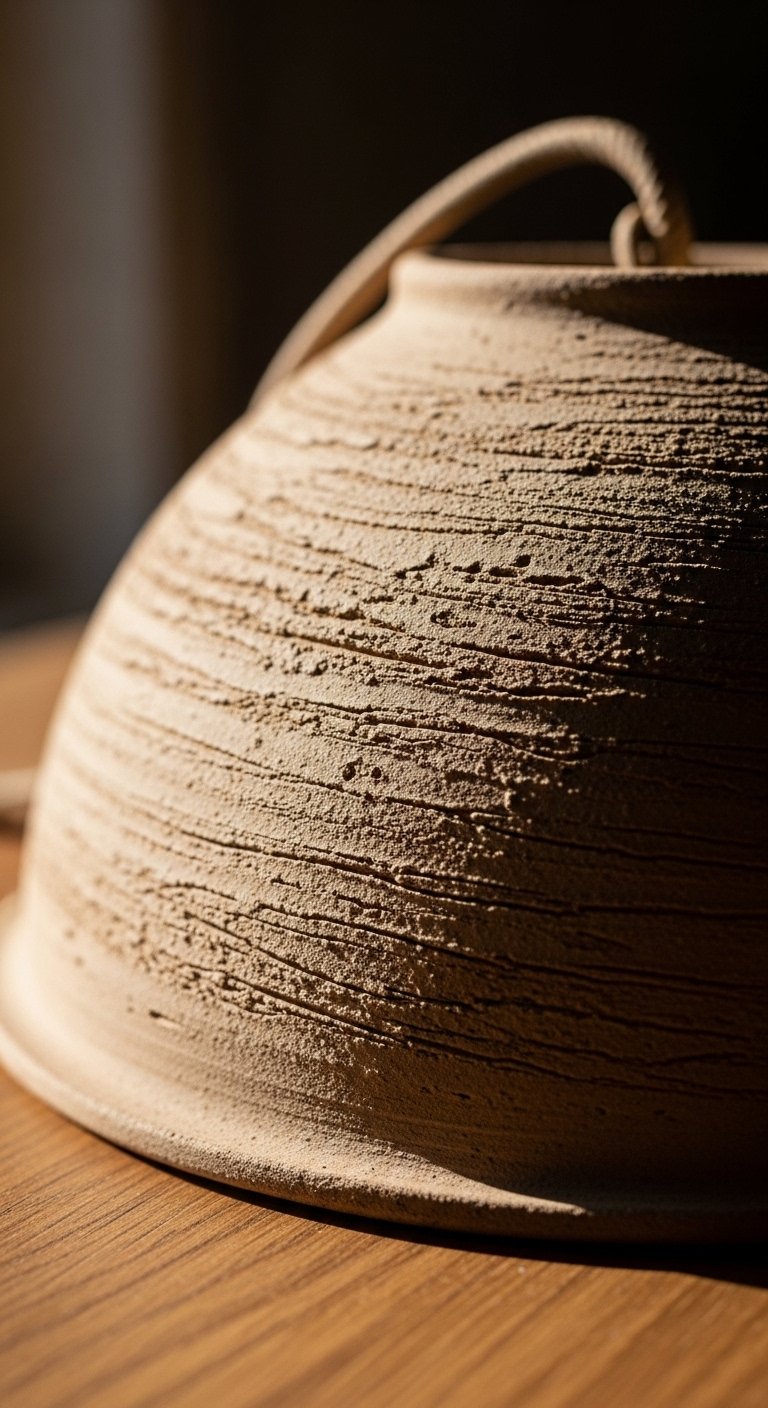
Mini Pendant Lampshade for Soft Accent Lighting
This is a slightly bolder project, but making a small pendant shade from clay changed the corner near my reading chair. Form a thin bell shape 6 inches across and 5 inches tall, reinforce the top with a metal ring while drying, and use an LED bulb to keep heat low. Budget can be $30-60 depending on fittings. A big mistake is using standard bulbs that get hot. This project is a fresh angle most articles skip, and it pairs with the candle and vase projects for a layered light setup.
Your Decor Shopping List
Textiles
- Honestly the best $40 I have spent. Chunky knit throw in cream 48×60 inches, pairs with clay candle holders.
- 22-inch linen pillow covers, set of 2 in dove gray, down-filled inserts separate at Target or HomeGoods.
Tools & Clay
- Found these while looking for something else. Air-dry-clay-kit with 5 colors (16 oz each) for small projects.
- Silicone crafting mat, 11×16 inches keeps surfaces clean and doubles as rolling guide.
Finishing & Hardware
- Matte spray varnish, 8 oz for sealing coasters and dishes.
- Mixed replacement screws and anchors kit for knobs and hooks.
Display & Styling
- White oak floating shelf set, 24-inch to show a tile grid or vase trio.
- Small jute tray, 12-inch to corral coasters, rings, and small dishes.
Budget Finds
- Set of leather cords, 20 pieces for garlands and tags.
- Pack of small rare-earth magnets, 10 pieces for fridge magnets.
Shopping Tips
White oak beats dark wood in 2026. Design feeds have shifted completely. These white oak floating shelves look current, not dated.
Grab this air-dry-clay-kit for $20. Start with one color and a small mat, you will make more than you think.
Curtains should puddle or kiss the floor, never hang halfway up. These 96-inch linen panels work for standard 9-foot ceilings and help set the scale for shelf styling.
Everyone buys five small succulents. One single 6-foot fiddle leaf fig has ten times the visual impact and pairs well with grouped mini clay planters.
Buy matte sealant, not glossy, for pieces that should feel handmade. Matte spray varnish prevents a plastic look and keeps texture readable.
Frequently Asked Questions
Q: How long does air-dry clay actually take to dry for small items?
A: Small pieces like coasters or beads dry in 24 to 48 hours, thicker items like vases or tiles can take 72 hours or more. Flip pieces if possible to avoid flat spots and allow air to circulate around them.
Q: Can I make functional pieces like spoon rests that touch food?
A: Yes if you use food-safe materials. Seal the area that touches utensils with a food-safe sealant or use the piece for display only. Always test a small area first.
Q: My tiles are warping while drying, what did I do wrong?
A: They are probably too thin or drying unevenly. Aim for 3/8 inch thickness, dry them flat on a board that breathes and flip once after 24 hours. A lighter clay body can reduce weight for adhesive mounting.
Q: Can I mix different metals with clay hardware?
A: Mix them, it looks more intentional. Use brass screws for warmth and matte black for contrast. Mixed metal picture ledges are a great way to layer frames without matching everything.
Q: How do I avoid fingerprints showing up on smooth pieces?
A: Use a damp sponge or a rubber rib to smooth surfaces before drying. If you like a hand-made look, leave gentle prints on accent pieces, but for smooth vases smooth to 220 grit after dry and then seal.
Q: What tools do I actually need to get started?
A: Basic toolkit is a rolling pin, a small cookie cutter set, a silicone mat, and a craft knife. Silicone crafting mat, 11×16 inches is the best single purchase to protect your table.
Q: Can I make clay jewelry wearable?
A: Yes if you keep thickness appropriate and finish edges. Rings should be 4 to 6 mm wide and tested for comfort. Treat clay jewelry as occasional-wear pieces unless you use very durable materials.
Q: How do I hang clay tiles in a rental without nails?
A: Use strong removable adhesive strips rated for the weight. For anything over a few pounds anchor to a light wooden backer and mount that with heavy-duty strips. Test one tile first.

