
I used to stare at my kitchen counter and feel like everything was scattered—oils, utensils, mugs. It looked cluttered but nothing was truly organized.
Trays fixed that. They make awkward corners feel purposeful, add warm texture, and let me rotate seasonal bits without a full redo. I keep them small and practical.
How to Decorate a Kitchen With Trays
I’ll show how I use a single tray (or a tiered set) to corral essentials, add height with risers, and build a cozy, organic-modern look that works for everyday life and quick seasonal changes. This is manageable and repeatable.
What You'll Need
- Tiered wooden tray (2–3 tier), 12–15" (~$50–120)
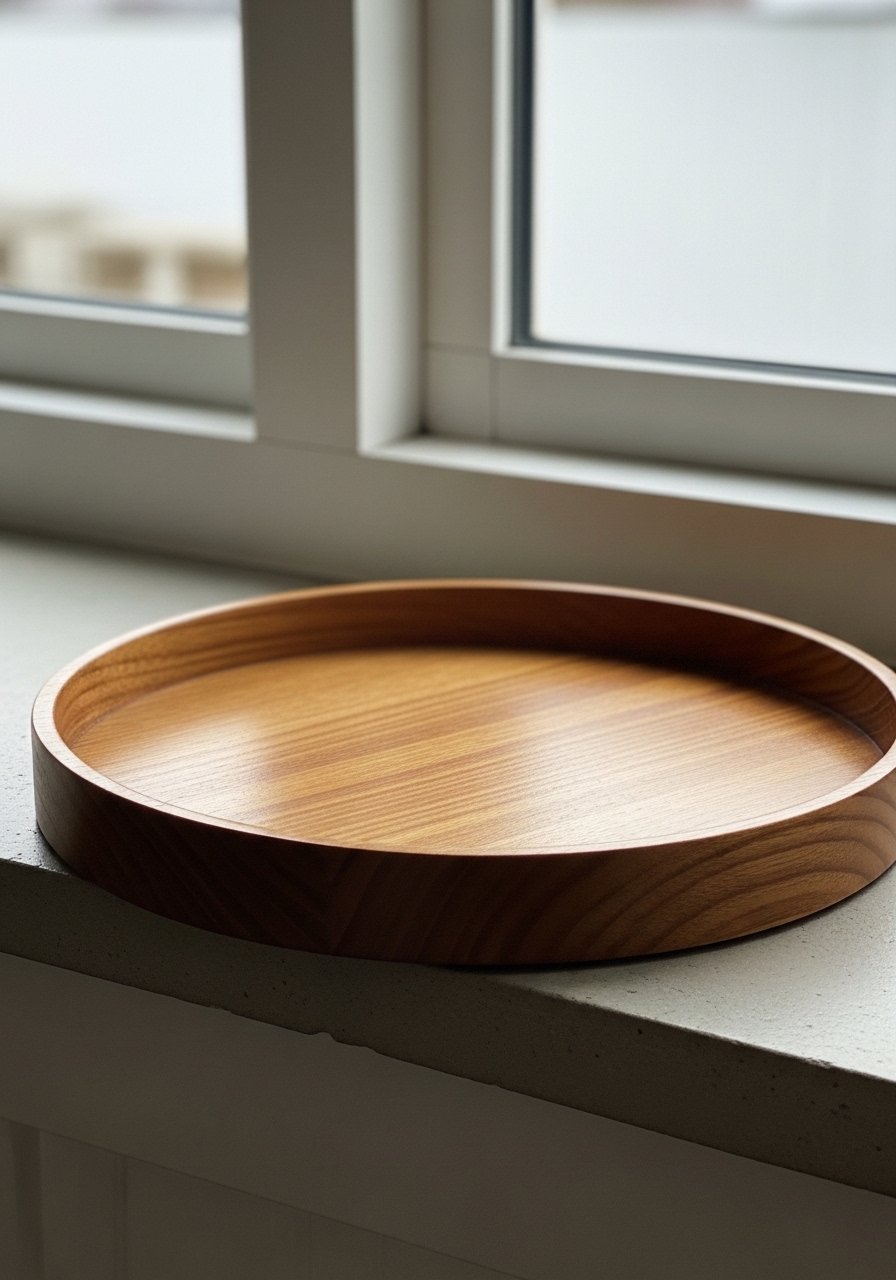
- Round wooden kitchen tray, 14–16" (~$30–90)
- Rattan woven tray, medium 13" (~$30–70)
- Brass decorative tray, small 12" (~$60–150)
- Faux greenery stems, pack of 5, mixed greens (~$10–30)
- Cake stand riser, 8–10" (~$20–50)
- Rae Dunn ceramic canister set, 2-piece (~$20–60)
- Lazy Susan turntable, 12–16" (~$40–100)
Step 1: Clear a small area and pick your anchor
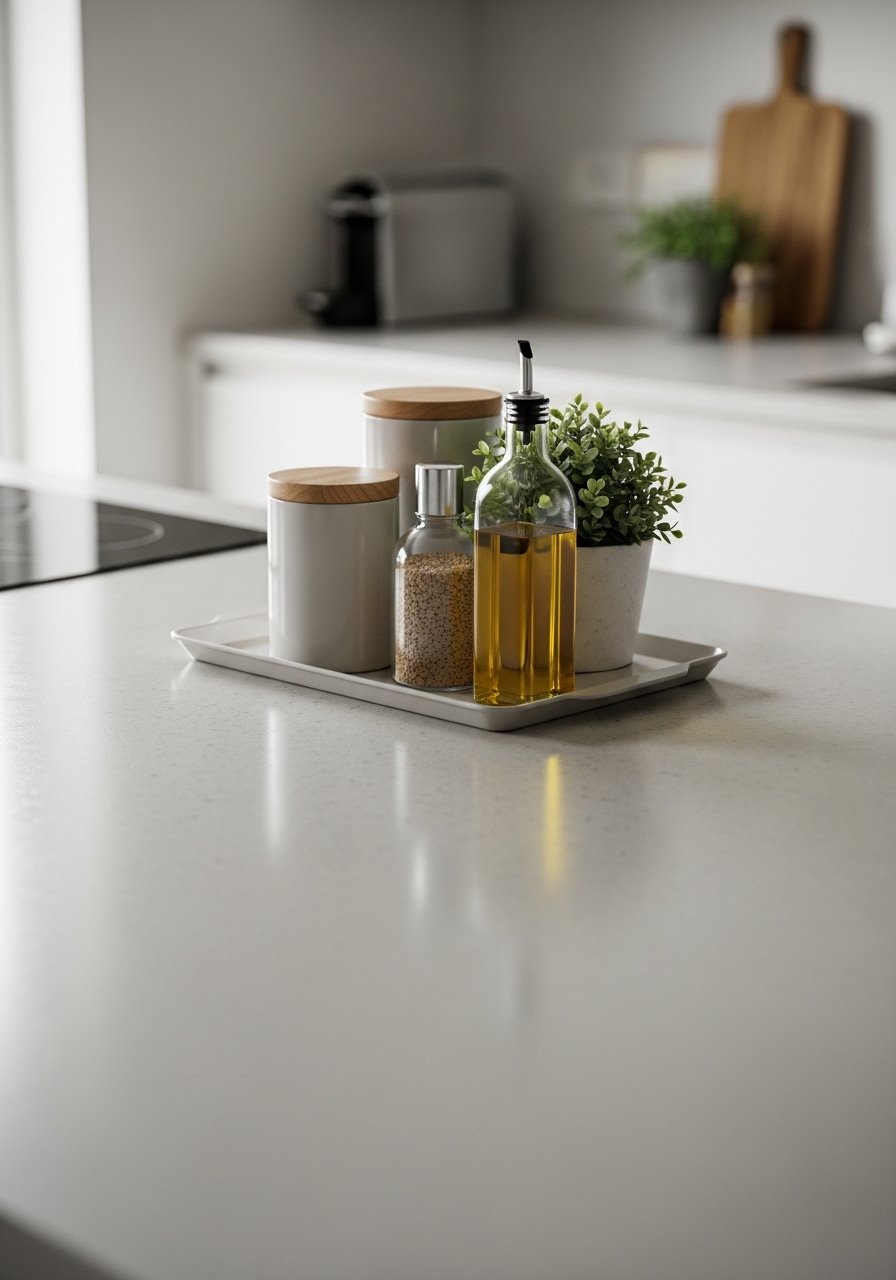
I empty a patch of counter and choose one or two anchors first—usually a canister and a decorative bottle. Anchors give the eye a place to rest and stop the “scattered” feeling. Visually, anchors create a focal point you can design around.
Most people grab everything and pile it on; instead I pick fewer, stronger pieces. Mistake to avoid: choosing too many anchors—the display looks busy and loses its calm.
Step 2: Match tray size to space and purpose
I measure the gap where the tray will sit—counters, islands, or corners all need different scales. A small oval fits awkward corners; a larger round tray suits an island. Rattan softens hard counters; brass reads dressier on open shelving.
People often pick a tray that's too big and it overwhelms. The trick I use is to leave breathing room—tray edges should never butt against appliances or the backsplash.
Step 3: Corral functional items into purposeful groups
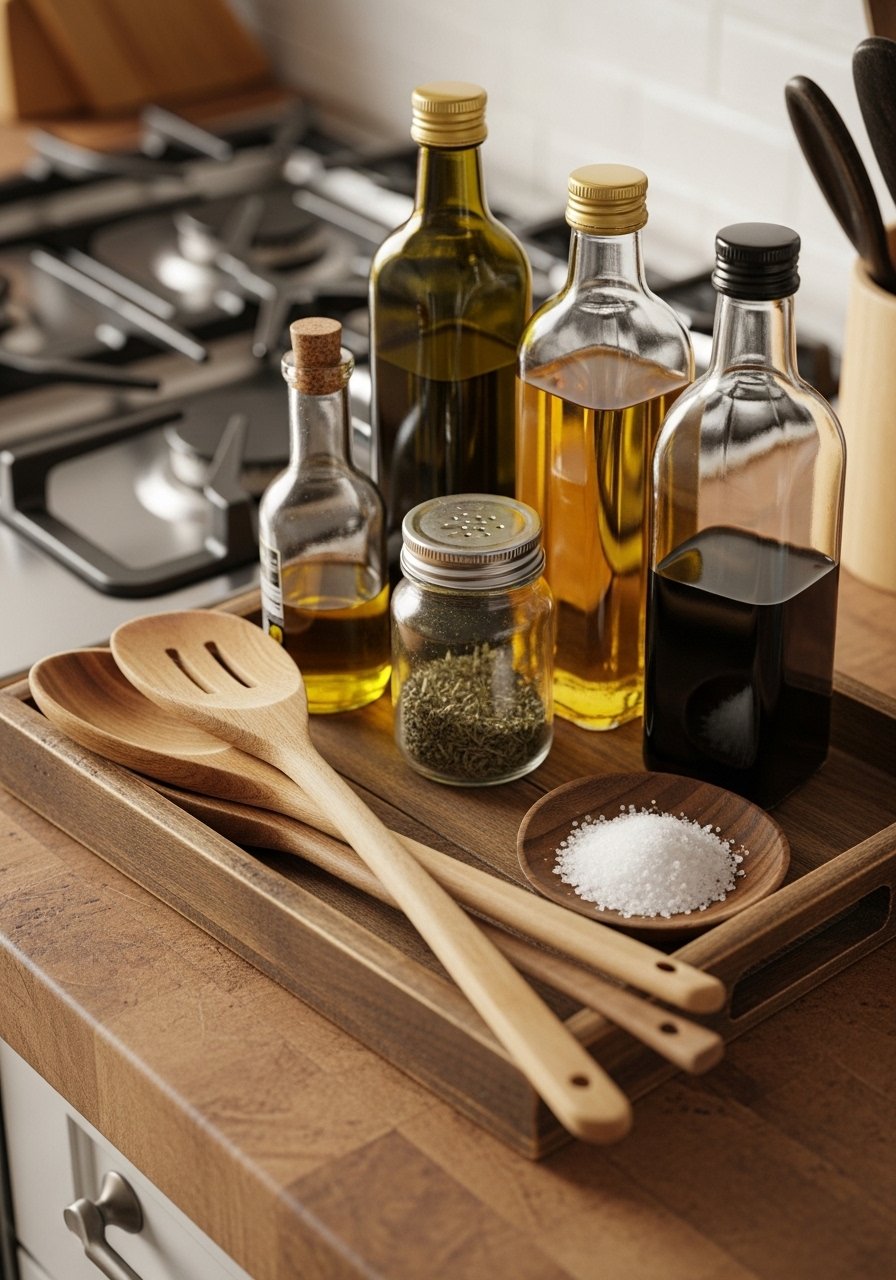
I group daily-use items—olive oil, salt, a spoon jar—on a tray so they feel intentional. On the stove-side, a small tray or lazy Susan keeps things reachable without feeling messy. Function becomes part of the look instead of an afterthought.
One insight I learned: keep functional pieces tidy and visually similar (glass with glass, wood with wood). Mistake to avoid: piling different functions together without a unifying texture or color.
Step 4: Add height and rhythm with risers and tiers
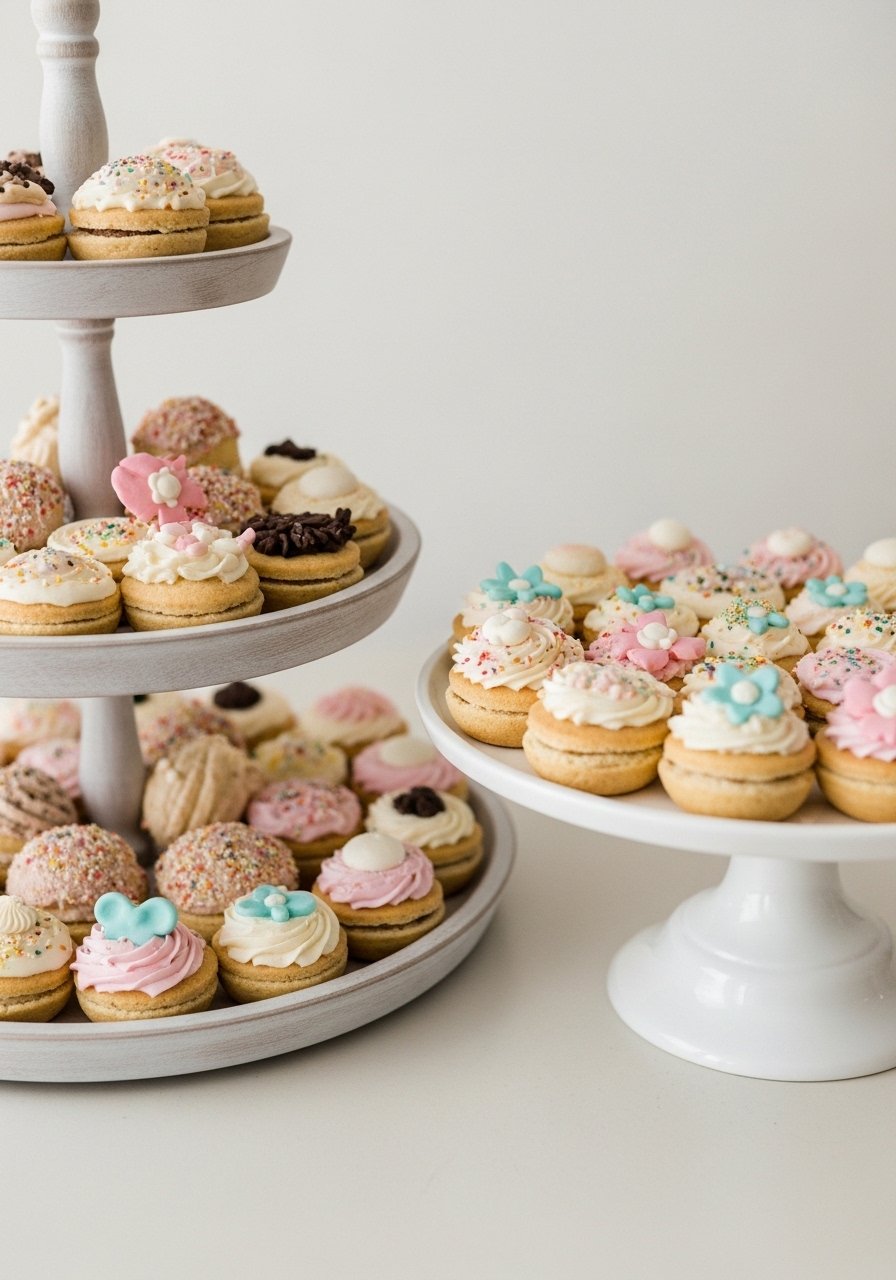
I build vertical interest with a cake stand or tiered tray—especially useful in small kitchens that lack tall fixtures. Height anchors the composition and draws the eye up. I repeat small items on different levels to keep balance.
A common miss is overcrowding the tiers. I leave negative space on each level so the display breathes. Mistake to avoid: stacking too many different shapes; repetition creates calm.
Step 5: Finish with filler, texture, and a simple rotation plan
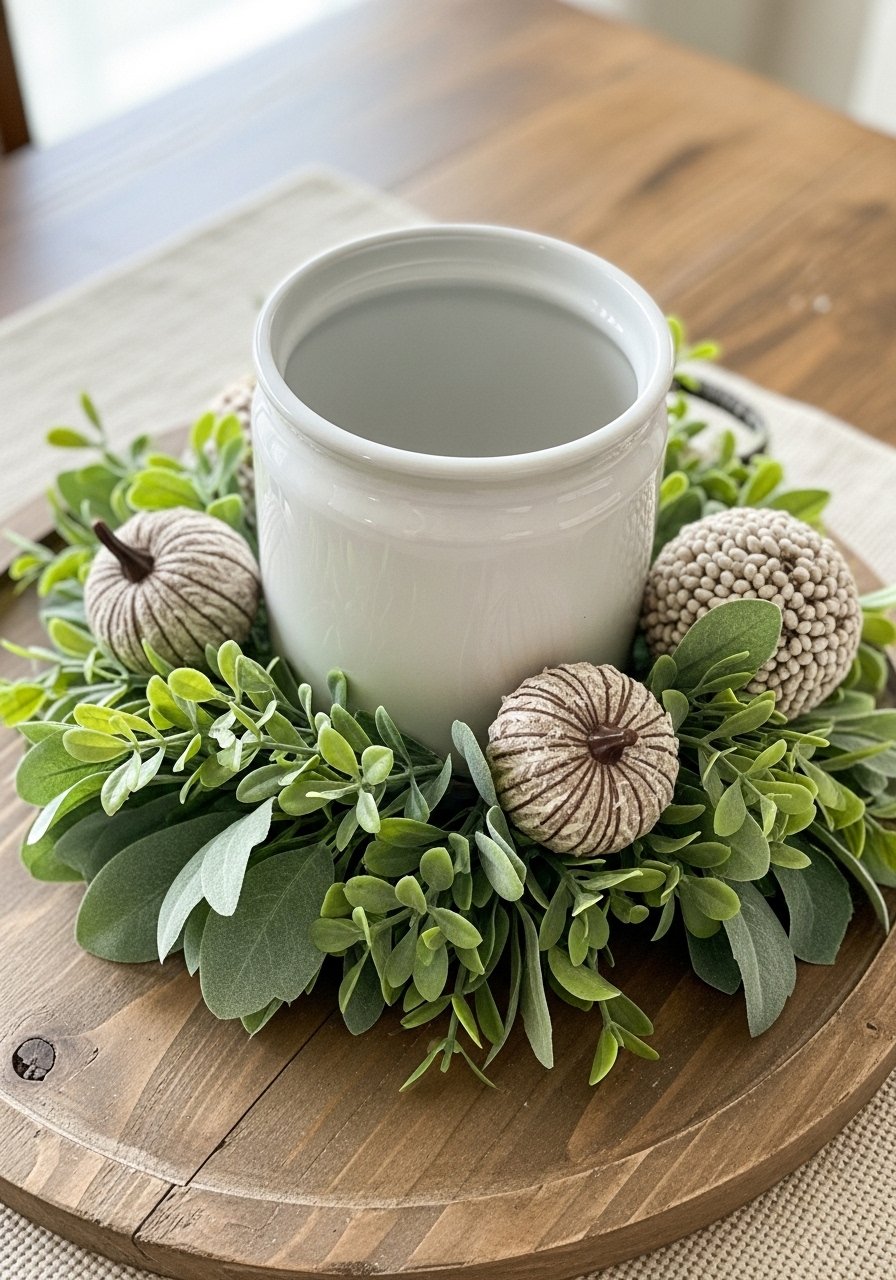
I tuck faux greenery, a small orb, or a folded towel into gaps as the last step. Fillers soften edges and hide awkward hardware. I aim for warm textures—jute, rattan, and wood—to keep counters cozy.
People overdo seasonal decor. My rule: swap fillers, not anchors. That keeps the base setup useful year-round and makes seasonal updates quick and low-stress.
Common mistakes (and how I avoid them)
I see the same errors: trays that are too large, no anchor, or too many competing pieces. I always start by removing everything and placing only 1–3 anchors.
Quick fixes:
- Leave 2–3 inches of counter visible around trays.
- Match materials: rattan + wood reads cohesive; brass + marble reads more formal.
- Avoid tiny mismatched knickknacks—group small things in a bowl instead.
Fitting trays into small kitchens or rentals
I work with scale and no-damage choices. For tiny counters, I use a 10–12" round tray or an oval for corners. A tiered tray gives vertical interest without eating up surface.
Rental-friendly tips:
- Use lightweight rattan or wooden trays you can move easily.
- Velcro non-slip pads to keep trays steady without adhesive.
- Keep one practical tray near the stove and one decorative tray on the island.
Seasonal swaps without the overwhelm
I rotate small fillers—pumpkins, bottle brush trees, or a set of orbs—rather than rebuilding the whole tray. That keeps things fresh and simple.
Bullet approach I follow:
- Anchor (same) → Switch fillers (small box) → Add one seasonal accent (mug, figurine).
- Store fillers in a shallow box so swaps take under five minutes.
Final Thoughts
Start with one tray and one anchor. It’s low effort and you’ll see how much calmer the counter feels. I often begin with a simple wooden tray—it's an easy, low-commitment piece that works with any season or style.
Keep it small, keep it useful, and rotate fillers when you want a change. You’ll end up with counters that look intentional and actually work for daily life.
