
I used to sigh at my sink every morning. It felt cold and functional—clean, but empty. The backsplash was bland and the counter clutter looked accidental, not intentional.
Fixing that changed how the whole kitchen felt. A few small decisions around placement, finish, and light made it look purposeful and easier to use.
How to Decorate a Kitchen Sink Area
This is the method I use when the sink area feels unfinished. You’ll learn how to make the space feel intentional and lived-in, without a full remodel. The result is a warm, balanced sink zone that reads like part of the room—quiet luxury or organic modern, depending on your finishes.
What You'll Need
- Peel-and-stick white subway tile backsplash, 3"x6" (~$50–100)
- LED under-cabinet light strip, warm white (~$50–120)
- Matte black soap dispenser, stainless pump, 12 oz (~$25–45)
- Small floating marble shelf, green marble look, 18" (~$100–200)
- Brass-tone countertop lamp, compact, 12" high (~$40–80)
- Woven acacia wood tray, 12"x8" (~$20–40)
- Trailing pothos plant in 4" pot (real or faux) (~$10–30)
Step 1: Clear and define the sink zone
I start by removing everything that doesn’t belong. That means empty jars, random utensils, and the mail stack. Visually, it gives the sink room to breathe and reveals the negative space I can shape.
What changes: the area suddenly reads intentional. Insight people miss: a single small tray groups items and looks curated. Mistake to avoid: leaving too much empty counter—aim for one small cluster, not an antiseptic expanse.
Step 2: Anchor the wall with a simple backsplash

Even in a rental, a backsplash makes the sink feel finished. I used white subway tiles for a clean backdrop that lets fixtures and accessories pop—think tone-on-tone with warm grout or glossy white for quiet luxury.
What changes: the wall becomes a stage for the faucet and shelf. Insight people miss: height matters—stop the tile at eye level or under cabinets to avoid overwhelming the room. Mistake to avoid: tiling too high or using a busy pattern in a tiny corner.
Step 3: Layer in warm light
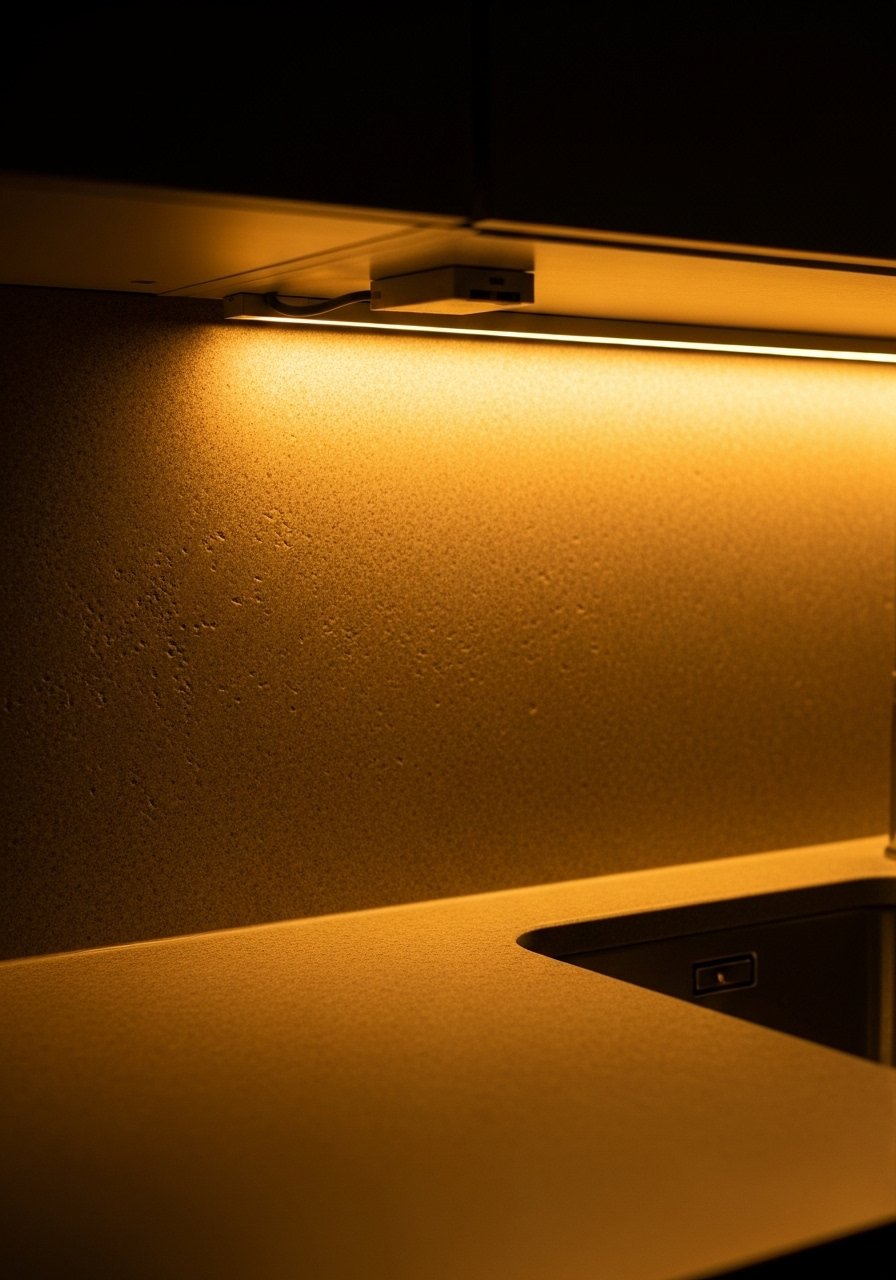
Lighting turns a functional area into a living one. I add a warm LED strip under the cabinet and a small brass countertop lamp when the sink sits near a prep zone. The warm light softens the chrome and makes surfaces feel tactile.
What changes: the sink reads warmer and more inviting. Insight people miss: under-cabinet light shows texture—great for herringbone, penny rounds, or mattes. Mistake to avoid: picking lights that are too cool; stick to warm white to avoid a sterile, "operating room" feel.
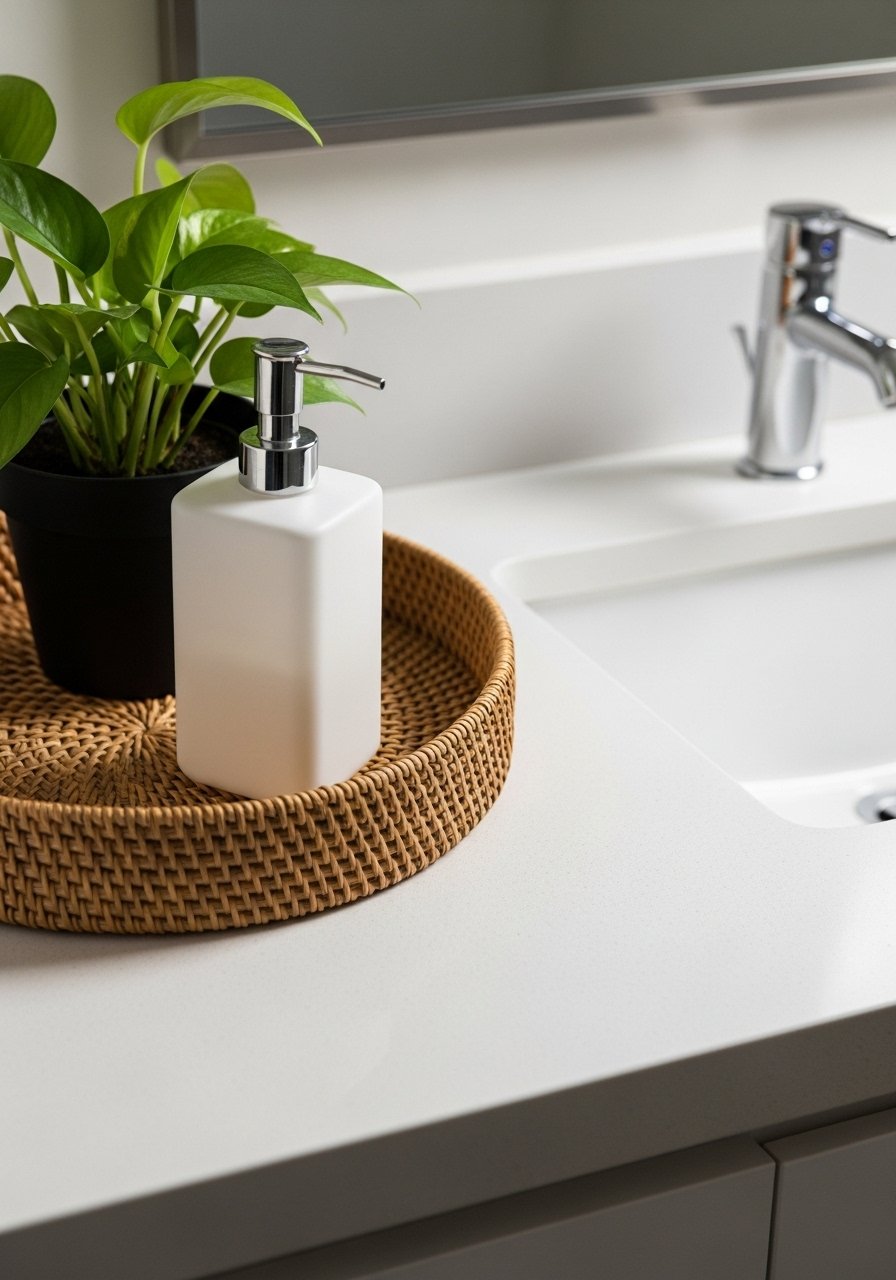
Step 4: Layer materials for balance and personality
I balance finishes: matte black hardware, a small green-marbled shelf, and a warm wood tray. The tray groups soap and a scrub brush. The floating shelf holds a dish or plant. Together these textures stop the sink from feeling flat.
What changes: the area gains depth and a curated look. Insight people miss: matching scale—small shelves and low trays suit compact sink areas. Mistake to avoid: overcrowding—one shelf and one tray are enough.
Step 5: Final edits — view and tweak
I always step back and live with it for a day. I move the plant, raise the lamp, or swap grout color mentally. Small shifts—an inch left, a different soap bottle—make it feel right.
What changes: the space stops shouting "staged" and starts reading as lived-in. Insight people miss: the faucet and single focal object (lamp or art) should compete very little. Mistake to avoid: adding extra decorative pieces to hide that you didn’t edit—less is deliberate.
Common mistakes and how to avoid them
Most kitschy sink areas fail from too much stuff or an off balance of finishes. I avoid this by editing to three material types (metal, wood, stone) and two heights (low tray + higher shelf or lamp).
Quick checklist:
- Keep faucets visible; don’t hide them behind decor.
- Use warm lighting, not harsh white.
- Group items on a tray to reduce visual clutter.
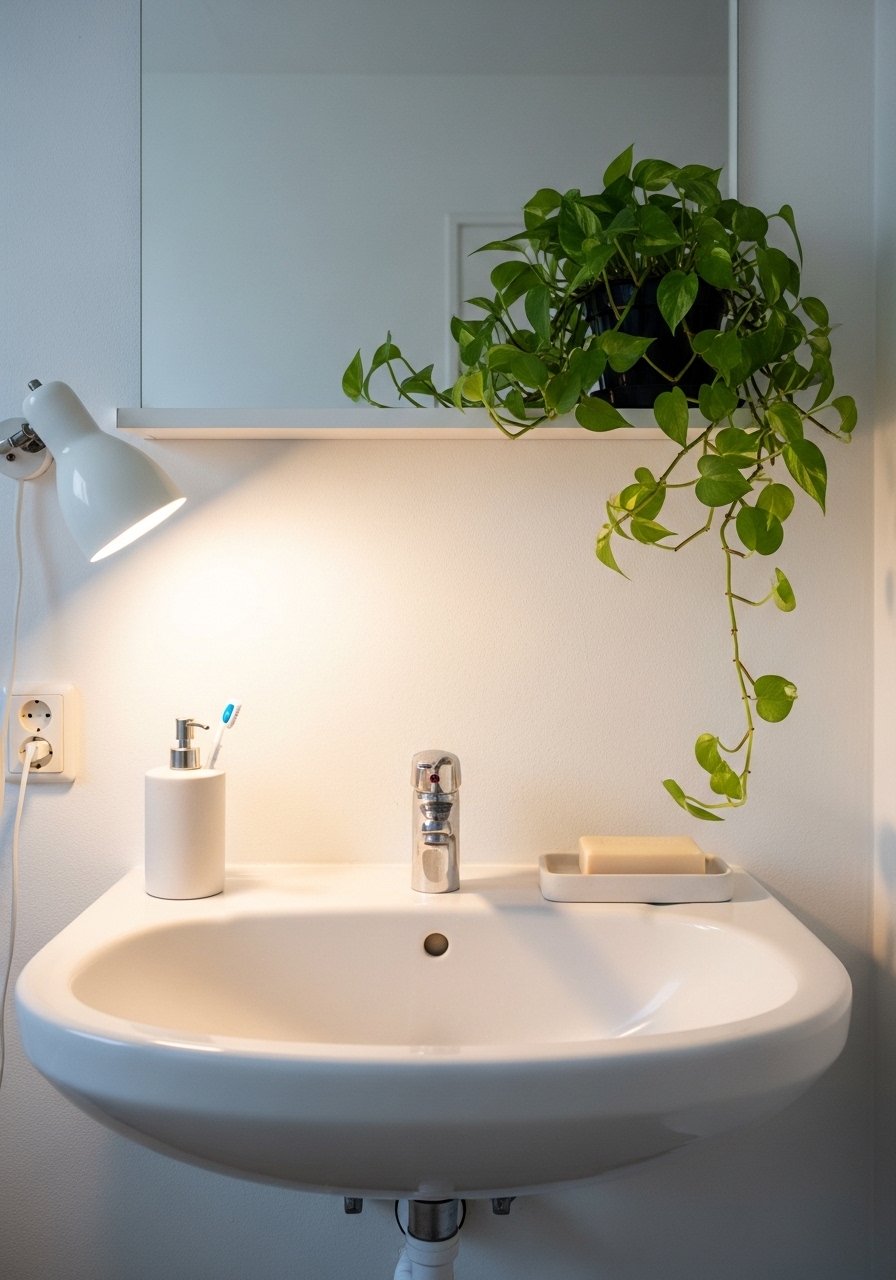
Adapting this for small kitchens and renters
If you rent, choose peel-and-stick tiles and stick-on LED strips—both removable and low-commitment. Use a small shelf that clamps or adheres rather than drilled anchors. For tiny counters, favor a wall shelf and a slim tray; skip the lamp and rely on under-cabinet lighting.
Bullets that work in small spaces:
- Clip-on lights for open shelving.
- Narrow trays (8–10") to keep the sink edge clear.
- Single trailing plant to draw the eye upward.
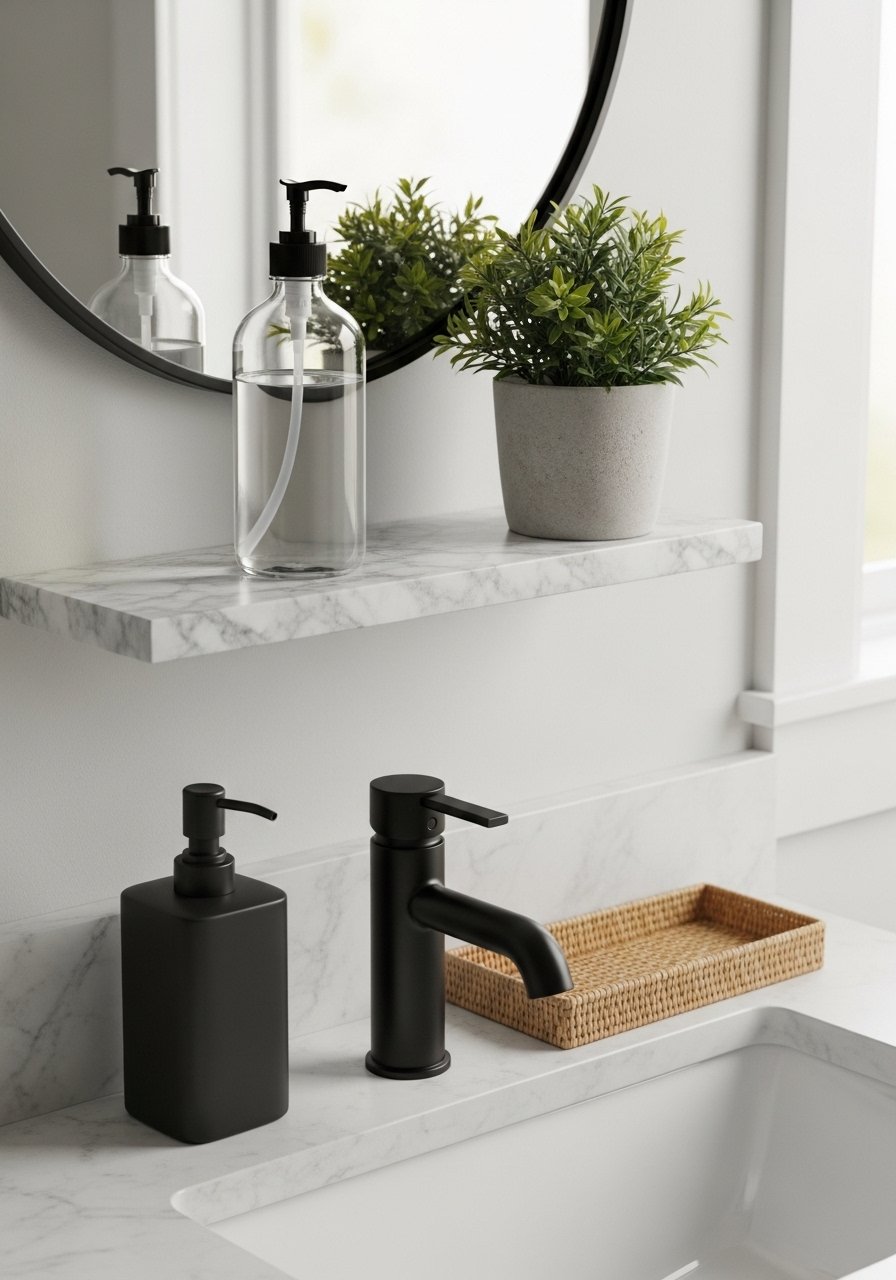
Mixing finishes without looking busy
I like one dominant finish and one accent. For example, let matte black be the accent against warm wood and green marble. Keep metals consistent—if your faucet is brushed brass, echo that with the lamp or tray hardware.
Pairing tips:
- Matte black + warm wood + green marble = organic modern.
- Stainless + glossy subway tile + cool marble = quieter, contemporary.
- Avoid more than three competing metals.
Final Thoughts
Start with one small swap—a peel-and-stick tile patch or a warm LED strip—and live with it. Small moves reveal what the sink needs next. You’ll know when it feels balanced and comfortable.
If you want a low-risk start, try an under-cabinet LED strip to warm the whole area. It changed mine more than I expected.
