

I kept leaving things on the counter, then stepping back and feeling like the kitchen still looked busy. I tried matching everything, color coordinating every jar, then found the result felt synthetic. The moment I cleared one corner and left it alone for an hour, I saw what was wrong. There was no breathing room.
My first three attempts involved adding more objects to balance what I took away. Everything looked crammed. The approach that finally clicked was to edit down, pick one anchor, and let negative space do the work. Below I show the small steps I use, the mistakes I learned from, and the items that actually help instead of crowding your counters.
Step 1: Clear a Zone and Decide What to Keep
Pull everything off the surface, yes everything. It feels extreme, but seeing an empty slab helps you decide what is necessary. I aim to keep at least 30 to 40 percent of any visible counter empty. That number fixed my habit of filling every inch.
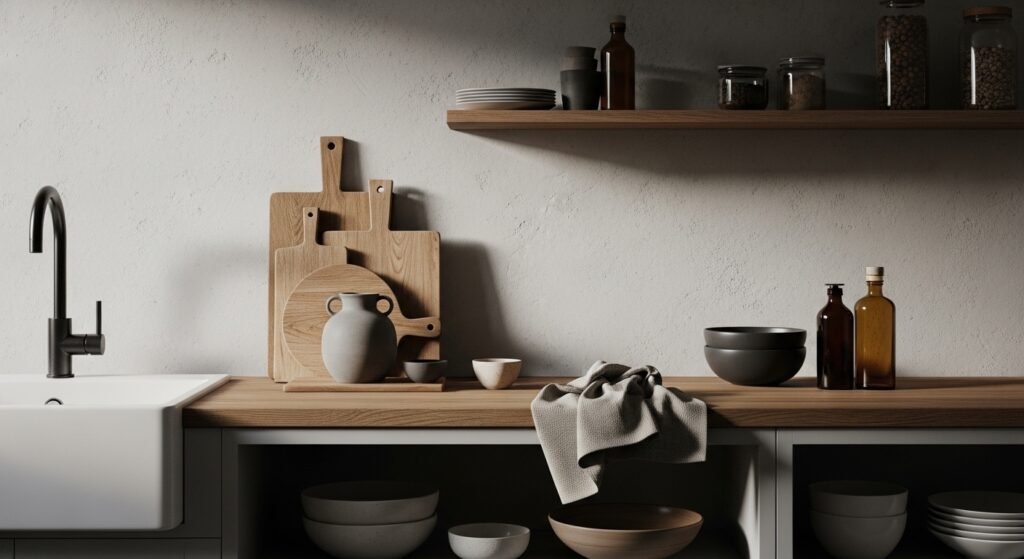
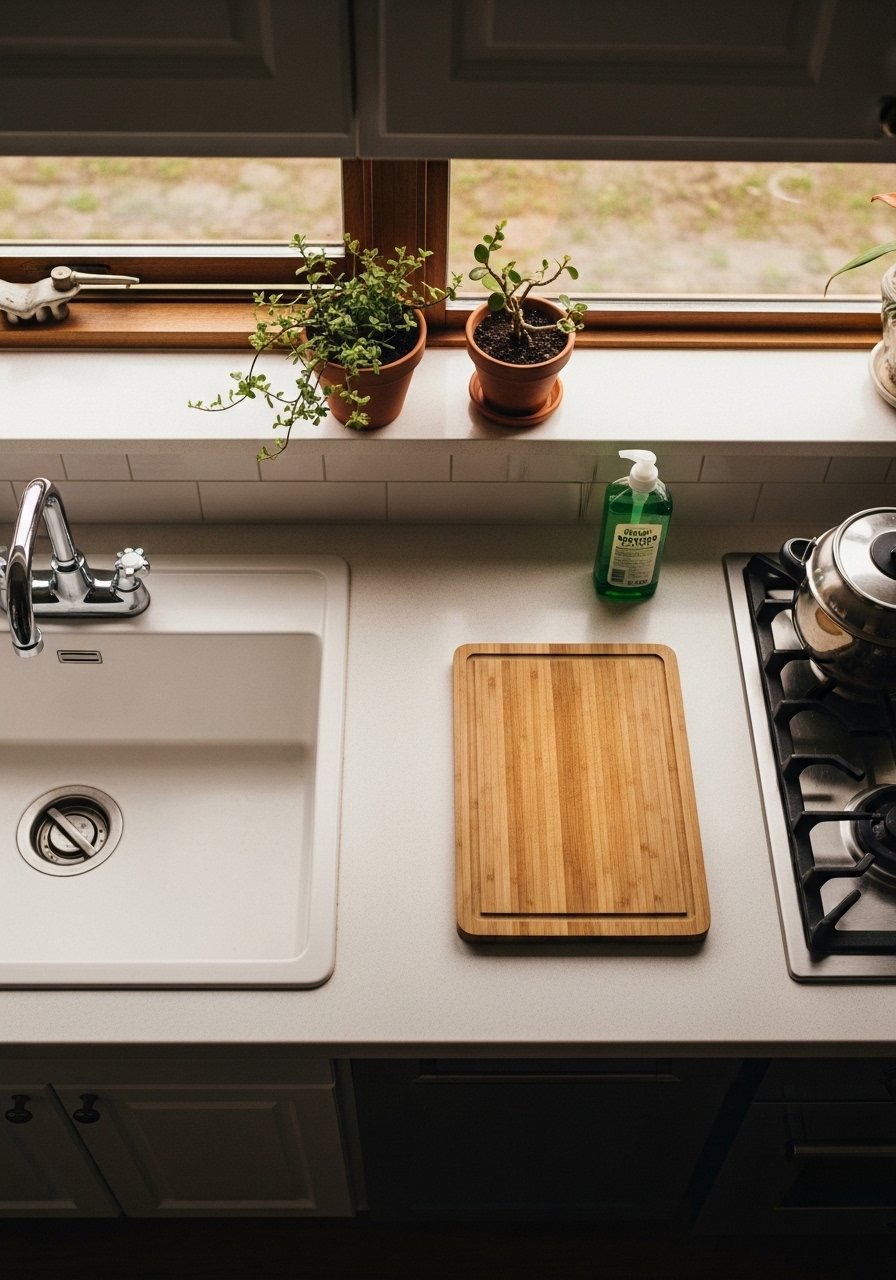
Put back only the things you use daily, like a soap pump and one cutting board. A single large wooden board reads better than three small ones stacked. Leave 2 to 3 inches between items so light can travel across the counter. My first version had everything touching and looked like a store shelf. Clearing first feels scary, but it reveals what you really need.
Step 2: Choose One Anchor, Then Add Two Supporting Pieces
Most people start with the smallest item. That was my mistake. Pick the biggest, heaviest, or tallest item first. A 12 to 18-inch vase or a 12-by-8-inch board can be that anchor. Then add two smaller things to create an odd-numbered group. Odd numbers read as intentional.
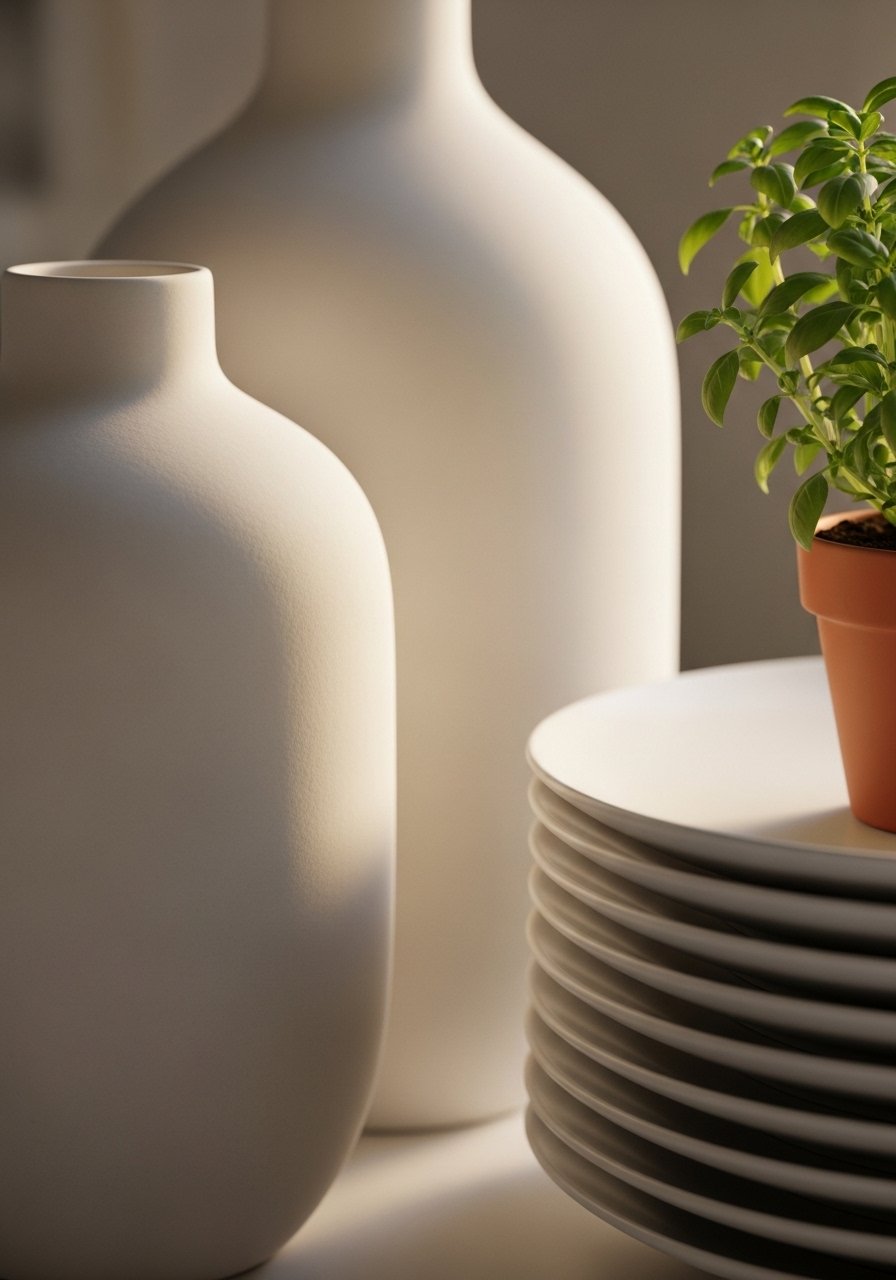
Try a matte ceramic vase, a shallow bowl, and a concrete salt cellar. The textures matter: cool, smooth ceramic against warm, fibrous wood is calming to the hand and the eye. I once used three identical glass jars and it felt flat. Mixing scale and materials gives depth without clutter. If you need a ready set, I use this ceramic vase set in matte white for the taller piece in step two.
Step 3: Edit for Function, Then for Texture
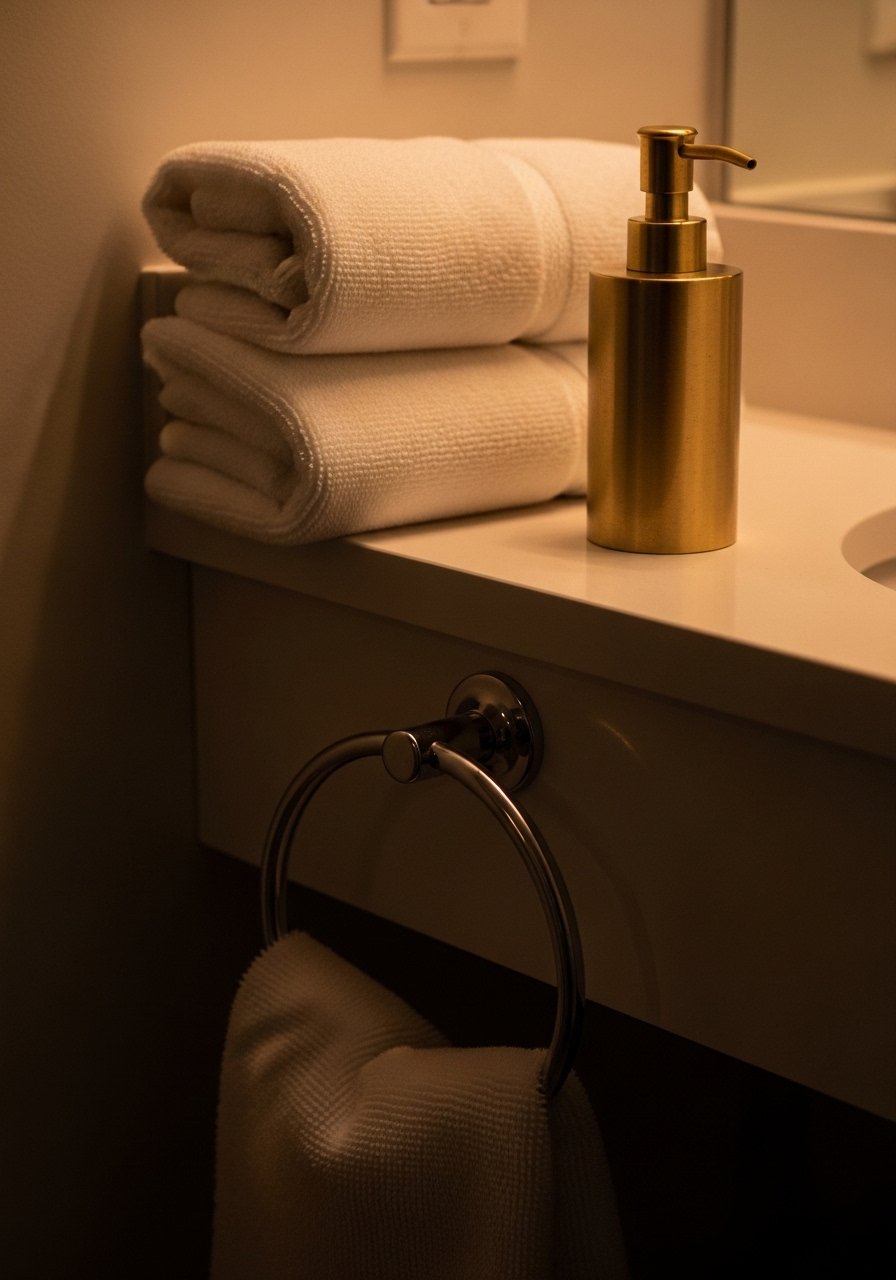
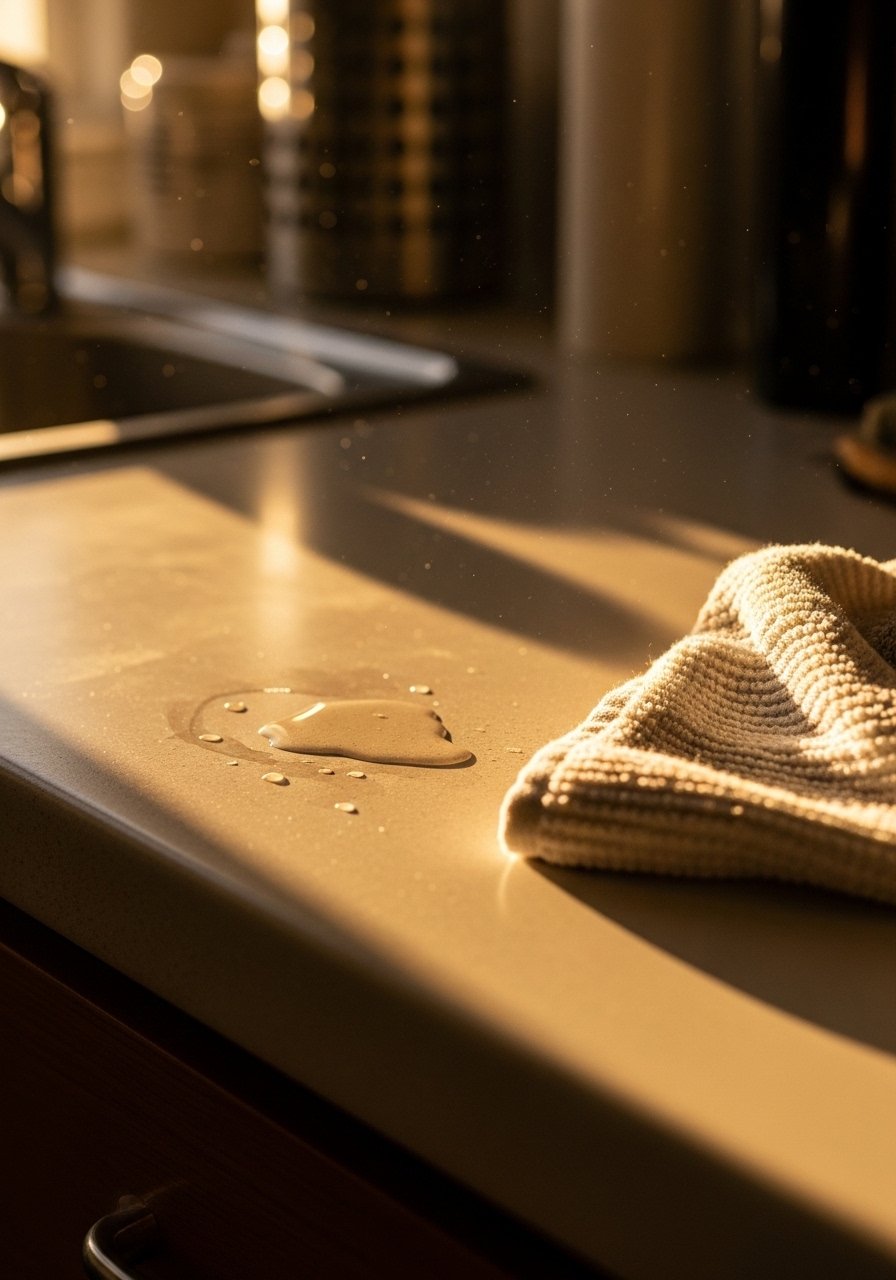
Functional items can be beautiful. Replace plastic dispensers with something pleasing to touch, like a brass or stone pump. I swap out a cluttered dish soap bottle for a single brass dispenser and a folded linen towel. The linen feels slightly scratchy at first, then settles into softness after a few washes. It anchors the sink area without shouting.
I learned the hard way that too many textures fight each other. Limit yourself to two strong textures on any one surface. For me it is wood and ceramic. If you want a soap dispenser, try a brass pump in 12-ounce size that sits solid in your hand. Small changes like that keep the space usable and tactile.
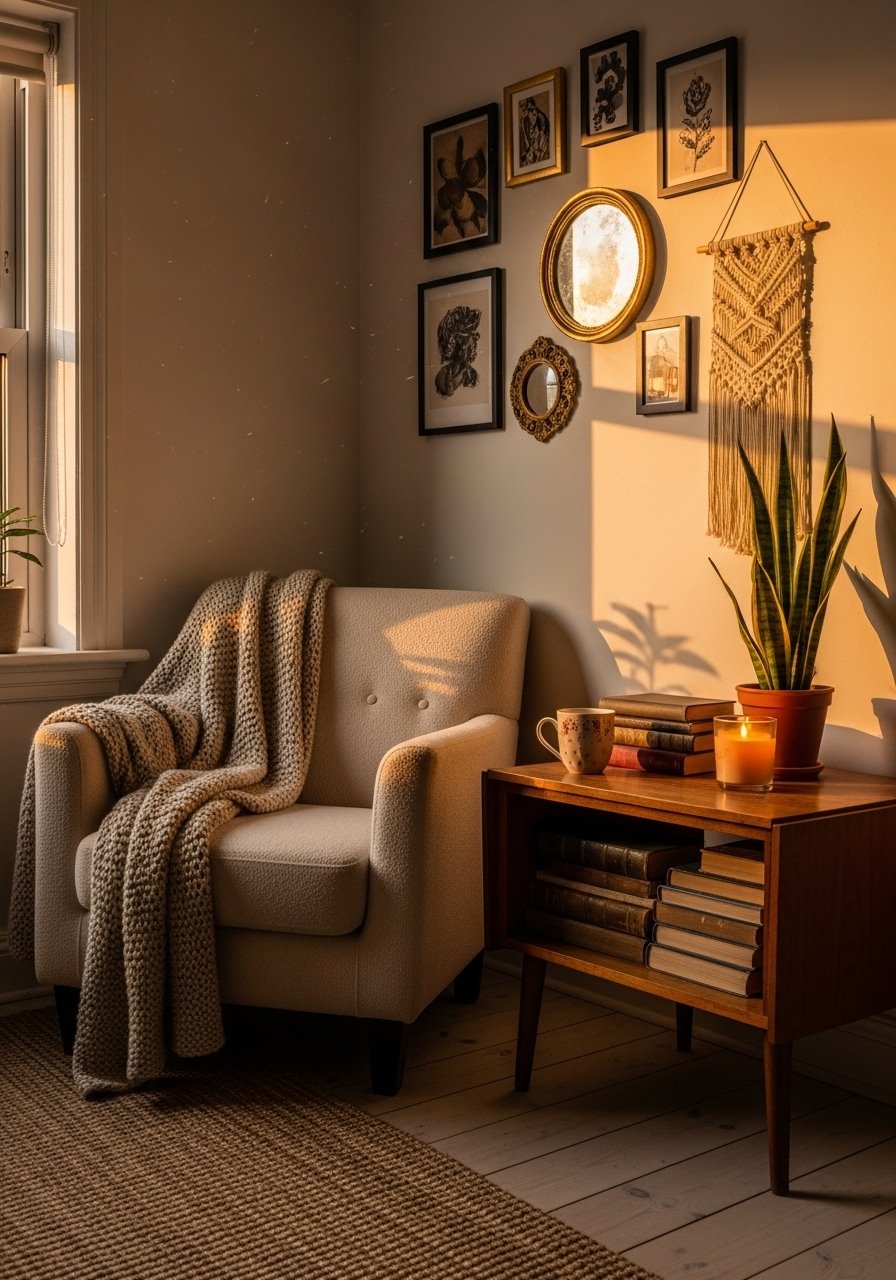
Step 4: Style Open Shelves with Purpose, Not Everything
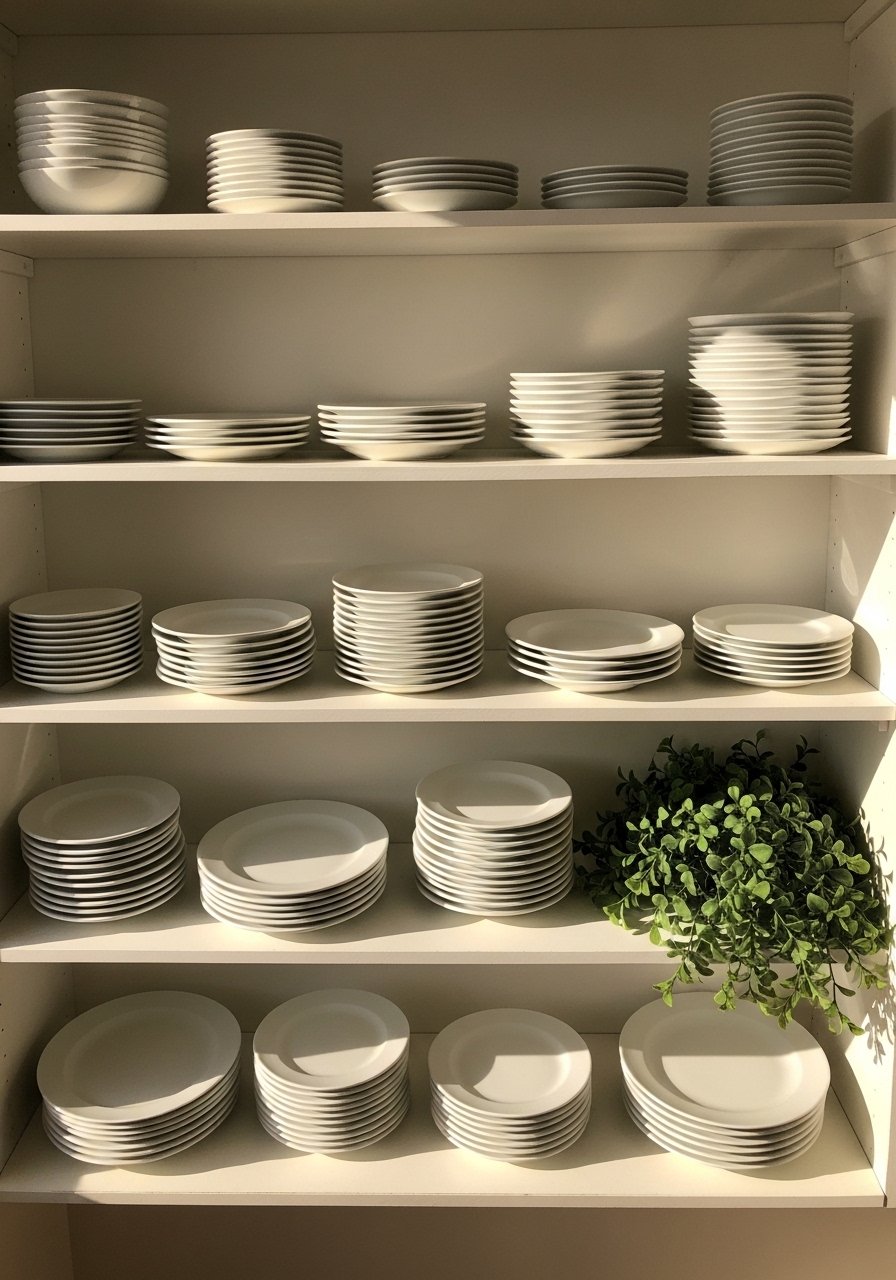
Open shelves feel like an invitation to display everything you own. I filled mine once and it looked chaotic. Instead, aim for one functional group per shelf. Stack plates in a visible stack no taller than 6 plates, leave 2 to 3 inches between stacks, and place one decorative item like a small potted herb or a folded tea towel.
A good formula is one stack, one vertical object, and one soft element. On the middle shelf use a 24-inch wide ledge or a shallow vase around 10 to 14 inches tall to give height. My roommate hated the asymmetry at first. A week later he admitted it looked better than the perfectly even version. If you need a neutral base, I use simple 8-inch white dinner plates for neat stacks that still feel lived-in.
Step 5: Live with It, Make One Small Adjustment After a Week
This part feels wrong while you do it. Step away for an hour, then come back. Live with the edited version for a week and note what you actually miss. I thought I needed a utensil crock, but after a week I realized the drawer was fine. Remove or replace only one thing at a time.
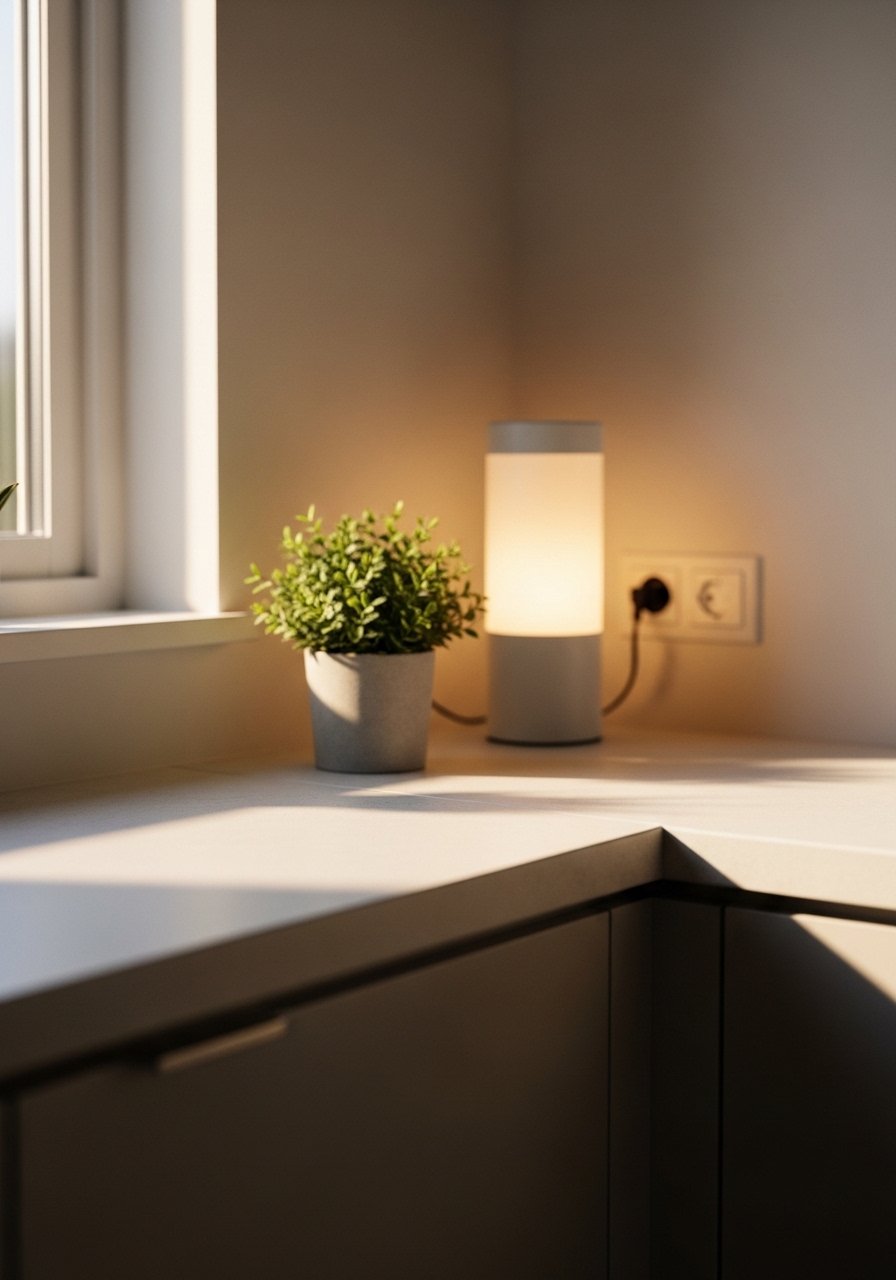
A good late tweak is lighting. A small under-cabinet LED strip or a warm plug-in lamp changes how the materials read. It makes wood look warmer and ceramic softer to the touch. I add a dimmable under-cabinet strip that puts out warm 2700K light. If you want a simple start, try this warm under-cabinet LED light strip. I almost skipped living-with-it, and I am glad I did not.
Your Kitchen Minimal Styling Shopping List
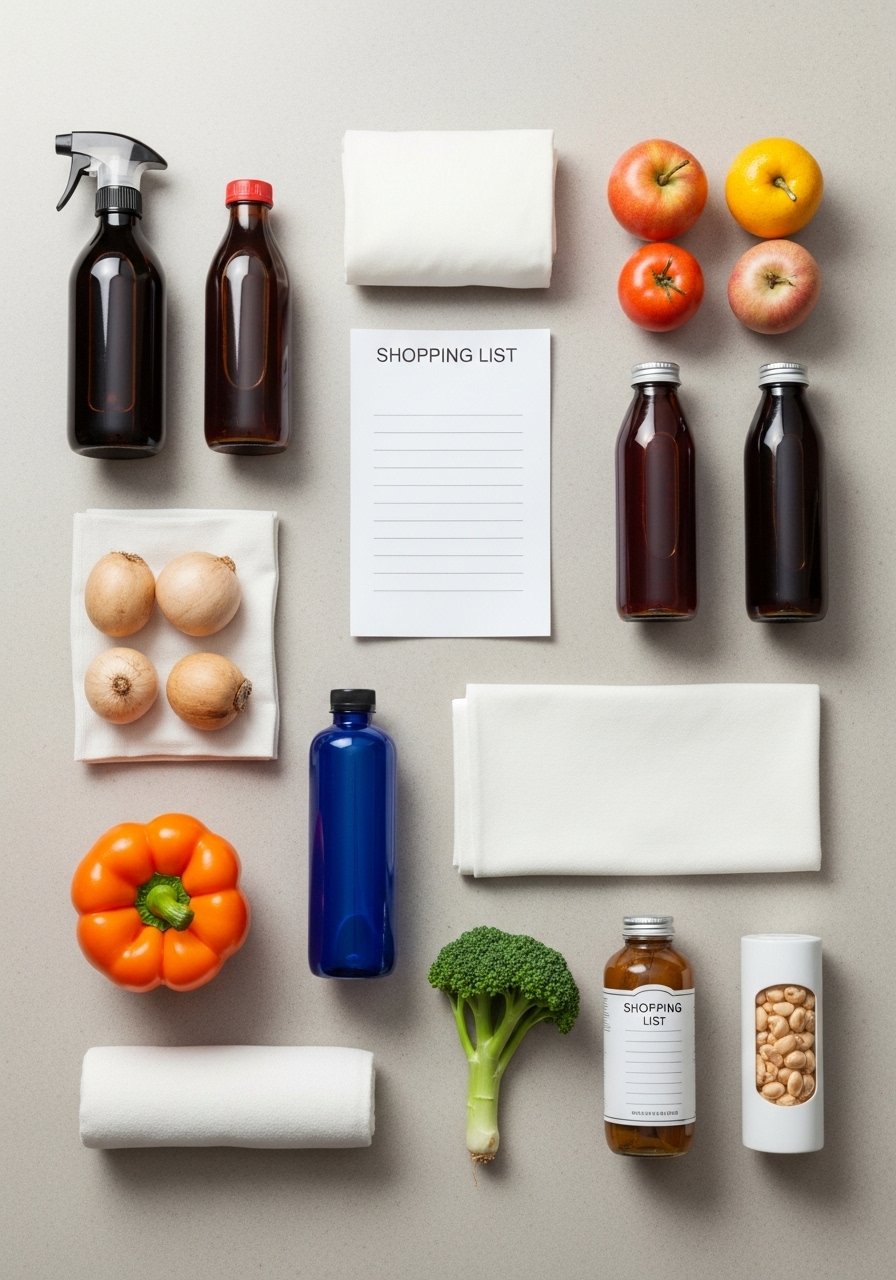
- Matte ceramic vase set, small and medium ($25-40). Use the tallest one as your anchor in Step 2.
- Brass soap dispenser, 12-ounce ($18-30). Replaces plastic pumps in Step 3. Similar options at Target.
- Natural wood cutting board, 12×8 inches ($20-40). Heavy in your hands and useful as an anchor in Step 1.
- Linen hand towels, set of 2, oatmeal ($15-25). Slightly scratchy at first, then soft. For Step 3.
- Under-cabinet LED strip, warm 2700K ($20-45). For Step 5 lighting tweak.
- White dinner plate set, 8-inch stackable ($25-50). Keeps open shelves tidy in Step 4.
- Small potted herb in ceramic pot, 4-inch ($10-20). Adds life without clutter.
- Jute runner, 2×6 feet ($50-90). Grounding texture underfoot, good for kitchens with an open plan. Similar at HomeGoods.
Why Your Counters Still Feel Cluttered After Styling

You edited once then filled the cleared space again. That happened to me more than once. The common mistake is treating every surface as a display. If you find you keep adding, set a rule: one anchor, two helpers, 30 to 40 percent empty. Another reason is too many matching items. Matching sounds tidy but reads like repetition. Break it up with a single different texture, like wood or linen. Finally, clean surfaces pick up visual dust fast. Wipe down weekly and you will notice if new clutter sneaks in.
Making This Work in a Small Kitchen
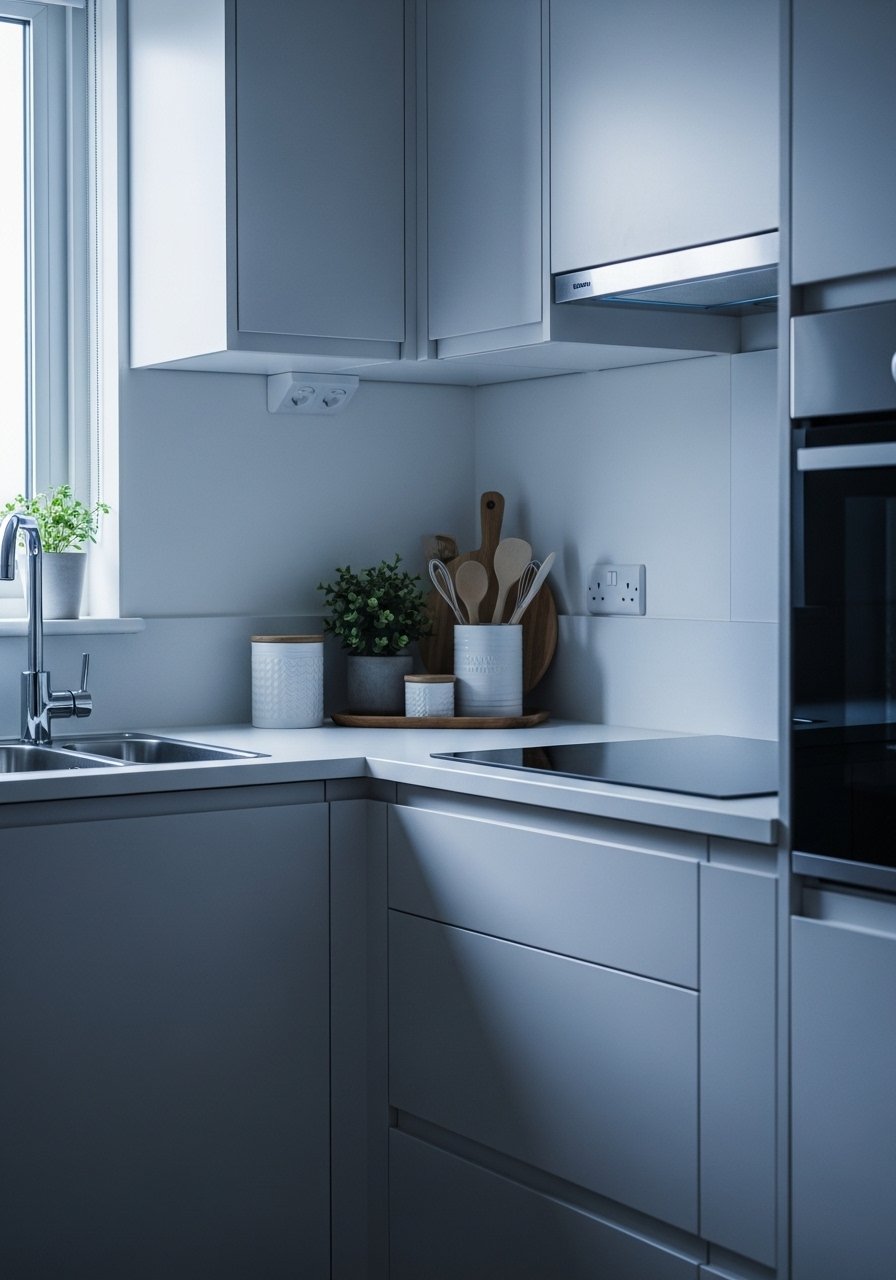
In tight kitchens pick one surface, not the whole room. A 12-inch stretch beside the sink can be your staging area. Use vertical space by hanging one herb pot or a slim magnetic knife strip. Keep items under 12 inches tall on counters to preserve sightlines. For shelves, limit to one functional row. If floor space is minimal, a 2×6 jute runner anchors without overwhelming. I tested this in a studio and keeping one curated corner made the whole kitchen read cleaner.
What This Looks Like After a Week with Kids and a Dog
Expect imperfections. After a week with kids and a dog my shelf had a stray cereal bowl and a knocked-over plant. Small, practical adjustments solved it. Move breakables higher, swap a ceramic pot for a heavier one, and keep one easy-to-reach basket for daily toys or mail. I recommend putting the plant on a lower shelf only if pets ignore greenery. Otherwise use a sturdier object or keep plants on a higher ledge.
Start with One Counter
Pick the corner you use most and treat it as your practice piece. Clear it, choose one anchor, add two supporting items, and live with the edit for a week before changing anything. If you want a low-commitment place to begin, swap a plastic soap bottle for a brass dispenser and a linen towel. It took me a few tries to stop adding things, but once you get the breathing room, the kitchen will feel calm and usable.

