

I had a counter that felt like a collection of intentions. A mortar and pestle, a mismatched jar of utensils, a plant, a stack of mail. I kept swapping things out and it never settled. It took me a few honest failures to see the problem. It was not the objects. It was the space between them and the way I mixed function with decoration.
I tried labeling everything, then tried hiding everything. Both looked off. The trick that finally worked was thinking in zones, limiting what stays out, and using stylish containers that actually feel good to touch and pick up. Once I learned to leave breathing room, the kitchen stopped looking like a display and started feeling useful again.
Step 1: Clear a Zone, Sort by Use
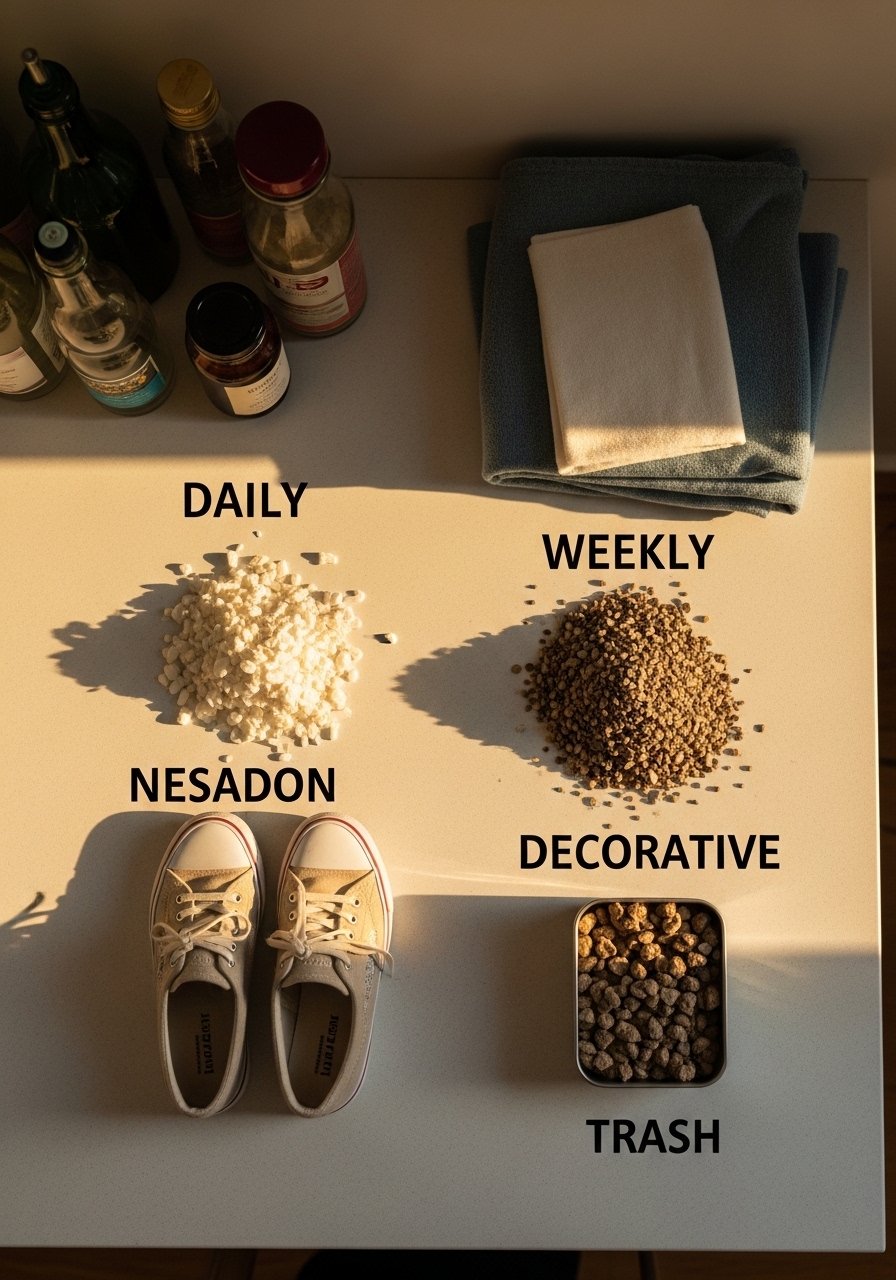
Pull everything off the counter, yes everything. Sort into three piles: daily reach, occasional use, and decorative. I know this sounds painful, but seeing items together shows which ones really need to be out. Aim to leave 18 to 24 inches of uninterrupted counter for prep and a visual rest area near the sink.
Common mistake, and I was guilty of this, is keeping too many single-use gadgets on display. They fragment the view and make the space feel cluttered. When you corral the daily pile onto a single tray, the surface reads as intentional. The tray should be slightly larger than the group so the items do not feel cramped.
Step 2: Pick a 2:1 Ratio of Closed to Open Storage
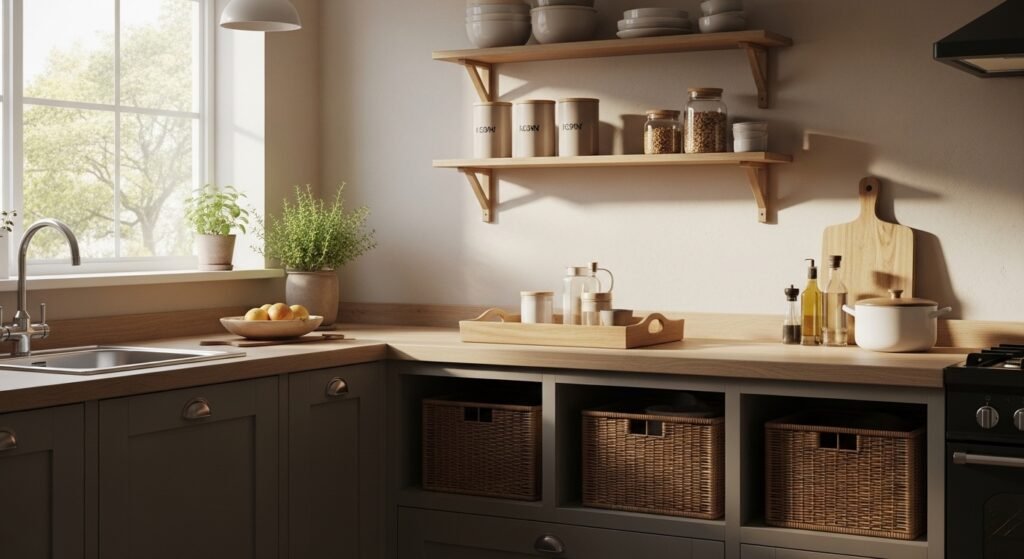
Most kitchens look better when open storage is a highlight, not the whole story. Try a 2 to 1 ratio of closed cupboards to open shelves. That means if you have three cabinet bays, one can be open shelving, two should remain closed. Closed storage hides visual noise like food packaging and odd-sized tools.
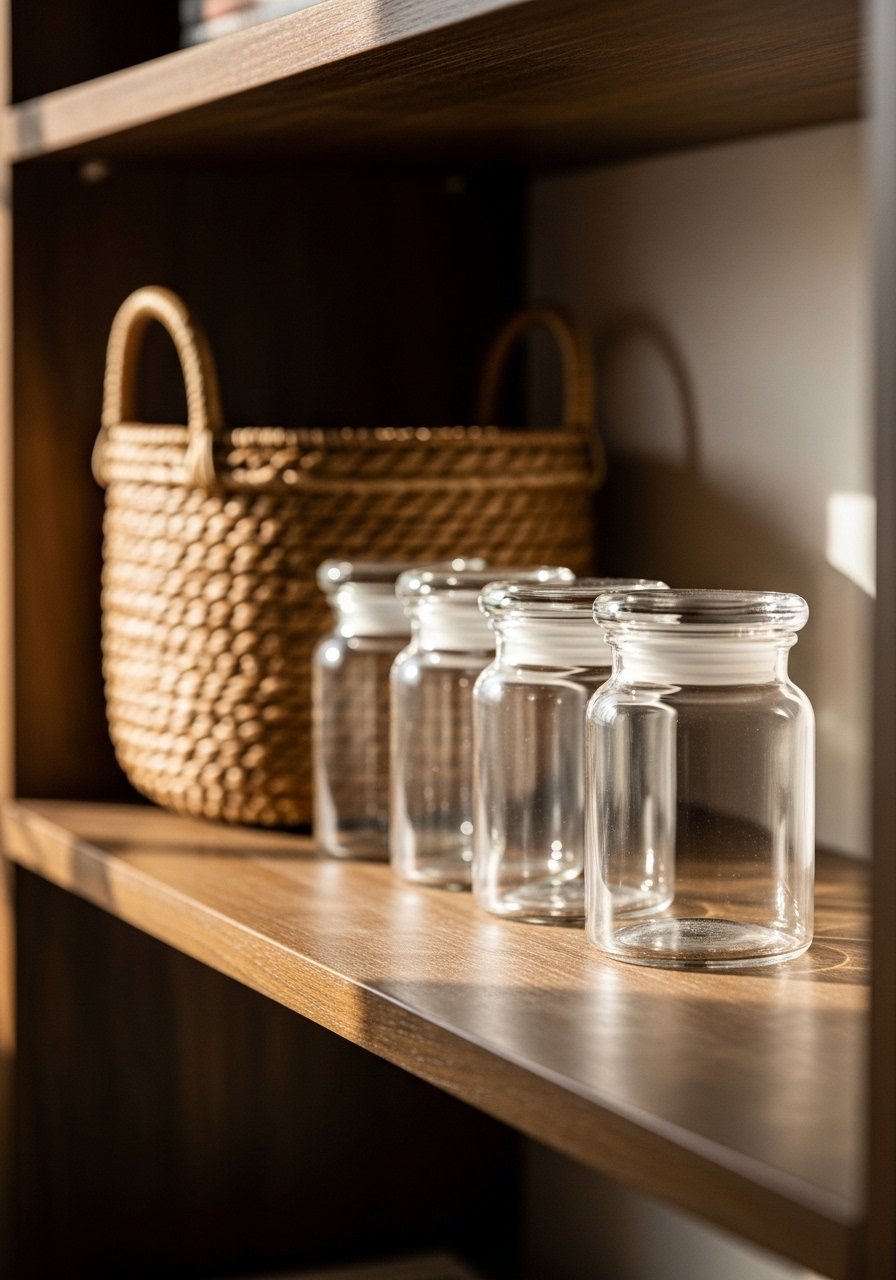
Swap mismatched jars for a uniform set of glass canisters that are cool and heavy in your hands. I switched to lidded canisters for flour, sugar, and pasta and the kitchen suddenly felt calmer. If you have a tall gap on a shelf, use a ceramic utensil crock to add height and texture. The ceramic feels cool and solid when you lift it, which makes daily use more pleasant.
Step 3: Style in Odd Groupings and Vary Heights
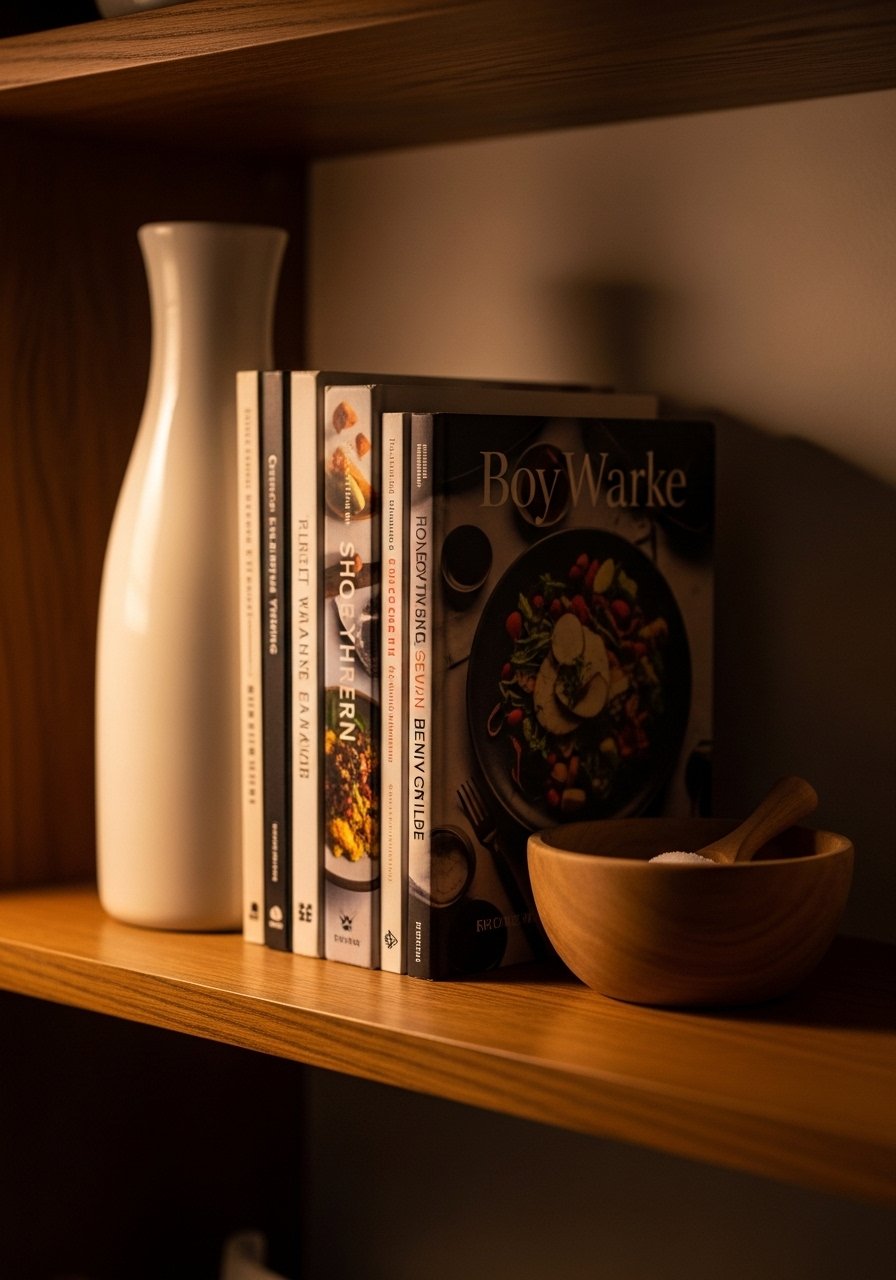
This is where it starts to look styled and usable. Arrange items in odd-numbered groups. Aim for 3 to 5 objects per cluster and let one item be 1.5 to 2 times taller than the next. The tallest piece anchors the eye, the medium pieces add rhythm, and a small textured object finishes the group.
A mistake I made was placing similar height objects in a straight line. It read flat. Adding a soft linen towel draped over a bowl or a small potted herb brings in texture and a lived-in softness. Step back after placing a group, wait ten minutes, then come back. Things you love up close can look fussy from across the room.
Step 4: Make Inside Storage Work as Hard as the Outside
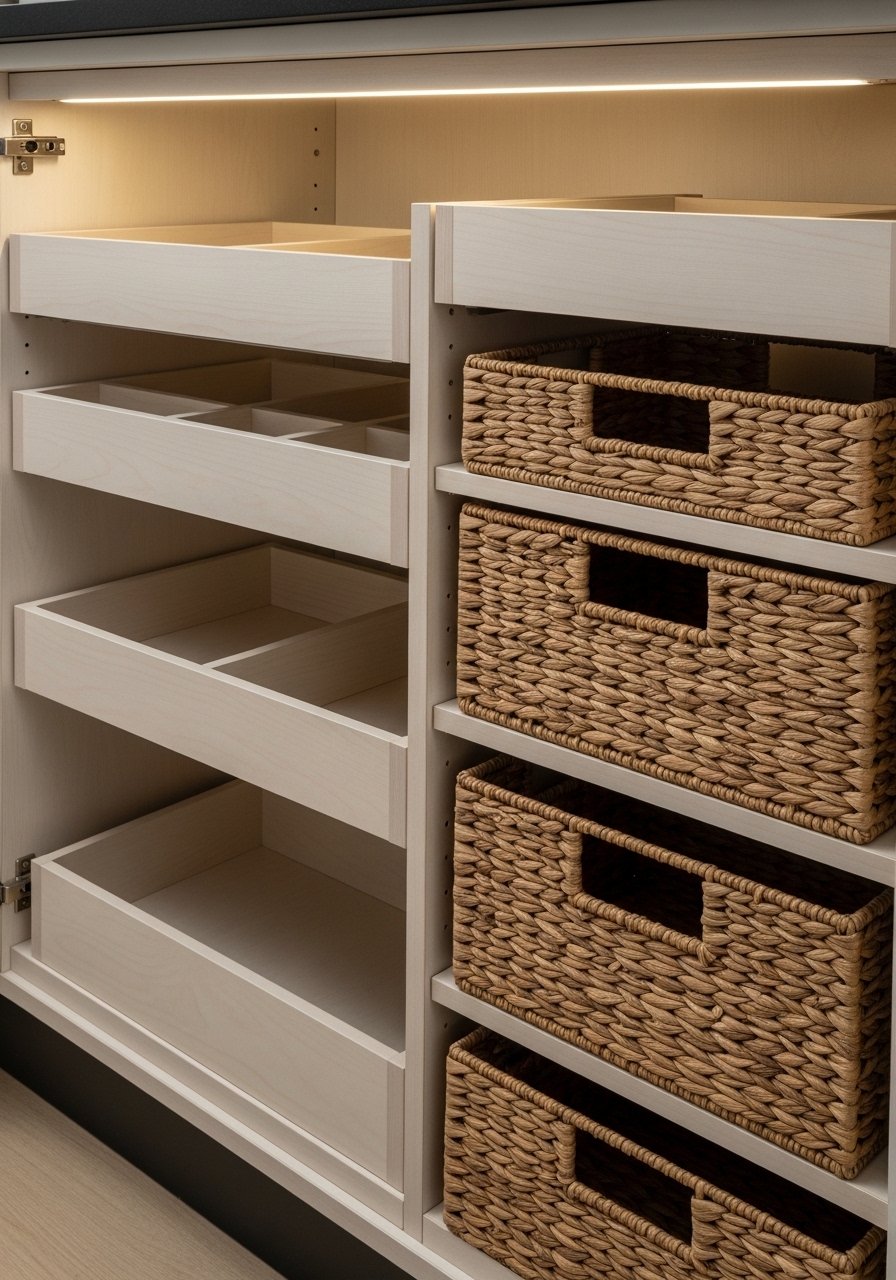
Open shelves are the pretty show, but the real comfort comes from efficient drawers and cabinets. Use a 12 by 18 inch drawer organizer for utensils and a shallow spice tray that slides out. The metal runners on a good pull-out are smooth and change how quickly you reach for what you need.
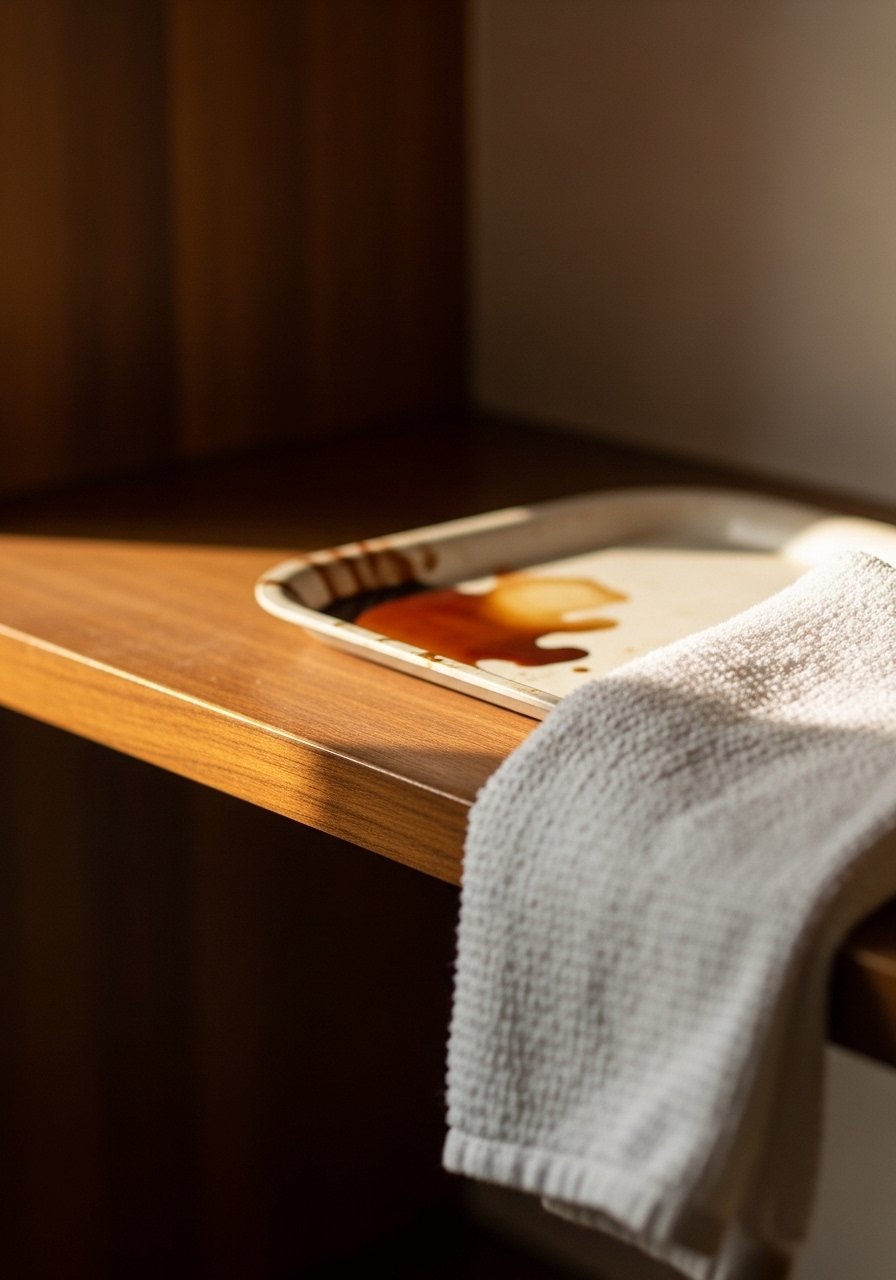
I fought installation on my first pull-out and it annoyed me the first week. Once installed, it saved five to ten minutes a day of rummaging. Under-shelf baskets are another tidy trick. They give you another half level in a cabinet without renovation. Keep fabrics like dish towels in a woven basket to absorb moisture and add a warm, tactile contrast to glass and metal.
Step 5: Commit to a Weekly Reset and Live with It
The last step is boring but honest. I set a ten minute weekly reset where I return items to their zones, wipe the tray, and refill canisters. After a week of real life you learn what stays useful and what just collects crumbs. Leave one open shelf for seasonal or decorative swaps and keep the rest functional.
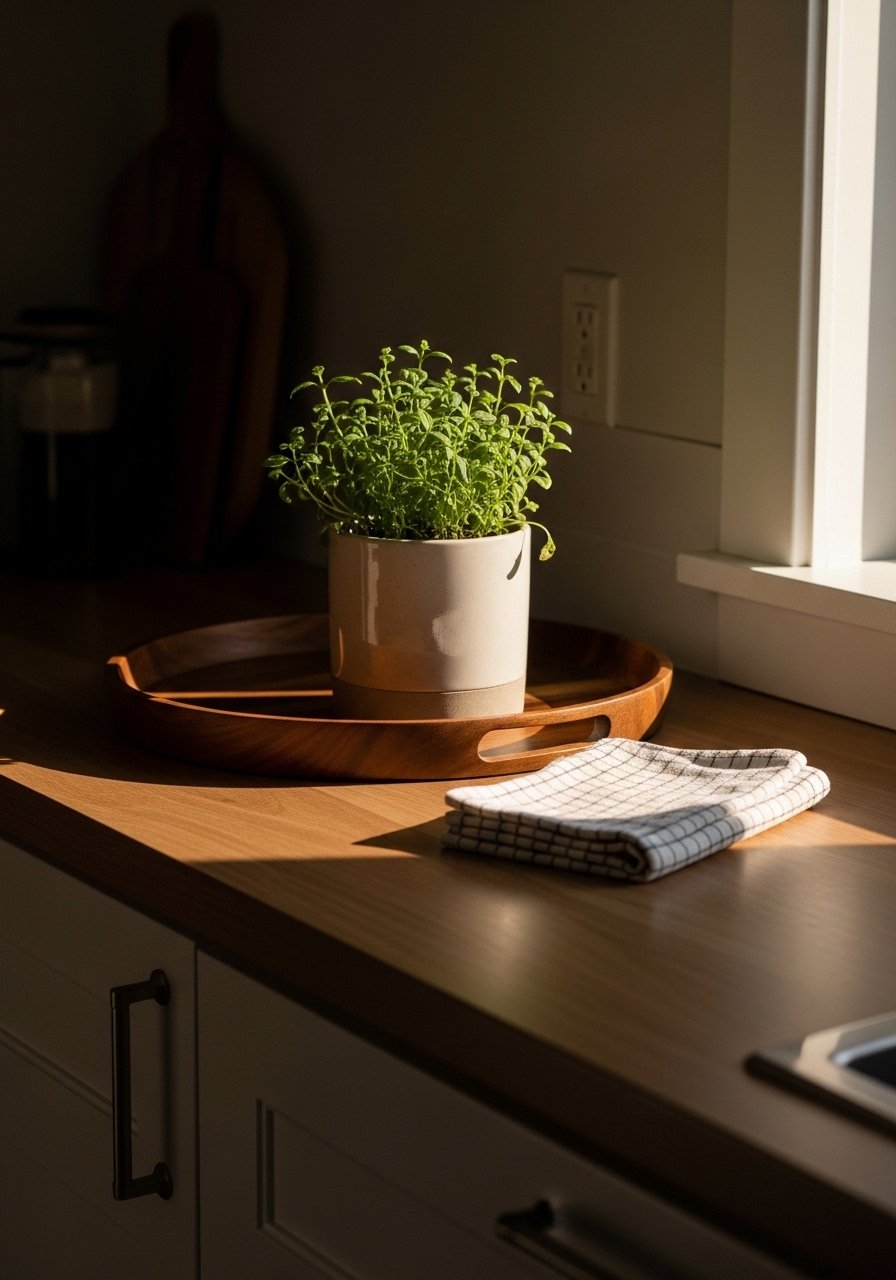
A low-commitment start is a wood tray about 12 by 18 inches. It gathers your coffee maker, salt jar, and a small plant. It creates a single, liftable mass on the counter. My partner loved it because cleaning is faster and the surface still feels open. If you have pets, avoid placing the tray on a low open shelf the cat can reach.
Your Kitchen Storage Shopping List
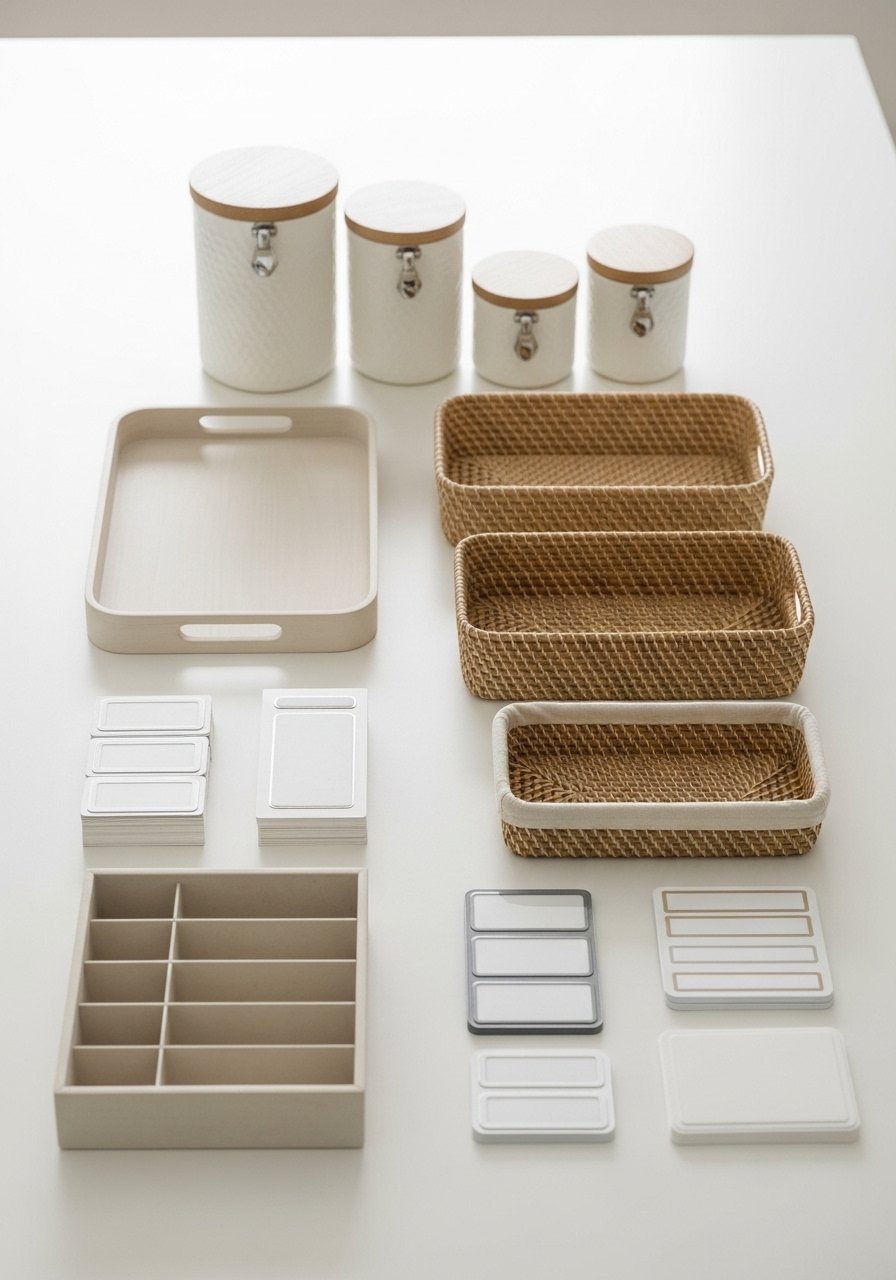
- Glass canister set, 3-piece, 1.5L each ($25-40). Use these for flour, sugar, and pasta in Step 2.
- Laminated label maker, portable ($20-45). Labels make closed storage feel intentional in Step 4.
- Woven storage baskets, set of 3, natural seagrass, medium ($30-55). I use one inside a lower cabinet as shown in Step 4. Similar at HomeGoods.
- Ceramic utensil crock, matte white, 6-inch ($18-30). For the taller anchor in Step 3.
- Wood serving tray, 12×18 inches, acacia ($22-40). Start with this as your daily corral in Step 5.
- 12×18 inch bamboo drawer organizer ($15-28). For utensils and small tools in Step 4.
- Under-shelf hanging baskets, set of 2, metal black ($14-25). Adds a hidden half level in Step 4.
- Spice jar set with chalk labels, 16-piece ($20-35). Keeps spices uniform on an open shelf as in Step 2.
Why Your Kitchen Still Feels Cluttered
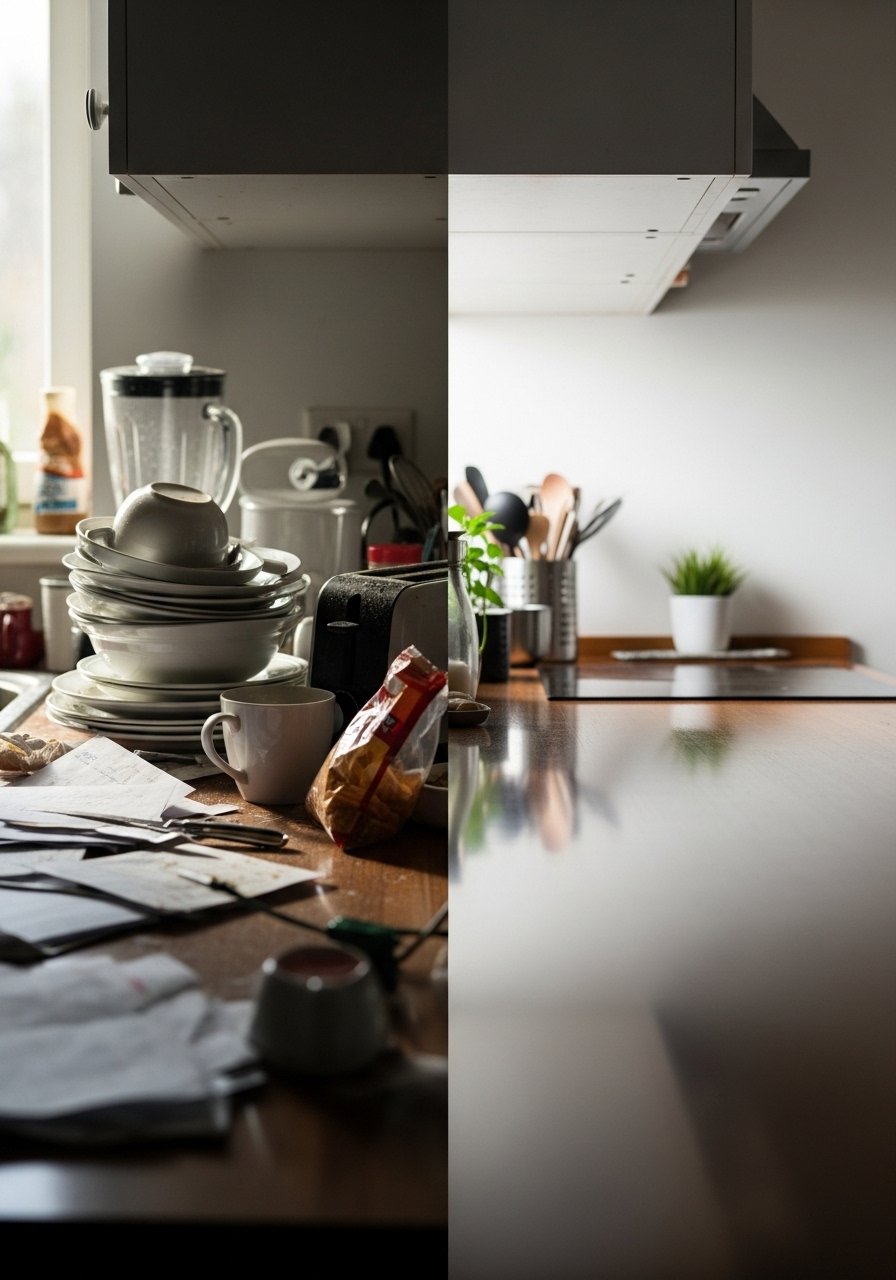
You might be doing all the right purchases but missing two things. First, breathing room. Leaving 18 to 24 inches of clear surface prevents the eye from tripping over multiple focal points. Second, consistent containers. Mismatched jars create small visual alarms that the brain treats as noise.
Quick fixes you can do now. Remove everything from one shelf and put back only essentials. Swap one mismatched piece for a neutral basket. I almost skipped this reset the first time and the difference was immediate.
Making This Work in a Small Kitchen
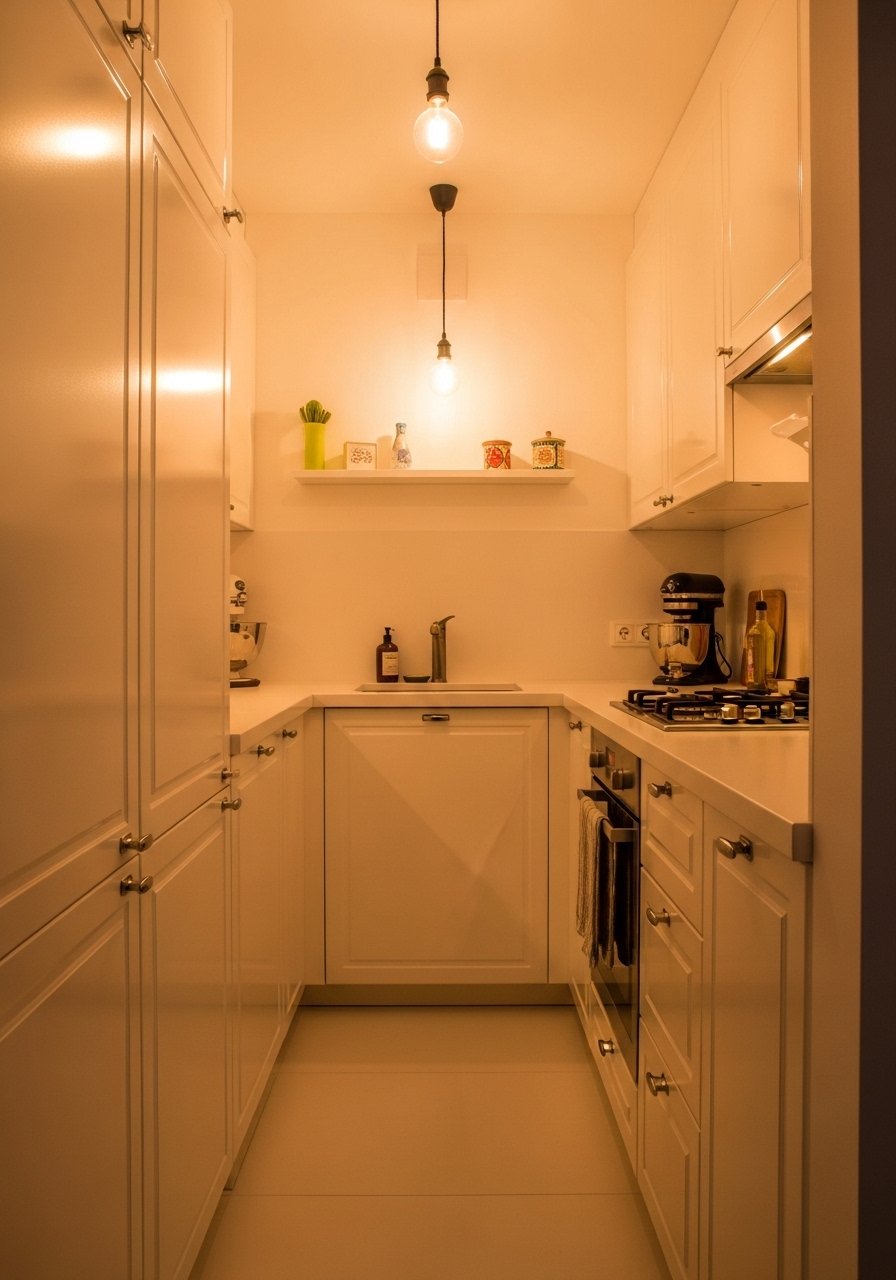
Small kitchens need tighter rules. Use vertical space and shallow shelves about 10 to 12 inches deep so items do not stick out. Hang utensils on a rail above the counter to free drawer room. Pick containers that are tall rather than wide to save footprint.
Try these three moves. 1) Install one narrow open shelf at eye level for daily items. 2) Use three to five matching canisters rather than dozens of single items. 3) Keep one drawer totally empty as a flexible landing zone. My tiny kitchen went from cramped to calm once I stopped trying to display everything.
What a Week of Real Life Looks Like
After a week you will learn which items attract crumbs, which pick up fingerprints, and which need replacing. Expect one or two tweaks. For me, the decorative bowl on the counter became a magnet for keys, so I moved it to a high shelf. My partner knocked over the potted herb twice before I moved it.
Plan a ten minute reset each Sunday. Refill canisters, wipe the tray, and return stray mugs to the cupboard. Living with storage is about tiny maintenance trades that pay off every morning.
Start With One Counter Zone
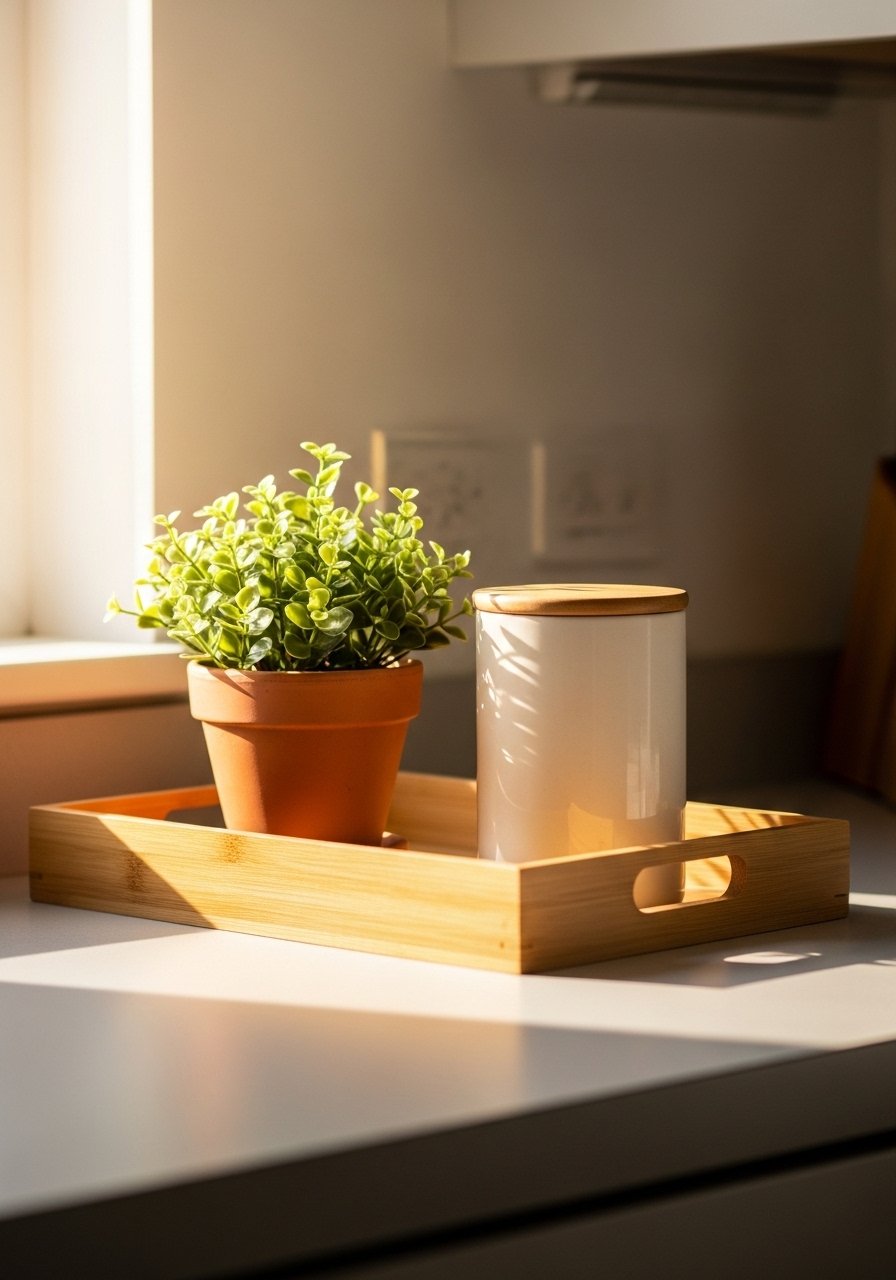
Begin with one corner. Put a wood tray down, add the coffee maker or salt and pepper, one plant, and one functional jar. Try keeping everything else in drawers for a week. You will see quickly what you reach for and what becomes decor.
If you want the smallest possible win, buy the tray from the shopping list and commit to the ten minute weekly reset. My kitchen still looks like a lived-in space, and that quiet order was worth the early mistakes.

