

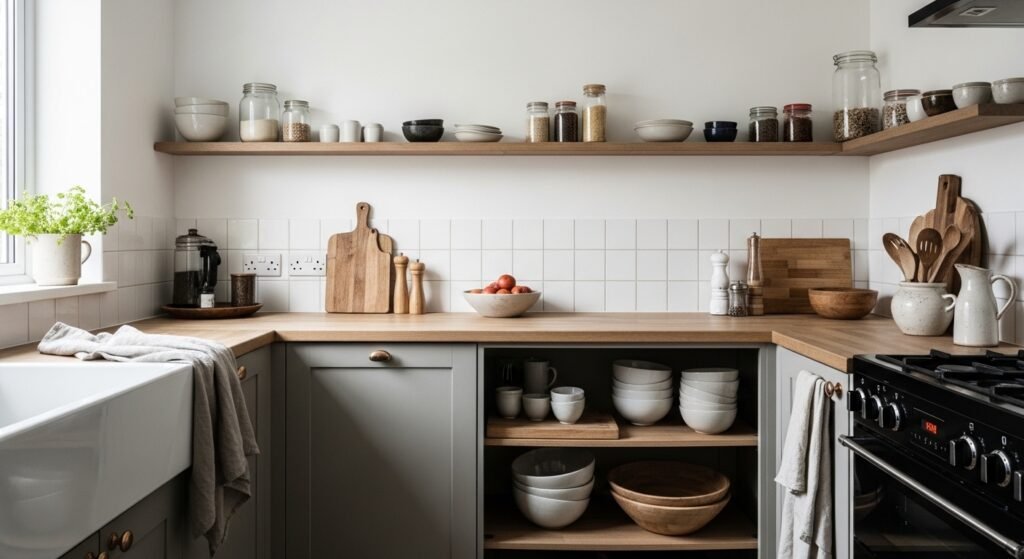
I had three different countertops that looked like a prop shop before this clicked. Every time I added a cute bottle or a small plant, the space read as cluttered instead of edited. My mistake was thinking more items would read as more intentional. It did not.
What changed was slowing down and picking fewer pieces with varying scale, height, and texture. I tried copying full setups from photos and failed. The third attempt, where I left one third of the surface empty, finally felt calm. You can get this without buying a lot. Trust the empty space for a minute, then adjust.
Step 1: Clear the surface and decide what stays
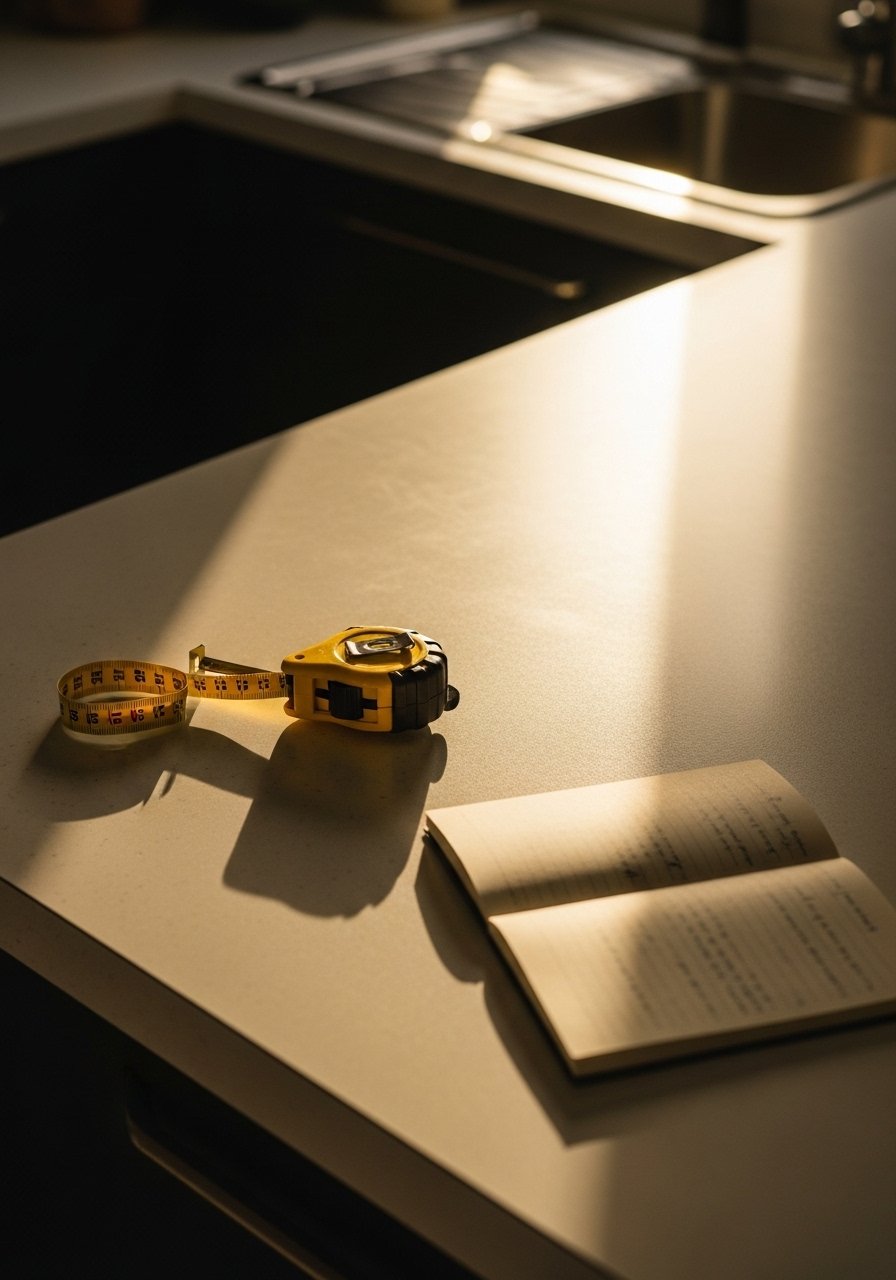
Pull everything off the counter. Yes, everything. It is scary the first time because you see how many little things hide in plain sight. For me the smallest items, like single spice jars, made the whole area look busy. Lay back the ones you use every day: coffee maker, olive oil, soap. Aim to leave about 30 to 40 percent of the counter bare so the eye has rest. That specific empty area is the single most calming thing you can do. When I first tried this I nearly put everything back. Walk away, then come back. The emptiness will start to feel intentional.
Step 2: Choose one anchor with weight and presence
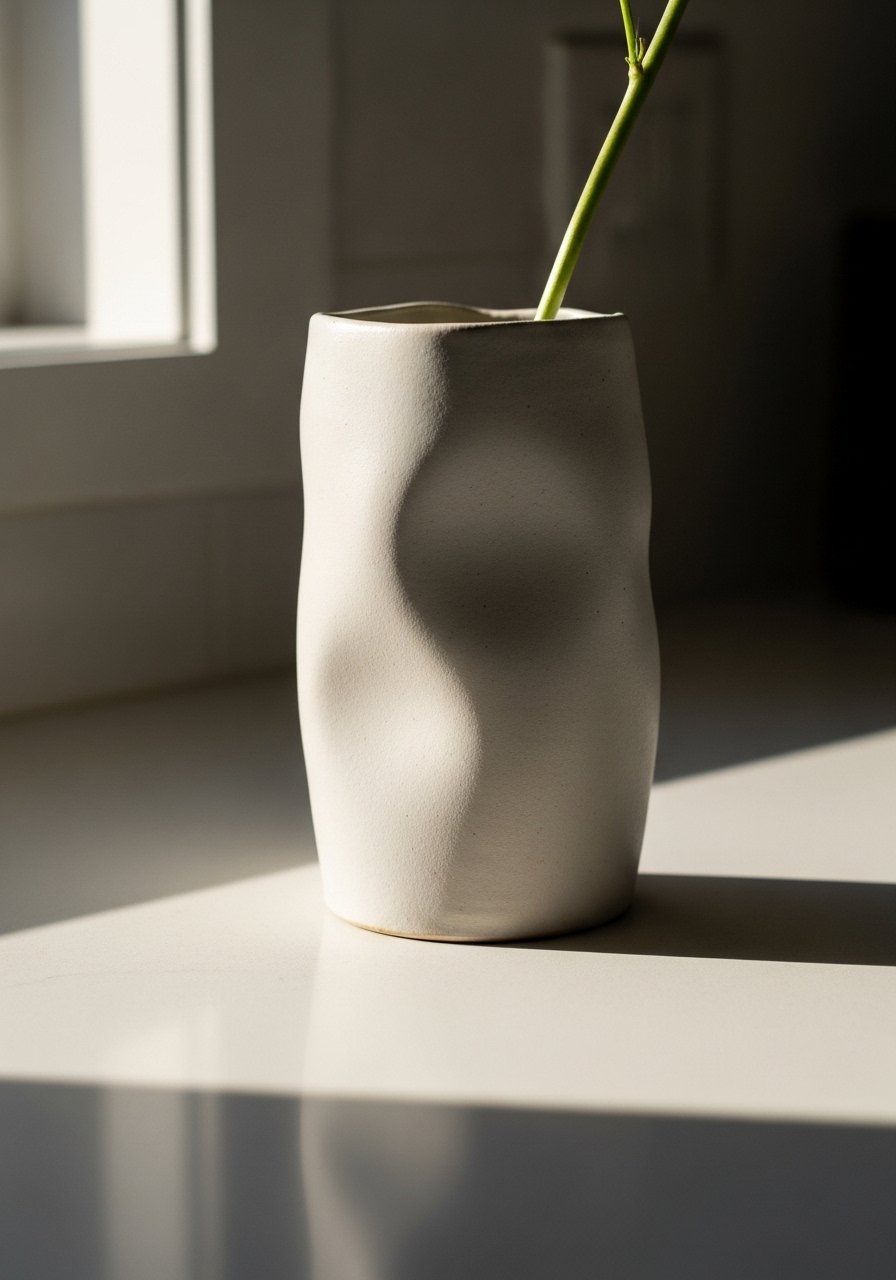
Pick one object that has real presence, something you can feel when you pick it up. I use a matte ceramic vase that is cool and heavy in the hand. It anchors the vignette and prevents the space from floating. Heights should be layered roughly at 4–8 inches, 12–16 inches, and 20–24 inches to keep the eye moving. If you start with the biggest piece, styling becomes easier. A heavy wood cutting board or a tall ceramic vase works. My partner hated the off-center board at first. After a week he admitted it looked more grounded than when everything was centered.
Step 3: Add a functional decorative tray to corral small items
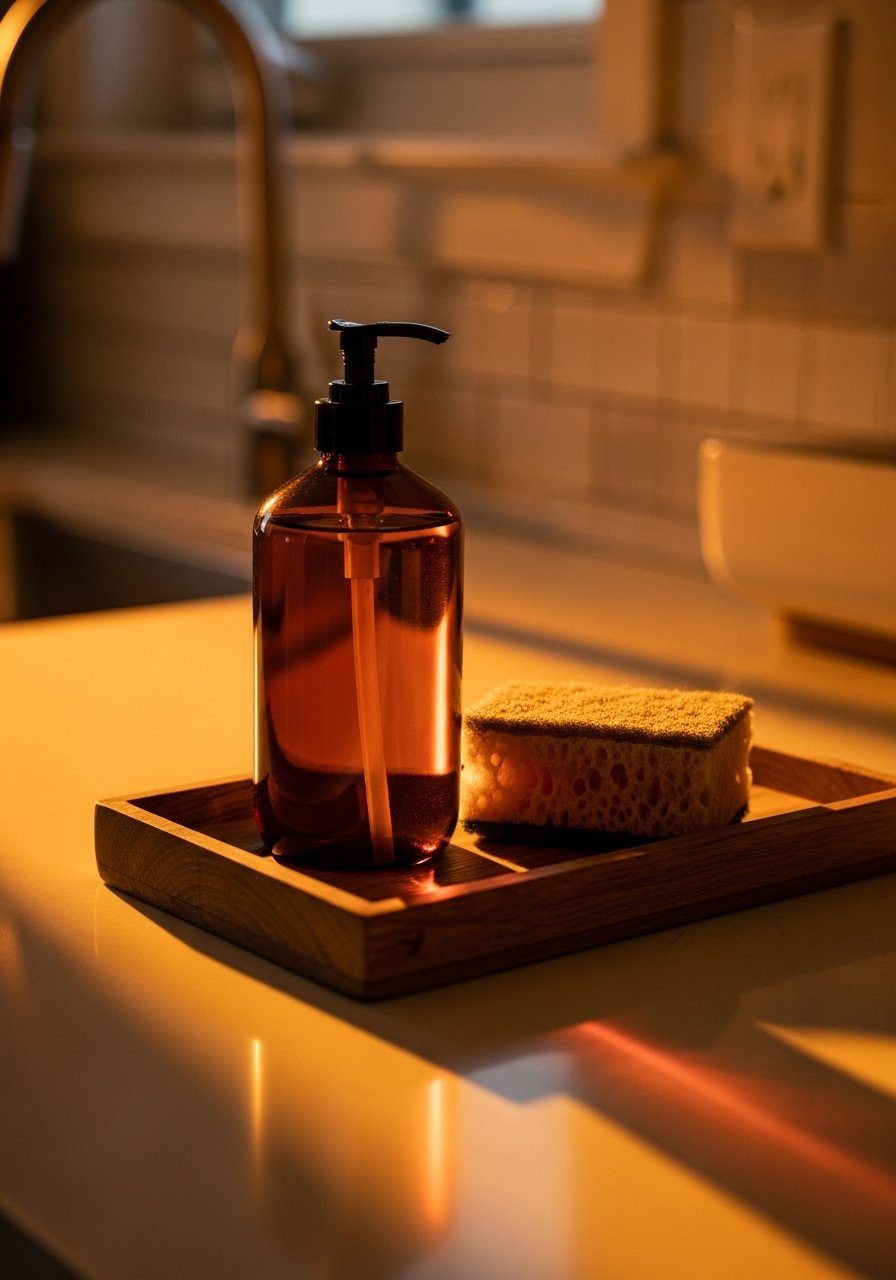
A shallow tray solves the "random bits" problem. Put daily-use items inside it rather than scattering them. The tray adds a horizontal line, brings texture if it is wood or metal, and makes cleaning quick. I tried trays that were too small and that looked worse, so go for one at least 12 inches wide. Leave one or two pieces out of the tray to keep things casual. My first tray choice was glossy and slipped; the second, a raw wood tray, stays put and looks right. The visual result is tidy but lived-in, not staged.
Step 4: Limit color and mix textures, not patterns
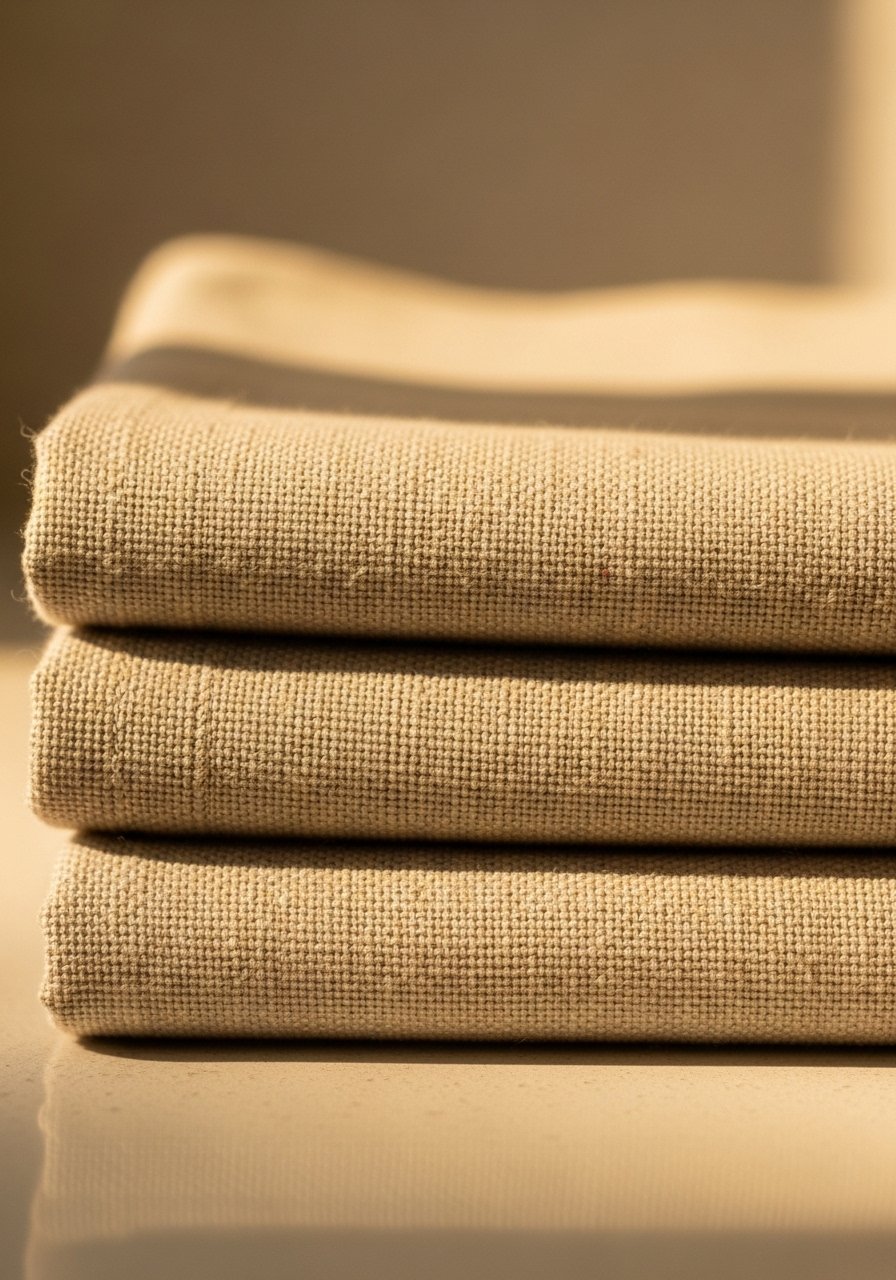
Stick to a palette of two to three colors max. I like white, warm wood, and one muted accent like sage. The trick most people miss is swapping pattern for texture. A linen towel, a matte ceramic, and a brushed brass spoon are more interesting together than three patterned items. The linen feels nubby, the ceramic is smooth and cool, the wood is warm in the hand. When I first tried this I kept reaching for patterned tea towels. They pulled focus and the kitchen read as busy. The pared-back palette keeps it calm.
Step 5: Leave living pieces but limit maintenance work

A plant brings life but can also become a commitment. Choose a hardy option like a rosemary or a snake plant in a 4–6 inch pot so you get fresh green without daily fuss. Place it where it gets a bit of light and where splashes are easy to wipe up. I once used a trailing pothos on the bottom shelf and my cat turned it into a chew toy. If you have pets, pick something less tempting. The whole space gains a soft edge when there is a living element, but keep the scale small so maintenance does not undo your calm look.
The Minimal Kitchen Kit
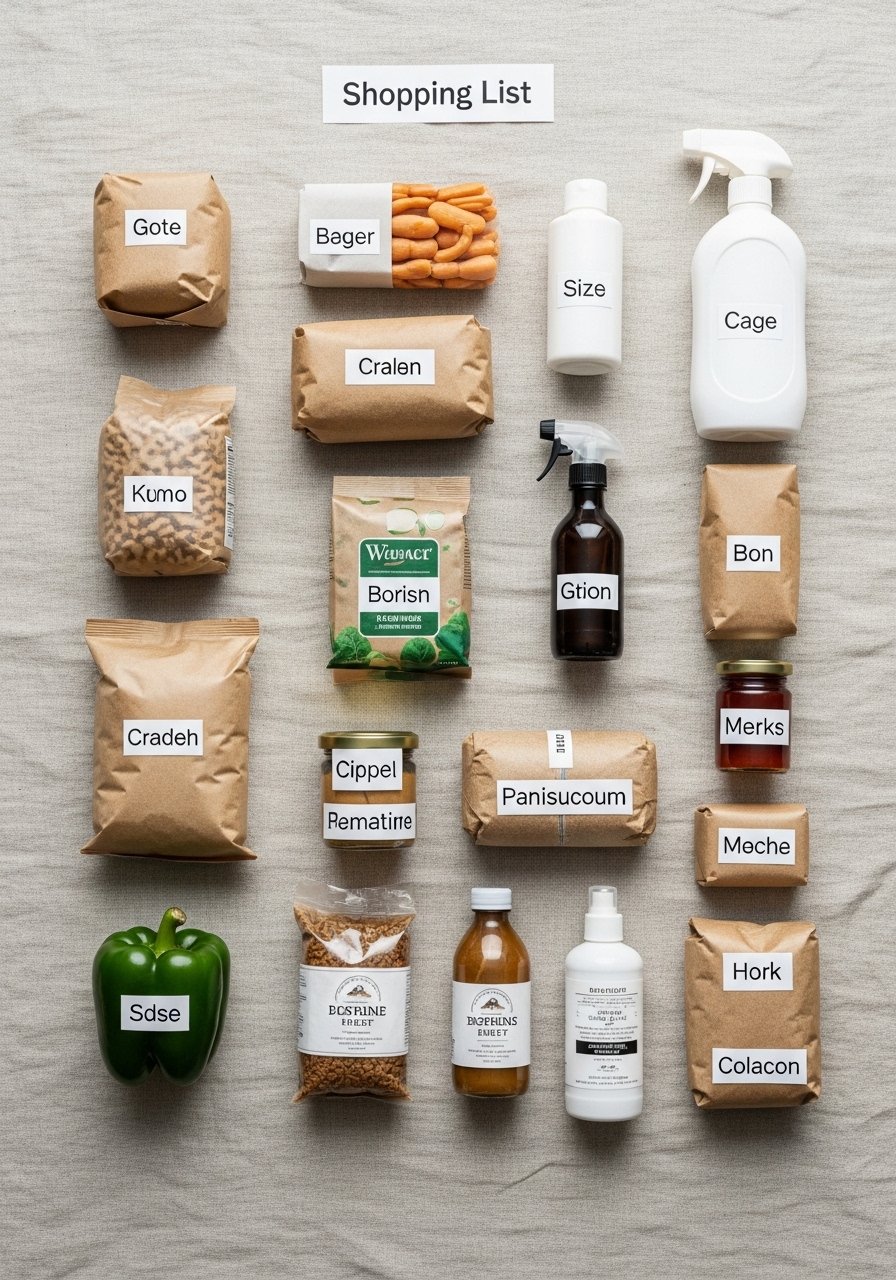
- Matte ceramic vase, 10–12 inches tall, white ($20-40). Use in Step 2 for anchor weight.
- Raw wood tray, 12×8 inches ($18-30). For Step 3 to corral items.
- Linen dish towels, set of 3, oatmeal ($15-28). Texture for Step 4.
- Edge-grain wooden cutting board, 12×8 inches, walnut ($35-60). Dual use as art and prep surface in Step 2.
- Small ceramic soap pump, matte gray ($12-20). Fits inside the tray in Step 3.
- Potted rosemary, 4-inch pot ($8-18). Low-care green from Step 5.
- Brass spoon rest, small ($10-20). A little metallic anchor mentioned in Step 4.
I note similar options at Target or HomeGoods if you want to touch materials before buying.
Why kitchens still look cluttered after styling
Most people cram every useful jar or appliance out because they want convenience. That is the problem this method fixes. If the counter has too many small items, it reads messy. Also, matching everything too closely removes depth. Try three different textures instead: one smooth ceramic, one warm wood, one nubby linen. Another common miss is not testing things in natural light. Move objects around during morning and evening light to see how shadows and highlights change the feel. I learned this after two failed attempts where the arrangement looked fine at noon but flat at breakfast.
Making this work in a small kitchen
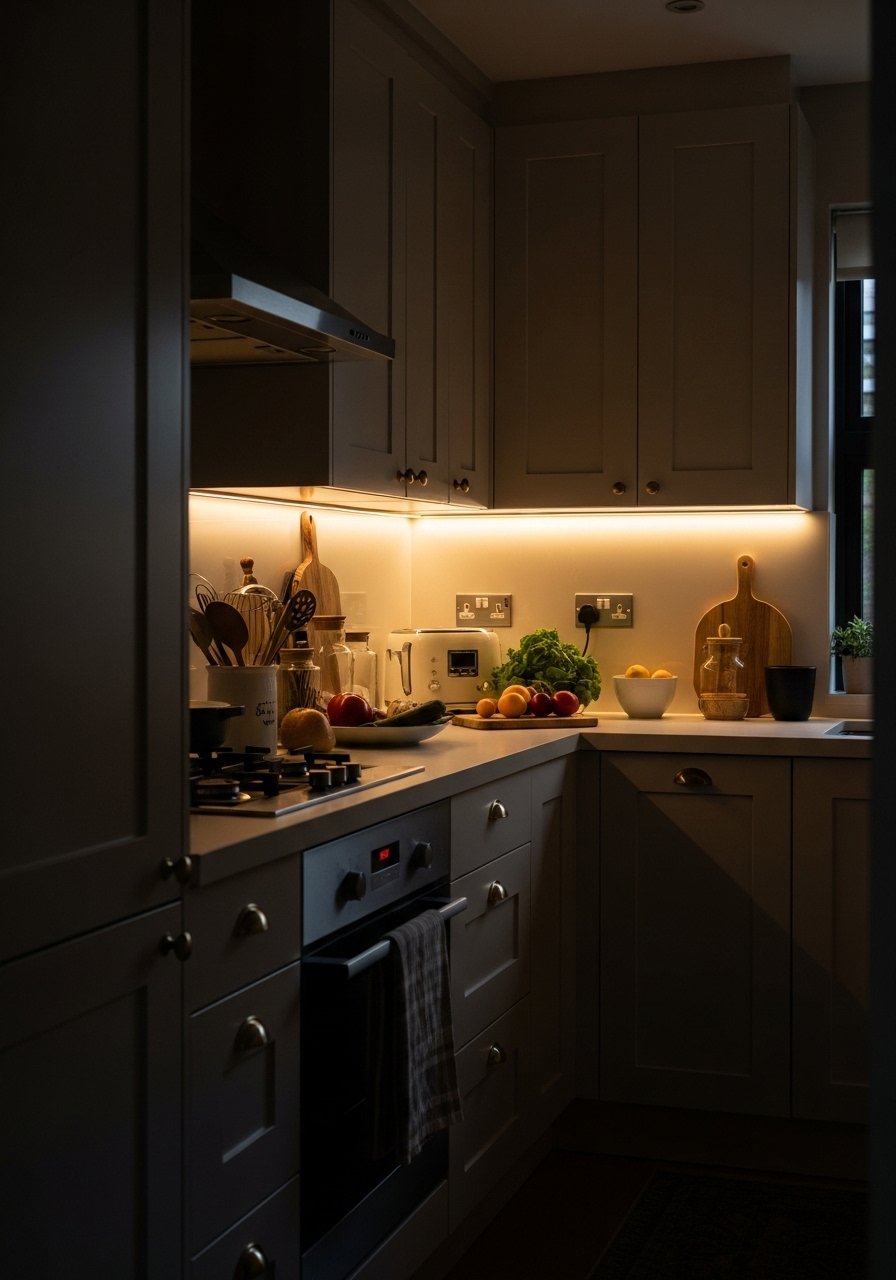
In a small space, commit to one styled zone rather than spreading accessories everywhere. Choose one counter or one open shelf and apply the same rules: clear, anchor, tray, textures, living piece. Use vertical space sparingly, stick to items no wider than 12 inches on a countertop, and keep 30 percent of the visible surface empty. If storage is tight, pick multiuse pieces, like a cutting board that also acts as your backboard. I had a tiny rental where this approach made it feel twice as calm without losing function.
What this looks like after a week of real life
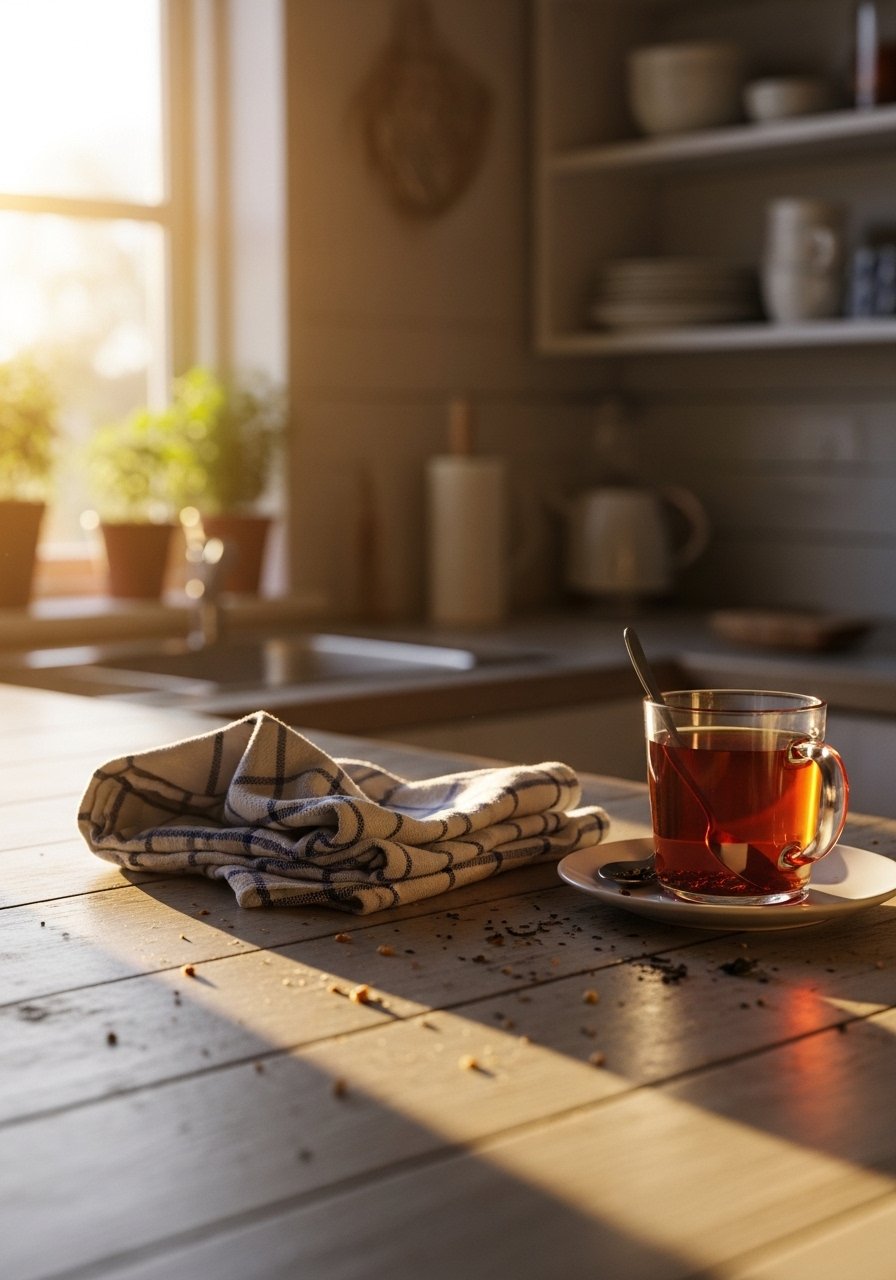
Expect small shifts in the first week. You will move things around while you cook. That is fine. The test is whether it still feels calm after daily use. If a piece becomes a landing spot for mail or keys, move it somewhere else. Keep cleaning tools inside the tray so nightly wipe downs are quick. My roommate knocked over the ceramic vase twice in the first week. I moved it a few inches and it has stayed put ever since. The lived-in version should feel effortless, not fragile.
Start with One Counter Zone
Pick one counter or shelf and spend 20 minutes on Steps 1 to 3. Buy one anchor piece from the shopping list, the matte ceramic vase if you want a low-commitment start. Style, live with it for a few days, then tweak. Small changes add up fast, and once one zone feels calm you will notice the whole kitchen breathing easier. Keep it simple, keep it useful, and let the empty space do some of the work.

