

I had a kitchen that felt either cluttered or embarrassingly bare. I would pile tools by the stove, then wipe them away because the counter felt messy. Or I would line a shelf with matching plates and it read flat, like a showroom. It took me a long time to admit the problem was not the pieces. It was how I placed them.
I tried symmetry, all matching heights, and "fill every inch." Each attempt looked wrong for different reasons. What finally worked was thinking in small groups, leaving deliberate empty space, and living with the arrangement for a few days before changing anything.
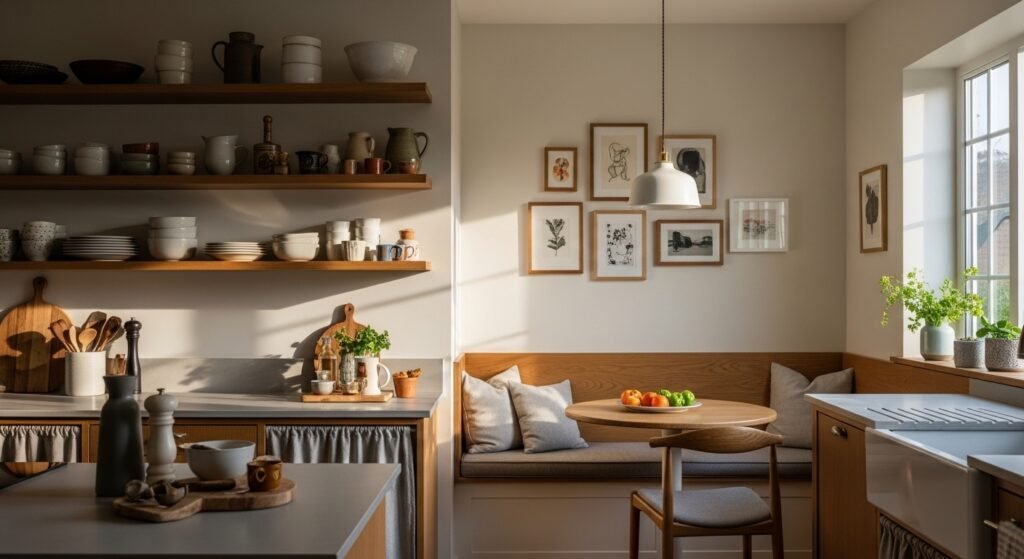
Step 1: Strip the surfaces and find your two anchors
Pull everything off counters and shelves. Yes, everything. I like to pick two anchor points in the room, usually the sink and the stove, and treat them as the main visual anchors. Stand back and imagine a triangle between those points. On shelves aim for about 30 to 40 percent empty space, not 0 percent. That breathing room keeps things from yelling for attention.
Common mistake fixed here: people avoid empty space because they fear it will look sparse. Instead it makes the objects you keep read as intentional. A heavy ceramic bowl feels satisfying in your hands, and that tactile weight helps decide what stays.
Step 2: Group in threes and layer vertically
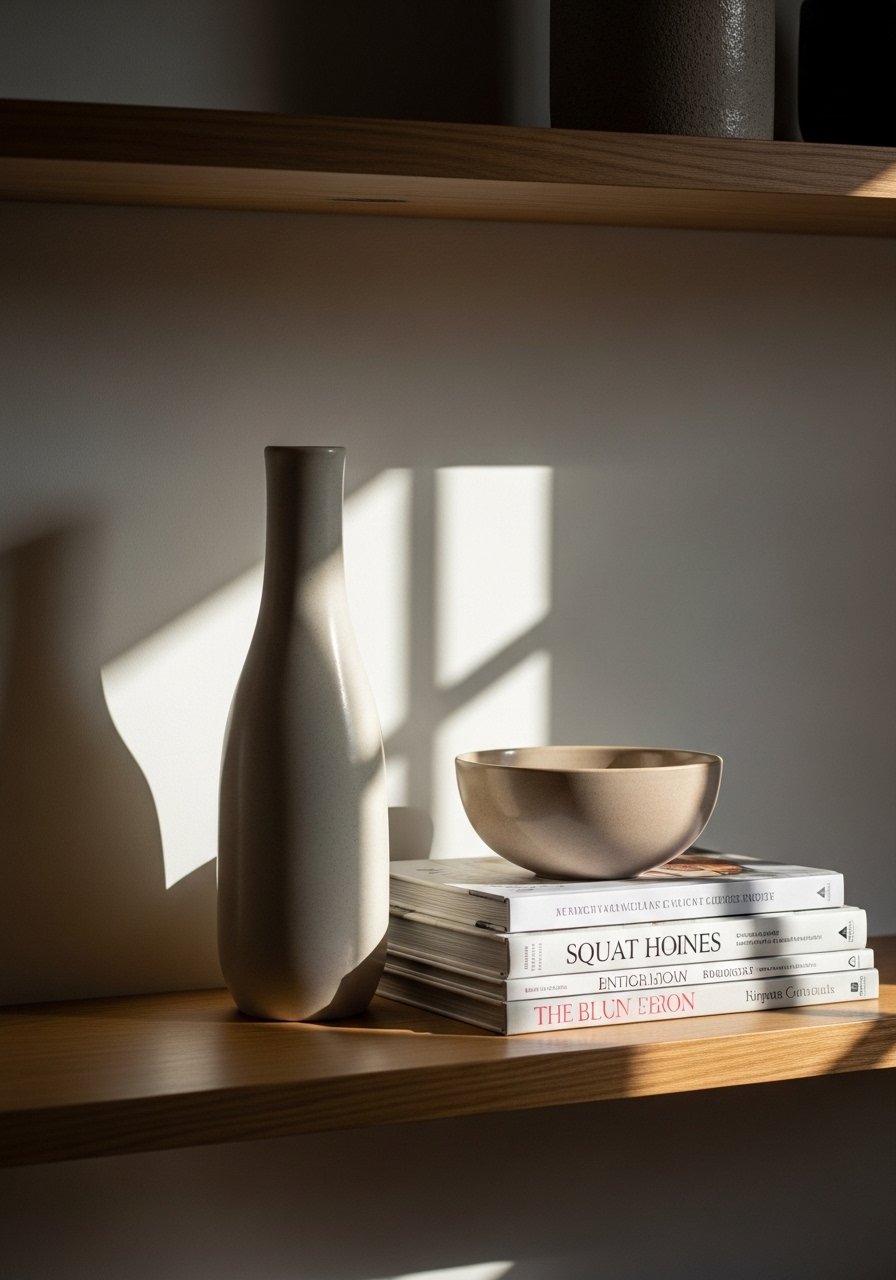
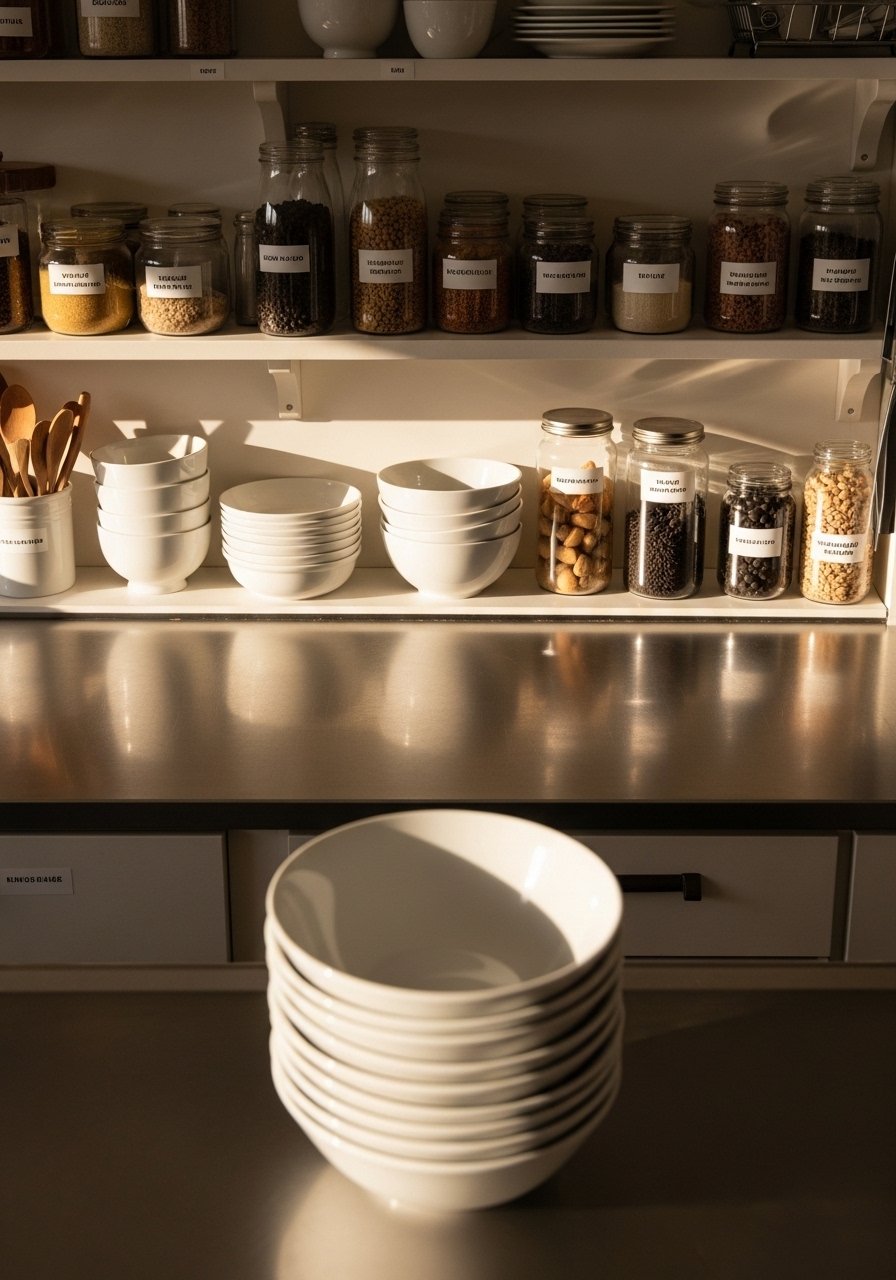
Most people start with the smallest items, I did for months. Start with the biggest piece, then add two smaller companions. Odd numbers read better to the eye, so think three or five. Vertically, aim for tall, medium, low across the group. Try a 2:1 height rhythm where two thirds of the visible height is the tall piece and one third is the low pieces.
Textural contrast matters. Pair the cool, smooth matte ceramic vase with a warm wooden cutting board and a soft linen towel. That mix makes a vignette feel layered not staged. I once overstuffed a shelf because I was afraid of empty space. It took three tries before the third edit finally clicked.
Step 3: Balance function with display on open shelving
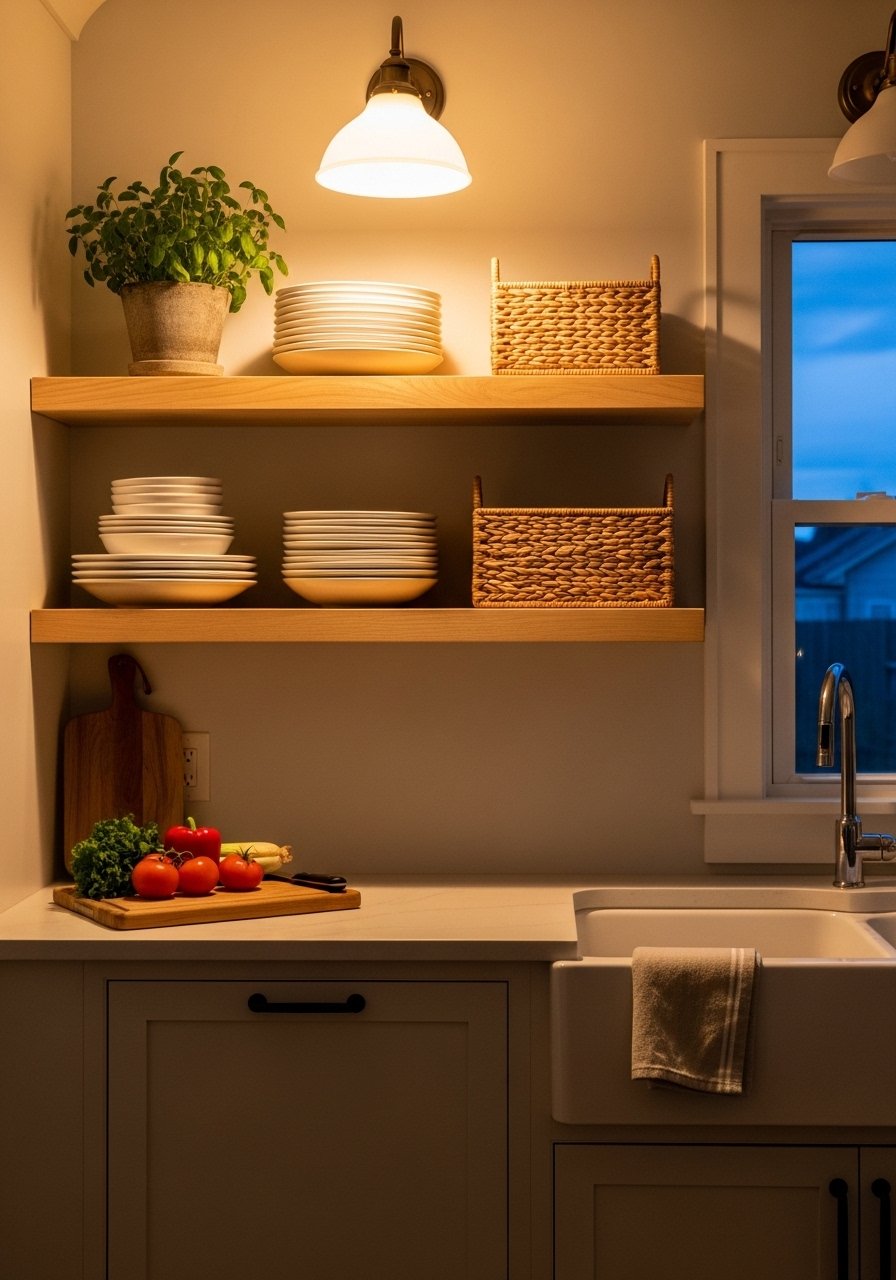
Open shelves need a rhythm between utility and display. Aim for about 60 percent functional items you use and 40 percent decorative objects. Place the everyday plates in easy reach, then break the run with a woven basket or a small artwork. Keep at least 2 to 3 inches between stacked items so they read as groups not a single block.
A common miss is matching everything in one color. That makes a shelf read flat. Mix materials, like ceramic, glass, and raw wood. Side note, if you have cats, skip low open shelves where mugs are tempting to swat.
Step 4: Create two countertop vignettes and keep the rest clear
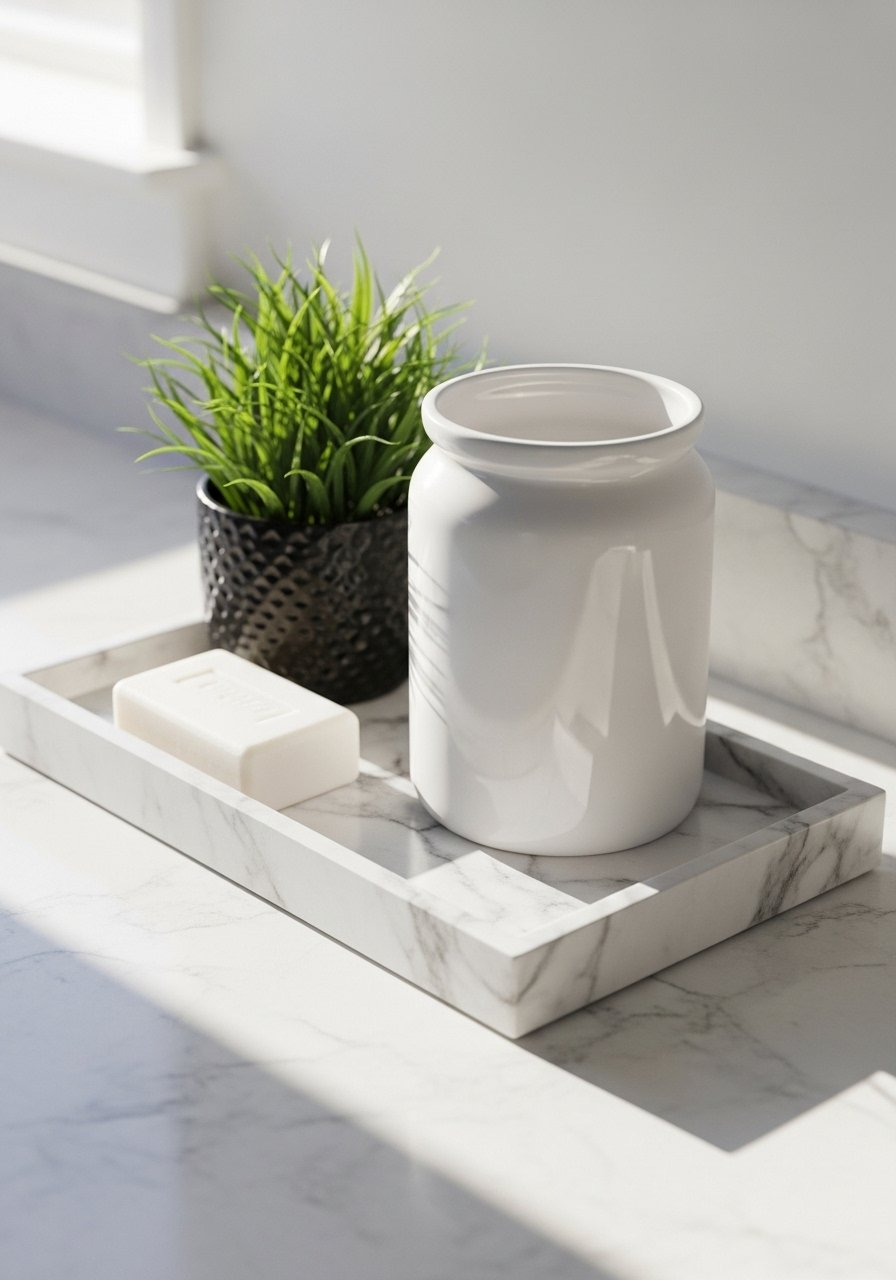
This is the step where it starts to actually look styled instead of cluttered. Make one small vignette near the sink and another by the stove or coffee area. Use a tray or cutting board to corral items, and limit each vignette to two to four pieces. That keeps the surface usable and prevents visual noise.
I used to pile spice jars across the counter. It felt efficient but read messy. Moving most jars into a drawer and leaving only a mortar and pestle on the counter felt calmer. Play with textures a lot here, the cool marble of a tray versus the rough edge of a hand-thrown mug signals authenticity.
Step 5: Anchor with art and textiles, then live with it
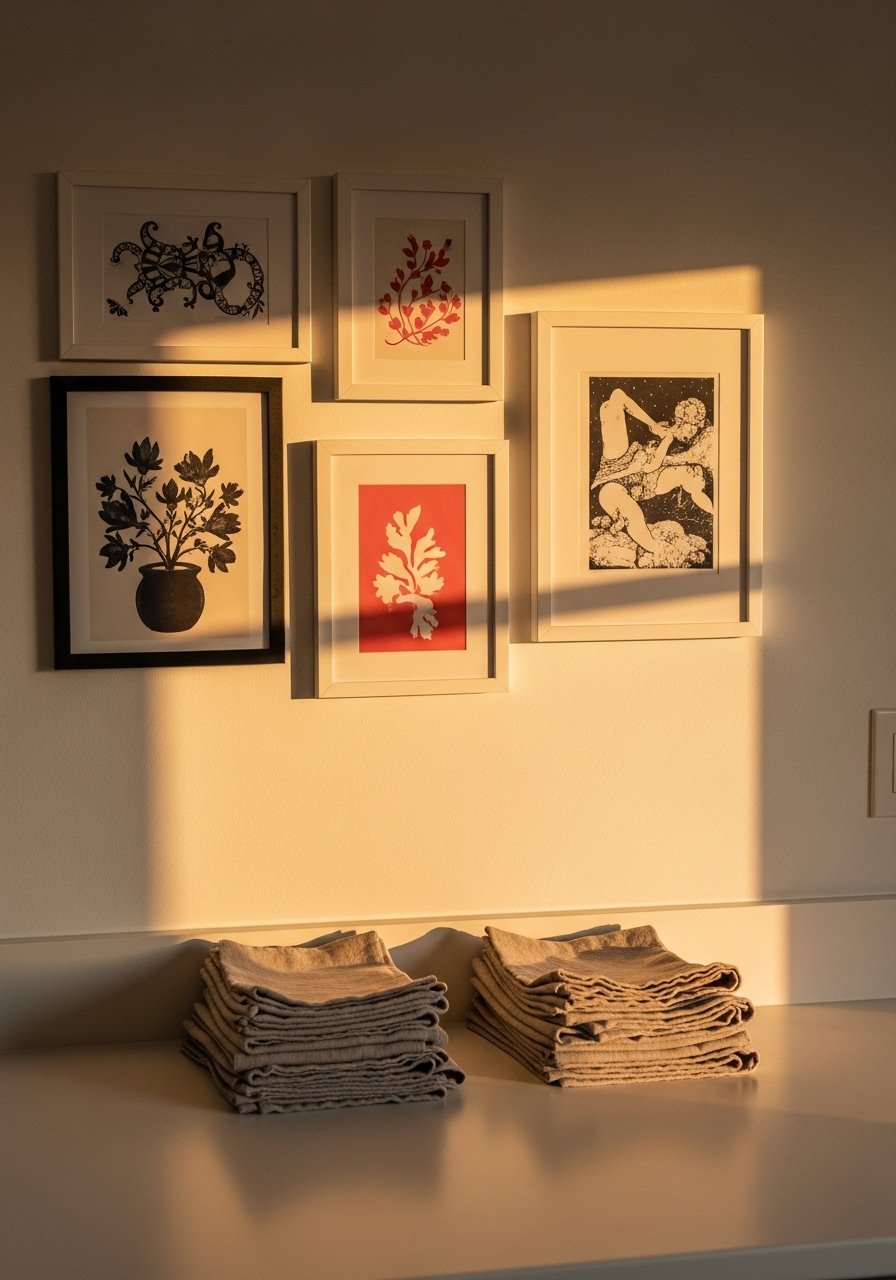
I almost skipped adding textiles and art because I thought they were unnecessary in a kitchen. I was wrong. Hang one piece so the center sits around 56 inches from the floor, or make the group span about 60 to 75 percent of the wall above a bench. Add a runner or tea towels in linen to soften the room and introduce color.
Let the room live for a week before rearranging. You will notice where crumbs land, which object gets knocked, and which items you miss having nearby. My partner disliked the asymmetrical shelf at first, then admitted it was better. Living with a setup reveals which edit matters most.
What to Grab for a Balanced Kitchen
This ceramic vase set in matte white, set of 3 ($25-40). Use in Step 2 for vertical contrast.
Woven seagrass baskets, medium ($20-35). Useful in Step 3 for hiding snacks and odds and ends, similar at HomeGoods.
Marble serving tray, 12×8-inch ($30-55). The base for Step 4 vignettes, cool and smooth to the touch.
Linen kitchen towels, set of 4, natural ($18-30). Soft, absorbent, used in Step 5 to add textile warmth.
Large wooden cutting board, 18×12-inch ($25-50). Acts as a backdrop for vignettes in Steps 2 and 4.
Stackable dinner plates, matte glaze, 10-inch ($40-70 per set). For Step 3 functional display, durable for daily use.
Jute runner, 2×8-foot ($60-110). Adds grounding texture in the kitchen walkway, mentioned in Step 5.
Simple framed art print, 16×20-inch ($20-45). Use in Step 5 to anchor a wall above a bench or bar seating.
Why Your Kitchen Still Feels Crowded

If the room still reads crowded, you probably have too many small, similar items fighting for attention. Three quick fixes:
- Edit for scale, keep one larger object per shelf or counter and remove similar midsize duplicates.
- Introduce negative space, about a third empty on a shelf makes the remaining items breathe.
- Consolidate like with like, store multiples out of sight rather than displaying them.
I hated removing things at first, but keeping fewer items made the remaining ones feel more useful.
Making This Work in a Small Kitchen
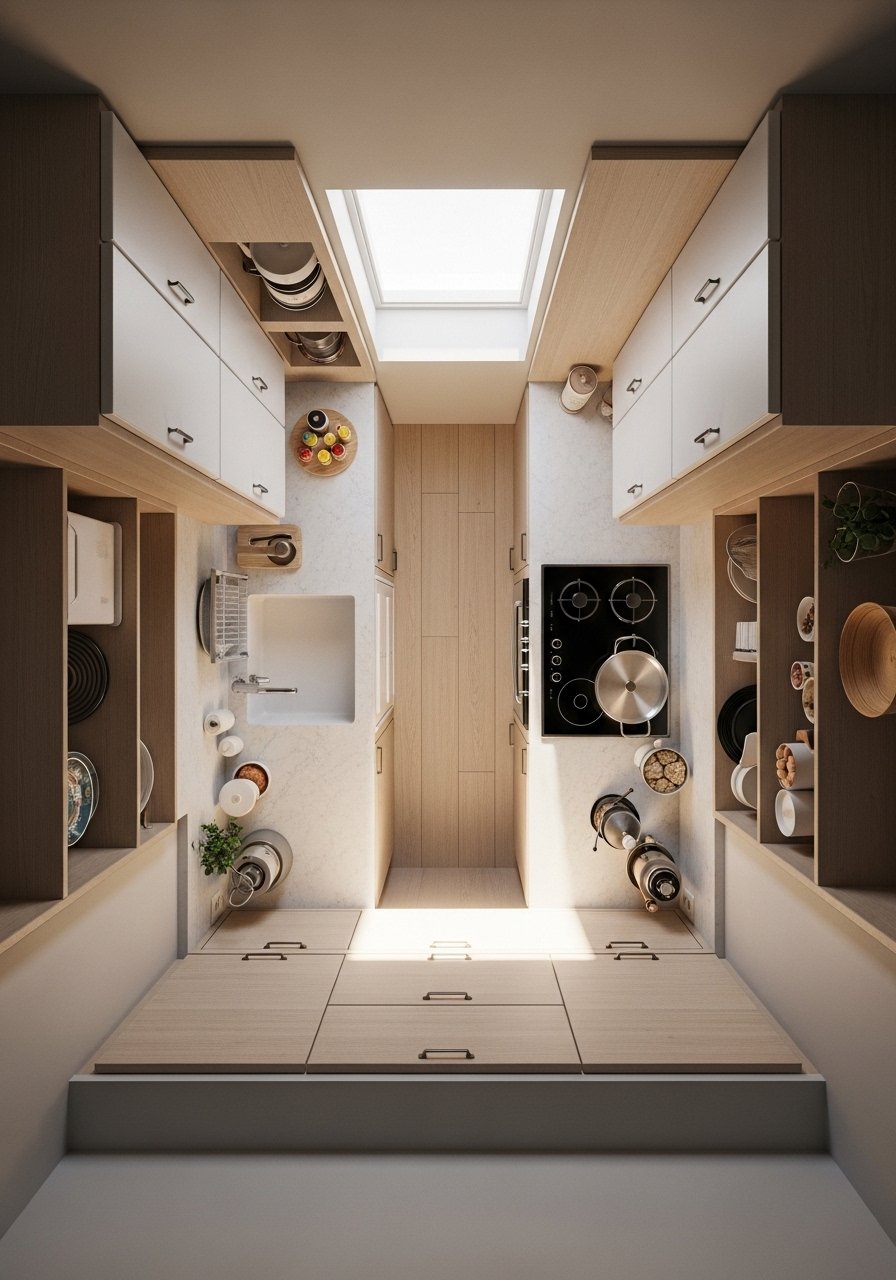
Small kitchens need tighter math. Use vertical space with rails and hooks, keep vignettes no wider than 12 inches, and choose shallow shelves 6 to 8 inches deep for spices and plates. Rotate objects seasonally so you are not displaying everything at once. Multipurpose items help, like a cutting board that also props art for a quick vignette.
Bulky trays and tall sculptures will overwhelm a narrow counter. Pick low, wide pieces that feel grounded and leave walking paths clear.
What a Week of Real Life Looks Like
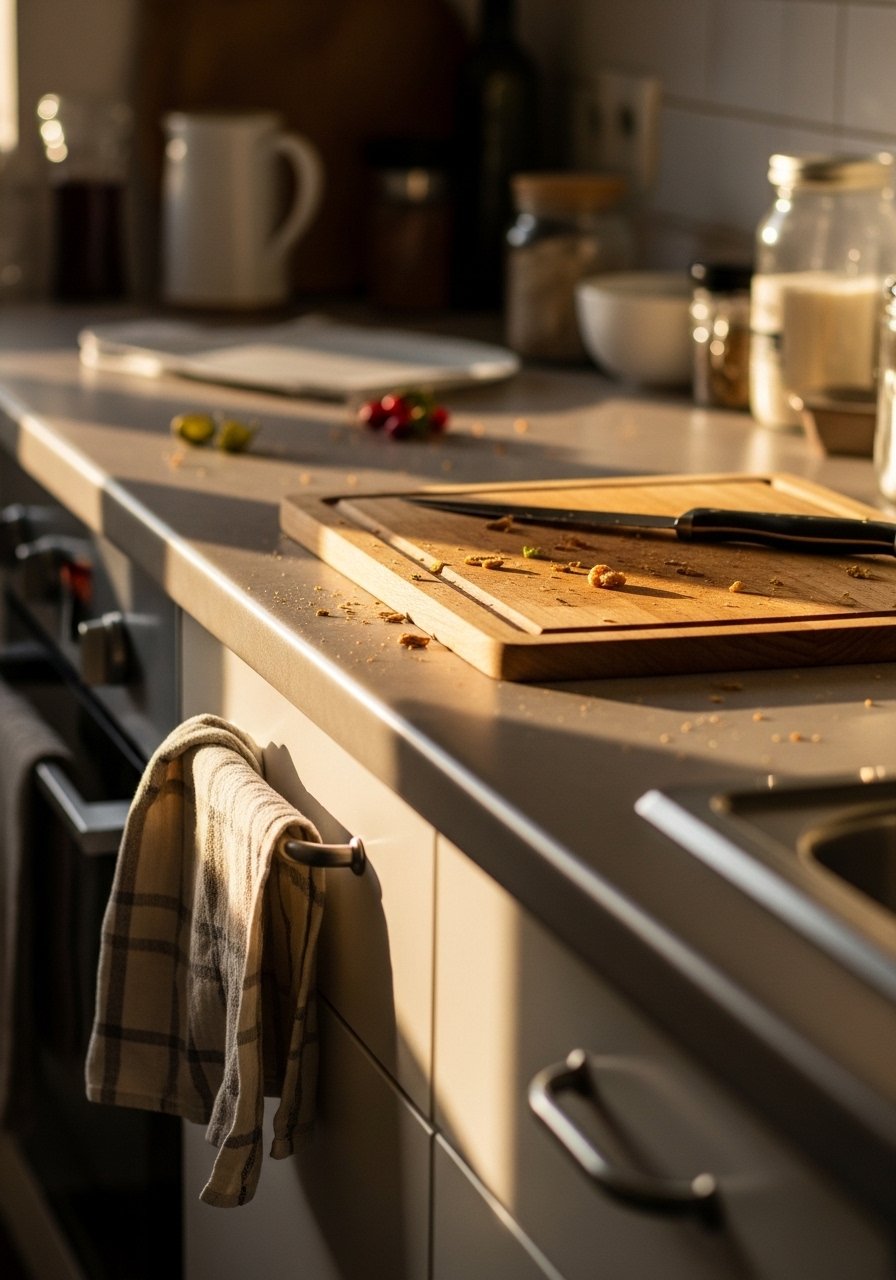
After a week the styled version will get scuffed, and that is fine. Expect fingerprints on matte ceramics, a towel on the floor, and one plant to look sad. The point of balanced decor is that it survives use. If a piece keeps getting moved, find a new home for it. Swap brittle glass for a sturdier ceramic if you have kids. My jute runner took a beating but kept the room feeling anchored, even when it looked imperfect.
Start with One Countertop
Pick a single zone, like the counter beside the sink, and do the whole process there. Clear it, choose one anchor, group three objects, add one textile, and leave 30 to 40 percent of the surface clear. Start small so you do not get overwhelmed and you can see real progress quickly.
I began with a marble tray and a pair of linen towels. After a week I could tell what needed to move. Now the kitchen feels balanced and usable, not staged. Keep the edits small and honest, and you will recognize the point where it finally feels like home.

