

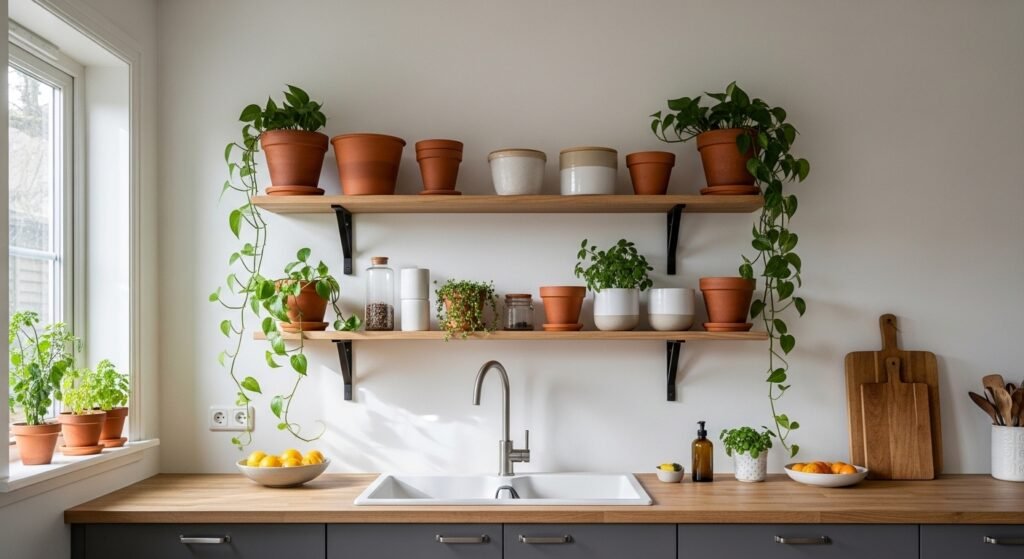
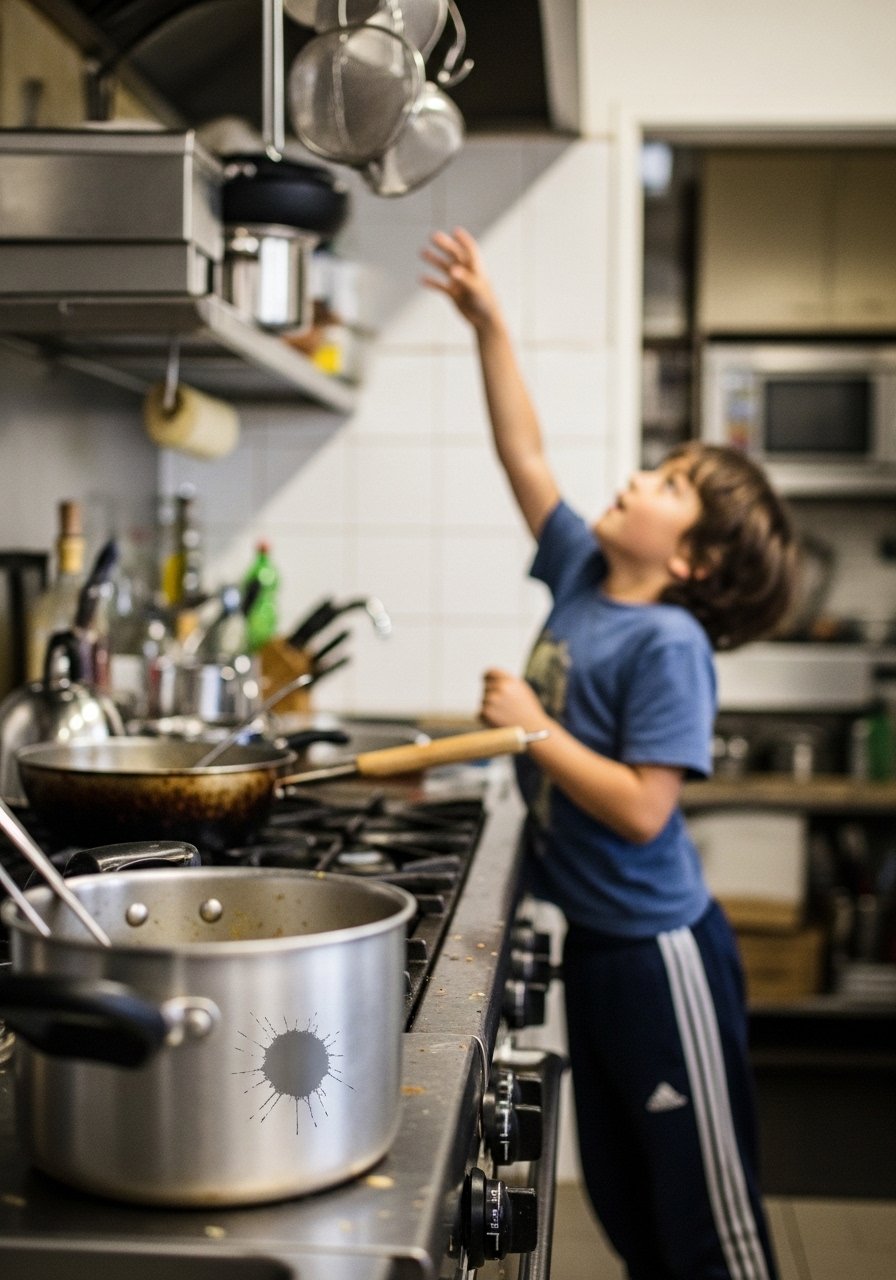
I had a single narrow shelf over my stove that sat empty for months. Whenever I tried to style it, everything read as cluttered or like someone had dropped a plant there. I swapped in a row of identical pots, then a line of mason jars. It never felt right.
After a few failed attempts I realized the problem was spacing and scale, not the plants themselves. Once I started thinking in groups, heights, and where my eye rested, the shelf stopped looking like a display and started feeling like part of the kitchen.
Step 1: Clear the shelf and measure your space
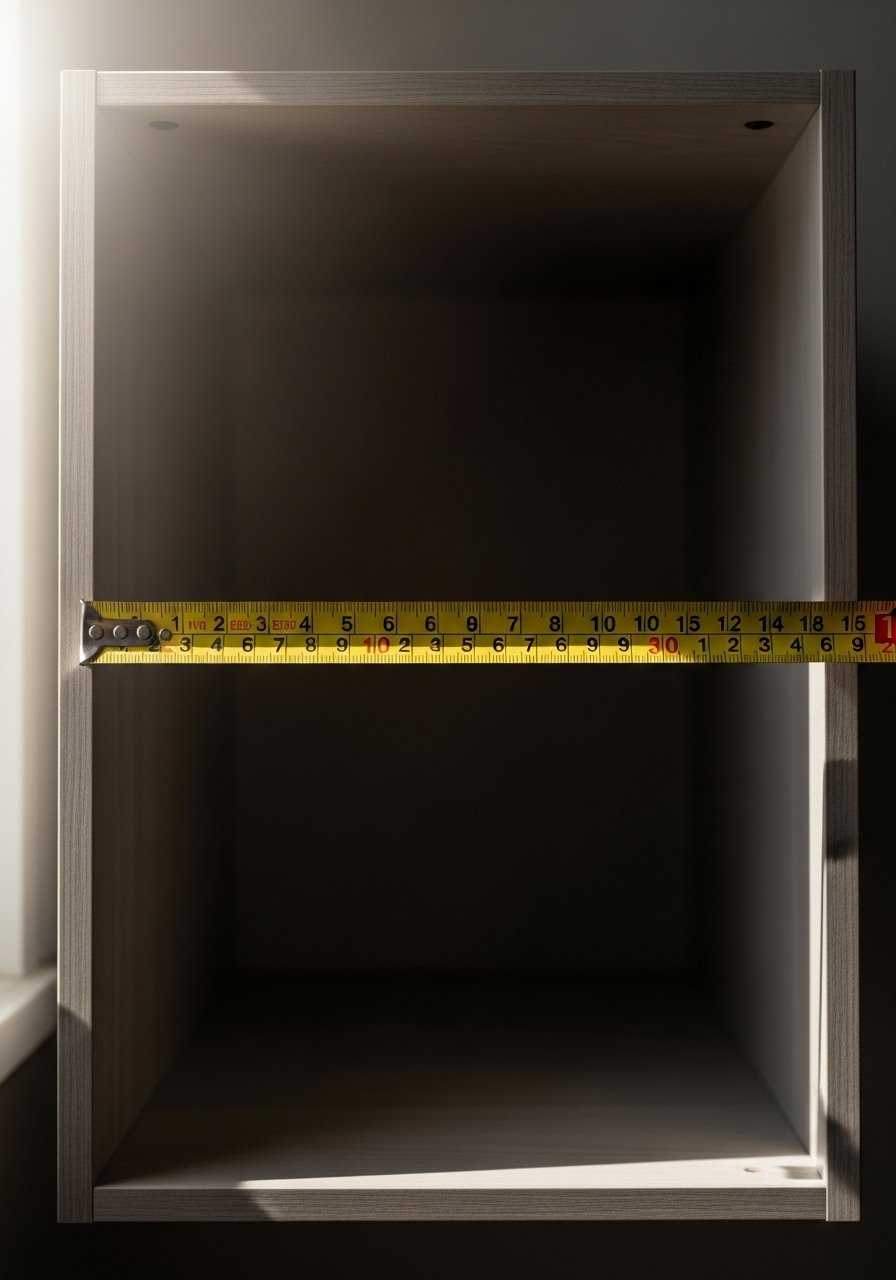
Pull everything off the shelf, yes everything. Lay it all out so you can see what you were trying to force into the space. Measure the shelf depth and height. Typical kitchen shelves run 8 to 12 inches deep. If yours is 10 inches, leave 2 to 3 inches from the front edge for easy reach and visual breathing room.
One mistake I made at first was filling the shelf edge-to-edge. It felt safer, but it read heavy. Another misstep was not measuring vertical clearance, then buying a plant that needed more headroom. Now I keep a tiny tape measure in my drawer. Feeling the shelf empty is weird at first, trust it for a minute before you start putting things back.
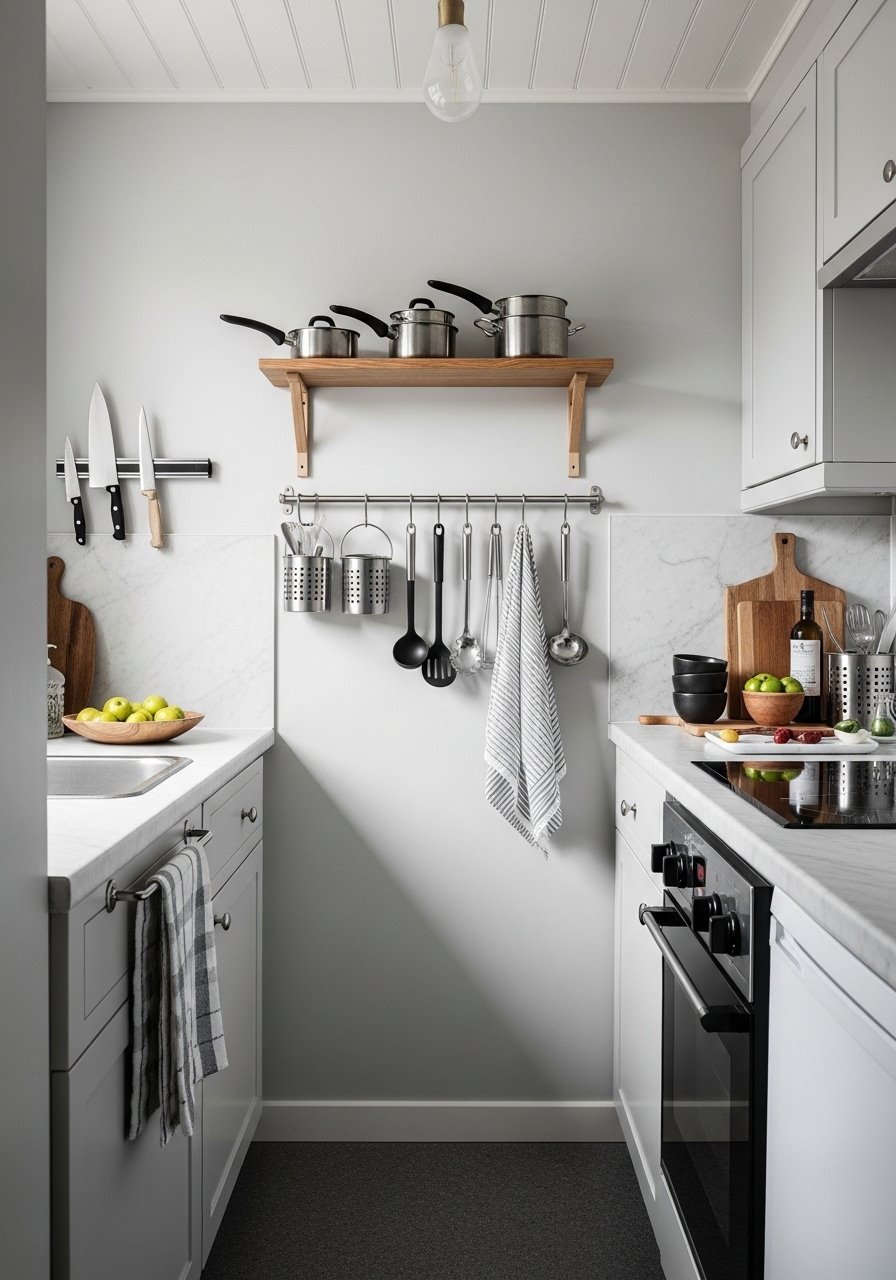
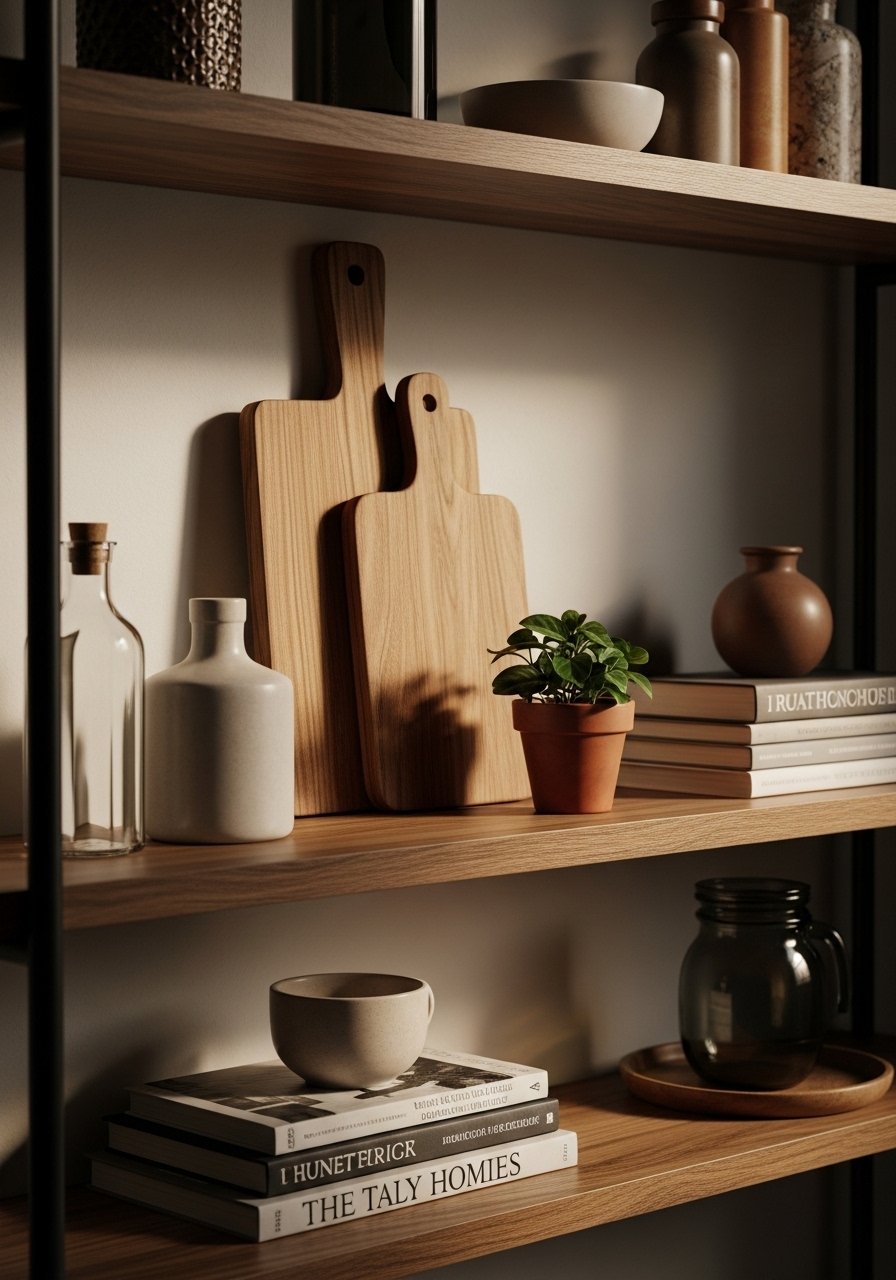
Step 2: Create a low base layer with plates, books, or trays
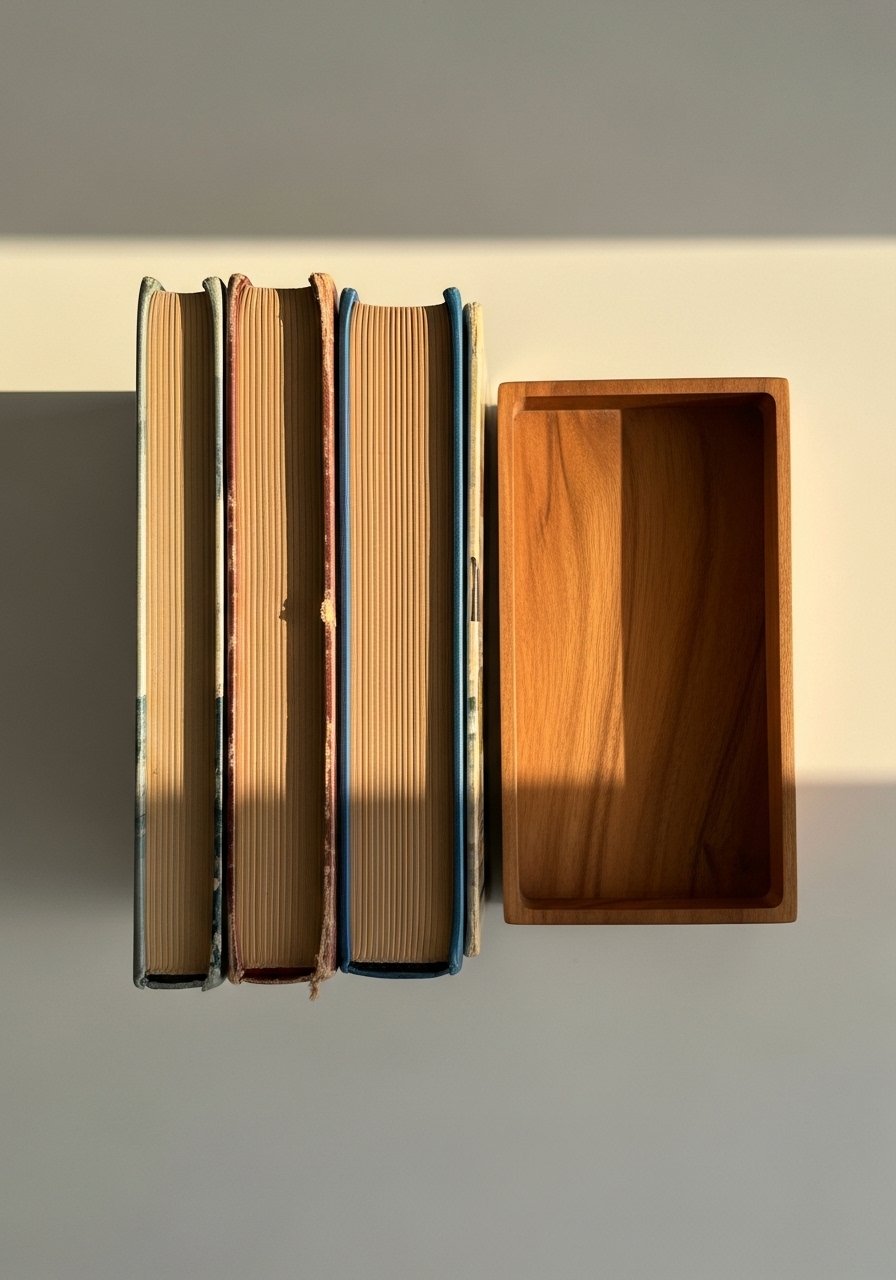
Start with a low, flat object to ground each plant group. I use a cutting board, a shallow tray, or one thick cookbook. The flat base adds texture and keeps soil drips from the shelf finish. Place bases so they occupy about one third of the shelf length in their zone, rather than stretching across the whole shelf.
A common mistake is stacking items all the same height, which makes the display flat. Vary the base materials, rough wood against smooth ceramic, paper against metal. The tactile mix makes the shelf feel layered when you reach for a jar or brush your hand past a pot.
Step 3: Choose three to five plants with varied heights and textures
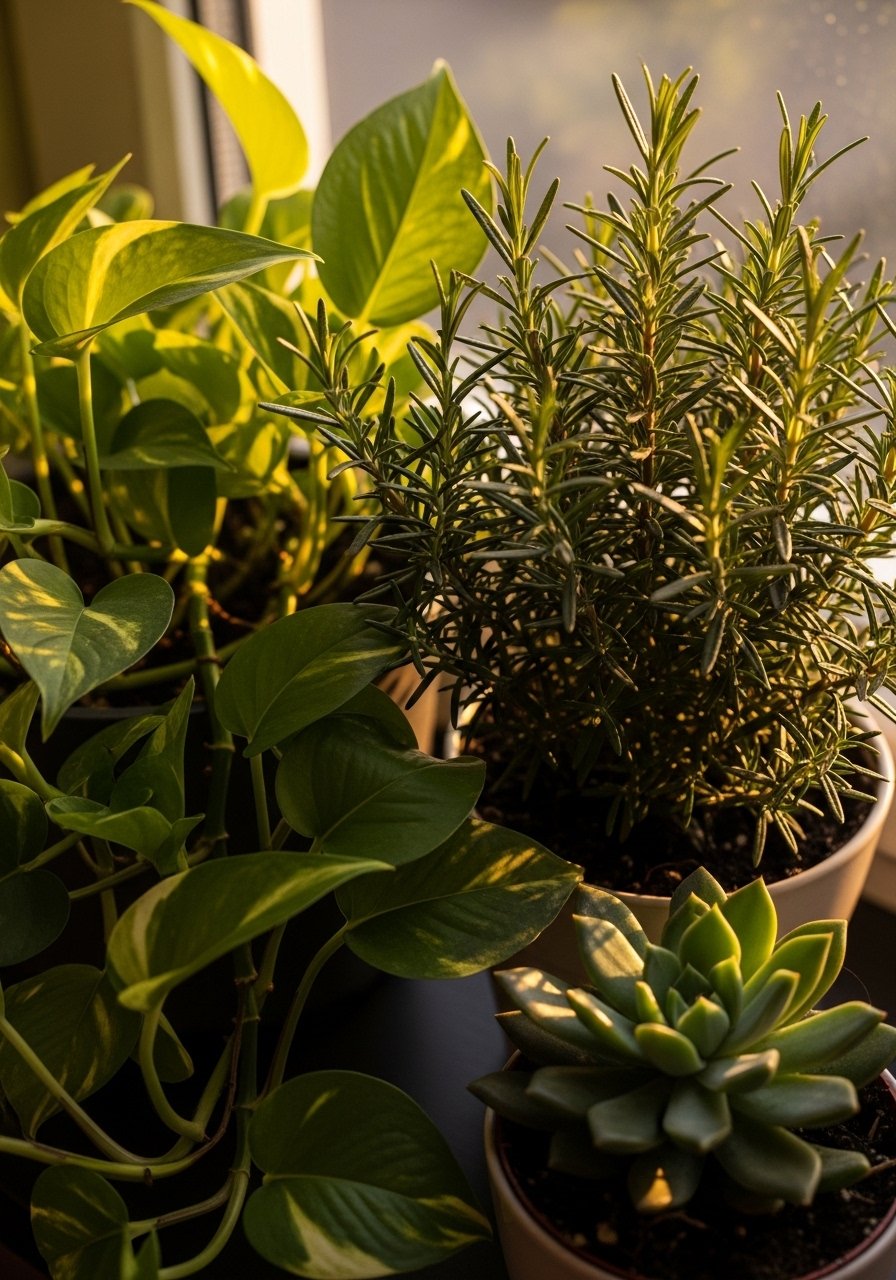
For a single shelf I aim for odd-numbered groupings, usually three or five plants. Use 3-4 inch pots for succulents, 4-6 inch for herbs, and 6-8 inch for trailing or taller plants. A simple proportion I use is this: let your tallest plant take about two thirds of the vertical shelf space. If the shelf is 12 inches tall, a plant around 8 inches gives a pleasant top line.
Texture matters. A glossy pothos leaf reads different from a matte sansevieria leaf. I learned the hard way that putting only trailing plants leads to a floppy look. Mix upright, compact, and trailing types. If you have pets, skip toxic species or put them on a higher shelf.
Step 4: Add an anchor and one surprising object
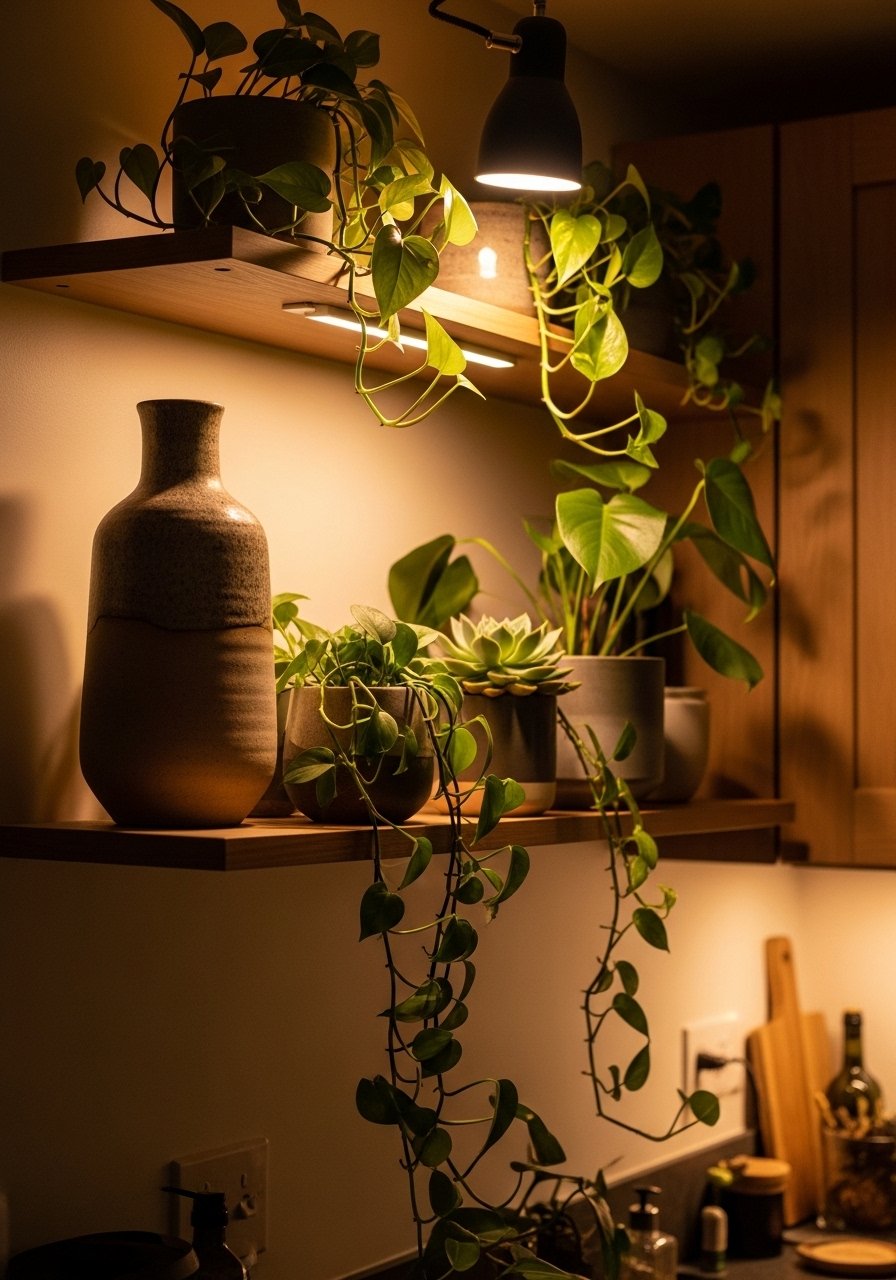
Pick one heavier, non-plant piece to act as an anchor. It can be a weighted ceramic vase, a folded linen towel, or a solid wooden board. This anchor should read as about one third of the visual weight across the shelf. Balance it with lighter groupings on the opposite side.
I used to try symmetry, but asymmetry gives the eye a place to rest. Resist filling every empty gap. Leave about one third of the shelf with negative space. That breathing room is what makes the plants feel intentional. I once crammed a row of identical jars across an entire shelf and it looked like a store display. Don’t do that.
Step 5: Step back, tweak, and live with it for a week

Take three photos from different angles, then walk away for ten minutes. When I first tried this step I thought it was unnecessary, then returned to several small fixes I would not have noticed otherwise. Move a pot an inch forward, swap a book from vertical to horizontal, turn a plant so its best side faces the room.
After a week of real life, note what changes. If a plant crowds the stove when you cook, move it. If a pot gets dusty, try an easier-to-clean material next time. Small shifts add up. The last tweak is often the one that makes you stop fiddling and start using the shelf like you meant to.
Your Kitchen Shelf Plant Checklist
- Matte ceramic pots set, 3-pack in white and terracotta, 4-inch and 6-inch ($20-35). I use these for steps 2 and 3, they feel cool and substantial in hand.
- Small digital tape measure, 1-2 meter ($8-15). Handy for Step 1.
- Wooden cutting board, 12×8 inches, acacia ($18-30). Works as a base in Step 2, warm texture. Similar at HomeGoods.
- Chunky ceramic vase, 8-inch matte glaze ($30-60). Use as the anchor in Step 4.
- Small grow light clip, 6-12 inch adjustable arm ($15-30). Useful if your shelf gets limited sun, referenced in Step 5.
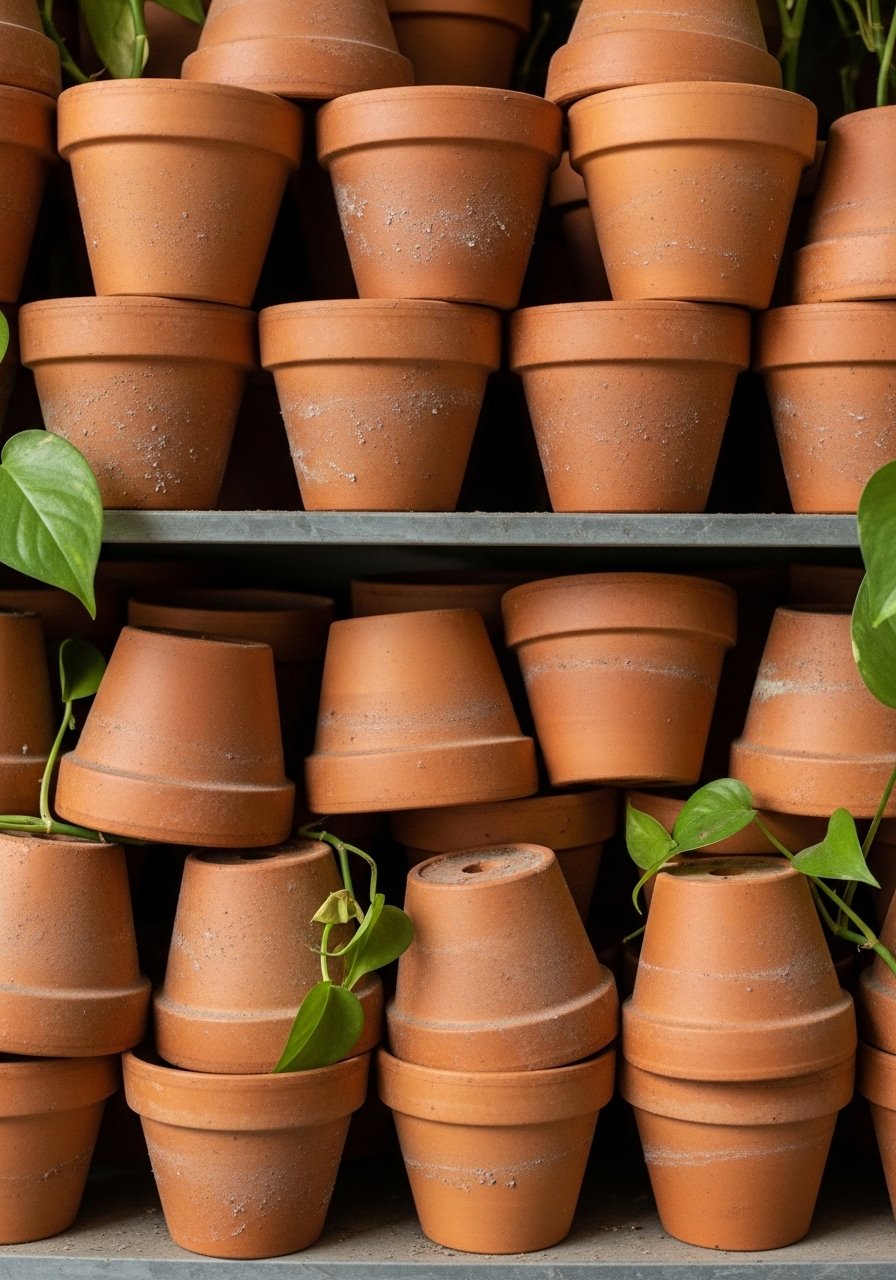
- Set of terracotta herb pots, 4-inch, glazed saucers ($12-22). Great for kitchen herbs mentioned in Step 3.
- Brass bookends, 6-inch, weighted ($18-28). Keeps cookbooks tidy for the base layer in Step 2.
- Small hand broom and dustpan set, natural fibers ($10-18). Helpful maintenance for crumbs under plants in Step 5.
Why Your Shelf Still Looks Crowded After Adding Plants
Crowding usually comes from two things. First, too many objects at the same scale makes the eye stop, so something has to break the rhythm. Second, not enough negative space gives the arrangement no breathing room. Try removing every other small item and see how the remaining pieces gain presence.
Another common oversight is thinking more plants equals more life. Instead, aim for variety in form and material. A heavy ceramic pot next to a slim glass jar will read balanced. I discovered this after replacing duplicate pots with a single wooden board and the whole shelf relaxed.
Making This Work in a Small Kitchen
Small shelves need scaled items and clever placement. Tips that helped me:
- Pick pots 3 to 4 inches in diameter for narrow shelves so you can fit odd-numbered groups without overcrowding.
- Use wall-mounted planters or a rail for hanging herb pots to free shelf depth.
- Keep the tallest item at roughly two thirds of the vertical space so nothing scrapes the ceiling.
- Choose lighter materials like aluminum or plastic for higher shelves if you need to move them for watering.
My first attempt in a tiny kitchen failed because I bought large ceramic pots that made the whole shelf sag visually. Downsizing fixed it.
What This Looks Like After a Week with Real Life
After a few days you will notice practical issues. Dust collects on leaves near the stove, herbs need more frequent watering, and the cat might knock over a trailing pothos. I had to move one plant higher because cooking steam made its soil soggy.
Keep a small watering can nearby, wipe leaves weekly, and rotate pots so growth stays even. If a plant gets floppy, swap it with a sturdier upright one. The shelf should evolve. Little real-life edits are part of the process, not a failure.
The First Shelf Is the Hardest
Start with one corner or one shelf and try the base-plus-three-plant approach. Use a single ceramic pot from the shopping list if you want a low-commitment start. Move things slowly, take photos, and live with it a few days before you decide.
You will tinker, make mistakes, and then stop doing it every day. When that happens, the shelf reads as part of the kitchen instead of a styling exercise. That is when it finally feels like yours.

