

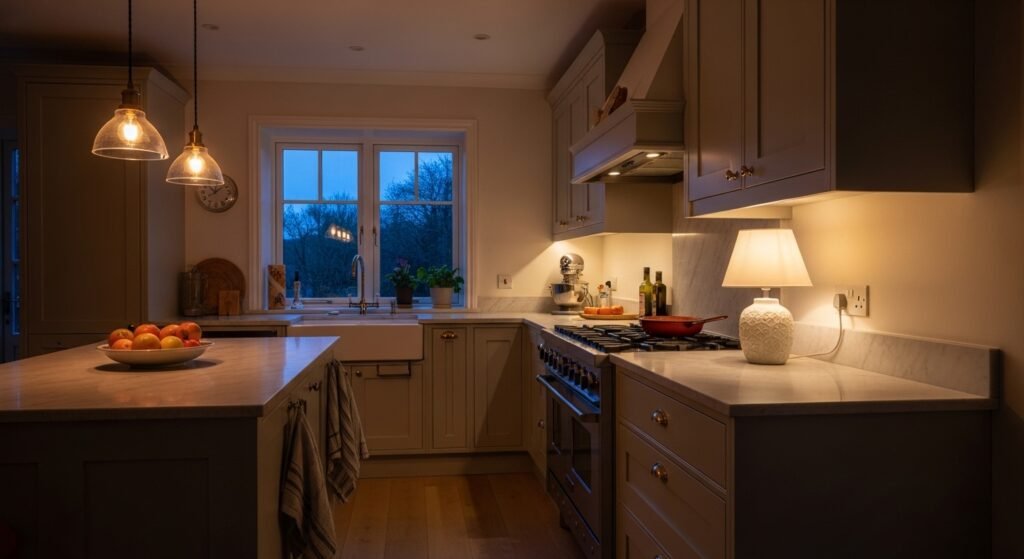
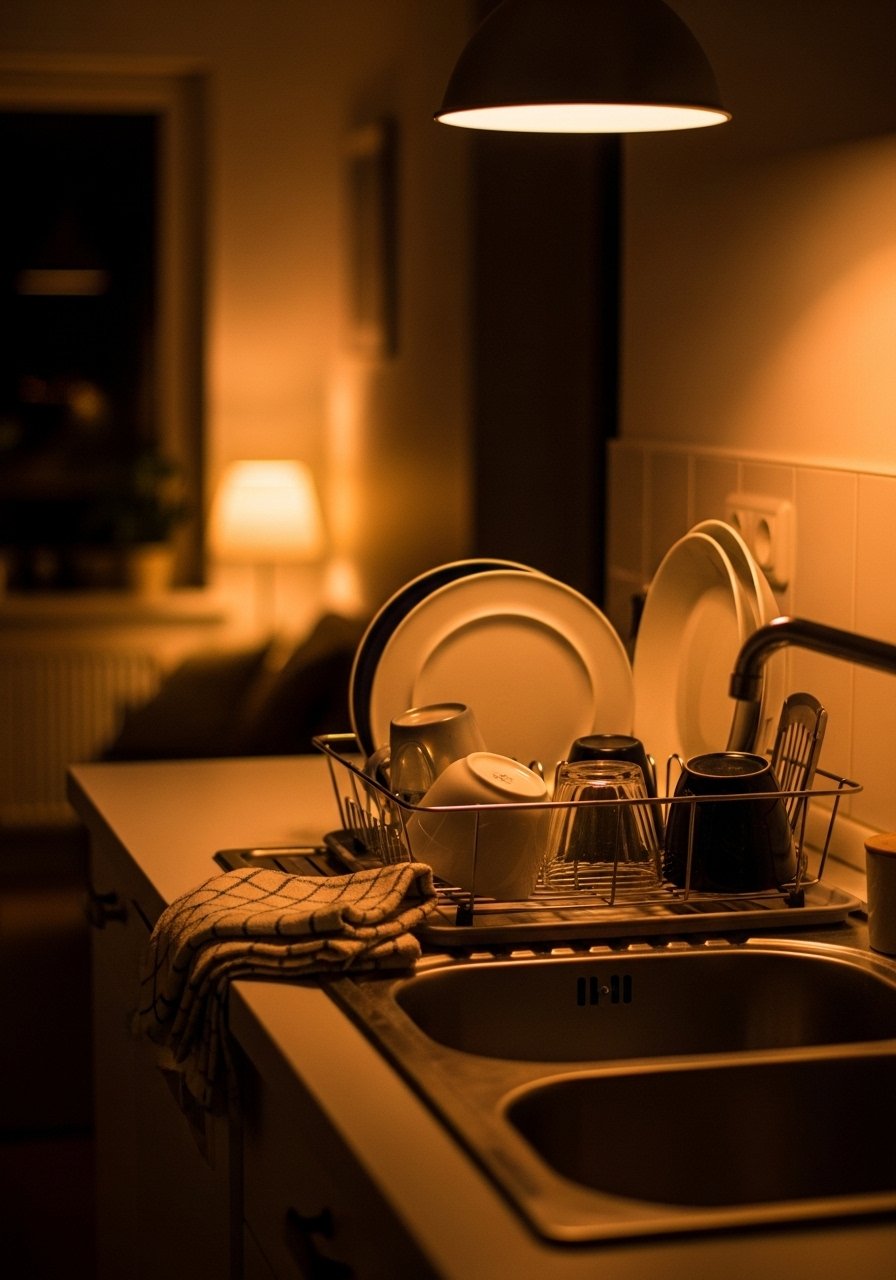
I kept trying to make the kitchen feel warm by buying prettier pendants. It helped, until the lights were too bright and the room felt like a stage. My breaking point was a Saturday night when dinner felt clinical instead of snug. I had to admit the problem was the light layers, not the fixtures.
I tried swapping bulbs, hanging pendants lower, and adding a lamp that was too blue. After three tries the kitchen finally felt calm. The trick I learned is how to layer, where to dim, and how much empty counter to leave so light can breathe.
Step 1: Map your light zones, then choose warm bulbs
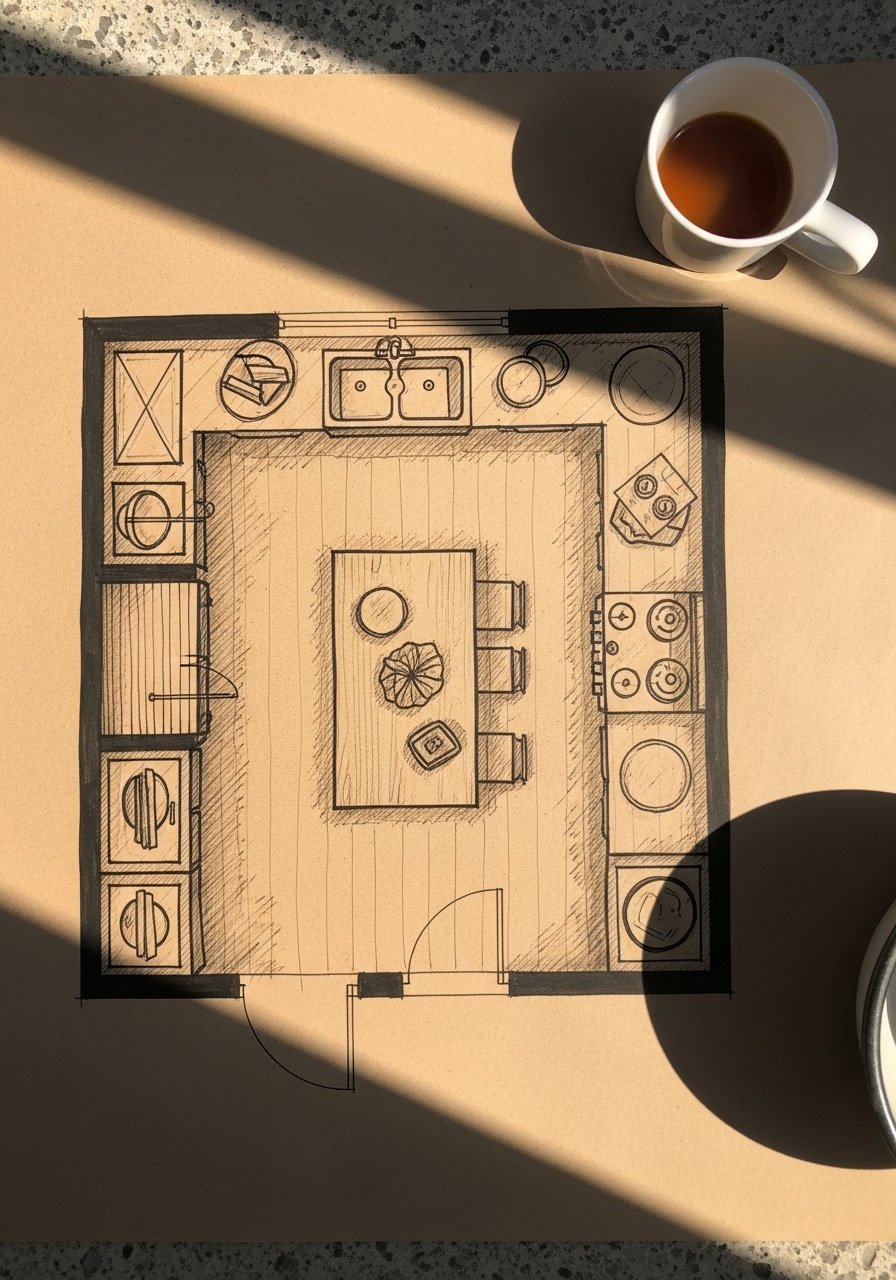
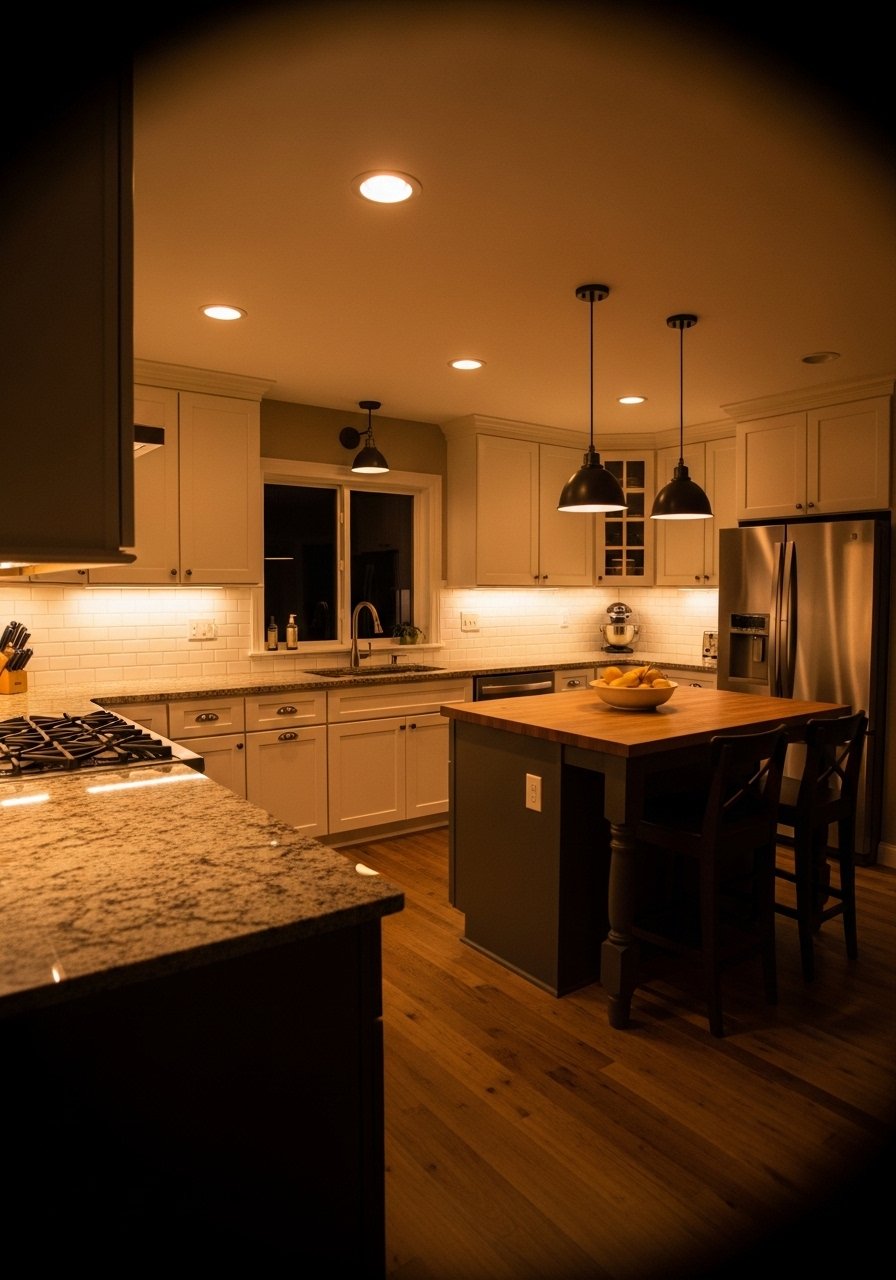
Stand in the kitchen at night, and mark three zones: ambient, task, and accent. Ambient is the overall glow, task is where you chop and cook, accent is what makes the space feel cozy. I mark the island, sink, and under-cabinet length in inches so I can plan fixtures. For pendants aim 28 to 34 inches above the island surface and space them 24 to 30 inches center to center. Use 2700K bulbs for everything you want to feel warm. I messed this up twice by using 3000K bulbs, and suddenly everything looked white and flat.
Step 2: Fit a dimmer to the ambient source
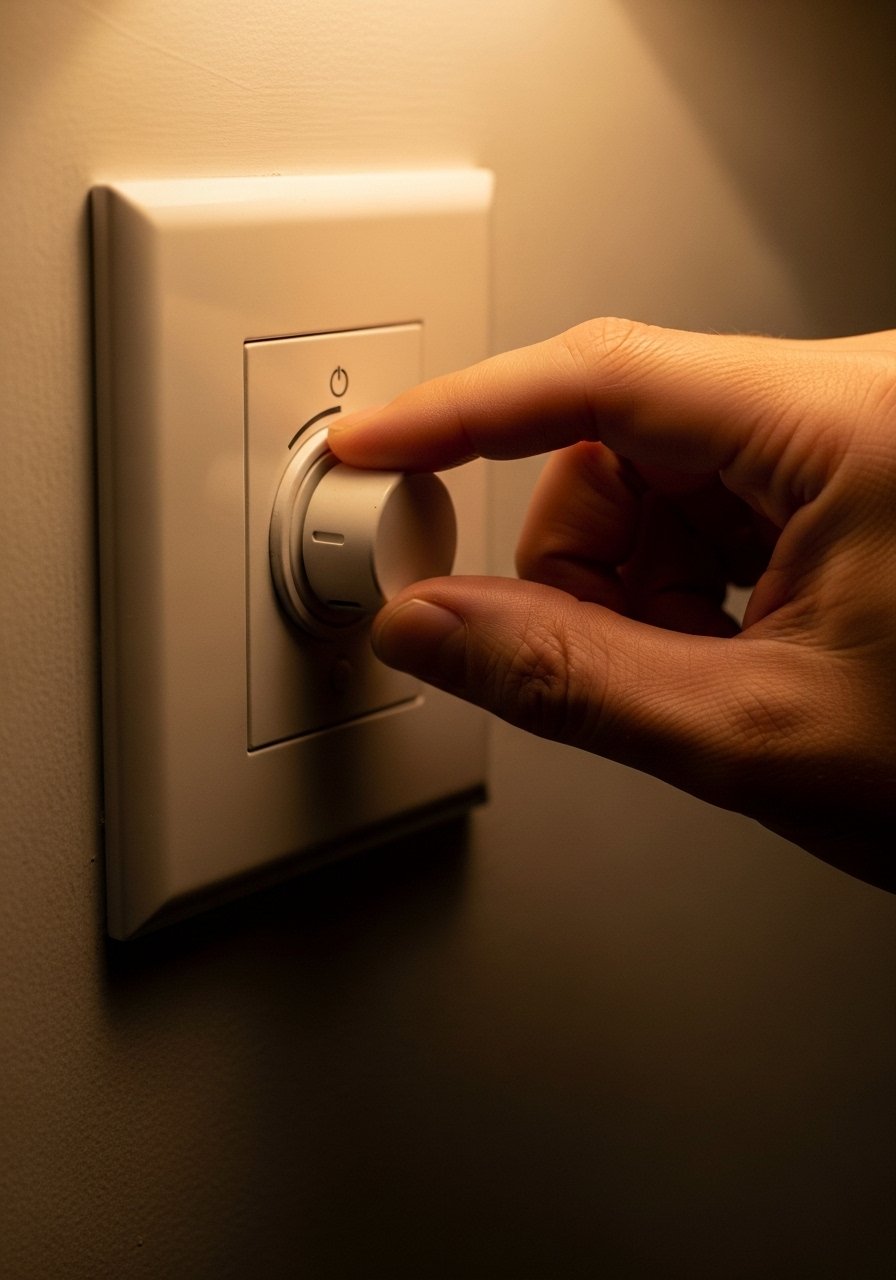
Most kitchens have one overhead source that stays at full blast. Replace its switch with a dimmer and you can instantly shift the mood from cooking-bright to low and gentle. Dimming also solves the too-many-fixtures problem. My partner hated the first dimmer I installed because it made breakfast gloomy. He came around when I showed him 60 percent brightness for morning and 20 percent for late-night dishes. If wiring feels hairy, a plug-in soft overhead or a smart bulb will get you 80 percent of the way without rewiring.
Step 3: Add focused task light under cabinets and over the sink
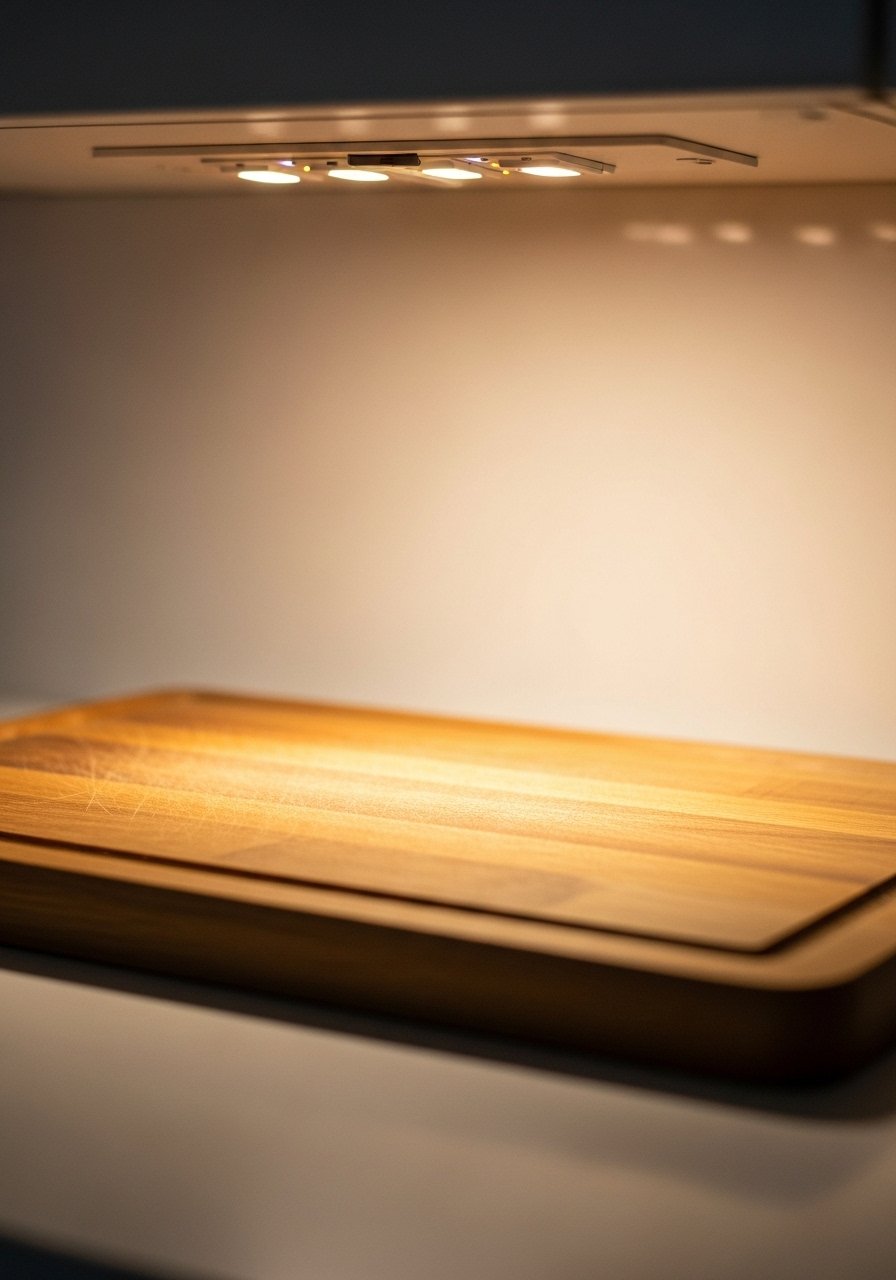
Under-cabinet strips turn the workspace from dim to comfortable without lighting the whole room. Pick warm white, 2700K, and mount the strip toward the front of the cabinet soffit so light hits the counter. For a linear run, use sections sized to cover at least 60 percent of your prep length, or one 18- to 36-inch piece per cabinet section. I almost skipped under-cabinet lights because they felt fussy. Once installed, chopping and cleanup felt safer and more relaxed. Avoid strip LEDs that are cool white. They read as clinical.
Step 4: Layer small accent lights that have texture and weight
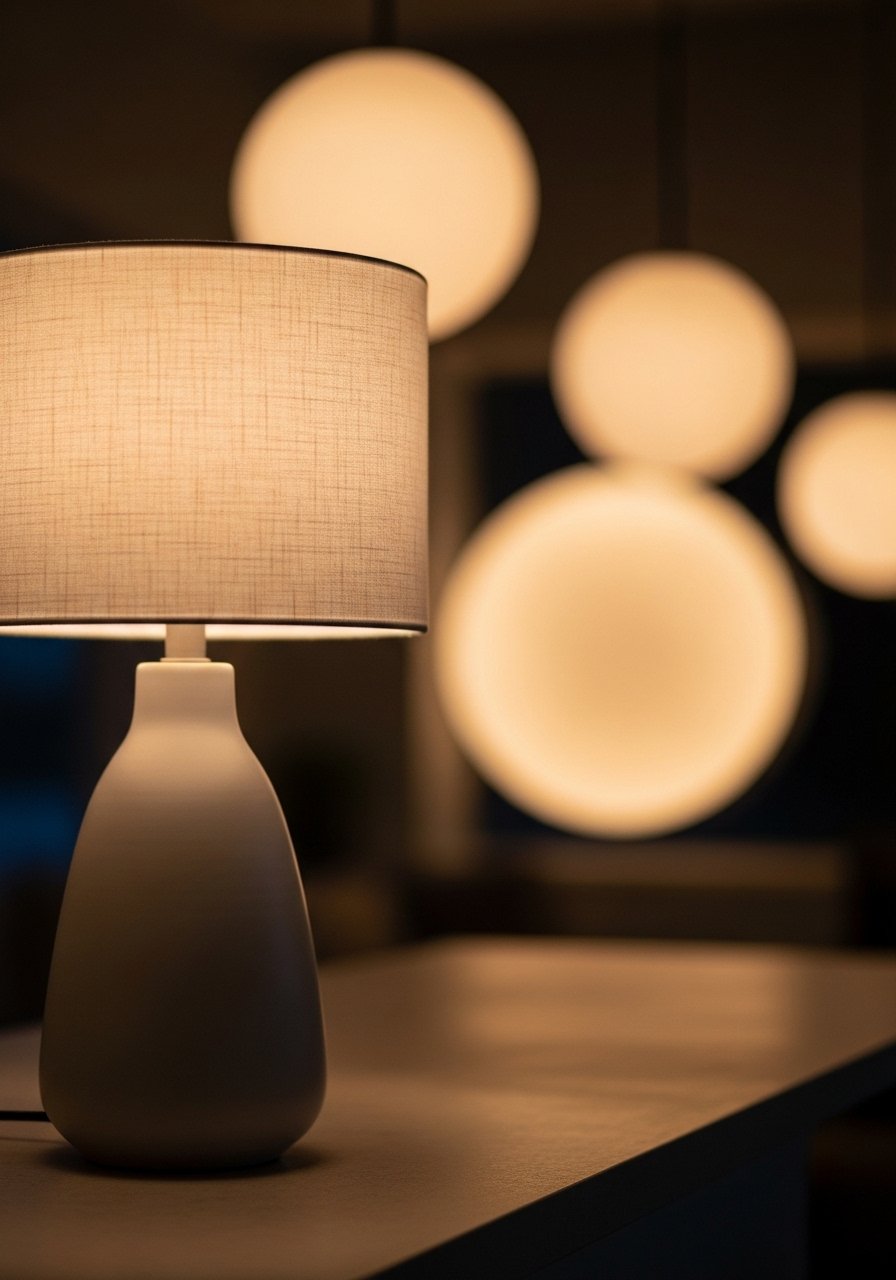
Accent lights are where the kitchen stops being just functional and starts feeling lived-in. A plug-in ceramic lamp or a weighted task lamp gives corners personality and a lower, more tactile glow. Materials matter here. A ceramic base feels cool and solid in the hand, linen shades soften the light. I went overboard with tiny string lights once and it became visual noise. One or two purposeful accents make the space feel intentional. Use accent lights on shelves, a counter corner, or inside a glass-front cabinet.
Step 5: Edit at night, then live with it for a week and tweak
This is the step where you evaluate balance. Turn on just one layer and walk the room. Then add layers one at a time and notice where glare or shadows pop up. Common mistakes are too many competing bright sources and fixtures that point directly into your face while you cook. Over the first week, you will tweak heights and dim levels. I had to move a pendant 3 inches higher to stop it hitting my forehead when I leaned over the island. Small moves make the biggest difference.
Everything You Need for a Cozy Kitchen Lighting Refresh
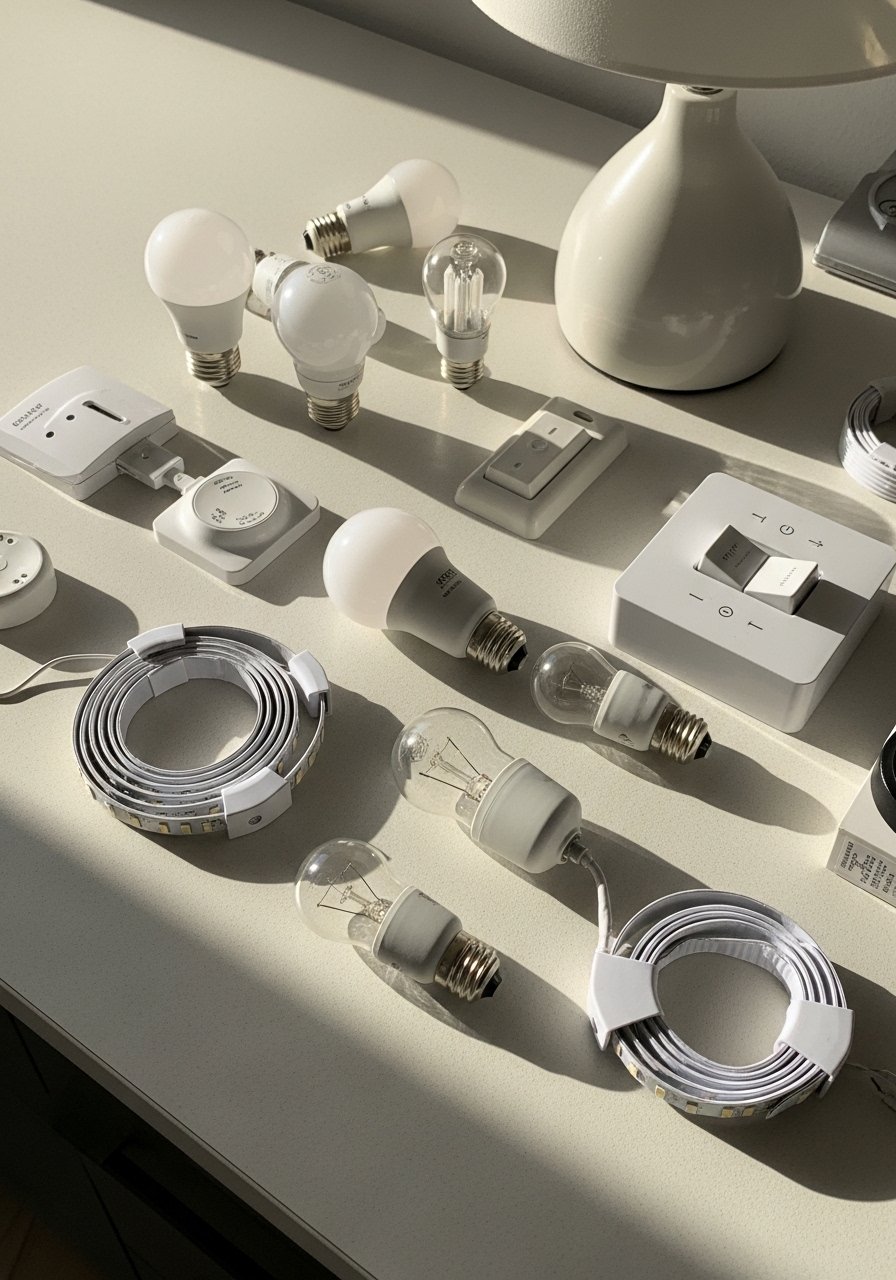
- Warm LED bulbs, 2700K, pack of 4 ($12-22). Use these in pendants, lamps, and overheads.
- Rotary dimmer switch kit, single pole ($18-35). Swap your existing switch, step 2 shows why.
- Matte black pendant light, 12-inch shade ($60-120). I hung one over the sink and two over the island at 24-30 inches apart.
- Under-cabinet LED light strips, warm white, 12-36 inch sections ($20-45). Use one per cabinet run in step 3. Similar at HomeGoods.
- Plug-in ceramic countertop lamp, 16-inch ($35-70). A low-commitment accent for step 4.
- Adhesive LED toe-kick lights, warm white ($15-30). Optional accent beneath cabinets.
- Smart plug for lamps ($12-25). Lets you schedule lamp dimming without rewiring.
- Small ceramic vase set, matte white, 3 pieces ($20-35). Use one on a counter corner for an accent light to sit beside.
Why Your Kitchen Still Feels Harsh After Adding Lights

Most people replace fixtures but keep cool bulbs or ignore dimming. The result is more light, not better light. Too much direct light creates hard shadows and glare on shiny counters. A quick checklist: swap to 2700K bulbs, add a dimmer, and introduce at least one soft accent that is lower than eye level. If your countertops are glossy, point pendant shades downward so reflections are minimized. I learned to judge the room by how it feels an hour after dinner when lights are down. If it still feels bright, edit more.
Making This Work in a Small Kitchen
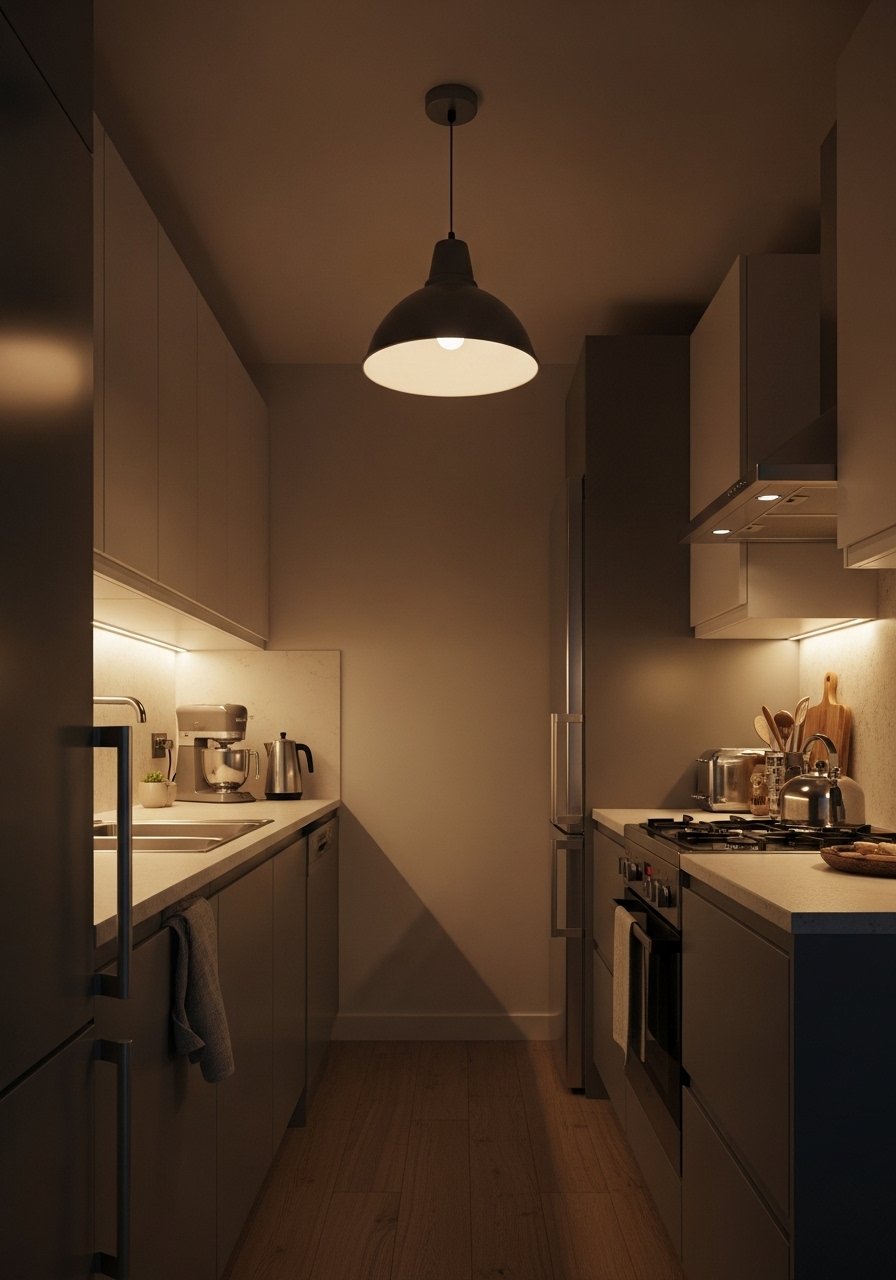
Small kitchens need fewer fixtures and smarter placement. Keep one warm ambient source and emphasize under-cabinet task light. Tips that helped me:
- Use plug-in accents to avoid rewiring.
- Pick low-profile under-cabinet strips so they do not crowd upper cabinets.
- Choose pendants no wider than one-third the island depth. For example, an 8-inch pendant over a 24-inch counter gives scale without overwhelm.
My first tiny kitchen felt cluttered with three pendants. One pendant and a lamp was calmer.
What Your Kitchen Will Look Like After a Week of Real Life
After a few nights you will notice small wins. Meals will feel slower and more comfortable. Countertop tasks will feel easier with under-cabinet light. You may find that one accent lamp becomes your favorite habit, a warm spot to set a cup while you unload the dishwasher. Be honest with edits. I removed a string of tiny lights after a week because they added flicker and dust traps. The kitchen kept its glow, and cleanup felt calmer.
Start with One Light
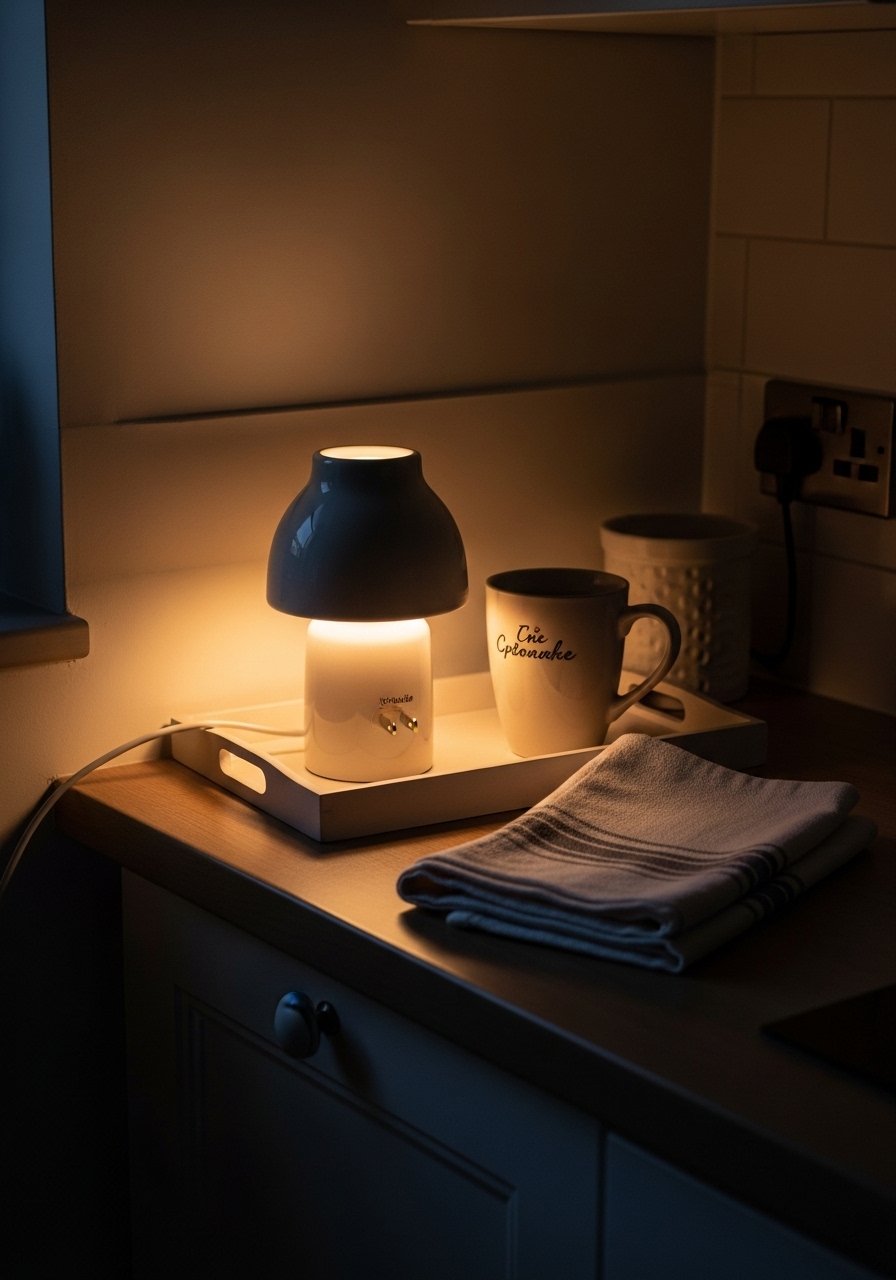
Pick one low-commitment change and do it tonight. A plug-in ceramic lamp on the counter costs little and immediately softens the room. Turn off the overhead and live with that single lamp for an evening. If it feels better, follow the steps: map zones, add a dimmer, then install task lighting. My first lamp made the biggest psychological difference. It was simple to try and easy to live with, and that small success gave me the confidence to finish the rest.

