

My living room had nice furniture but it still felt like a waiting room. Took me embarrassingly long to figure out it was missing texture. A handful of clay trays, a chunky candle, and a single plant later, the space finally felt like a person lived there.
These ideas lean modern-casual with a touch of handmade warmth. Most projects run $10 to $60, with a couple of splurges for tools or metallic powders. They work for coffee tables, vanities, entry consoles, and even desk corners where stuff tends to pile up.
Minimal Matte Clay Tray For Entryway

The matte finish reads modern and hides small marks, which is why I use this style by the door. Roll air-dry clay to 10 mm thickness and aim for an oval about 9 by 6 inches so it catches keys without taking over the table. Use a soft sanding block after drying to get that store-bought smoothness. I like sealing it with a clear matte spray to resist water from wet umbrellas. A common mistake is making the walls taller than the base, which makes the tray look top-heavy. For tools, try air-dry-clay-kit and a set of small-sanding-blocks.
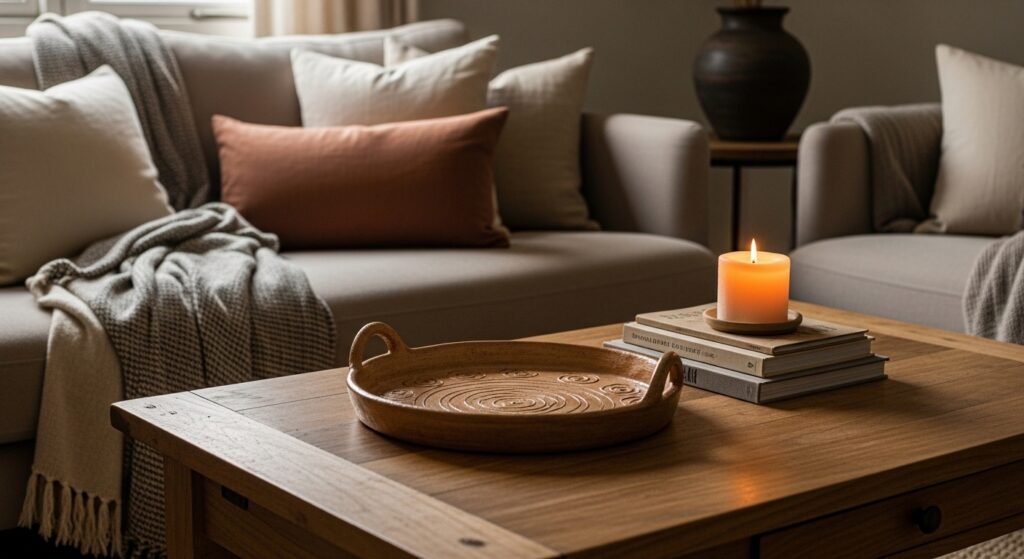
Marble Effect Clay Tray For Coffee Table
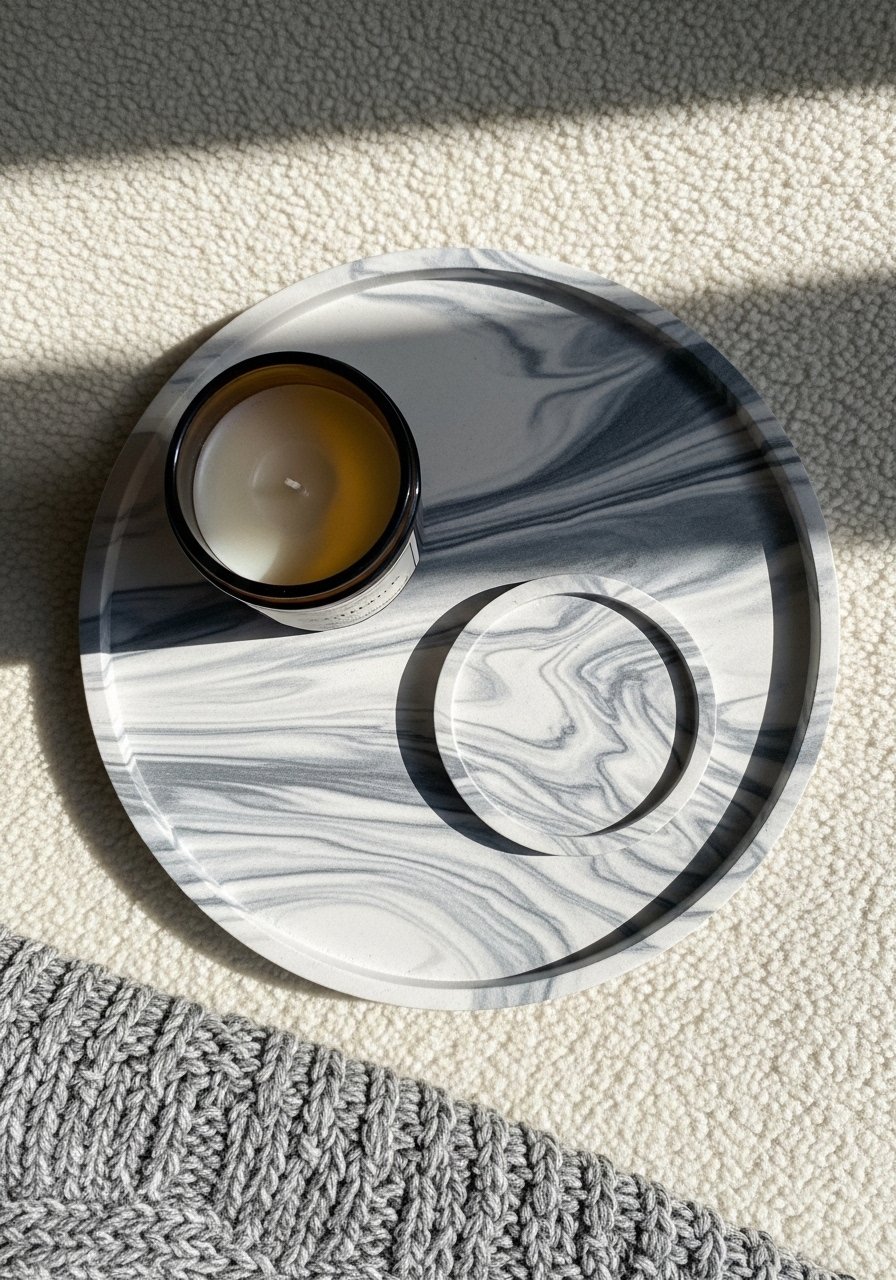
If you want premium without the price, swirl two clay colors at a 70/30 ratio, roll once, and press into a shallow mold. That 70/30 mix keeps veins visible without looking busy. It gives the coffee table weight while staying subtle. I use a 10-inch round mold for my couch setup. Mistake people make is overworking the marble; it turns muddy. For a glossy finish, use a gloss sealer and pair it with a brass candle. I grabbed polymer-clay-marble-kit for quick practice and a clear-gloss-spray.
Textured Ribbed Tray For Bathroom Vanity
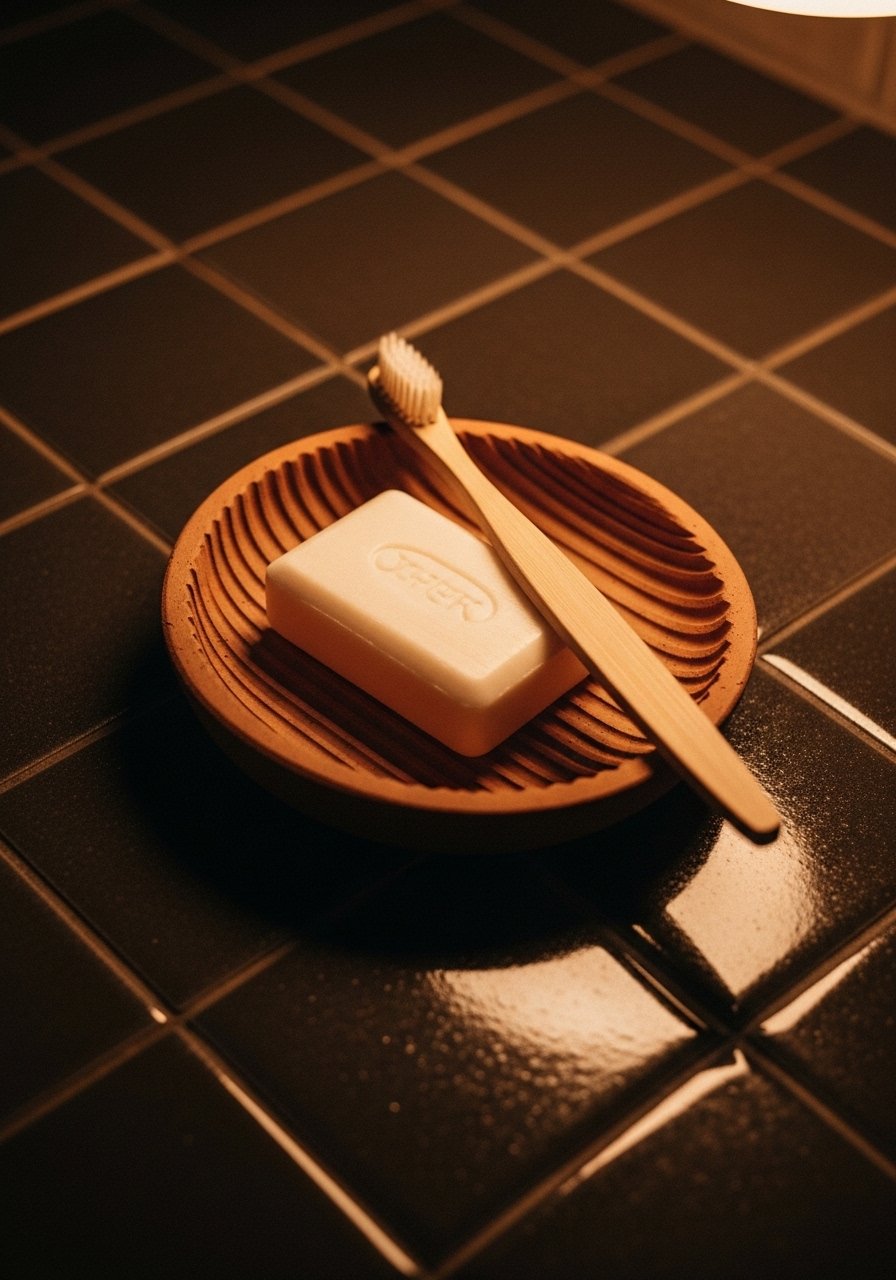
Bathroom trays need grip and drainage. I press a fork handle or a ribbed rolling pin into clay before drying to create channels so water runs off small puddles. Go 6 by 4 inches for soap bars and keep edges at 8 mm. People often seal both sides and trap moisture, which causes mildew. Instead seal only the top and underside with a water-resistant finish and prop it on small felt feet. Pair this with a matching toothbrush cup for a tidy look. For tools, I like this textured-rolling-pin and waterproof-sealer.
Two-Tone Modern Clay Tray For Dining Room
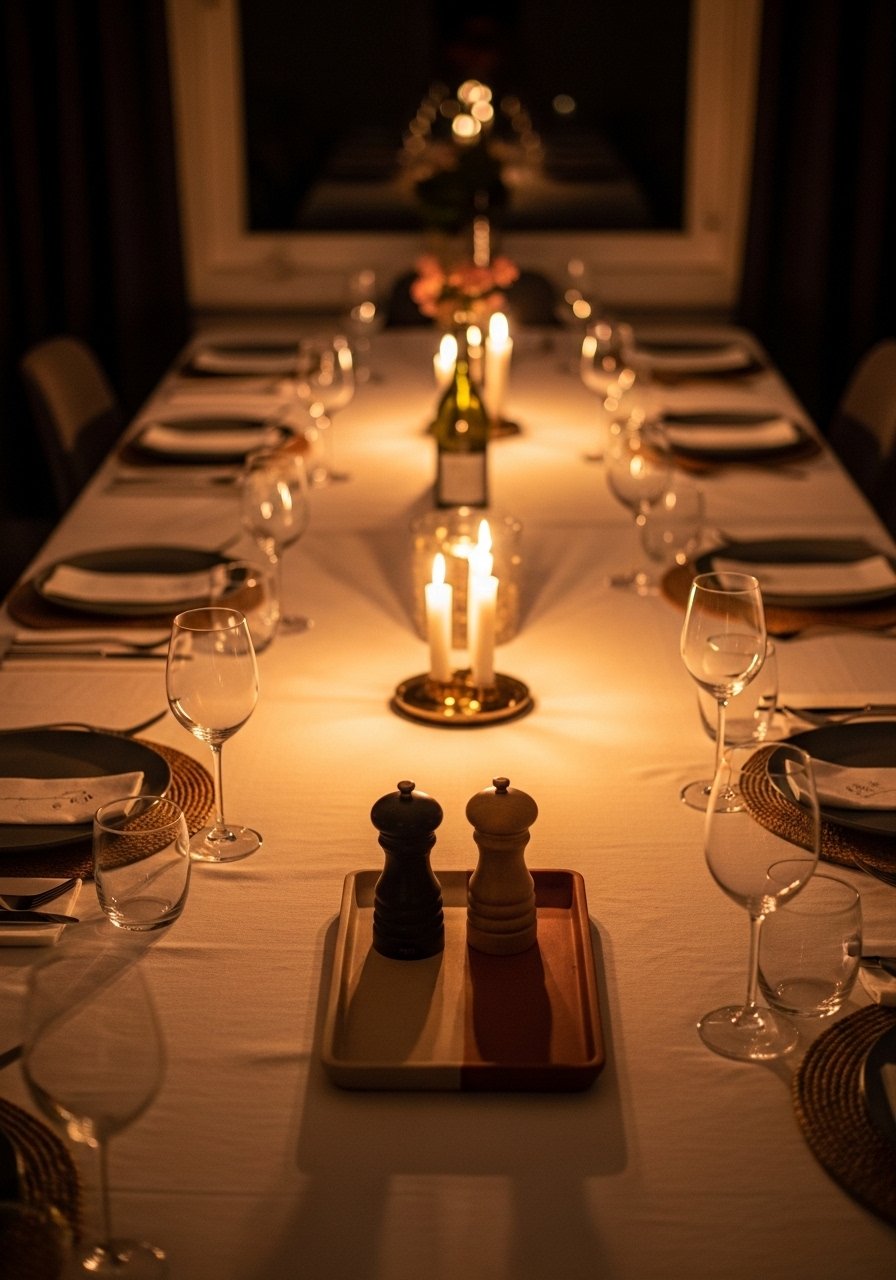
Two-tone trays anchor a dining table grouping without competing with place settings. Split the base visually with one third of the tray in a contrasting color, keeping the darker tone nearest the edges. That follows a subtle 80/20 color ratio, where 80 percent is calm and 20 percent is the accent. Size the tray at roughly 12 by 5 inches for salt, oil, and a small plant. A common error is using equal halves which reads dated. Use a straight edge when cutting the two clays and press firmly so the seam stays flush. I like ceramic-color-pigments for good color payoff.
Geometric Cutout Tray For Desk Organization
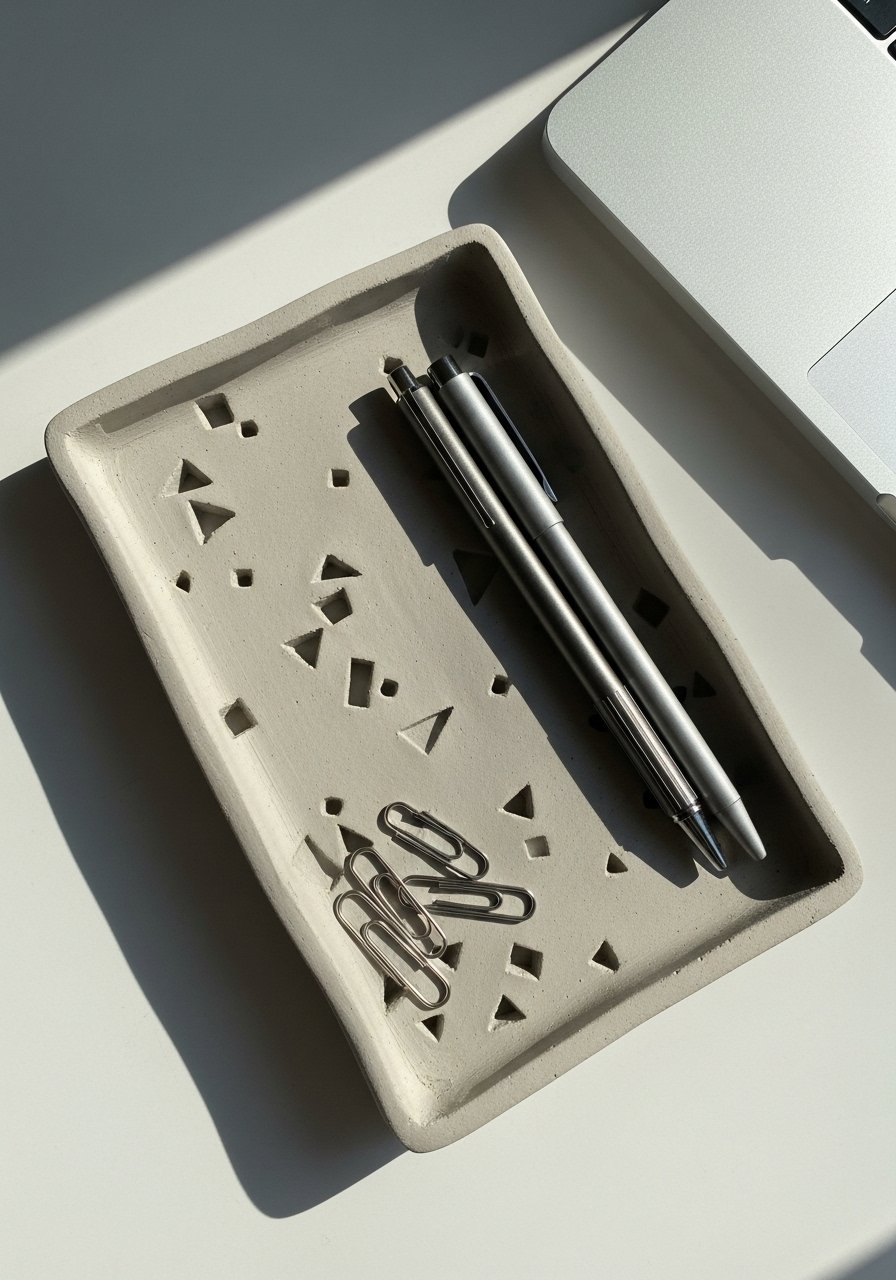
I made a slim rectangular tray with triangle cutouts to slide my phone and pens in place. Cutouts reduce weight and give a sculptural look, great for a modern office or nightstand. Keep the base at 4 mm where the cutouts are, and 8 mm at the perimeter so the tray stays rigid. People either make cutouts too close to the edge or too small to be useful. Use a craft knife for clean edges and reinforce thin bridges with a tiny clay bead. For straight cuts, try precision-craft-knife-set.
Metallic Pinch Pot Tray For Nightstand
Pinch pots are beginner-friendly and feel handmade in the best way. Make a small 4-inch pinch pot and flatten the rim. Add a delicate metallic powder to the rim before sealing for a luxe look that still feels casual. A mistake is using too much metallic, which reads fake. Lightly brush and wipe away the excess so you get a whisper of shine. Works perfectly for a nightstand with a few items. Pick up metallic-powder-pkg and a soft-bristle-brush.
Speckled Boho Clay Tray For Plant Groupings
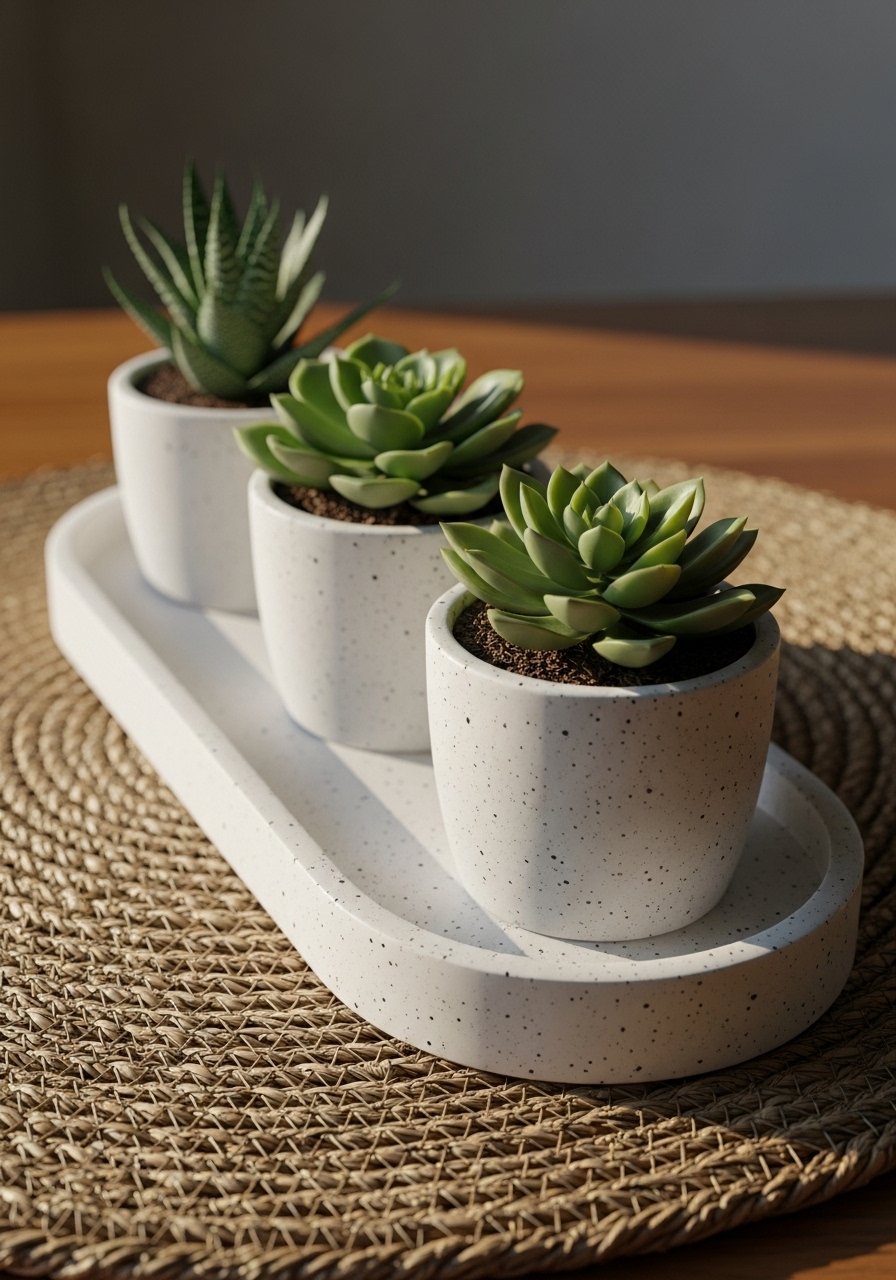
Speckled clays hide water marks and look organic next to plants. Use a toothbrush to flick darker slip onto a light base while the clay is leather hard. Keep trays shallow, about 1 inch deep, for small pot groupings. The ratio I use is three pots per tray, following the rule of three, which feels balanced on a windowsill. The common mistake is overcrowding. Leave breathing room so soil spills and saucers don’t look messy. For practice, try speckled-clay-pack and mini-plant-pots.
Inlaid Wood And Clay Tray For Serving
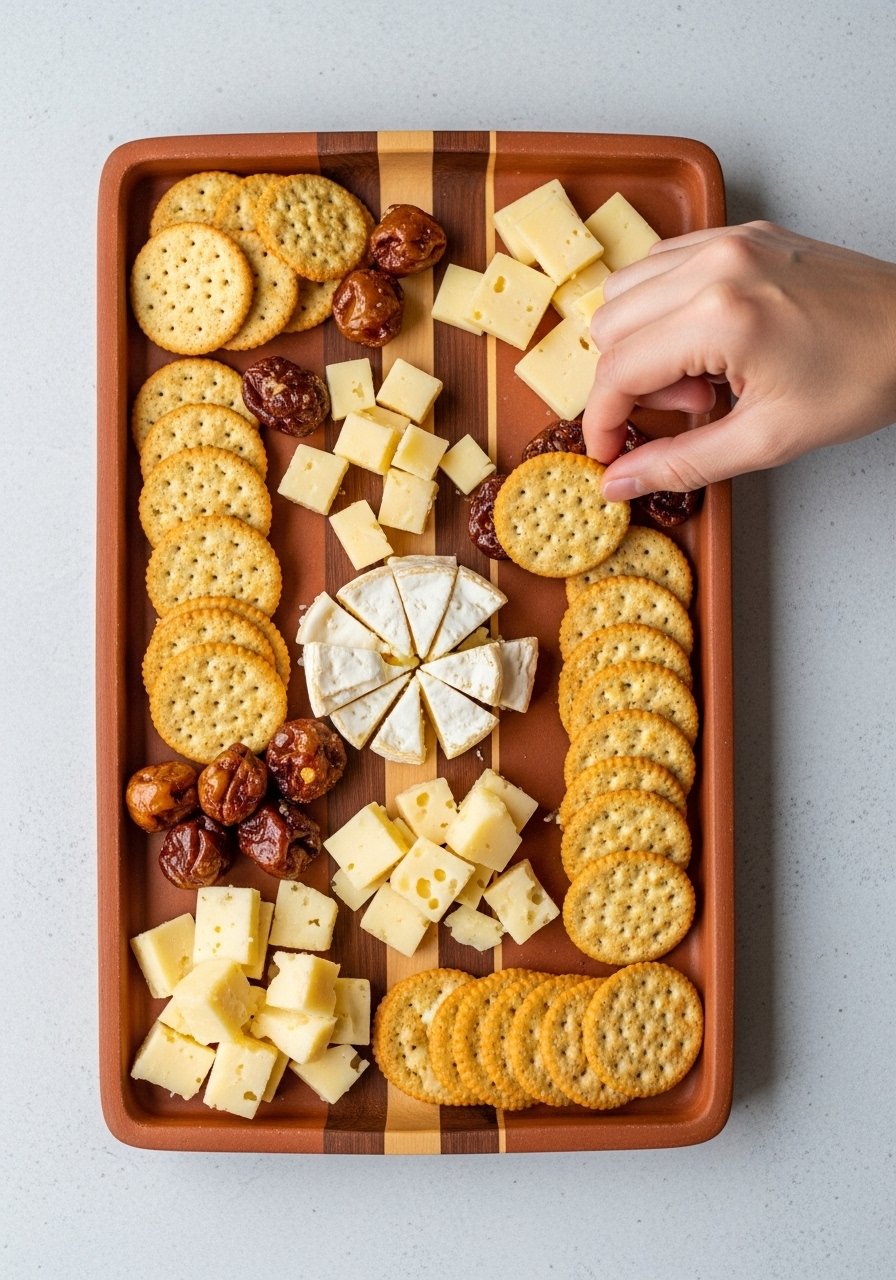
I learned that clay and a thin wood accent read upscale together. Thinly roll clay and press a 2 mm wood veneer strip into one edge before firing or drying. The wood gives warmth so the tray works well on a serving board with snacks. Keep the tray base at 12 by 6 inches for crowd-friendly serving. The usual mistake is gluing wood on after the clay cures; it feels tacked on. Pressing it in while the clay is wet creates a seamless bond. I use wood-veneer-strips and food-safe-sealer.
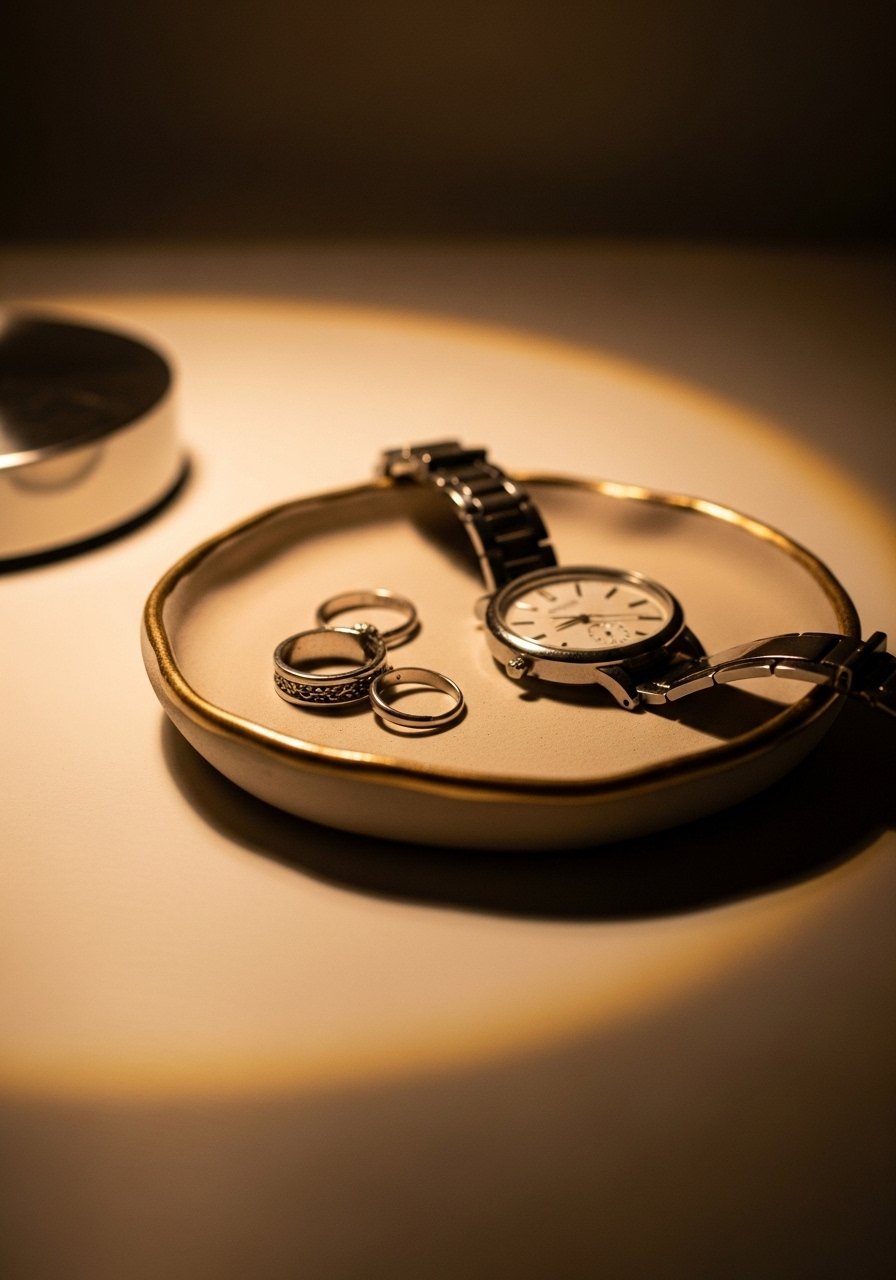
Monogrammed Jewelry Tray For Bedroom
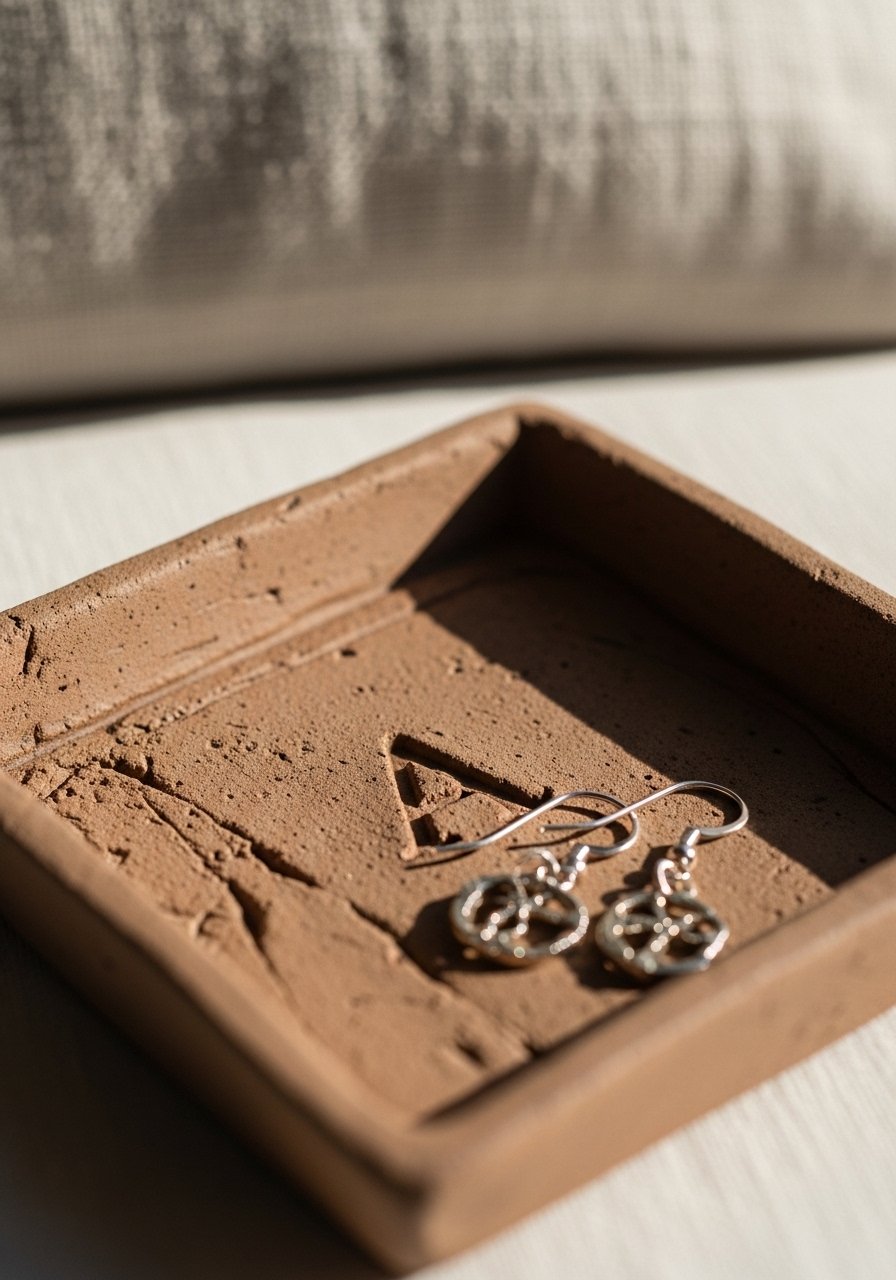
Make a personalized jewelry tray by stamping initials into the clay before it hardens. A 3.5-inch square is perfect for a pair of rings and a watch. Use letter stamps and press evenly to avoid shallow impressions that vanish after sanding. Most people stamp too lightly or too deep. Stamping depth of 2 mm is what worked for me. Finish with a satin seal so the text reads with shadow. These trays are great gifts. I use alphabet-stamp-set and small-square-molds.
Oversized Clay Catchall For Mudroom
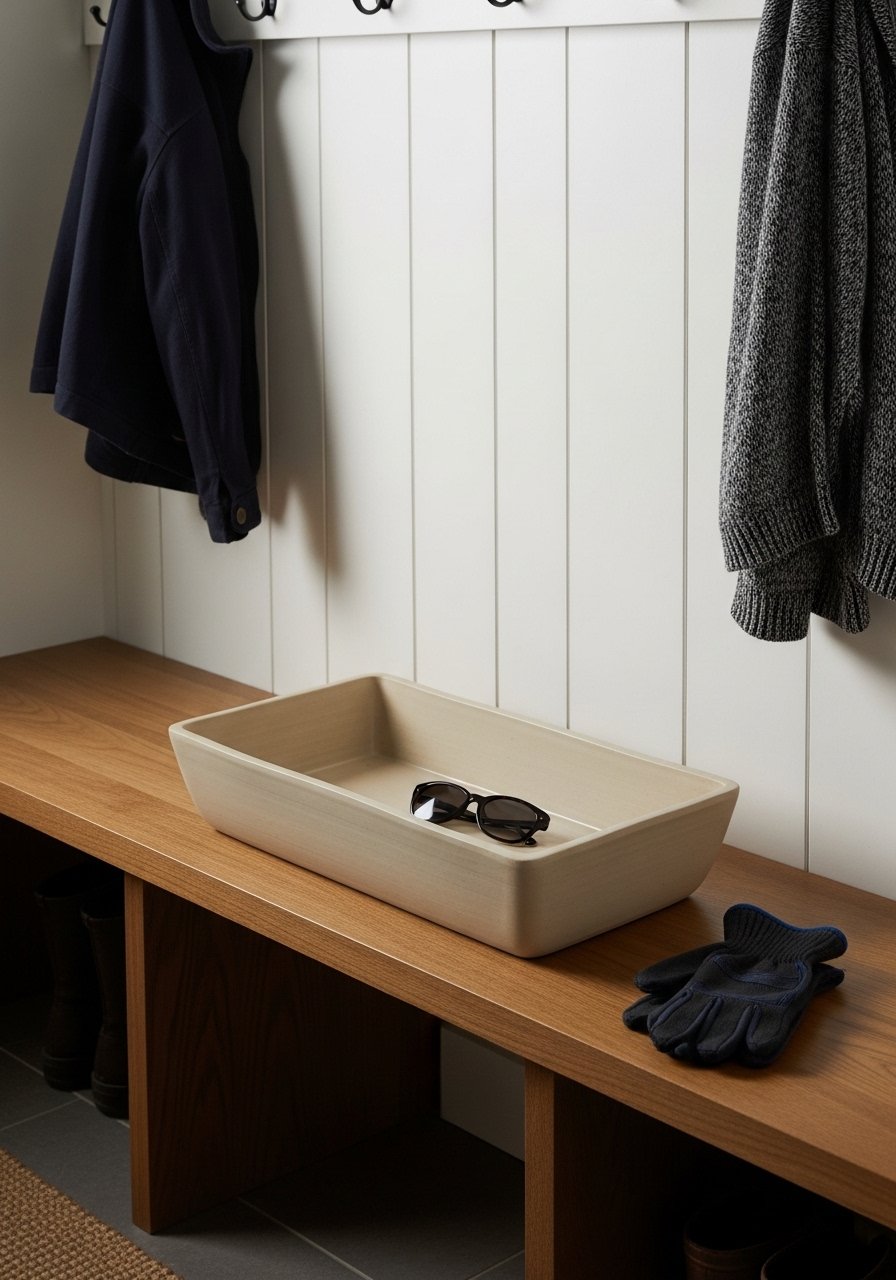
For entry mudrooms, make a larger 16 by 10-inch shallow tray to corral seasonal gear. Keep the clay thickness uniform at 8 mm to avoid warping. I add small corner drainage holes that double as hand holds. People often make trays too small and then everything overflows. This larger catchall makes dropping keys and mittens feel intentional. Seal only the base that contacts wood to prevent sticking, and use felt pads to protect your bench. Tools I used include large-plastic-mold and adhesive-felt-pads.
Painted Rim Tray For Seasonal Styling
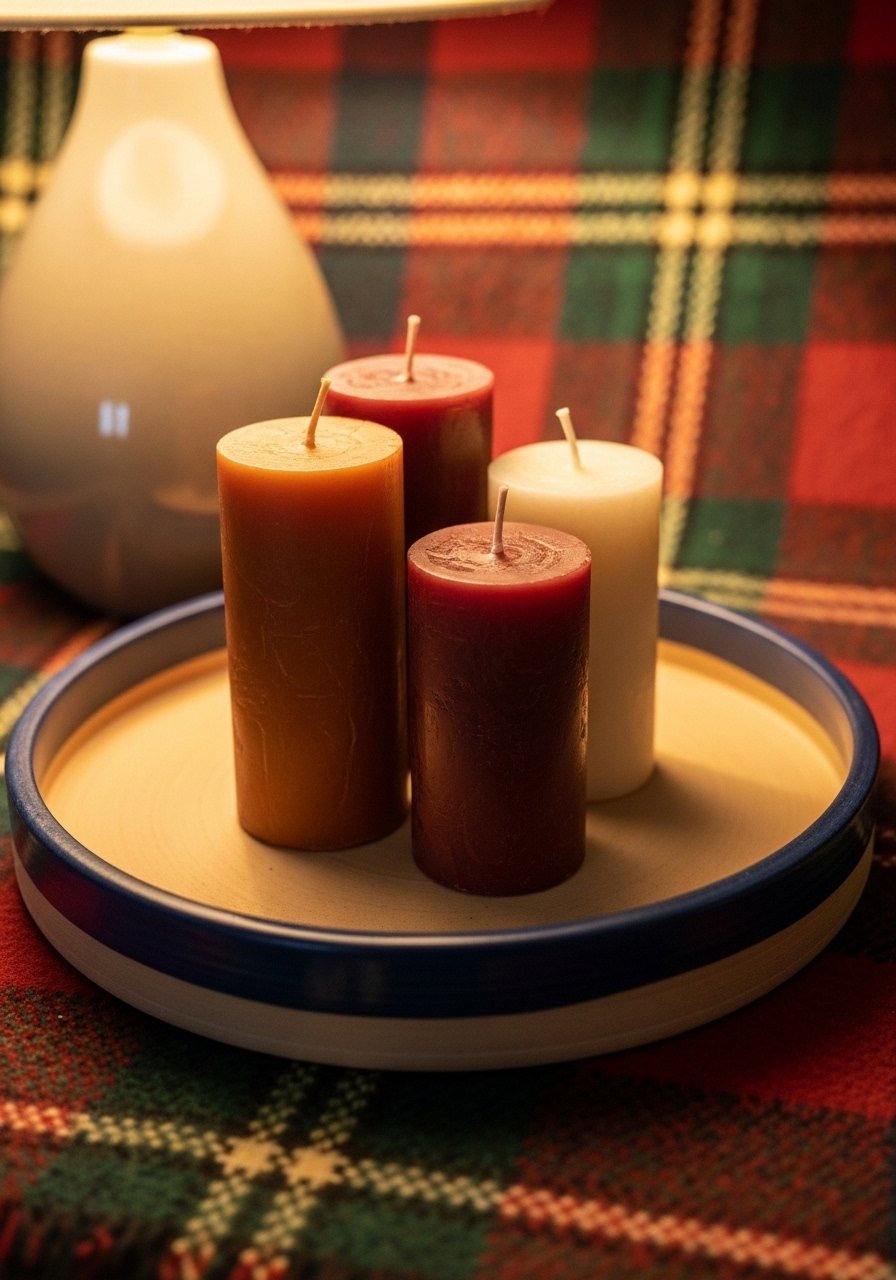
Painting the rim is the quickest seasonal update. Keep the painted band narrow, about 6 to 10 mm wide, so it reads like an accent and not a border. For fall I paint deep navy, in summer I go terracotta. A common mistake is painting the whole inside which hides the clay texture. Use acrylic paint and a matte seal. Swap the rim color every season to refresh the coffee table without making a new tray. I bought small-paint-brush-set and acrylic-paint-colors.
Mosaic Tile Inlay Clay Tray For Outdoor Table
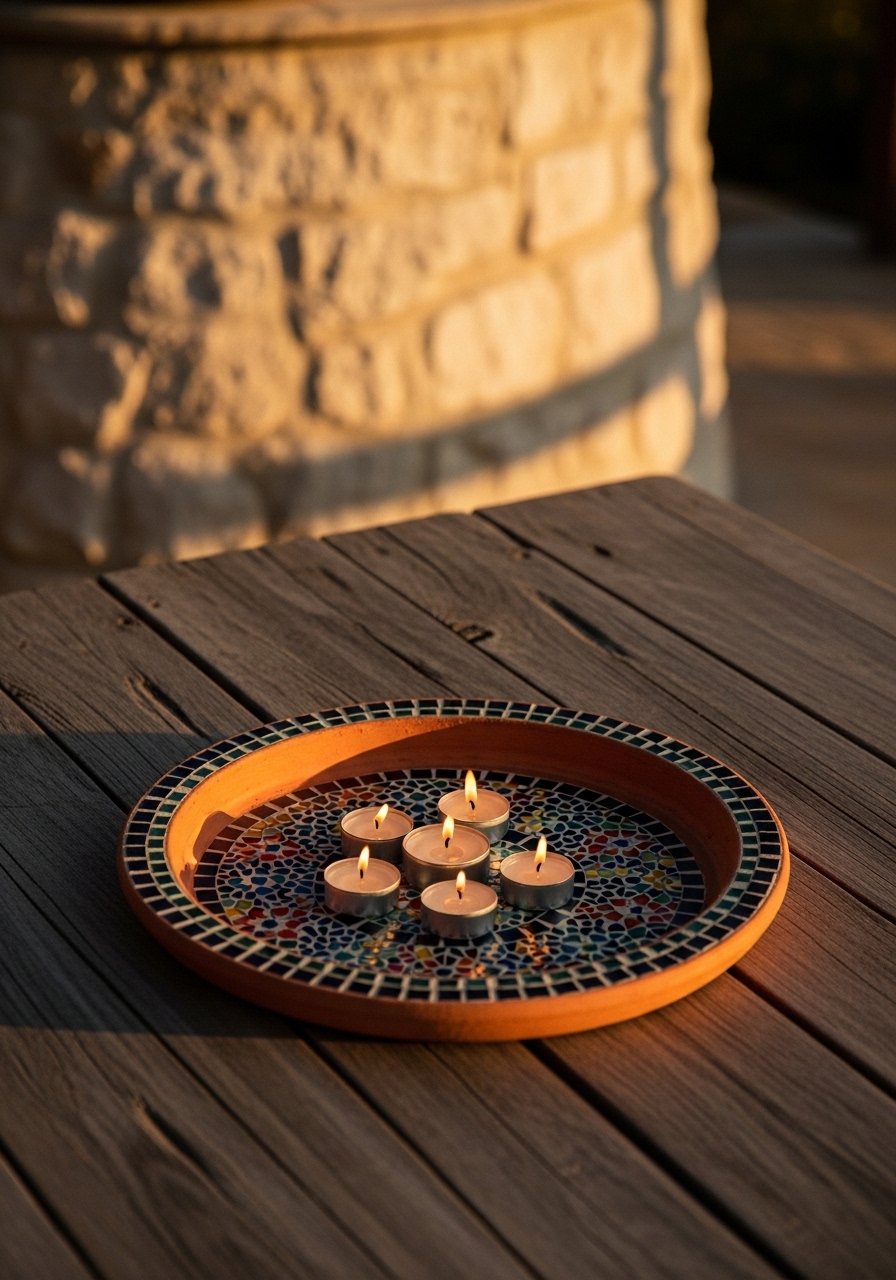
If you want weather resistance, embed small glazed tiles into the clay base and seal well. Use tiles no larger than 1 inch so they flex with the clay during firing. Aim for a 10 by 6-inch tray with tiles occupying the center third. The mistake is using tiles with rough undersides that trap moisture. Pick thin glazed tiles and grout sparingly. These trays stand up to sun better than painted alternatives. For tiles and grout I used mosaic-tile-pack and outdoor-sealant.
Layered Clay Tray With Felt Base For Shelves
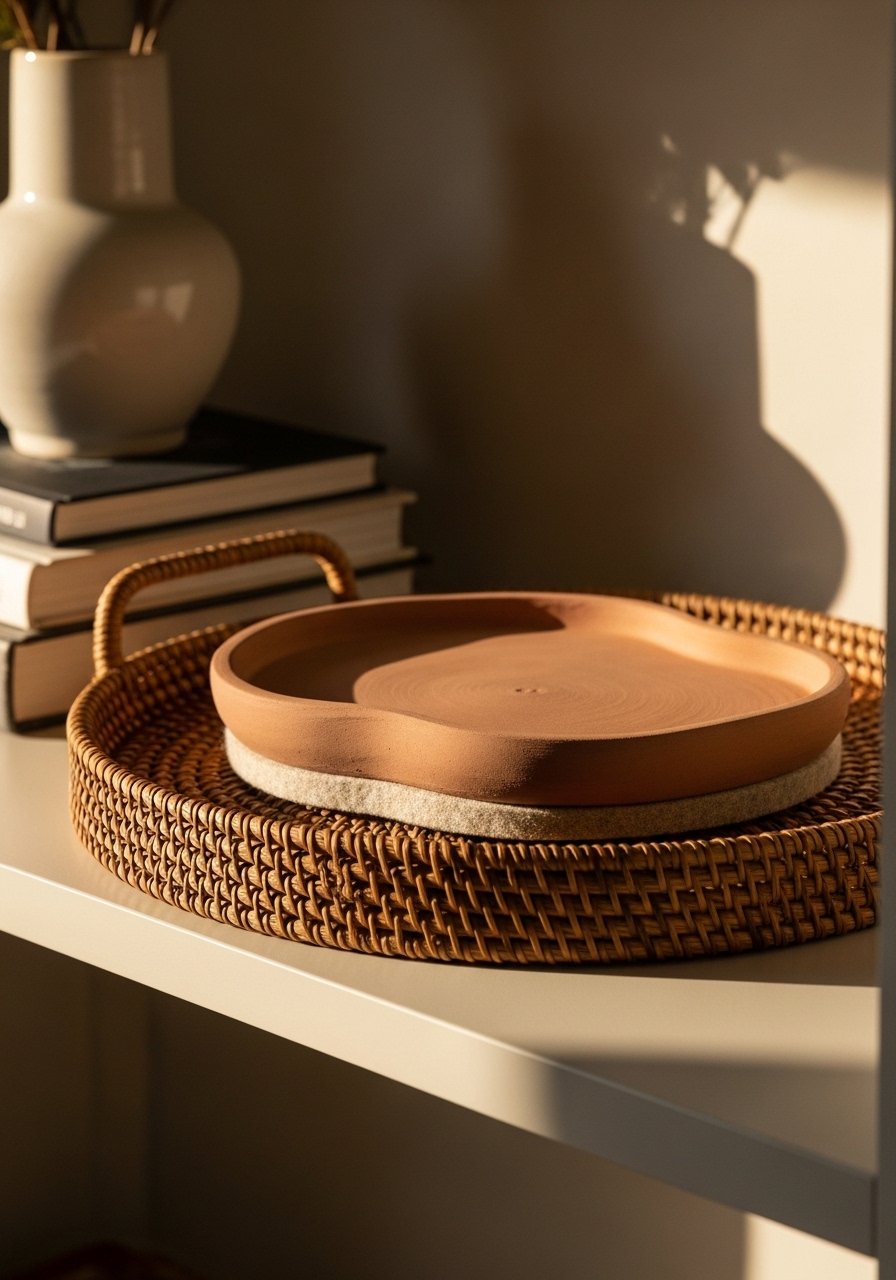
Layering a small clay tray on a larger textured tray adds depth and prevents scratches on shelves. I glue a 2 mm felt circle to the bottom so the tray sits stable and sounds soft when you set things down. Size the clay tray at two-thirds of the larger tray so it reads intentional. Newbies often place identical sizes which looks like an accident. This trick also creates height contrast when paired with a low vase. Use self-adhesive-felt-circles for ease.
Polymer Clay Trinket Trays For Gifts
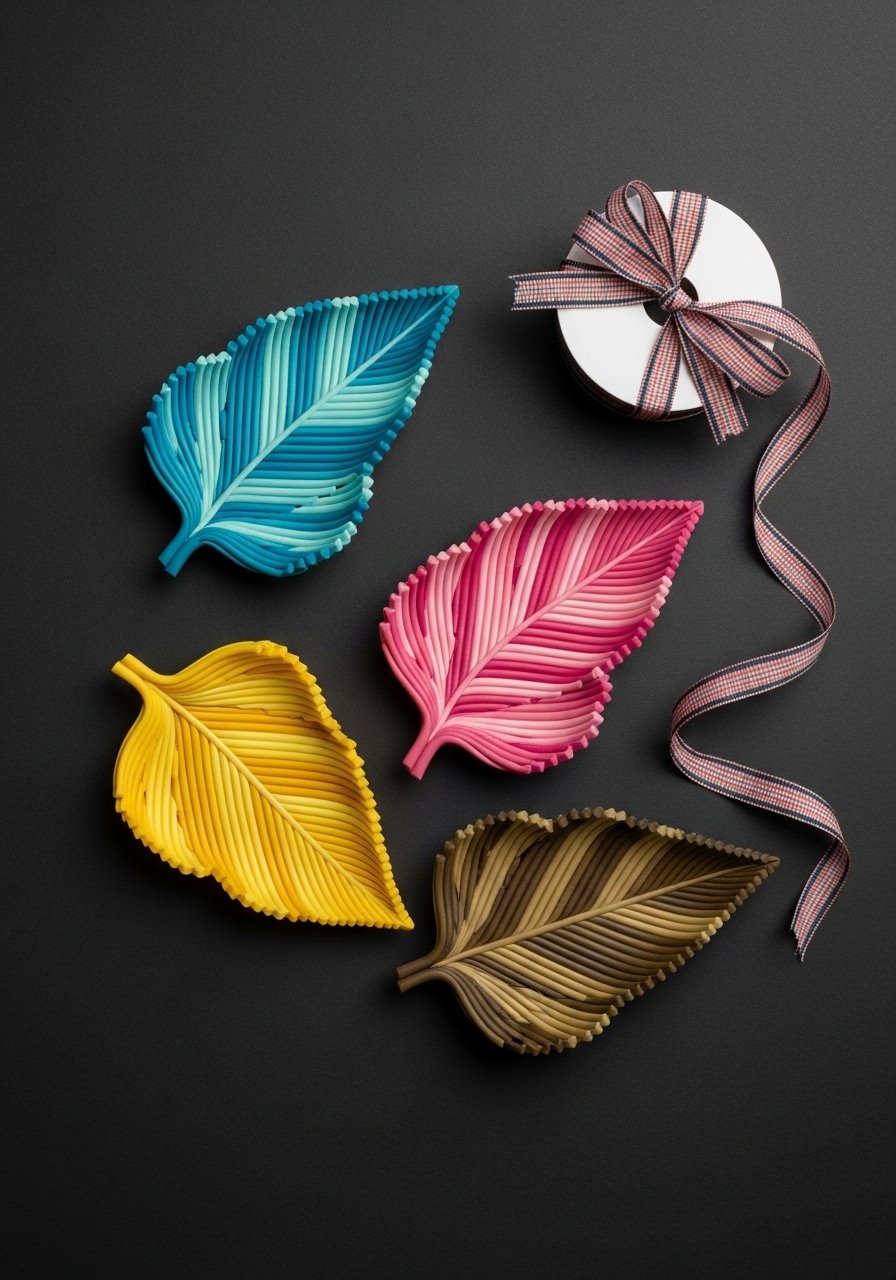
For quick gift projects, polymer clay bakes in a home oven and is perfect for tiny trinket trays. Keep pieces under 4 inches and bake on a ceramic tile for even heat. Use a simple leaf or coin shape and add mica powders for subtle shimmer. A frequent mistake is making pieces too thin so they warp. Stick to about 4 to 6 mm thickness. These ship well and feel handmade without studio time. For supplies try polymer-clay-starter-set and mica-powder-shimmer.
Hairline Glaze Finish Tray For Display
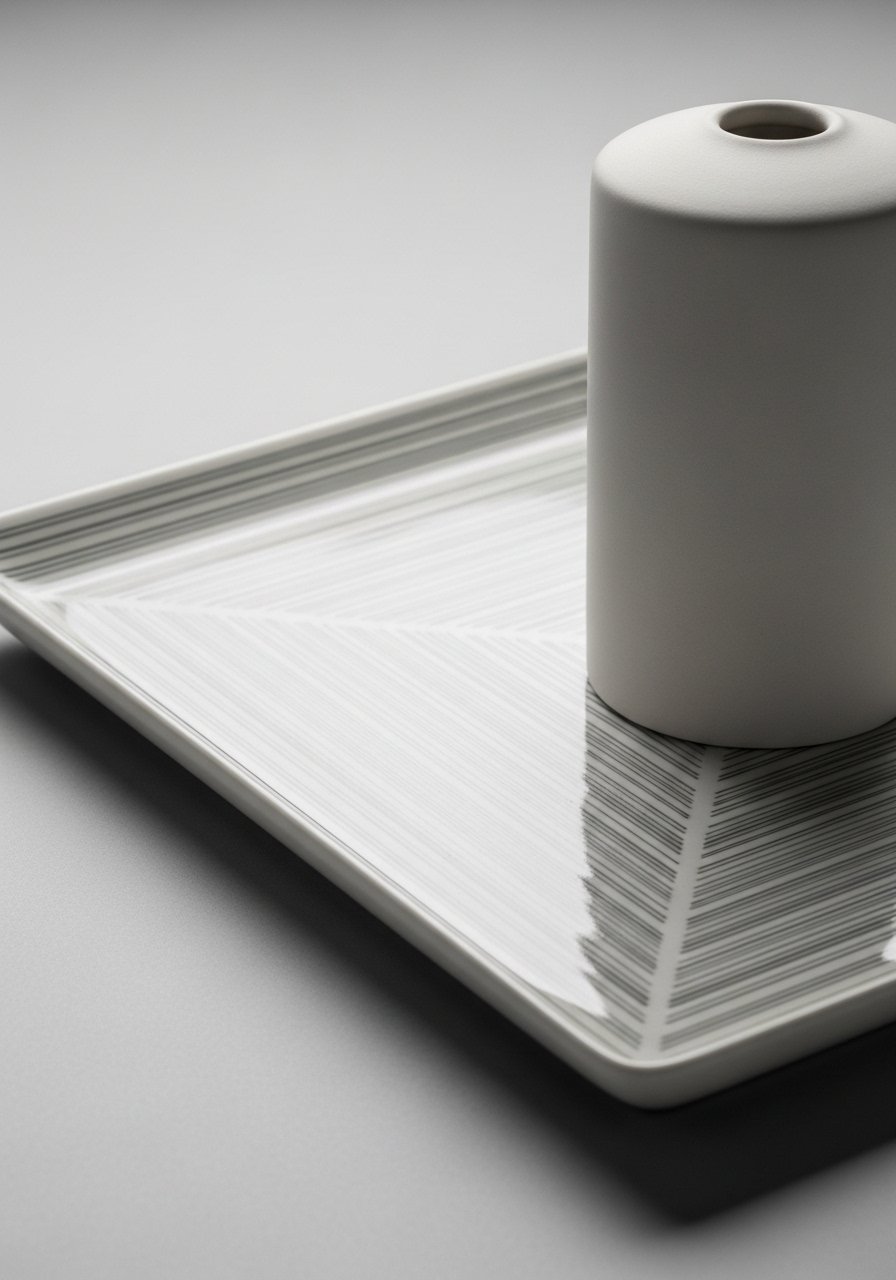
A hairline glaze reads very refined when done lightly. Thinly apply a clear glaze so that only the highest points catch shine. It works well on display trays where you place a sculptural object. Keep the tray size proportional to the object, usually 8 to 10 inches. Over-glazing creates puddles and visible drip marks which is the usual mistake. A hairline finish needs patience; one thin coat and a light firing or curing is better than sloppy layers. I like clear-ceramic-glaze and a small-kiln-shelf.
Your Decor Shopping List
Textiles
- Honestly the best $40 I have spent. Chunky knit throw in cream (~$35-55). Drape over a sofa for warmth.
- 22-inch linen pillow covers, set of 2 in two colors for layering.
Tools & Clay
- Air-dry-clay-kit (1-2 lbs). Useful for most beginner trays.
- Polymer-clay-starter-set for small trinket trays.
- Precision-craft-knife-set for clean cutouts.
Finishes & Accents
- Clear-gloss-spray for marble looks.
- Metallic-powder-pkg for delicate rims.
- Self-adhesive-felt-circles to protect surfaces.
Budget Finds
- Mini-plant-pots for the speckled tray grouping.
- Small-paint-brush-set for painted rims and details.
Similar at Target or HomeGoods: pillow covers, throws, and small decorative bowls are easy to swap if you prefer an in-person hunt.
Shopping Tips
White oak beats dark wood in 2026. Design feeds have shifted completely. These white oak floating shelves look current, not dated.
Grab air-dry-clay-kit for $15. Try three small trays first before committing to a larger piece.
Curtains should puddle or kiss the floor, never hang halfway up. These 96-inch linen panels are right for standard 9-foot ceilings.
Everyone buys five small succulents. One single 6-foot fiddle leaf fig has ten times the visual impact.
If you are unsure about finishes, test on a small spare piece. Clear-gloss-spray is forgiving and shows you how the final color will read.
Frequently Asked Questions
Q: How thick should I make a clay tray base for durability?
A: Aim for 8 mm for most trays. Smaller decorative pieces can be 4 to 6 mm, but anything thinner risks warping or cracking during drying or baking.
Q: Can I mix boho textures with modern furniture without it looking messy?
A: Yes. Use the rule of three when grouping items. Keep one neutral material dominant and use one or two textured accents to keep the look intentional.
Q: What size tray actually fits a coffee table?
A: I use an 8 to 12 inch round or a 10 by 6 inch rectangle depending on table size. Leave at least 4 inches of table visible around the tray so it reads styled, not cluttered.
Q: How do I avoid glaze drip marks on glossy trays?
A: Apply thin coats, let each dry fully, and rotate the piece during firing or curing. One thin coat beats two sloppy ones every time.
Q: Should I use real or faux plants on clay trays near windows?
A: Both work. Real succulents and pothos handle bright windows. Faux plants are fine where humidity or light will stress live plants. Layer with a speckled tray for a natural look.
Q: My trays keep cracking during drying. What am I doing wrong?
A: Cracks often come from uneven thickness or drying too fast. Keep walls consistent, 8 mm where possible, and let pieces dry slowly under a cloth to reduce stress.

