

My living room had nice furniture but it still felt like a waiting room. Took me embarrassingly long to figure out it was missing texture. Every surface was smooth, every color was flat, and nothing invited you to actually sit down. I started filling shelves with photos and small objects that mattered and suddenly the house felt like home.
These ideas lean casual-modern with a gentle vintage touch. Most projects are under $75, with a few splurges around $100-150. They work in living rooms, entryways, bedrooms, and any nook where a reminder of a person or a life lived would belong.
Rustic Reclaimed Wood Photo Ledge for Cozy Living Rooms
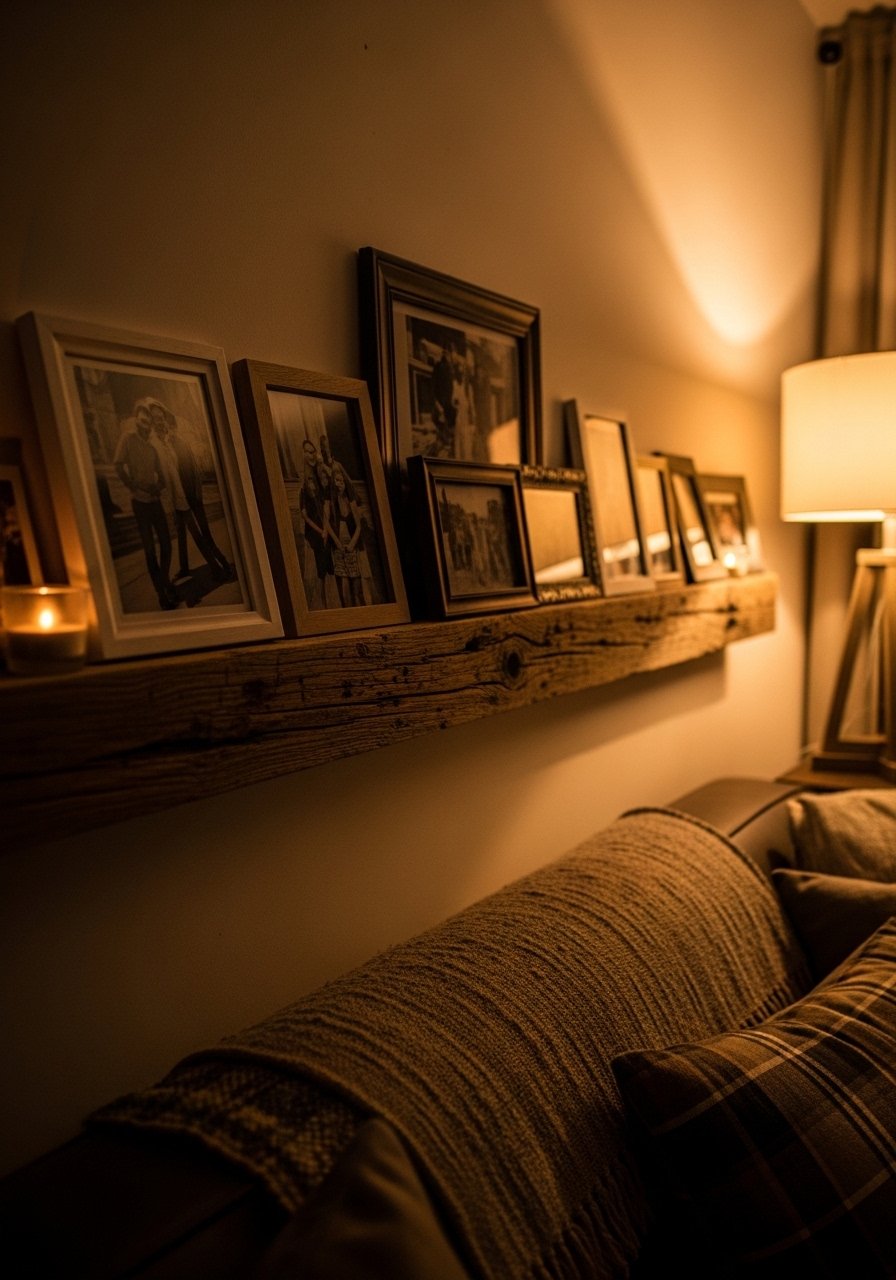
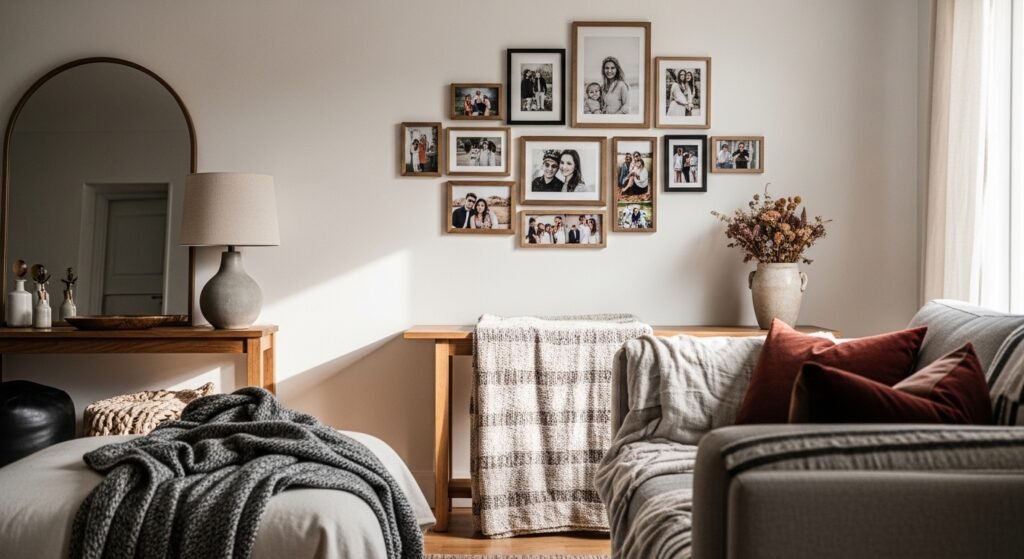
When I hung a 6-foot reclaimed wood ledge about two-thirds up the wall, the whole corner stopped looking like an afterthought. The trick is to keep three larger frames and two smaller objects on the ledge. That rule of three keeps it from looking cluttered. Most of this is under $60 if you buy unfinished pine and stain it yourself. I used brass picture ledges to anchor a smaller shelf above for heirloom snapshots. A common mistake is spacing frames evenly like a grid. Instead, overlap the edges by 1-2 inches for a layered real-life look.
Floating Acrylic Frames for Minimal, Modern Bedrooms
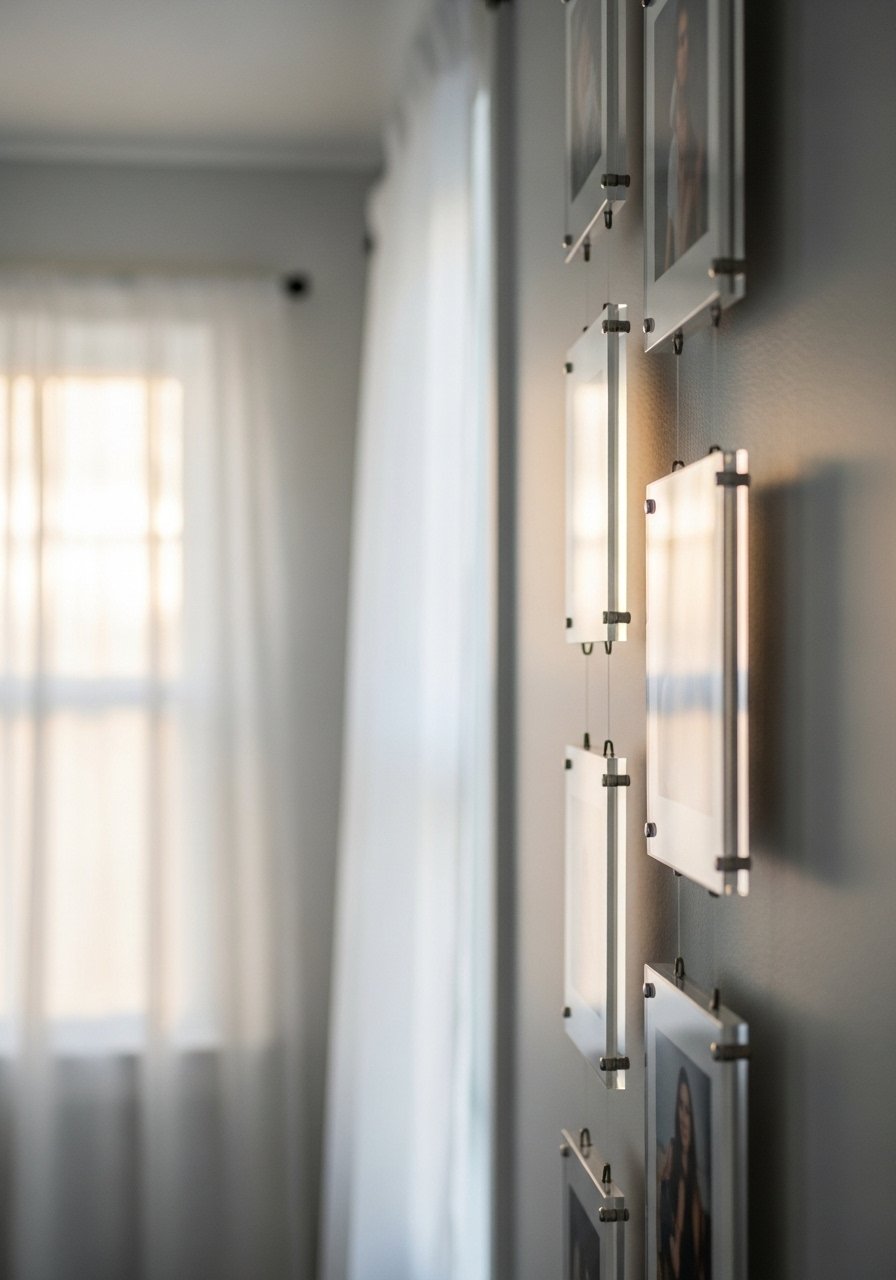
I switched to acrylic float frames when I wanted the photo to feel like it was hovering. Float frames read modern without being cold, which is why they work in bedrooms or a quiet hallway. Hang centers at 57 inches for eye-level balance and leave 2-3 inches between frames. Budget varies from $20 to $120 depending on size. I linked a set I liked for quick swaps acrylic floating frames set. People often mount these too high. Keep them lower if you have low ceilings and pair with a small table below for scale.
Shadow Box Memory Display for Entryways and Halls
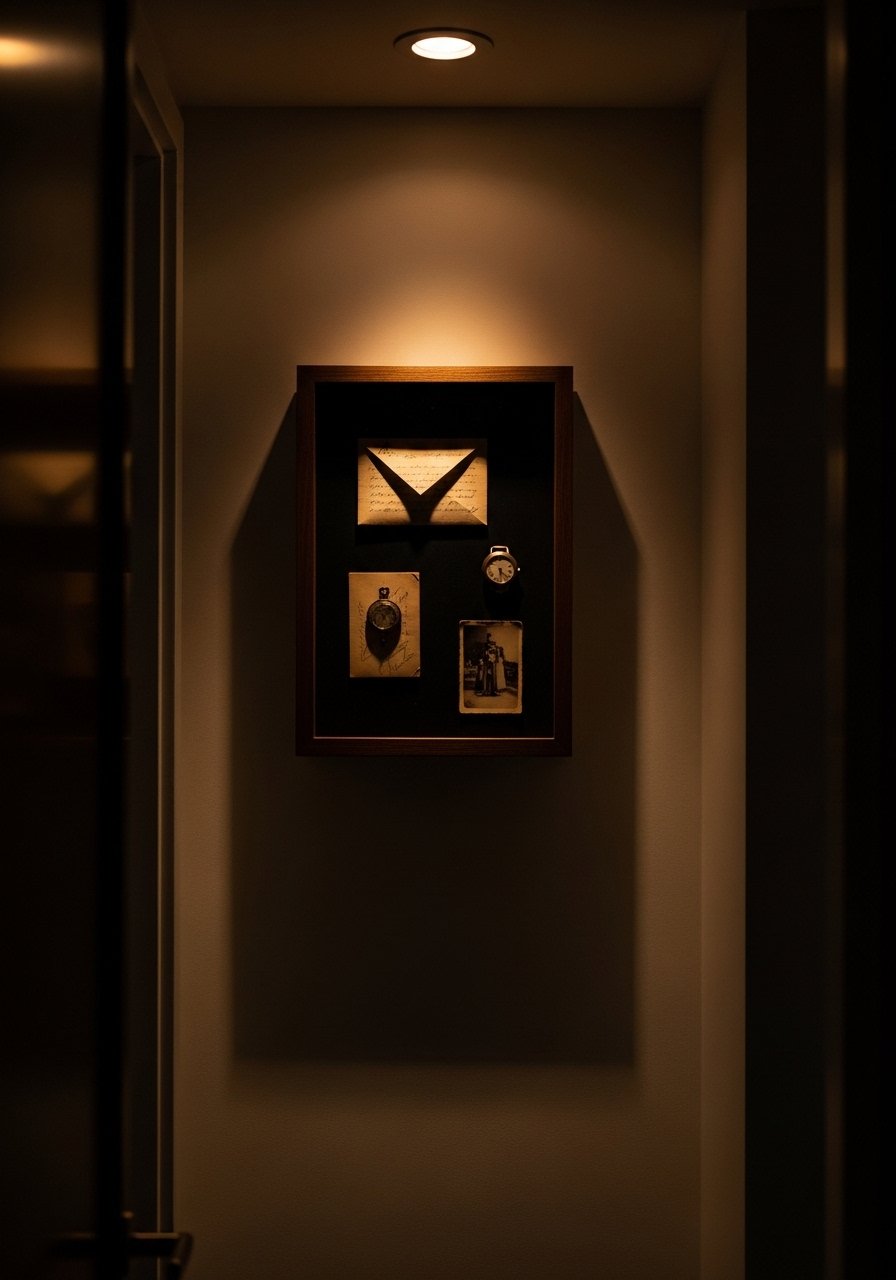
A shadow box is where photos meet tangible things. I made one for a relative and included a 4×6 photo, a ticket stub, and a pressed flower. It reads as a little memorial without feeling museum-like, and it costs about $40-90 depending on depth. Tip for realism, mount the photo off-center by roughly one-third of the box width. Avoid the mistake of putting everything flat against the glass. Add 1/2 inch of foam core behind elements to create a soft shadow and depth.
String Clip Photo Garland for Informal Kitchens
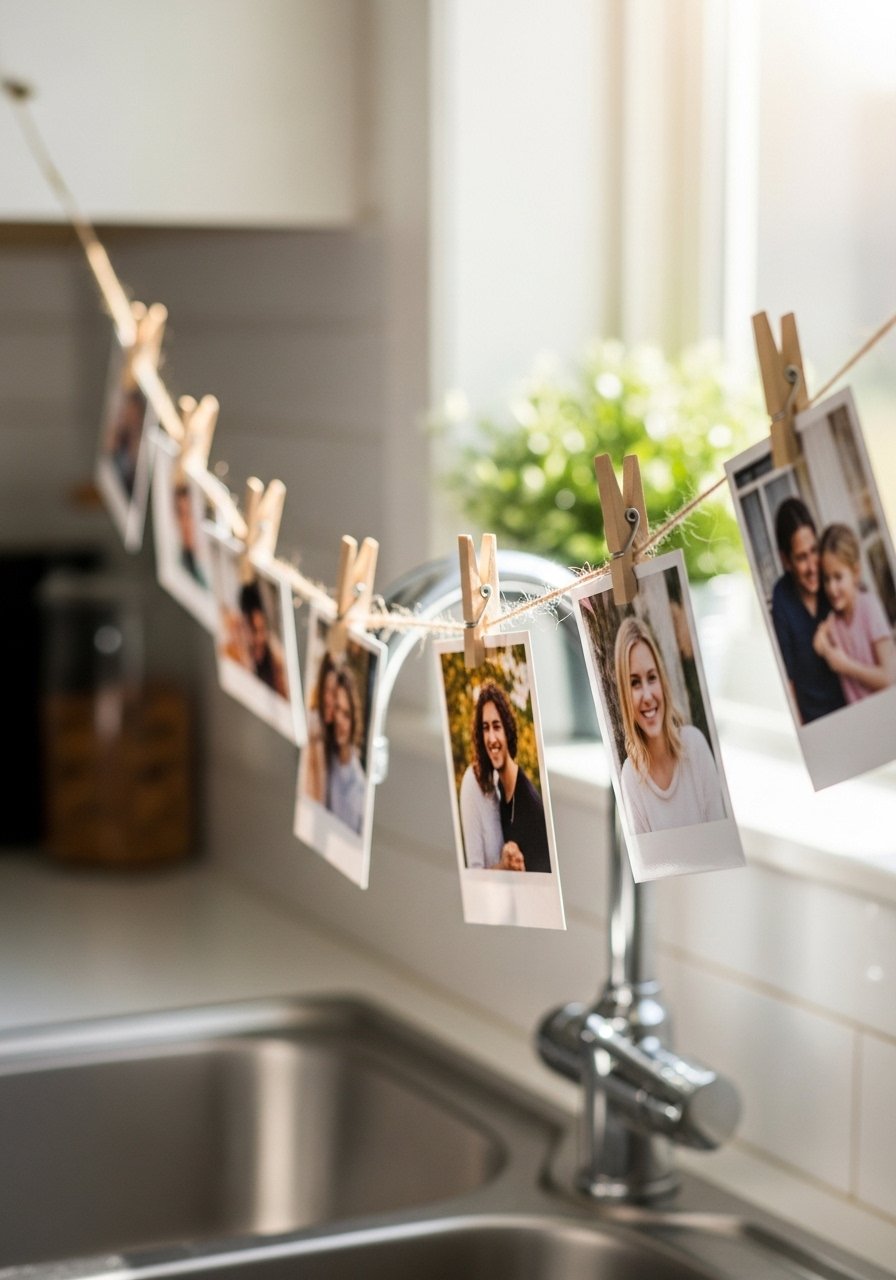
For a casual kitchen or mudroom, I clipped family photos to twine with tiny wooden clothespins. It cost under $20 and changes with the season. Keep the line 10-12 inches below cabinet height so it is visible but not in the way. I used warm white fairy lights clip string lights for evenings. A frequent mistake is cramming too many photos on one string. Leave about 3 inches between clips to let each image breathe.
Heirloom Collage on Canvas for Warm Family Rooms
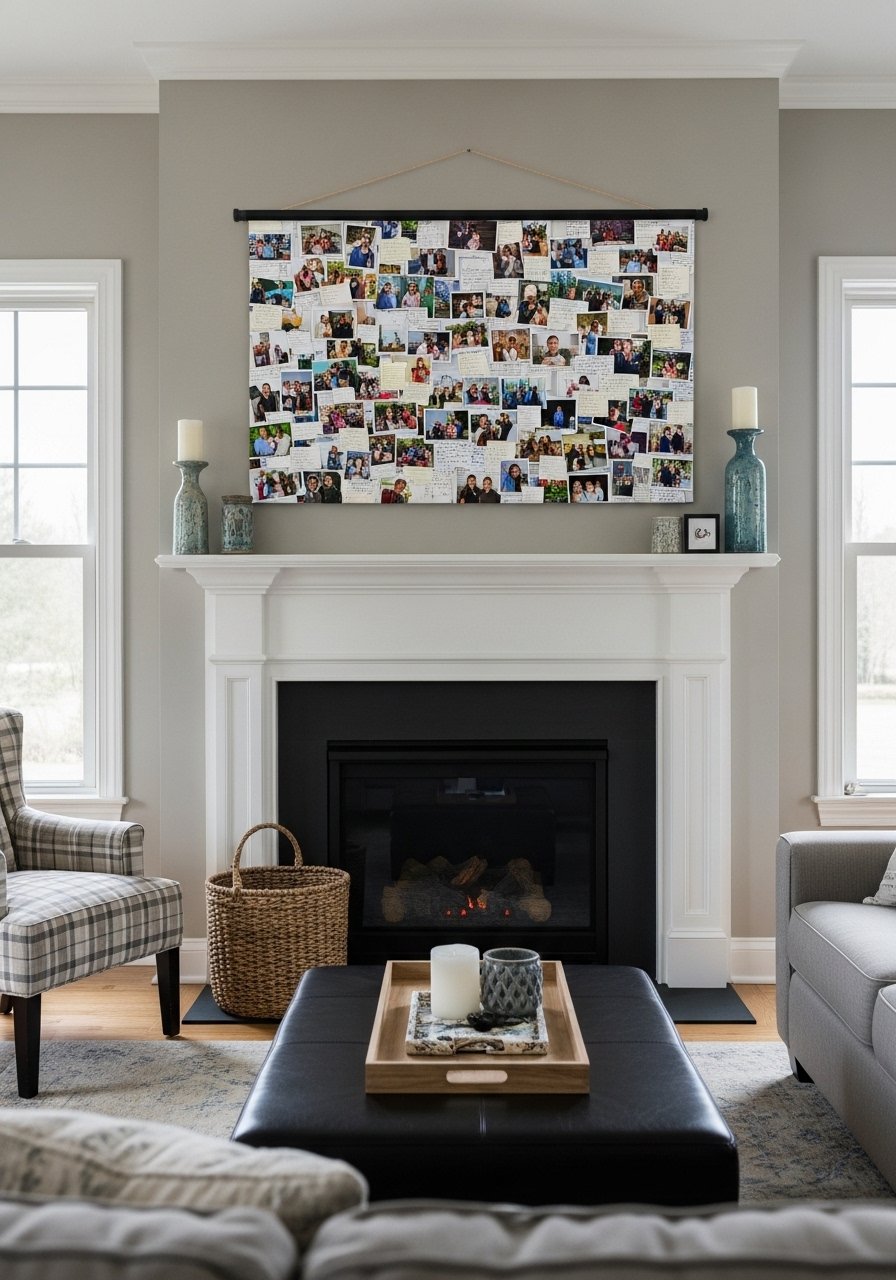
I printed a 36×24 canvas collage combining photos and handwriting. The print cost around $100 and suddenly the mantel had a personal anchor. Use an 80/20 color ratio, meaning one photo color or tone should dominate with small pops of contrast. Avoid the trap of mixing too many color temperatures. Scan old sepia photos and convert digital prints to a warm tone for cohesion. If you want a sturdier look, mount the canvas on a 1.5-inch stretcher frame so it reads like art from across the room.
Magnetic Frame Board for Rotating Memorial Displays
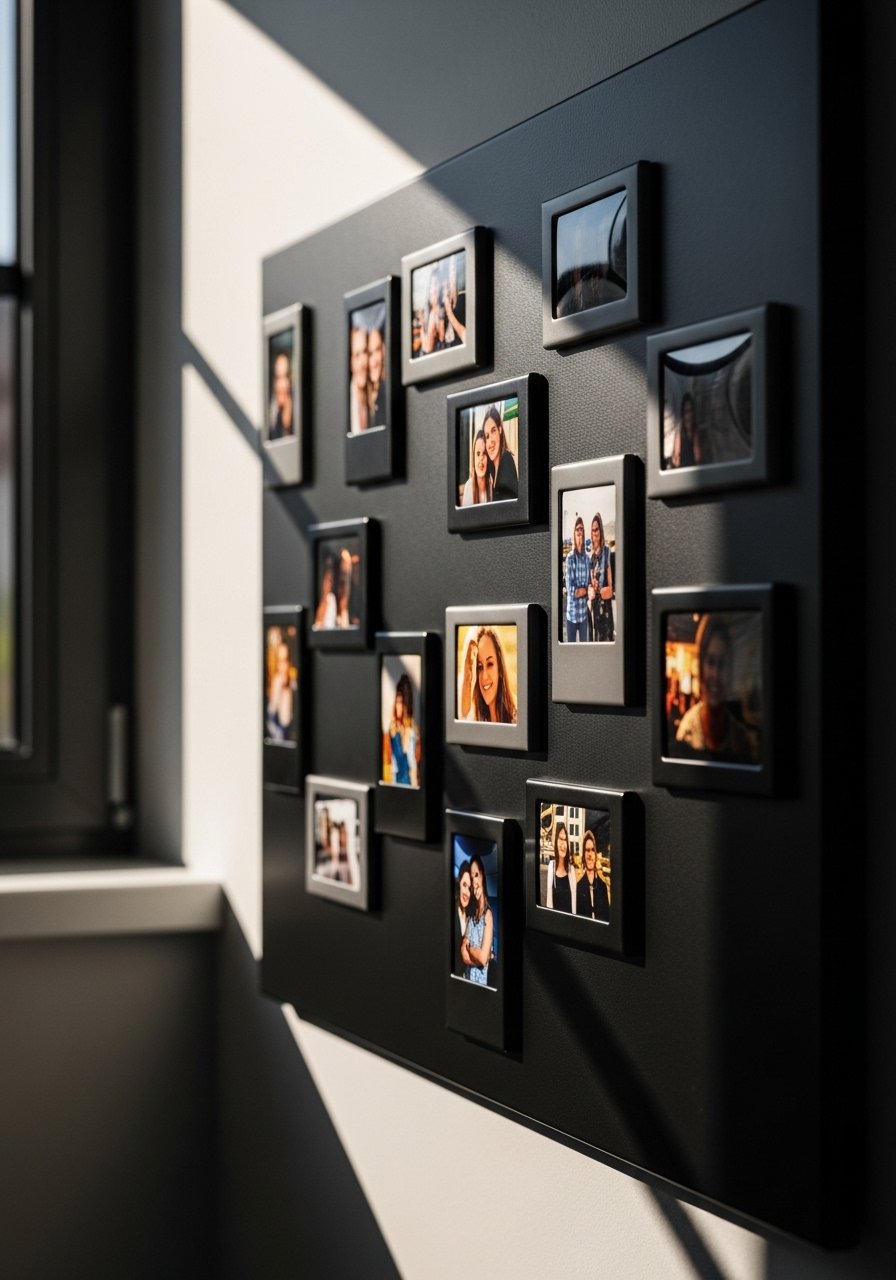
I put a magnetic board in my office so I could rotate photos without holes. Start with a 24×36 board and pick a mix of magnets that are 1-2 inches wide for balance. I bought magnetic photo frames to make swapping easy. The mistake I see is using too-strong magnets that bend photos. Use light magnets and archival sleeves to keep prints safe. This is perfect for anyone who cannot commit to a permanent layout.
Vintage Window Frame Gallery for Eclectic Hallways
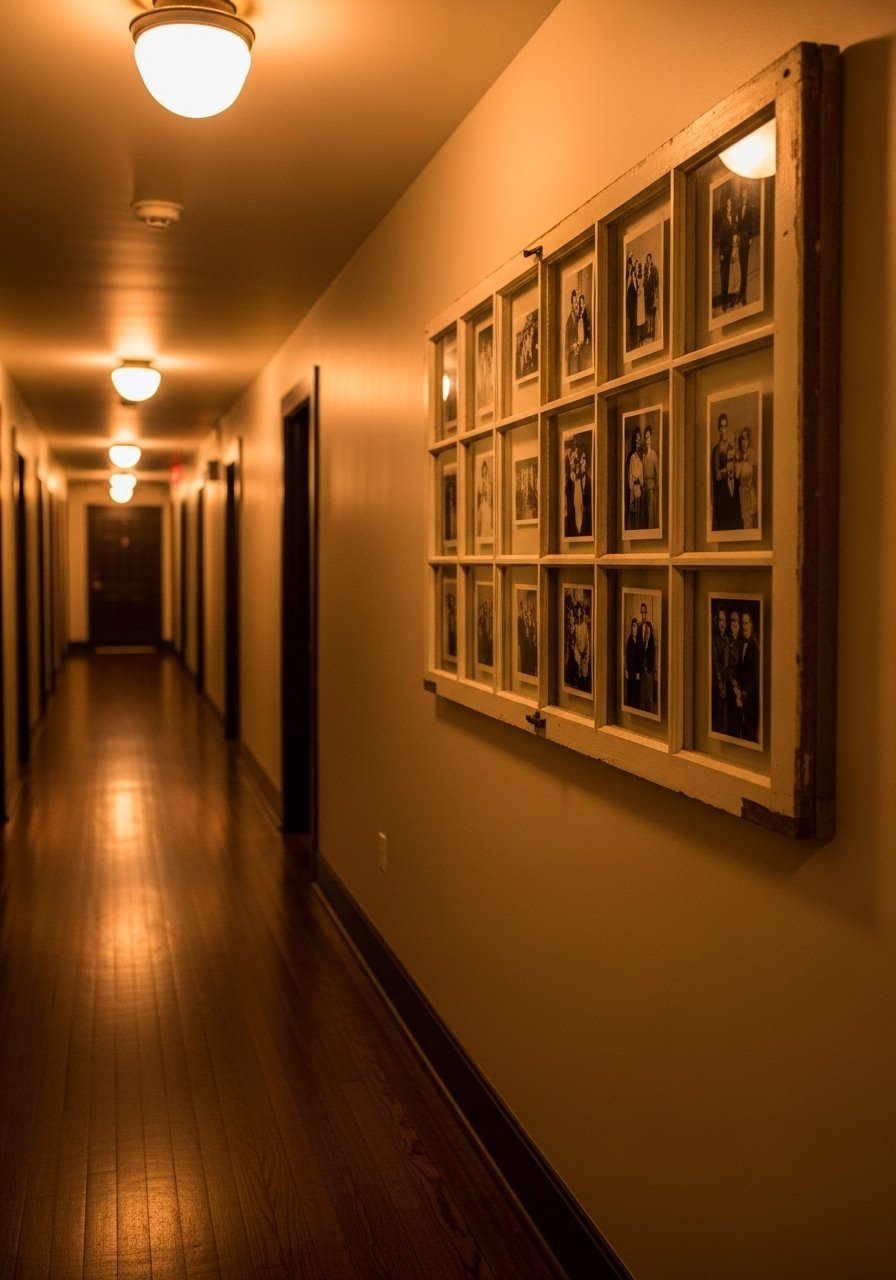
I converted an old window into a gallery holding six small photos. Buying a reclaimed window runs $30-80. Use 3×5 photos in each pane and center them using a 1/2 inch mat border for a hand-tucked look. A common mistake is letting the frame overwhelm small prints. Swap 3x5s for 4x6s if the panes are deep, or add a thin mat to create breathing room. This pairs beautifully with the floating frames idea if you want a mix of old and new.
DIY Polaroid Ledge for Playful Bedrooms or Nurseries
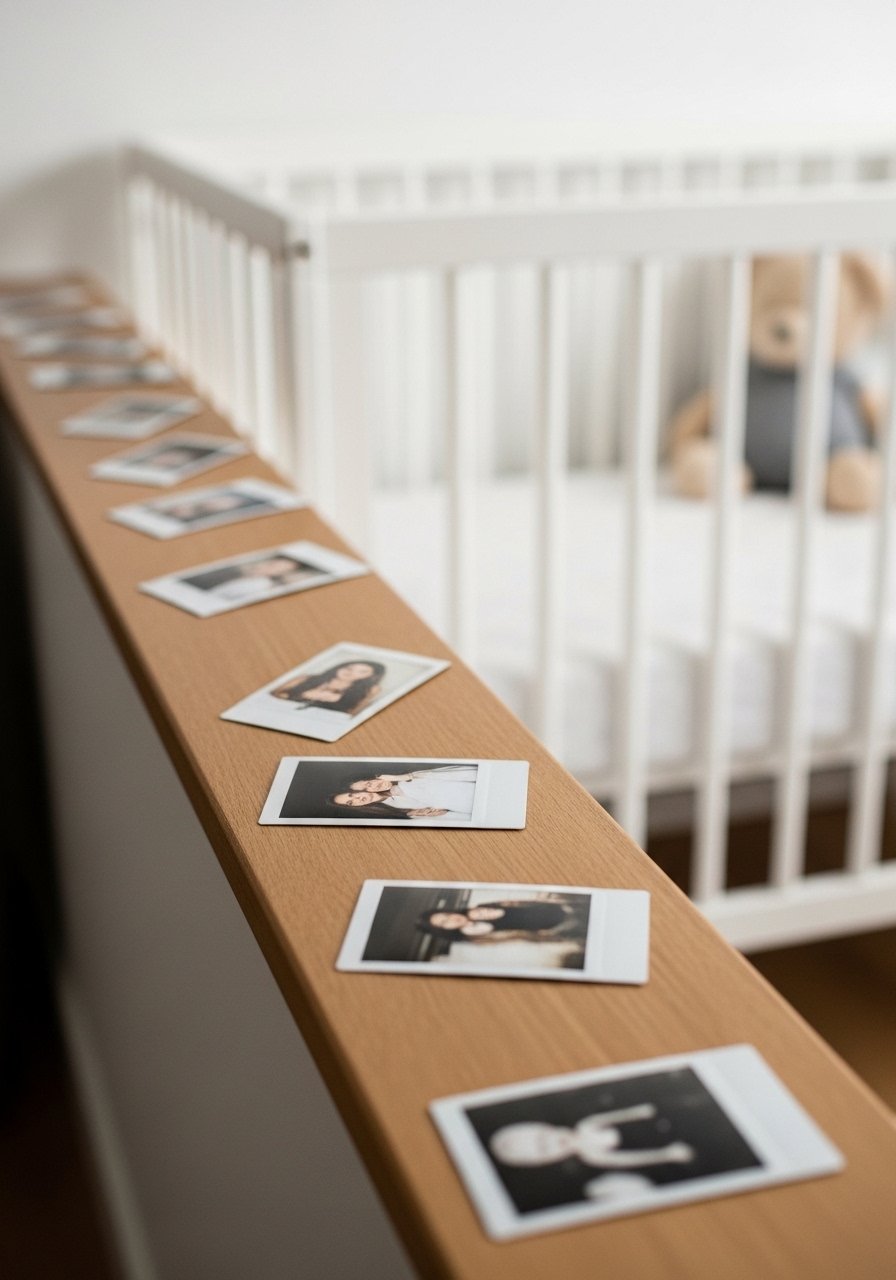
When I printed my phone photos in Polaroid size, the room instantly felt younger and happier. Keep the ledge no higher than 48 inches if kids will be around. You can buy a pack of instant-style prints and use a low-profile shelf polaroid-style photo prints for under $20. People often over-clip these and make the display fussy. Lay them casually and let some sit slightly askew, following a loose diagonal for motion.
Framed Map with Photo Pins for Travel-Loving Dens
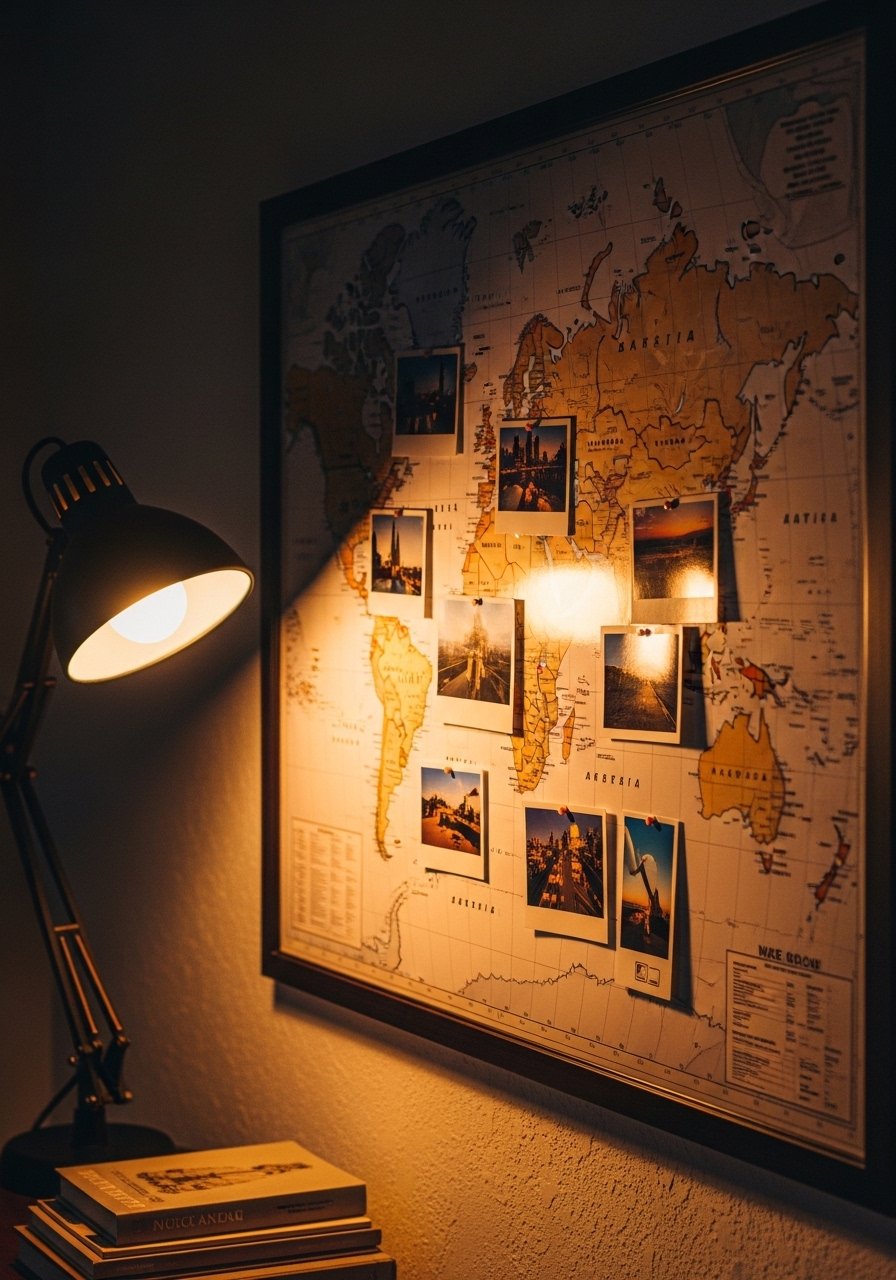
I made a map where each trip gets a photo and a date pinned next to the city. Use a 30×40 map and keep photo pins about 1 inch from the city label. The method costs about $40-90 including a cork backing. I use map push pins that are color coded for different decades. A mistake is clustering everything in one region. Spread pins to maintain visual balance and remember the rule of thirds when placing the frame on the wall.
Layered Frames on a Console for Transitional Entryways
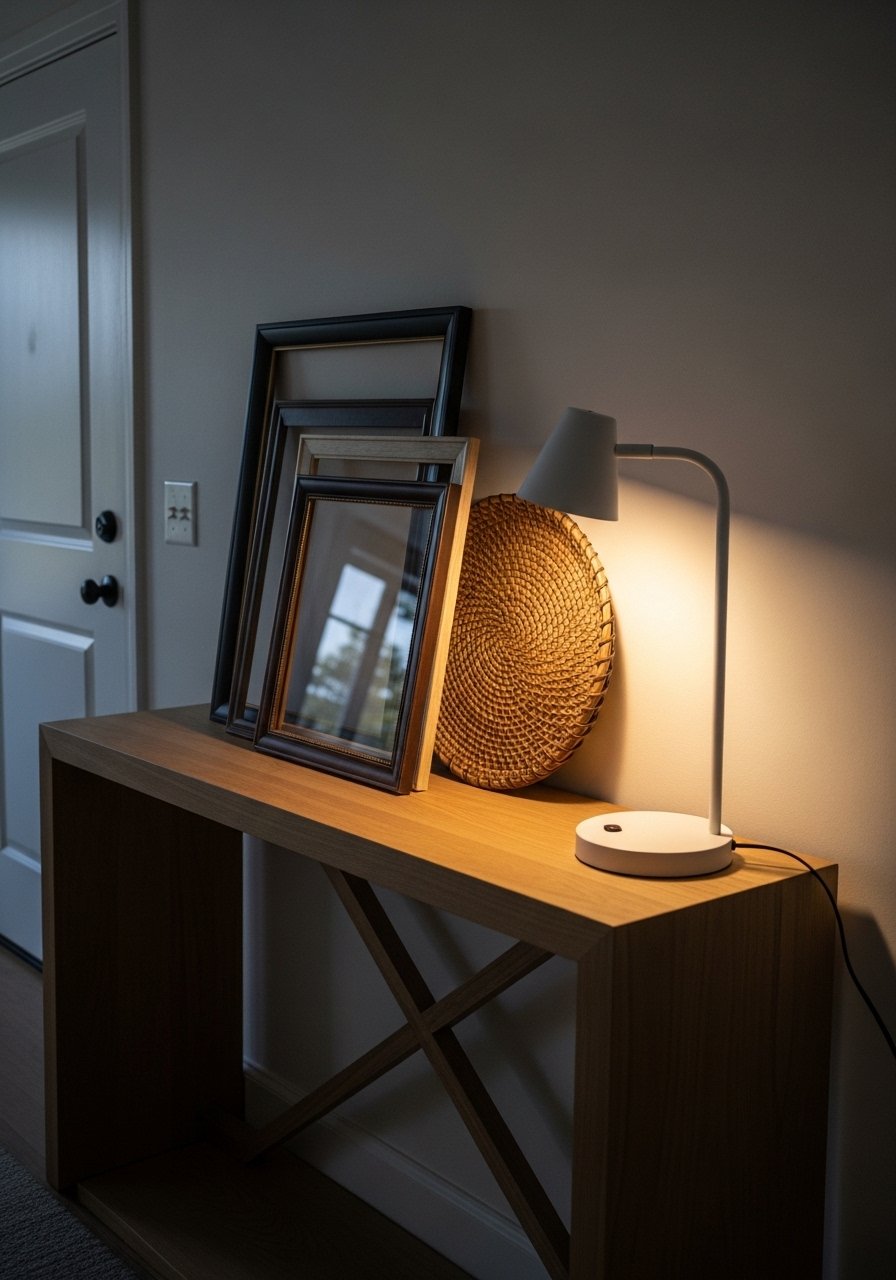
My entry used to be a drop zone. Once I leaned a mix of frames on the console, keys and mail felt purposeful. Mix sizes with one large 16×20 and two 8x10s. I linked my go-to mixed metal frames set because matching is boring and dates quickly. Common error is using frames all the same height. Layer and stagger them with the tallest at the back and a smaller one overlapping at the front by about 1.5 inches.
Photo Mobile for Light-Filled Reading Nooks
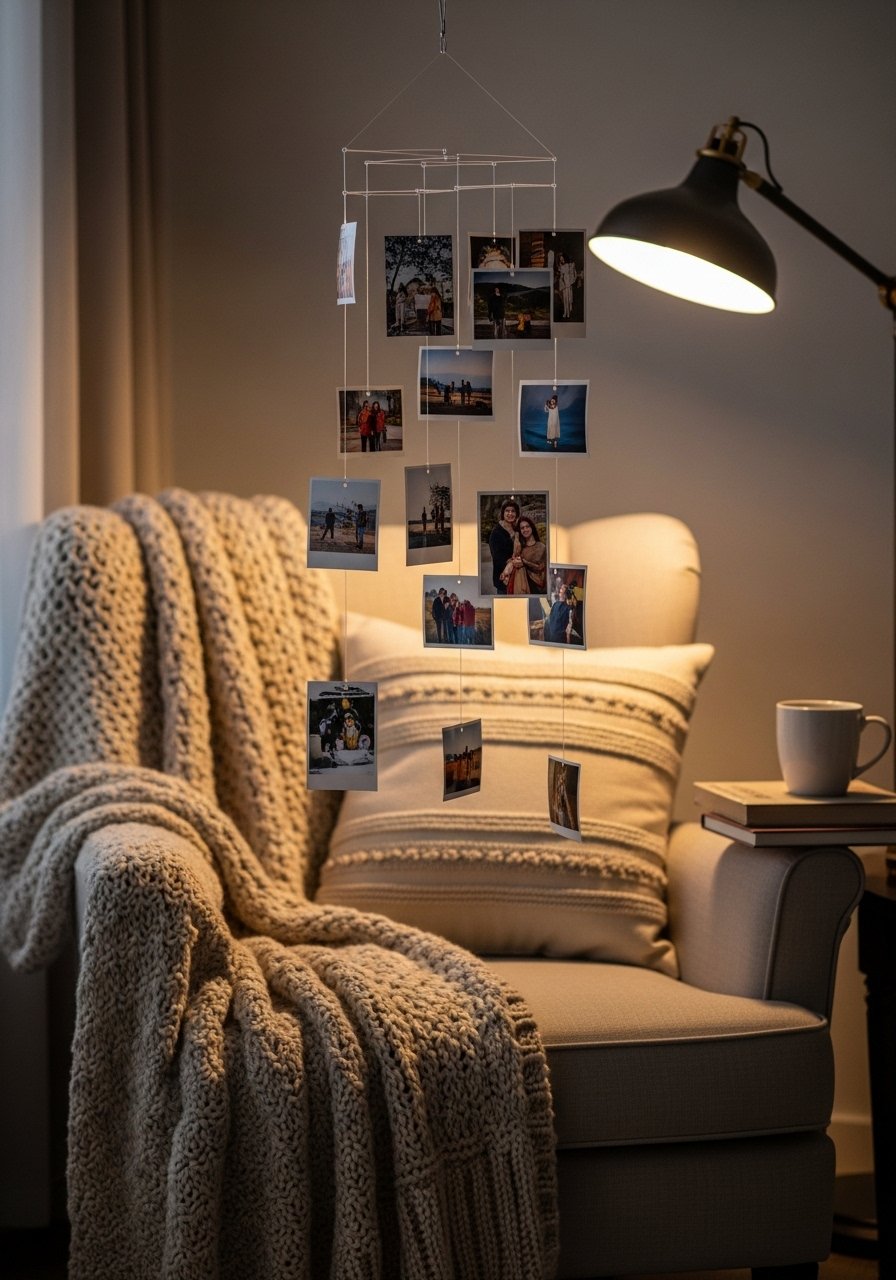
A hanging mobile gives photos a gentle movement that makes the space feel lived in. I built one from embroidery hoops and thin wire and hung it near the window so photos catch the breeze. Keep the mobile under 24 inches in diameter to avoid overwhelming the chair. I used lightweight prints and small metal embroidery hoops. Mistake to avoid is using heavy frames that tilt and tangle. Use laminated wallet prints so wind won’t damage them.
Memory Tray Vignette for Coffee Tables
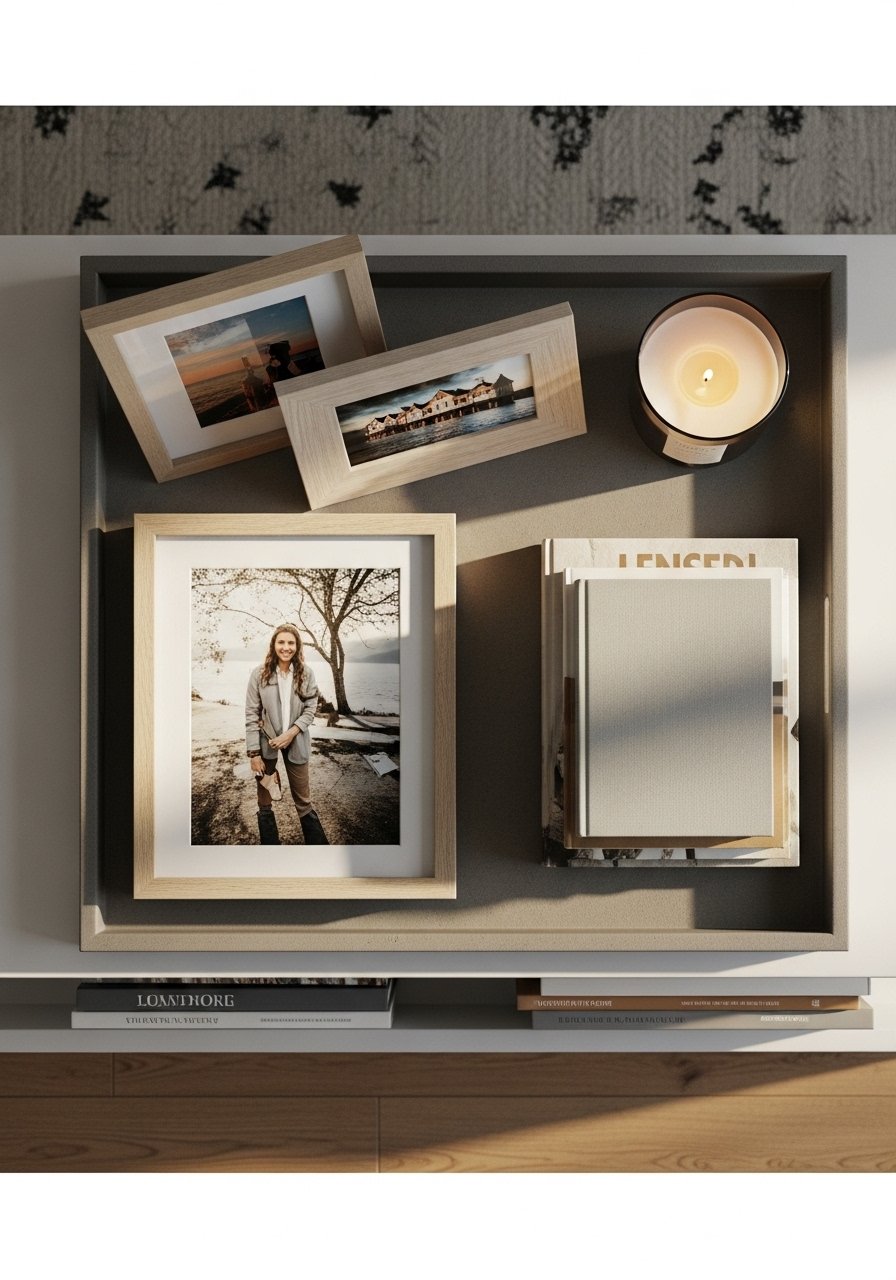
There is something about a tray that stitches small things together. I made a memory tray with three 4×6 frames, a candle, and a small stone from a favorite beach. Use the 80/20 rule for color where 80 percent is neutral and 20 percent is a single accent. For scale, keep the tray width at least two-thirds of the coffee table depth. I bought a set of 4×6 frames that match my shelf finishes. A rookie move is overcrowding the tray. Leave negative space so the photos breathe.
Digital Photo Frame with Manual Curation for Small Apartments
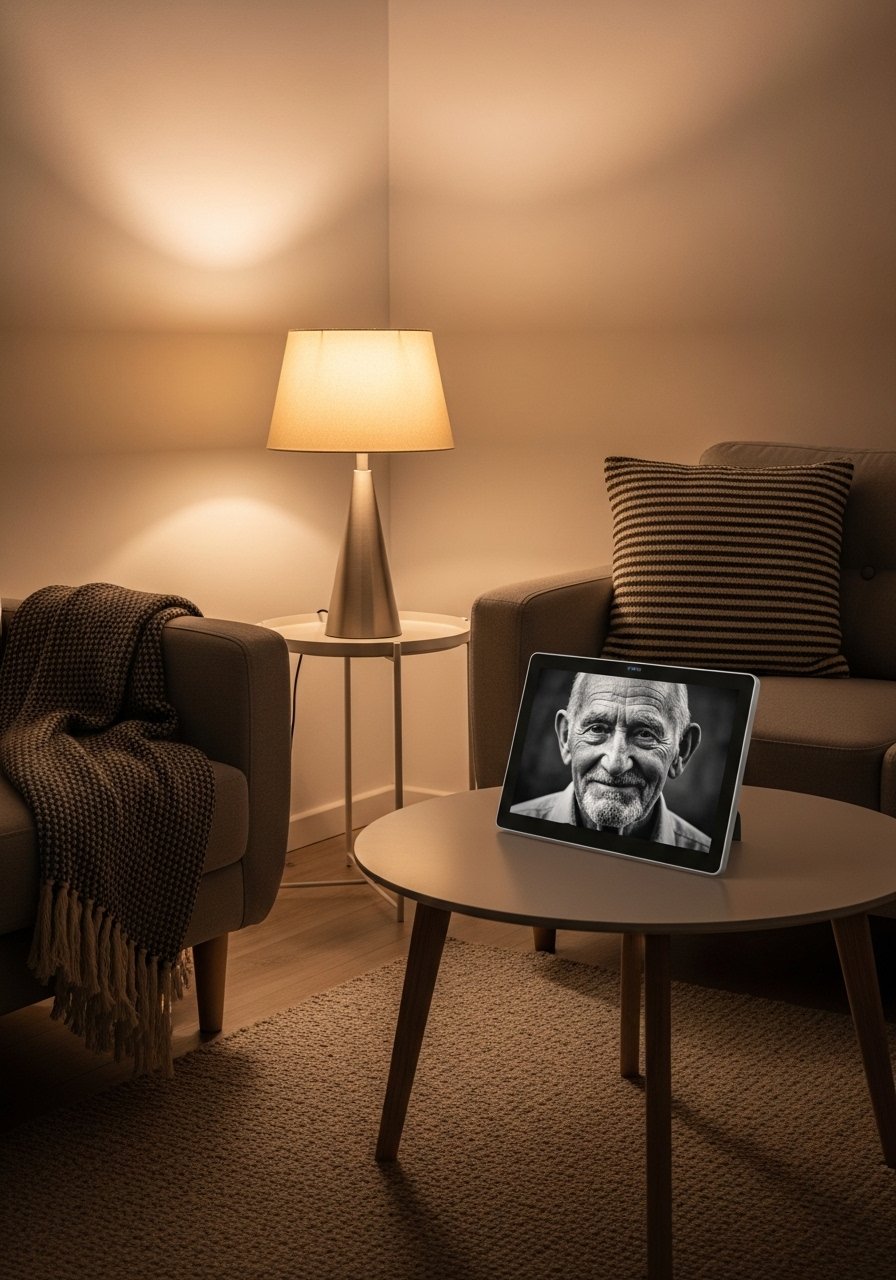
If wall space is at a premium, a digital frame lets you curate a slideshow. I upload only the photos I want to see repeatedly and avoid the temptation to include everything. Set the brightness to medium and scheduling to daytime only so battery and attention are preserved. Expect to spend $70-200. I use digital photo frames with WiFi that accept private sharing. Common mistake is leaving it on high brightness which flattens prints and makes them look screen-y.
Ceramic Photo Tile Accent for Mantels and Shelves
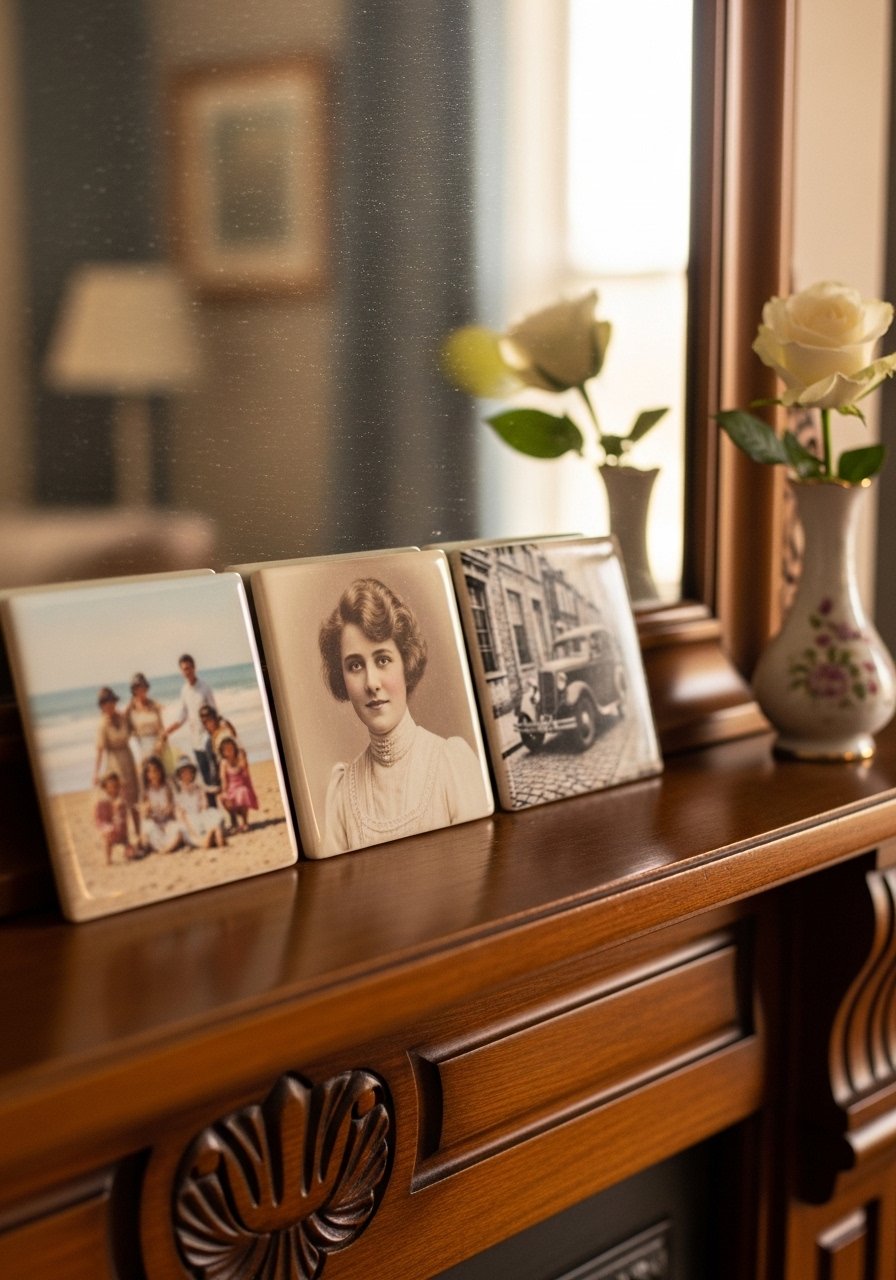
Ceramic photo tiles are a tactile way to display a single portrait. I ordered three 5×5 tiles that sit nicely on a mantel and resist sunlight fading. Tiles cost about $25-45 each depending on finish. Use matte glazes for a softer look. I bought ceramic photo tiles custom when I wanted something that felt permanent but small. Avoid placing tiles in direct afternoon sun. Even tiles can show subtle fading over years.
Family Timeline Wall for Large Dining Rooms
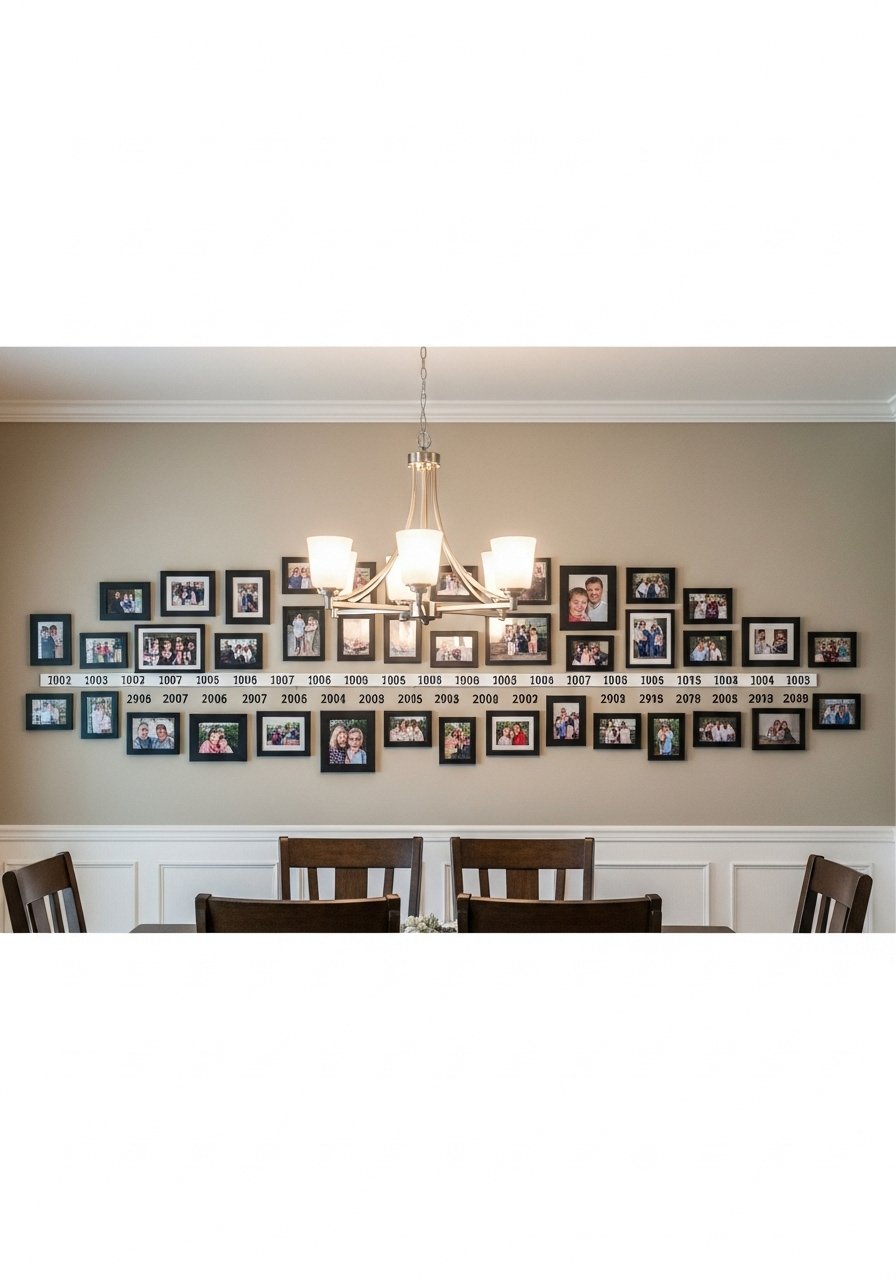
I put photos in a linear timeline across the dining room wall so guests can walk the story as they move through space. Use consistent frame sizes, like 8×10, and space them 3 inches apart. Label each cluster with small handwritten notes on cream cards. The project was about $150 if you buy mid-range frames. I used archival photo mats to keep prints safe. A common mistake is getting too granular. Keep one or two photos per milestone so the wall reads clearly from across the room.
Your Decor Shopping List
Textiles
- Honestly the best $40 I have spent. Chunky knit throw in cream 50×60 inches, perfect draped over an arm
- 22-inch down-filled linen pillow covers in muted blue and sand
Wall Decor
- Brass picture ledges 36-inch, pair for a layered look
- Floating acrylic frames set assorted sizes for a modern wall
Lighting
- Warm white clip string lights 16-foot strand for garlands
- Small table lamp with linen shade in aged brass for entry consoles
Plants and Greenery
- Faux fiddle leaf fig 6ft for corners with low light
Budget Finds
- Mixed metal picture frames set set of five for leaned galleries
- 4×6 frames bulk pack for trays and ledges
- Map push pins set for travel displays
Many of these have similar finds at Target or HomeGoods if you prefer to touch before buying.
Shopping Tips
White oak beats dark wood in 2026. Design feeds have shifted completely. These white oak floating shelves look current, not dated.
Grab velvet pillow covers for $12 each. Swap them every three months and the whole room feels different.
Curtains should puddle or kiss the floor, never hang halfway up. These 96-inch linen panels are right for standard nine-foot ceilings.
Everyone buys five small succulents. One single 6-foot fiddle leaf fig has ten times the visual impact.
If you are nervous about nails, start with removable picture ledges. Brass picture ledges let you experiment with layout before committing.
Frequently Asked Questions
Q: How do I prevent photos from fading in a sunny room?
A: Keep prints out of direct afternoon sun and use UV protective glass in frames. For small displays, rotate photos every six months and use archival mats like archival photo mats for extra protection.
Q: Can I mix photo styles like Polaroids and formal portraits without it looking messy?
A: Yes. Anchor the mix with one dominant color tone and follow the rule of three. For example, use three warm-toned images among cooler ones to create cohesion. Pair the mix with consistent frames to read intentional.
Q: What spacing should I use for a gallery wall that feels balanced?
A: Aim for 2-4 inches between frames and hang the center of the arrangement at 57 inches off the floor. For large groupings, use 3 inches as a default and step back before you start nailing.
Q: My photos feel dated. Should I print them in color or convert to black and white?
A: Convert older, mismatched photos to black and white to unify tone. A sepia wash can warm a set of mixed-era prints so they feel cohesive without losing personality.
Q: How do I make a memorial display that feels personal but not heavy?
A: Include everyday objects alongside photos such as a ticket stub, a pressed flower, or a small handwritten note. Use a shallow shadow box with a 1/2 inch spacer behind items so nothing is pressed flat. That keeps it intimate without being museum-like.
Q: Are digital frames appropriate for memorial displays?
A: They can be, if you manually curate the slideshow. Limit images to select favorites and schedule the frame to play during daytime hours. A WiFi frame like digital photo frames with WiFi lets family add photos privately when they want to contribute.

