

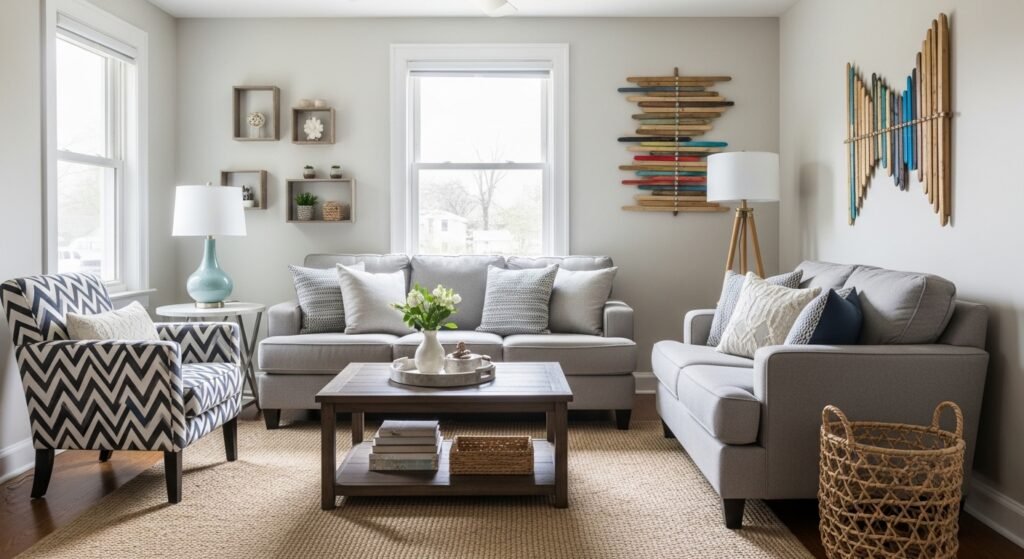
My living room had nice furniture and decent lighting but it still felt like a waiting room. Took me embarrassingly long to figure out it was missing texture. Every surface was smooth, every color was flat, and nothing invited you to actually sit down. Turning a pile of paint sticks into small, intentional objects was the cheapest way I have found to fix that.
These paint stick crafts lean casual-modern with a hint of farmhouse charm. Most projects cost under $30, with a couple closer to $60 if you buy tools. They work great in living rooms, entryways, home offices, and small kitchens. Expect to reuse a few basic supplies across projects so the second craft is always faster.
Rustic Paint Stick Floating Shelf For Entryway
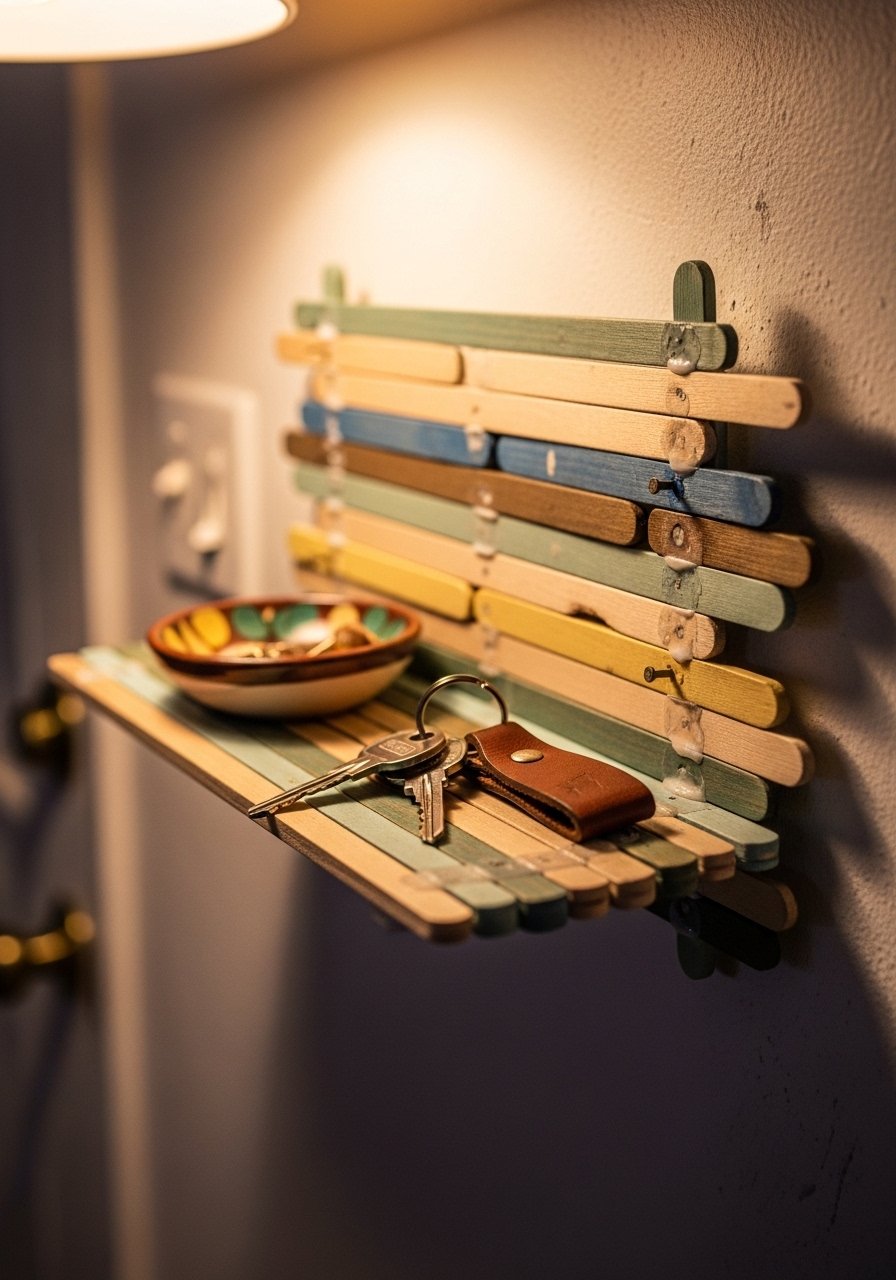
The idea is simple, but seeing a real shelf built from paint sticks hung under your mirror makes guests do a double take. Visually it works because the sticks are arranged in a staggered brick pattern, which hides the seams and gives about a 2:1 depth-to-height ratio that reads stronger than a flat board. I used wood glue and 120-grit sandpaper for a smooth finish. Budget under $25 if you already have paint and a drill. A common mistake is overloading it. Keep it to 3-4 items max. For hardware I like a basic picture hanging kit so it sits flush.
Cozy Painted Planter Box For Shelf Styling
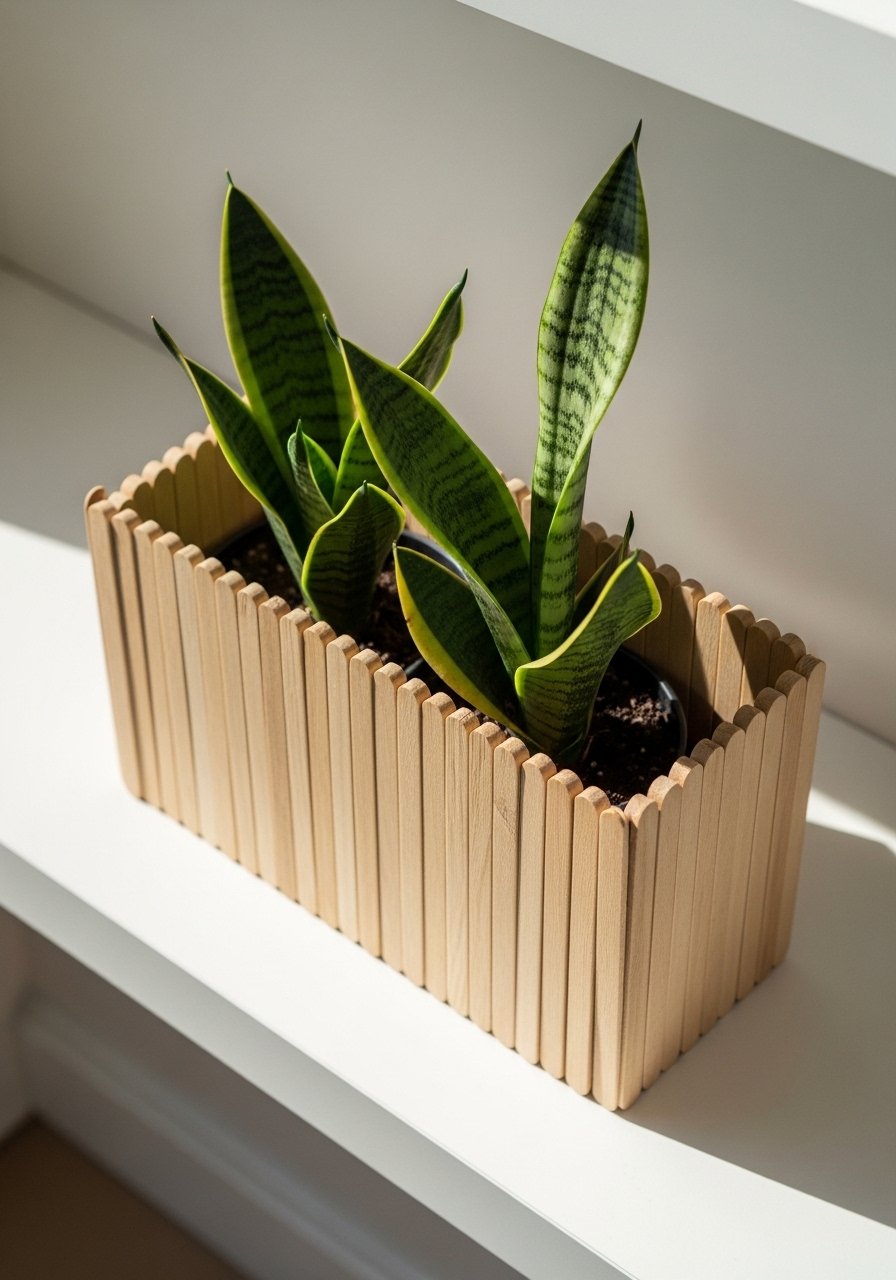
Turning paint sticks into a planter box gives you height and texture without buying a ceramic pot. I seal the inside with clear waterproof varnish so soil does not damage the wood. It creates that lived-in look I keep trying to get in my bookcase styling. Budget $15 to $30 depending on paint and sealant. Newbies often make the sides too thin, so I glue three sticks side by side for each wall to get proper thickness. Pair this with the floating shelf for a mini green corner. I used clear water-based varnish for protection.
Minimalist Paint Stick Picture Frames For Gallery Walls
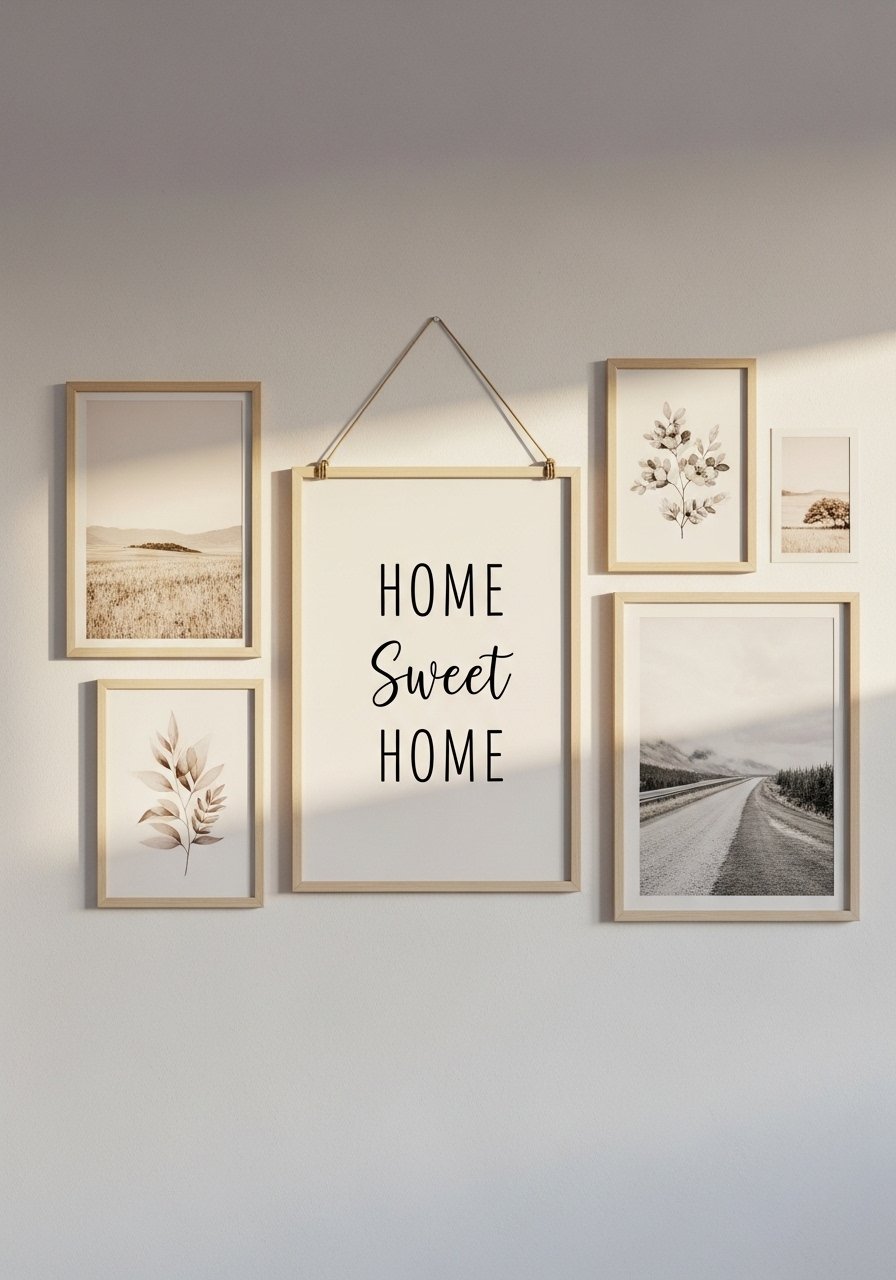
I made a set of slim frames from paint sticks when I could not find black metal frames in the exact size I needed. They are lighter and cheaper, and they let me play with mixed-media prints without commitment. Use a 45-degree miter cut for crisp corners and a 1-inch overlap at the back for photo mats. Budget $10 to $20 for a set of three. A mistake people make is using too many knots in the wood, which looks rough. Sand to 220 grit and paint in an 80/20 color ratio, where one color covers 80 percent and the accent covers 20 percent. I swap pieces often using brass D-rings and small picture hanging hooks.
Narrow Coat Rack With Hooks For Small Entryways
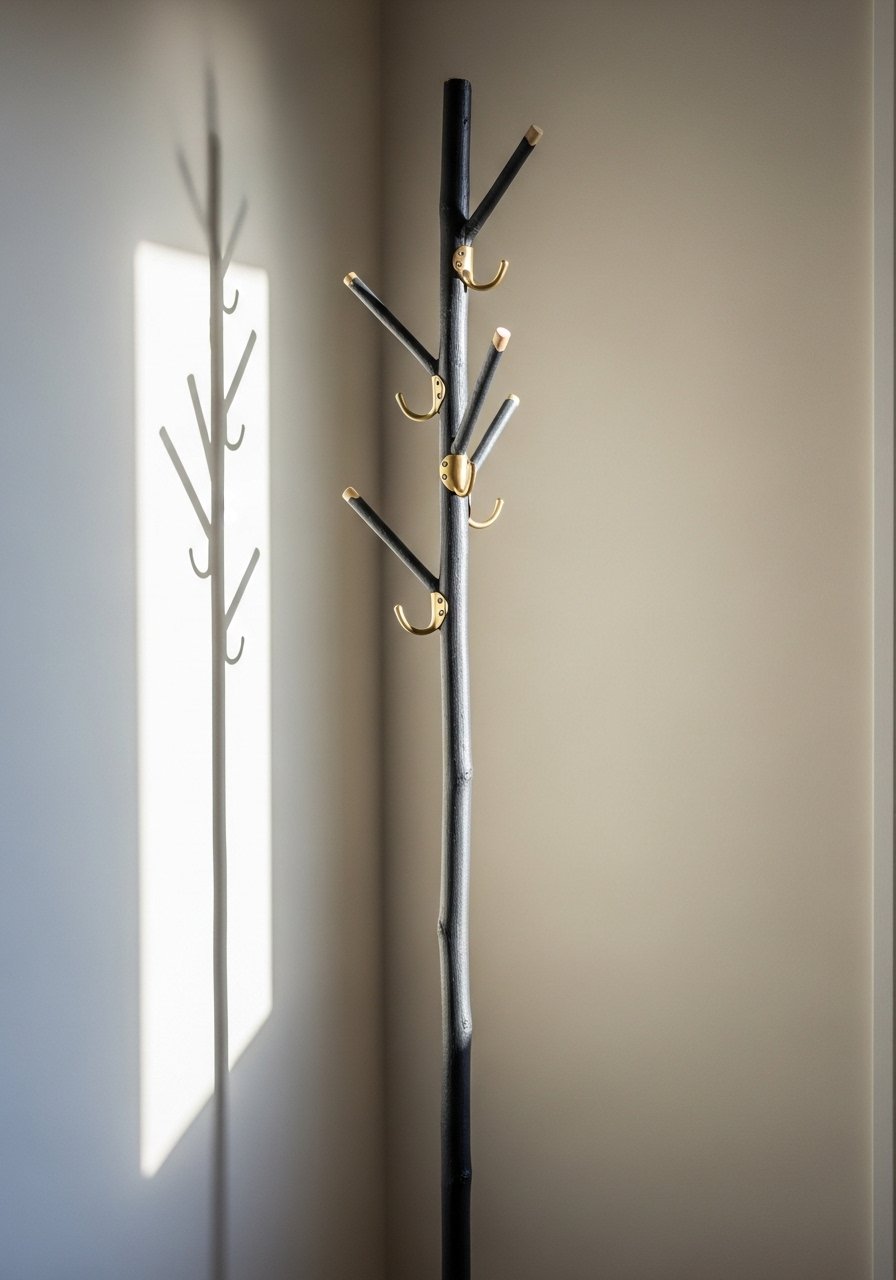
This is one of those projects that fixes the everyday problem of cluttered keys and scarves. I glued three sticks together for thickness, then spaced hooks at 6-inch intervals, which is perfect for hats, lightweight jackets, and dog leashes. Budget around $20 including hooks. The mistake is screwing hooks into thin wood without a backing. Reinforce the back with a small cleat or use a stud screw and a heavy-duty wall anchor set. Pair this with the floating shelf from earlier for a purposeful entry vignette.
Hexagon Trivet Set For Kitchen Use
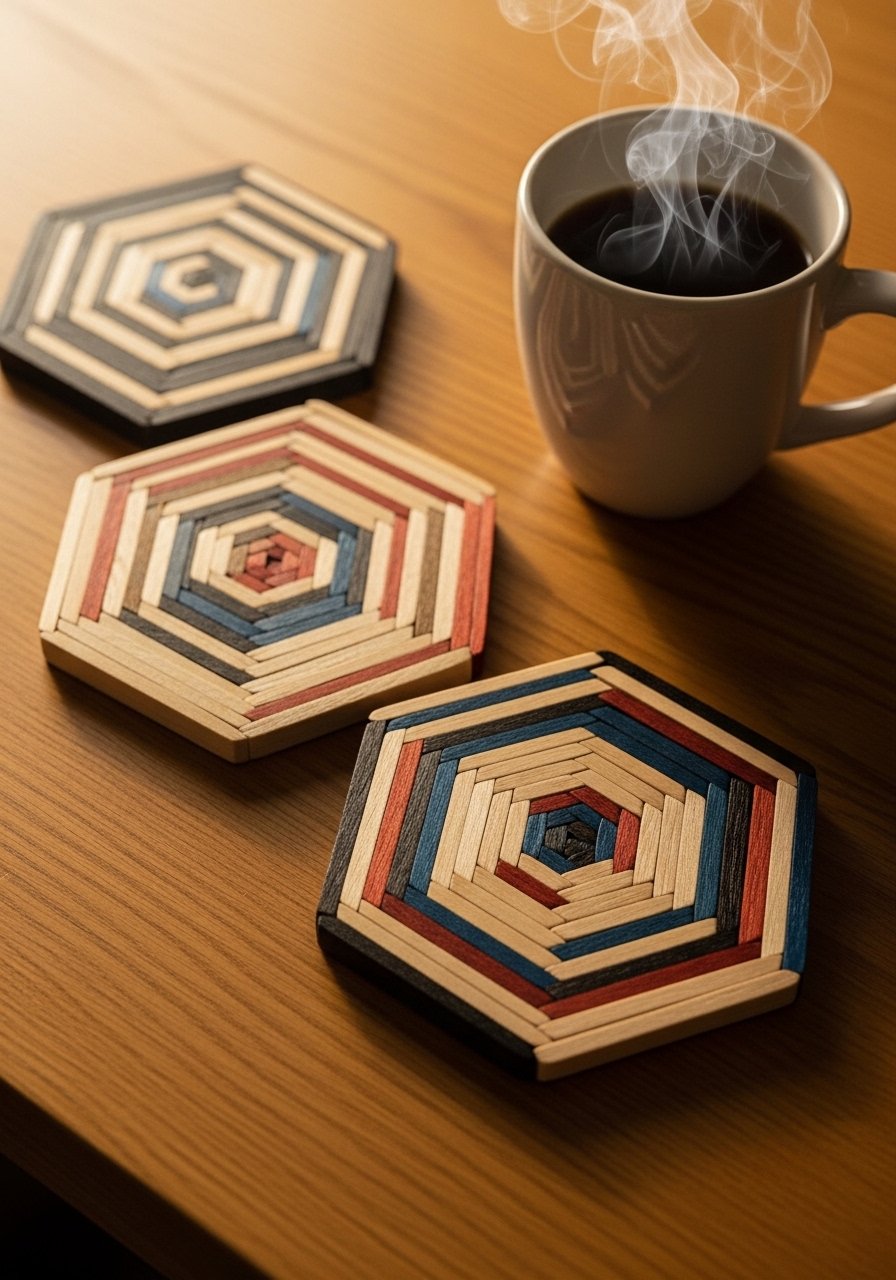
I cut sticks into angled strips and glued them into hexagons. The result is practical and pretty sitting next to a cutting board. It protects surfaces and pulls in the room’s color palette when painted in a tonal trio. Budget $12 to $25 for three trivets. New crafters often skip sealing them and learn about heat marks the hard way. I use a clear heat-resistant sealer and felt pads so they do not scratch the table. Use heat-resistant clear sealer and 1-inch felt circles on the underside.
Midcentury Inspired Jewelry Organizer For Dresser Styling
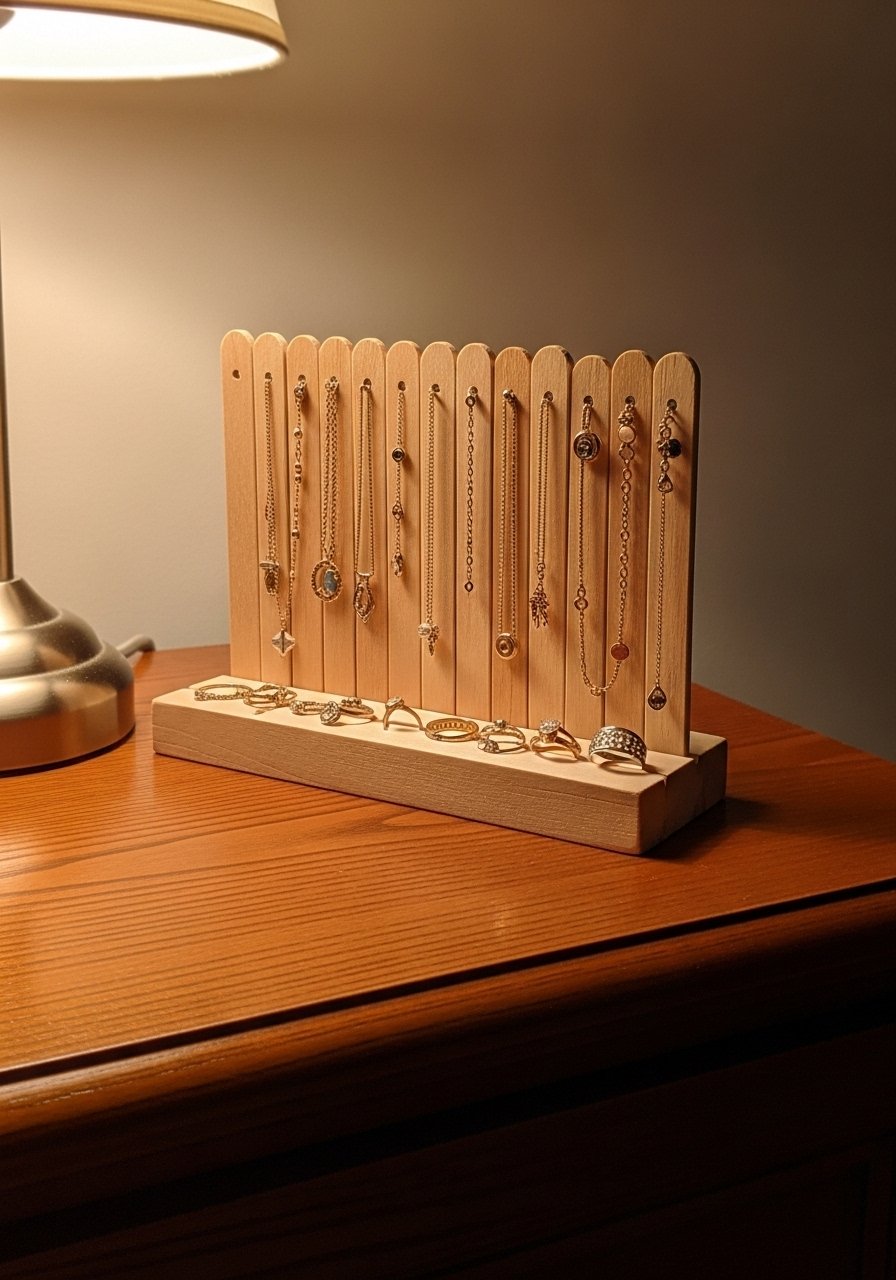
This organizer was a quick fix for my jewelry pile. I staggered sticks vertically and added brass knobs at varied heights. It looks midcentury because of the slim profile and warm stain. Cost under $15 if you reuse knobs. The common mistake is spacing knobs too close. Stick to 2.5 to 3-inch horizontal spacing and 1-inch vertical steps for layered necklaces. I hang mine above a tray and it keeps the dresser tidy while acting like art. I grabbed brass knobs in a mixed finish for contrast.
Boho Painted Headboard Accent For Bedroom
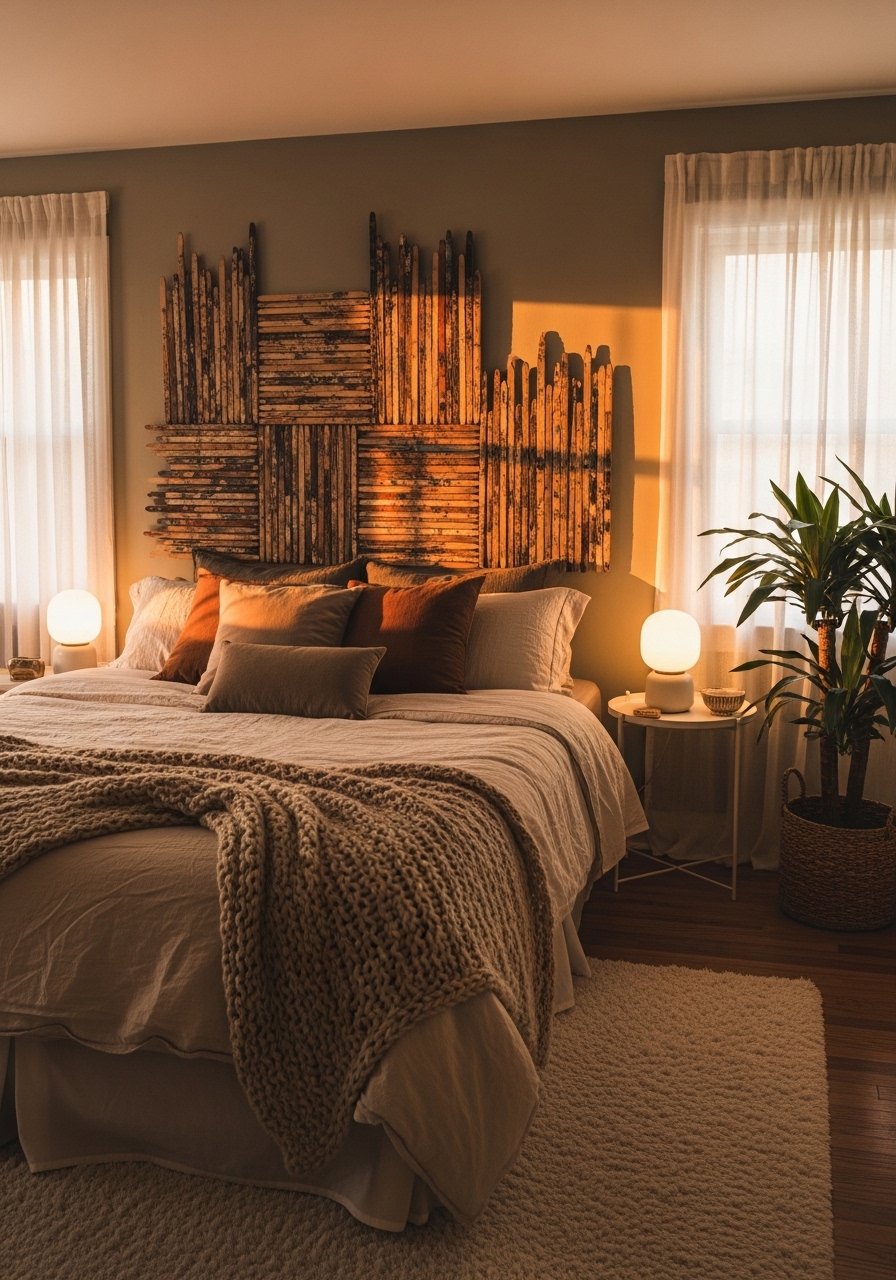
I screwed together panels of painted sticks and mounted them above my bed as an accent headboard. It gives the room scale without a heavy, expensive piece. Paint two tones with a 70/30 split, the lighter color on top to keep the bed visually floating. Budget $20 to $50 depending on paint and mounting hardware. The mistake is making it the exact bed width. Make it 6 inches wider on each side for balance. Use heavy-duty picture hanging hardware for secure installation.
Small Floating Nightstand Tray For Tight Bedrooms
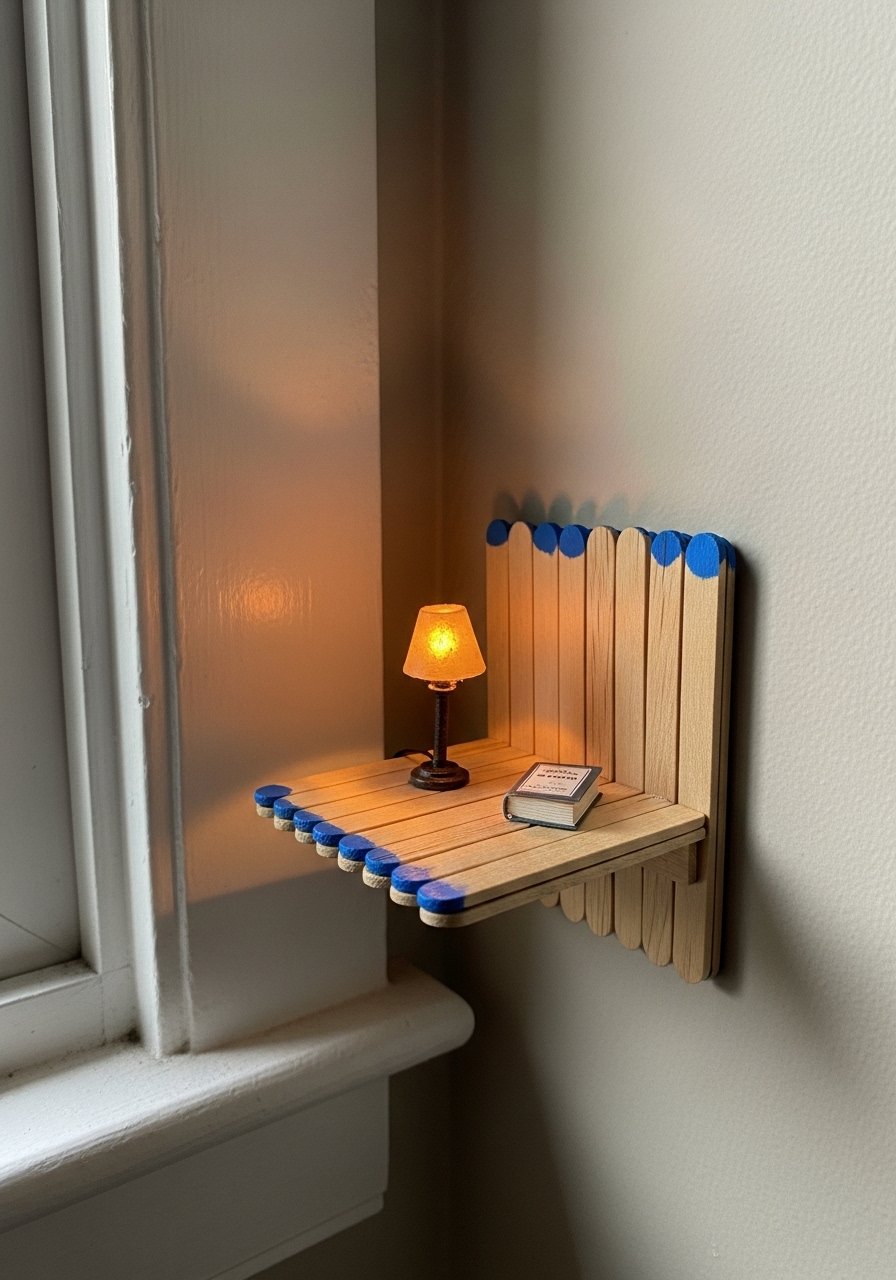
When my bedside table crowded the room, I built a shallow 10×14 tray from paint sticks and fixed it to the wall at nightstand height. It saves floor space and looks intentional. Keep the depth under 6 inches so it does not feel like a shelf. Budget under $20. A common error is not adding a lip. A 1-inch front lip keeps phones and glasses from sliding off. I mount with two drywall anchors and use small shelf brackets for extra support.
Rustic Candle Holder Cluster For Dining Table
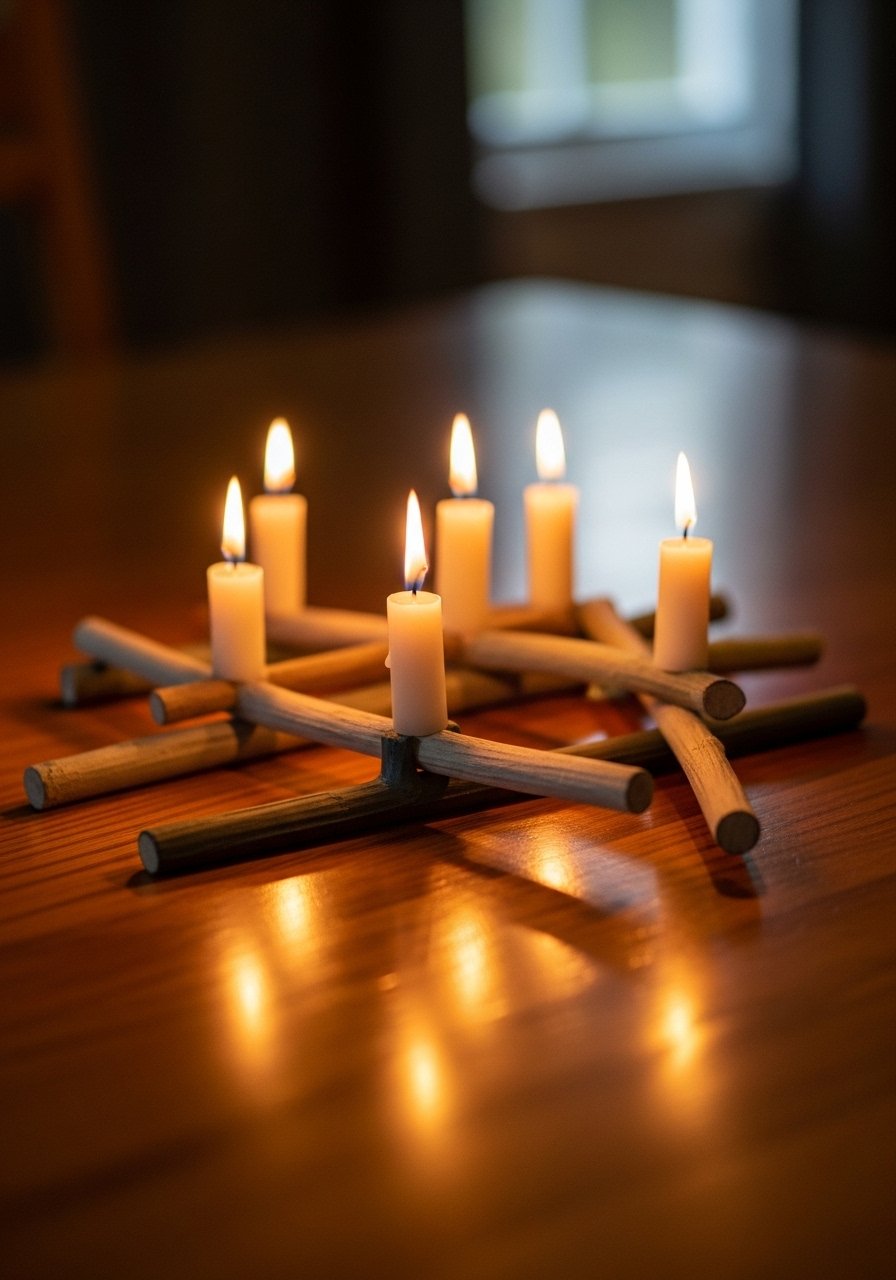
I glued sticks into short cylinders and drilled holes for tea lights. The low height keeps sight lines clear at the table. Paint them in a three-shade tonal set and cluster in odd numbers for visual rhythm, following the rule of three. Budget $10 to $20 for a set of five. A mistake is making the holes too shallow. Drill deep enough so the candle base sits below the rim. Use tea light holders that fit snugly.
Geometric Wall Puzzle Art For Living Room Accent
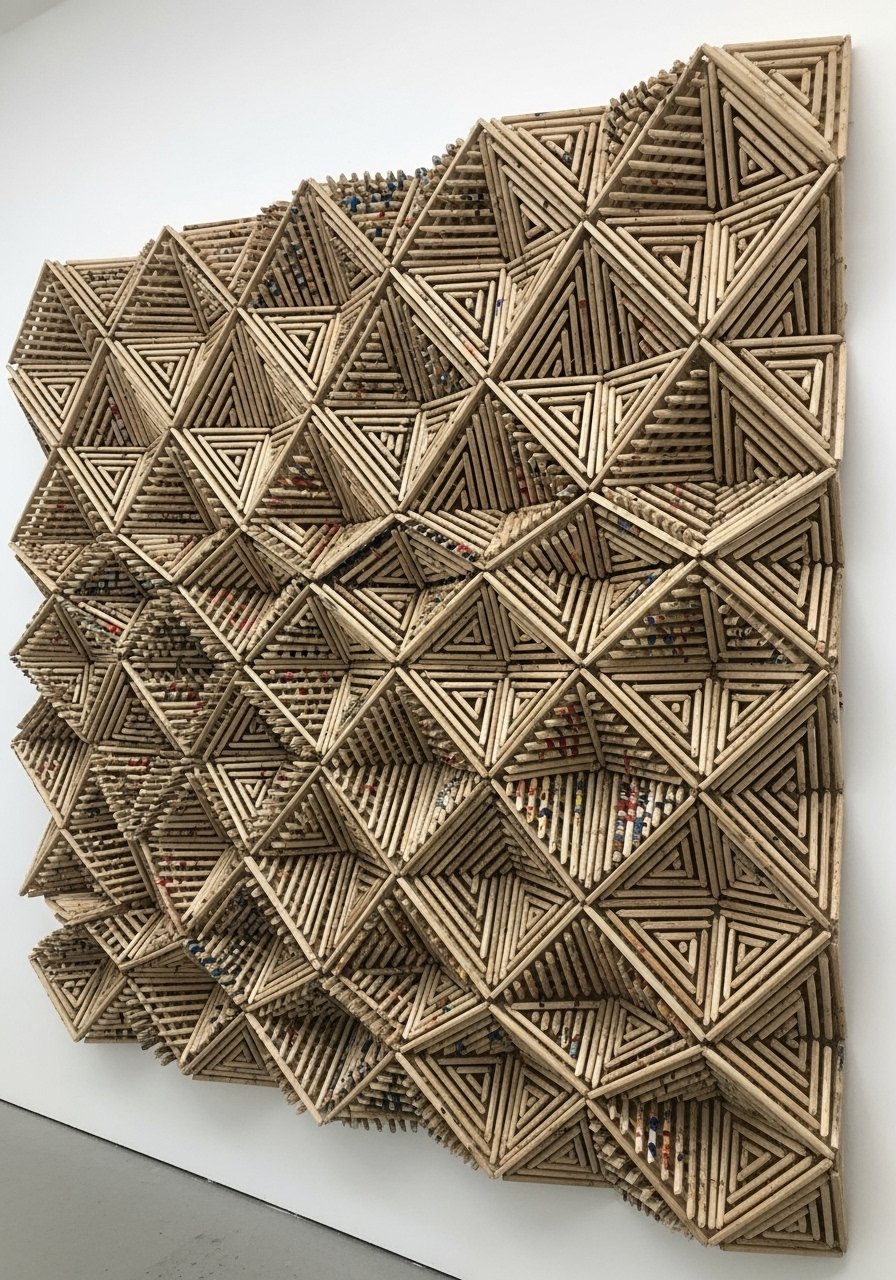
I cut sticks into triangles and fit them like a puzzle across a plywood backing. The shapes add motion and the large scale fills the wall without buying an expensive canvas. Budget $30 to $60 depending on backing and paint. People often pick colors that fight the sofa. Use the 80/20 color rule here, where one dominant color covers most of the piece and two accents add interest. For clean cuts use a miter box and precision craft saw.
Painted Plant Stakes And Garden Labels For Porch
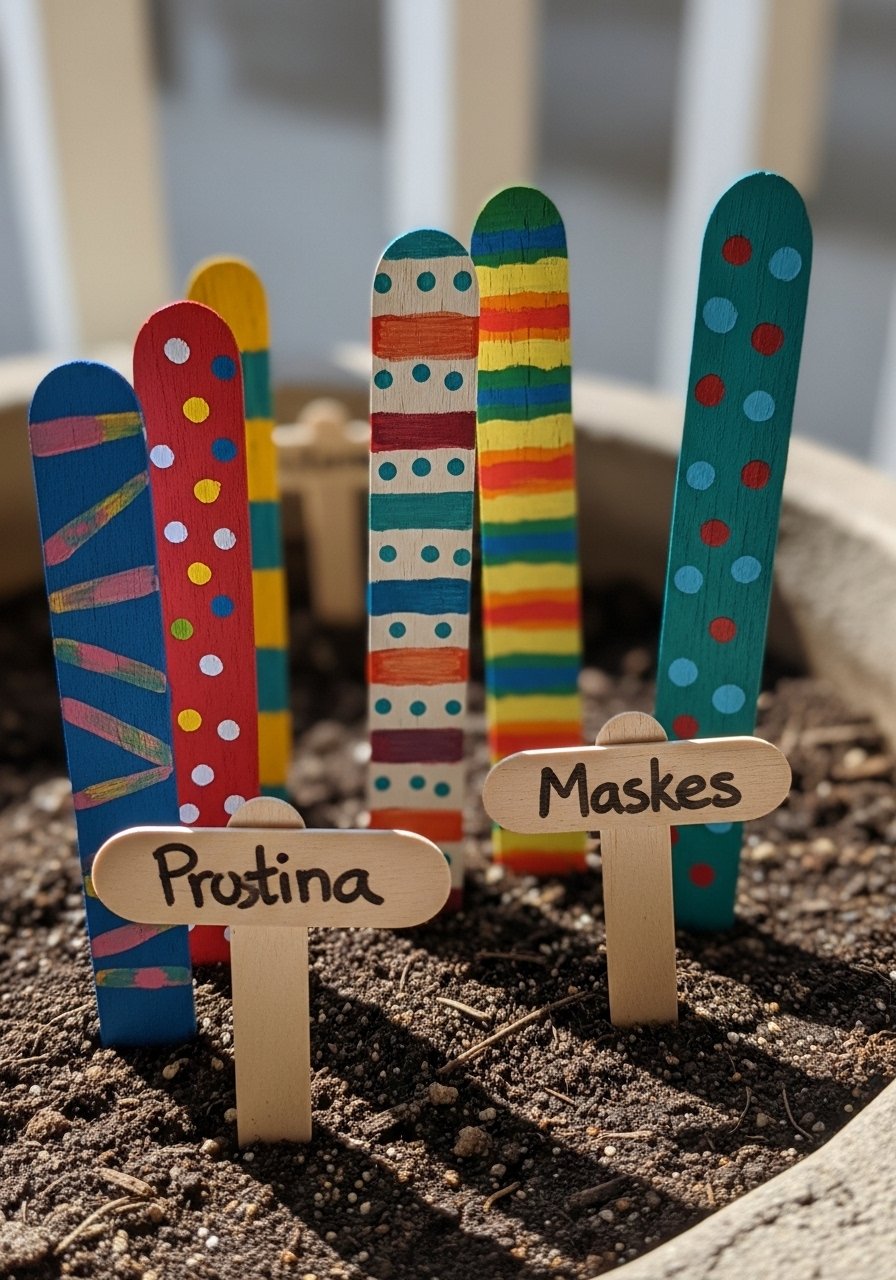
This is a tiny project that makes your herbs look like you actually tend them. Paint different colored tips for basil, thyme, and rosemary, and write the name with a fine-tip paint pen. Budget under $10. A common mistake is using chalk pens that wash off outside. Use an outdoor acrylic paint pen and seal with a clear coat. I keep a set by the kitchen door. I used outdoor acrylic paint pens.
Modern Mail Sorter For Home Office
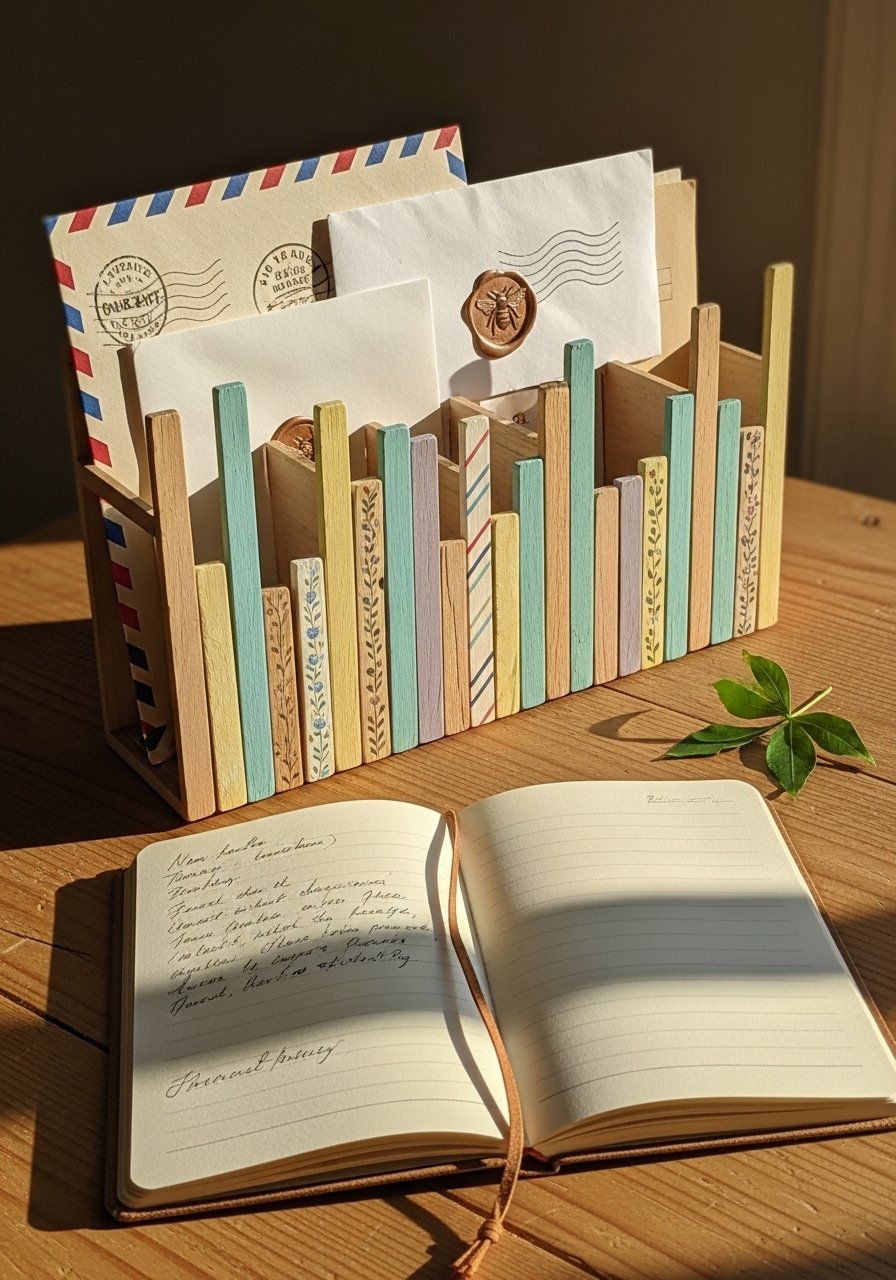
I built a narrow sorter with three slots to stop my desk turning into a paper mountain. Each slot is 1.5 inches wide, which fits standard envelopes and a slim notebook. Budget $12 to $25. People make the slots too deep, which hides the mail and makes it harder to grab. Keep the height under 6 inches so you can see contents. Finish with a matte top coat and pair with a small tray to hold stamps. I used matte clear coat spray.
Tiny Spice Rack For Small Kitchens
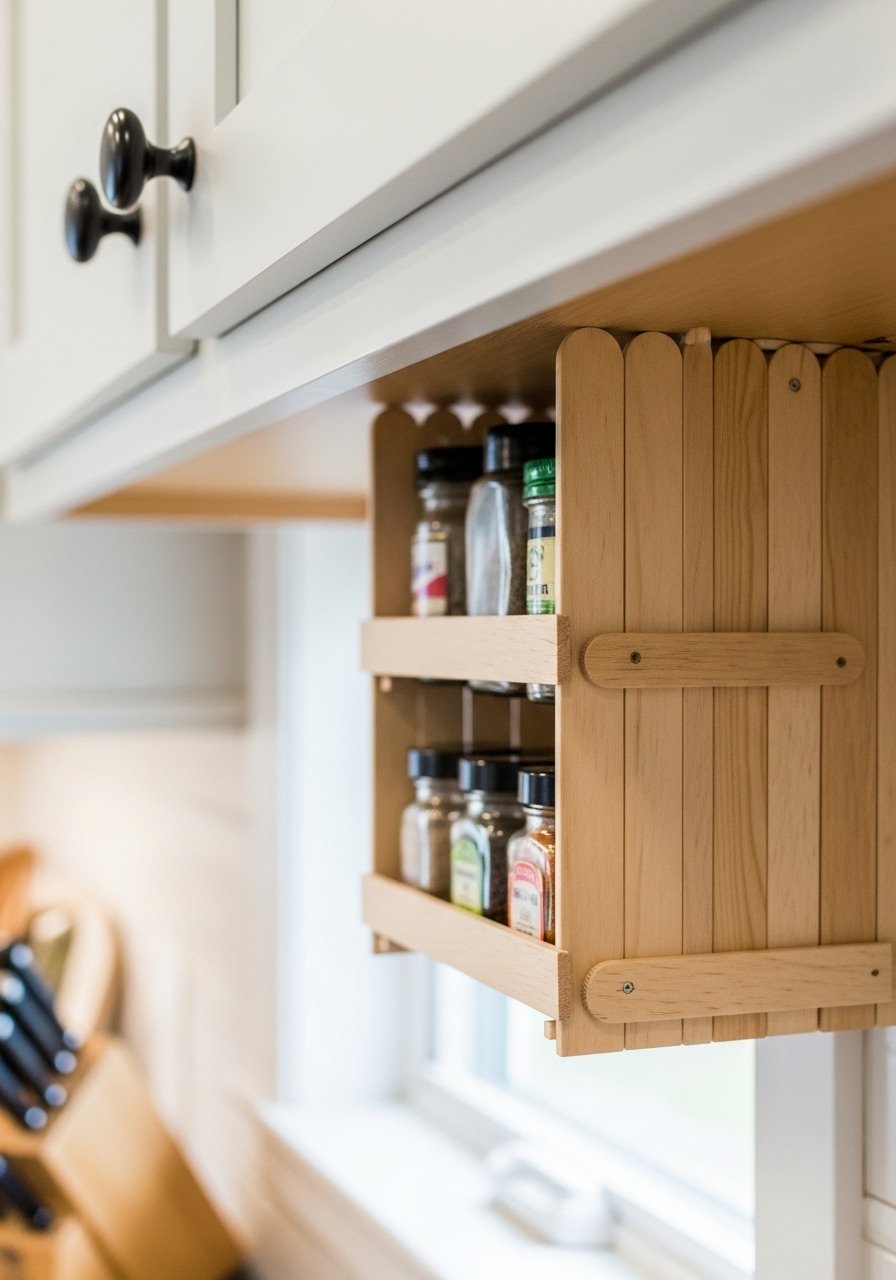
This rack mounts under a cabinet to free counter space. I used sticks to make narrow shelves that hold 4-ounce spice jars. The visual is tidy and uniform, which makes the shelf feel more expensive than it is. Budget $15. Mistakes include using too much depth. Keep shelves about 2.5 inches deep so jars sit forward and labels are readable. I label with a fine-tip label maker tape for a clean look.
Pebble-Inlay Coasters For Coffee Table Styling
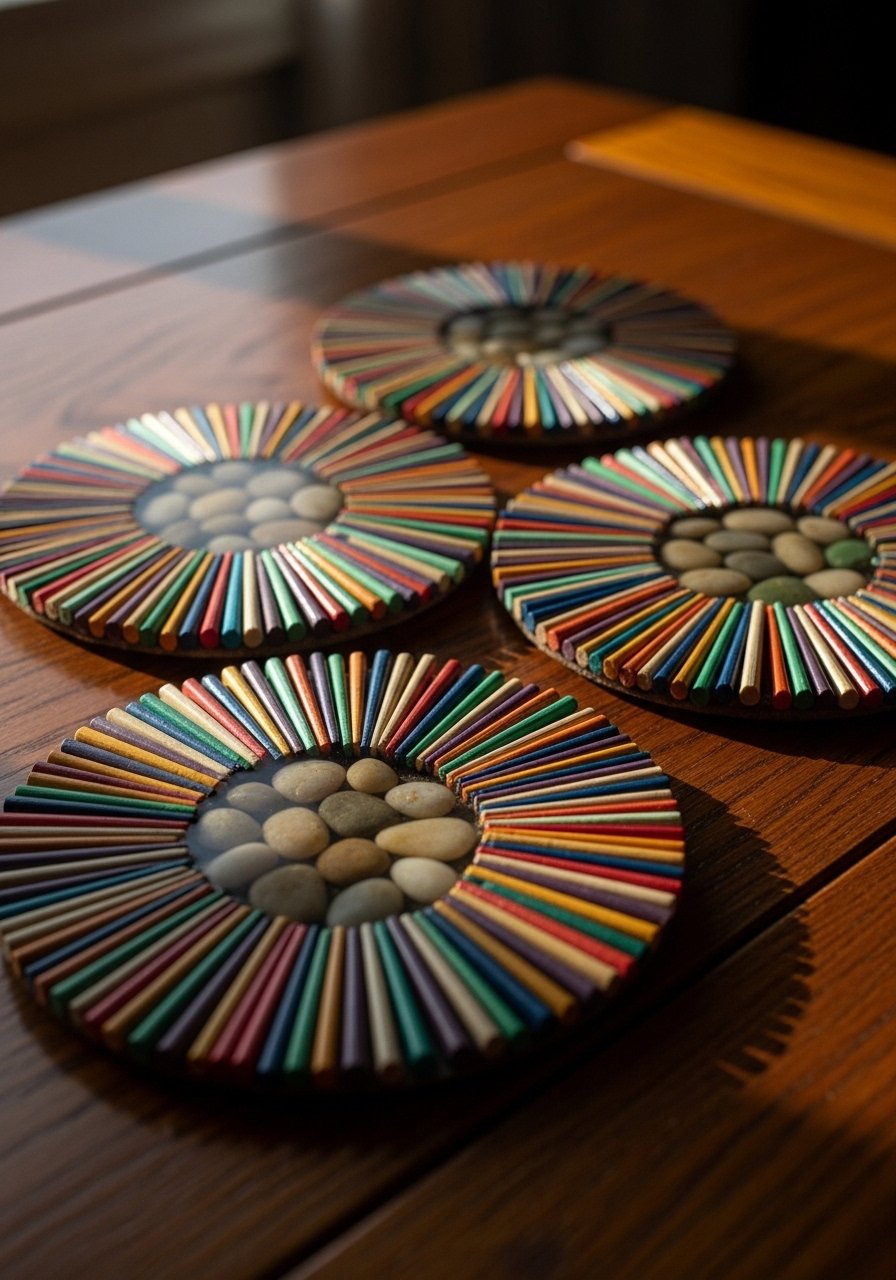
I cut paint sticks into concentric rings and inset tiny polished pebbles I already had. The texture contrast makes the coffee table feel curated. Budget under $10 if you already have pebbles. People often make coasters too smooth, which means drinks slide. I leave a slight textured edge and seal with a waterproof top coat. For a consistent size, use a 4-inch cutter ring and waterproof top coat.
Foldable Paint Stick Laptop Stand For Couch Use
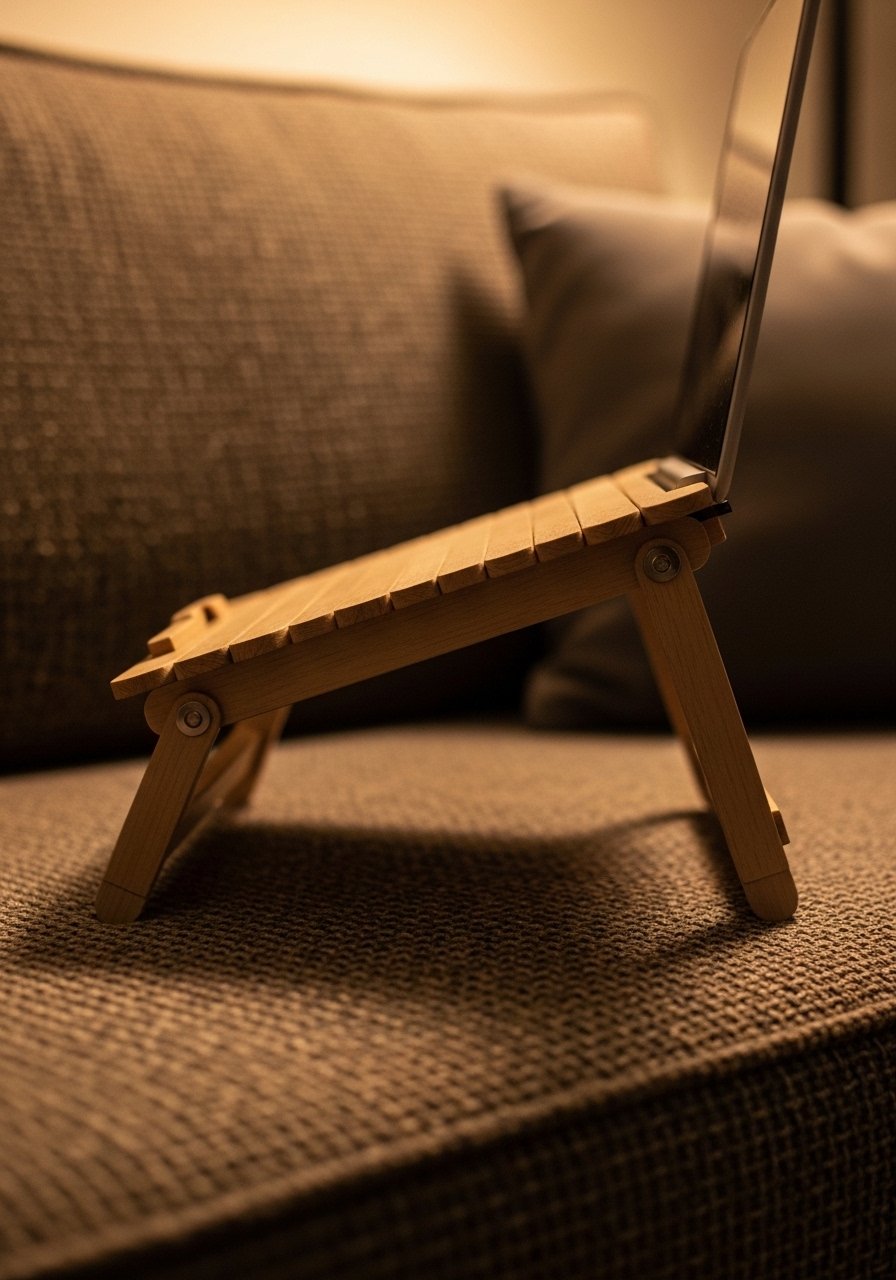
This is the one I built when working from the couch left my laptop overheating and my posture terrible. It folds flat for storage and angles the laptop about 12 degrees, which helps airflow. Budget $20 to $35 with basic hardware. Common mistakes are too steep an angle or no ventilation. Cut slats with 1/2-inch gaps to let heat escape and test with a 15-inch laptop size. I used small brass hinges and a compact hinge pack so it folds smoothly.
Your Decor Shopping List
Textiles
- Honestly the best $40 I have spent. Chunky knit throw in cream 50×60 inches. Drape over the sofa arm for instant warmth
Wall Decor - Picture hanging kit for mounting paint stick panels, includes multiple sizes
Tools & Adhesives - Wood glue gel (~$8) for strong bonds without clamps
- Precision miter saw hand tool for clean 45-degree cuts, optional splurge
Paint & Sealants - Acrylic craft paint set 24 colors, perfect for mixing palettes
- Matte clear coat spray to protect finished pieces
Hardware & Small Parts - Small brass knobs mixed finish for hooks and organizers
- Heavy-duty wall anchors for secure hanging
Budget Finds - Paint stir sticks pack 100-pack, the main material and great value
Plants & Styling - Small faux fiddle leaf fig 4ft for corners with low light, similar at HomeGoods
- Unscented tea lights for candle holder clusters
Shopping Tips
White oak beats dark wood in 2026. Design feeds have shifted completely. These white oak floating shelves look current, not dated.
Grab a pack of wooden paint stir sticks for under $10. You will use them across most projects and the price per craft drops dramatically after the first build.
Curtains should puddle or kiss the floor, never hang halfway up. These 96-inch linen panels are right for standard 9-foot ceilings and help rooms feel taller.
Mix a splurge tool with budget supplies. I use a pricier precision miter saw hand tool for clean angles and cheap paint from a basic set for color.
One tall plant does more than five tiny ones. If you need presence without fuss try a faux fiddle leaf fig for immediate scale.
Frequently Asked Questions
Q: Can paint stick projects hold weight as shelves?
A: Small shelves and ledges are fine for light items like keys, a small planter, and a candle. Reinforce with a cleat or use heavy-duty anchors. For anything over 10 pounds use a stud mount. The floating shelf idea above is meant for display, not heavy storage.
Q: What tools are actually worth buying for these DIYs?
A: A good miter box or precision saw and a reliable wood glue are worth the cost. I use a wood glue gel and a small saw and avoid cheap sandpaper; 120 and 220 grit make a difference.
Q: Can I use recycled sticks from paint stores instead of buying a pack?
A: Yes, but check for warping and contaminants. Pre-cut packs are consistent, which helps with measurements. If you collect from stores, sort by straightness and thickness before you start.
Q: How should I seal projects that may contact water, like planters and trivets?
A: Use a water-resistant sealer and consider an interior waterproof liner for planters. For trivets pick a heat-resistant clear sealer. I use heat-resistant clear sealer for anything near hot dishes.
Q: Can I mix styles like boho textiles with modern furniture without it looking messy?
A: Yes, mix in small doses and anchor with scale and color. A paint stick headboard done in two tones pairs well with layered pillows. A friend walked into my apartment last month and said "this looks like a real adult lives here." Highest compliment I have ever received. Here is every change I made to earn it.
Q: What are common mistakes beginners make with paint stick crafts?
A: Cutting too fast, skipping sanding, and underestimating glue drying time. Also people forget to test fit before painting. Spent $400 on a new coffee table. Room still looked off. Spent $35 on a throw and three candles. Suddenly everything clicked.

