

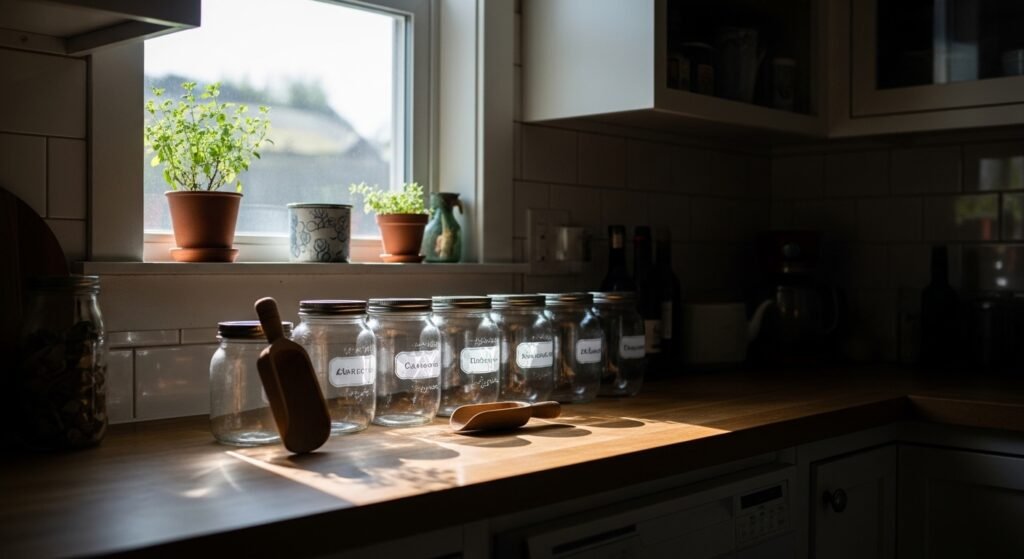
I had a shelf full of jars that somehow made the whole kitchen feel like a staged shop, not my kitchen. Everything was clear glass, every label the same size, and the counter still looked cramped. I tried filling every jar to the top and matching fonts exactly. It looked sterile and fussy.
The turning point came when I emptied the shelf and grouped things by how I actually cook, not by aesthetics. Once I let a few empty spaces breathe, and mixed textures and label sizes, the jars started to feel like part of the room instead of props.
Step 1: Empty, edit, and group by how you use things
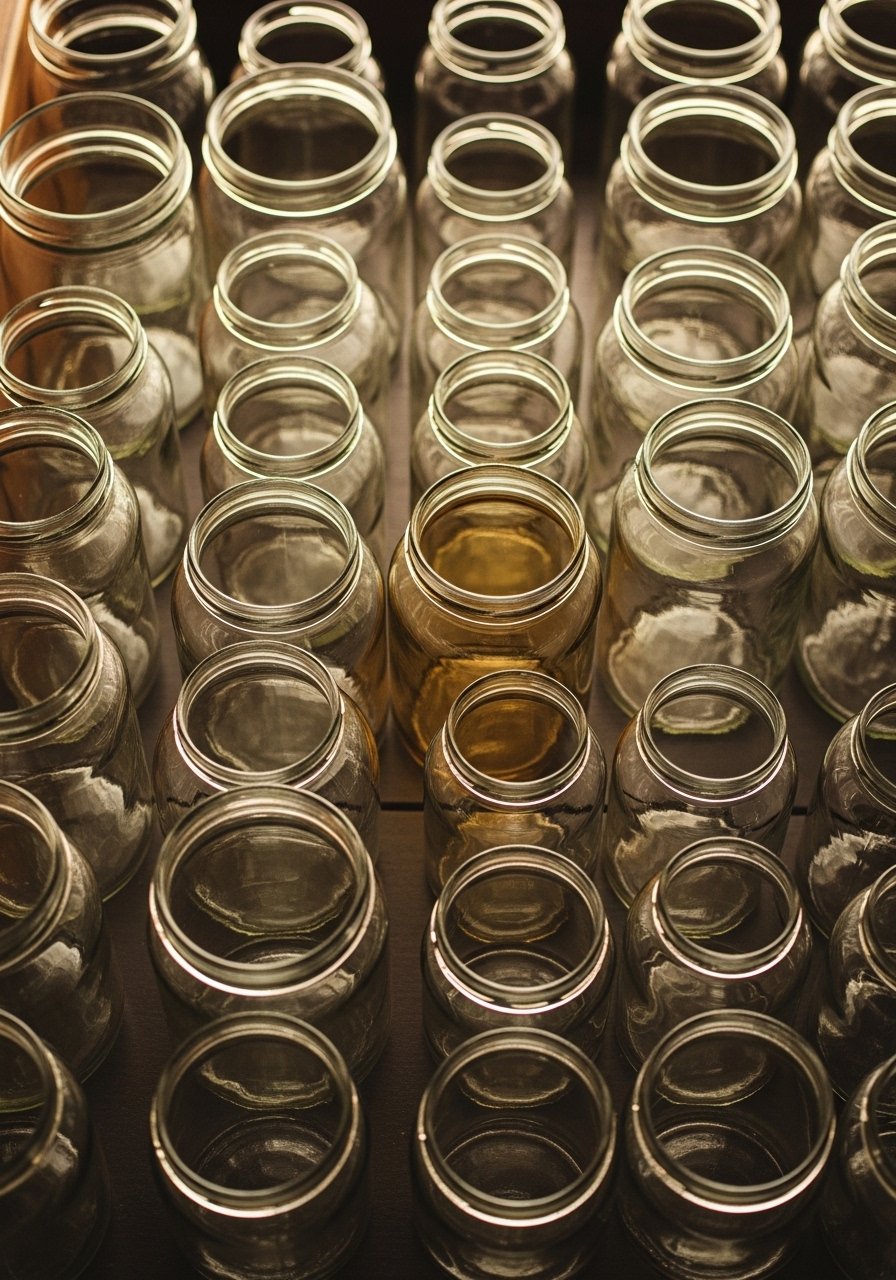
Pull everything off the counter or shelf. Yes, everything. I used to skip this and then rearrange the same clutter. Group items into cooking zones: baking, breakfast, snacks. The visual change is immediate. You will see duplicate spices, half-empty bags, and jars that should be tossed.
Practical rule: use 16-oz jars for spices, 32-oz for sugar and rice, and 64-oz for flour or pasta. Also, aim to fill dry goods jars to about two-thirds full. That keeps them light enough to lift and leaves room for scoops without making them look overstuffed. Common mistake: keeping everything because it "might get used." Edit first. I still felt nervous the first time I tossed a half-bag of chia seeds. It was fine.
Step 2: Pick a label system that survives steam and Sunday mornings
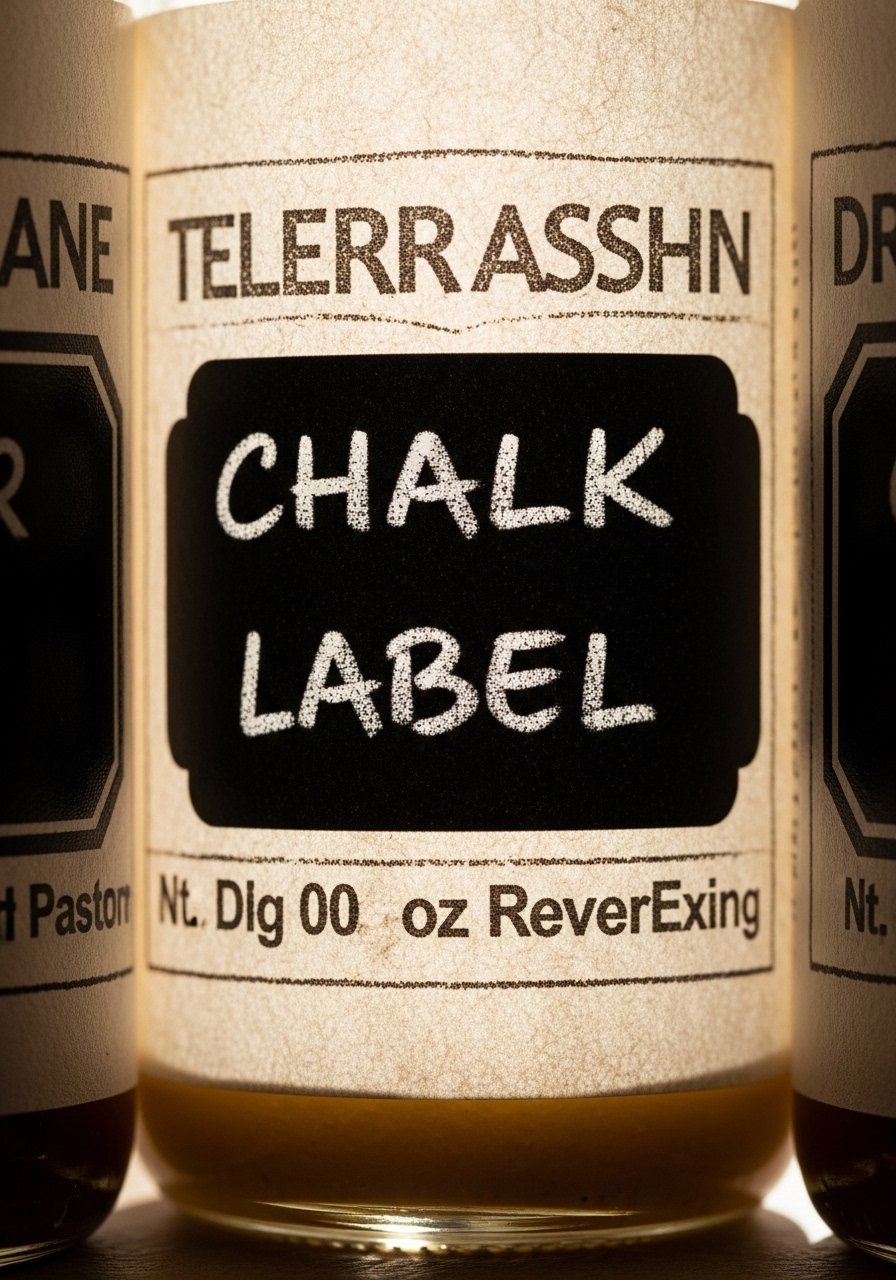
Decide printed or handwritten, then be consistent within a zone. For busy counters I like waterproof printed labels for wet hands and steamy pans, and chalkboard-style labels on less-used jars. Label height matters. Use about 1 inch tall labels on 16-oz jars and 1.5 inches on 32-oz jars so the text reads from across the room.
Mistake people make: tiny labels with all-caps fonts. They look precise, but they shrink into the background. And if you switch fonts on each jar it will look messy. I switched between two fonts for a long time because I could not commit. Pick one printed font or one handwriting style and stick with it for at least a week, you will see what needs changing.
Step 3: Mix materials so the pantry reads warm, not clinical
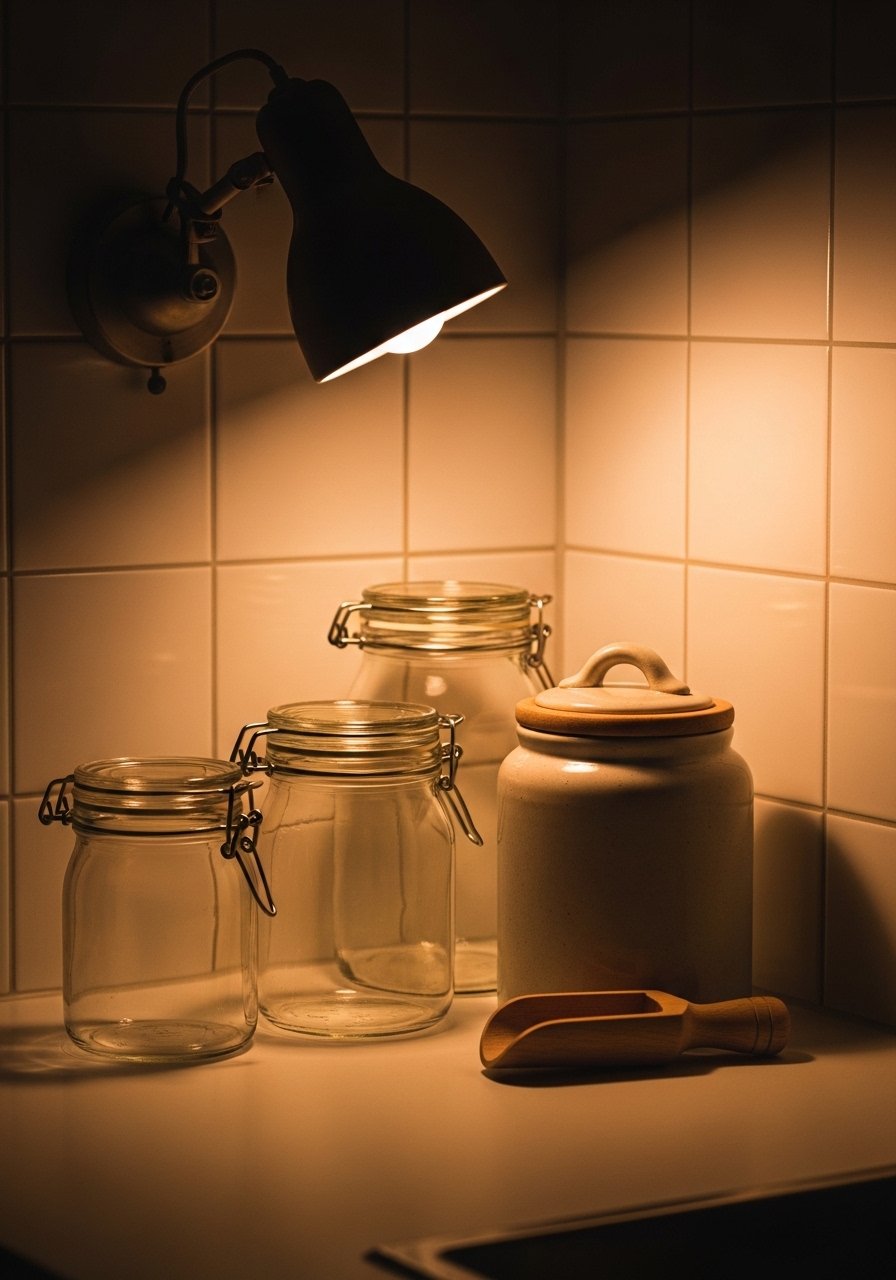
Clear glass is great for finding things, but too much clear glass looks flat. Break it up with matte ceramic canisters, a wooden scoop, or a linen-wrapped basket. Textures add weight and make the arrangement feel grounded. A heavy ceramic canister feels substantial in your hands. A small wooden scoop is warm and rough at the handle, which is nice next to smooth, cool glass.
A quick proportion to aim for is two clear jars for every one opaque or textured container in a single grouping. My first kitchen tried a matching set. It was tidy and boring. Adding a single squat ceramic jar changed the entire shelf into something I wanted to reach for.
Step 4: Anchor, stagger, and leave breathing room
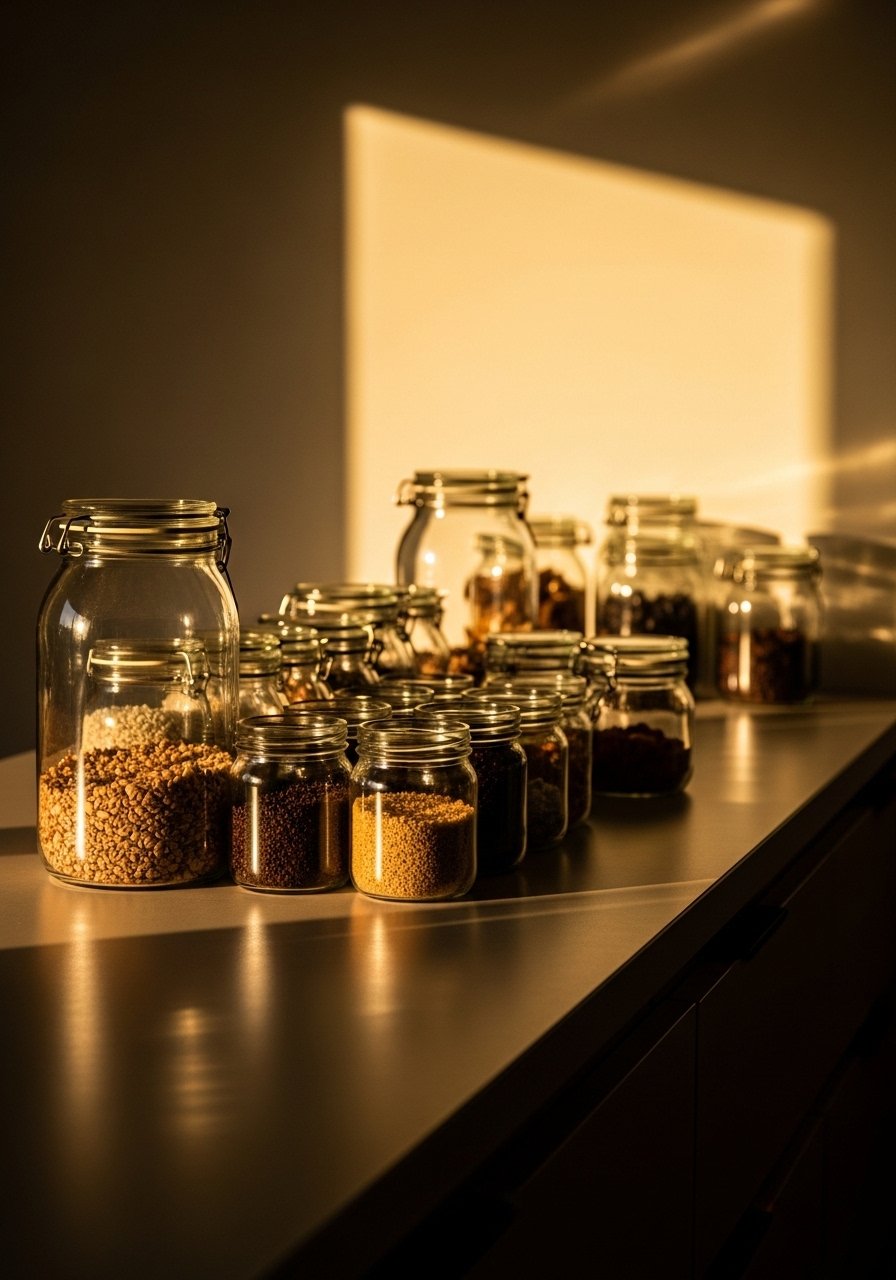
Pick an anchor, a taller item that takes up about one third of the shelf length. From there, stagger shorter jars in front and to the side. Leave 2 to 3 inches between groupings so each cluster reads as intentional. I used to cram jars tight against the backsplash until the whole counter felt heavy. Stepping back after spacing made me realize some emptiness was actually balance.
Common mistake: trying to center everything exactly. Asymmetry often looks more relaxed and lived-in. My partner hated the off-kilter grouping at first. After a week he said it felt calmer. Trust that awkward feeling while you tweak it. Walk away for ten minutes and then come back.
Step 5: Live with it and make small fixes after a week
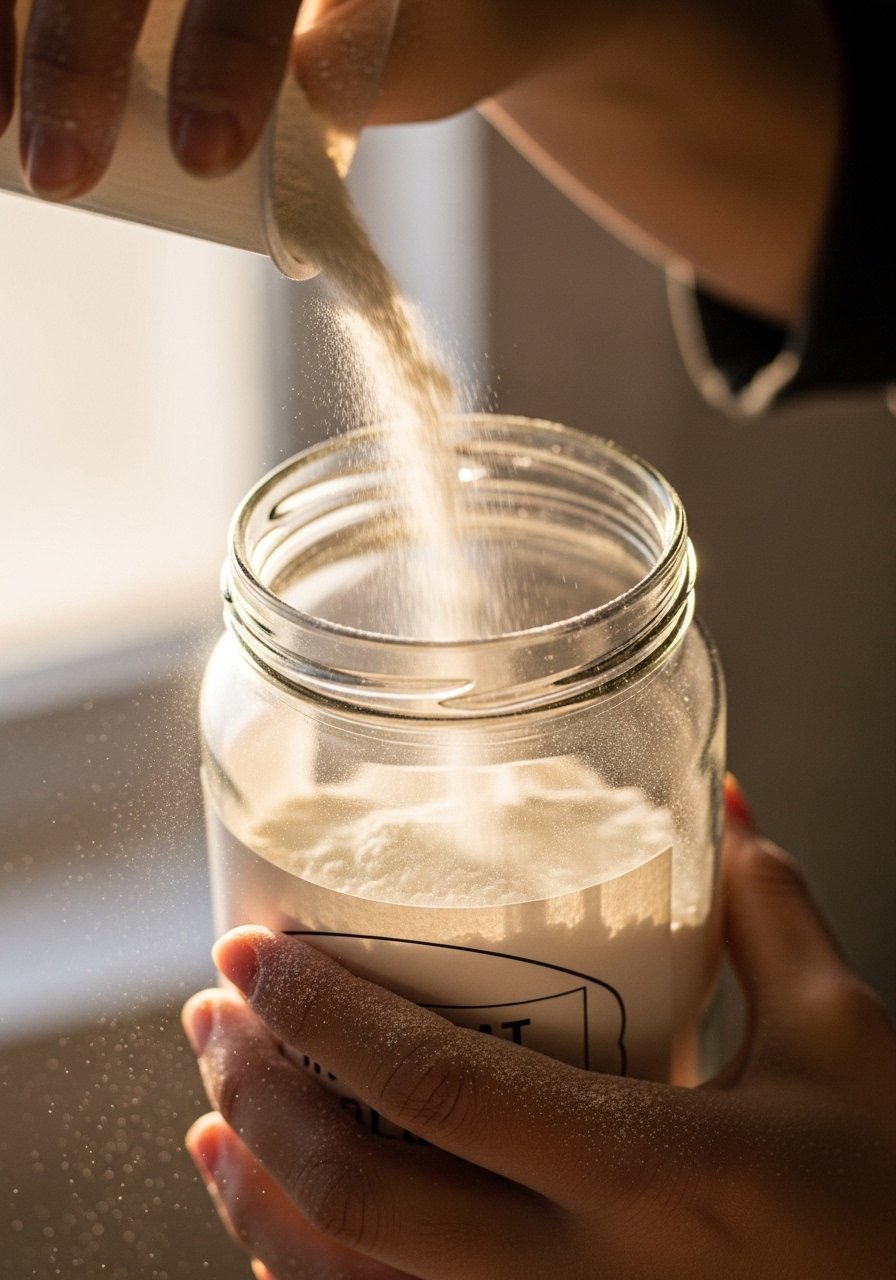
Use the setup for a week before major edits. You will notice labels that are hard to read, jars that get emptied too quickly, or a jar that constantly collects crumbs. I learned this the hard way when I moved things around immediately and then had to redo the whole arrangement. Small changes are better than ripping everything apart.
Protect labels near the stove with waterproof labels, and keep a small tray or cutting board under the most used jars. If a jar gets knocked over in the first week, pick a different spot for it. My roommate knocked over my tallest jar twice before I moved it in one inch. It stayed.
Your Kitchen Jars and Labels Checklist
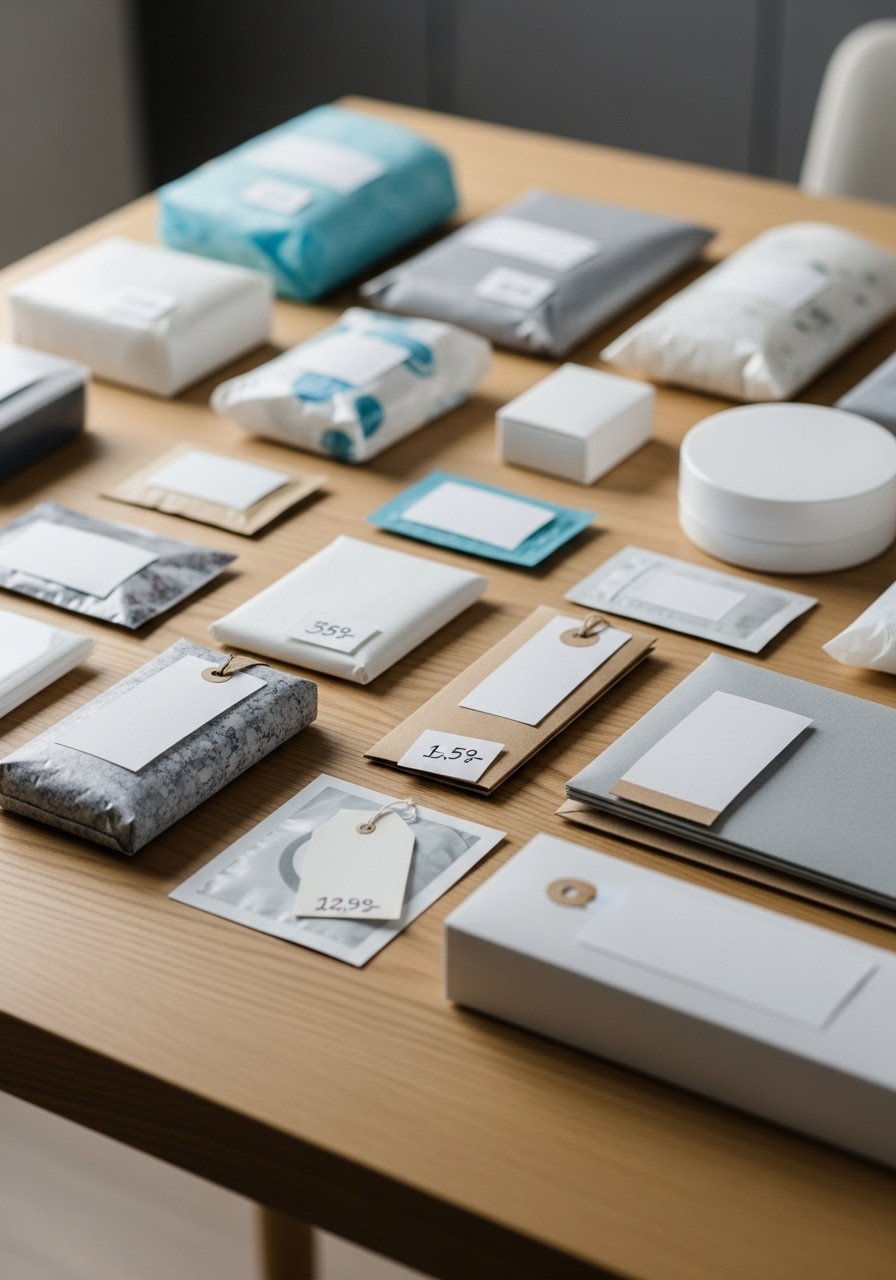
- Airtight glass canister set, 16-32-64 oz ($30-60). These cover Step 1 and Step 4. Clear, but with lids that seal.
- Waterproof printed labels, 1×2 inch roll ($8-15). Use for counters in Step 2.
- Chalkboard label stickers, pack of 20 ($6-12). For zones that change often, used in Step 2.
- Handheld label printer, compact ($25-60). Makes Step 2 easier. Similar tools at office supply stores.
- Matte ceramic canister, 48 oz, white ($20-35). Adds texture in Step 3.
- Bamboo scoops, set of 3 ($9-18). Practical and warm, used in Step 3.
- Small woven basket, 10×6 inch ($12-25). Holds packets and keeps the counter tidy, useful for Step 1.
- Non-slip countertop tray, 12×6 inch ($10-20). For Step 5 to catch spills and crumbs.
- Opaque canister, 32 oz, matte black ($18-30). For beans, coffee, or items you prefer hidden, used in Step 3.
Why Your Pantry Still Feels Cluttered After Labeling
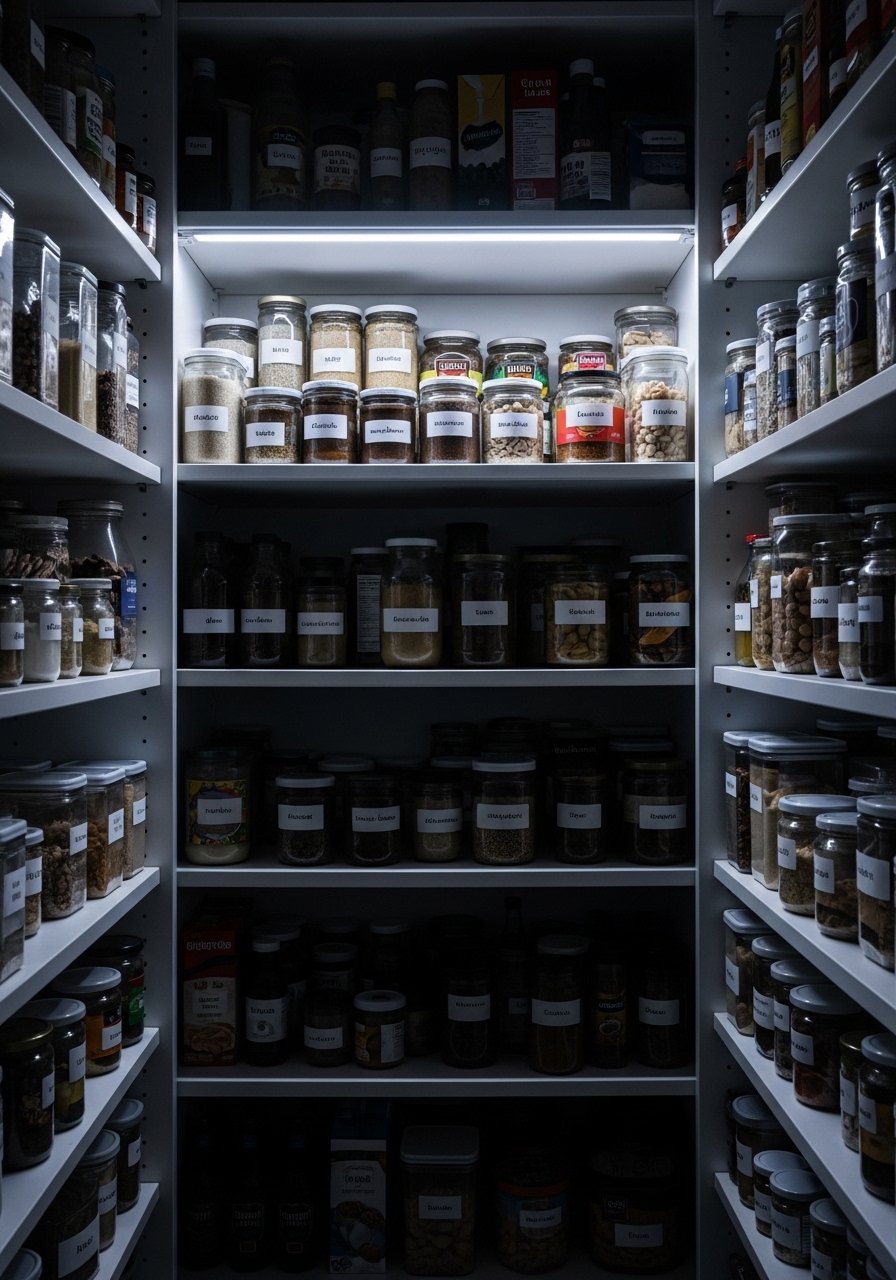
Labels alone do not fix clutter. Common mistakes include labeling every single small jar and using different label styles. That creates visual noise. Instead, label by function, not by every ingredient. Another issue is working without zones. If baking items are scattered, labels will not help daily workflow. My pantry felt sorted on paper but chaotic in practice. Grouping by use and keeping label styles consistent solved it.
Quick checklist:
- Keep similar label styles within a zone.
- Only label items you use frequently.
- Edit duplicates you find while labeling.
Making This Work in a Small Kitchen
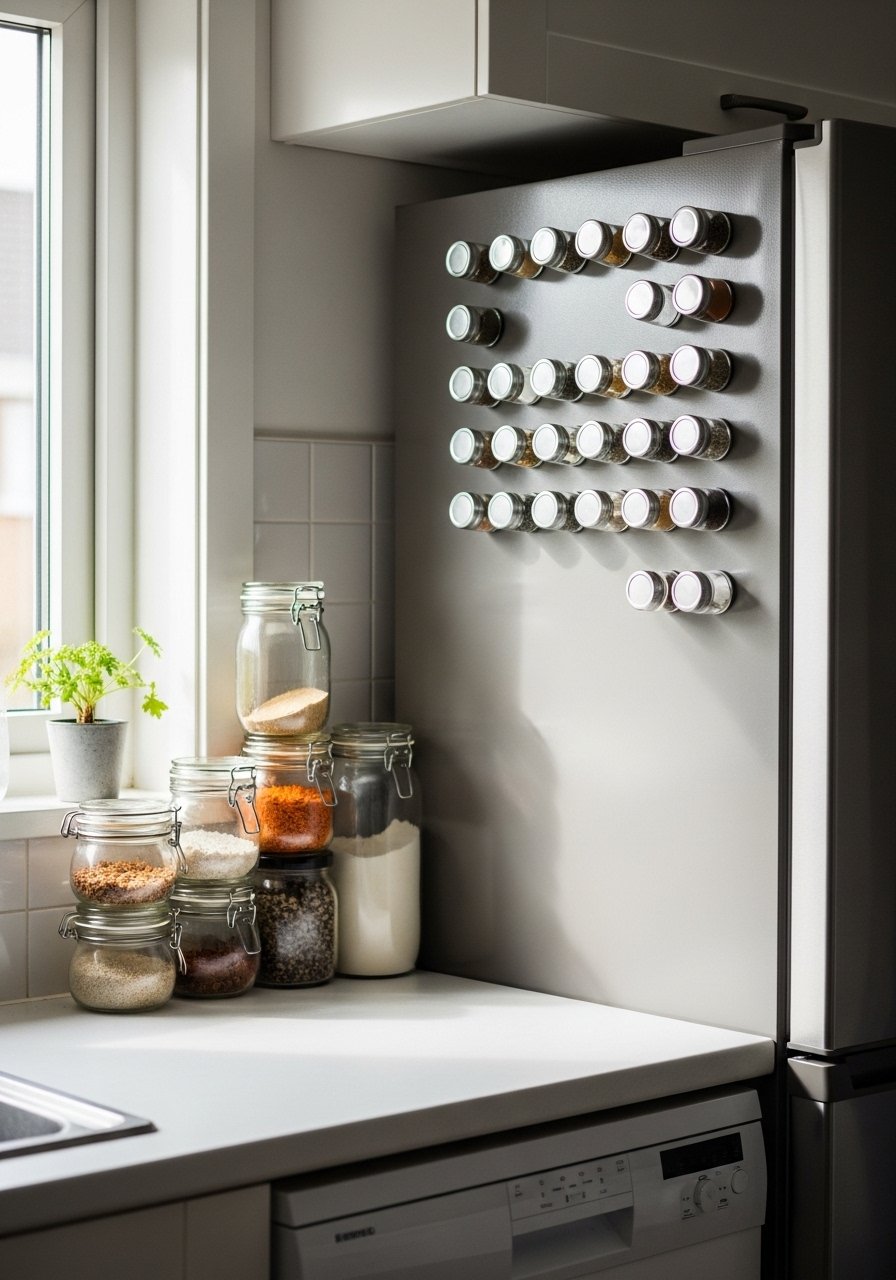
Measure shelf depth before buying jars. A 12-inch shelf works well for 32-oz jars front to back. If counter space is tiny, use vertical solutions like stacking discrete baskets or magnetic spice jars on the fridge. Use narrow 16-oz jars in front and reserve bigger jars for a higher shelf. I packed too much into a 24-inch wide shelf once and it read as clutter. Spacing and scale matter more than matching everything.
Try using a single textured piece to anchor the group, like a ceramic canister. It takes little space but adds visual weight.
What This Looks Like After a Week with Kids and a Dog
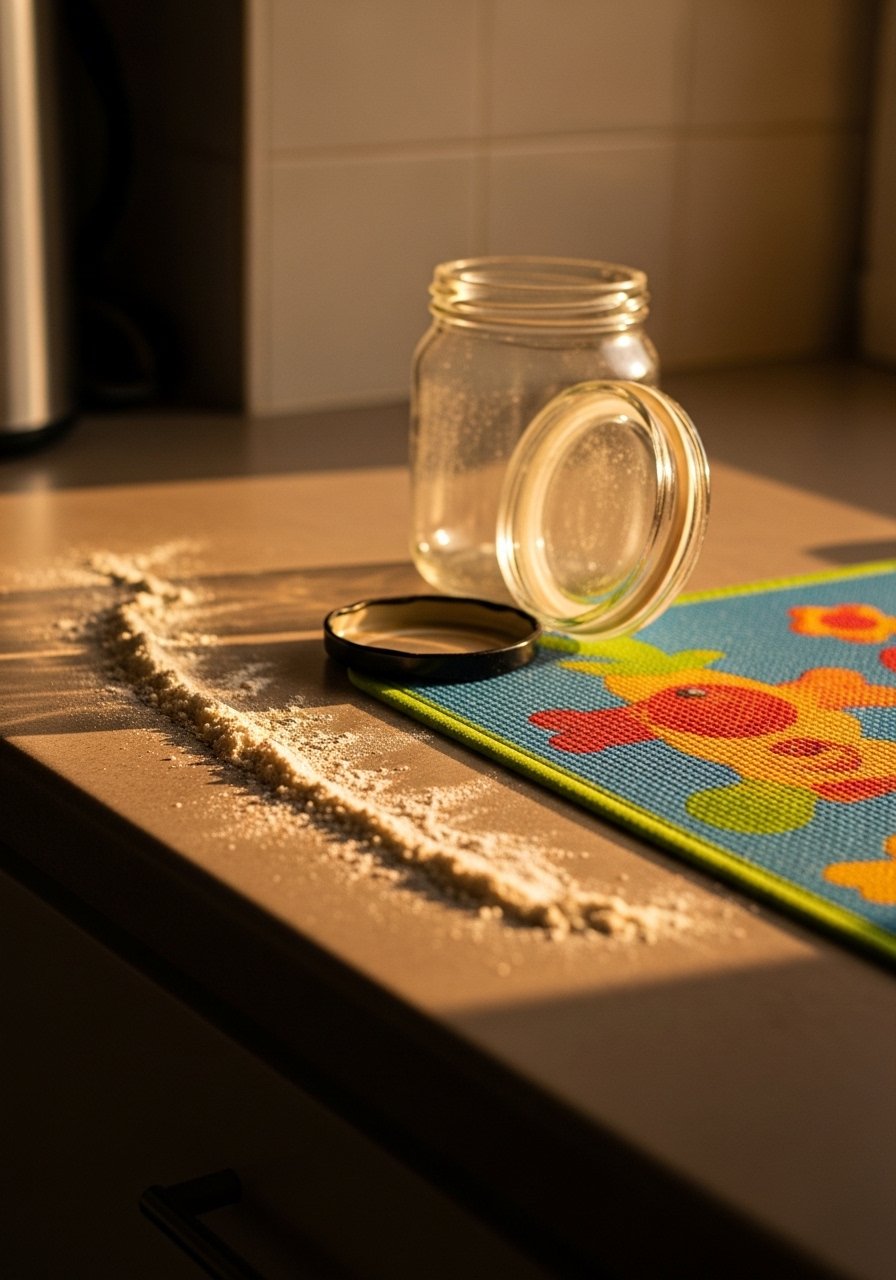
Real life will test you. Labels will peel near the sink, crumbs will collect on the tray, and small hands will prefer the low jars. Expect to move one or two containers in the first week. Waterproof labels and a non-slip tray cut down on daily fuss. I found that keeping frequently used, kid-friendly items on lower shelves saved me re-styling twice a day. After a week the arrangement felt natural, not staged.
Small, frequent edits are normal. That is not failure, it is fine-tuning.
Start With One Counter Corner
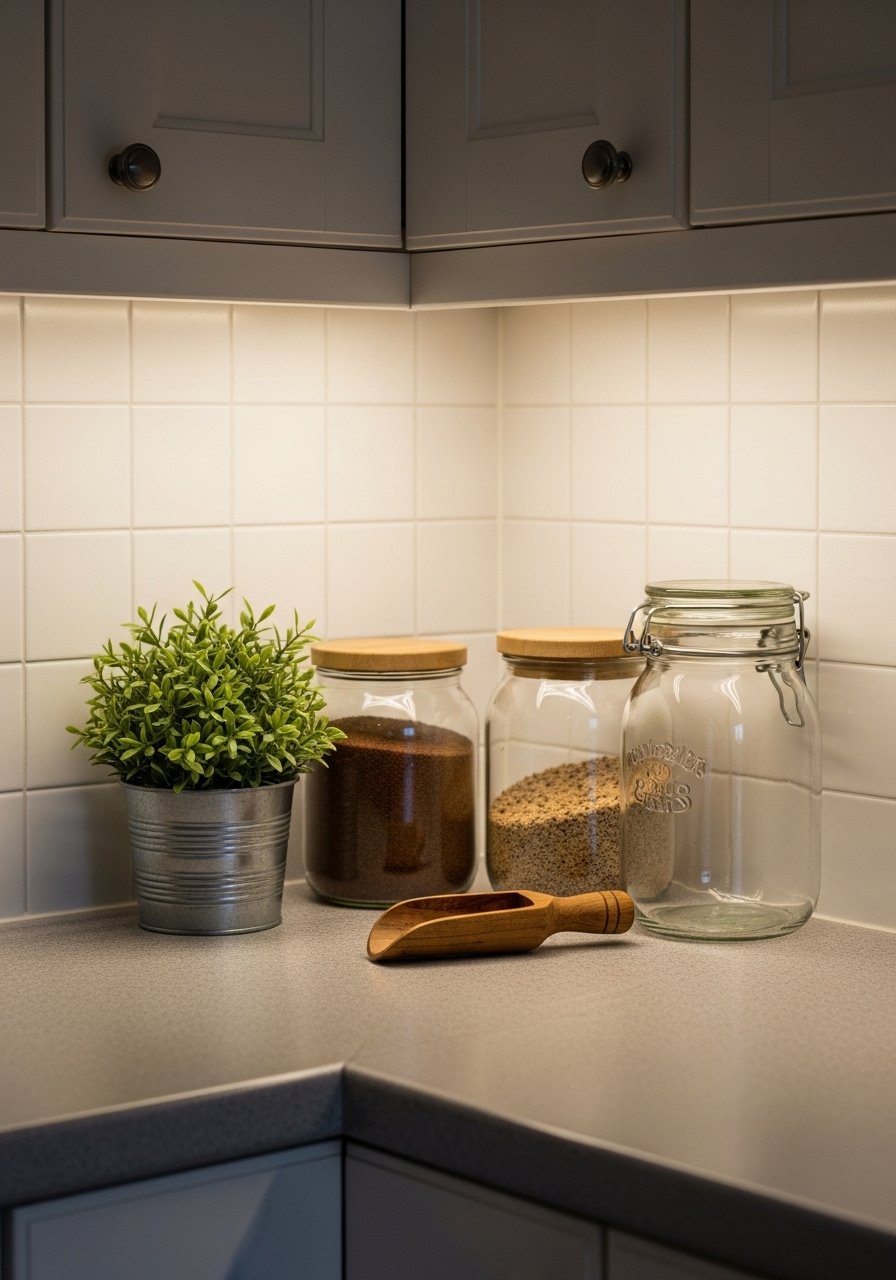
Pick a single corner to practice this method. Use one tall jar as an anchor, two smaller jars, and one textured piece. Try waterproof labels on the most used jar and leave a couple of inches of space around the group. Live with that corner for a week, notice what you use, and then expand.
You will see how small decisions change the feel of the whole kitchen. Start small, make one swap, and give it time.

