

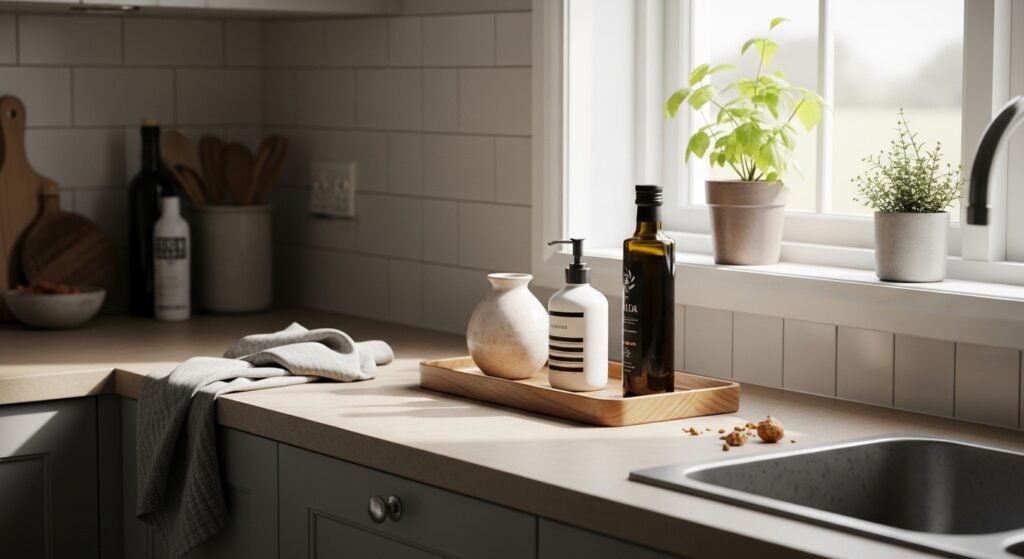
I hated how my counters felt messy even after I cleared them. I would shove the oil, the soap, the sponge into a corner and it still read as "leftover." One night I pulled everything into a tray and the counter finally stopped shouting at me. That first tray looked worse than before. I stacked too much and the tray vanished under clutter.
After a few failures I learned the tray is not a container for everything. It is an anchor, a texture change, and a small stage for the things you use every day. Follow these steps and you will get a counter that feels purposeful without being precious.
Step 1: Clear the zone and pick the spot
Pull everything off the counter. Yes, everything. Look at the negative space left behind. For most counters you want the tray to take up about one third to one half of the depth, and sit 6 to 8 inches from the front edge so it reads anchored, not crowded. Common mistake, I learned the hard way, is filling that 6-inch border with bits that catch the eye and make the whole surface shout.
This step changes the feeling more than the look. Having that breathing room makes the tray feel intentional. If you have a low backsplash, center the tray under the cabinets so it looks grounded.
Step 2: Choose the right tray size and material
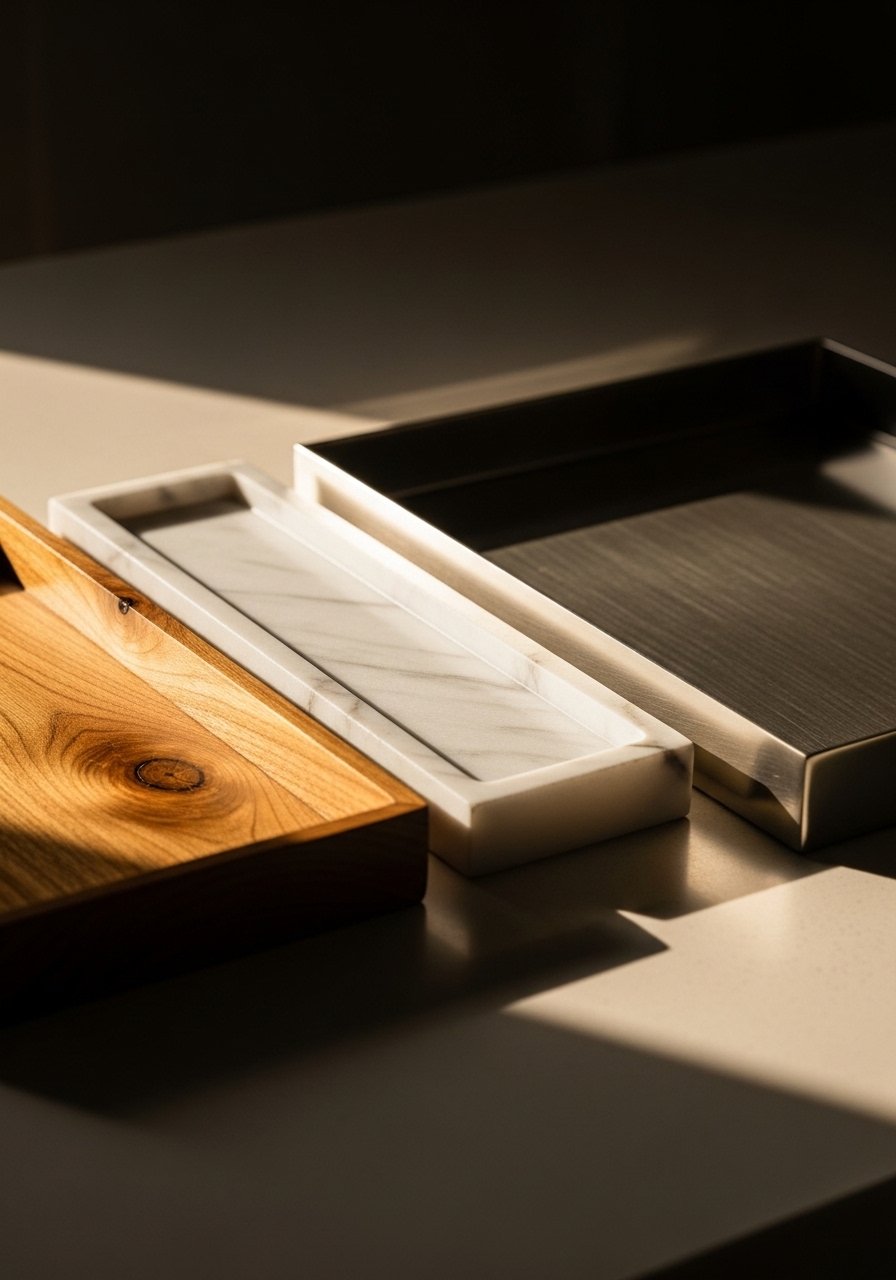
Measure before you buy. Small trays work best near the sink, 12 by 6 inches is a typical small size. For a toaster or coffee station go 18 by 10 inches. Materials matter. Wood feels warm and soft to the touch, marble is cool and heavy in your hands, metal reads modern and can show water spots.
Mistake I made early was choosing a tray that matched everything and therefore disappeared. Pick one that contrasts with your counter in color or texture so it holds the eye. I use a small rectangular marble tray, 12×6 inches for my sink side because its weight keeps it steady.
Step 3: Group in threes with varied heights
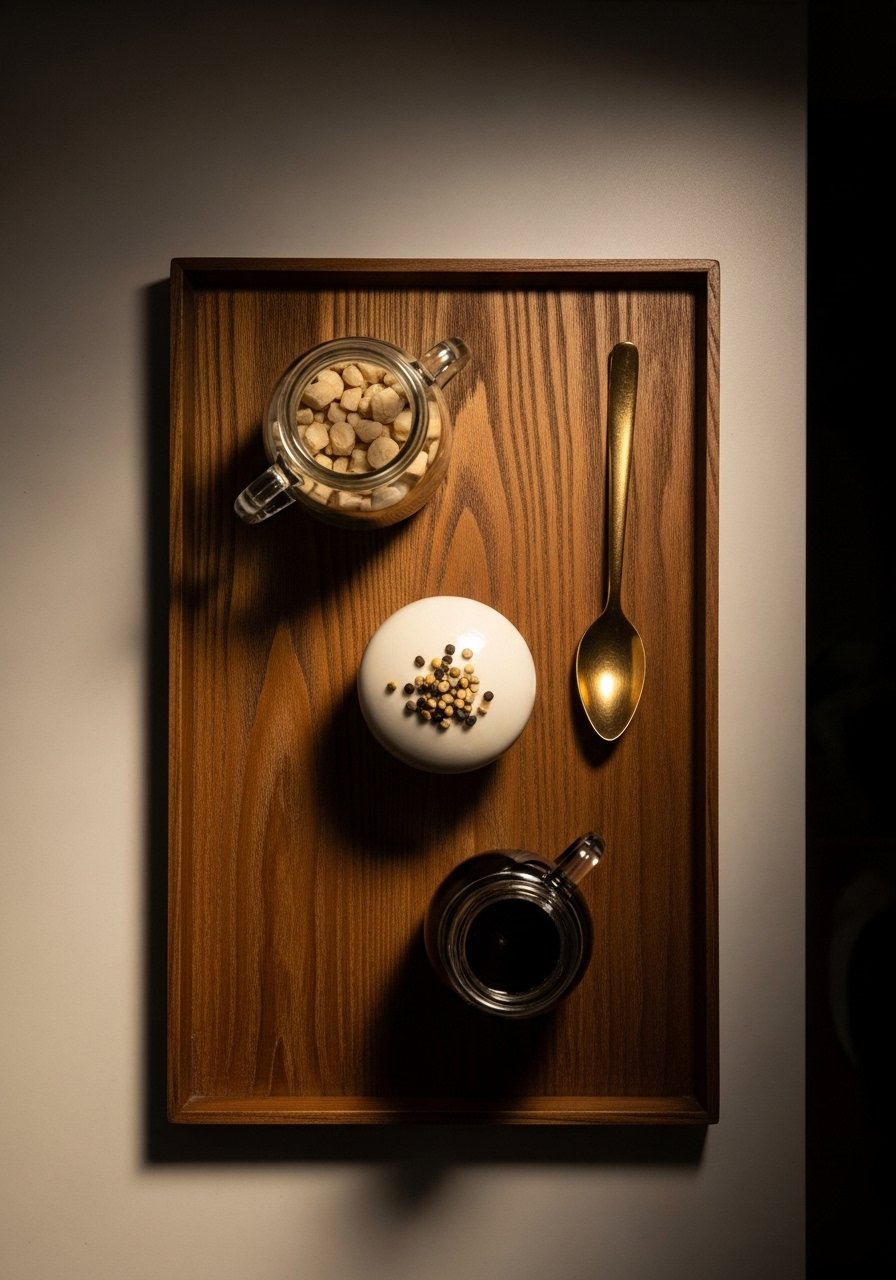
Put three to five items on the tray, not seven. I usually choose a tall, a medium, and a short piece. Aim for a tallest object about 10 to 12 inches high, a medium around 6 to 8 inches, and a small one 2 to 4 inches. That vertical rhythm stops the line-of-sight from feeling flat.
Texture is another trick. Combine something smooth, like a glass bottle, with something nubby, like a linen towel, and something matte, like a ceramic vase. My first attempts used only glass and everything looked fragile and fussy. Adding a raw wood scoop gave the arrangement presence and made it feel used.
Step 4: Mix function and beauty, and set limits
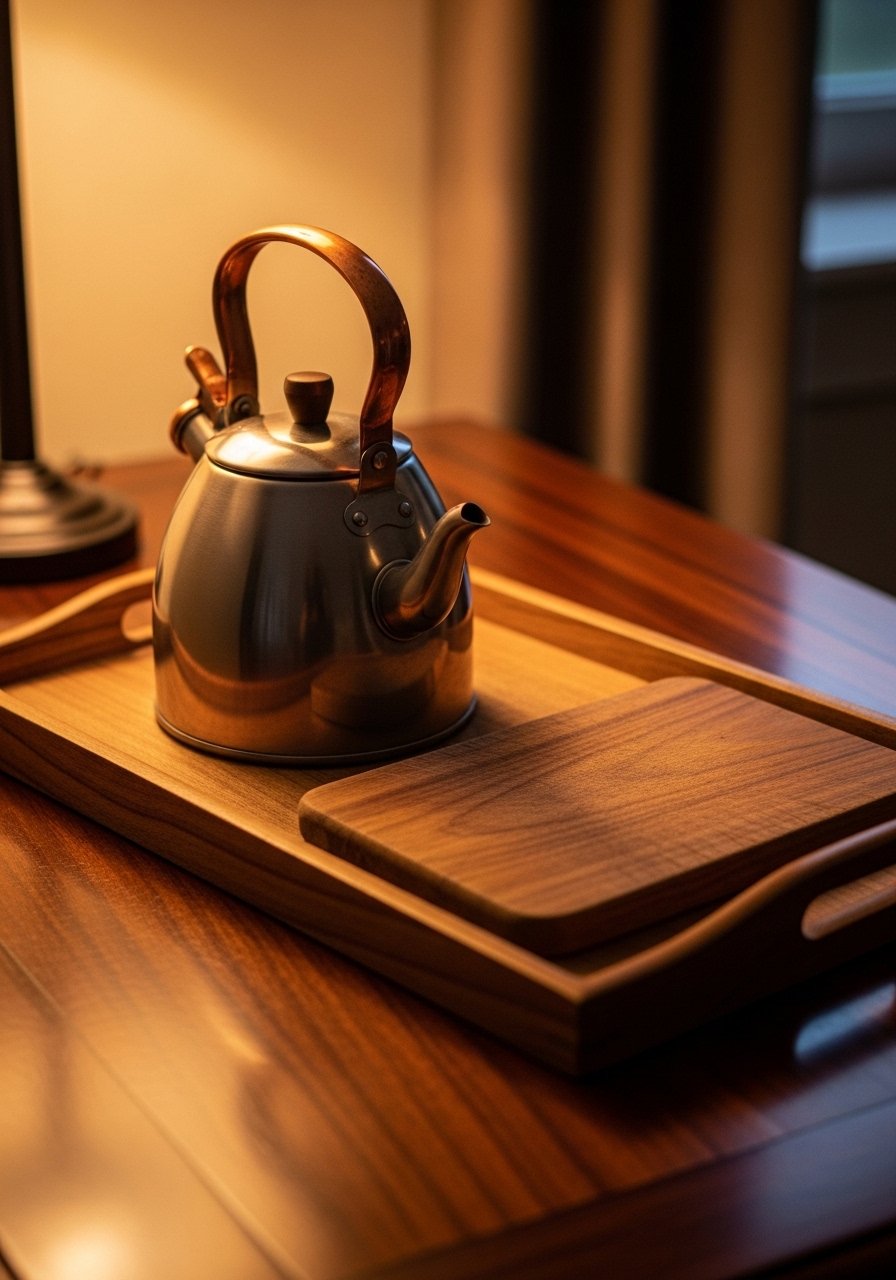
Put a daily-use item on the tray, but only one. Soap, olive oil, or the coffee canister should be inside the tray so it becomes a working station. Everything else should be decorative or seasonal. I aim to keep at least 30 to 40 percent of the tray surface visible. That empty area is what keeps the arrangement readable.
A mistake I repeat sometimes is treating the tray like a parking spot. If a mail envelope or random spoon lands there, clear it at the end of the day. I use an amber glass soap pump on the sink tray because it feels warm and heavy in the hand.
Step 5: Live with it for a week and tweak
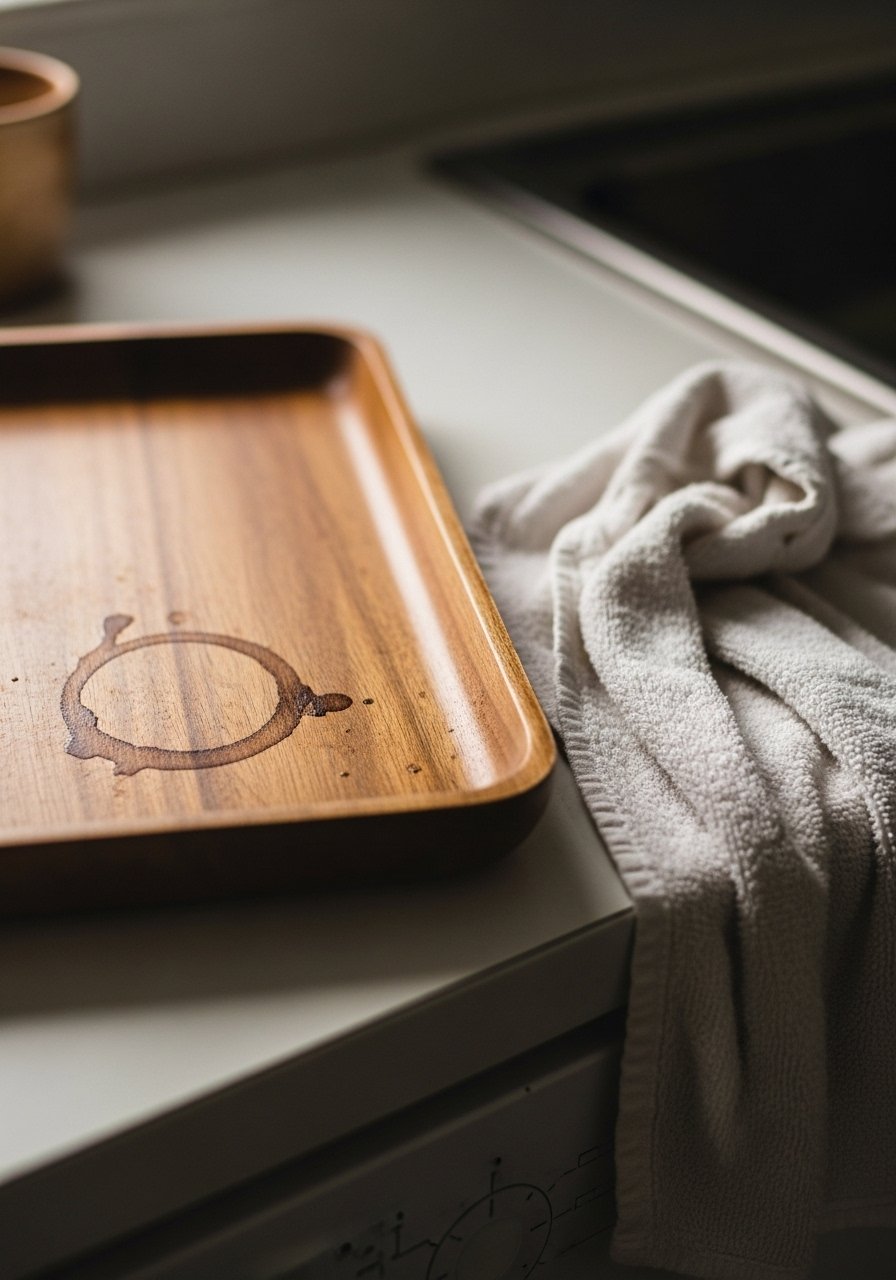
Wear test your tray for a week. Move one thing or swap textures after three days. I thought once was enough and it failed me. The items that survive a week are the ones that belong there. If the tray feels cluttered after cooking, reduce it by one item and you will notice the difference immediately.
Add a non-slip liner if things slide or a small tray within the tray for tiny items. I keep a non-slip silicone liner, 10×6 inches under my soap bottle and it stopped the midday shuffle.
Your Countertop Tray Shopping List
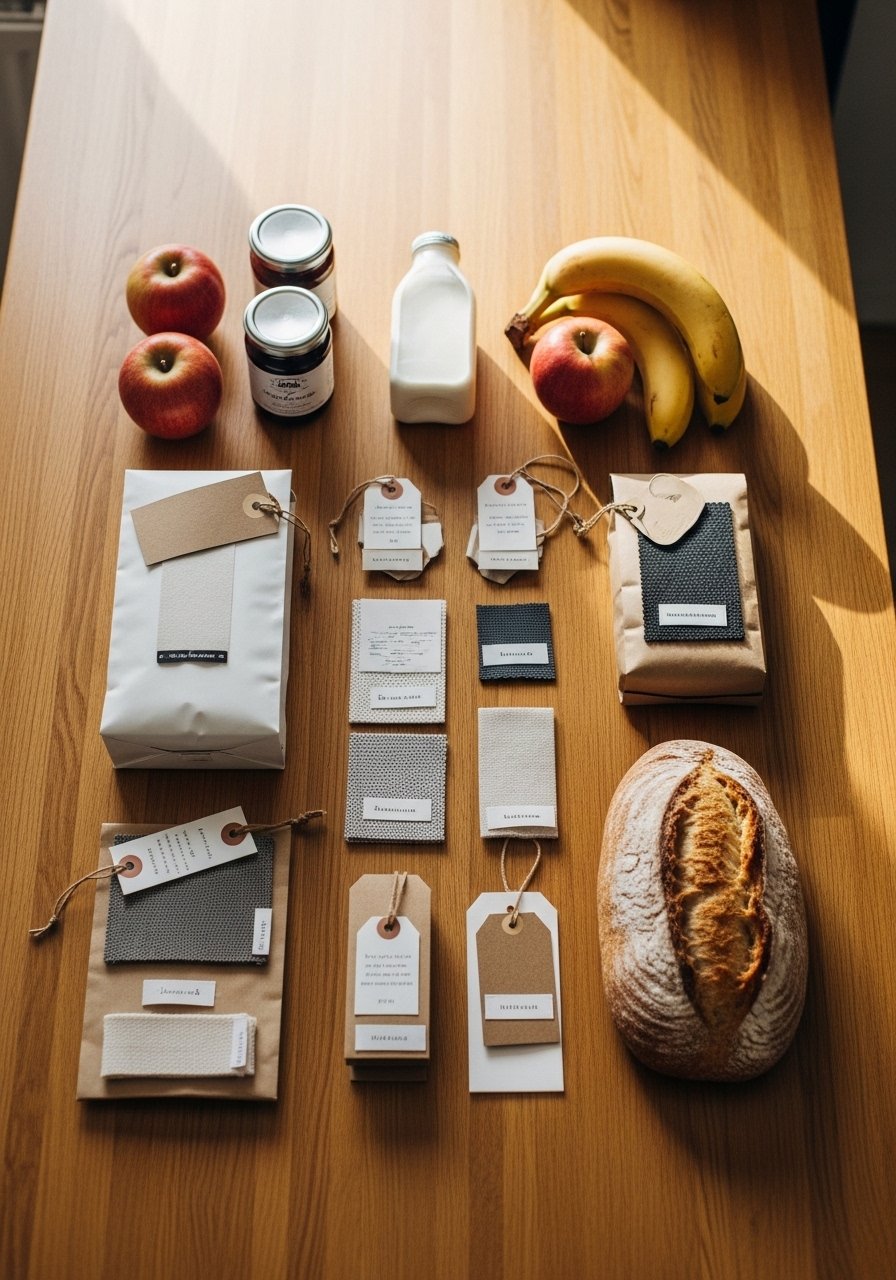
- Small rectangular marble tray, 12×6 inches ($25-50). Used in Step 1 and Step 2. Heavy and cool to the touch, great near a sink.
- Bamboo serving tray, 18×10 inches ($20-35). Used in Step 2 for coffee or breakfast zones. Warmer in feel, similar options at Target.
- Matte white ceramic vase set, small to medium ($25-40). Step 3, adds height and a soft, matte texture.
- Amber glass soap dispenser, 16 oz ($12-22). Step 4, feels sturdy and looks lived-in.
- Linen kitchen towel, natural, 20×28 inches ($10-18). Step 3, folded or draped for texture. HomeGoods often has similar finds.
- Non-slip silicone liner, 10×6 inches ($6-12). Step 5, keeps things from sliding.
- Olive oil dispenser bottle, glass with spout, 17 oz ($15-25). Step 4, functional and weighted.
- Small decorative wooden scoop, 5 inches ($6-14). Step 3, adds tactile contrast and a lived-in look.
Why your counters still look crowded after using a tray
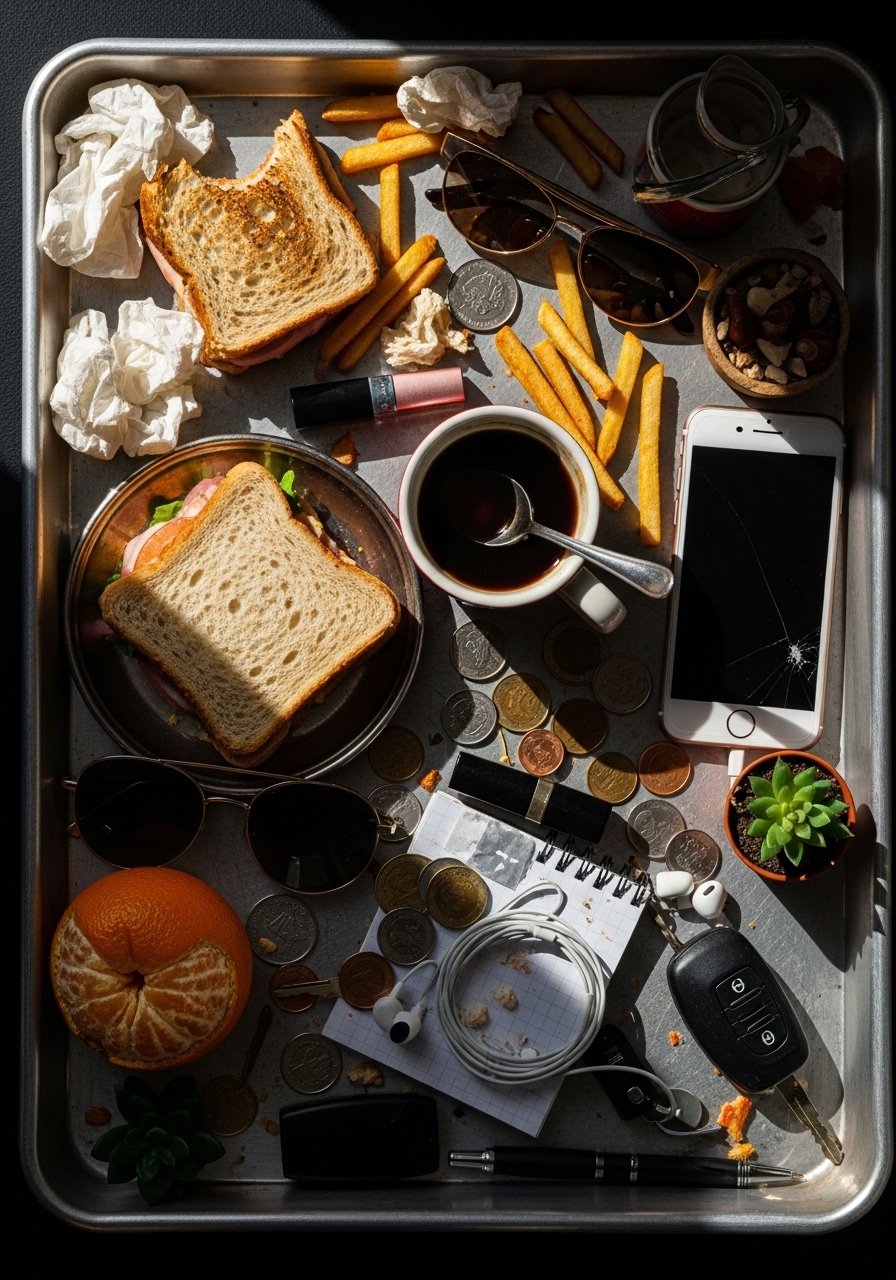
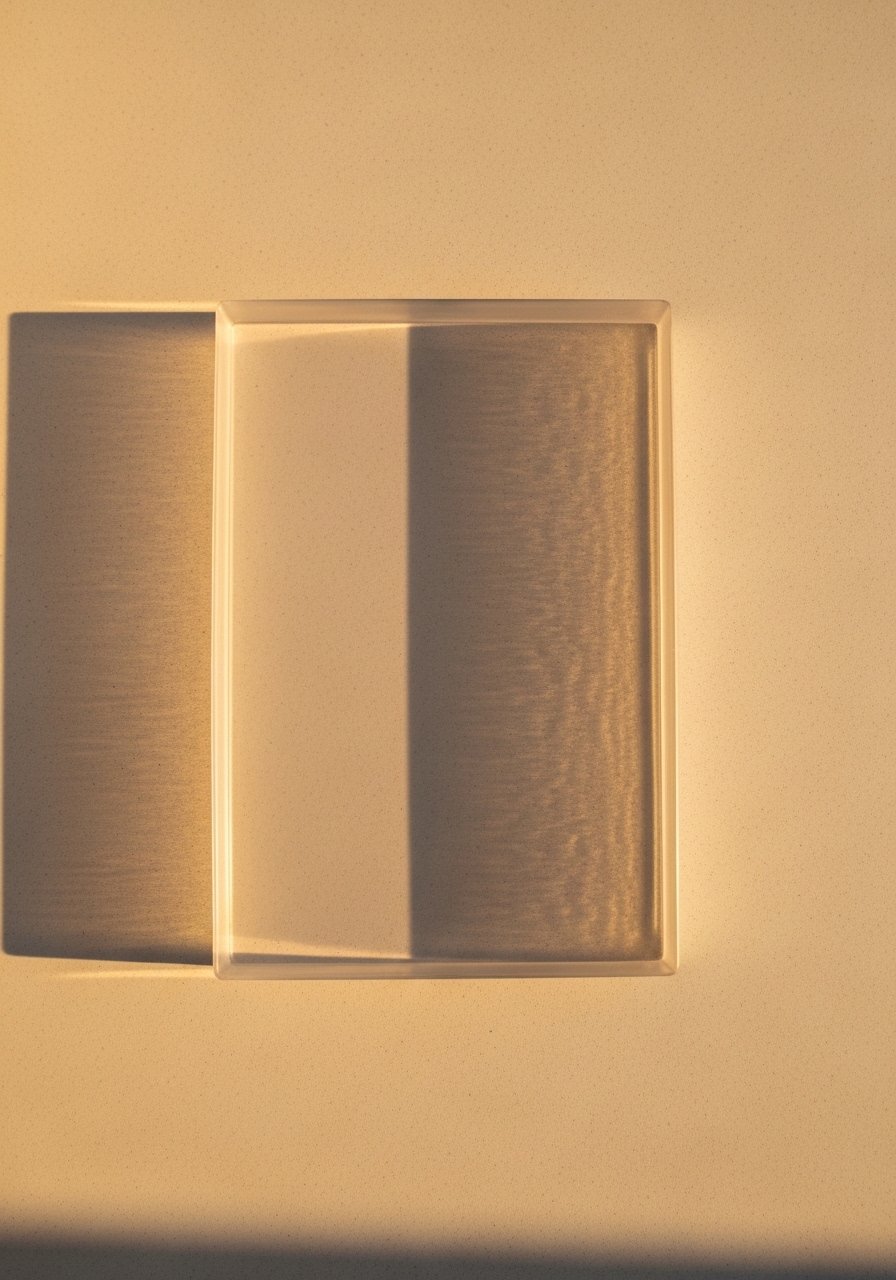
If your tray is hiding under objects, you have a scale problem. Either the tray is too small or you have too many items. Another issue is matching everything to your counter. A pale tray on a pale counter disappears. I once chose a clear acrylic tray and regretted it. It offered no contrast and made the clutter worse.
Leave some foreground empty so the eye can rest. If you are tempted to add one more item, walk away for ten minutes. Usually you will come back and remove something. That pause saved me more times than I can count.
Making this work in a small kitchen
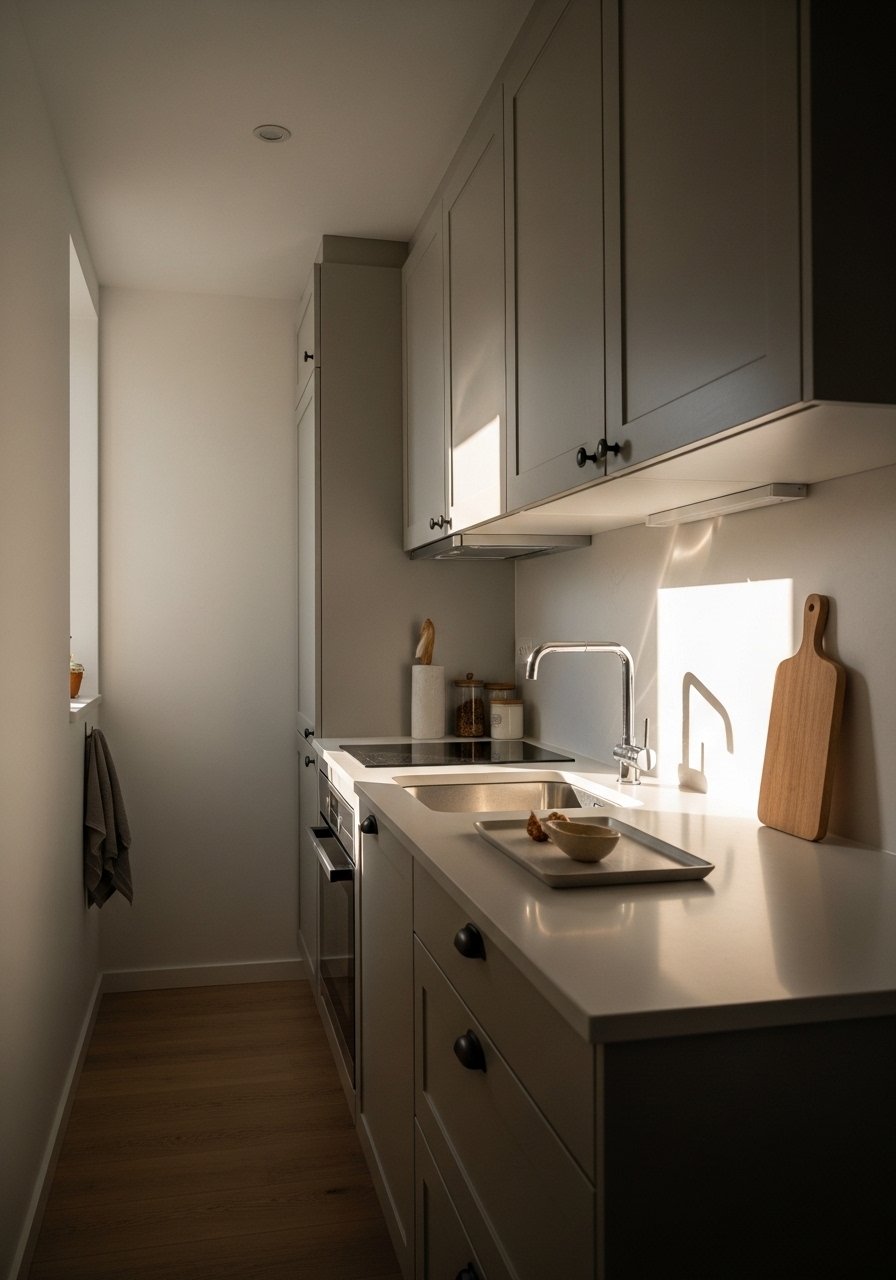
In tight spaces, use a slim tray no deeper than 6 inches. Place it against a short backsplash or at the counter corner to create a vertical focus. Tips that helped me when I had a tiny kitchen:
- Choose vertical items, like a tall bottle, to draw the eye up and free counter depth.
- Limit the tray to two functional items plus one accent. This keeps it useful and compact.
- Opt for lighter materials, like bamboo, which feel less heavy in a cramped room.
These small swaps keep counters usable while still feeling styled.
What the tray looks like after a week of real life

After a week the curated look will either hold up or reveal what does not belong. Mine almost always accumulates a stray receipt or a spoon. The test is simple. If you clear the tray each night and it still looks right in the morning, the items belong. If it needs constant rearranging, reduce one piece.
One practical tweak that saved me was using a tray liner to protect wood and to make cleanup easier. The day-to-day view should feel lived-in, calm, and functional. If it reads like staging, you will resist using it.
Start with One Corner
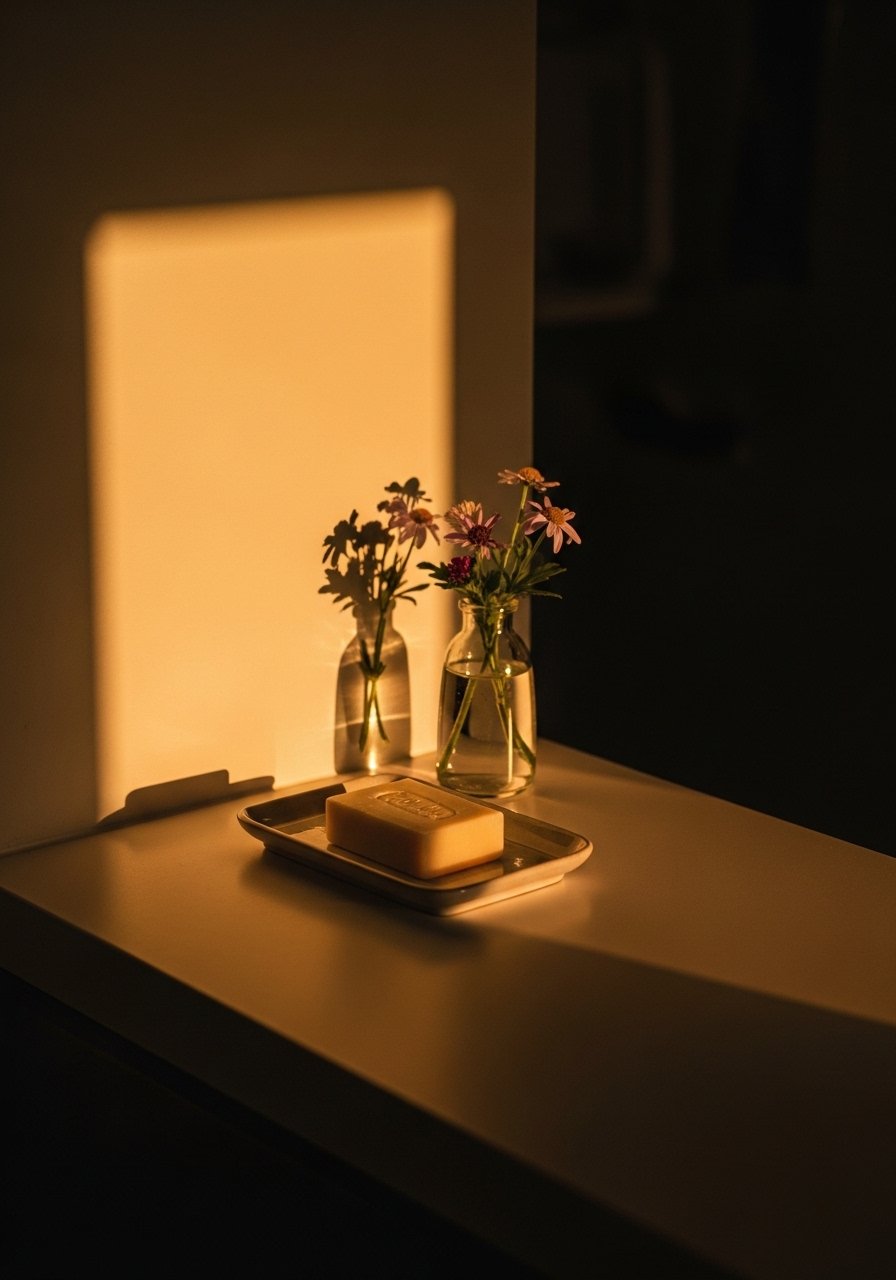
Pick the corner nearest the sink or your coffee maker and try one small tray. Use a tall piece, a medium functional item, and a short texture. Live with it for a week and then adjust one thing.
You do not need to fill a whole counter to get the calm look. A 12×6 tray like the marble one above is a low-commitment place to begin, and it will show you what belongs on your countertop in real life.

