

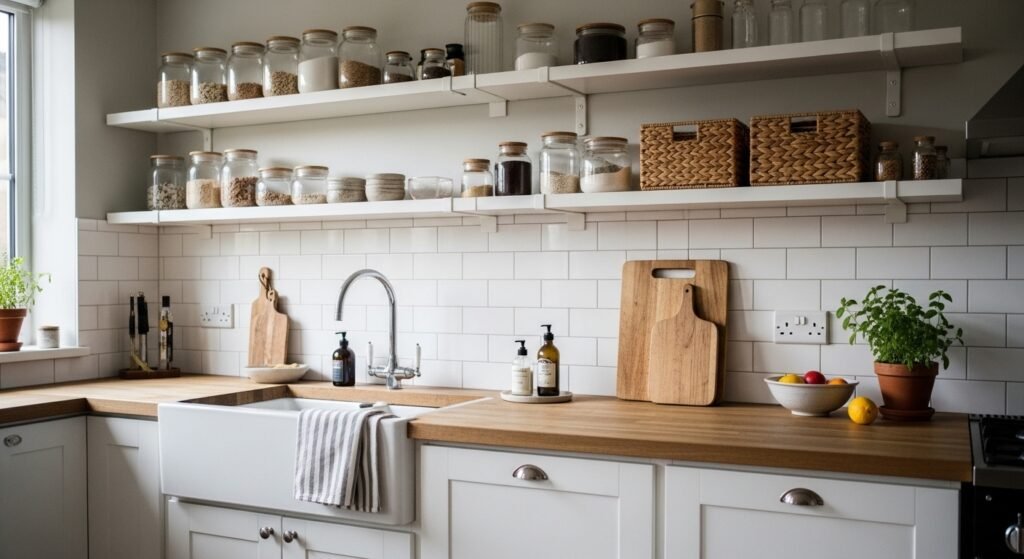
I used to shove everything into the back of cupboards, then pull it out when I needed it. My counters looked like a messy thrift store display. One Sunday I cleared a whole run of counter and realized the problem was not the stuff, it was how it lived together.
I tried matching everything, then matching nothing. The first version was too precious, the second too chaotic. The method I settled on keeps useful items visible, feels calm to the touch, and actually made cooking easier. You will make small mistakes. They are fixable. Keep going.
Step 1: Pull everything off the counter and sort by use
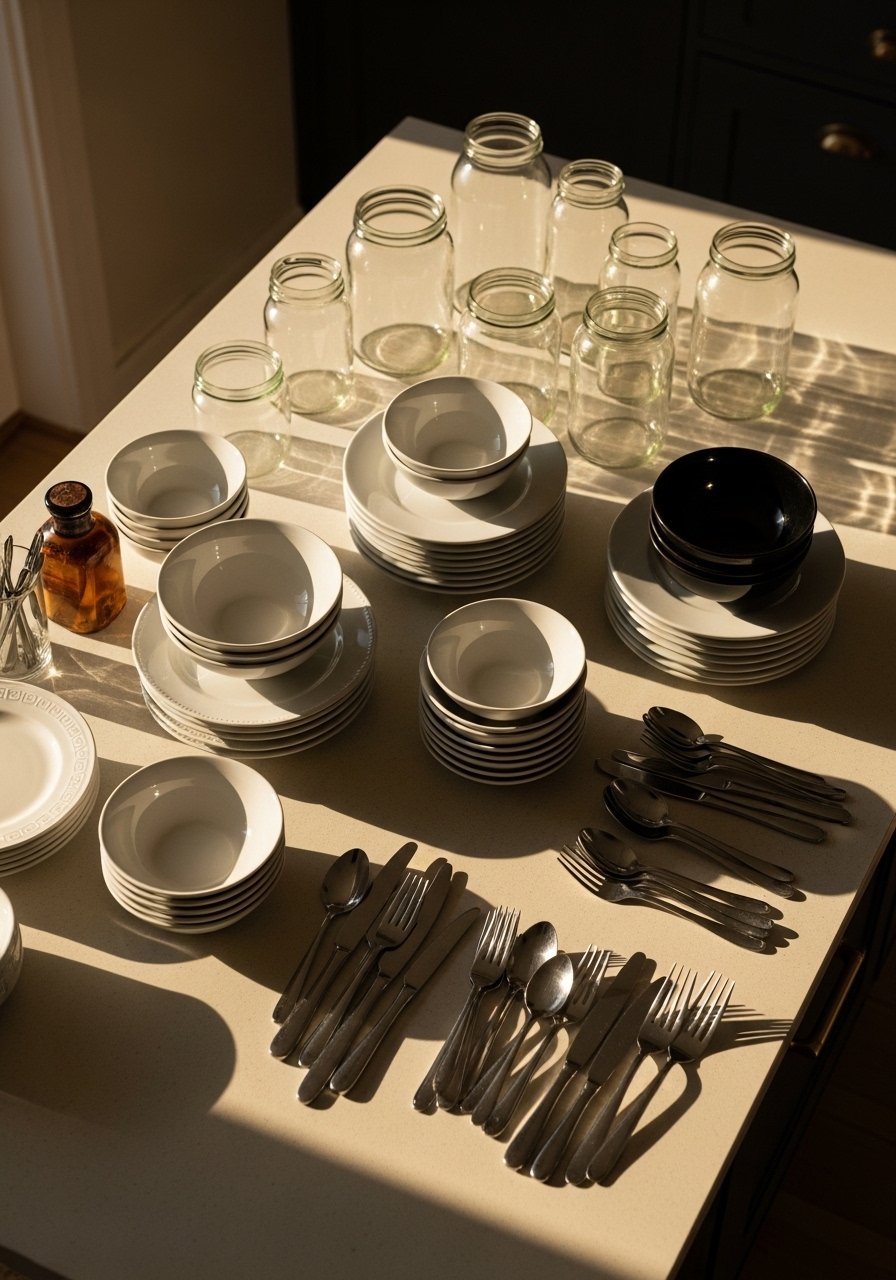
Pull everything off the counter. Yes, everything. Group into three piles: daily use, occasional, and donate/store. Seeing the pile for daily use is oddly liberating. The goal is 60 to 70 percent clear counter, not perfectly empty. That number keeps the workspace breathable while leaving room for a pretty, usable display.
Measure the tallest item you want on the counter and leave 10 to 12 inches of space above it on the backsplash if you plan to add a floating shelf. A mistake I made was leaving just an inch, and it read cramped. The daily items should feel balanced to the hand, like a weighty ceramic mug or a smooth cold glass jar, not flimsy plastic.
Step 2: Anchor a zone with a tray or cutting board
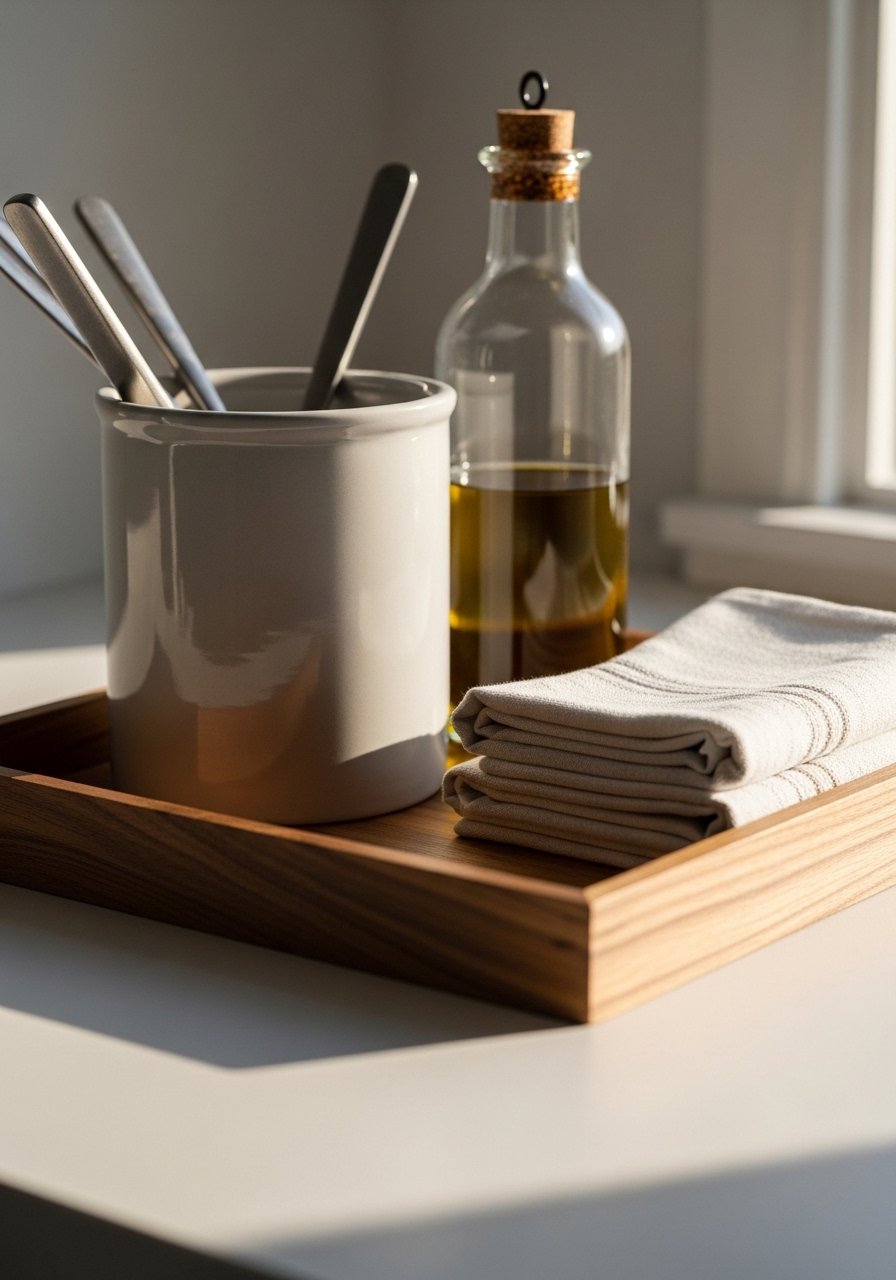
This is the step where the counter stops looking styled and starts feeling intentional. Choose one anchor piece, a wooden tray or a vertical cutting board roughly 12 by 18 inches. Place the highest object at the back left third and a low soft item, like folded linen towels, front right. Aim for groupings of three or five objects to avoid a cluttered straight line.
I learned the hard way to stop centering everything. Off-center feels more relaxed. The tray keeps oil splashes contained and the wood brings a warm, slightly rough texture against smoother ceramics and glass.
Step 3: Bring in uniform storage for visual calm
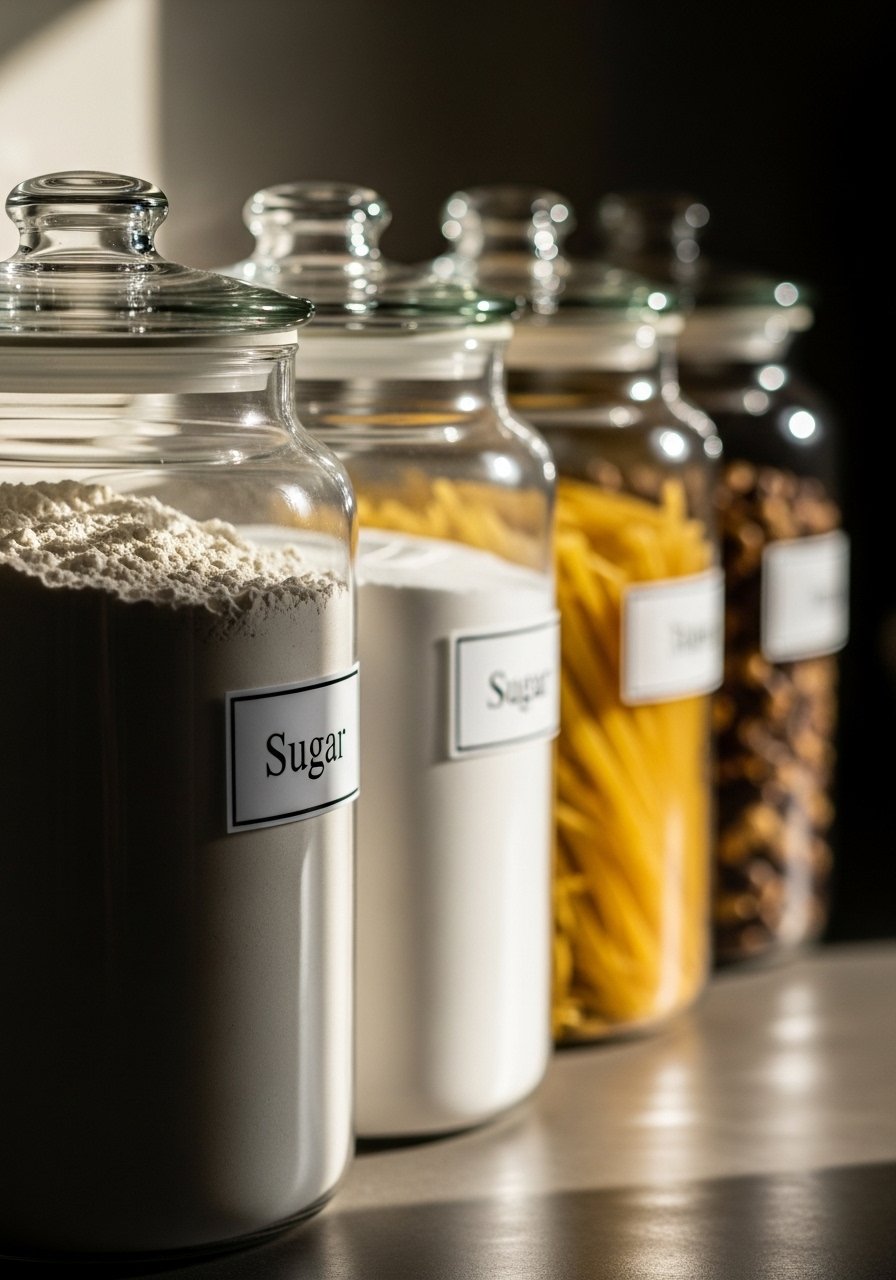
Most people fill containers with mismatched jars and expect them to read tidy. Use 1-liter or 2-liter glass canisters for staples, all the same lid finish, and label them. Keeping similar heights creates an ordered skyline on a shelf. Leave 2 to 3 inches between clusters so each group can "breathe."
I tried open bins with no labels and swapped contents weekly. It felt messy and slow. Once I committed to uniform glass canisters the kitchen read quieter. The glass is cool to the touch and the lids add small, satisfying heft when you close them. For a budget option, the set I use is durable and clear enough you can tell what's inside at a glance, while still looking intentional. Set of glass storage canisters, 1-liter ($30-50)
Step 4: Add vertical storage to free up surface area
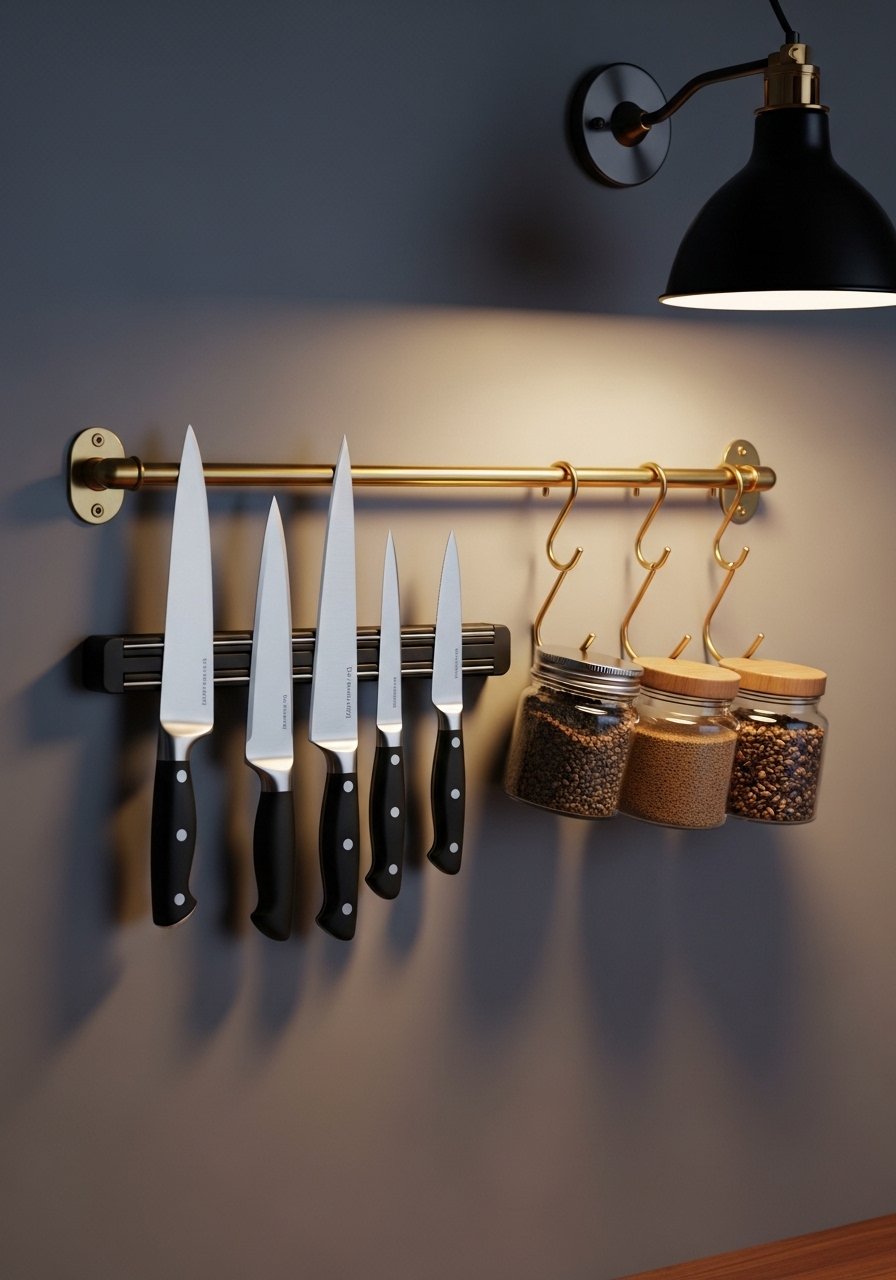
This part felt scary the first time because it meant drilling. If you rent, try a tension rod above the sink or adhesive-backed rails rated for your wall type. A magnetic knife strip and a slim brass rail with S-hooks move heavy or awkward items off the counter, which literally lightens the visual weight below.
Use a 24-inch shelf or rail over the prep zone. Keep heavier objects low and lighter items higher. A common mistake is hanging too many things, which turns the wall into visual noise. Start with three useful items, then add one more after living with it for a week.
Step 5: Style open shelves with texture and function
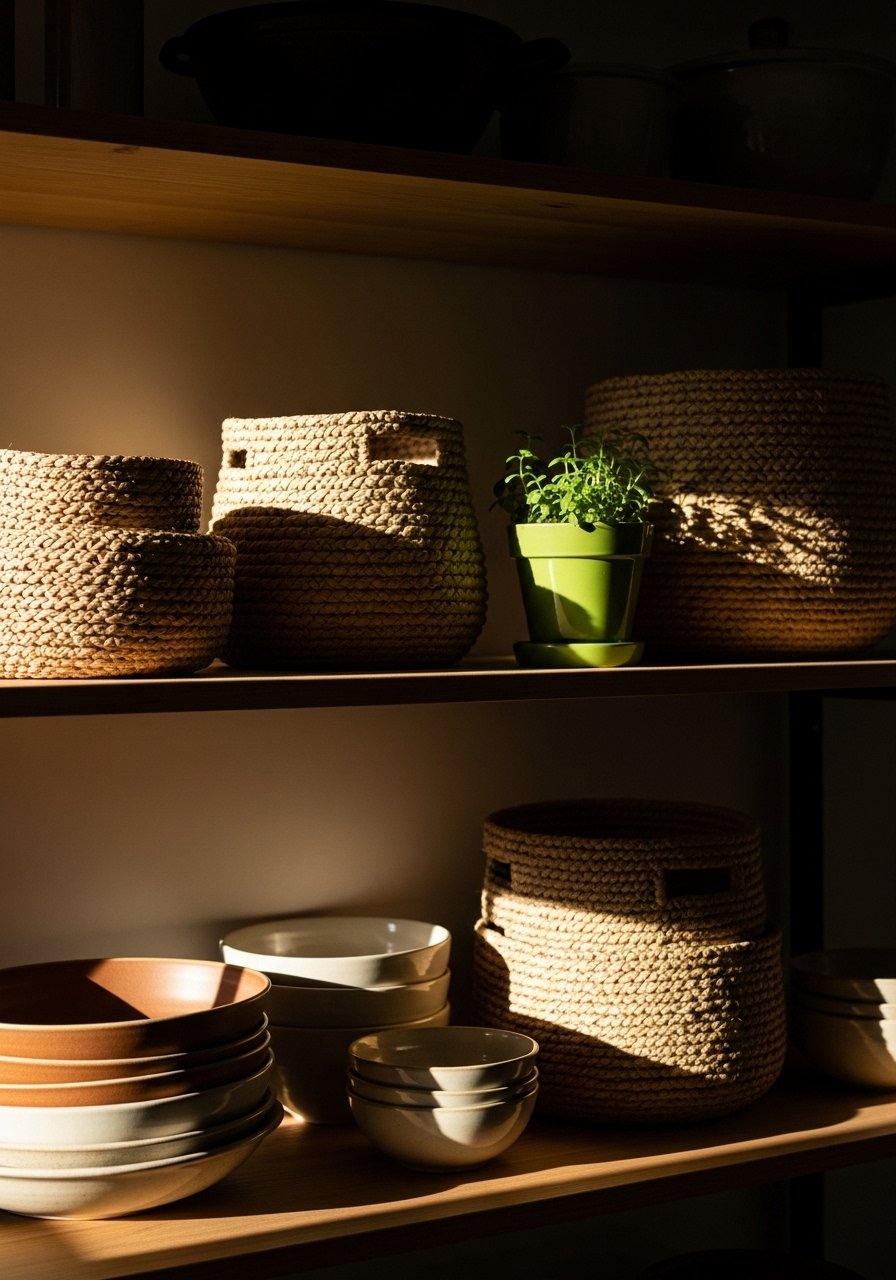
Shelves are where people overdo symmetry. I did that for months. Instead, mix textures: smooth white ceramics, a weighty matte vase, and a woven basket. Keep the heaviest pieces at the left or bottom for grounding. Use the 1:2 height ratio for groupings, where the tallest object is about twice the height of the shortest.
Leave some negative space, about the size of your palm, between groupings. That pause is what makes the shelf read calm. If you have pets or kids, put breakables higher or behind cabinet glass. For a simple ceramic trio I use on a shelf, check this set. Matte white ceramic vase set, three sizes ($25-40)
Your Kitchen Aesthetic Storage Checklist

- Set of glass storage canisters, 1-liter ($30-50). Steps 1 and 3 use these.
- Matte white ceramic vase set, three sizes ($25-40). Used in Step 5 for height and texture.
- Wooden serving tray, 18×12-inch ($20-35). Anchor for Step 2.
- Ceramic utensil crock, 6-inch diameter ($15-30). Step 2 and 4.
- Magnetic knife strip, 24-inch ($18-30). Step 4.
- Brass wall rail with hooks, 24-inch ($20-35). Step 4.
- Woven storage baskets, medium set of 2 ($25-45). Step 5 for closed texture.
- Linen kitchen towels, set of 4, natural ($18-30). Step 2 for softness and color.
Why your counters still look messy after buying pretty storage
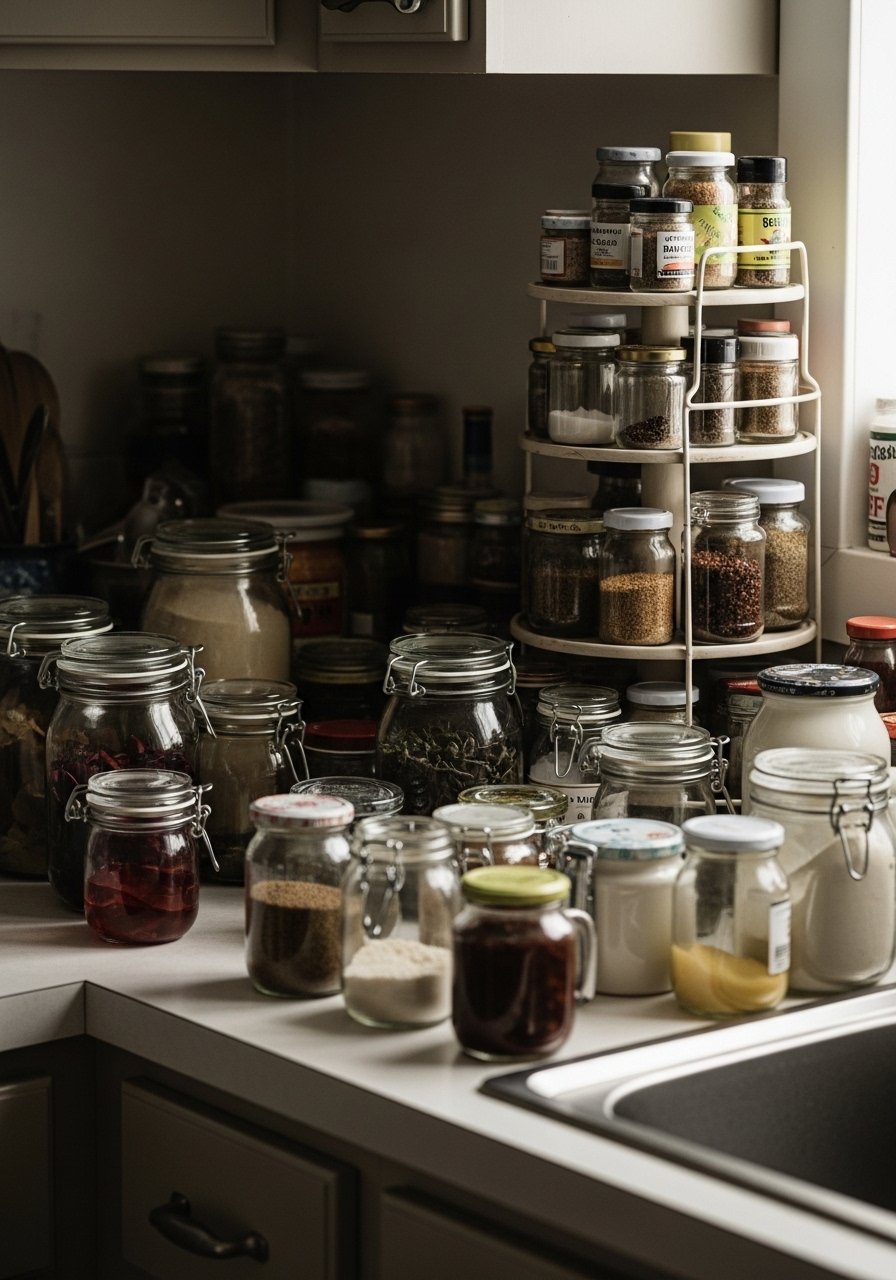
Buying storage is not styling. The common error is adding containers without a plan for negative space or hand feel. If you reach for something and it slips or feels flimsy, it will end up shoved back in a drawer. Pick containers that feel heavy enough to handle, and place them so your hand can access them easily.
If your counters still look busy, set a timer for one week and remove one item every day. You will notice what you actually use. I did this and was surprised how few things I needed in reach. Small edits are the fastest way to calm visual noise.
Making this work in a small kitchen
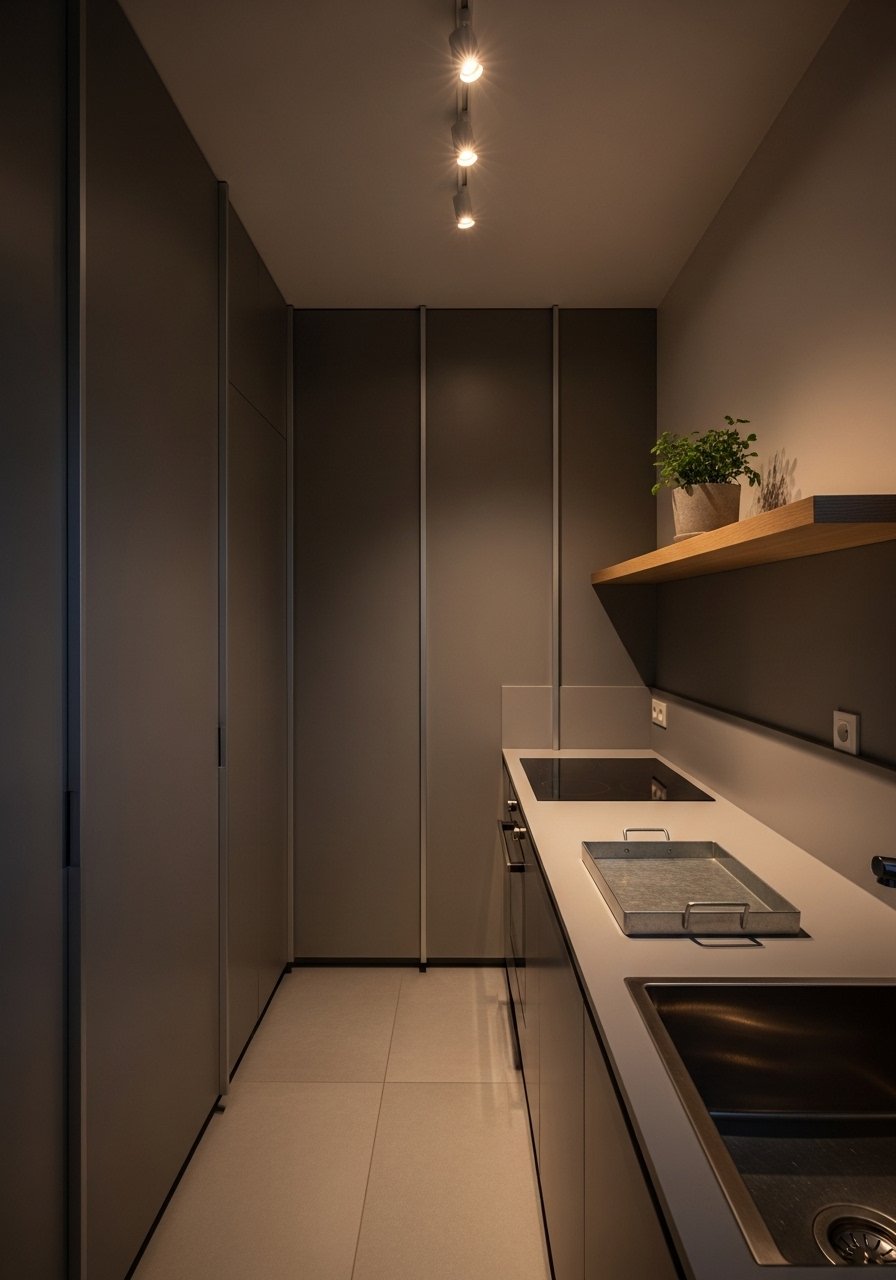
In tiny kitchens, think vertical and shallow. Use a 12-inch deep floating shelf rather than deep shelves. Keep only one anchor on the counter, about 12 by 12 inches, and store the rest behind cabinet doors. Magnetic spice tins or rails maximize wall space. A helpful hack is to store rarely used appliances in a lower cabinet and reserve upper shelves for everyday ceramics.
If you rent, use removable rail systems rated for your wall. My roommate and I installed an adhesive rail and it survived a year of heavy use. One caveat, test adhesive in a hidden spot first.
What it looks like after a week of real life
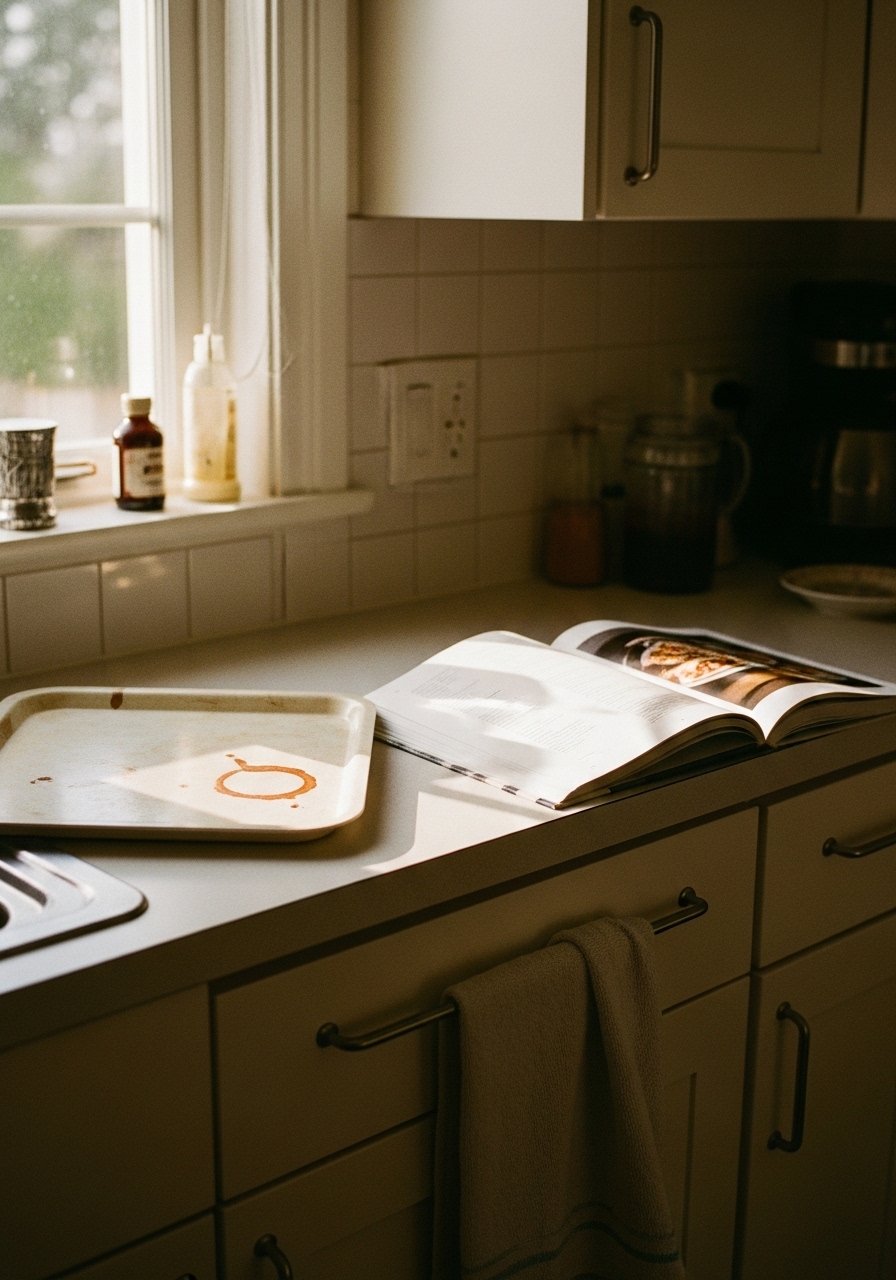
Expect small imperfections: a coffee stain on the tray, a herb pot needing water, a towel left unfolded. That is fine. The goal is functional calm, not a museum display. After a week you will notice which items migrate back to the counter. Those are candidates for a permanent spot or for storage.
I learned to rotate one decorative object every month so the shelves feel fresh, not staged. If a basket gets dusty quickly, move it to a higher shelf. Real life tells you what works faster than a styling rule.
Start with One Zone
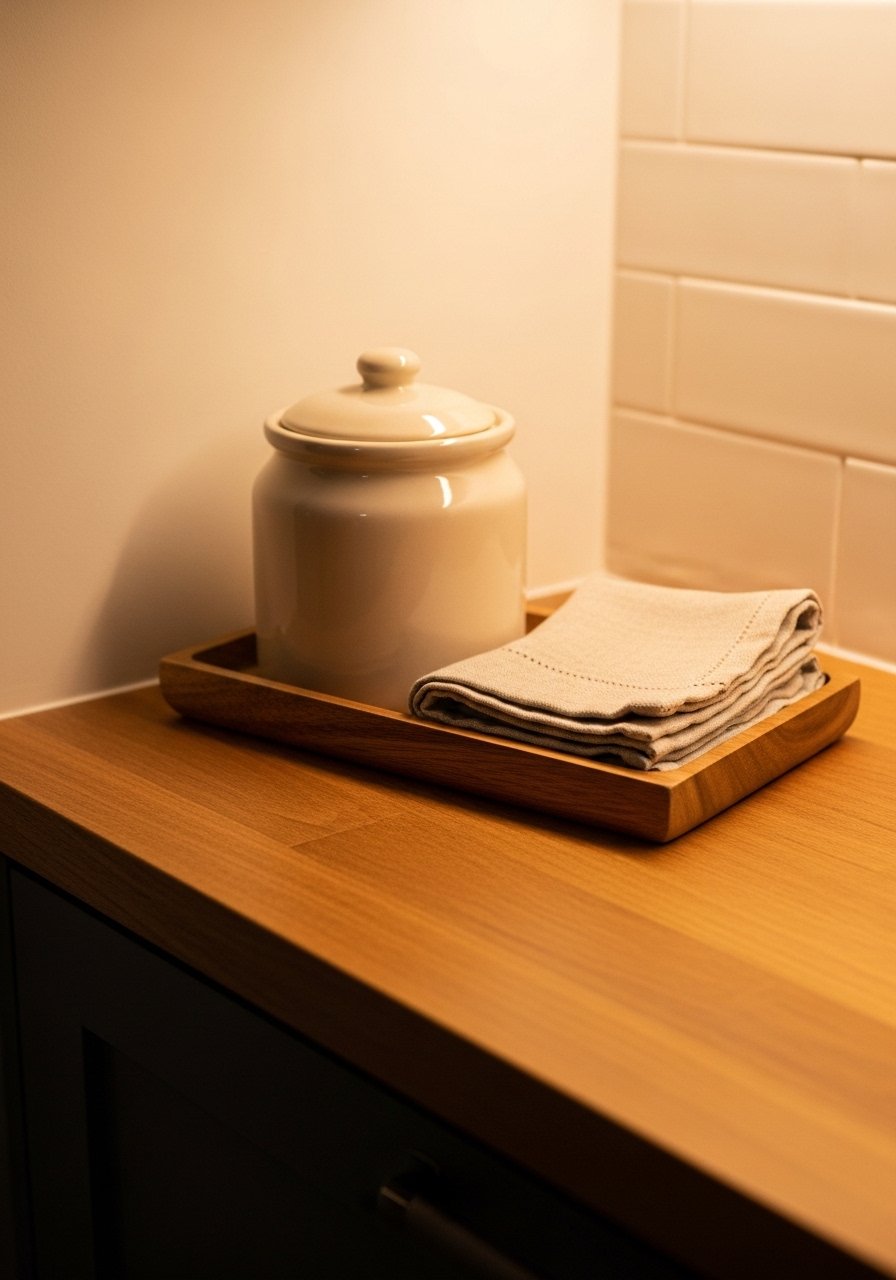
Pick one zone, the coffee station or the prep corner, and finish just that area this weekend. Buy or borrow one tray and the ceramic utensil crock from the checklist and arrange them. Live with it for a few days. You will feel the room relax as you do.
When it works in one corner, the rest of the kitchen follows more easily. My first room that way now feels calm every morning, and that small, repeated payoff is the whole point.

