

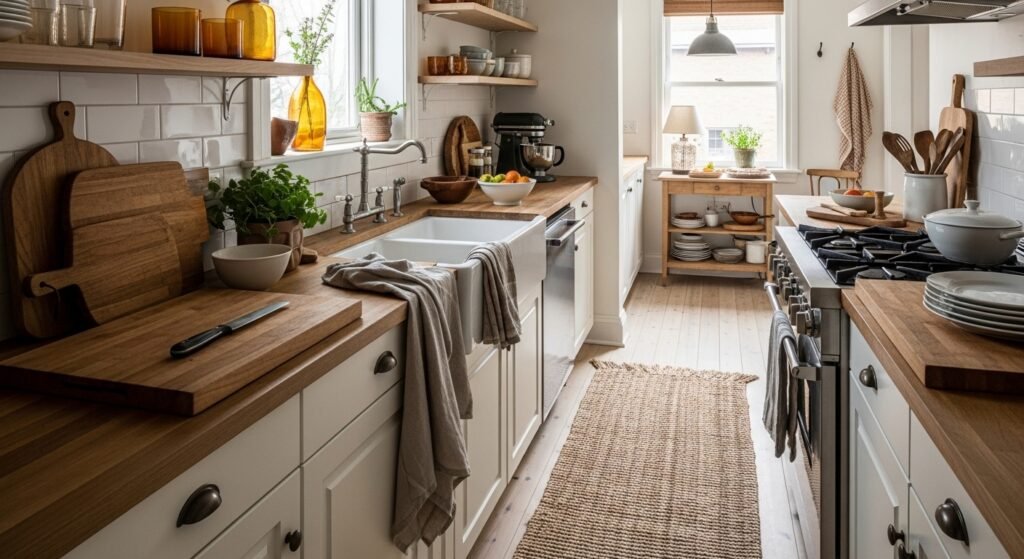
I kept bumping into the same problem. I would add a wooden bowl, a plant, a brass soap pump, and still the room felt flat and cold. For weeks I thought I needed more things. Turns out I needed a different approach to placement, scale, and materials.
I tried matching everything, then tried matching nothing. One version looked cluttered. Another looked like a showroom. After the third redo I landed on a warm palette, a few tactile swaps, and simple spacing rules that finally made the kitchen feel pulled together and calm.
If your countertops feel anonymous or your open shelves look like a jumble, these steps focus on how things should sit and feel, not on buying a whole new kitchen.
Step 1: Pick a warm base and reduce glare
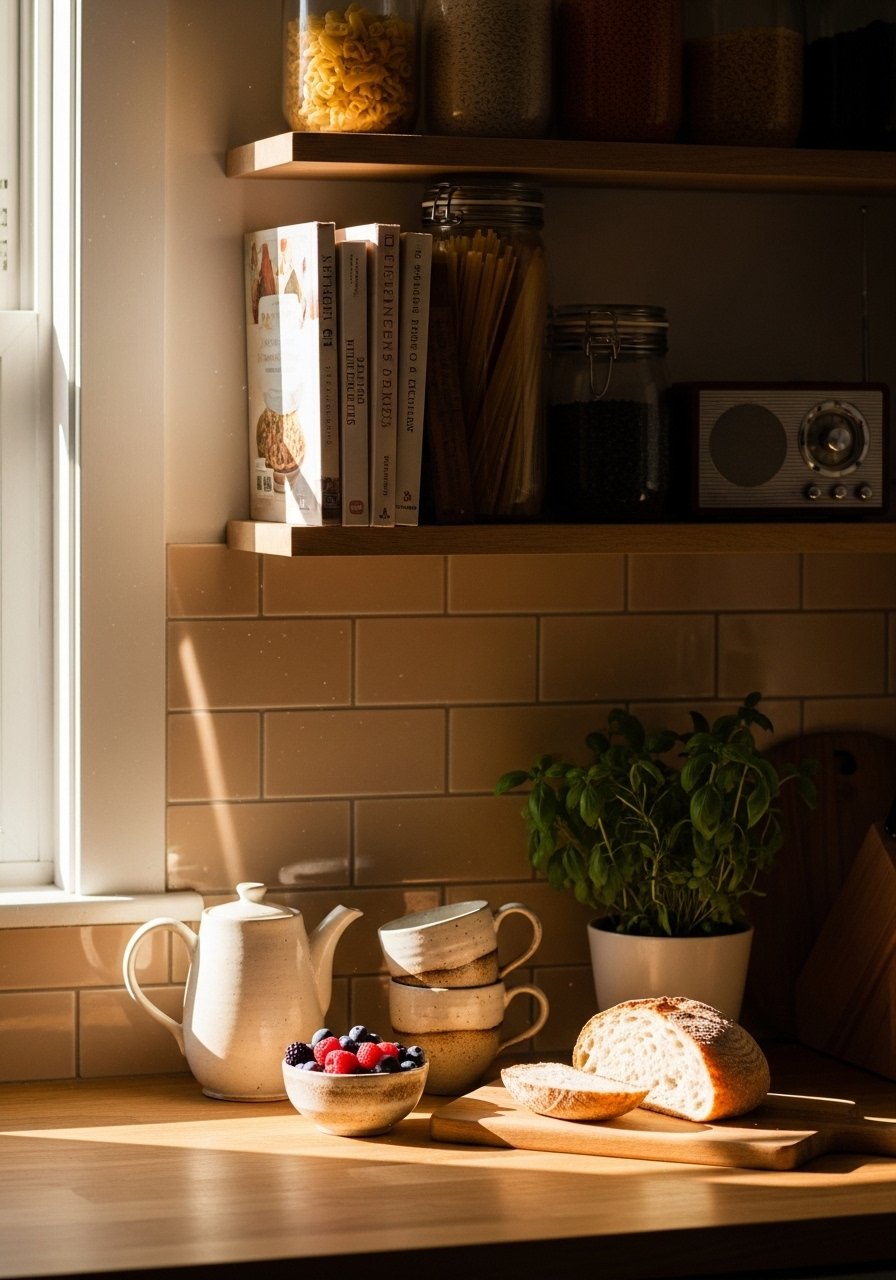
Start by choosing two warm base elements, then stick with them. For me it was warm wood tones and matte white ceramics. The wood makes surfaces feel grounded and the matte white reads soft next to it. Replace one cold metal or shiny white piece at a time. My first attempt was swapping everything at once. I ended up with a chaotic mix of finishes.
What changes visually is subtle but steady. Light looks softer, shadows are creamier, and small reflections stop feeling sharp. If your cabinets are white, warm them with 60 percent base color, 30 percent secondary material like wood, and 10 percent accent metal. That 60/30/10 split keeps things balanced without overthinking. A small sensory check: a wooden cutting board feels warm and slightly oily in your hands, while a ceramic mug is cool and dense. Those contrasts matter.
Step 2: Anchor the floor with a natural runner
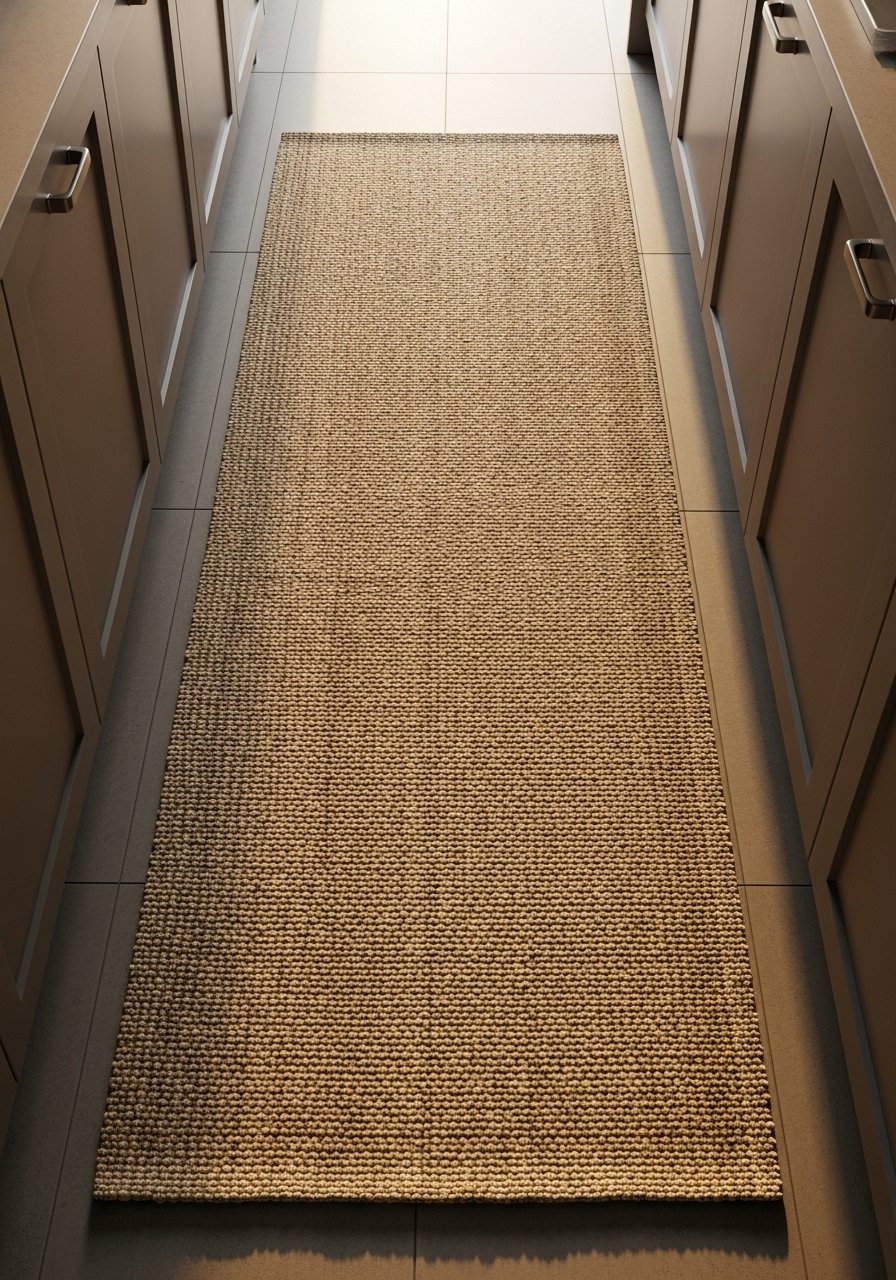
Rugs make kitchens feel intentional. Use a runner that fills two thirds of the walkway length. In a 10-foot galley, a 6- to 7-foot runner works. I learned the hard way that a runner too short looks like a misplaced accent. Too wide and it trips people.
Choose natural fibers like jute or wool for texture. Jute is rough and slightly scratchy underfoot, which is fine by the sink. Wool feels softer and catches crumbs less obviously. The visual change is immediate: the space reads longer and cozier, it tethers cabinets to the rest of the room. Common mistake: buying a thin, shiny vinyl runner because it is easy to clean. It solves the practical problem but kills the warm feel.
Step 3: Style open shelves by grouping by height
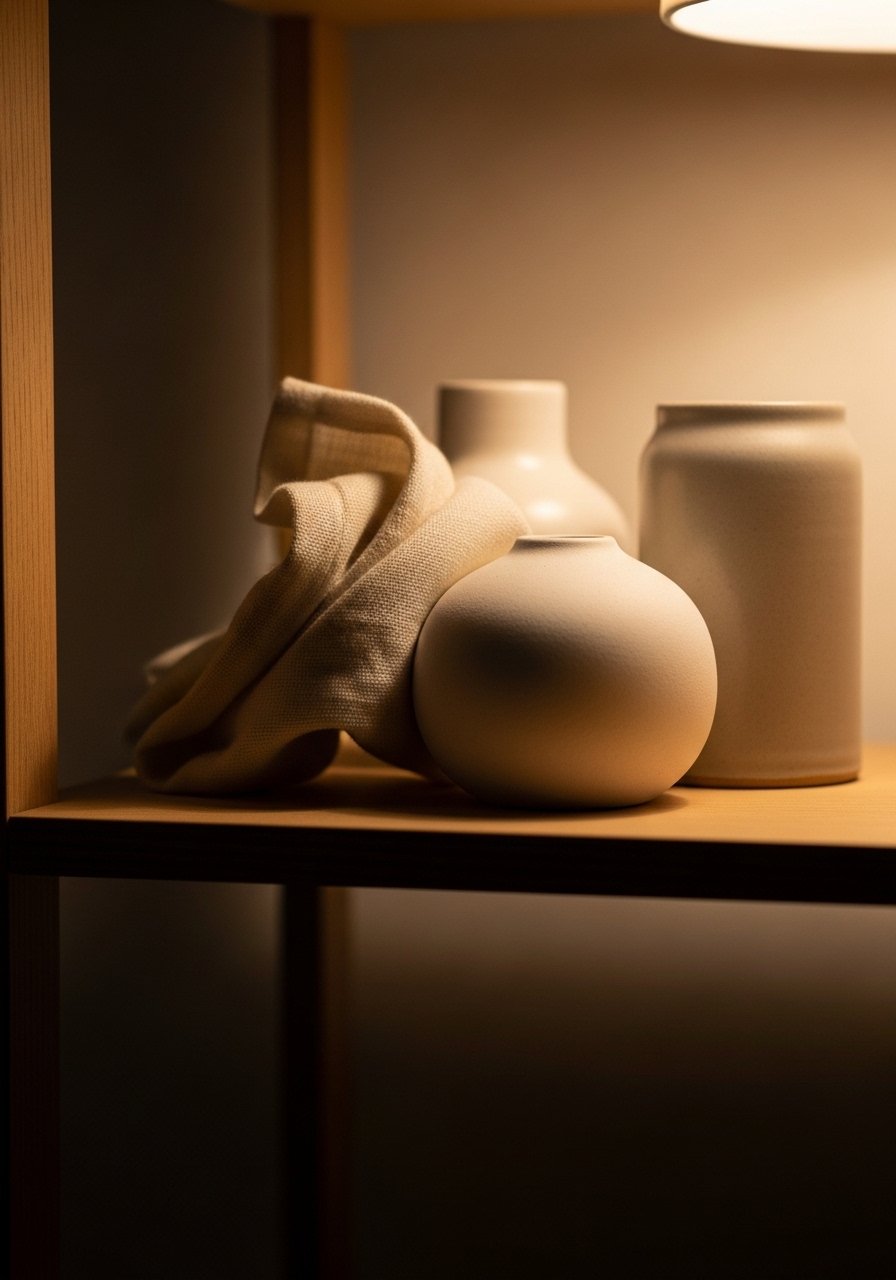
Pull everything off the shelf, yes everything. Then group items in odd-number clusters. I usually do one group of three and one group of five across a run of shelves. Keep at least 2 to 3 inches of breathing room between groups. That spacing is what people miss when things look crowded.
Mix heights: tall ceramic vase, medium stack of plates, low wooden bowl. One time I tried to make everything the same height. It looked like a fence. The right result feels layered and relaxed. A practical note: leave 12 to 16 inches of headroom between shelf and counter so plates and pitchers sit comfortably. If you have pets, avoid low open shelves for breakable items.
Step 4: Add warm metal and soft light in small doses
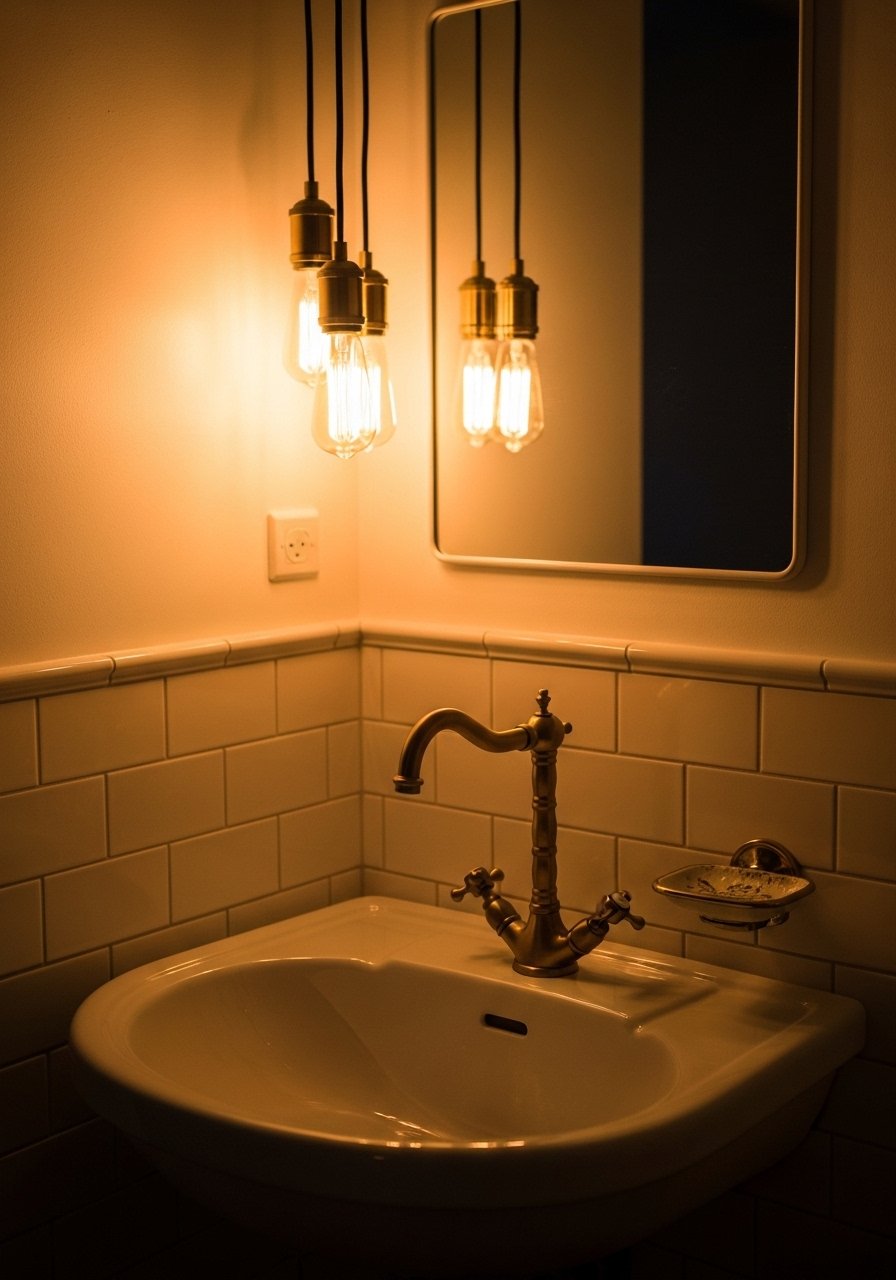
Pick one warm metal and introduce it in two places. I chose brass and used it on a soap dispenser and a small pendant. Small touches read as intentional, too many different metals read as busy. Lighting matters more than most people admit. Swap cool bulbs for 2700K warm LED bulbs. The kitchen instantly feels less clinical.
I burned this step early on by installing a warm fixture above the island and leaving the rest in cool white. It looked layered in a confusing way. Tip: aim for three layers of light, even in a small kitchen, so the room never looks flat. A brass object will feel cool to the touch at first, then slightly warm after a few minutes under a lamp. That tiny change makes it feel like it belongs.
Step 5: Finish with textiles and live edges for comfort
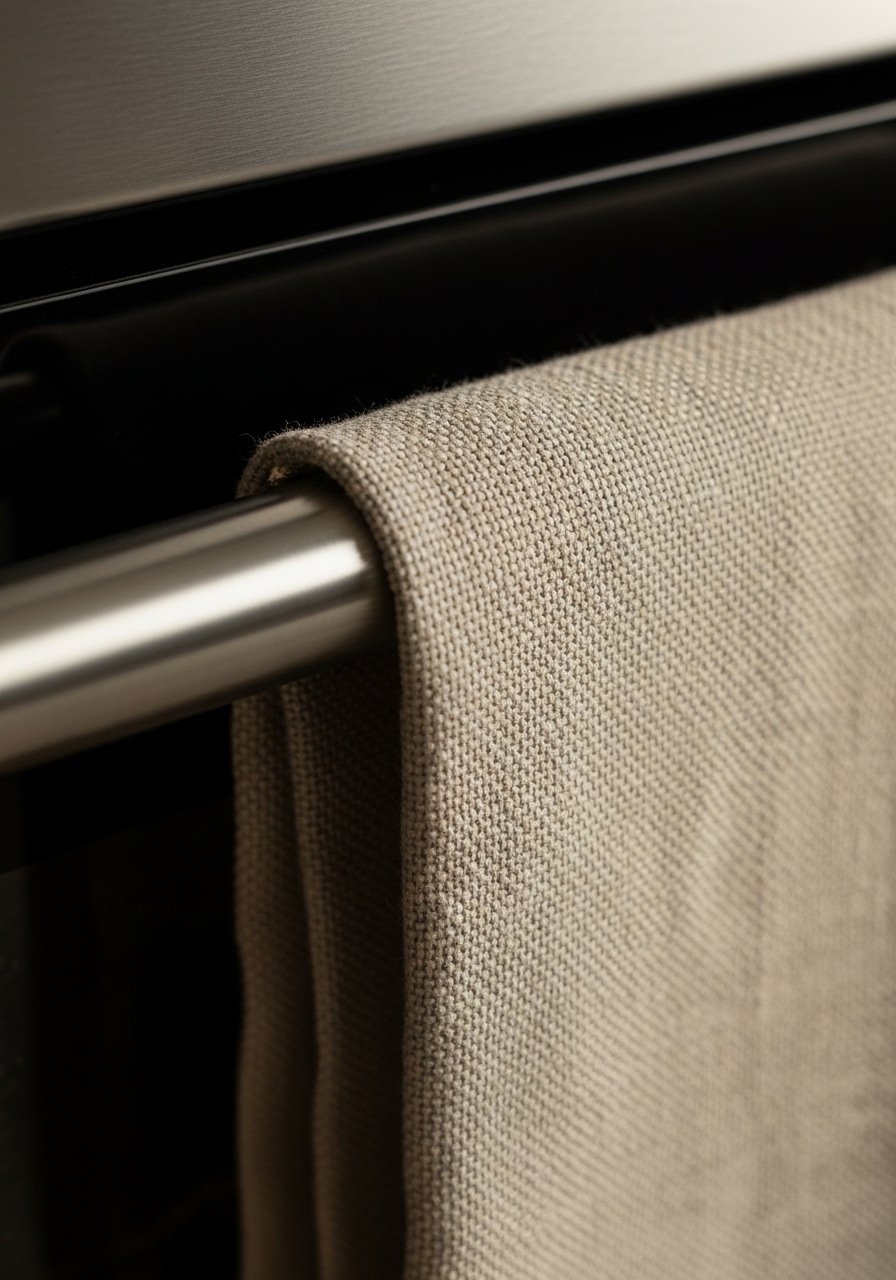
Textiles bring warmth without clutter. Use linen kitchen towels, a small wool seat pad for a stool, and a woven basket for fruit. Linen has a nubby texture, it drapes and wrinkles in a friendly way. I almost skipped the basket and the room felt photo-ready but cold. The basket introduced softness and a little asymmetry that made me relax around the space.
Keep one area slightly undone, like a stack of two cookbooks with a ceramic spoon jar beside them. It signals that the kitchen is used. Common mistake: over-styling every surface. This is the step where you decide what stays and what goes. Walk away for ten minutes. Come back and you will see the balance.
Your Warm Kitchen Shopping List
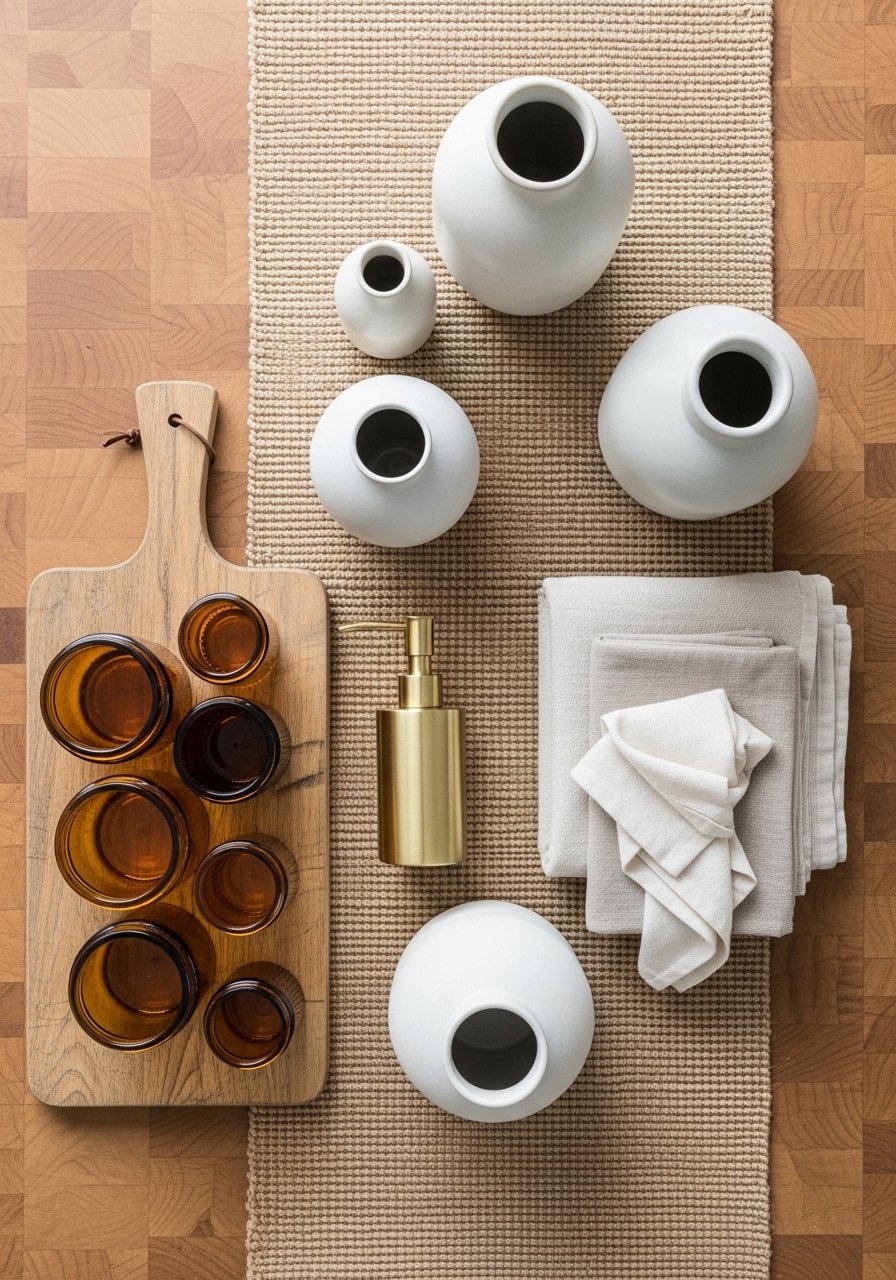
- Jute runner, 2.5×7 feet, natural ($90-160). Use in Step 2 to anchor the floor. Similar options at Target.
- Ceramic vase set, matte white, set of 3 ($25-40). For Step 3, adds height and cool weight.
- Large wooden cutting board, acacia, 18×12 inches ($30-55). Used in Steps 1 and 5, feels warm in the hand.
- Brass soap dispenser, pump top, 12 oz ($18-35). For Step 4, small metal accent.
- Linen tea towels, natural set of 4, 18×28 inches ($25-40). For Step 5, texture and drape.
- Woven seagrass basket, medium, 14-inch diameter ($20-35). Adds softness in Step 5.
- Amber glass storage bottles, set of 4, 16 oz ($15-30). For open shelf styling in Step 3.
- Warm LED bulbs, 2700K, pack of 4 ($12-25). For Step 4, change the whole mood.
Why kitchens still feel cold after styling
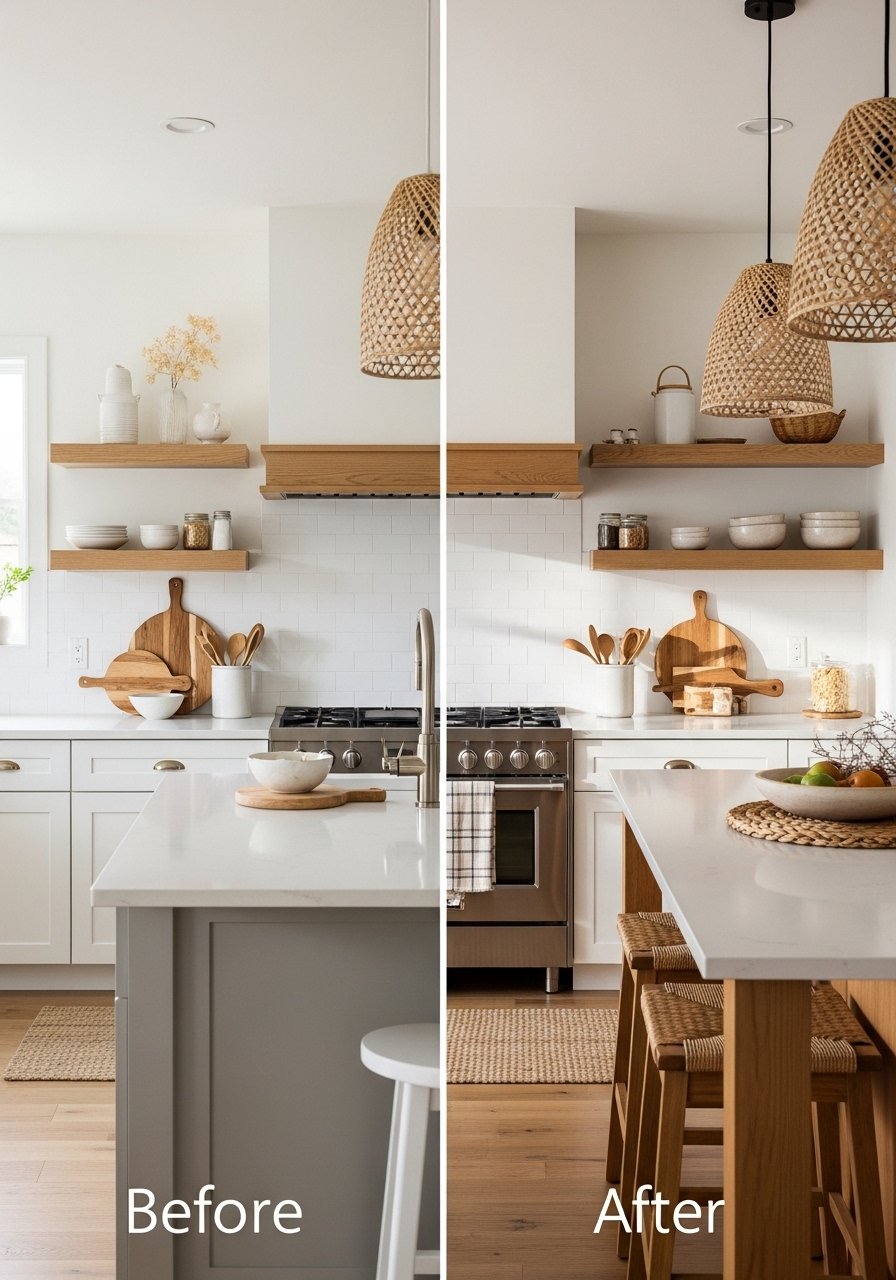
People often treat the kitchen like a showroom. Typical mistakes are matching every finish, stacking small items without breathing room, and using one kind of light. If your kitchen still feels cold, ask where the tactile warmth is. Do you have at least one wooden surface that you touch daily? Do you have soft textiles within reach? If not, add one of those things and live with it for a week. You will notice the difference in how you use the space, not just how it looks.
Making this work in a small kitchen
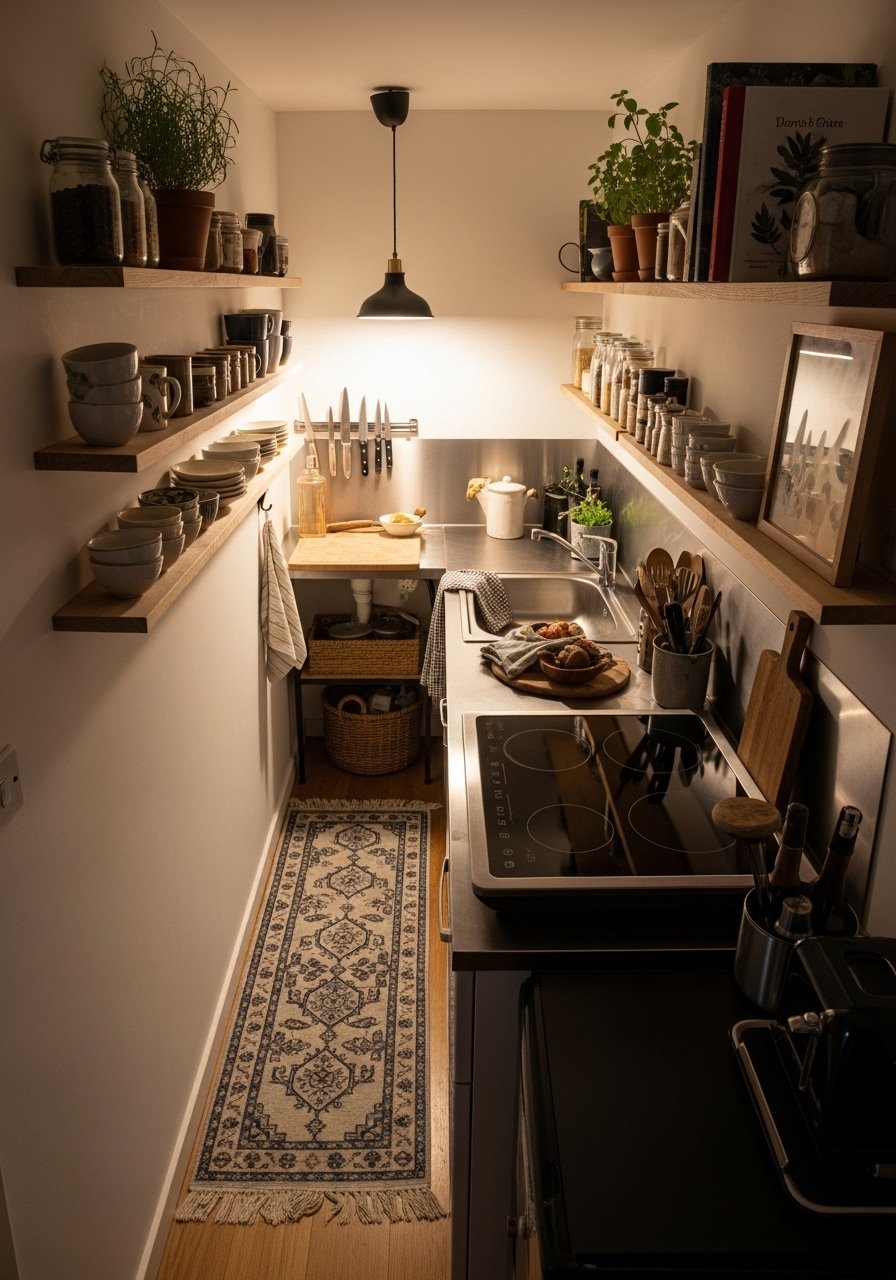
In tight kitchens choose scale carefully. Use a runner that leaves a 12- to 18-inch uncovered strip at each end so doors can open. Keep open shelves shallow, 8 to 10 inches, so objects do not look messy. Pick one statement metal, one wood tone, and one soft textile. A single linen towel folded over an oven handle reads warmer than multiple folded towels on a counter. Side note, if you have curious toddlers or pets, keep breakables on higher shelves.
What a warm kitchen looks like after a week
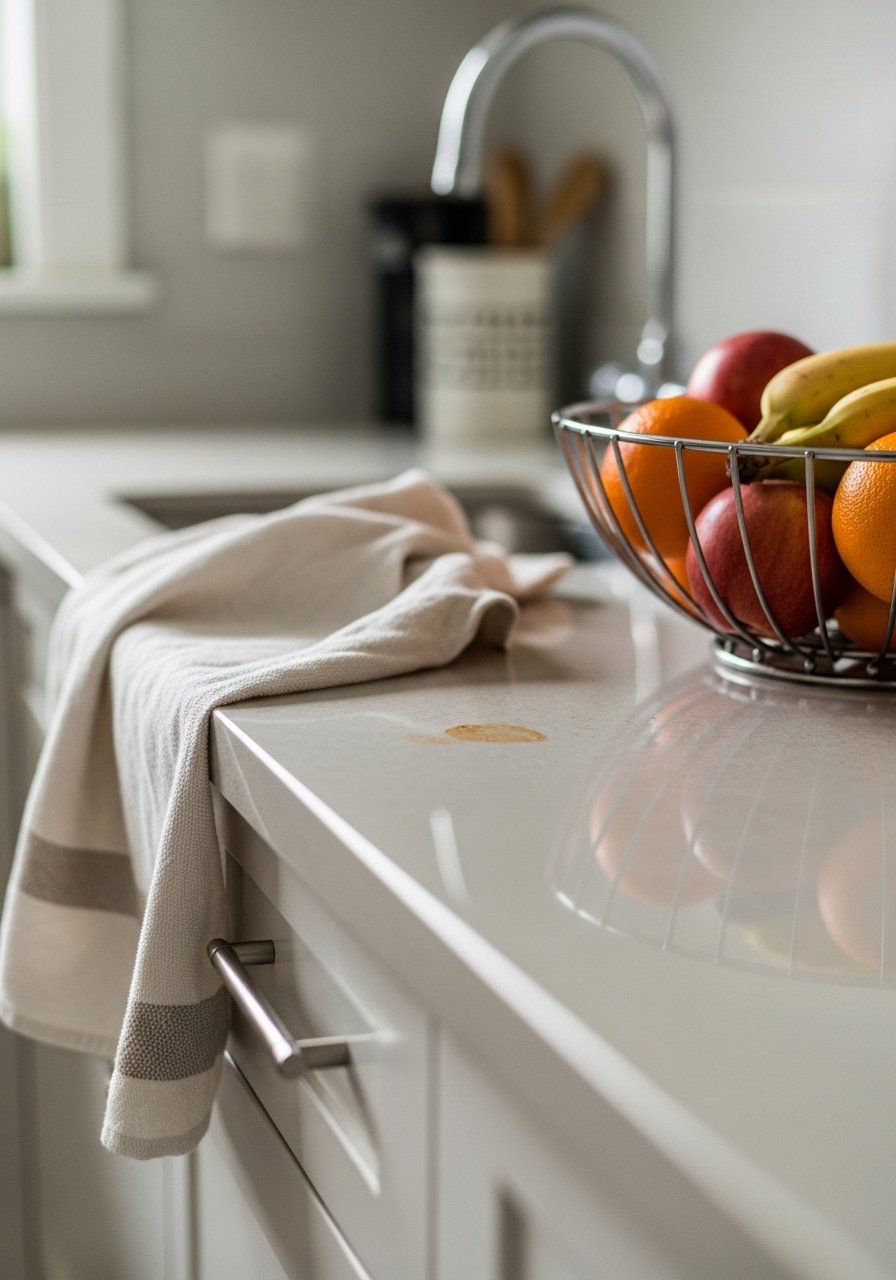
After seven days the kitchen should feel used and lived-in. The runner will have slight footprints, the linen towel will show soft creases, and a wooden spoon might sit in a jar. If something looks staged, remove it. I learned to live with a little clutter around the prep area. It made the room feel like a place I actually cook in instead of a showroom. That small lived-in evidence is the point of warm decor.
Start with One Counter
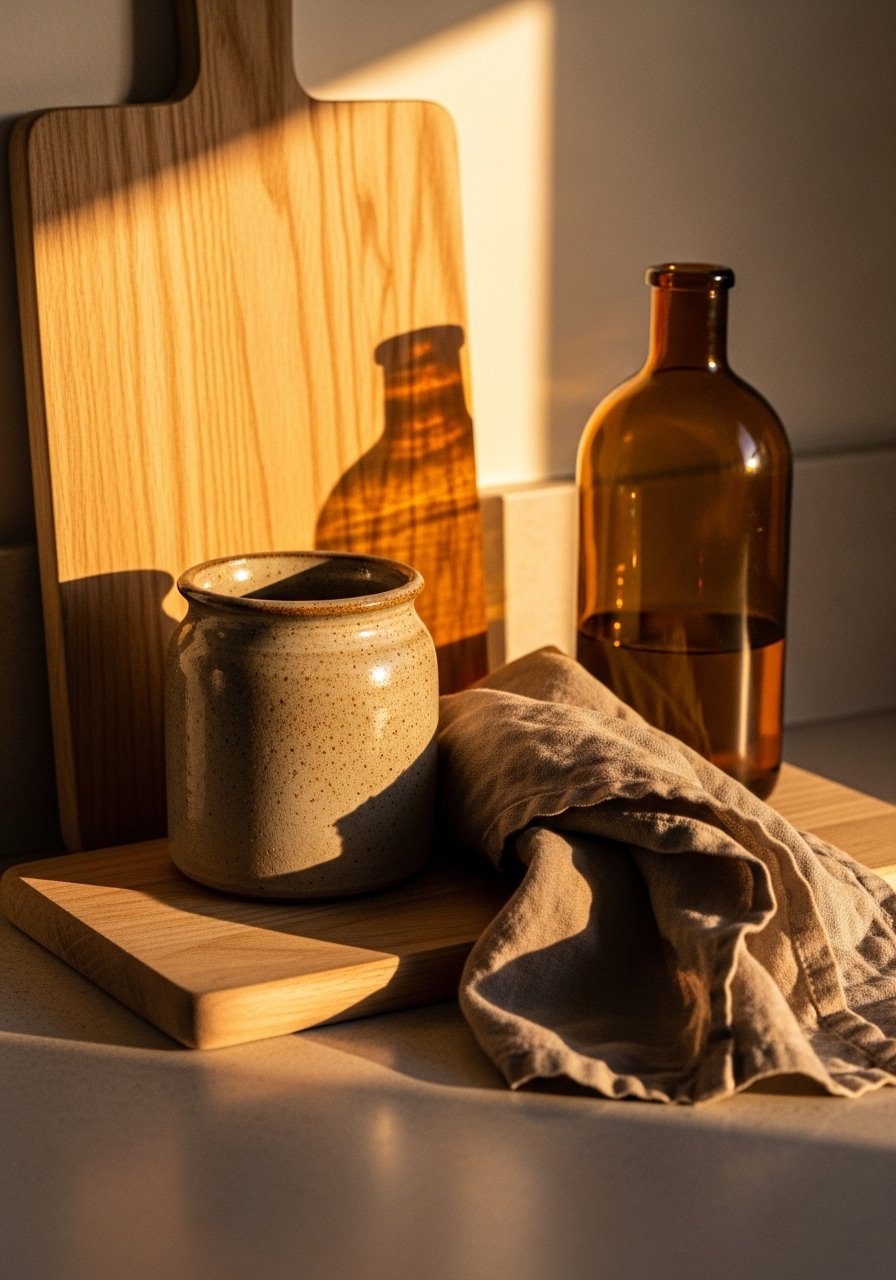
Pick one counter or shelf to try this on, and spend 20 minutes arranging only those items. Use a wooden board for warmth, one ceramic container for height, and a linen towel for texture. Leave breathing room and an odd number of objects. If it feels wrong, move one piece and then step away. You will be surprised how quickly the room starts to read warmer and more intentional.

