

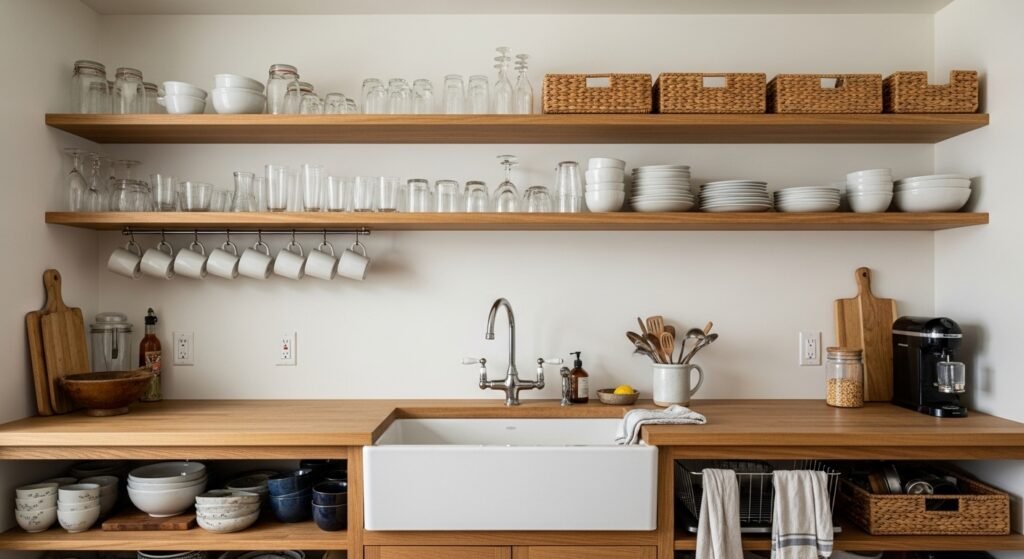
I had three shallow shelves staring at me for two months. Everything I put up there looked random. Cookbooks, a small plant, a single mug. Still random. It took me way too long to realize the problem was not what I owned. It was how I was arranging it and how afraid I was of empty space.
My first try stuffed every inch because empty felt wrong. The second version used identical white plates and it read flat, like a showroom. The third time I learned to leave breathing room, use one tall anchor, and repeat a small element across shelves. That was the moment it clicked.
Step 1: Strip the Shelves and Measure the Space
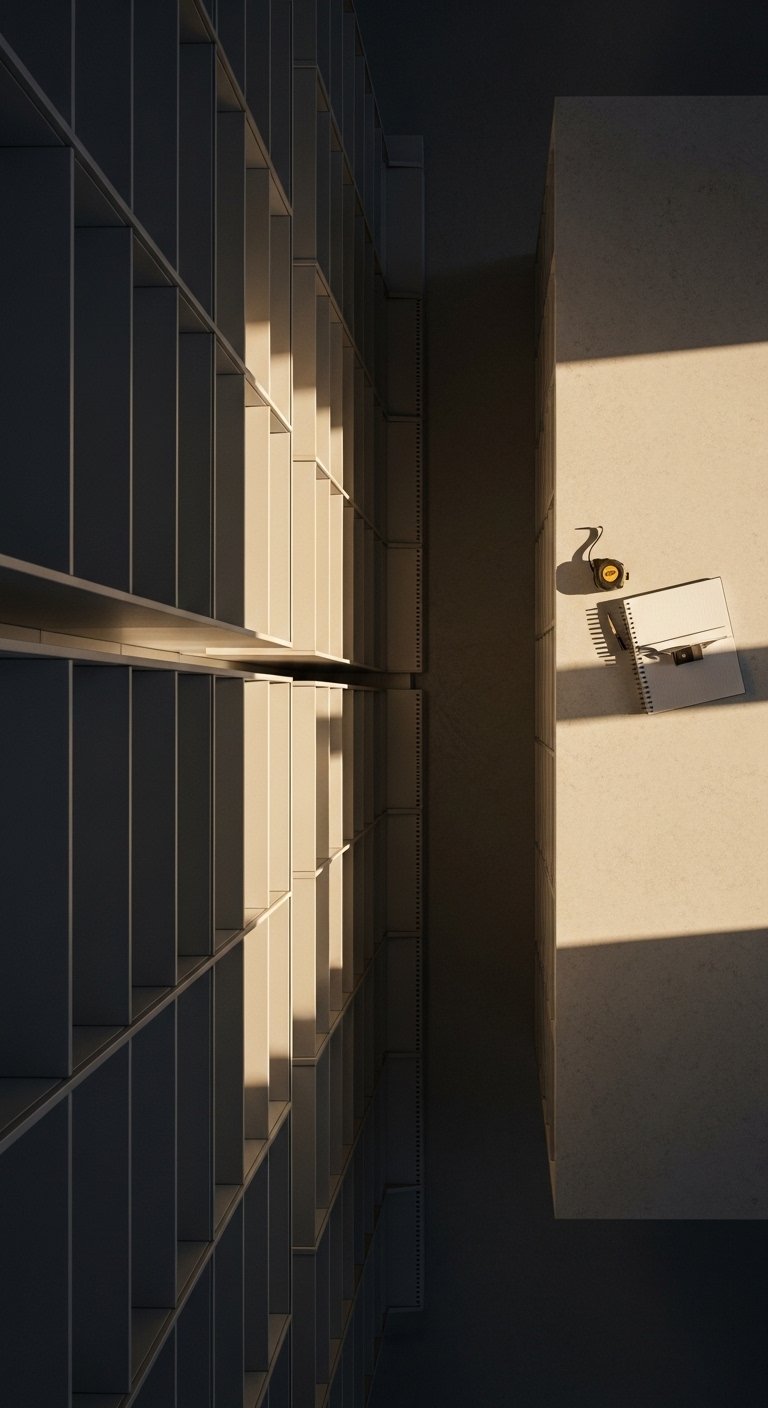
Pull everything off the shelves. Yes, everything. This is the rude but necessary start. Wipe down surfaces and note shelf depth and height. For most kitchen shelves, aim to leave 3 to 6 inches between grouped items so things do not look crowded. Also note the shelf height. A tall item that reaches roughly two thirds of the vertical space reads intentional and anchors the eye.
What changes visually is immediate. Instead of clutter, you see pockets of negative space. My first attempt skipped this, and I paid for it by cramming decorative bowls where prep bowls should live.
Step 2: Create Anchor Groups, Not Individual Pieces
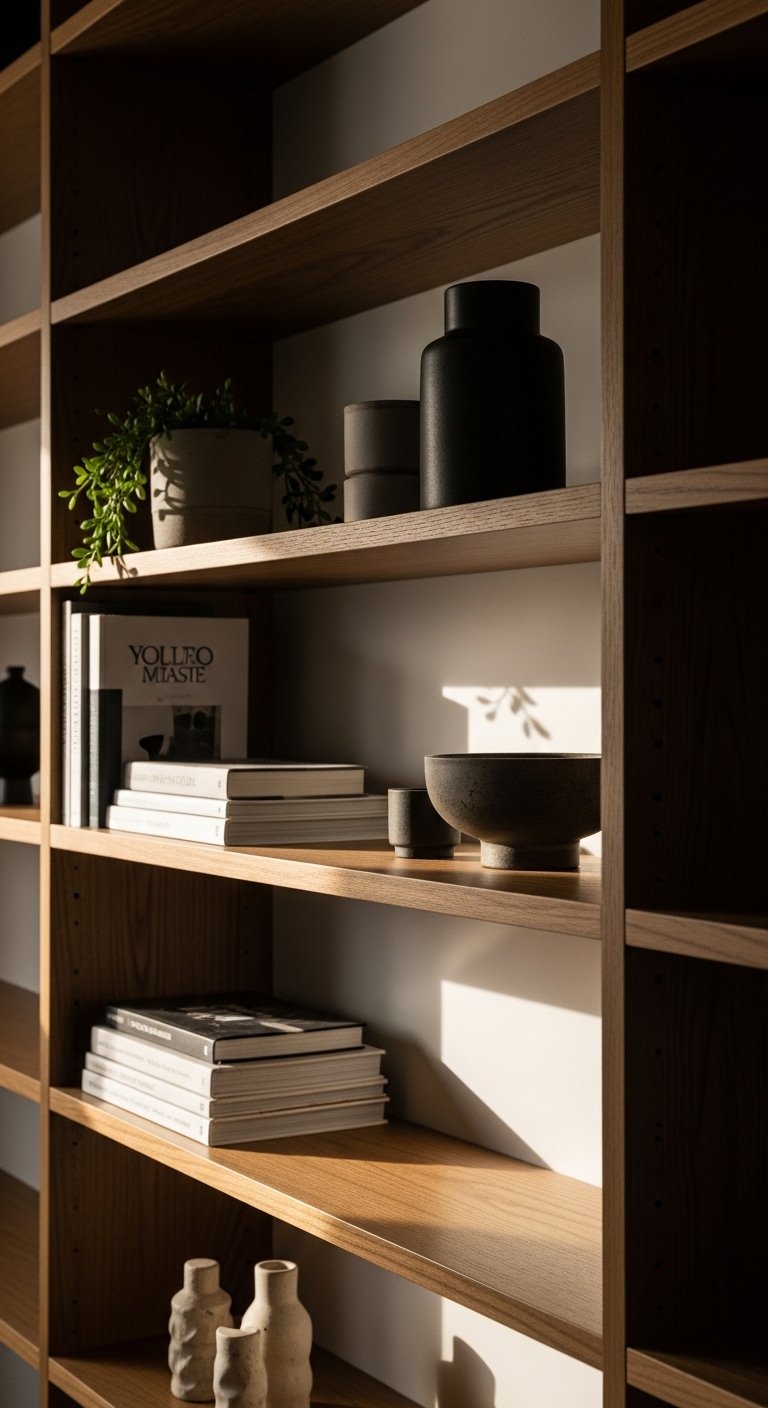
Most people start by placing single items evenly across the shelf. That makes everything float. Instead, build 2 to 3 anchor groups per shelf. Each group should take up about a third of the shelf length. Use an odd number of objects in a group, for example one tall vase plus two shorter bowls.
This is where asymmetry wins. My partner hated this at first. He thought it was off-balance. A week later he admitted it felt calmer. The visual result is grounded shelves that still feel airy.
Step 3: Mix Textures and Heights for Real-Life Warmth
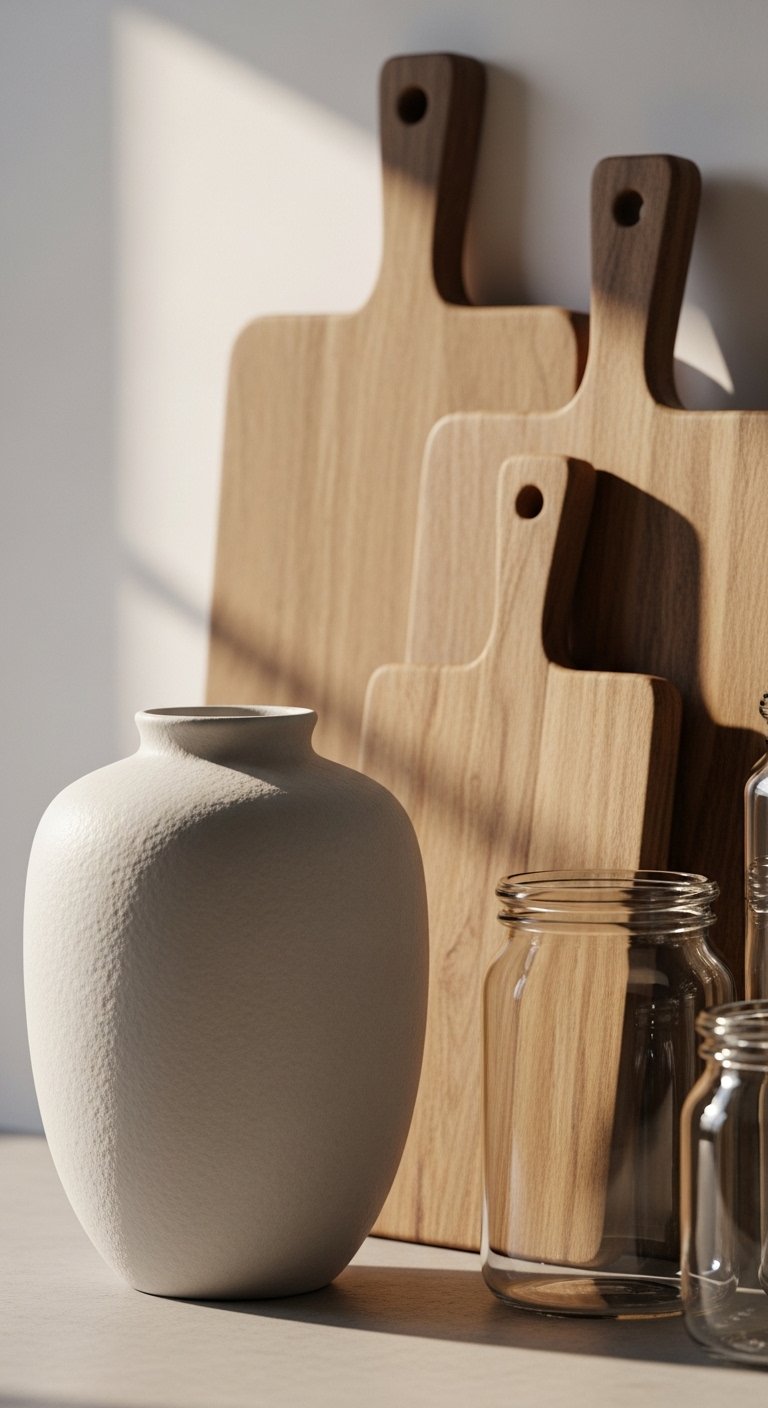
Swap a single-material look for a small mix. Combine cool, smooth ceramic with warm, slightly rough wood and the crisp sparkle of glass. Touch them. The ceramic is cool and heavy in your hand. The cutting board grain is warm and slightly coarse. The glass is light and clean.
Aim for height variation across each group: one tall, one medium, one low. Stack plates in groups of 3 to 5 for rhythm. My first version used only white porcelain and it read flat under midday light. Adding one nubby linen tea towel and a wood board made the shelves feel lived-in.
Step 4: Let Function Be Decorative
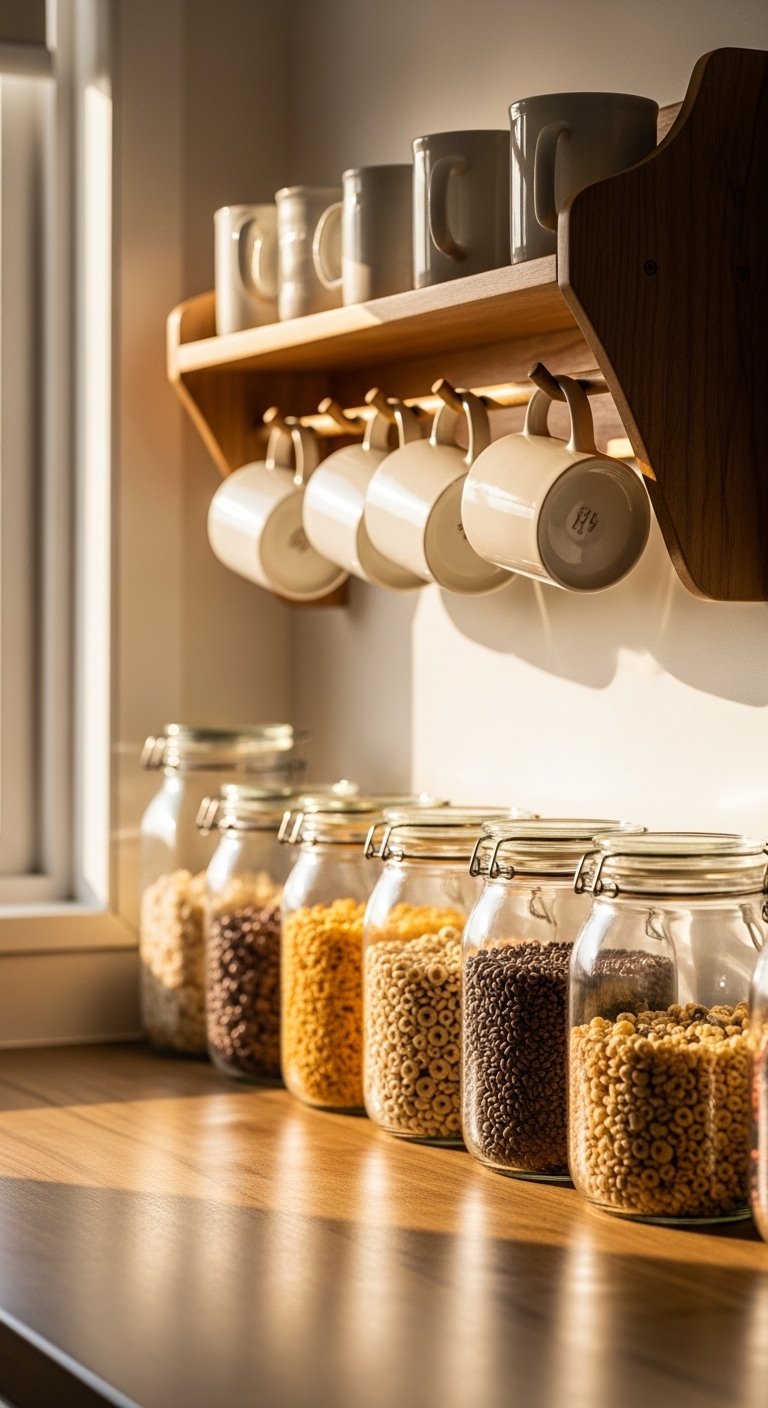
Open shelving in the kitchen is practical, not just photo props. Use everyday items as styling elements. Hang a set of mugs, show a jar of frequently used grains, keep a tray for oils. Heavy stoneware mugs feel substantial and signal use. A woven basket hides small clutter and adds a soft texture.
Beware of fragile, one-off decor across the whole run. My roommate knocked over a ceramic sculpture twice before I moved it to a closed cabinet. The payoff is shelves that look intentional and still make cooking easier.
Step 5: Edit, Step Back, and Live with It
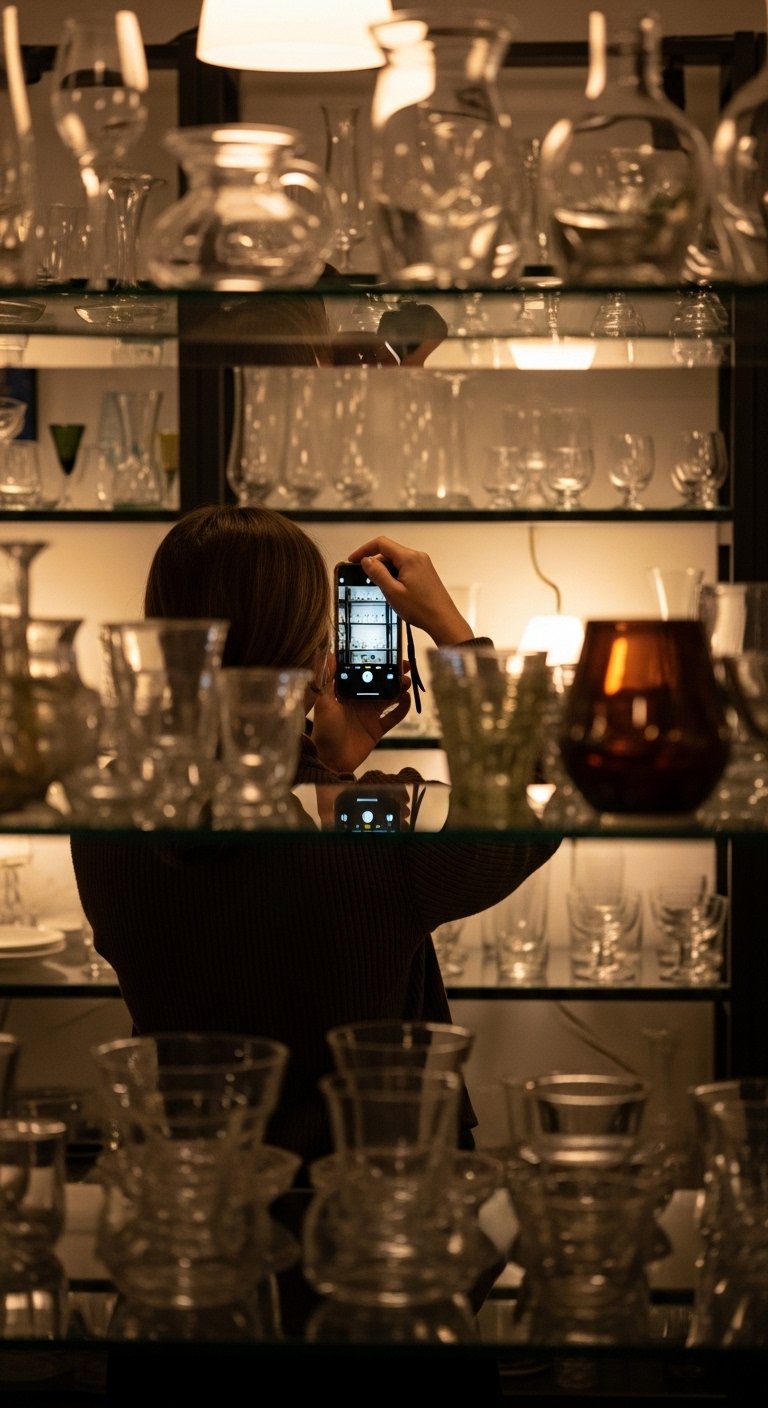
This is the step where it finally looks styled instead of cluttered. Put everything back with space in mind. Across the full shelving run, let 30 to 40 percent remain empty to keep the look airy. Take a photo from a few feet away and wait ten minutes. Come back and you will see things differently.
One tip I almost skipped is repeating a single small object across shelves, like a small plant or a jar lid. That repetition ties the whole wall together. I am still not sure this is the best way, but it is the one that has worked every time for me.
Your Open-Shelf Kitchen Checklist
Matte ceramic vase set, white, 3-piece ($25-40). Use on one shelf as a tall anchor, mentioned in Step 3
Stackable white dinner plates, set of 6, 10-inch ($30-55). Stack 3 to 5 for rhythm in Step 3
Woven seagrass basket, medium ($20-35). Hides tea towels and small clutter, used in Step 4
Linen tea towels, natural, set of 4 ($18-28). Adds nubby texture referenced in Step 3
Glass pantry jars with bamboo lids, set of 4 ($22-40). Functional display suggested in Step 4
Small step stool, oak finish ($30-50). Useful for cleaning and styling in Step 1
Matte mug set, stoneware, set of 4 ($25-45). Heavy mugs that become decor in Step 4
Cutting board, live-edge walnut, 18×12 ($40-80). Adds warm wood texture in Step 3
Why Your Shelves Still Look Cluttered After Styling
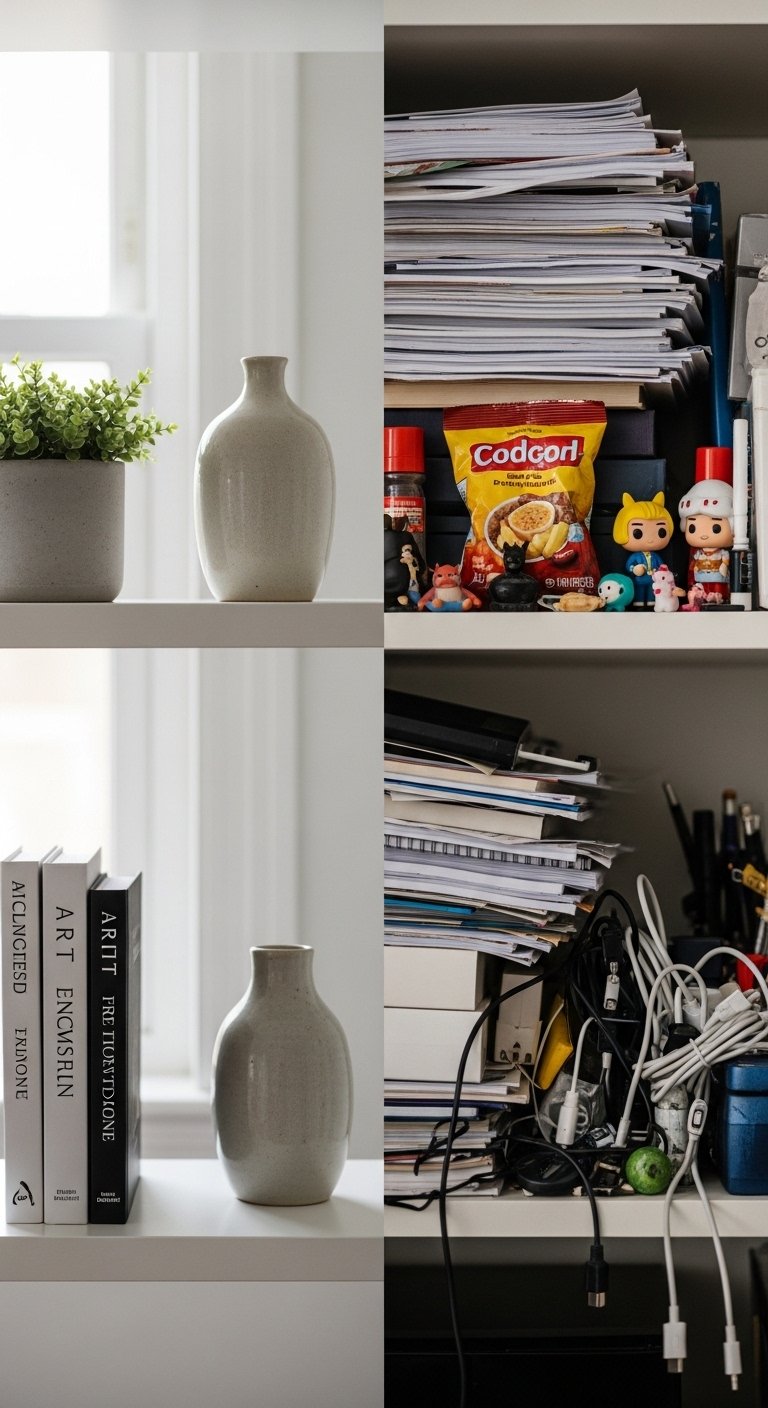
Most cluttered-looking arrangements come from three mistakes. One, objects are too small compared with shelf size. If everything is low, the eye never has a place to rest. Two, too many repeating forms make the shelf read like a set of twins instead of a group. Three, no breathing room. People panic and fill corners because empty space feels unfinished.
Fixes are simple. Add one tall piece per shelf, repeat one small object across shelves, and leave 30 to 40 percent of the length empty. I ignored these at first. It was frustrating when the shelves still read messy after a long afternoon of moving pieces around.
Making This Work in a Small Kitchen
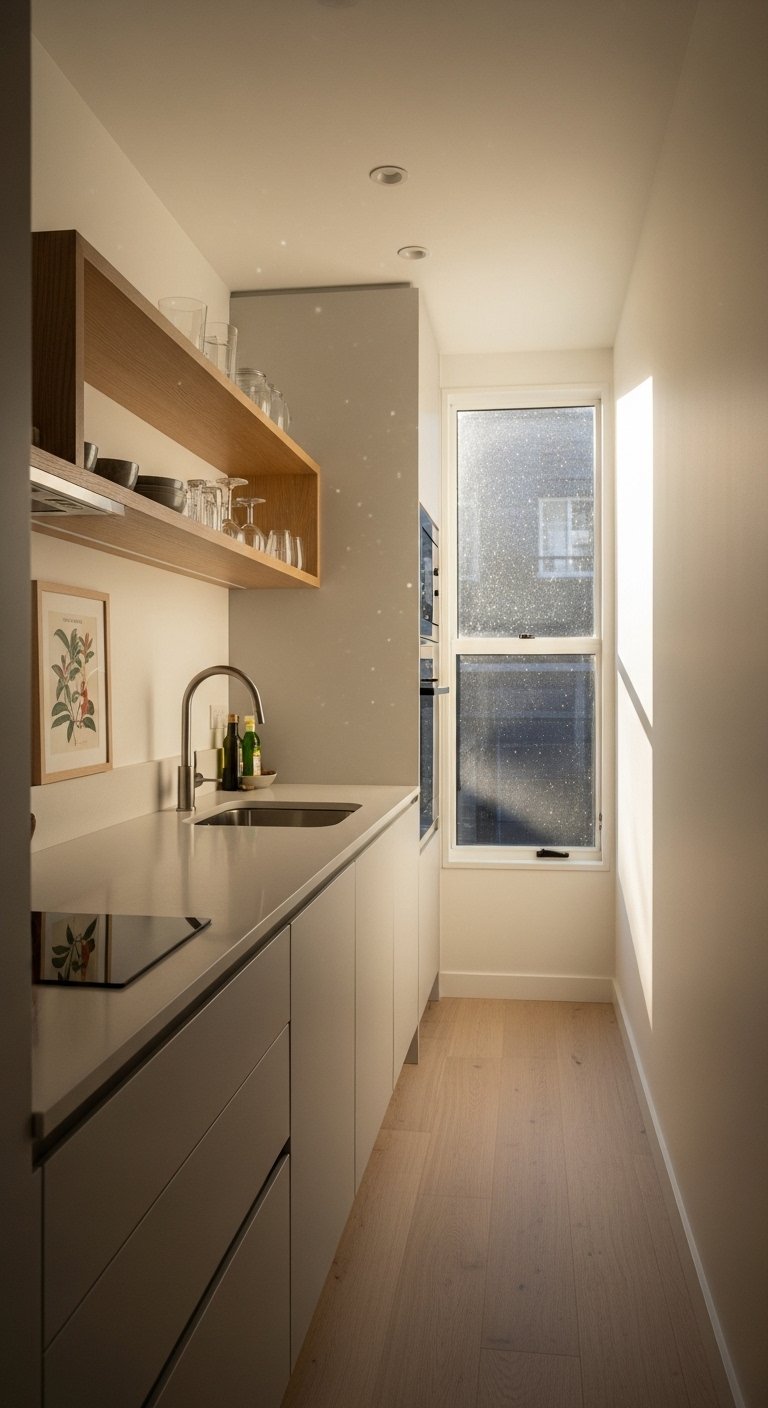
Small kitchens mean small choices. Use narrower items and fewer groups. One shelf can carry a single anchor group plus a row of clear jars. Keep heavier, larger items lower and eye-catching pieces higher. Bulky baskets are fine but choose shallow ones so they do not overwhelm.
Quick bullet checklist:
- Keep 2 to 3 groupings total across the run
- Use vertical items to draw the eye up, not out
- Scale down repetition, for example two jars instead of three
I moved my most used cutting board to a lower shelf so it stayed useful and still showed texture.
What This Looks Like After a Week with Kids and a Dog
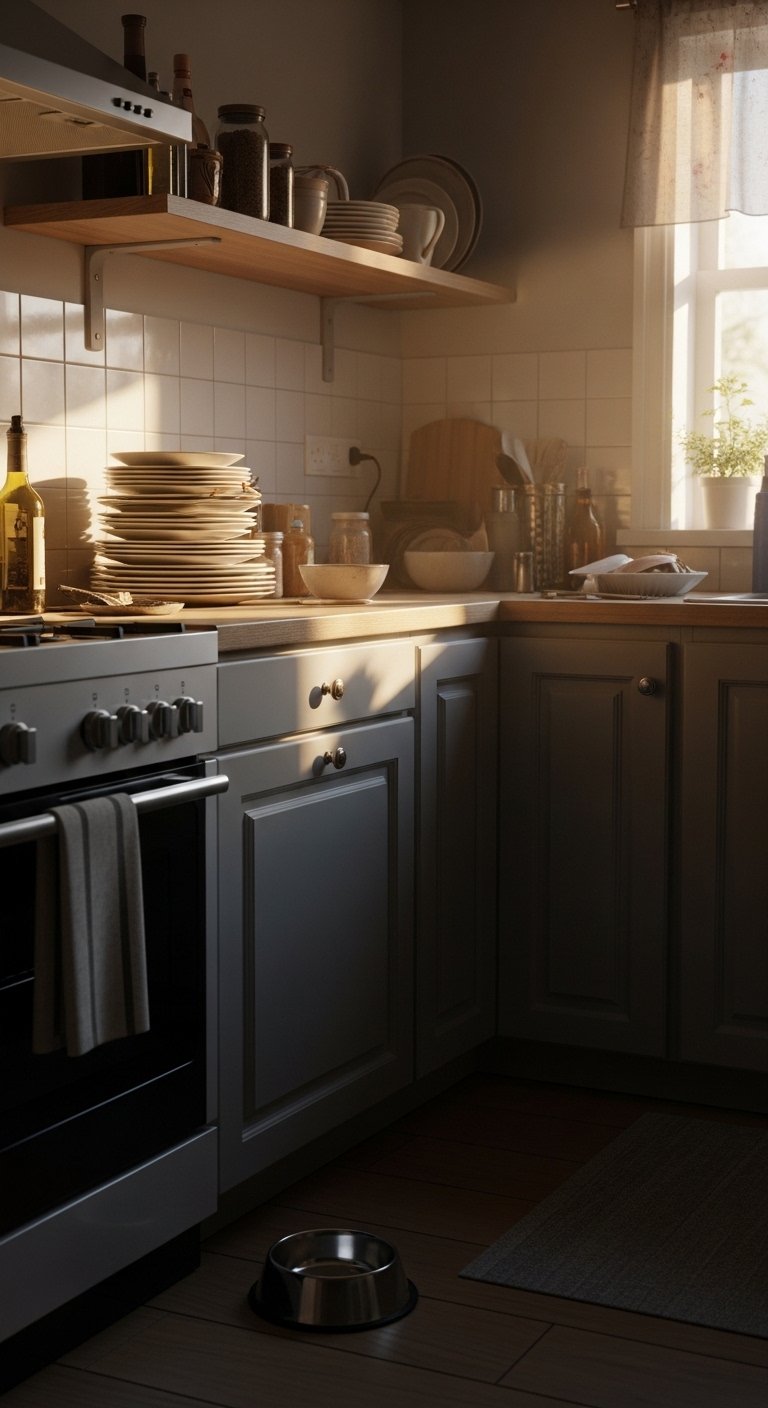
Styling for life is different from a photo. Plates will get used. Towels will get tugged. A plant may lose a leaf. Expect imperfections and plan for them. Keep breakables on higher shelves and put frequently grabbed items at arm level. Wipeable materials like glass and ceramic survive daily use better than raw linen in a household with pets.
After one week, you will notice which pieces are constantly moved. Those belong in drawers. The pieces that stay in place are the ones that should stay on display.
The First Shelf Is the Hardest
Start with the one shelf that will make the biggest visual impact, often the one at eye level. Put a tall vase, a stack of 3 plates, and one woven basket on that shelf. Step back and live with it for a few days. If it still feels off, swap one item and wait another day.
You do not need every shelf perfect at once. Small edits over time keep the kitchen usable and calm. I began with a single ceramic vase and a stack of plates, and that one small change made the whole run feel settled.

