

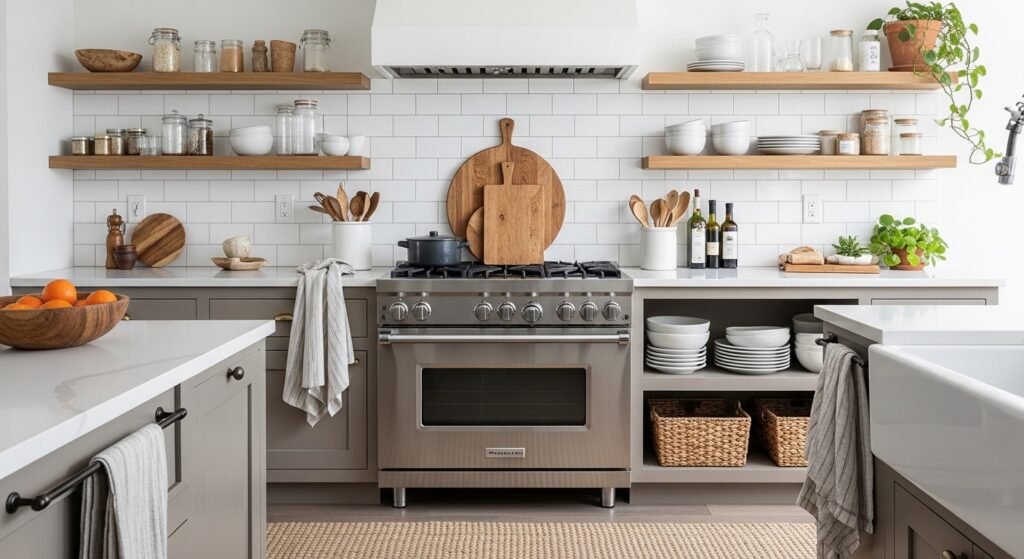
I had three empty shelves glaring at me for weeks, and everything I tried on them looked like a jumble. I moved plates, plants, and a vintage pitcher around until my arms ached. What finally clicked was that the problem was not the pieces, it was how I spaced and grouped them.
Before this approach I overfilled corners because I was afraid of empty space. Other times I matched everything exactly and the kitchen felt brittle. The steady fix was simple, patient, and tactile: edit, anchor, and add texture in measured doses. It feels calmer now, like the room can breathe.
Step 1: Edit the Counters and Shelves, Keep Only What Earns Its Place
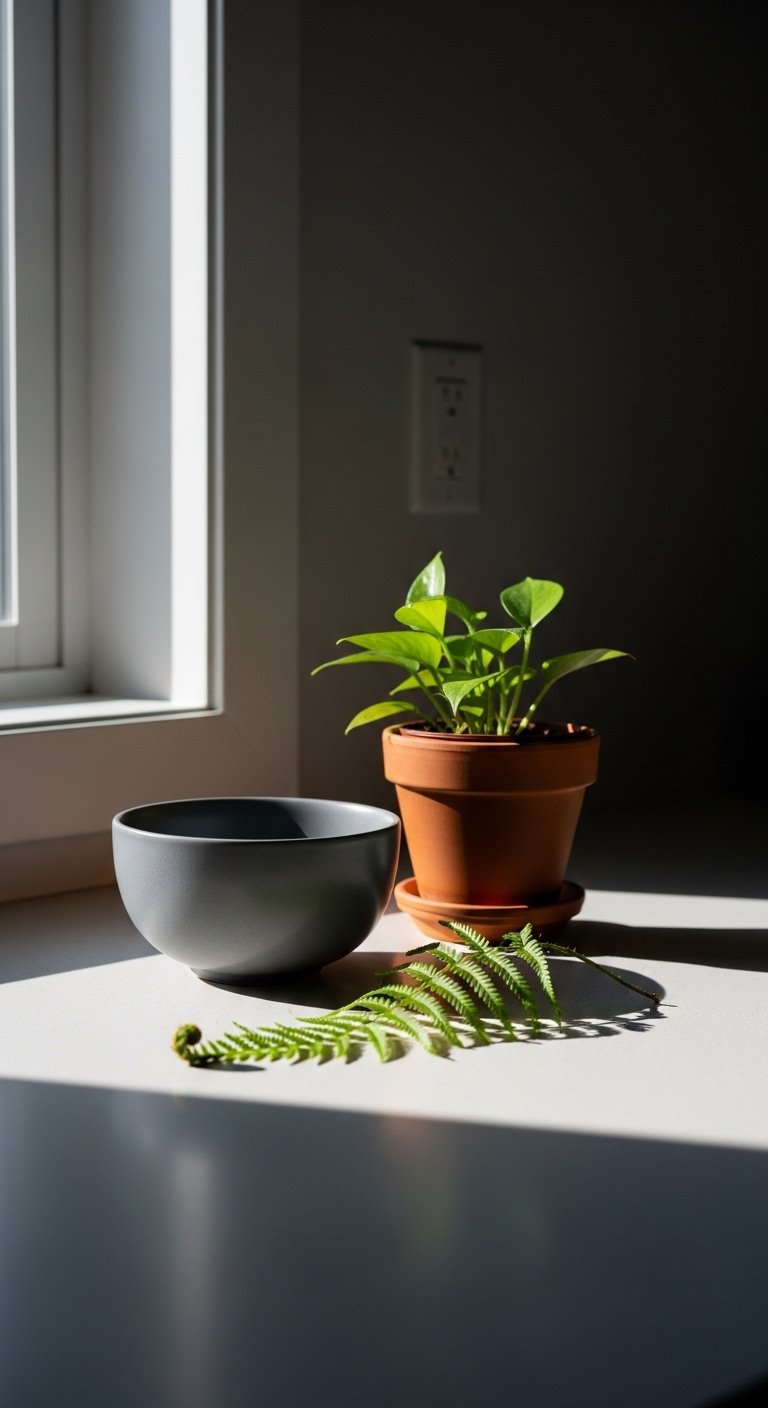
Pull everything off the counters and shelves. Yes, every jar and every dish. What you want left are the useful, tactile objects you reach for. I learned this the hard way after three attempts where I kept things "just in case" and ended up with visual noise.
Keep one large anchor per surface, then two or three smaller pieces. For shelving, allow 12 to 15 inches of vertical space between rows so things do not feel squashed. Common mistake: stuffing plates and mugs shoulder to shoulder. Give them breathing room and the overall composition will feel intentional, not cluttered.
Step 2: Add One Grounding Piece to Anchor the Room
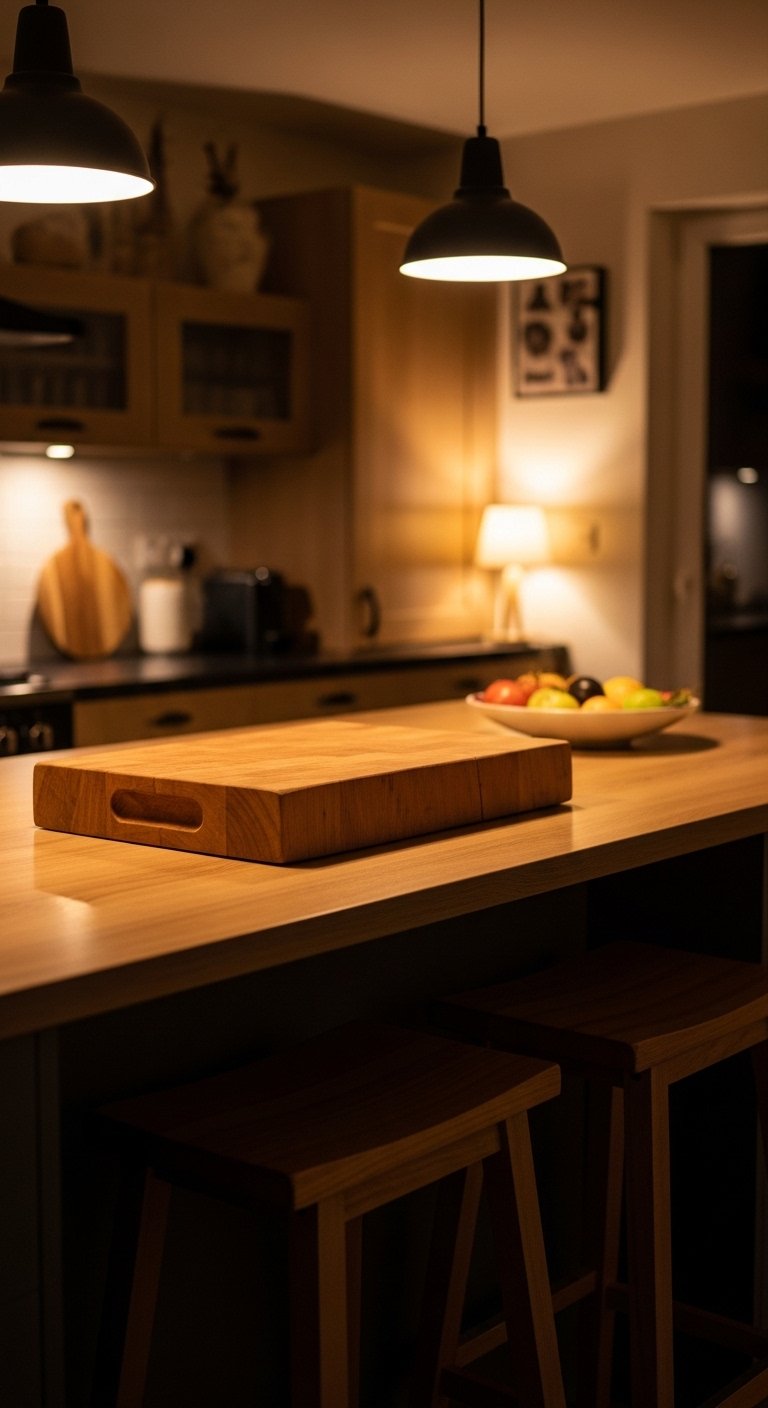
Pick one substantial item for the kitchen, like a wide wooden cutting board, a jute runner, or a single open shelf with stacks of white plates. The effect of one grounded piece is immediate. For runners, leave about 18 inches of floor visible on either side so the rug reads as intentional, not cramped.
I used to scatter focal points and nothing read as important. When I chose a single chunky oak board and a 2/3 neutral, 1/3 warm-wood palette the room settled. Sensory check: a solid wood board feels heavy and warm in your hands, it anchors the lighter linens and ceramic.
Step 3: Layer Open Shelves with Groups, Texture, and Height
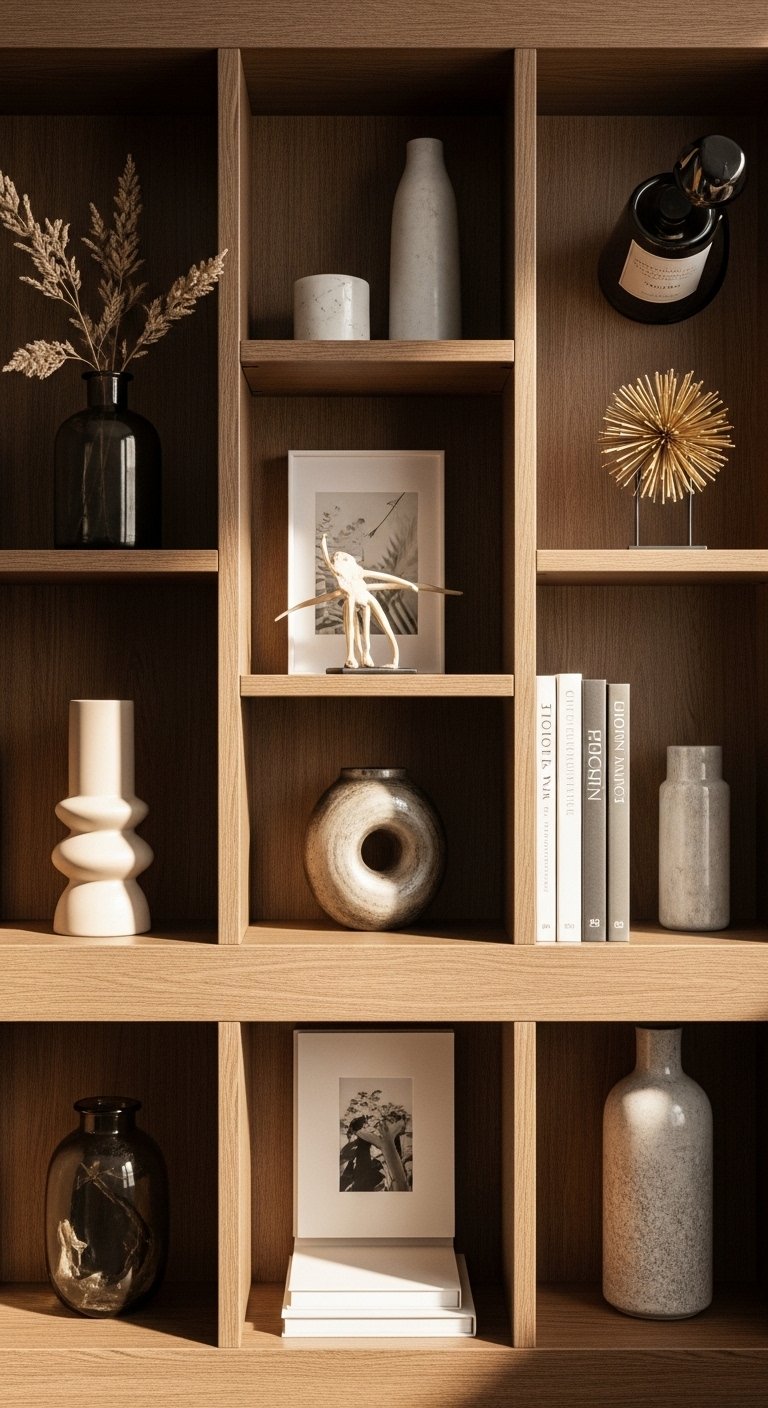
Group items in odd numbers, usually three to five, and vary heights within each group. Put taller items toward the back and shorter pieces in front. I ruined my first shelf by placing the tallest things at the front, which hid everything else and made the shelf feel flat.
Mix materials, aim for two-thirds neutral items like white dishes and wood, and one-third accent pieces such as a matte ceramic vase or a colored mixing bowl. Measurements to remember: clusters should be roughly the width of a folded tea towel, about 10 to 14 inches across, so they read as a single visual unit. The textures will make the shelf feel layered when you brush your hand past it.
Step 4: Soften Hard Surfaces with Linens, Plants, and Wood
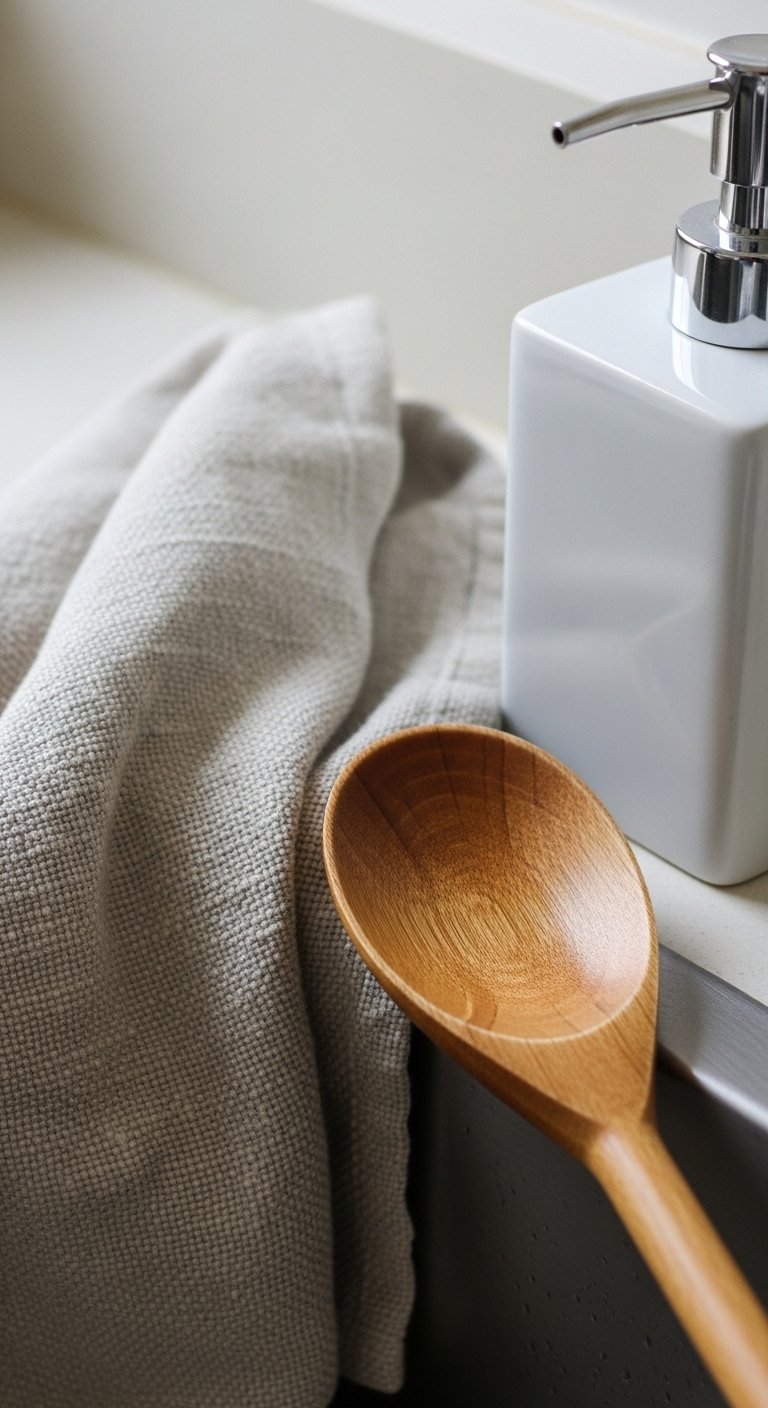
Add nubby linen towels, a small potted herb, and a wooden spoon jar to break up tile and metal. I tried gleaming chrome and skimpy cotton, and the kitchen looked flat and cool. Warm woods and woven fibers turn a clean space into a comfortable one.
Use a 50×60 inch chunky knit throw or a folded linen tea towel over a stool to introduce softness. The linen feels slightly rough at first touch, which keeps things from appearing fragile. If you have pets, keep open lower shelves higher or skip fragile items, because my cat tested every ceramic piece.
Step 5: Finish Counters with Everyday, Useful Pieces and One Accent
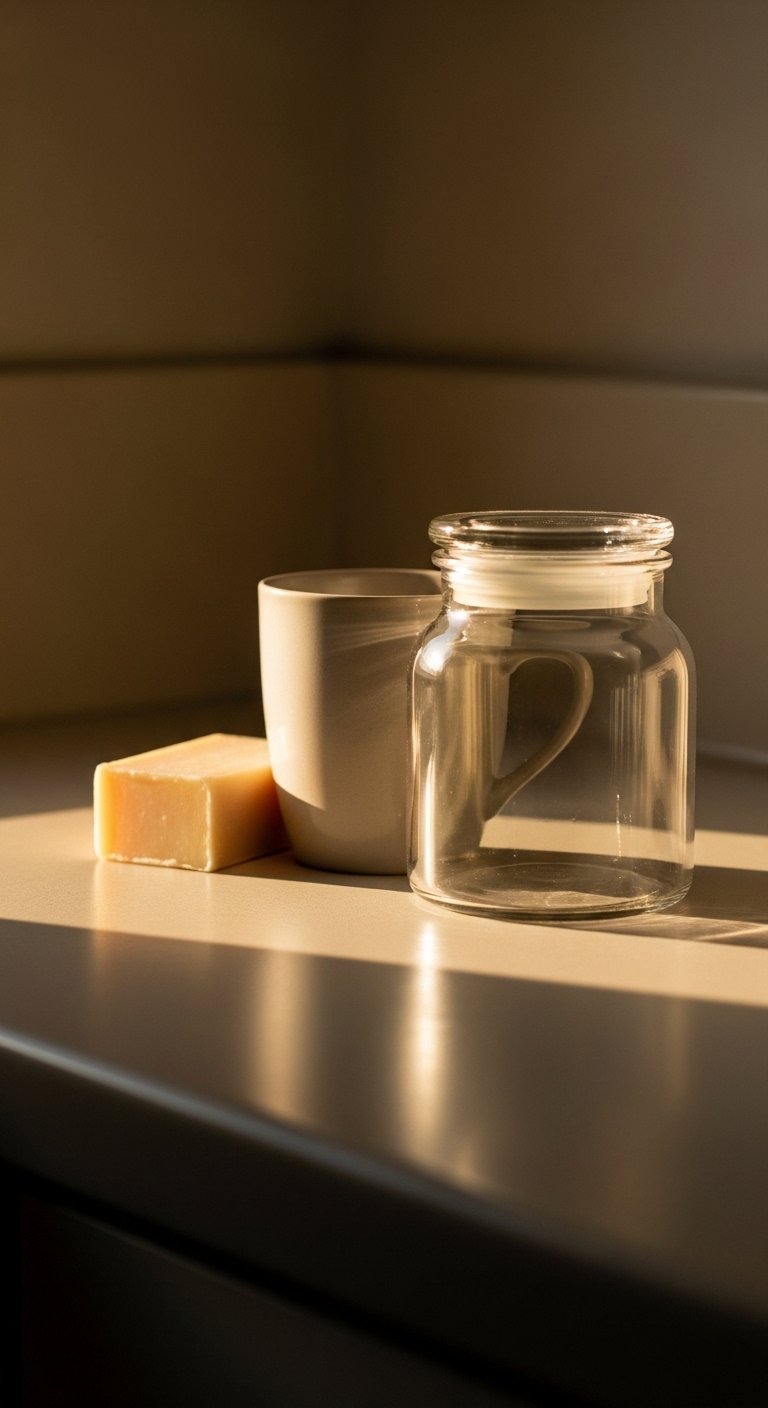
Style counters with items you actually use, not just props. A soap pump, a bowl for keys, a heavy ceramic mug that is cool to the touch, and a glass canister for flour or sugar read as lived-in. Keep a clear working zone of about 6 to 12 inches for prep near the stove and sink. I ignored this once and my "styled" counter became a staging ground for mail.
Choose one accent piece, like a colored enamel bowl or a vintage scale, and keep the rest neutral. Small mistakes matter here, like lining up all items perfectly which makes the space look staged. Slight offsets and a tiny tilt to a cutting board feel honest and relaxed.
Your Farmhouse Kitchen Shopping List
Handcrafted oak cutting board, 20×12 inches ($45-90). I lean one against the backsplash in Step 2.
Chunky jute runner, 2×8 feet, natural ($60-140). Use this as the grounding piece in Step 2.
Matte ceramic vase set, white, set of 3 ($20-40). For Step 3, you need height on shelves.
Linen dish towels, pack of 5, oatmeal ($18-35). These add texture in Step 4.
Glass canister set, airtight, 16-32 ounce ($30-65). Useful for Step 5 and visually tidy storage.
Brass wall hooks, 4-pack, aged finish ($12-25). Handy by the stove or for hanging towels mentioned in Step 4.
White stoneware dinner plates, 10-inch, set of 4 ($35-70). Simple plates anchor Step 3 shelving.
Soap dispenser, ceramic, matte glaze ($12-28). The small details finish the counters in Step 5.
Why Your Farmhouse Kitchen Still Feels Off
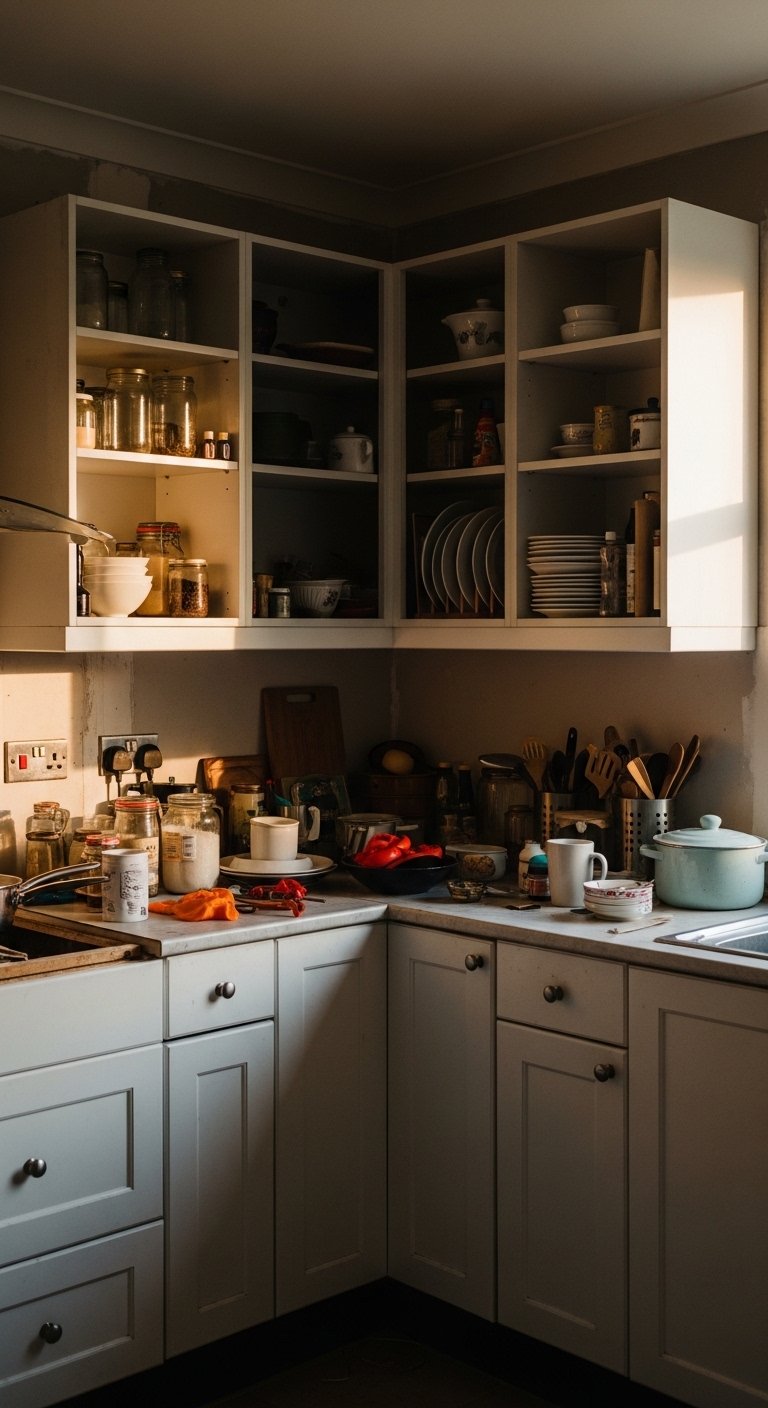
If the room still feels wrong, look for competing focal points. Too many focal points make the eye jump. Pick one anchor on each wall and one anchor on the counter, then pare down surrounding items.
Common mistakes to check
- Matching everything exactly which creates a sterile feel. Introduce one warm wood or woven item.
- Shelves too tight vertically, which hides depth. Give 12 to 15 inches between rows.
- Several small accents all the same color. Break them up with one contrasting piece.
Making This Work in a Small or Rental Kitchen
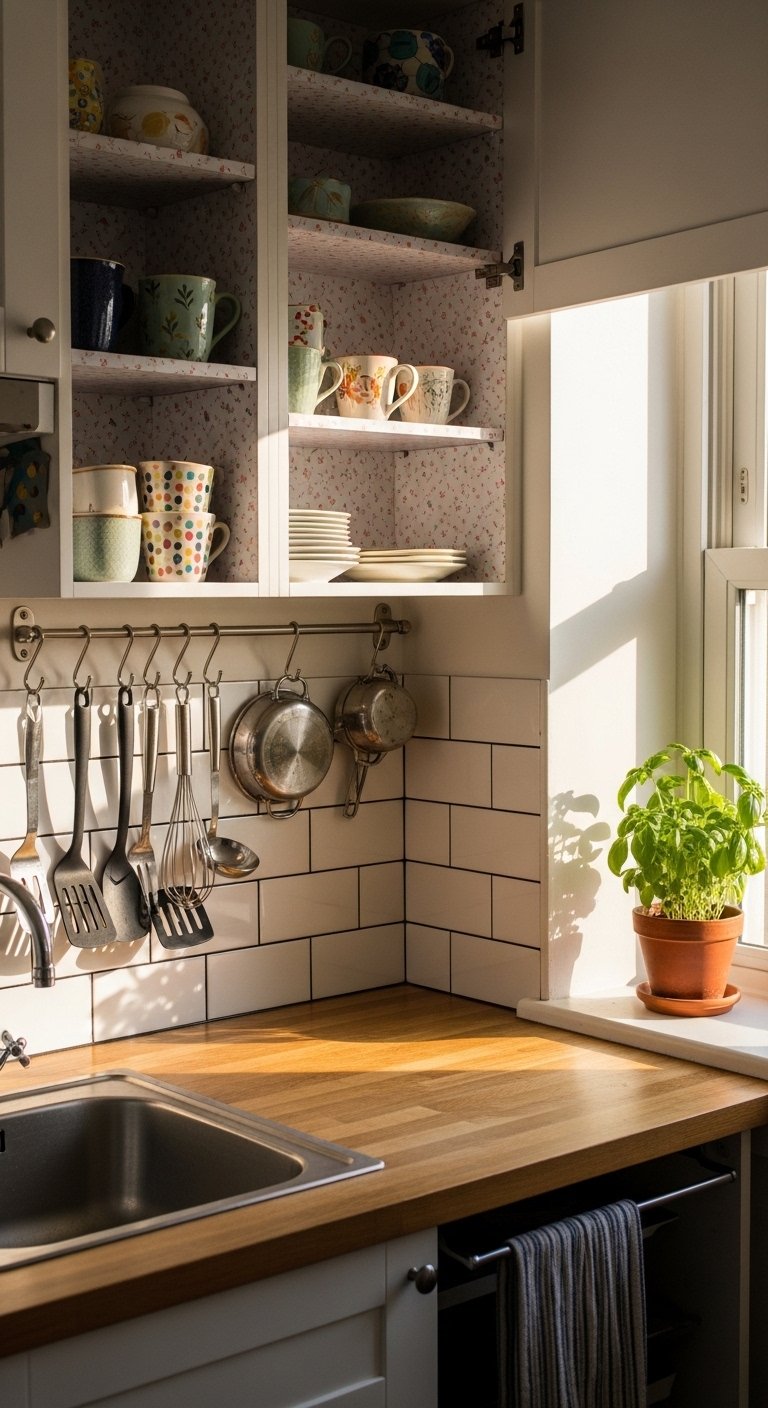
Small kitchens need fewer, stronger moves. Keep open shelves shallow, about 10 to 12 inches deep, so items do not jut into the workspace. Use removable brass hooks for towels and mugs when you cannot drill.
Smart swaps
- Swap a full rug for a 2×6 runner to keep sight lines open.
- Choose stackable storage jars to save counter space.
- Use a slim butcher block as your single grounding piece that can double as prep space.
What This Looks Like After a Week of Real Life
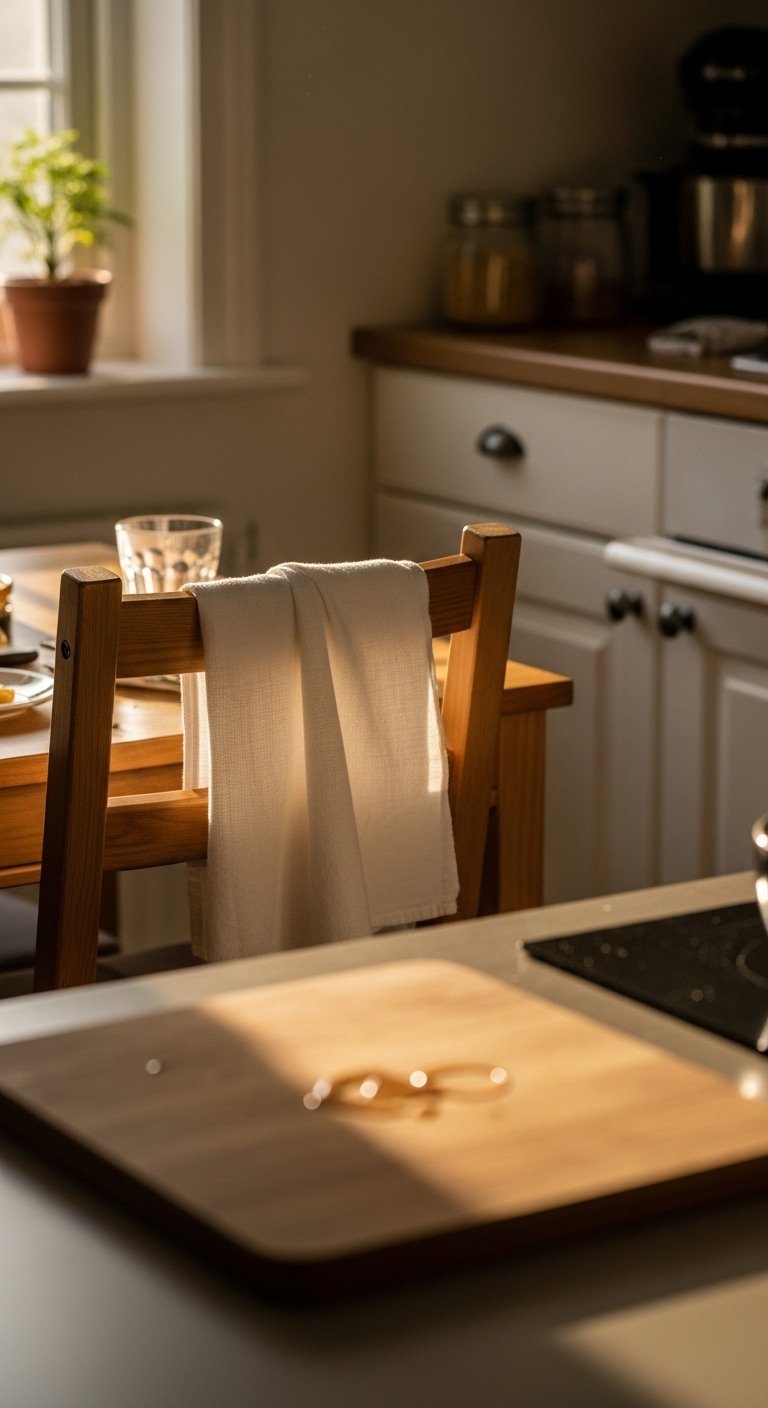
After a week the styled kitchen should still be usable. Expect a few crumbs on the runner and a tilted vase. That is fine. The goal is a room that works and looks like it is used.
My first weekend I panicked and restyled the shelves. I left them alone for a few days and suddenly the composition felt right. The linen towels will soften with use, the wood will get little marks, and those marks make the space feel honest and comfortable rather than staged.
Start with One Open Shelf
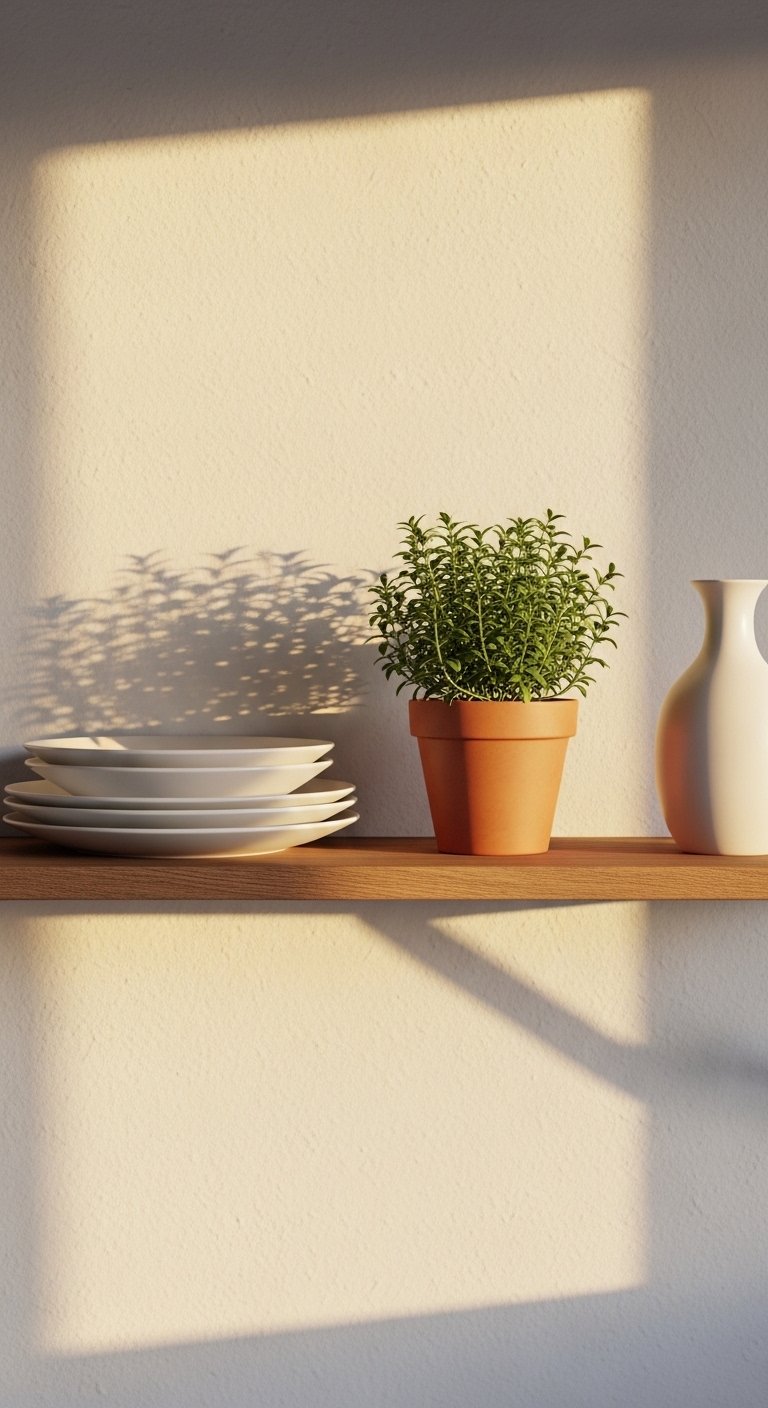
Pick one shelf or one stretch of counter to practice this on. Edit down to three to five pieces, aim for varied heights, and introduce a warm wood and a woven textile. A matte ceramic vase or a set of linen towels is an easy, low-commitment item to try first.
Work slowly, step back often, and live with it for a few days before changing anything. Your eye will tell you what needs shifting. When that one shelf finally feels balanced, the rest of the kitchen will follow more easily.

