

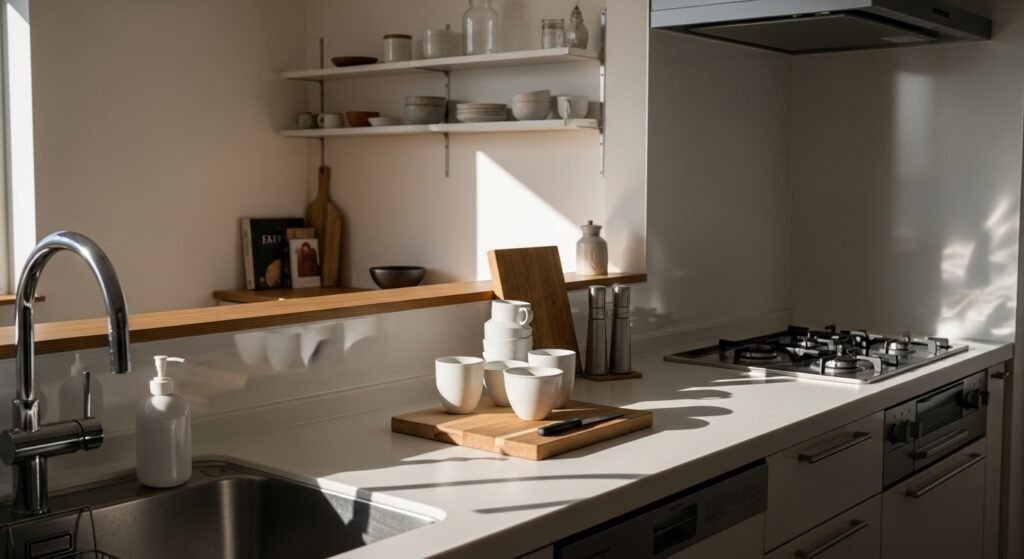
I used to clear my counters every weekend and style them like a magazine shoot. By Tuesday the toaster and a jar of spoons would make everything look messy again. After the third redo I realized the problem was not the number of items. It was the relationship between them. I was afraid of empty space so I kept filling it.
What finally worked was deciding on one anchor, one material family, and a rule for negative space. I still make mistakes. My first version looked like a staged prop set. The third try felt lived-in and calm. You can do the same, starting small and keeping the feel minimal not sterile.
Step 1: Clear, choose one anchor, then put back only what belongs
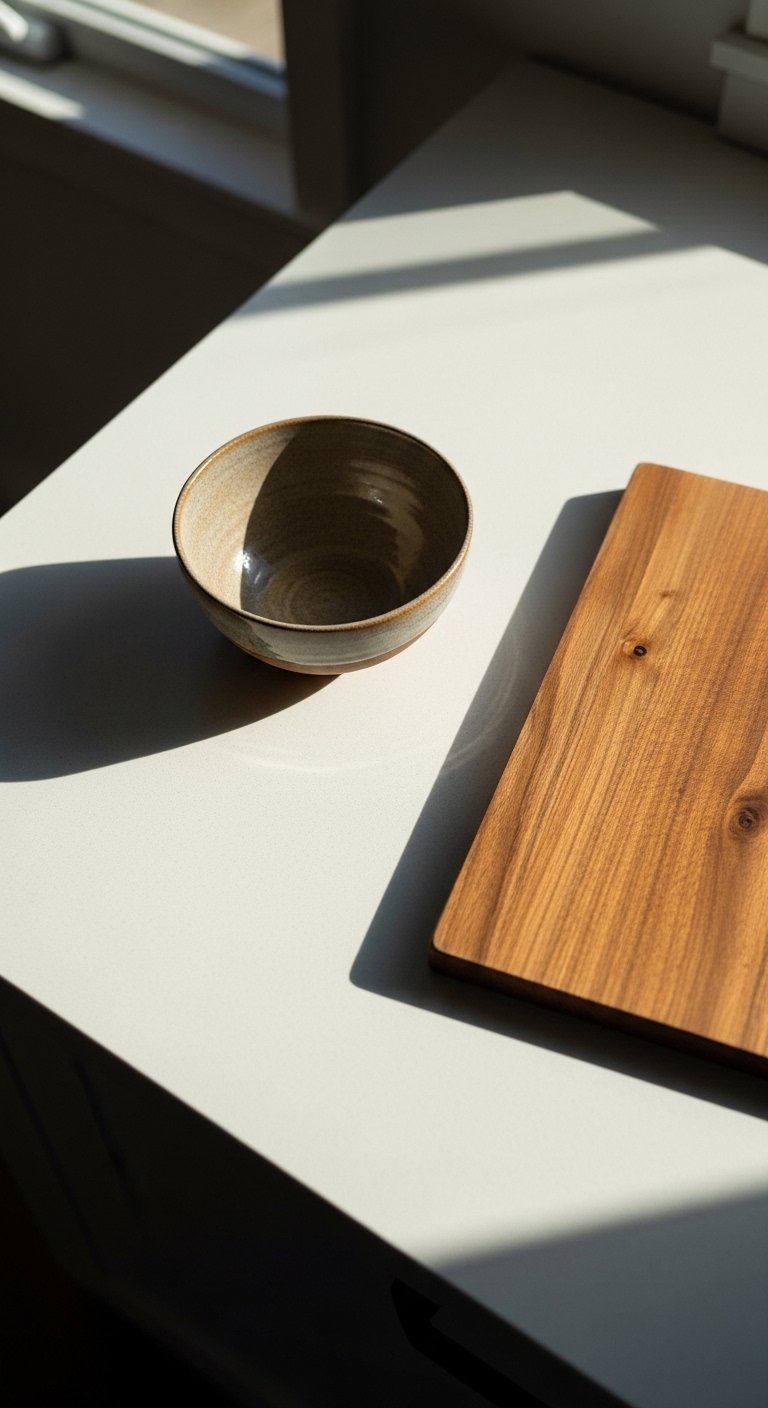
Pull everything off the counter. Yes, everything. Put items in three piles: daily use, sometimes, and decorative. The aim is to put back one true anchor, something about two-thirds the length of the counter section you are styling. For me that was a 12-inch ceramic bowl in matte white. It gives weight and a visual stop.
Common mistake: returning small items first because you want the counter to feel useful. That creates visual clutter. Leave 30 to 40 percent of the surface empty. It will feel scary, but the empty space makes the few objects you keep read as intentional instead of crowded.
Step 2: Limit your palette and three-material rule
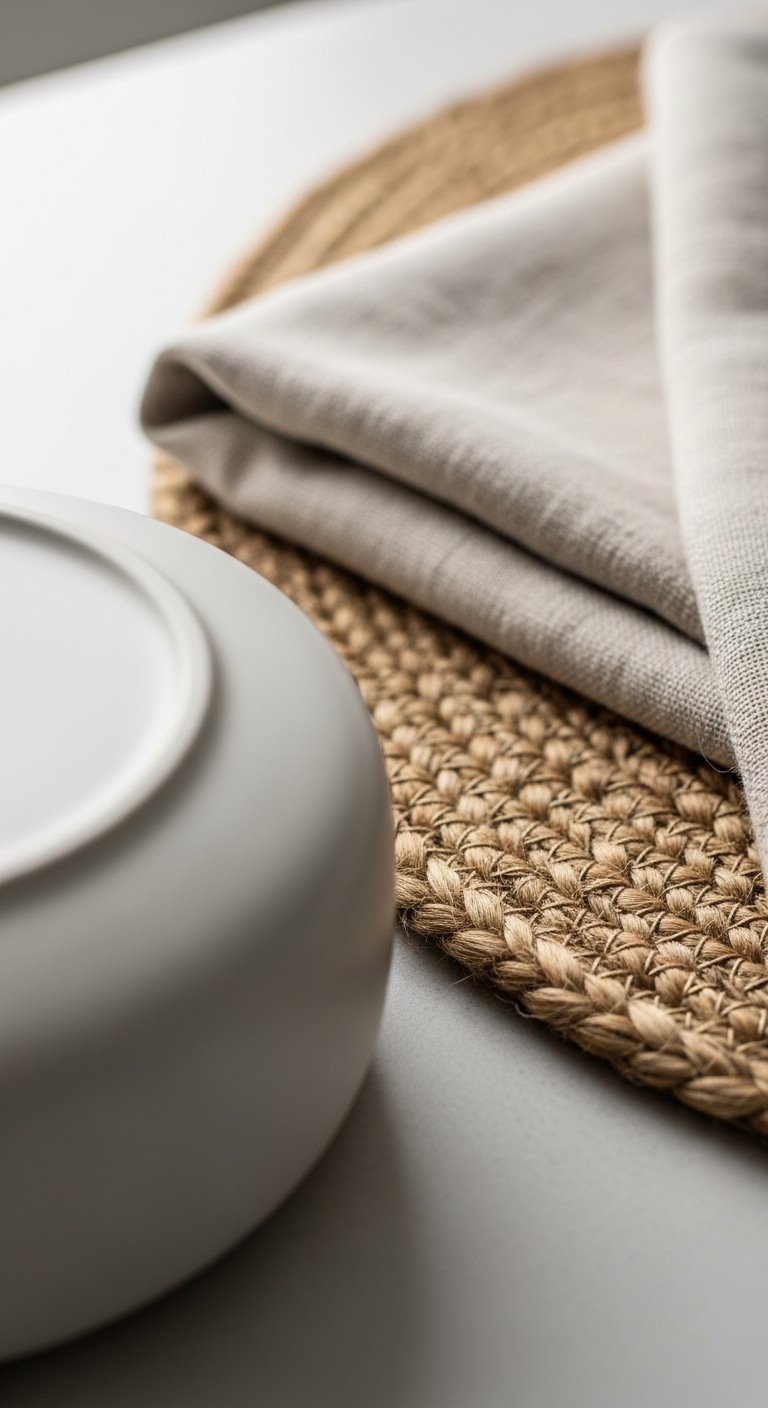
Pick two neutral colors and one accent material. I usually choose matte white pottery, warm wood, and natural linen. The three-material rule keeps things simple. When I tried four or five materials everything competed. The surface felt noisy even with few objects.
Sensory note: linen towels are soft and throw subtle creases. A wooden board feels cool and solid in your hand. These tactile details help the kitchen feel lived-in, not precious.
Step 3: Layer function with height and group in odds
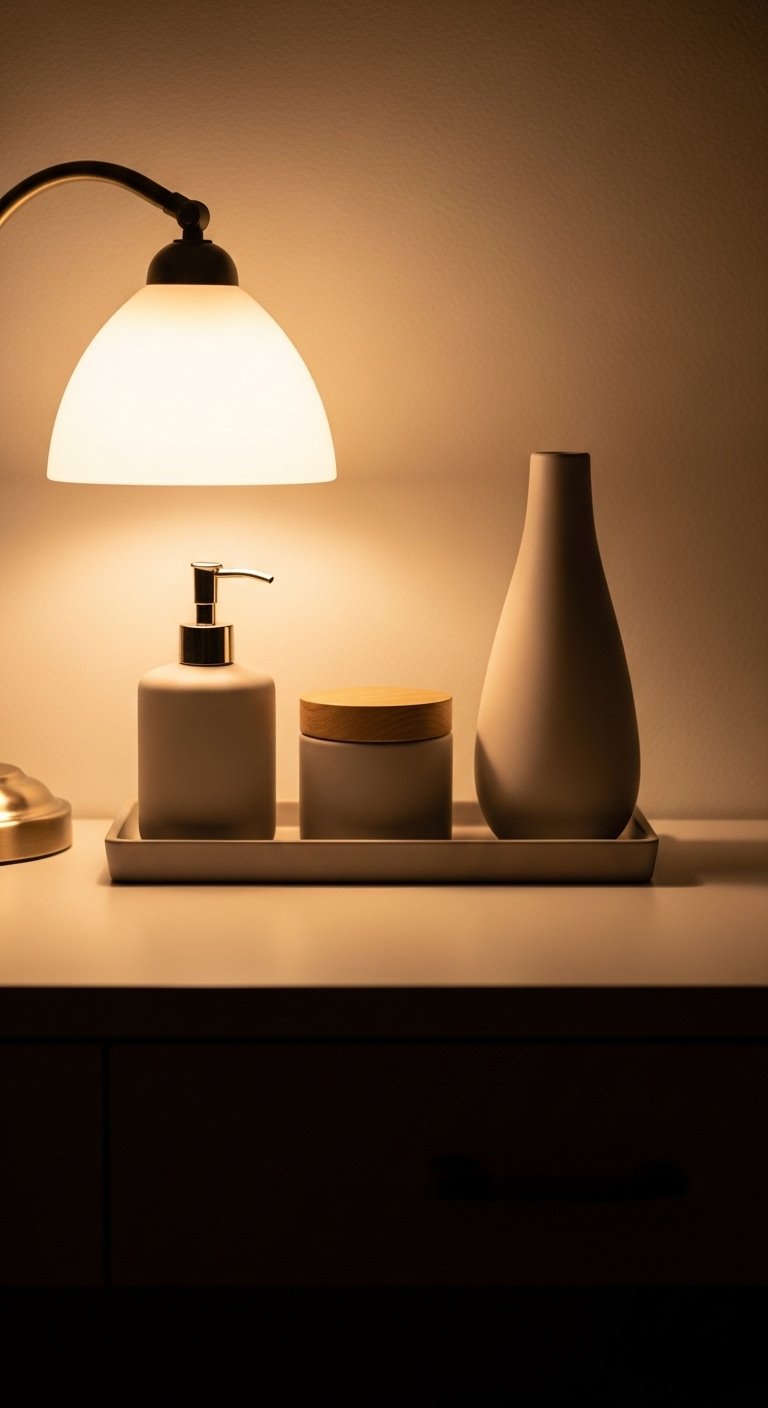
Put functional items on a small tray, add a tall object and a short object next to it. Use odd numbers, like groups of three. Aim for height differences of roughly 6 to 12 inches between pieces, so the eye moves naturally. I use a matte ceramic vase set for the tall piece, a short sugar jar, and a small cutting board as a third element.
Mistake I made early on was placing the tallest item in the center. It looked forced. Off-center, with a shorter balancing piece, feels calmer. Also, choose ceramics over plastic when you want presence. Ceramic is heavier in hand and reads more substantial on the counter.
Step 4: Style open shelves with asymmetry and an anchor shelf
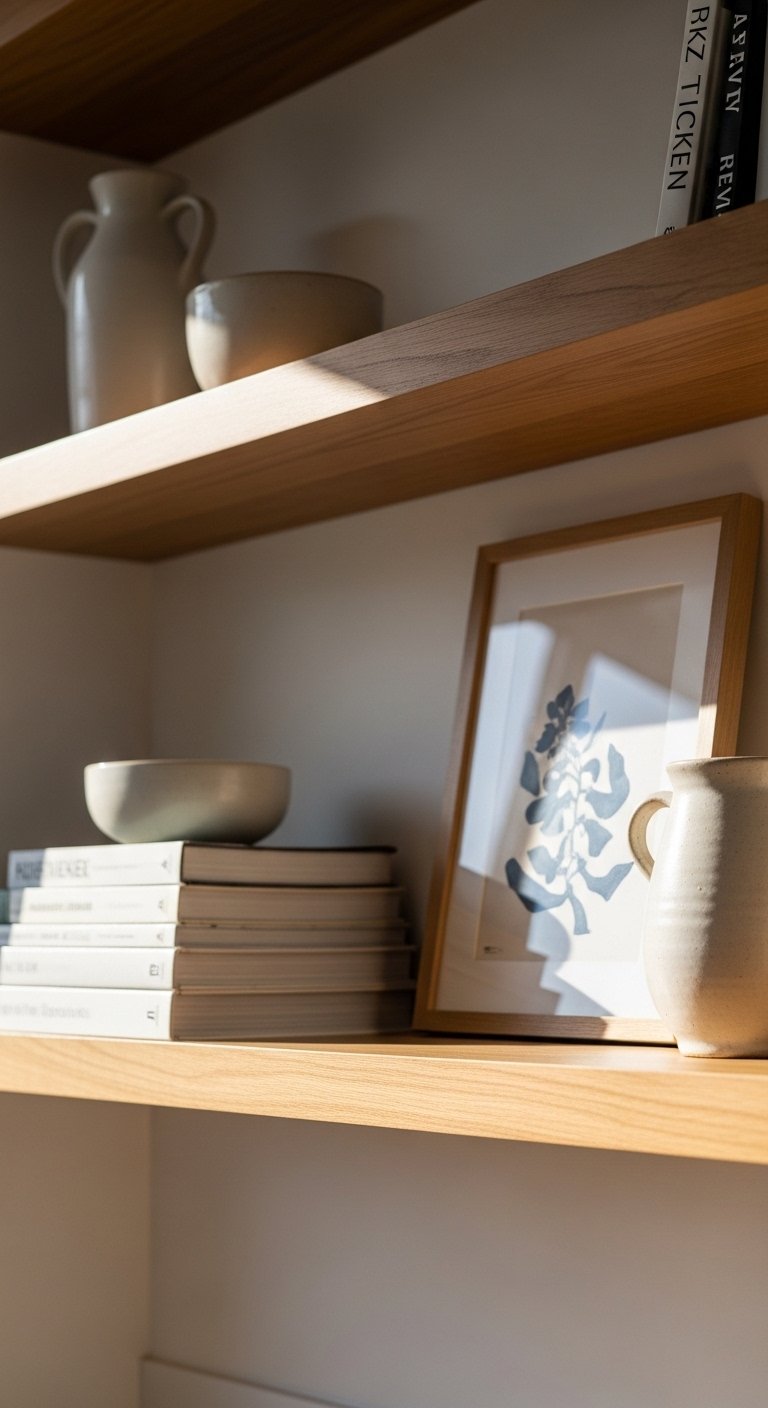
Most people mirror shelves exactly and then nothing lands. I fought this and my partner called the first version "chaotic." It took a week before he admitted the staggered look felt right. Pick one shelf as the anchor and make it denser, keep the shelf above or below lighter. Use an anchor object about two-thirds the width of the shelf grouping, then leave a third of the shelf open.
One practical tip many miss is to keep the bottom shelf more functional. If you have pets, avoid low open shelves that invite curious paws. Also, avoid tiny trinkets that look busy from across the room. Big, simple pieces read better and feel less fragile.
Step 5: Live with it, then edit after a week
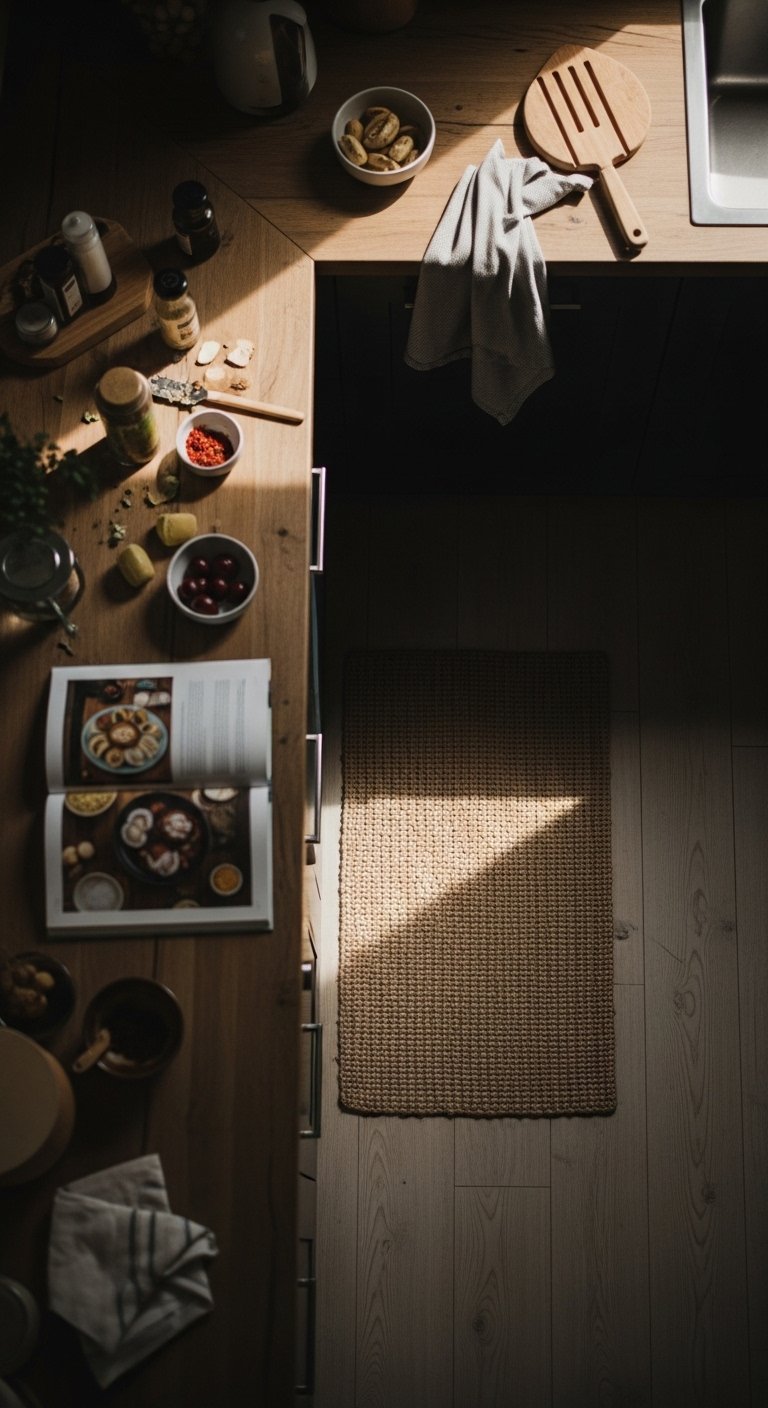
Put everything back and use the kitchen for a week. You will notice which items you actually touch and which just gather dust. I almost skipped this step before. When I finally tried it I removed two decorative jars and added a small potted herb. The result felt practical and calm.
If something bothers you, remove it. If you miss it, add it back. Real life will tell you what belongs. Small adjustments, not another full restyle, are enough. That is the difference between styled-for-photo and styled-for-life.
The Kitchen Pieces You'll Actually Use
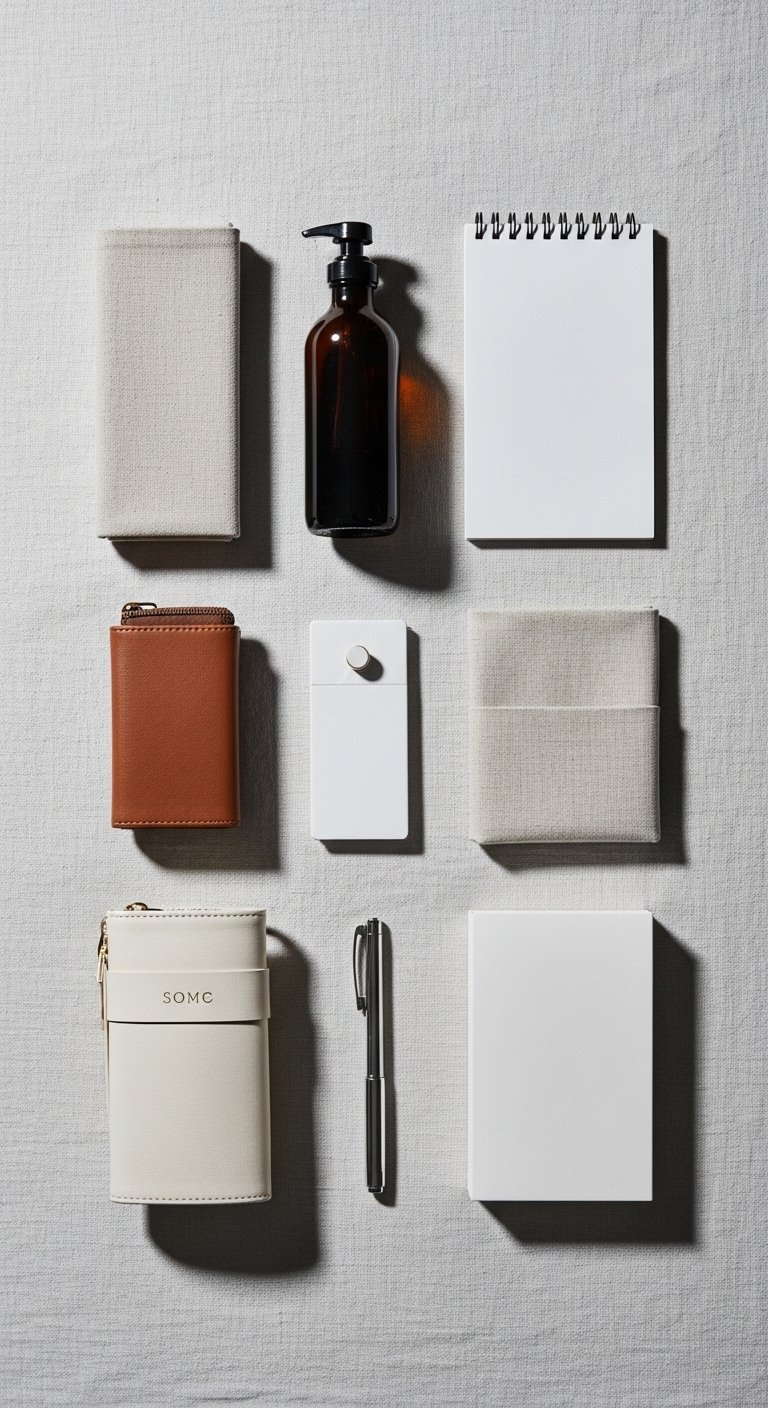
- Matte white ceramic bowl, 12-inch ($20-35). Step 1 anchor, heavy in hand, cool to the touch.
- Linen hand towels, set of 2, natural ($18-30). Step 2 material, soft and slightly textured.
- Matte ceramic vase set, varying heights 4/8/12 inches ($25-40). For Step 3 height and texture.
- Small wooden cutting board, 10×7 inch, walnut ($15-28). Anchors groups on the counter, used in Steps 1 and 3.
- Brass picture ledges, 24-inch ($18-30). Step 4 for shallow display without holes in the wall.
- Jute runner, 2×8 feet ($60-120). Step 5 grounds the floor and tolerates crumbs.
- Small herb pot, 4-inch ceramic ($8-18). Step 5, easy living plant for scent and use.
- Tray, rattan or matte metal, 12×8 inch ($12-25). Step 3 keeps daily objects tidy.
Why Your Counters Still Look Crowded
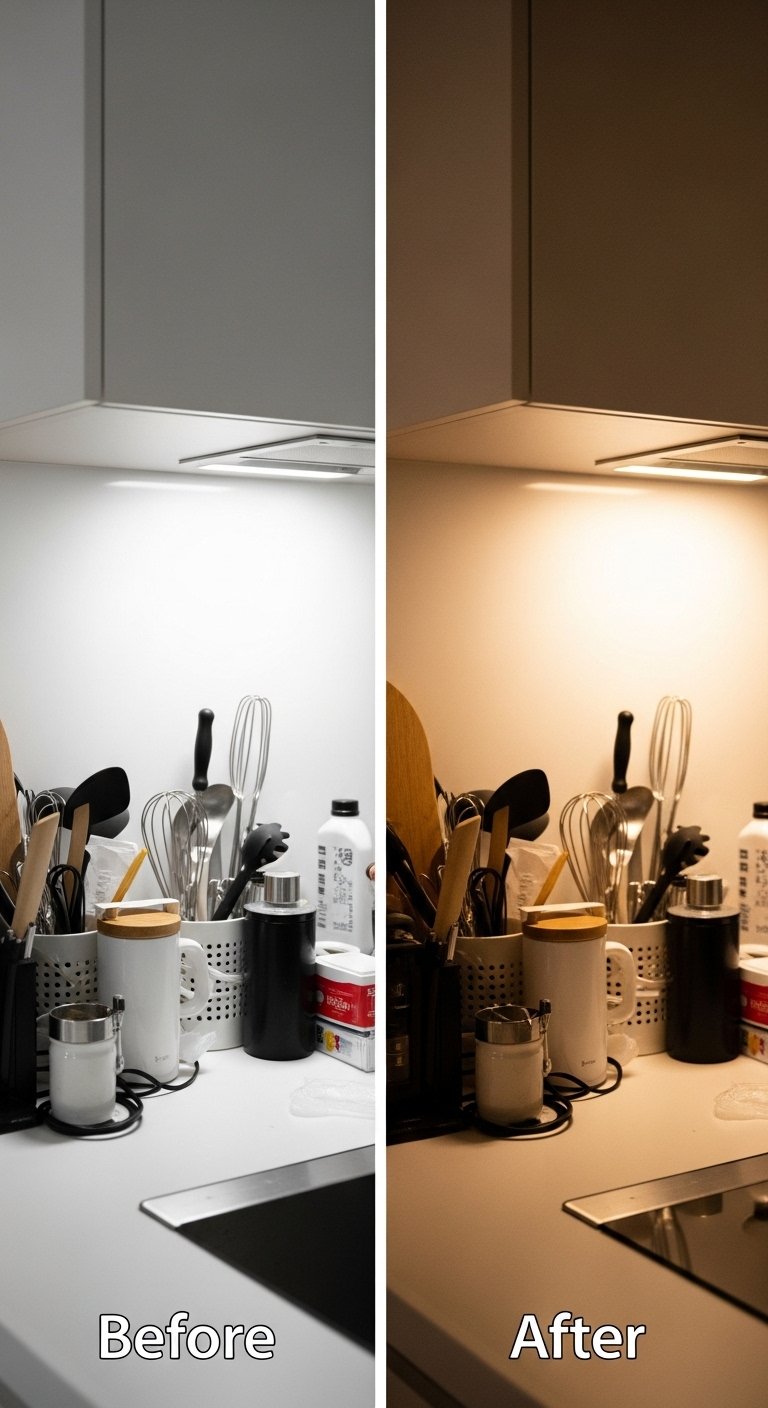
If your counters still read crowded, it is usually one of three things. You are keeping too many small items, your pieces are too similar in height, or you never let negative space exist. I used to think more was safer. It made the kitchen feel utilitarian rather than calm.
Try editing down by replacing multiple small items with one meaningful object. Swap three jars for one bowl plus a tray. Move one category, like mail or school papers, off the counter entirely. The goal is to have a few usable objects that also give the room personality.
Making This Work in a Small Kitchen
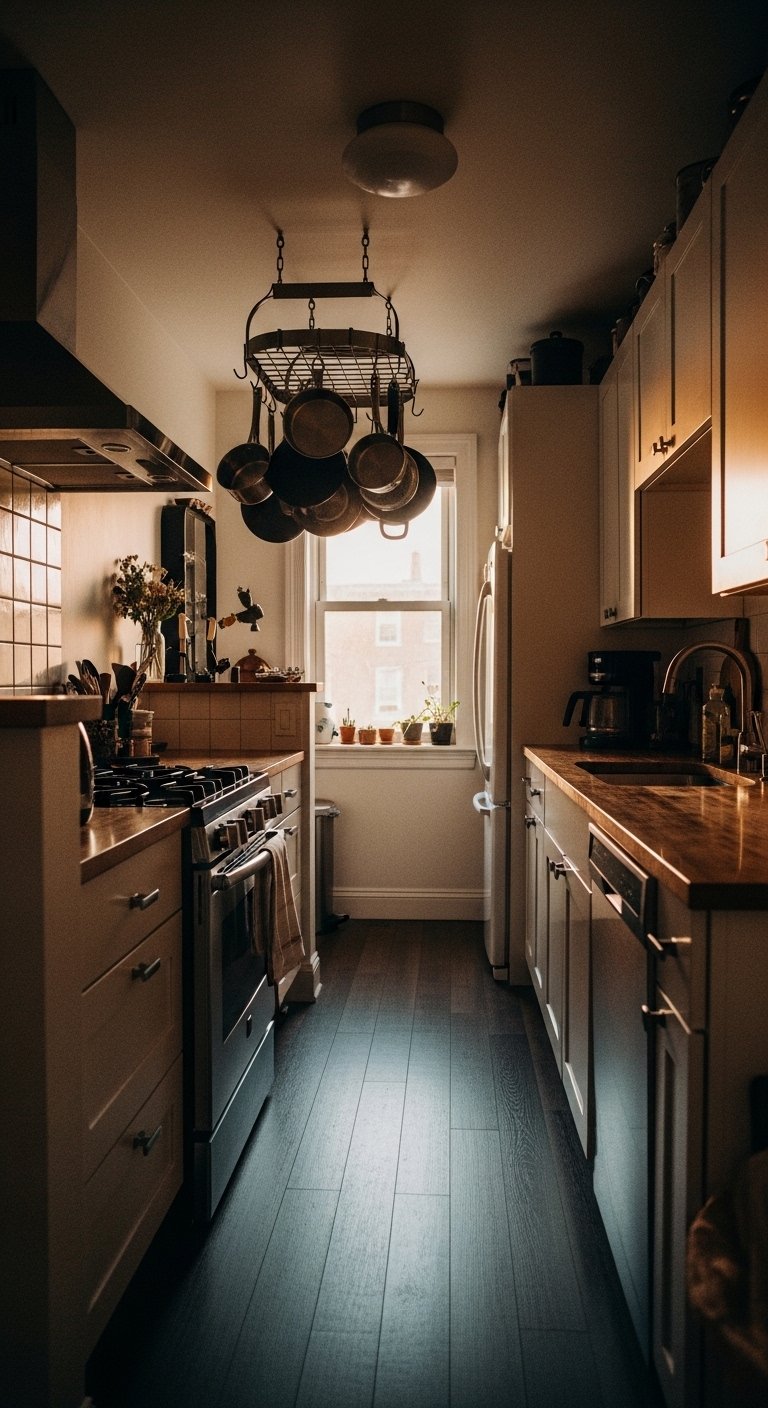
Small kitchens need stricter rules. Use a smaller anchor, about half the length of the counter section. Keep the tray compact, 10 to 12 inches across, and hang frequently used utensils to free surface area.
Quick checklist
- Keep one surface 40 percent clear.
- Use vertical space for drying racks or shelves.
- Choose lightweight ceramics so you can move them when cooking.
- Avoid open-bottom shelving at knee height if you have kids who like to explore.
What It Looks Like After a Week with Kids and a Dog
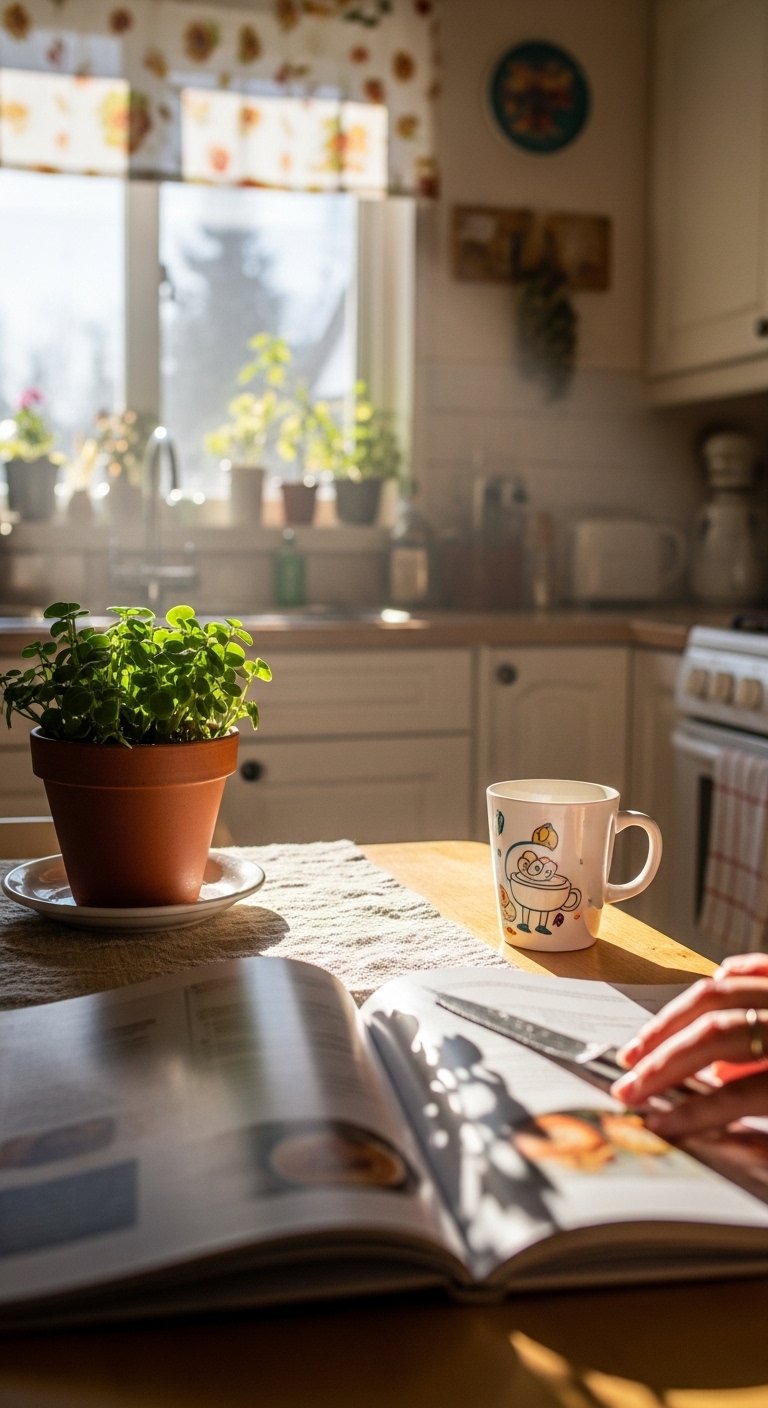
After a week, minimal modern kitchens settle into a rhythm. I noticed the cookie jar I loved never made it back on the counter. The herb pot survived two curious paws and a knocked-over glass. I moved the herb pot to a higher shelf and replaced the jar with a wooden spoon holder.
Expect little adjustments. A cookbook on a stand will get flour on the bottom corner. Embrace those marks as proof you are actually living in the room. If something breaks the calm, edit it out. The calm returns faster than you think.
Start with One Counter
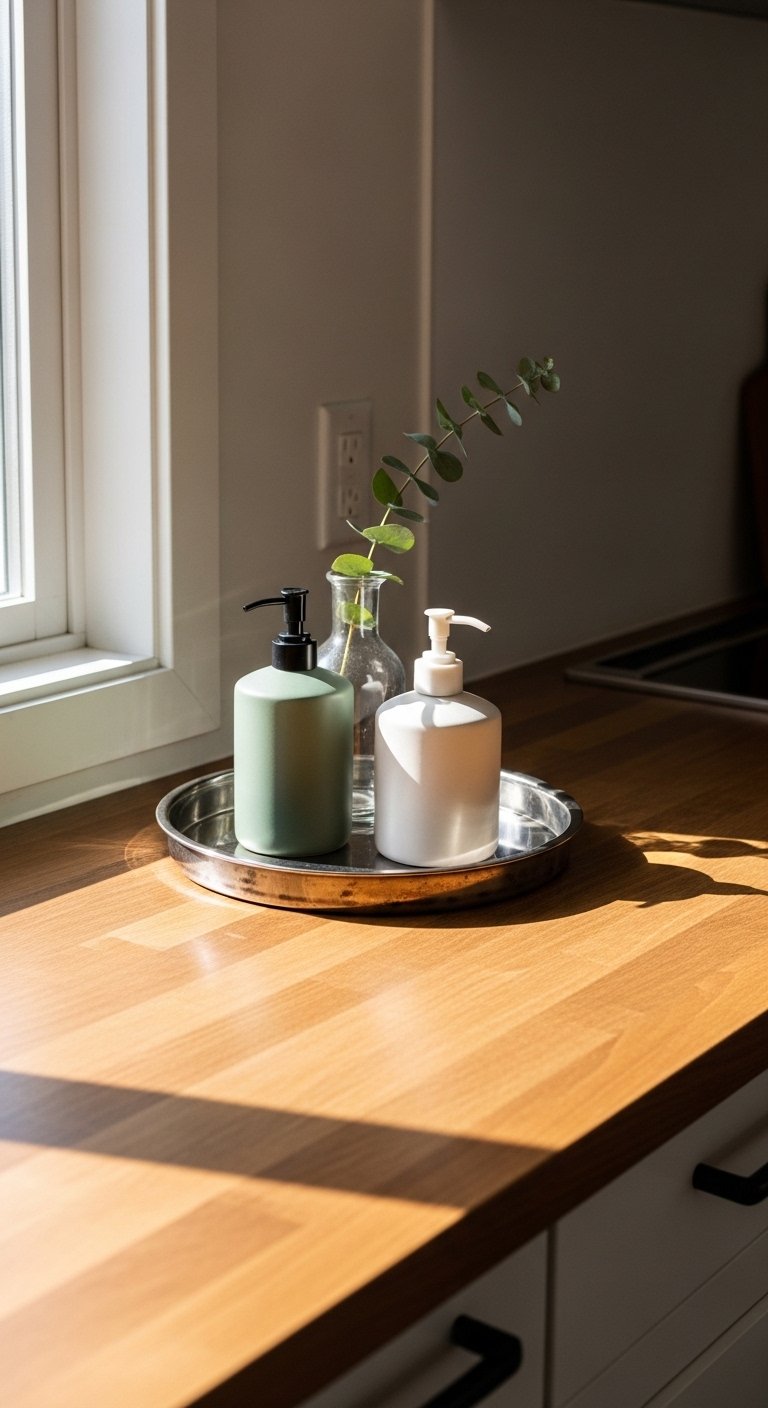
Pick one counter or one shelf and do the whole process there. Clear it, choose an anchor, limit materials to three, add a tall and a short piece, then live with it for a week. If you want a small start, use the matte white ceramic bowl from the shopping list as your anchor.
You will notice small wins quickly. The room stops yelling at you and starts feeling calm. That quiet payoff is what keeps me from restyling every weekend.

