

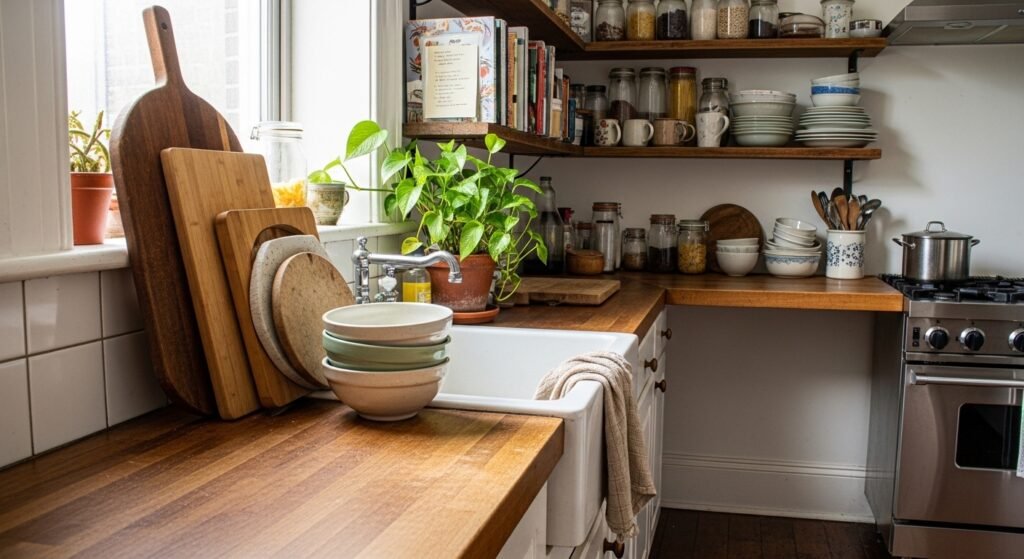
I had a kitchen that felt like a test set. I would put a vase here, a cookbook there, then step back and feel nothing. For months I thought the problem was the stuff. It was not. It was the order I added it, and the habit of filling every inch because empty space felt wrong.
I tried copying pictures, then I tried fewer things. Both failed. What finally worked was layering with intention, starting with functional pieces and then adding texture, height, and one small playful object. It took a few messy attempts. By the third try it stopped looking like a photo and started feeling like our kitchen.
Step 1: Clear, measure, and plan the zones
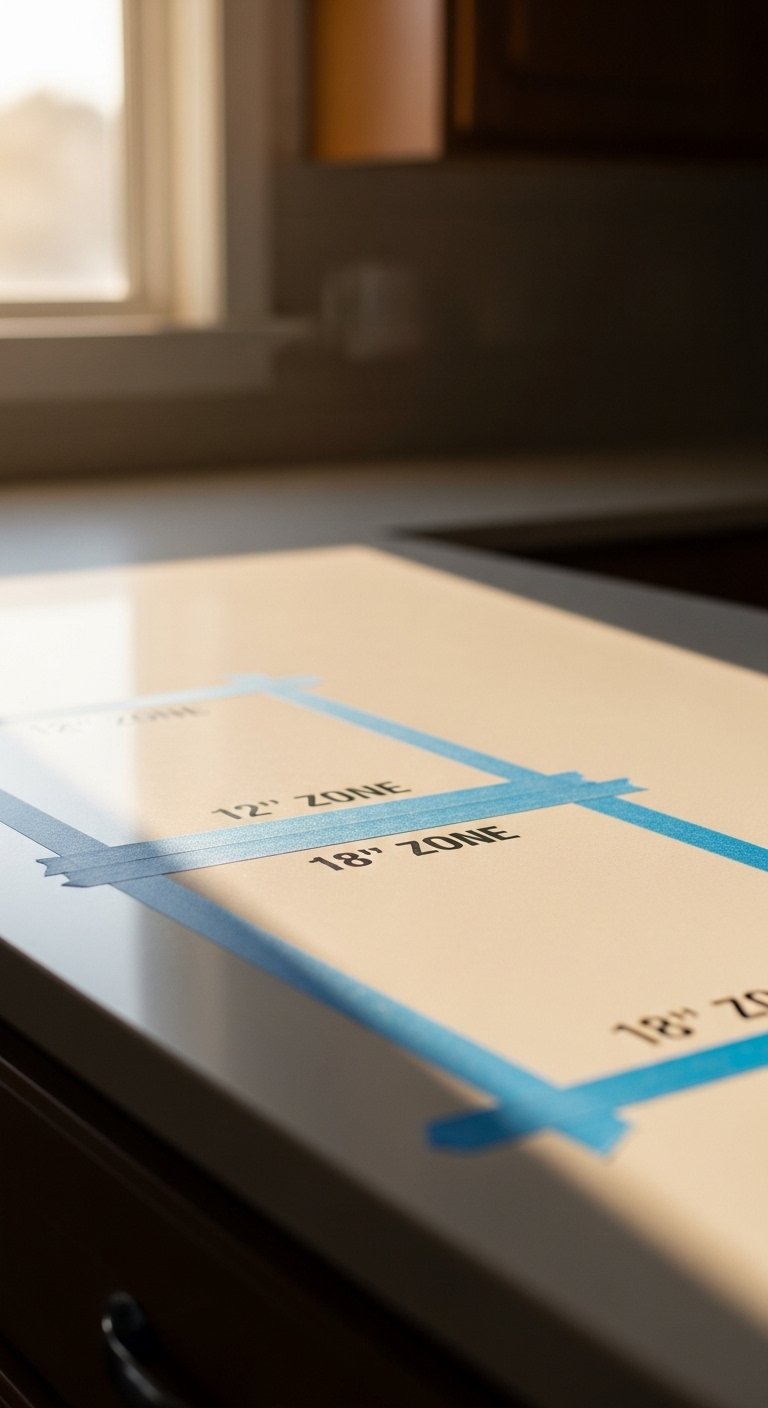
Pull everything off the counters. Yes, everything. Stand where you normally prep and mark roughly 12 to 18 inches of clear workspace next to the stove. That measurement keeps chopping and cooking realistic, while still letting you style the edges.
Decide on three functional zones, for example prep, cleaning, and display. Grouping by use stops the "random pile" feeling. I learned this the hard way after installing a decorative tray right where I needed room. It looked pretty for an hour, then it was in the way.
Step 2: Lay a practical base layer
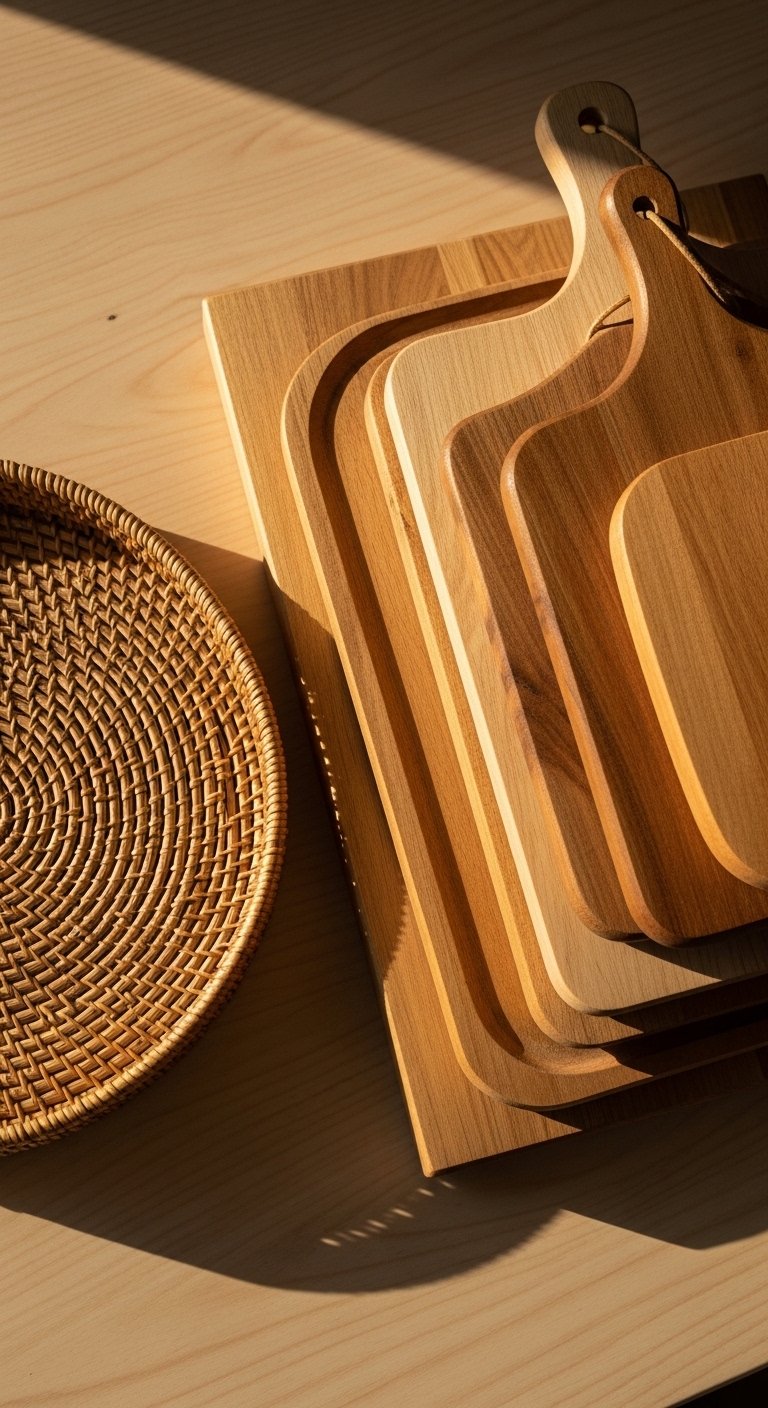
Start with the functional pieces that also look good. A stack of wood cutting boards, a 12×18 board standing tall, and a low tray give you a base to layer on. The tallest piece should be about two to two and a half times the height of the next objects. That ratio creates a natural hierarchy.
I like to tuck a tray behind the sink to corral soaps and a small plant. It keeps counter clutter contained, and it makes the arrangement feel anchored instead of floating. If you start with purely decorative things you end up rearranging them every time you cook.
Step 3: Add texture and soft goods
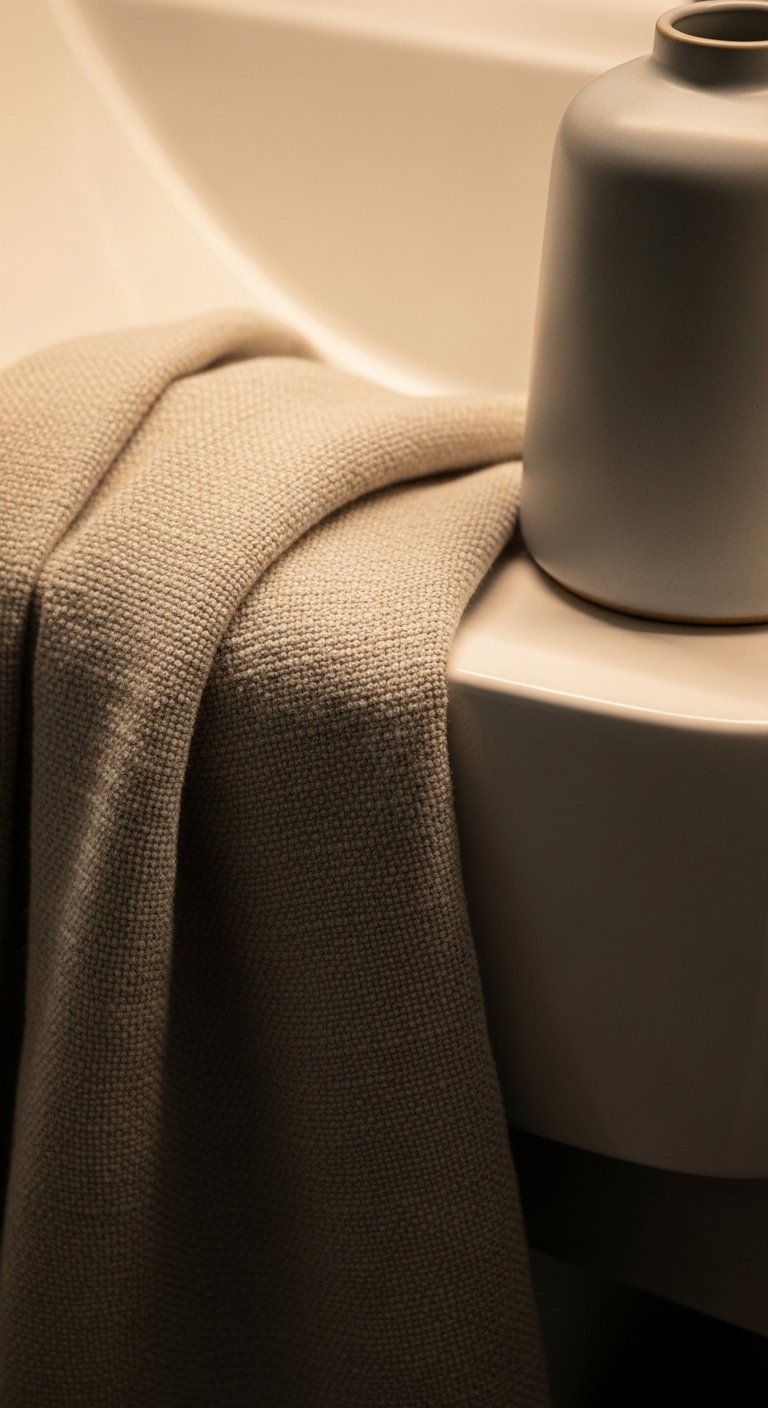
Introduce textiles and tactile pieces next. A linen tea towel folded or casually draped brings a soft, slightly rough touch, while a ceramic vase or mortar feels cool and heavy in your hands. I learned to avoid fluffy throws here, because they catch crumbs. Keep textiles thin and washable.
Small changes in texture read as intentional. Swap a cotton towel for linen. Swap a plastic utensil jar for a matte ceramic crook. I almost skipped this step the first time. Once I added the linen, the whole counter stopped feeling one-note.
Step 4: Place objects in odd groups, leave breathing room
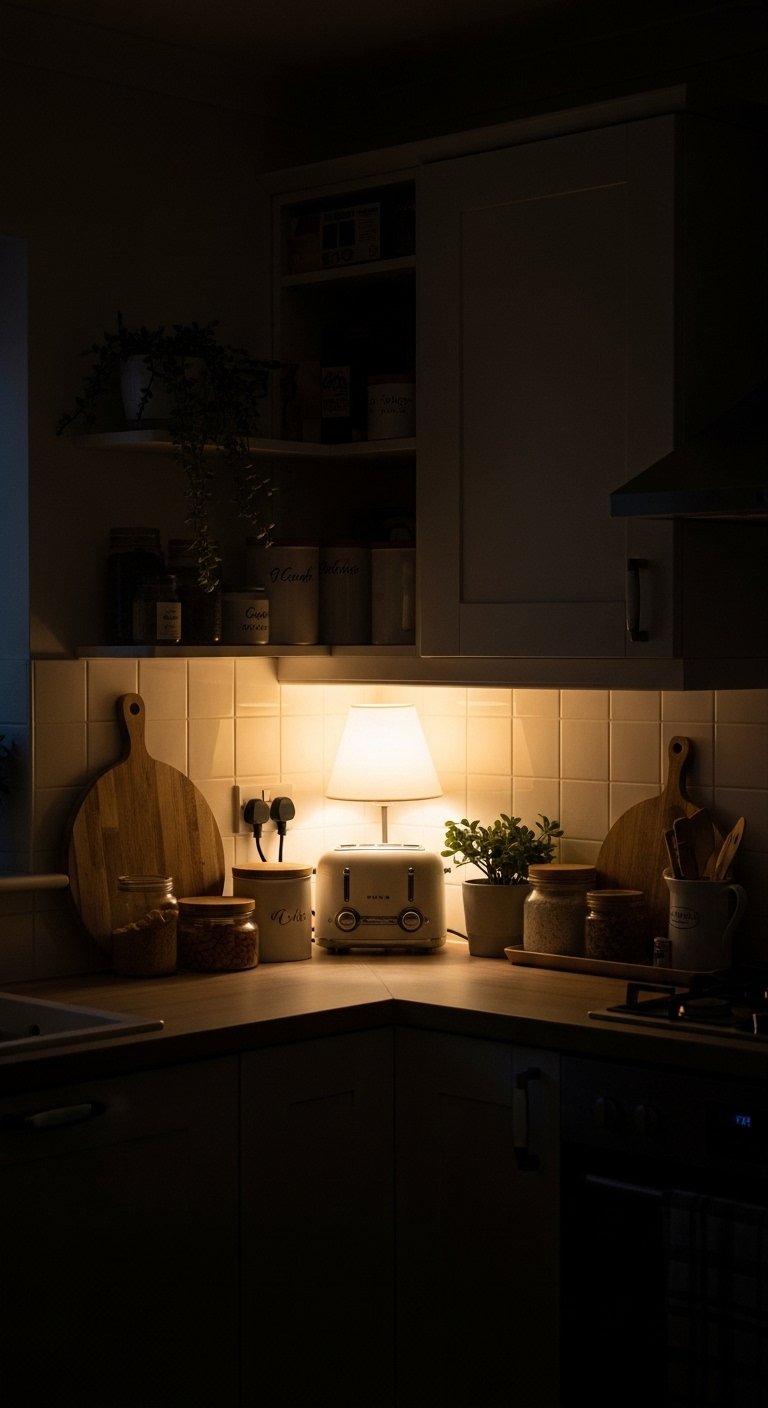
Group items in odd numbers, usually three or five, and leave 3 to 6 inches between groupings. Too close and everything looks crowded. Too far and it reads as disconnected. My first two tries ended up crammed because I was afraid of empty space.
Include one playful object that feels personal, a small ceramic bowl or a vintage spice jar. If you have pets, move fragile low items up high. I moved a small glass bowl after my cat swatted it twice. Live with the edit for a few days and be ready to remove one object if it seems unnecessary.
Step 5: Step back, live with it, and edit weekly

This is the step where it settles into the room. Walk away for ten minutes after styling. Come back and you will notice what's out of place. I still change one piece every week. That small rotation keeps things feeling lived-in instead of static.
Give the arrangement a week under real life. Note what gets used, moved, or ignored. Replace anything that becomes a magnet for crumbs. After a week I usually remove one thing and add a plant clipping or a fresh towel. It keeps the space practical and personal.
What to Grab for a Layered Kitchen
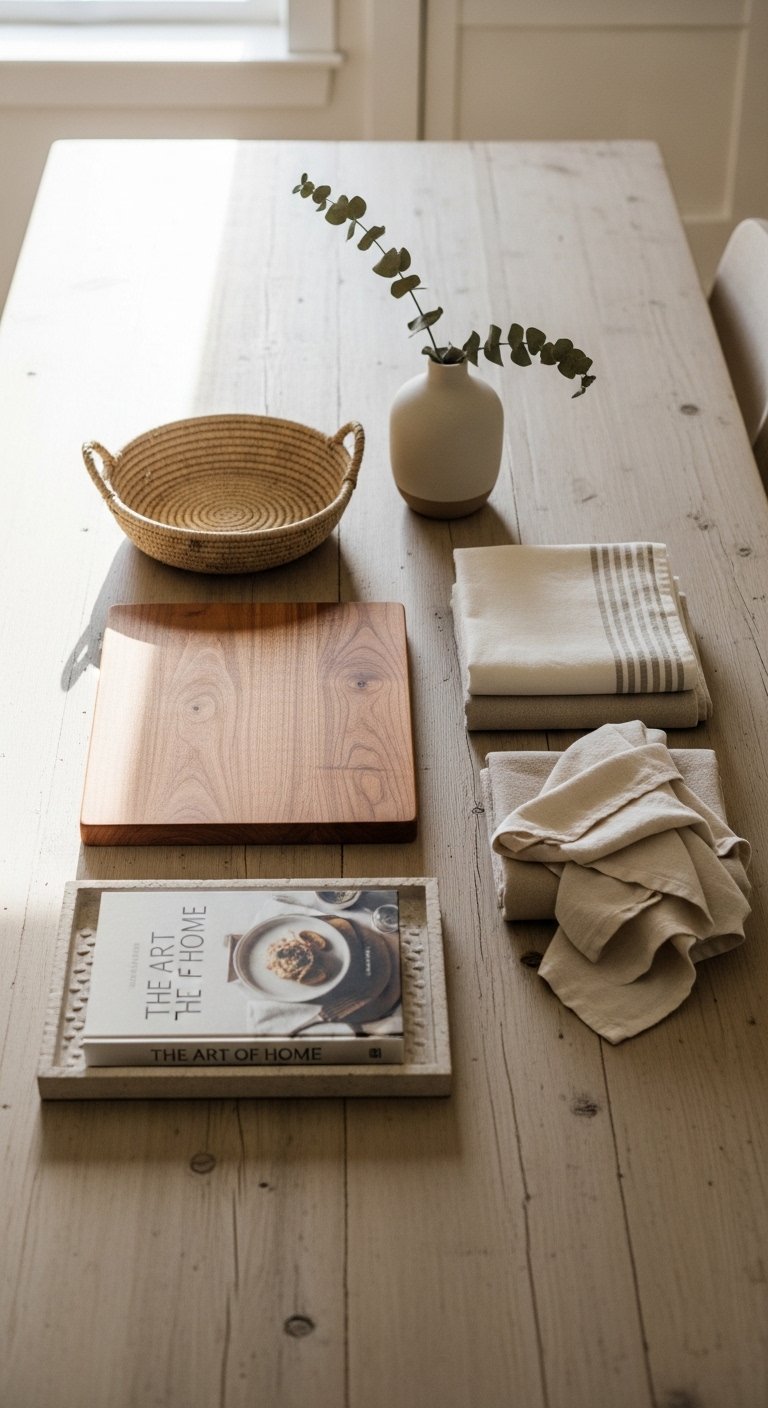
- 12×18 wood cutting board ($25-45). Stands nicely and anchors a stack for height. Used in Step 2.
- Round woven tray, 12-inch ($18-35). Keeps soaps and oils corralled, Step 2. Similar at Target.
- Linen tea towels, set of 4, 20×28 ($24-40). Thin texture, dries fast, Step 3.
- Matte ceramic vase, tall set of 3 ($30-50). One tall piece sets scale, Step 3.
- Brass picture ledge, 24-inch ($18-30). For leaning prints or recipe cards, Step 4.
- Woven storage basket, 12×8 ($20-35). Hides bulkier things, Step 2 and Step 5.
- Adjustable cookbook stand ($15-28). Keeps a cookbook visible and readable, Step 4.
Why Countertops Still Look Messy After Styling
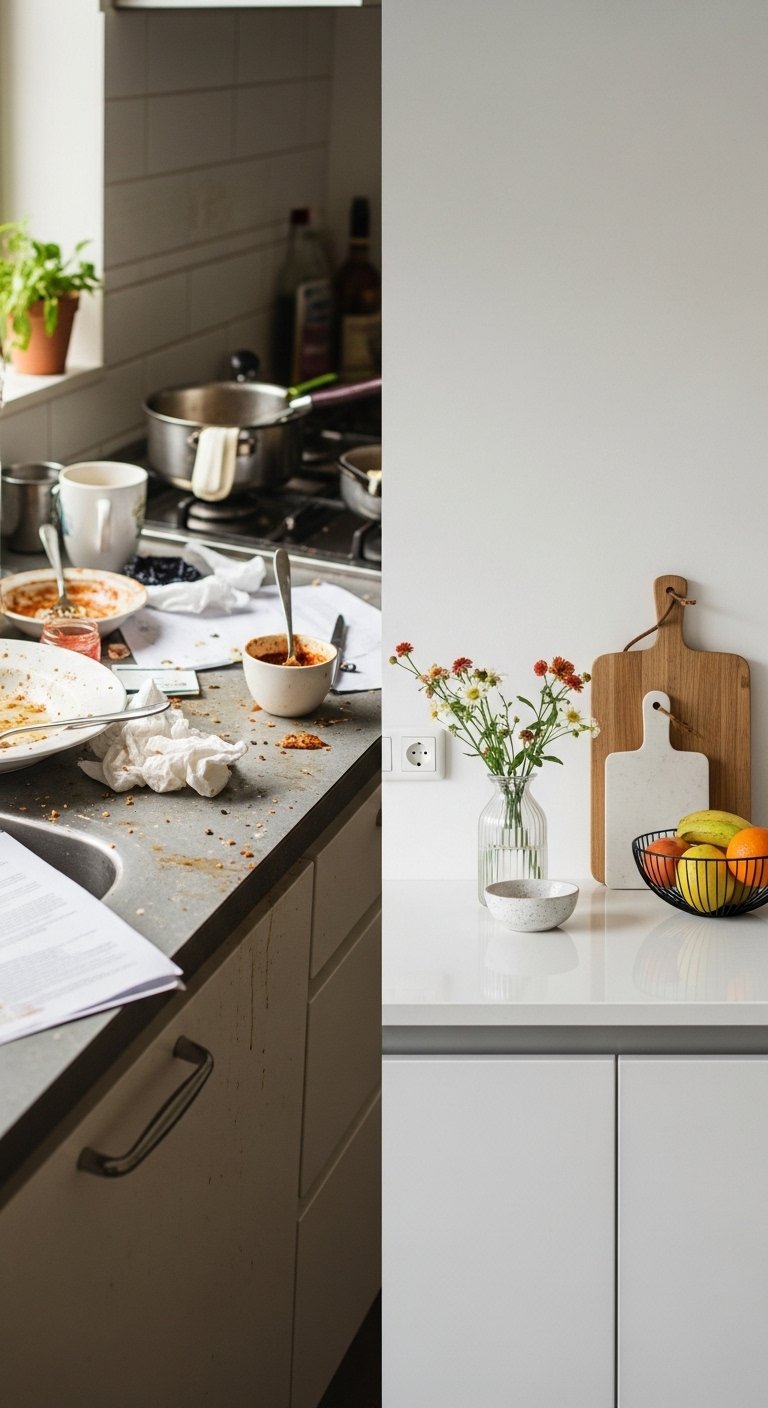
You styled, then kept adding. Most people mistake utility for clutter. Styling should begin with what you use every day. If you leave every appliance out your eye will land on the mess, not the arrangement.
Quick fixes:
- Reduce visual clutter by grouping like items in a tray.
- Keep at least 12 inches clear for prep near the stove.
- Rotate one decorative object weekly so the setup feels fresh.
When you focus on use first, beauty follows.
Making Layered Decor Work in a Small Kitchen
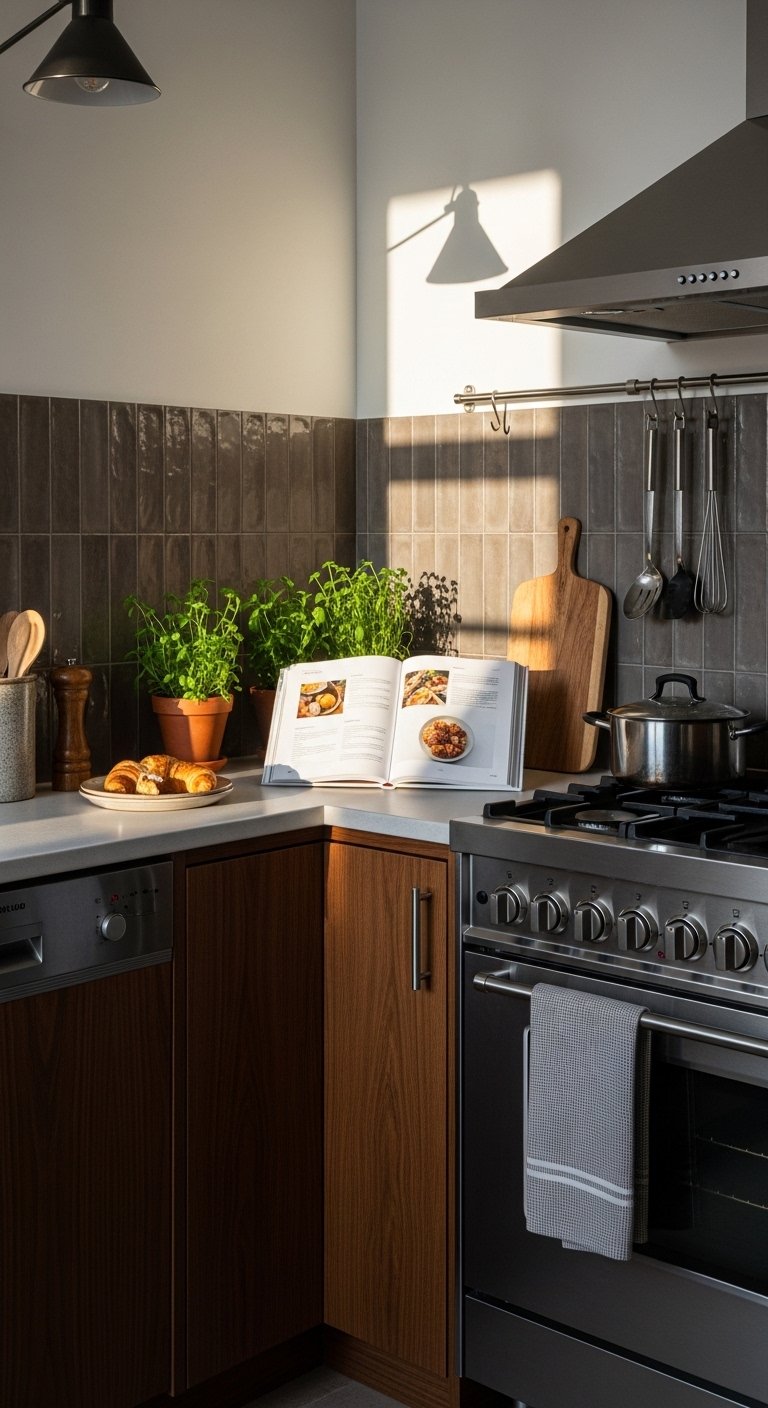
Small kitchens need fewer layers and stronger anchors. Pick one short counter or a 12-inch strip by the sink as your styling stage. Use vertical pieces for height rather than spreading things across the whole space.
Try these swaps:
- Use a slim cutting board instead of multiple boards.
- Choose a single tall ceramic vase instead of three small vessels.
- Favor wall-mounted ledges for art to save surface space.
These choices keep the room airy while still feeling intentional.
What It Looks Like After a Week with Real Life
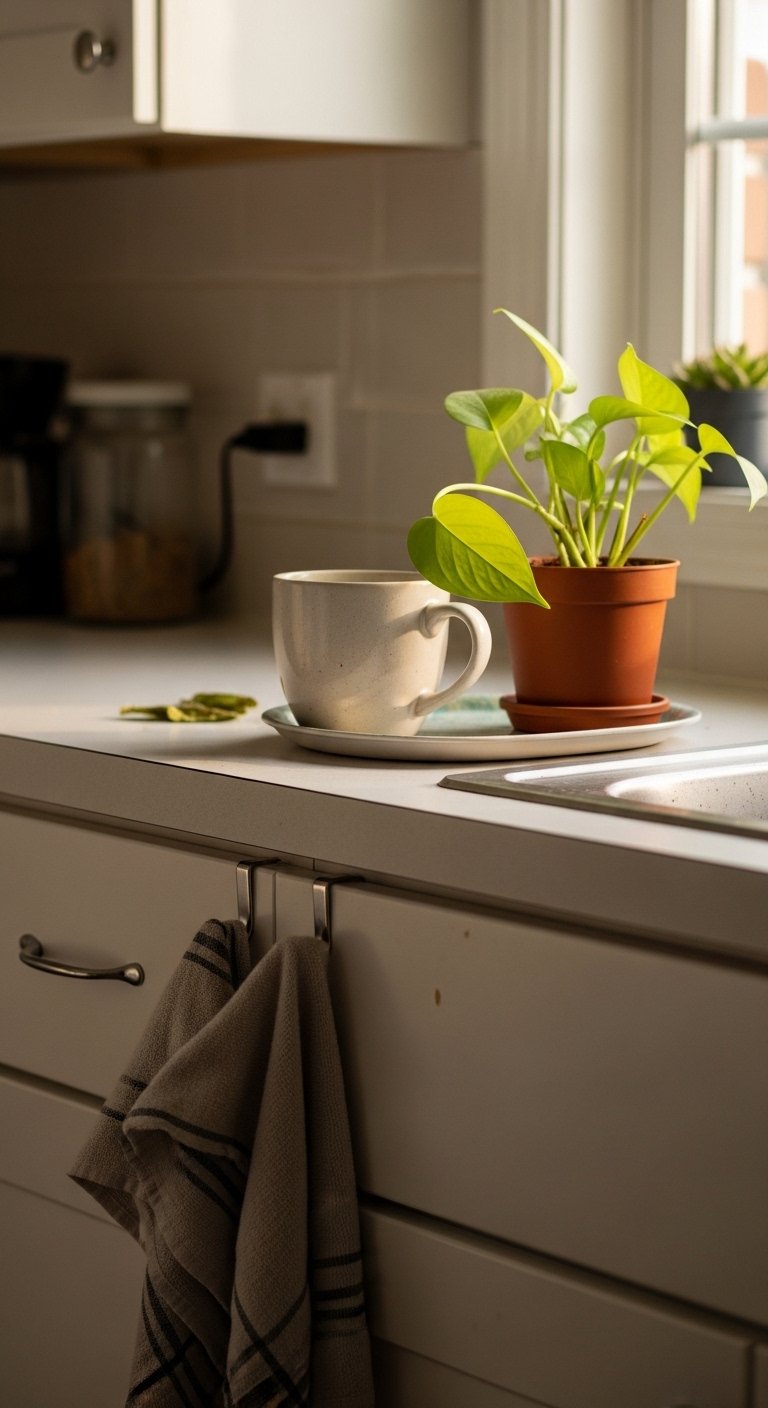
After a week, some objects will prove useful and others will not. My mortar ended up near the stove because we use it twice a week. The tiny decorative jar became a catch-all for receipts and got moved into a drawer. These small shifts are good.
Accept minor disarray. A lived-in kitchen will have a mug out, a towel on the counter, and a plant with a new sprout. If something constantly moves, either make it part of a functional zone or put it away.
Start with One Counter
Pick one counter to practice on tonight. Use a 12×18 cutting board, a small tray, and one linen towel as your starting trio. Arrange with one tall piece, one medium, and one small item, leaving a few inches between each group.
This low-commitment edit teaches you what to keep and what to let go of. After a week of real use you will know which pieces earn a permanent spot. I started that way, and it made the whole kitchen feel like ours.

