

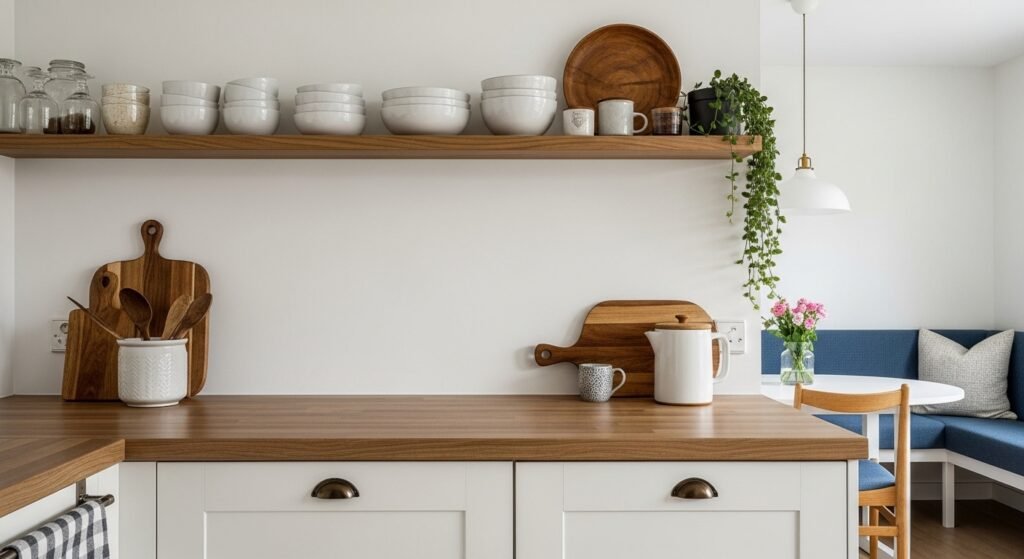
I had three cluttered counters and nothing felt intentional. Every time I cleared one spot, another area started to look like a catchall. I bought more cute jars. It got worse. It took me a while to see the problem. It was not the objects, it was how I placed them and how much empty space I allowed.
I learned to edit first, pick a few anchors, and leave breathing room. I messed this up the first three times. The fourth try stuck because I paid attention to scale, texture, and a tiny bit of negative space. If your kitchen feels crowded or unfinished, these steps walk you through one manageable surface at a time.
Step 1: Edit and clear the surface so you can see the room's rhythm
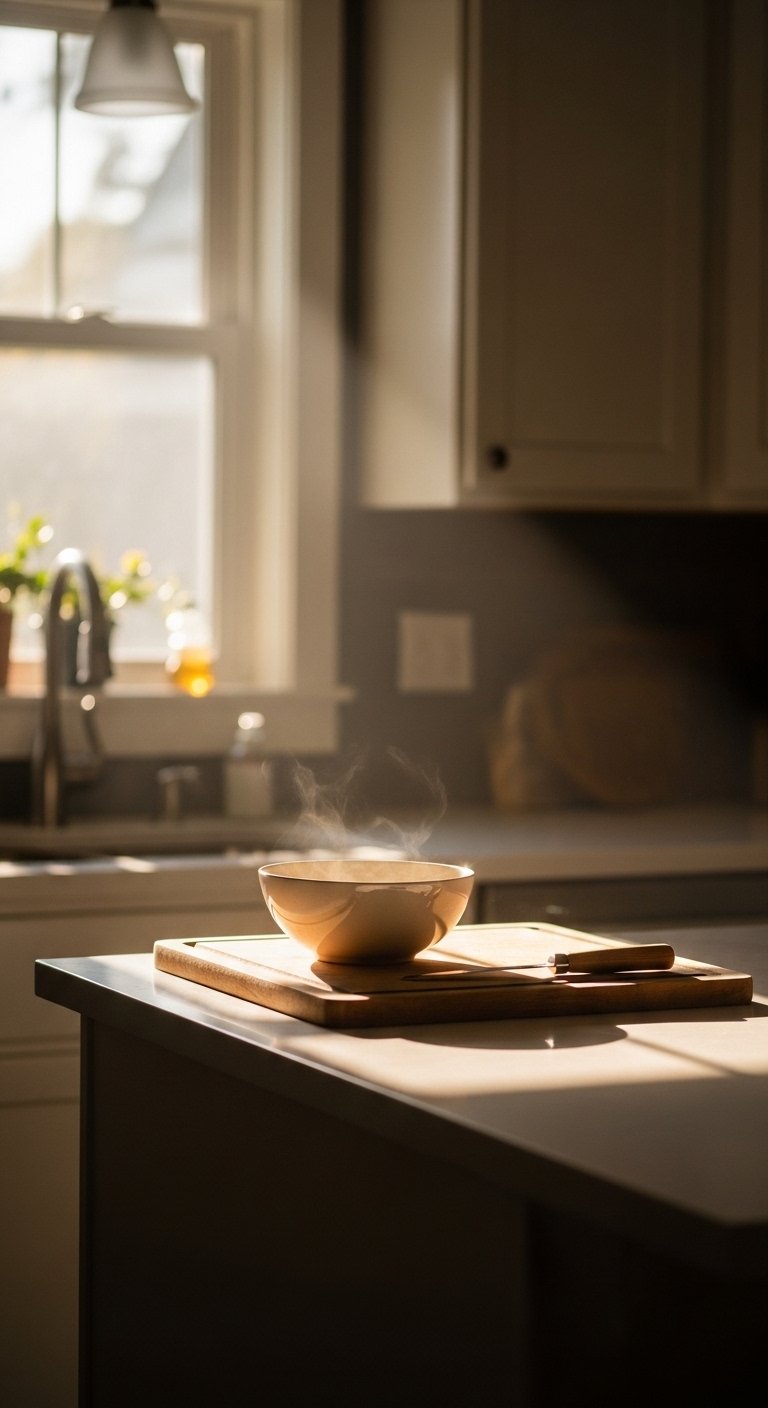
Pull everything off the counter. Yes, everything. When I did that the first time, the space felt suddenly calmer and also very naked. That nervous feeling is normal. Now choose one or two functional items to stay, like the kettle and a utensil crock.
Aim for roughly 60 percent empty surface and 40 percent items when you style a main counter, or 70/30 in a small kitchen. Leave 4 to 6 inches of clear space at the front edge so the work area reads open. A mistake I made was stuffing too many little jars in fear of empty space. Instead, keep one heavier object, like a ceramic utensil crock, so the remaining items feel deliberate and not crowded.
Step 2: Place three anchor pieces in varying heights to create a focal group
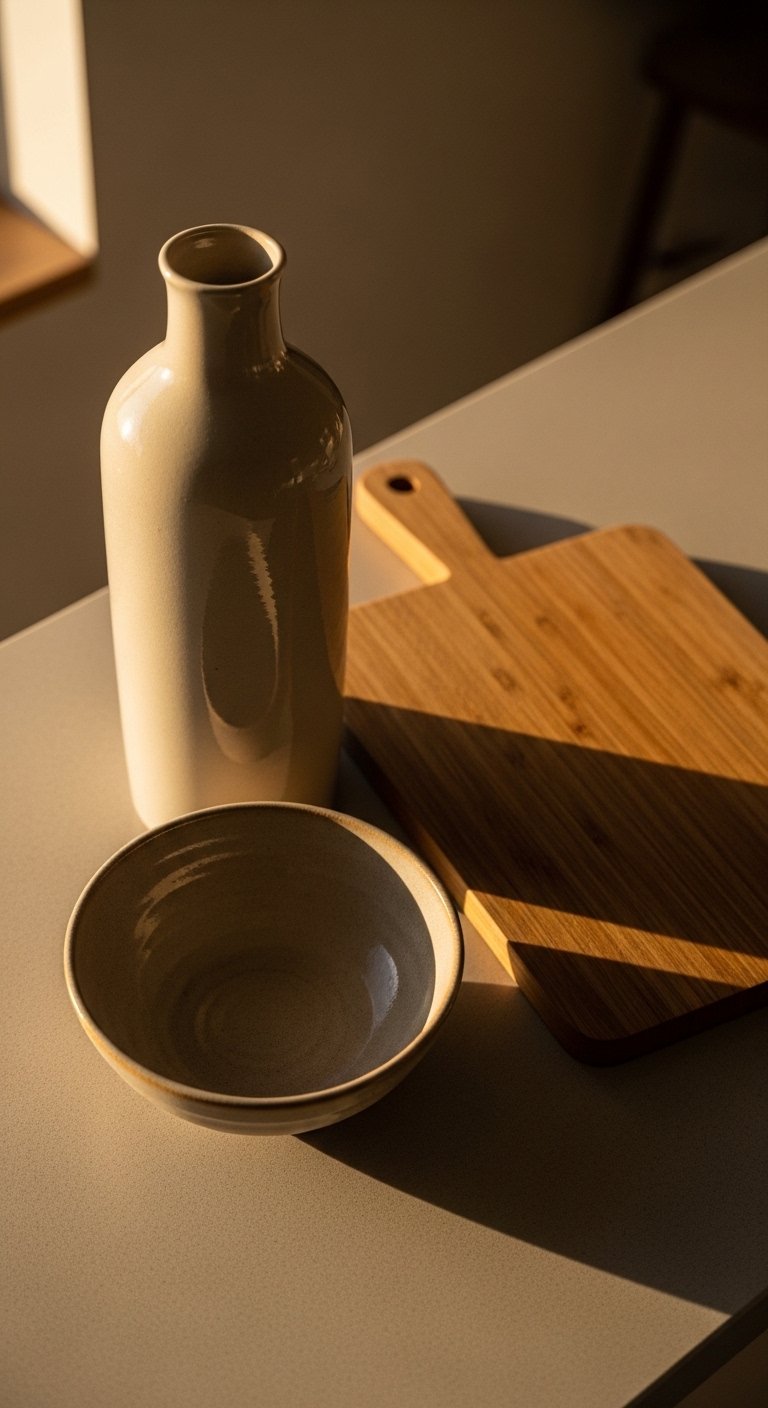
Most people start with the biggest item. Try starting with the middle-sized piece first. Pick one tall item, one medium, and one low. For countertops, tall means about 12 to 18 inches, medium around 6 to 10 inches, and low under 5 inches. The tallest should be close to two thirds the height of the backsplash or shelf behind it.
I used a matte ceramic vase as my tall piece and a wooden cutting board as the medium anchor. The ceramic feels cool and substantial in the hand, while the board has warmth and a little rough grain under your fingers. Those tactile contrasts matter. If it looks lopsided, swap the low piece for something heavier until the group reads balanced.
Step 3: Add texture and color in small doses, then step back
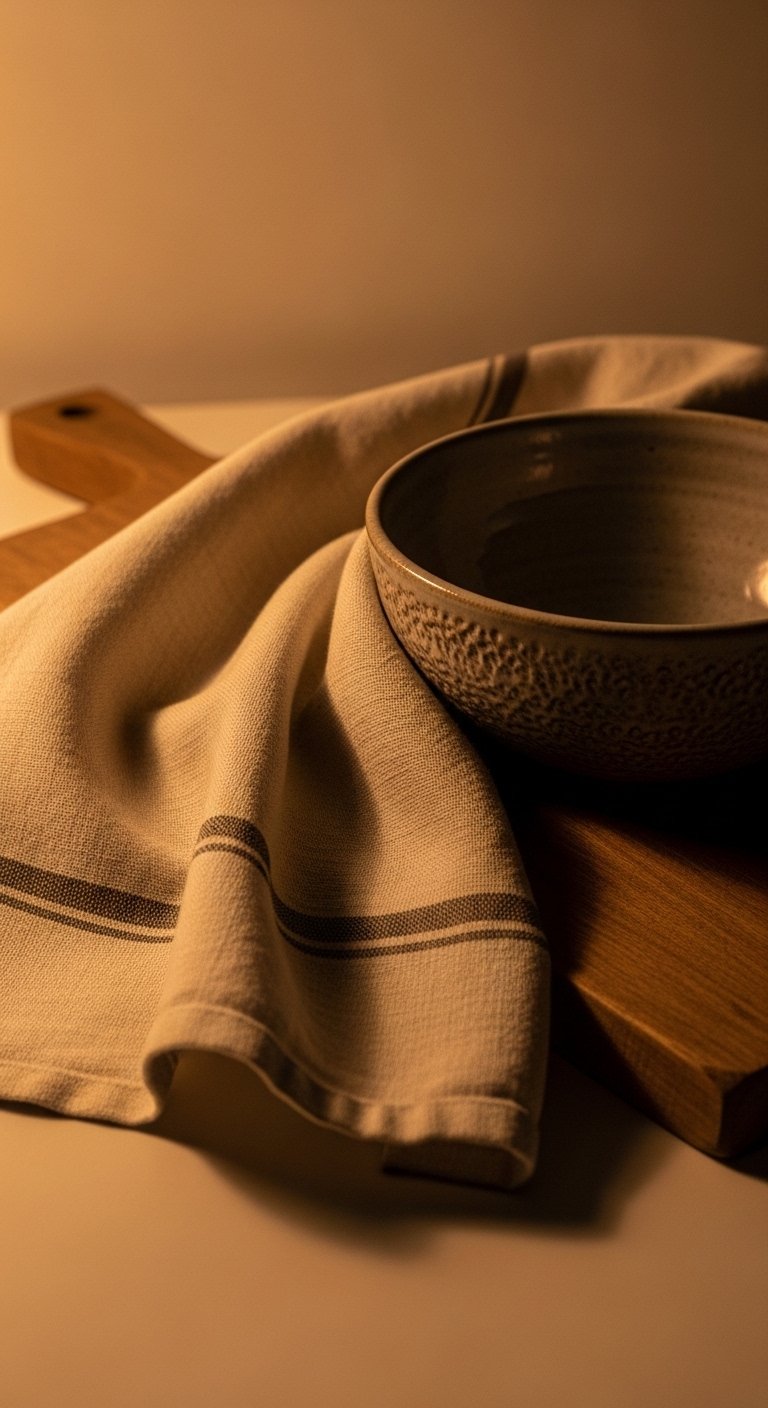
Layer one soft textile, one natural fiber, and one glazed object. A linen tea towel draped casually across a board adds softness and a lived-in feel. Jute or woven placemats add a rough counterpoint to smooth ceramics. I almost skipped the textile step once and the group felt sterile.
Keep color limited to two accents against a neutral base. If you already have a colored kettle, make the accents echo that shade. A common mistake is scattering many small colored trinkets, which flattens the visual impact. Stack cookbooks no taller than 8 inches for a tidy base, and never make a stack thinner than 1 inch per book or it will look flimsy.
Step 4: Choose accents that are useful so the decor survives real life
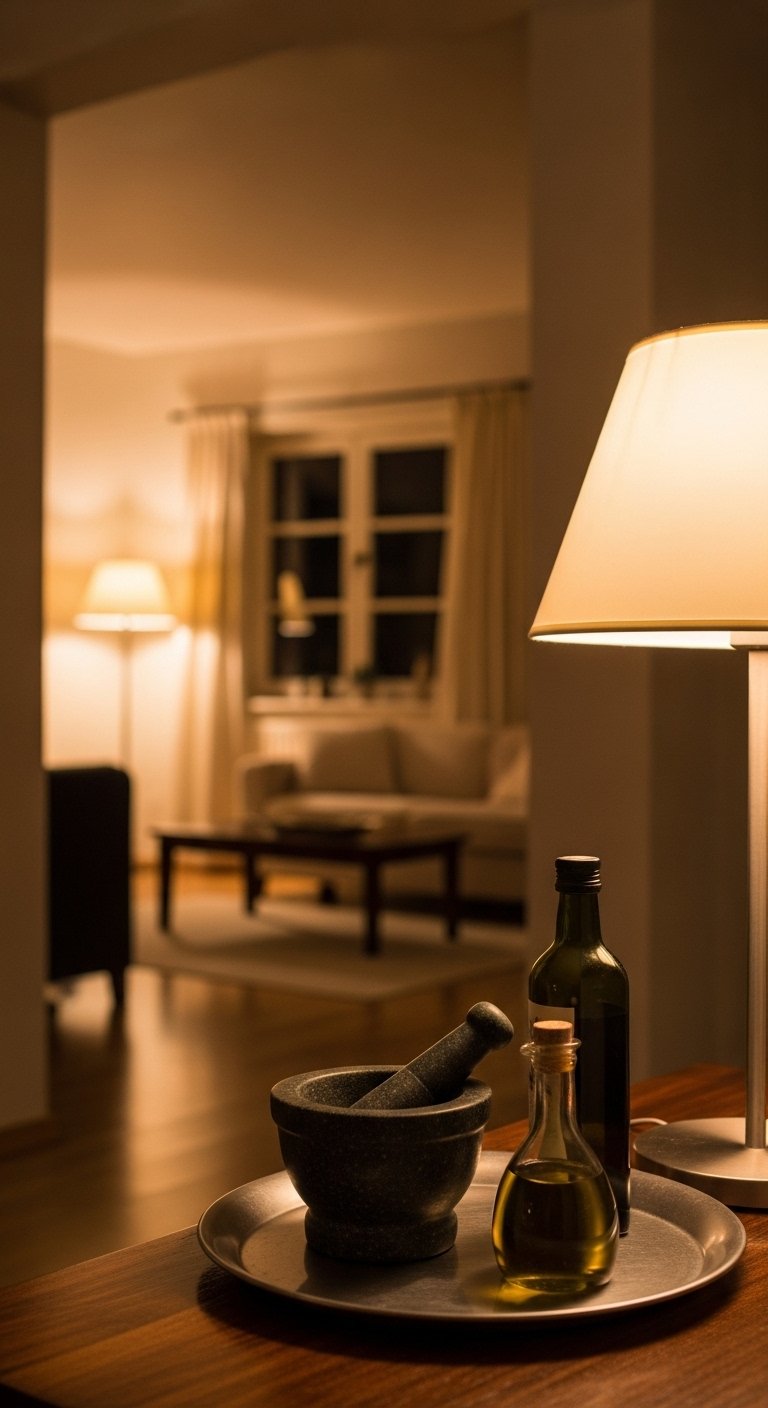
Pick things that earn their place. A beautiful olive oil bottle, a mortar and pestle, or a small tray for keys and mail translate to everyday use. Wood cutting boards feel warm and heavy in your hands and tend to age better than thin plastic boards. My roommate knocked over a ceramic jar twice before we moved it to a safer spot, so think about reach and traffic.
Rotate one seasonal item every month, like a bright bowl in summer or a textured vase in winter. The habit keeps the kitchen from feeling permanent and tired. You do not need new items to refresh, just swap what is already there.
Step 5: Anchor the whole look with art or a ledge at the correct height
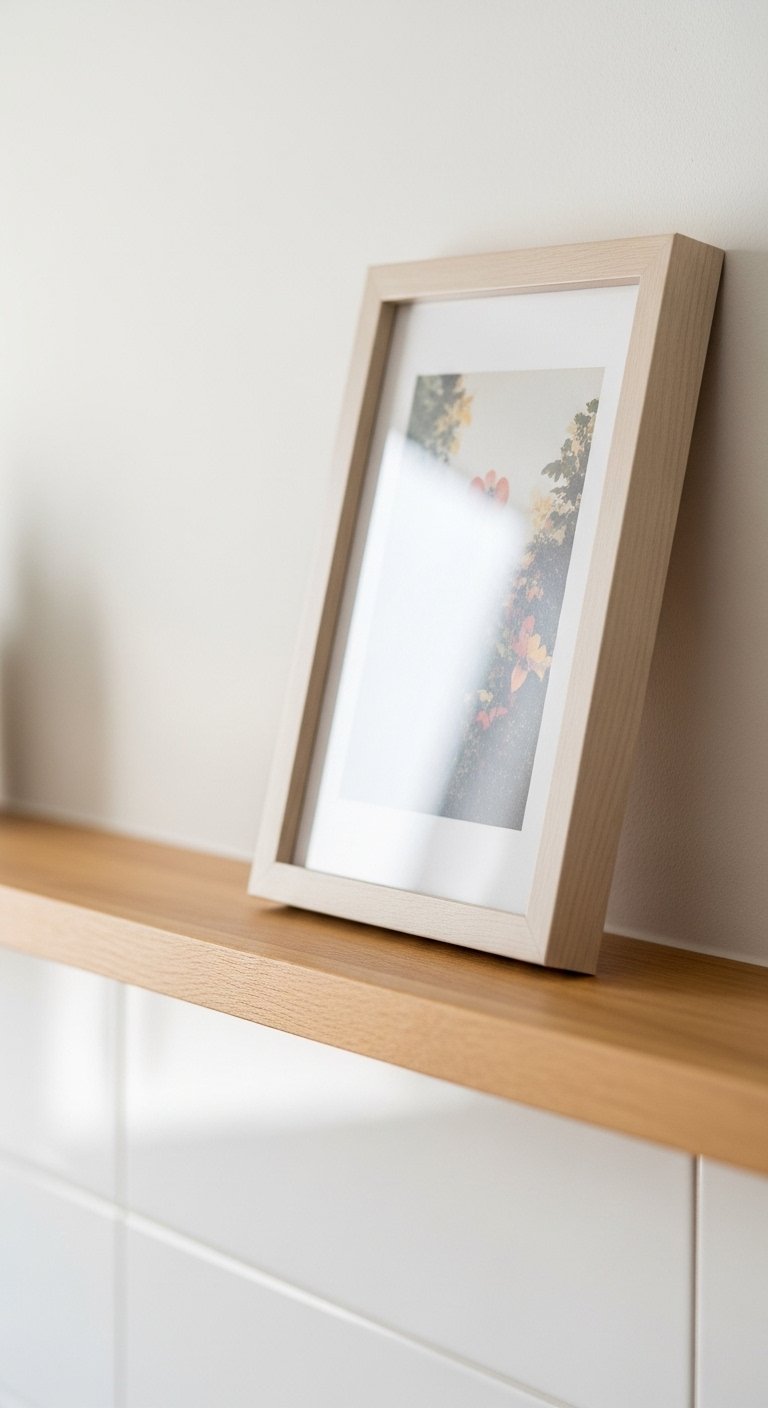
Artwork or a narrow ledge can anchor the styling and give the eye a destination. Hang the bottom edge of the art 4 to 6 inches above the backsplash or counter surface if you have no upper cabinets. For a picture ledge, a 24-inch length is an easy standard that fits most small groupings.
My partner hated the slightly off-center frame at first. After a week he admitted it made the counter feel purposeful. If nails are not allowed in your rental, lean a frame on a shelf or use removable hooks. A simple brass picture ledge keeps the arrangement grounded and allows rotation without rehanging.
What to Buy for Your Kitchen Accent Refresh
- Matte ceramic vase, 12-inch set of one, white ($20-35). I use this as the tall anchor in Step 2.
- Wooden cutting board, 12×18-inch, walnut ($30-70). Warm in the hand, great for Step 2 and 4.
- Linen tea towels pack of 4, natural ($18-30). Soft texture for Step 3.
- Ceramic utensil crock, 6-inch, speckled glaze ($15-28). Use in Step 1 as a functional accent.
- 24-inch brass picture ledge ($18-30). Recommended in Step 5 for easy art rotation.
- Jute placemat set, round 15-inch, natural ($25-40). Adds rough texture in Step 3.
- Mortar and pestle, granite, 6-inch ($22-40). Functional accent for Step 4.
- Ceramic bowl set, matte white, small and medium ($20-35). For low anchors and grouping in Step 2 and 3.
Why Your Counters Still Look Cluttered After Styling
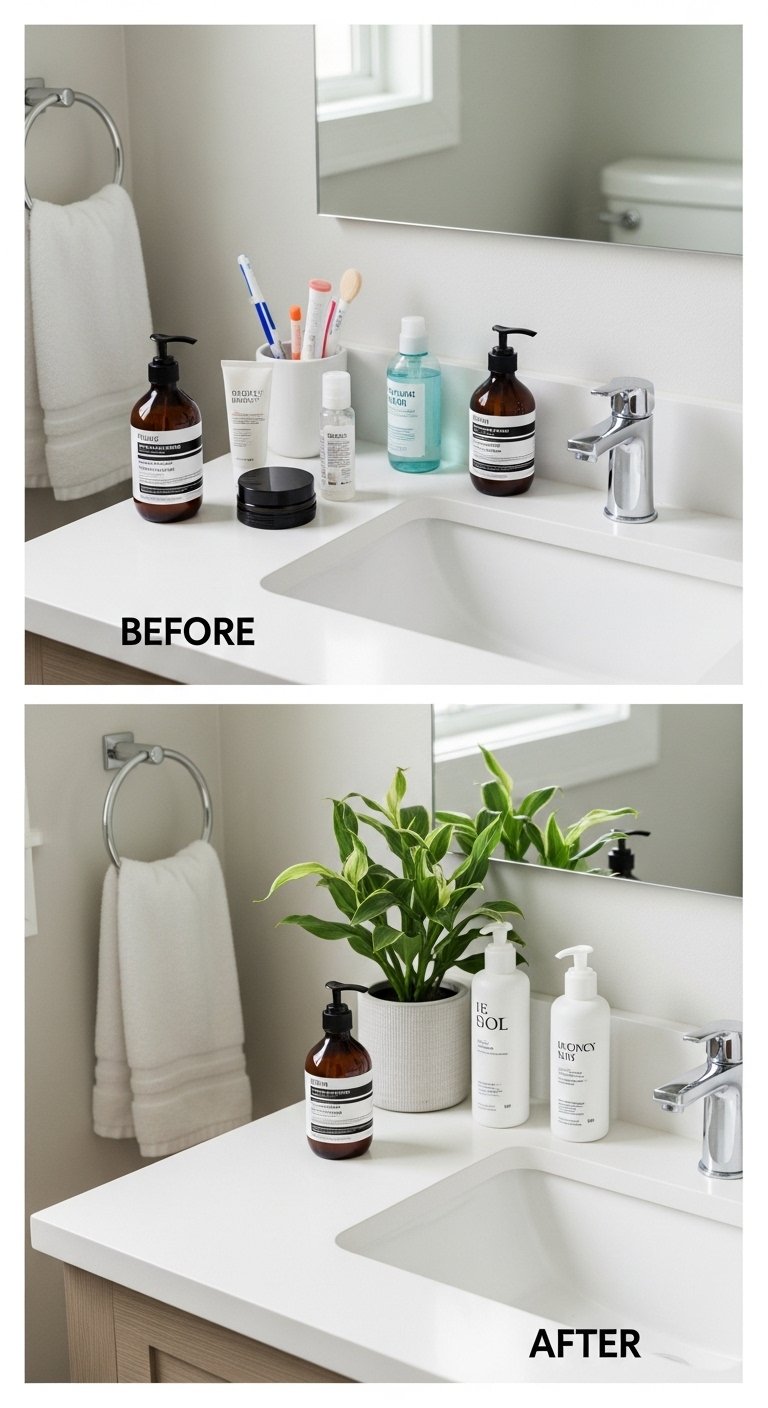
If the counters still feel cluttered it is usually one of three things. Too many small items are spread evenly across the surface. No anchor pieces exist, so nothing tells the eye where to rest. Or there is little difference in height and texture among the objects.
Fix these by removing half the small items, choosing one heavy object as an anchor, and adding one soft textile or natural fiber to create contrast. Editing is louder than adding. I learned that the hard way when a second attempt looked worse than the first. Give yourself permission to walk away for ten minutes, then come back with fresh eyes.
Making This Work in a Small Kitchen
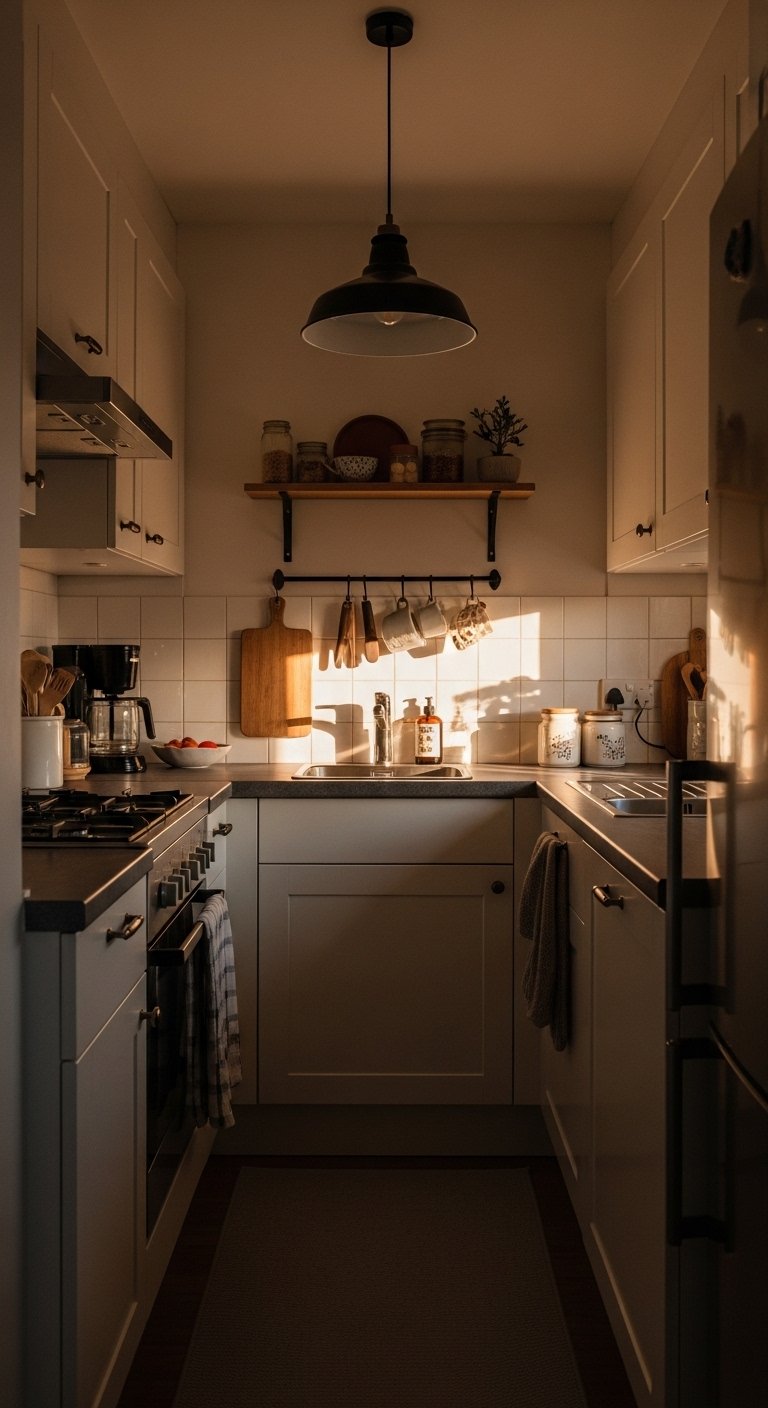
Small kitchens need smaller scales and clever swaps. Try these adjustments:
- Use a single 8 to 12-inch deep shelf instead of multiple shelves, and keep groupings to three items only.
- Choose mid-height items around 8 to 12 inches so they do not block sightlines.
- Favor vertical texture like a slim vase or stacked cookbooks to add height without spreading horizontally.
- Keep functional zones clear, for example maintain a 12-inch workspace by pushing styling to the far side of the counter.
I lived in a tiny apartment for a year and learned to choose accents that double as tools. It saved space and made the styling feel earned.
What This Looks Like After a Month of Daily Cooking
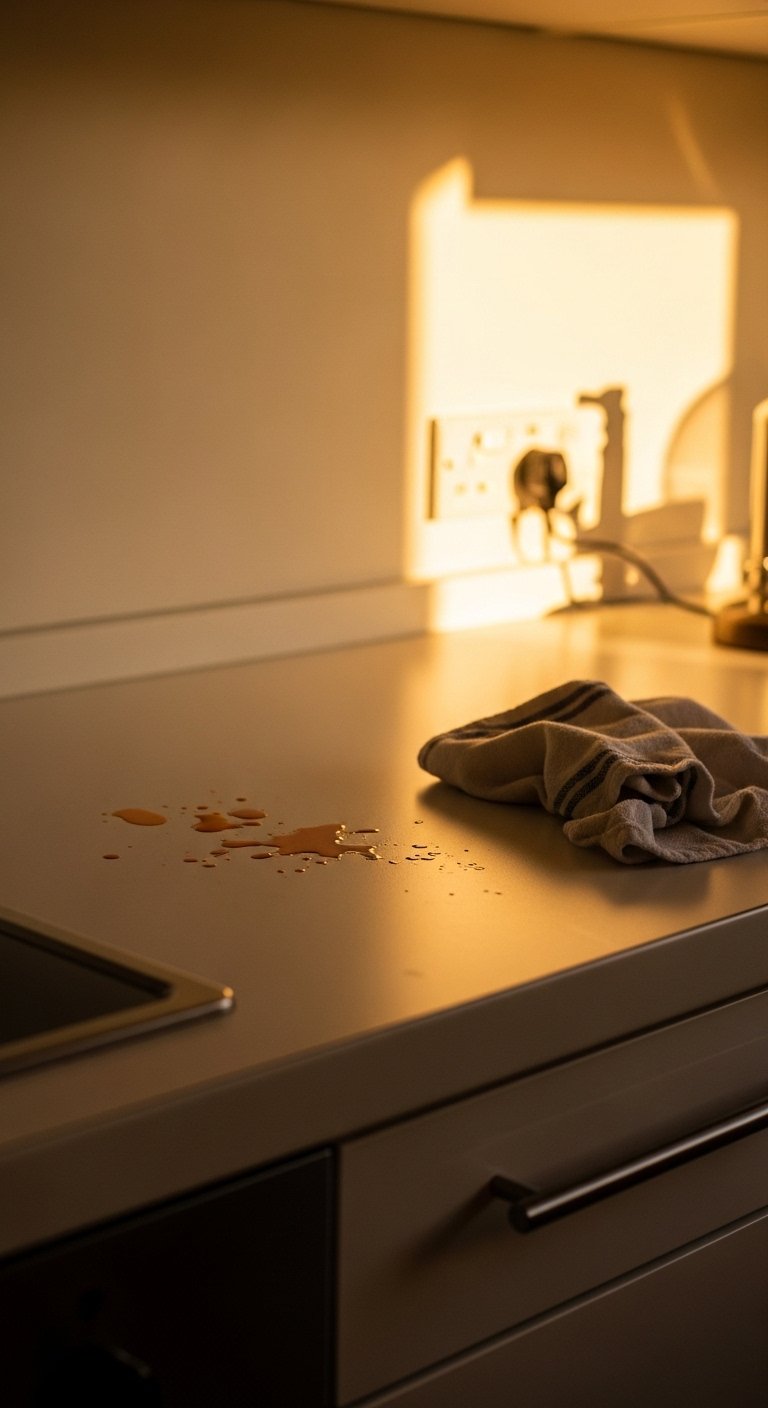
Expect a slight downhill drift from the styled photo moment, and plan for it. After a month the tea towel will be used, the cutting board will collect knife marks, and one small item will move. That is good. The point of accent decor is to be lived with, not frozen.
Wipe the biggest area once a week and reset one small item each weekend. Rotate a bowl or vase into another room now and then. My counters stay intentional this way, and I am less nervous about a bit of flour on the board. Real life softens the styling and makes it welcoming instead of precious.
Start With One Surface
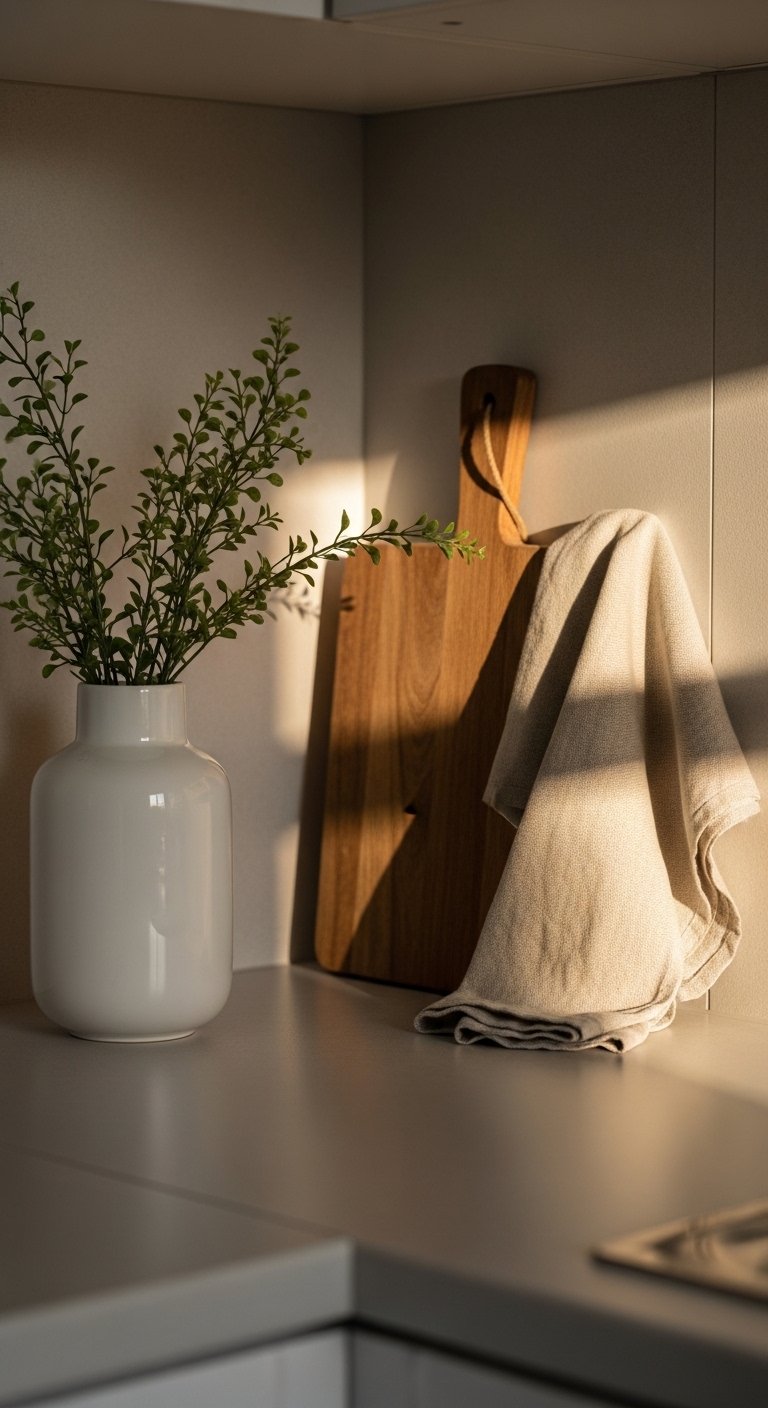
Pick one counter, one shelf, or one window sill and style only that area. Use one tall item, one medium, and one soft textile. If you have the linen tea towels from the shopping list, drape one loosely as your low, soft anchor.
Give it a week. Live with it, move one thing if it annoys you, and resist adding more until it feels settled. After that first success, the rest of the kitchen becomes easier to style.

