

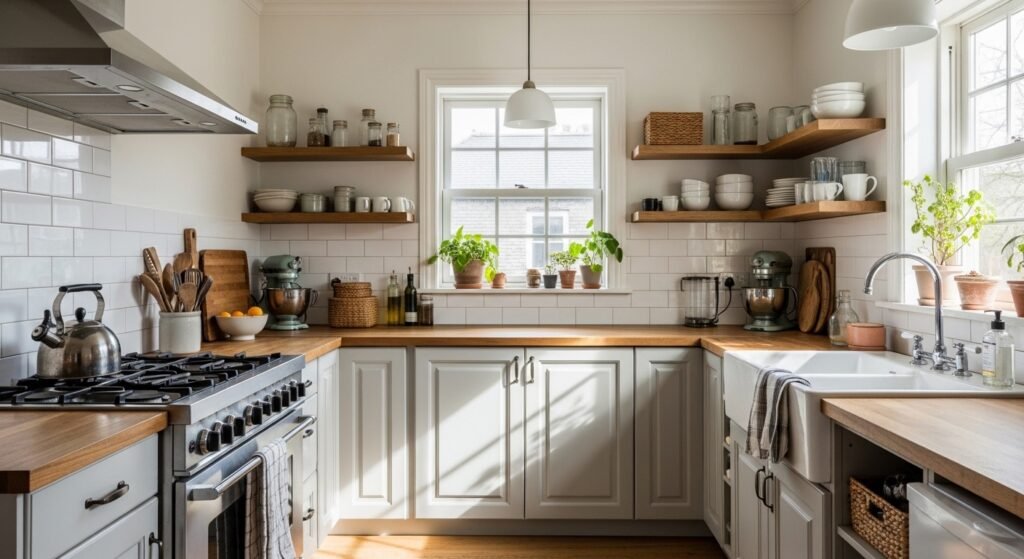
I had three tiny pots lined up on the sill and they made the whole kitchen look like a plant shop sample table. Everything felt cramped and fussy. I tried matching white pots, then another set of identical glass jars, and it kept reading as cluttered.
What finally worked was thinking like a person living in the kitchen, not a stylist. That meant grouping by scale, leaving breathing room, and using a few tactile pieces that actually feel good to touch. My first two attempts were embarrassing. The third one clicked because I slowed down and left space on purpose.
Step 1: Clear the counters and map the light
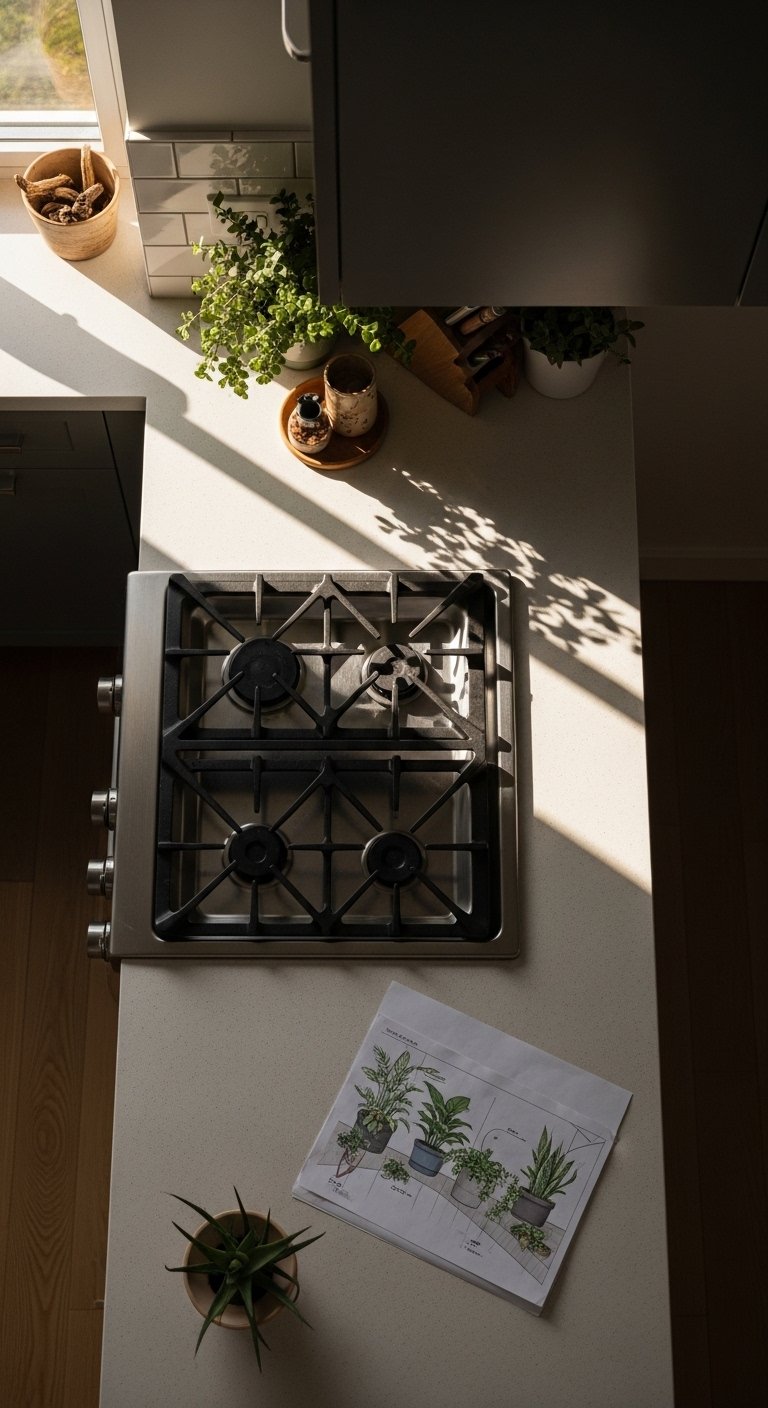
Pull everything off the counters, yes everything. Stand where you cook and measure how much real sun hits each surface, and mark spots you use for prep. Aim to put plants within two to three feet of the light source. If you have a long run of counter, plan for roughly one small plant per three linear feet, plus one taller piece to anchor the run.
Visually, this changes the kitchen from crowded to intentional. A single cool ceramic pot feels weightier than three tiny plastic ones. I missed this step the first time and ended up with plants that drooped because I put them in the wrong light.
Step 2: Build groups using odd numbers and varied heights
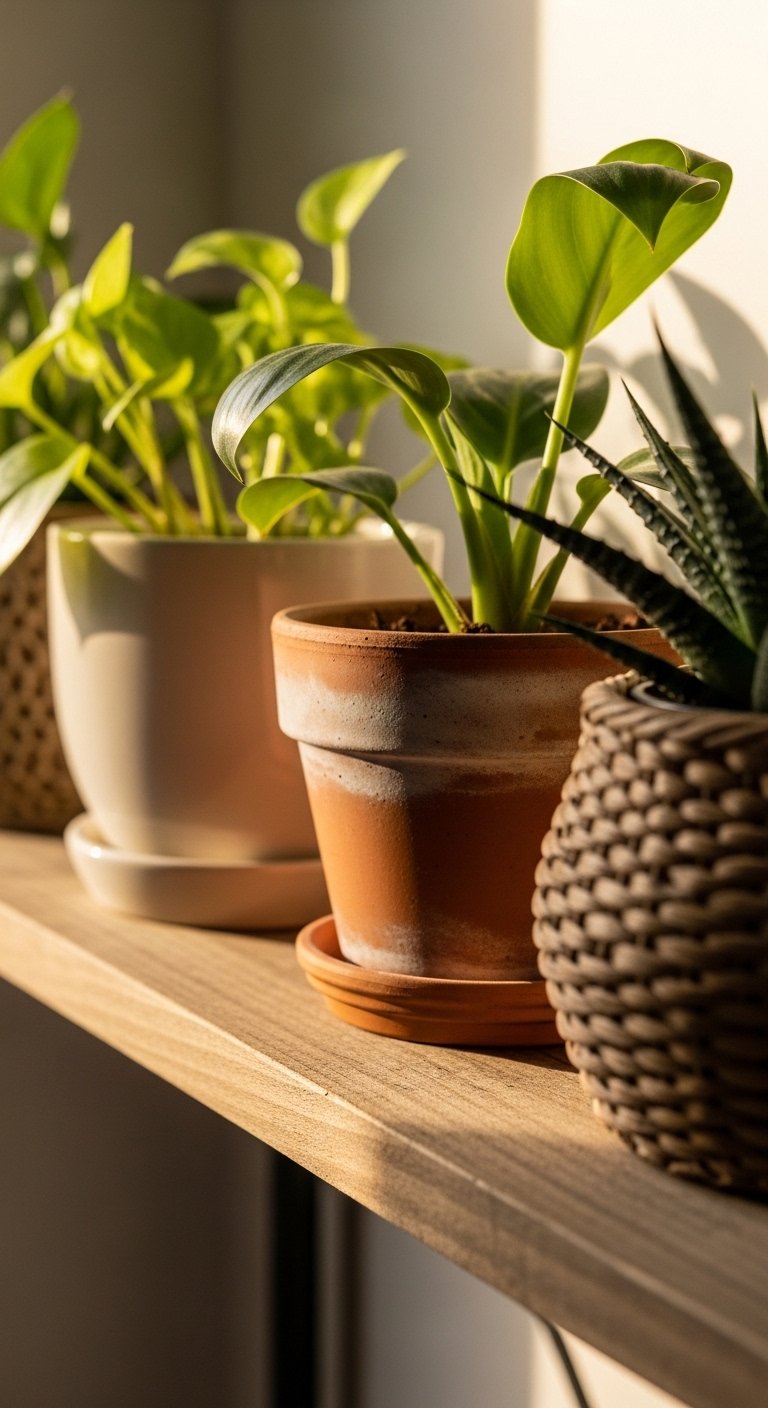
Most people start with the biggest item, which can make everything else fight for attention. Instead, pick one tall item, two medium items, and one or three small accents. Odd-number groupings like three or five read as calmer to the eye. Use a 2:1 height ratio where the tallest piece is about twice the height of the medium pieces.
Common mistake: lining pots evenly across a shelf. It looks formal and flat. When I switched to layered heights, the arrangement suddenly felt alive. The mix of gritty terracotta, smooth ceramic, and a woven basket gives the display texture you can feel, not just see.
Step 3: Use trailing plants to add motion and vertical interest
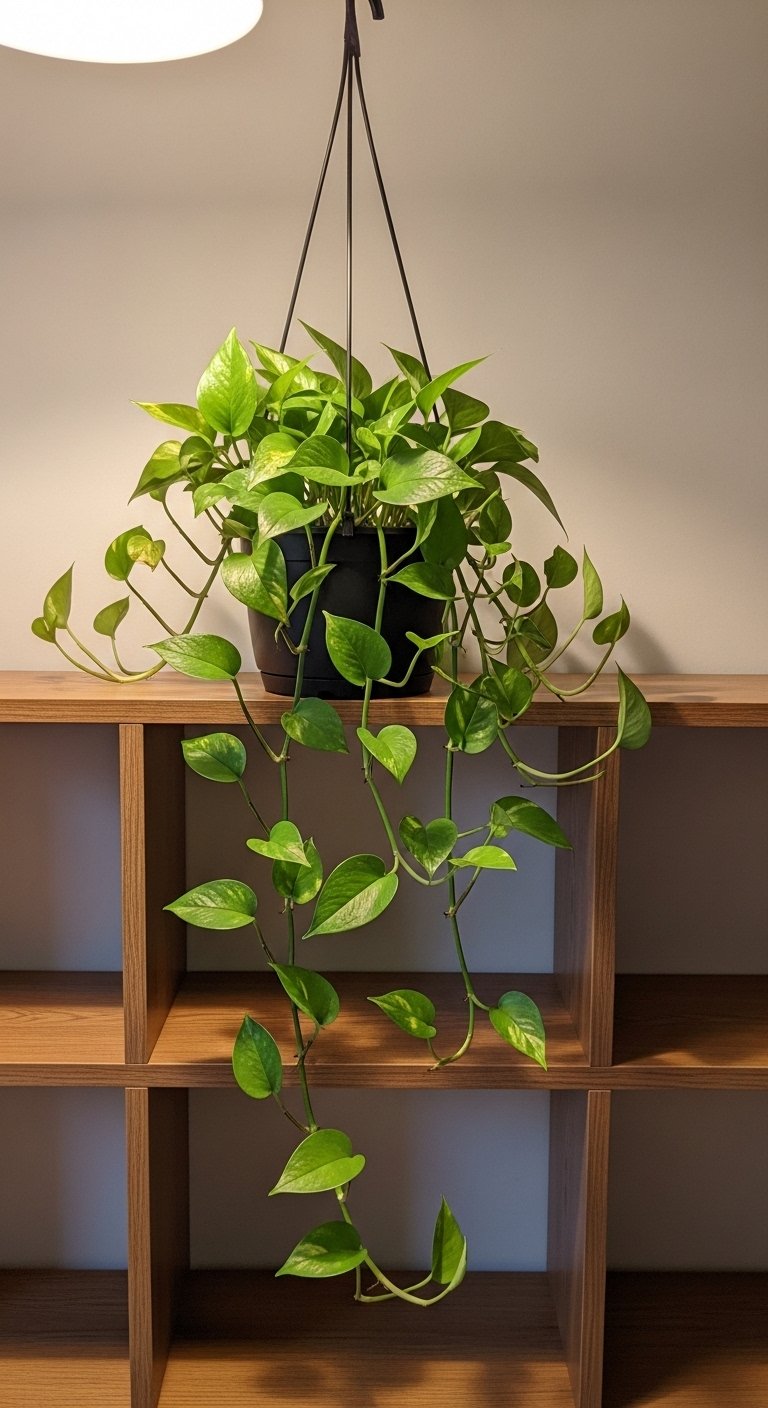
This is the step where it starts to actually look styled instead of cluttered. Add one trailing plant for movement, especially above the sink or island edge. Hang planters about six to twelve inches above a counter edge so vines can spill without getting in the way of chopping. On shelves, let a trailing stem drape the front third of the shelf depth.
I learned the hard way when my roommate knocked over a low-hanging planter until I lowered and secured it. Trailing greens soften edges, they draw the eye up and down, and they stop surfaces from reading as flat.
Step 4: Anchor with texture and one grounding object
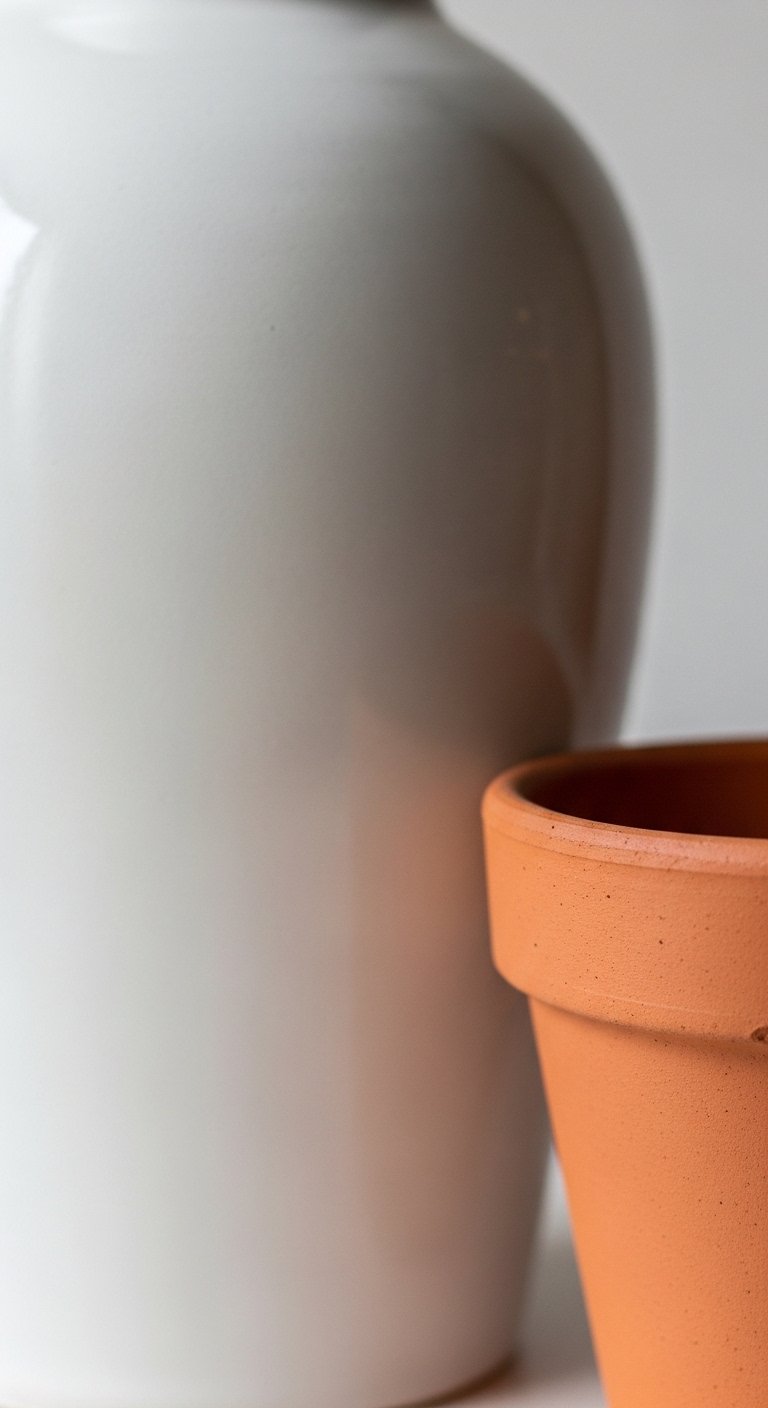
This part feels wrong while you are doing it. Put one heavier, chunkier object near the group to anchor things. It can be a ceramic pitcher, a wooden cutting board standing vertically, or a low basket. The heavier item should read about twice the visual mass of the smaller pieces nearby.
A frequent miss is making everything lightweight and airy. I had a bunch of glass pots that felt insubstantial. Adding a raw terracotta pot that is cool and gritty in the hand changed the balance. The result is grounded and approachable, not staged.
Step 5: Set a simple care zone and live with it for a week
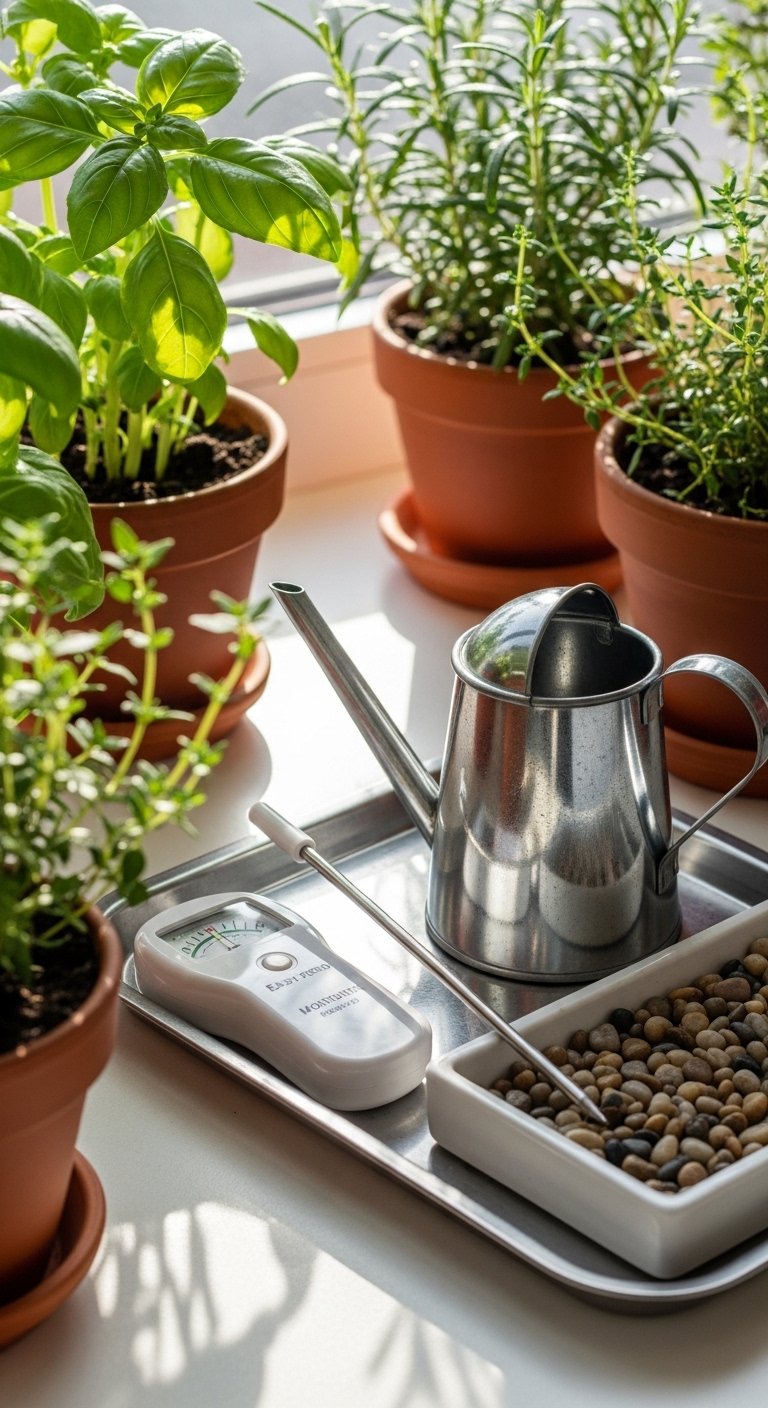
I messed this up the first three times because I overcomplicated watering. Designate one spot for routine care with a small watering can, a moisture meter, and a pebble tray for draining pots without making a mess. Place herbs within reach of your prep area, about one or two plants in the busiest zone so you will actually use them.
Resist the urge to add another pot during the first week. Step back, make tea, and live with the arrangement. After seven days you will notice where a plant is in the way or where light is slightly different, and those small shifts are easy. My first instinct was to keep adding things, and that never helped.
Your Small-Plant Kitchen Shopping List

- 4-inch terracotta pots, set of 6 ($12-20). Budget workhorse, used in Step 1 and Step 4. Great for herbs.
- Matte ceramic planter, 6-inch ($18-35). Keeps the group feeling weighty in Step 2.
- Hanging planter with macrame rope, 10-inch bowl ($20-40). For the trailing piece in Step 3.
- Pebble drainage tray, small ($8-15). Use in Step 5 to keep counters dry.
- Small watering can, 1-liter stainless steel ($15-30). Handy for quick watering in Step 5.
- Set of 3 ceramic bud vases, matte white ($20-35). Perfect as the small accents in Step 2.
- Woven seagrass basket, medium ($18-30). Adds texture in Step 4. Similar options at HomeGoods.
- Moisture meter, pocket size ($10-18). Helps avoid overwatering, used in Step 5.
Why Your Counter Still Looks Cluttered
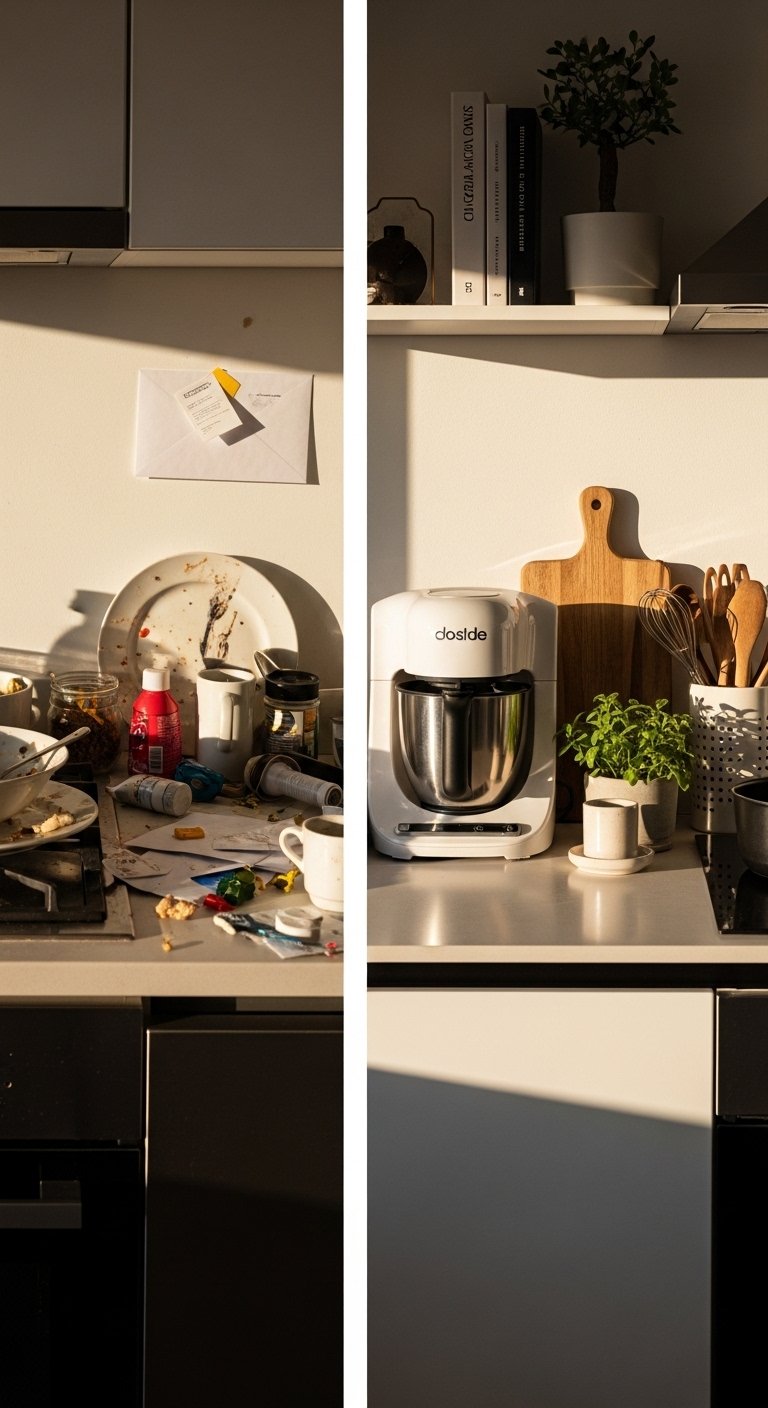
Clutter usually comes from too many small, similar items and not enough breathing room. Two quick fixes: remove half the pieces and keep at least two inches of empty counter between groups. Another common error is matching every pot. Matching can feel predictable. Instead, pick two shared elements like color and texture and vary everything else.
Quick checklist:
- Cut the number of items by 40 percent.
- Keep one shared color and one shared texture.
- Leave a two-inch margin of empty space around each group.
Making This Work in a Tiny Kitchen
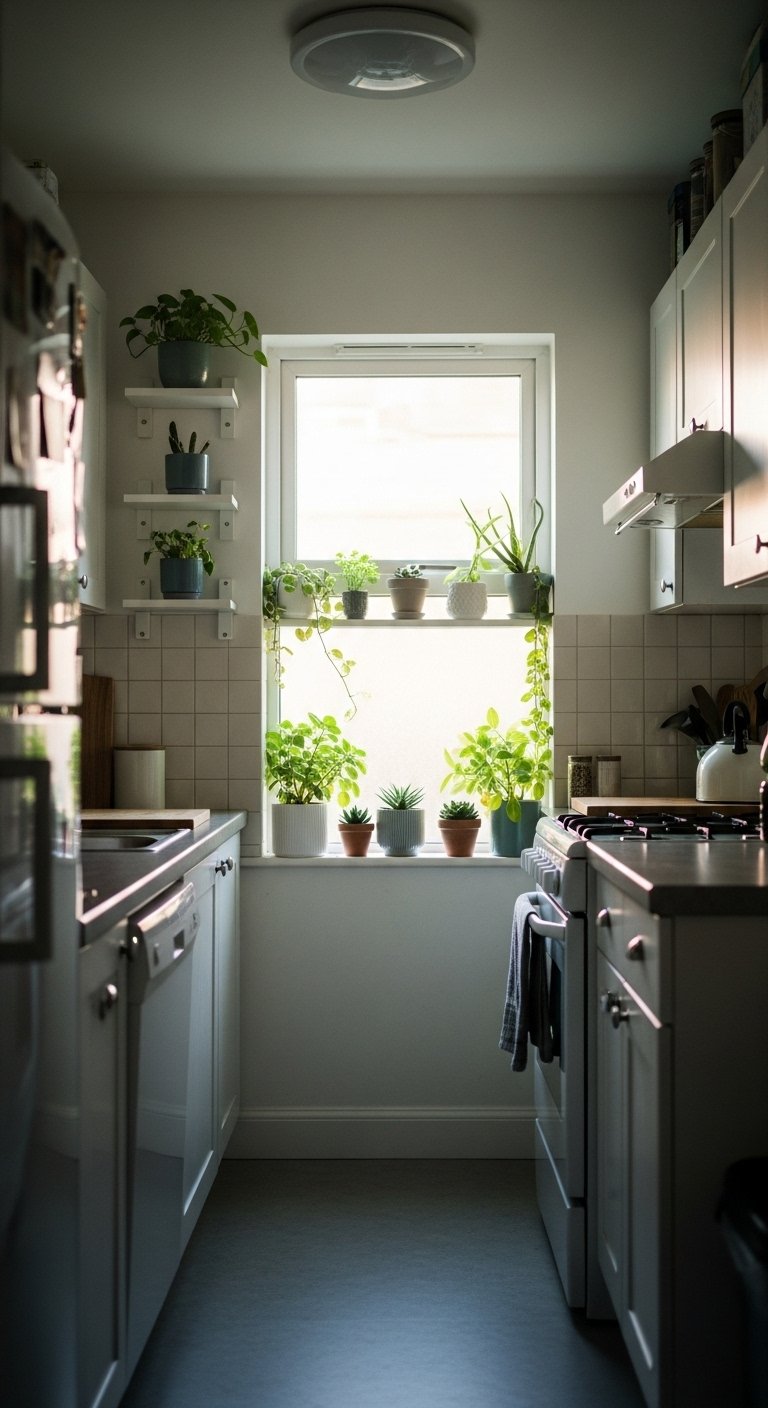
In small kitchens, vertical space is your friend. Use a 12-18 inch floating shelf above the counter for a trio of small pots, and hang a single planter over the sink. Keep moveable pots on a small rolling tray so you can shift them for cooking. I once styled a tiny rental kitchen with only three plants, one on the sill, one hung, and one on a shelf, and it felt complete.
Practical notes:
- Pick pots under 6 inches for shelves.
- Use lightweight planters to avoid bracket strain.
- Consider faux for the darkest corners.
What It Looks Like After a Week with Real Life
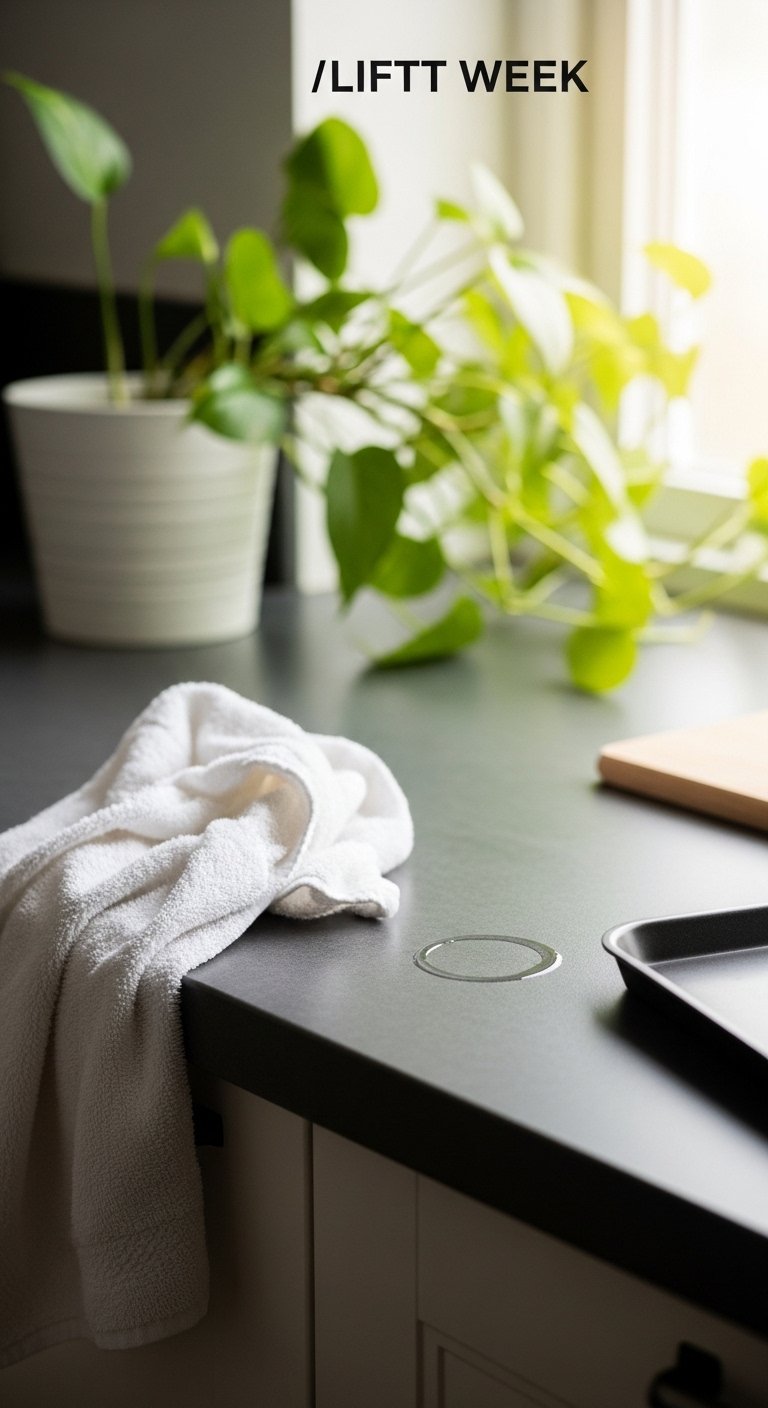
Expect adjustments. Water drips, a leaf may brown, someone may move a pot. After seven days you will know which plant gets bumped, which needs a slightly brighter spot, and where a coaster for a saucer will save you grief. Real life will reveal the tiny annoyances a photo cannot.
When I checked my setup after a week, I moved one trailing plant half an inch and that stopped it from brushing the toaster. Small changes like that keep the kitchen usable and the styling intact.
Start With One Corner
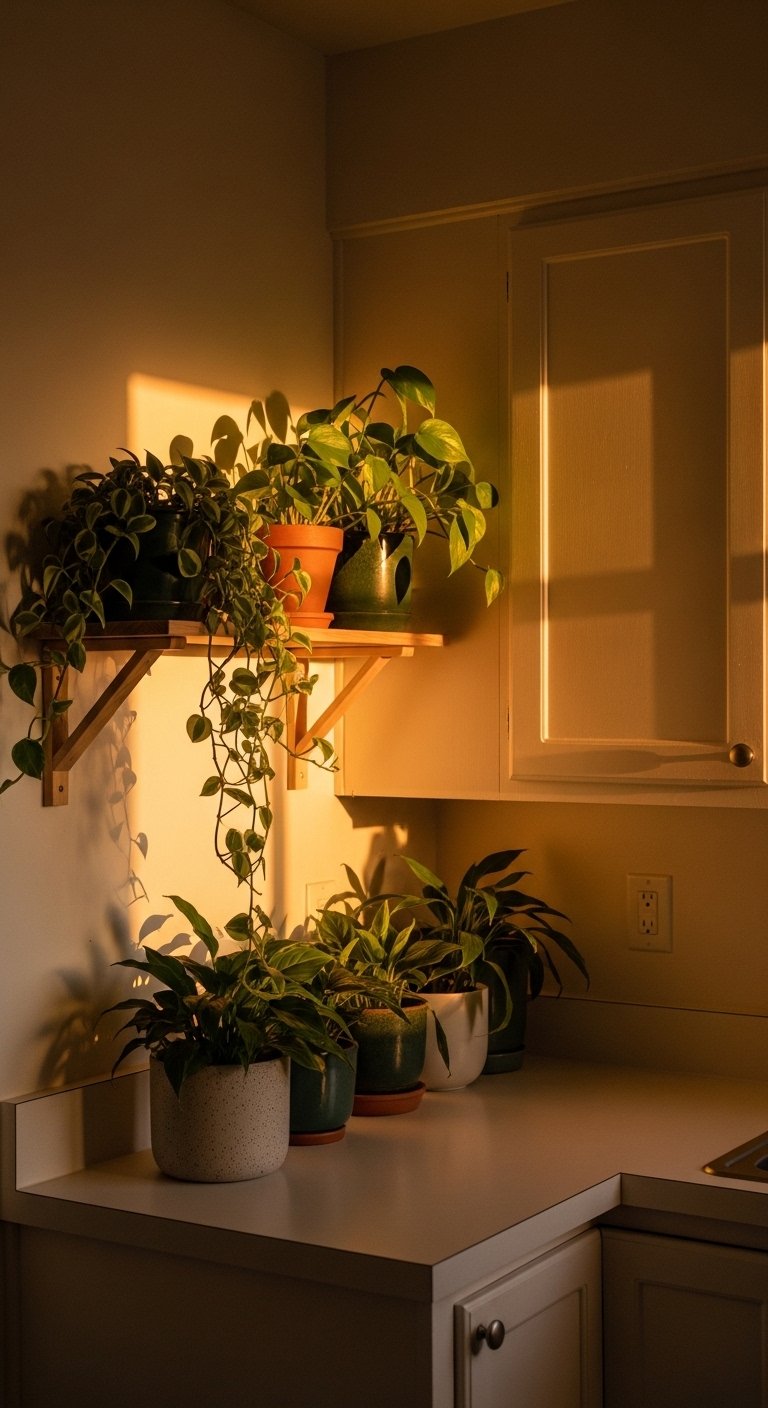
Pick a single corner, the sill, or a 12-inch stretch of shelf and style just that. Use one tall piece, two medium pots, and one small accent. Keep textures varied, leave some breathing room, and set a tiny care station nearby.
Do this once, live with it for a week, and you will see where the next plant belongs. The low-commitment start often becomes the part of the kitchen that feels calm and used, not over-styled.

